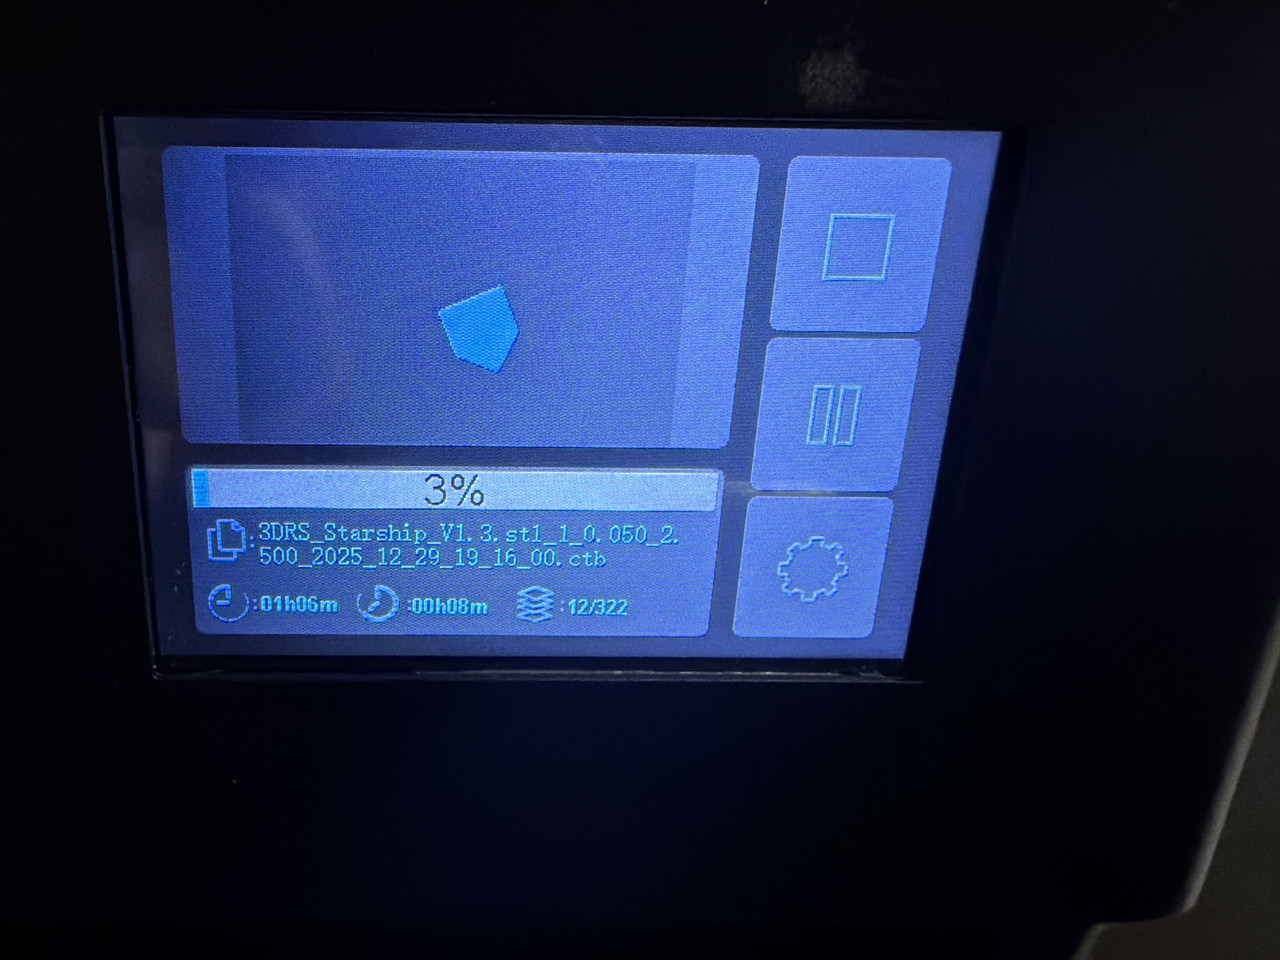
Well, with some substantial help from my son, aka tech support, we were able to get my 3D printer working this evening…
And after nearly 90 minutes of printing, then another 10 minutes or so of wash and UV light curing, we created this test print semi successfully…
I say semi successful, or as my son termed it, a successful failure, due to it ending up a bit too brittle, and this ended up cracking and breaking. So successful print, but an overdone finishing process. Lessons learned.
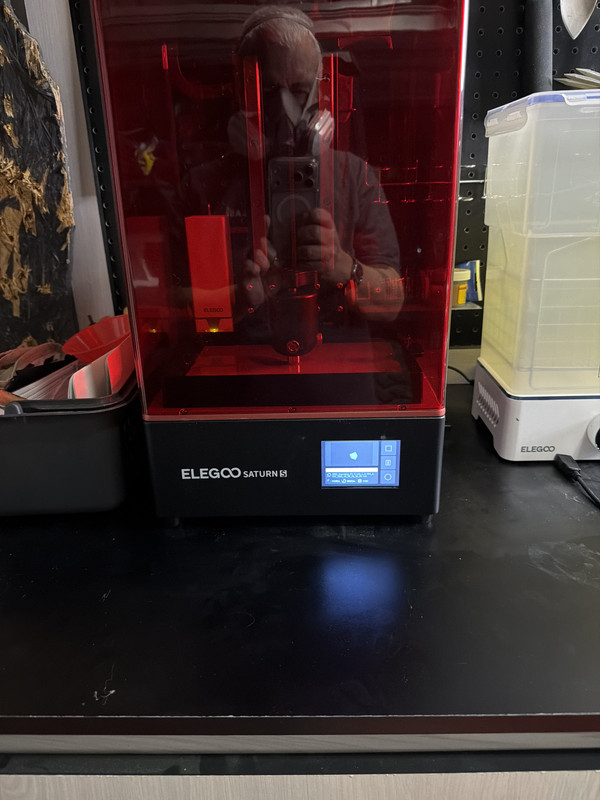
My wife got me a Flashforge 3D printer for Christmas. It’s supposed to be a good starter printer and I am looking forward to getting it out of the box. Had to make space for it first.
Merry Christmas to you! I had to clear off my tool cabinet top in my garage to make space for this set up. I picked this up used from a modeling club friend, so no boxes to unpack here aside from what was used to transport it home.
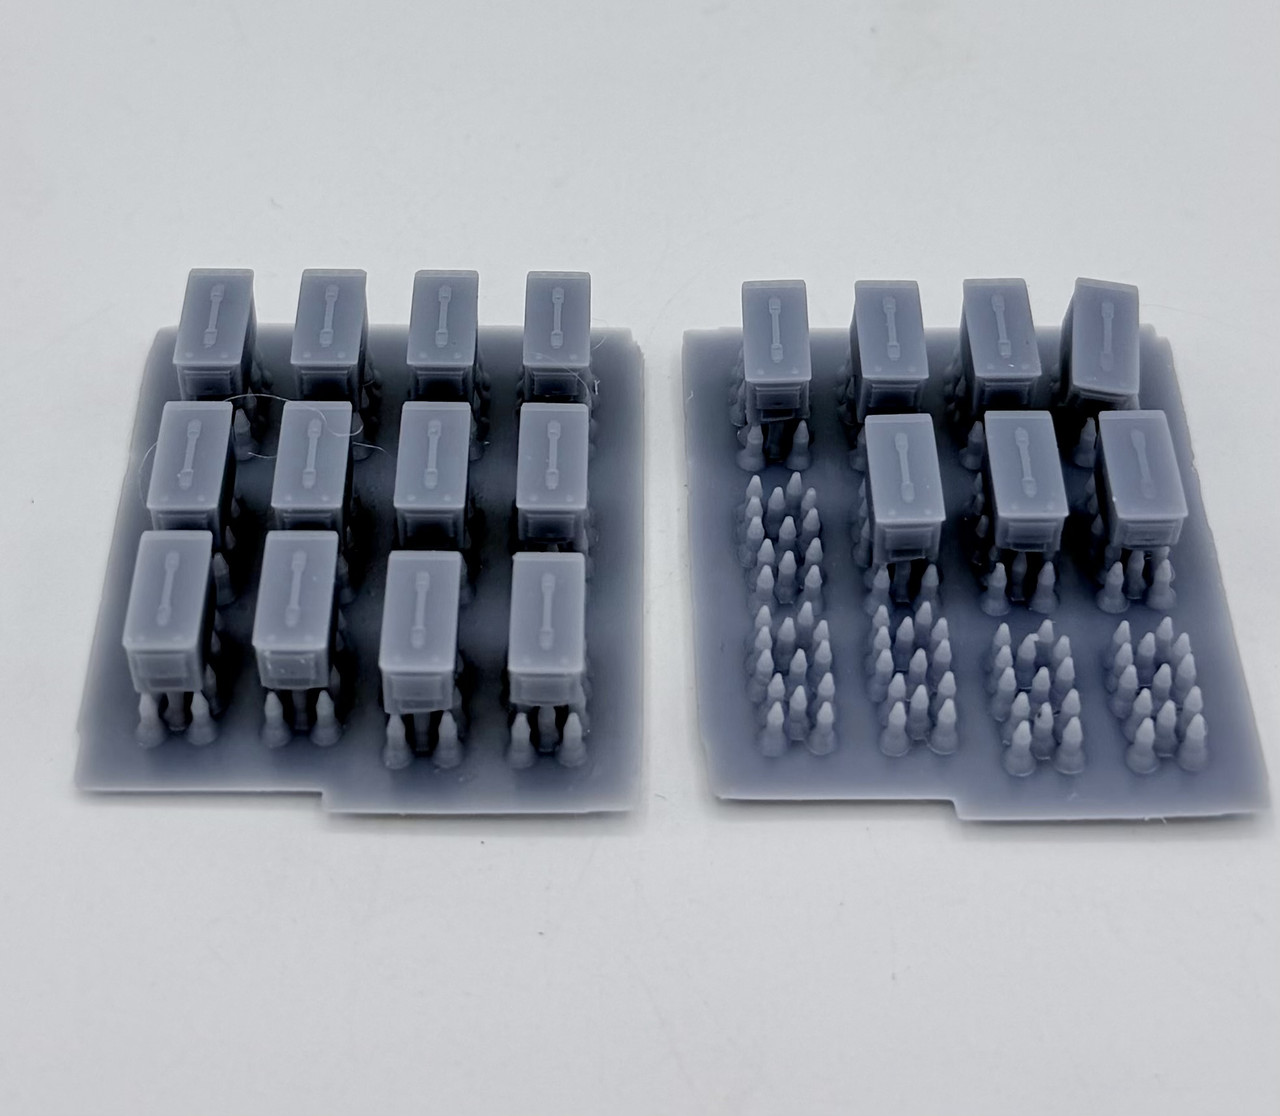
This evening I had another go at 3D printing after my crack up and burn attempts after New Years… today’s success was much more successful. The first go (on the right) was about a 50% success rate, with some breaking free during the printing process, as can be seen by the support nubs only…. a few that stayed on the base were somewhat incomplete on the bottoms of the cans for unknown reasons. The second go, started immediately after I took the first group off of the printing plate, came out much better, with all twelve ammo cans printing, although a few were also again underdeveloped on the bottoms of sides…
I’m gonna have to mess with the jerry cans that “cracked up and burned” on the first attempt and see if I can get those to print up properly…
Welcome to the rabbit hole. Fine tuning your print settings is going to be something that will make or break your experience. Unfortunately there are also going to be days where you just cant seem to get the printer to print anything. But end of the day you will have fun and add a powerful tool to your arsenal.
I can sure understand that about good days and bad with printing. But last night was a mostly successful session, so that is encouraging Now to figure out how to fine tune the printer settings… my next hurdle…
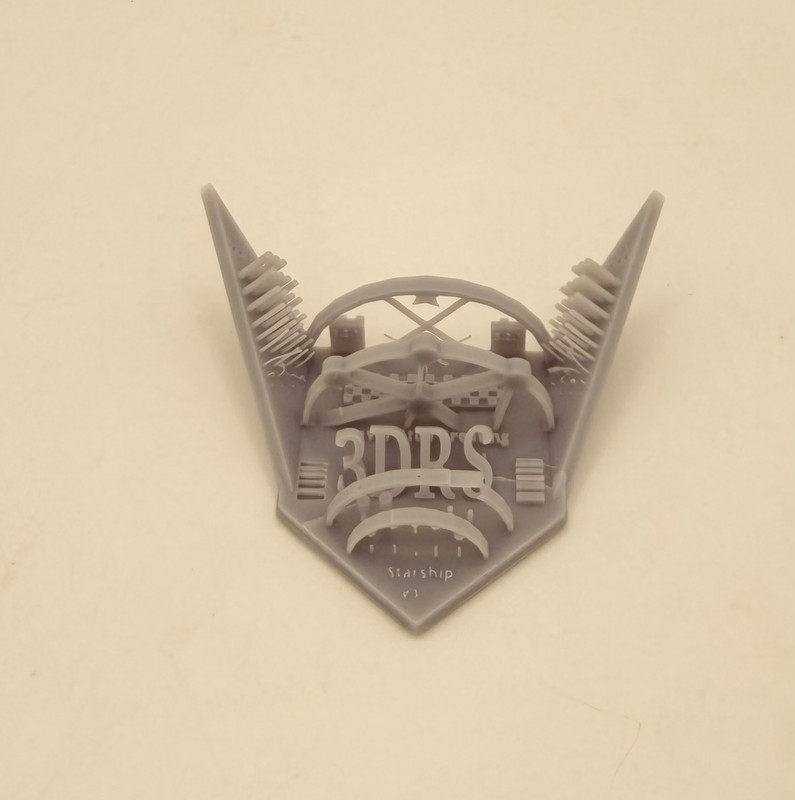
One other thing I noticed on the jerry cans you printed. You dont want to print a flat surface parallel to the build plate. This is due to the supports crating essentially pressure points allowing the surrounding area to sag. Its best to rotate your prints to a 45 degree angle relative to the build plate.
Please allow me to be the third then very important!
I never print anything flat anymore. Also printer settings can be a bear, especially if the temps are changing a decent amount. The Saturn 5 is a nice printer, if it has a heated resin vat that will help. Another area chuck full of learning opportunities is support placement, I never just go with auto generated ones as is. I’ll auto gen, then remove a bunch and maybe add a few. Lots to learn for sure, but the thing I dislike the most about failed prints is the need to clean the vat afterwards… Nothing better then a nice long string of perfect prints. Cleaning is such a time and resource suck.
Figuring out what works can be a pain, but once you start firing on all 8 it opens up a world of opportunity.