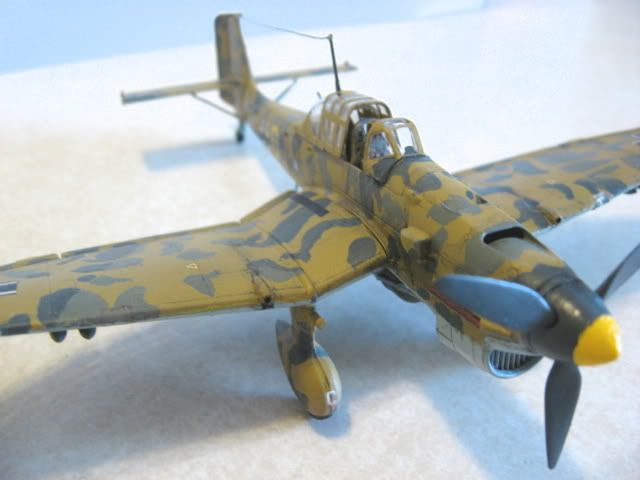
“Thanks for your thoughts and kind words. Also, Thank you dahut for your suggestions…The masking technique does sound pretty good, I imagine that my brush painted scheme is a little hard edged.”
Youre welcome. The Silly Putty is there to evenly space the mask above the surface. That way, you get a soft edge to the dappling, not a sharp one. “Feathered” is the correct term for such an edge and the Silly Putty or whatever you use (rolled double sided tape works, too - but I got better spacing consistency with Silly Putty) should stand off about 1/16" from the surface to be painted. It works for any feather-edged paint line, too! Shoot, I didnt have an airbrush for years, masking everything the way I describe.
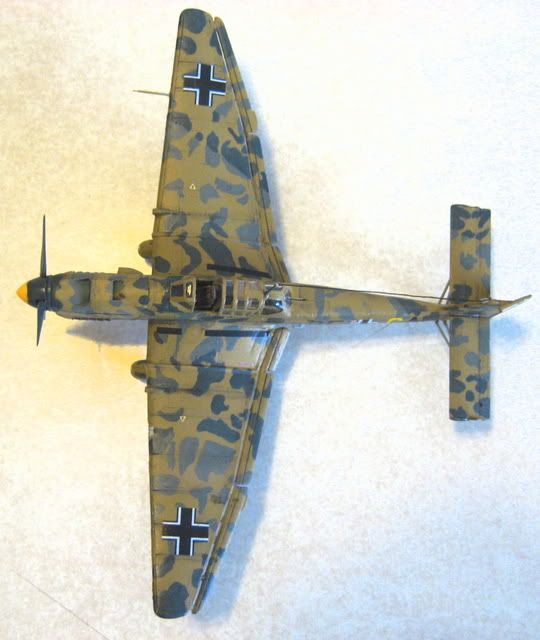
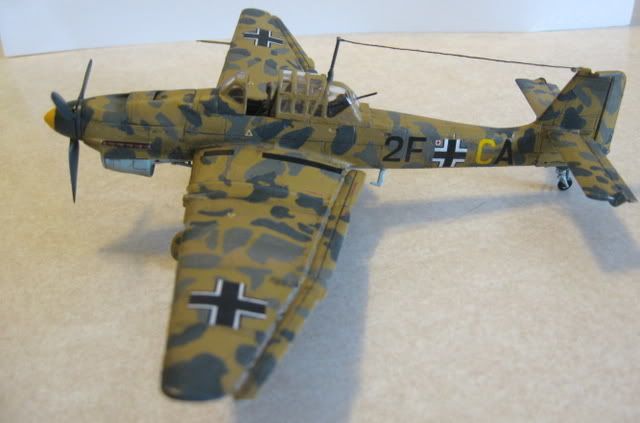
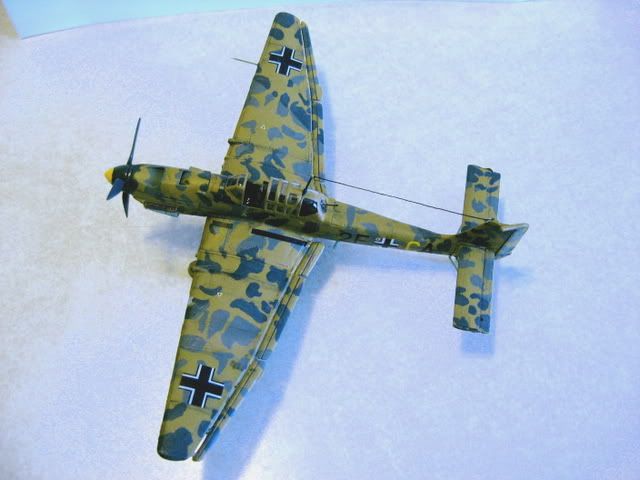
"Perhaps I should have done more research on my plane. According to the instructions for my kit there was no white stripe, but I don’t doubt that instructions can sometimes be wrong. Perhaps the particular plane in this kit didn’t have that stripe.
Actually, the instructions are usually correct, for the most part. I dont doubt it in this case, either. Not EVERY Stuka had the band; I found several in researching your post that didnt. But many DID (I’d say most, in fact) and it really brands any model with the theatre it operated in. Other such examples were the yellow surround for the U.S White Star-on-Blue insignia in the same theatre, the various colored bands for the Germans Home Defense planes and the red band carried by most of the Republican I-16’s during the SCW. You did good, man, make no mistake. It’s just that now you have a reason to build another Stuka!
That is why I should spend more time researching I’m sure. Also, the instructions are very misleading on the colors, and at one point i had to go back over the sploches i had already done with the correct color.
Researching is pretty important if you are the sort who is “driven to get it right.” If all you want is a big air force on your shelves, then it won’t matter. Build away. But, if you want quality, accuracy and perhaps something unique, then research is indeed crucial. I always start any model build with a session of “Googling” the subject I intend to work on. You should see the file I’m building on my favorite topic, the Russian planes of the VVS!
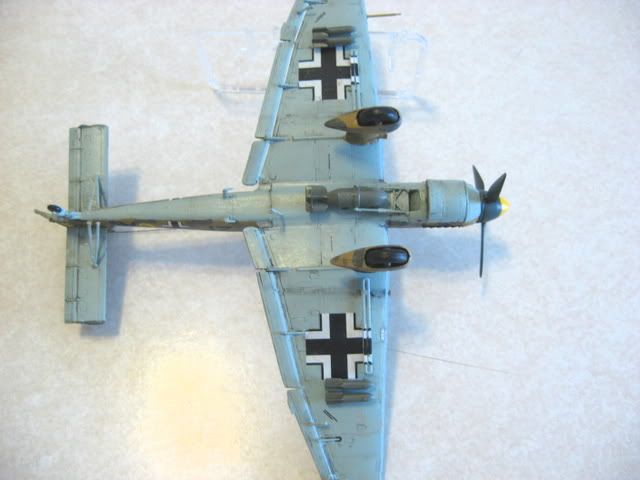
As far as the canopy, I don’t think it is visible here, but one of the panes had been badly scratched, and is very evident. Thanks again to everyone.
Something you can do about the scratch is to dip the canopy in Future floor polish. It will sharpen the clarity of the “glass” and help to hide the scratch in the bargain. A little touch up with some flat finish varnish and you can glue it back on - with white glue, of course.