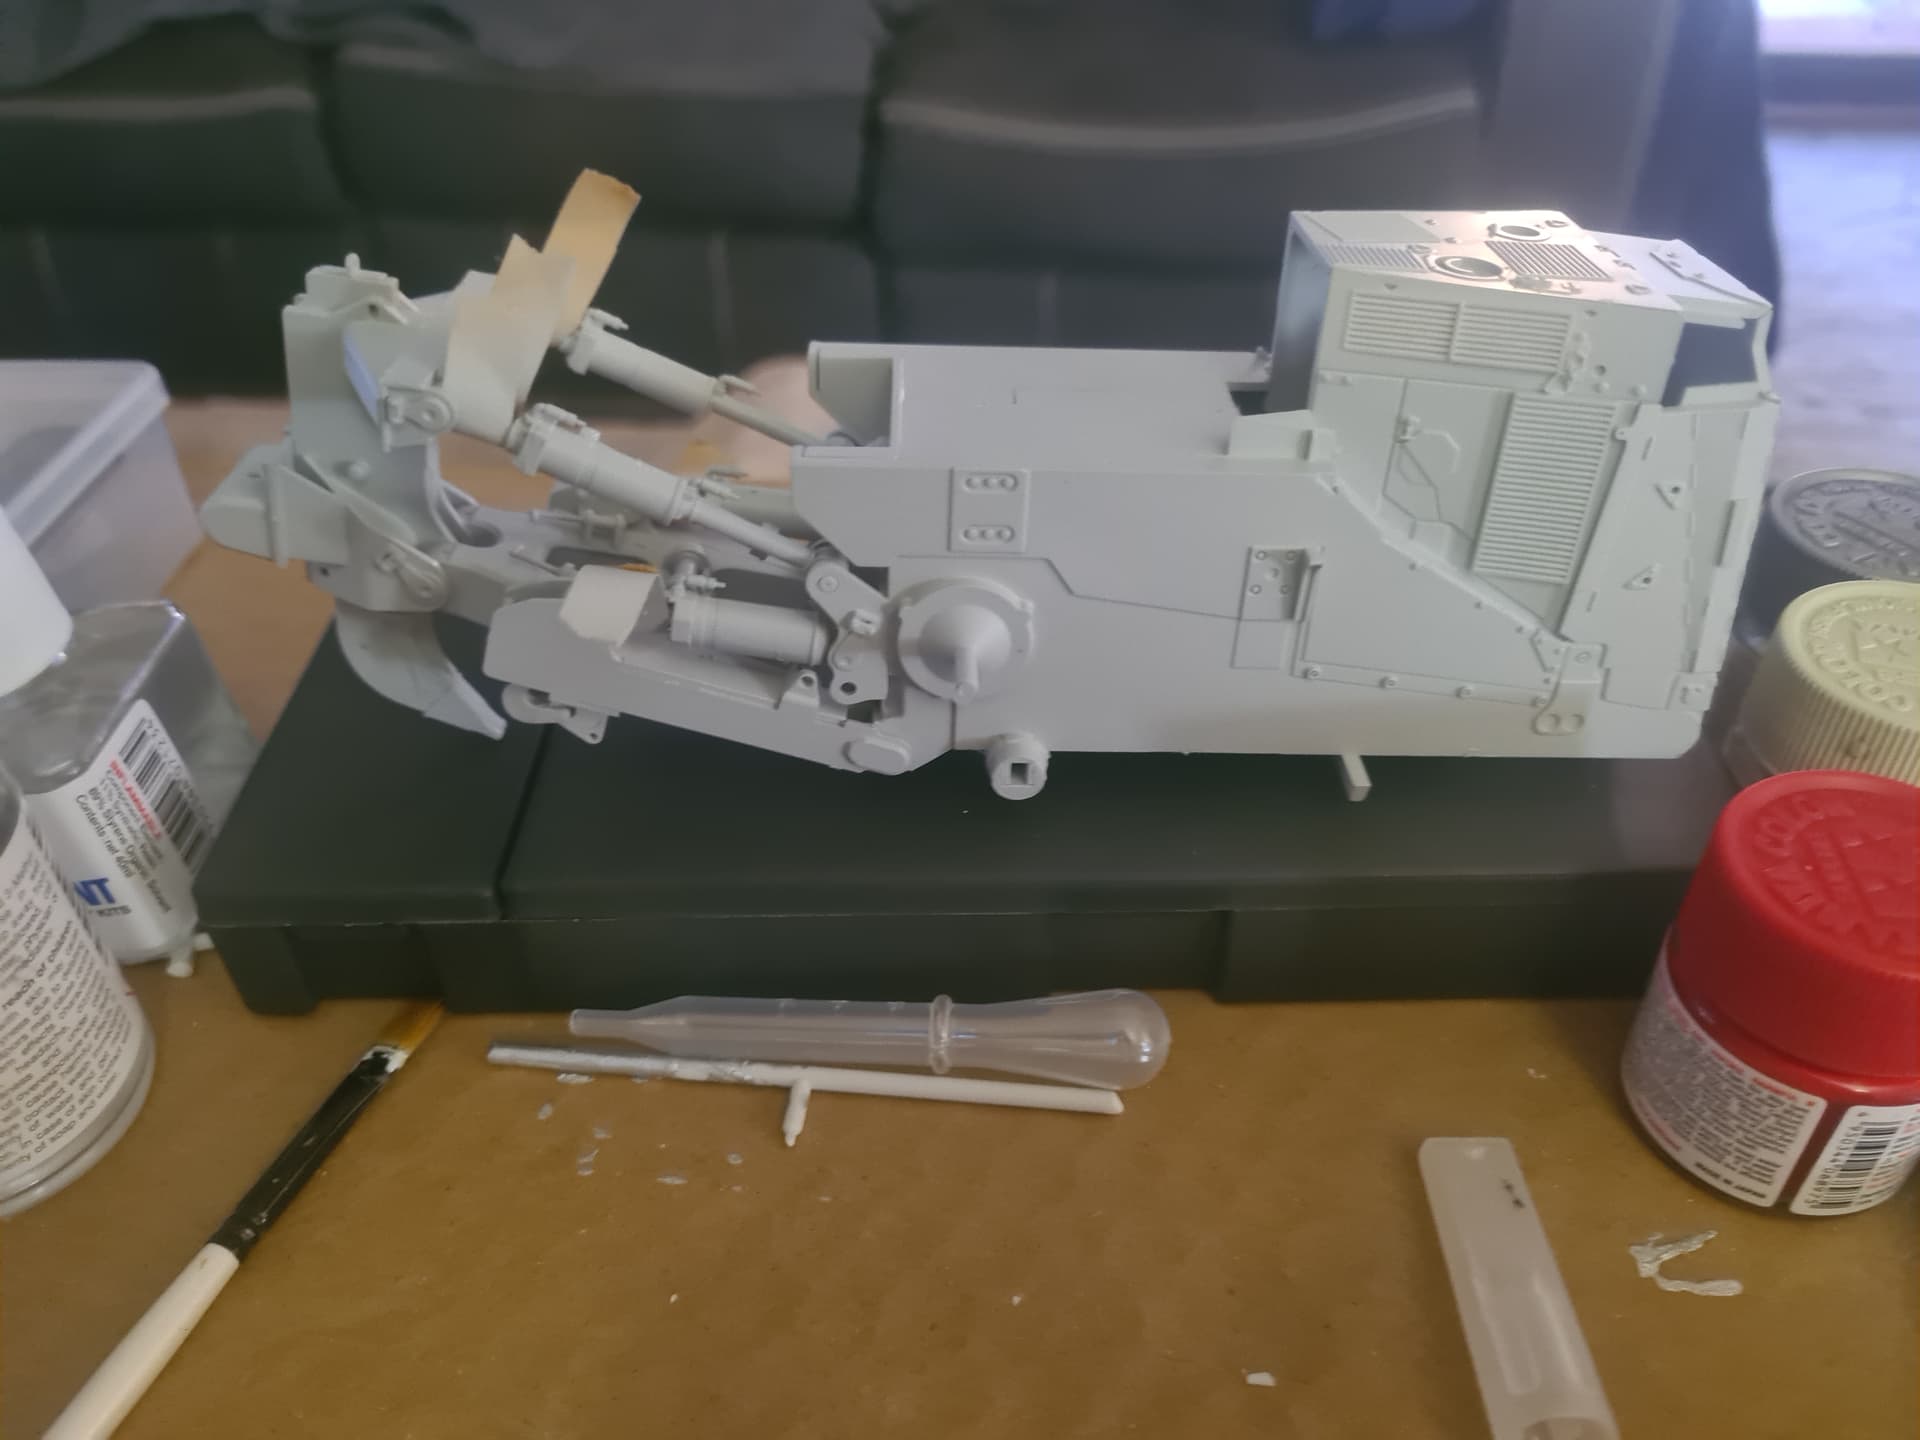
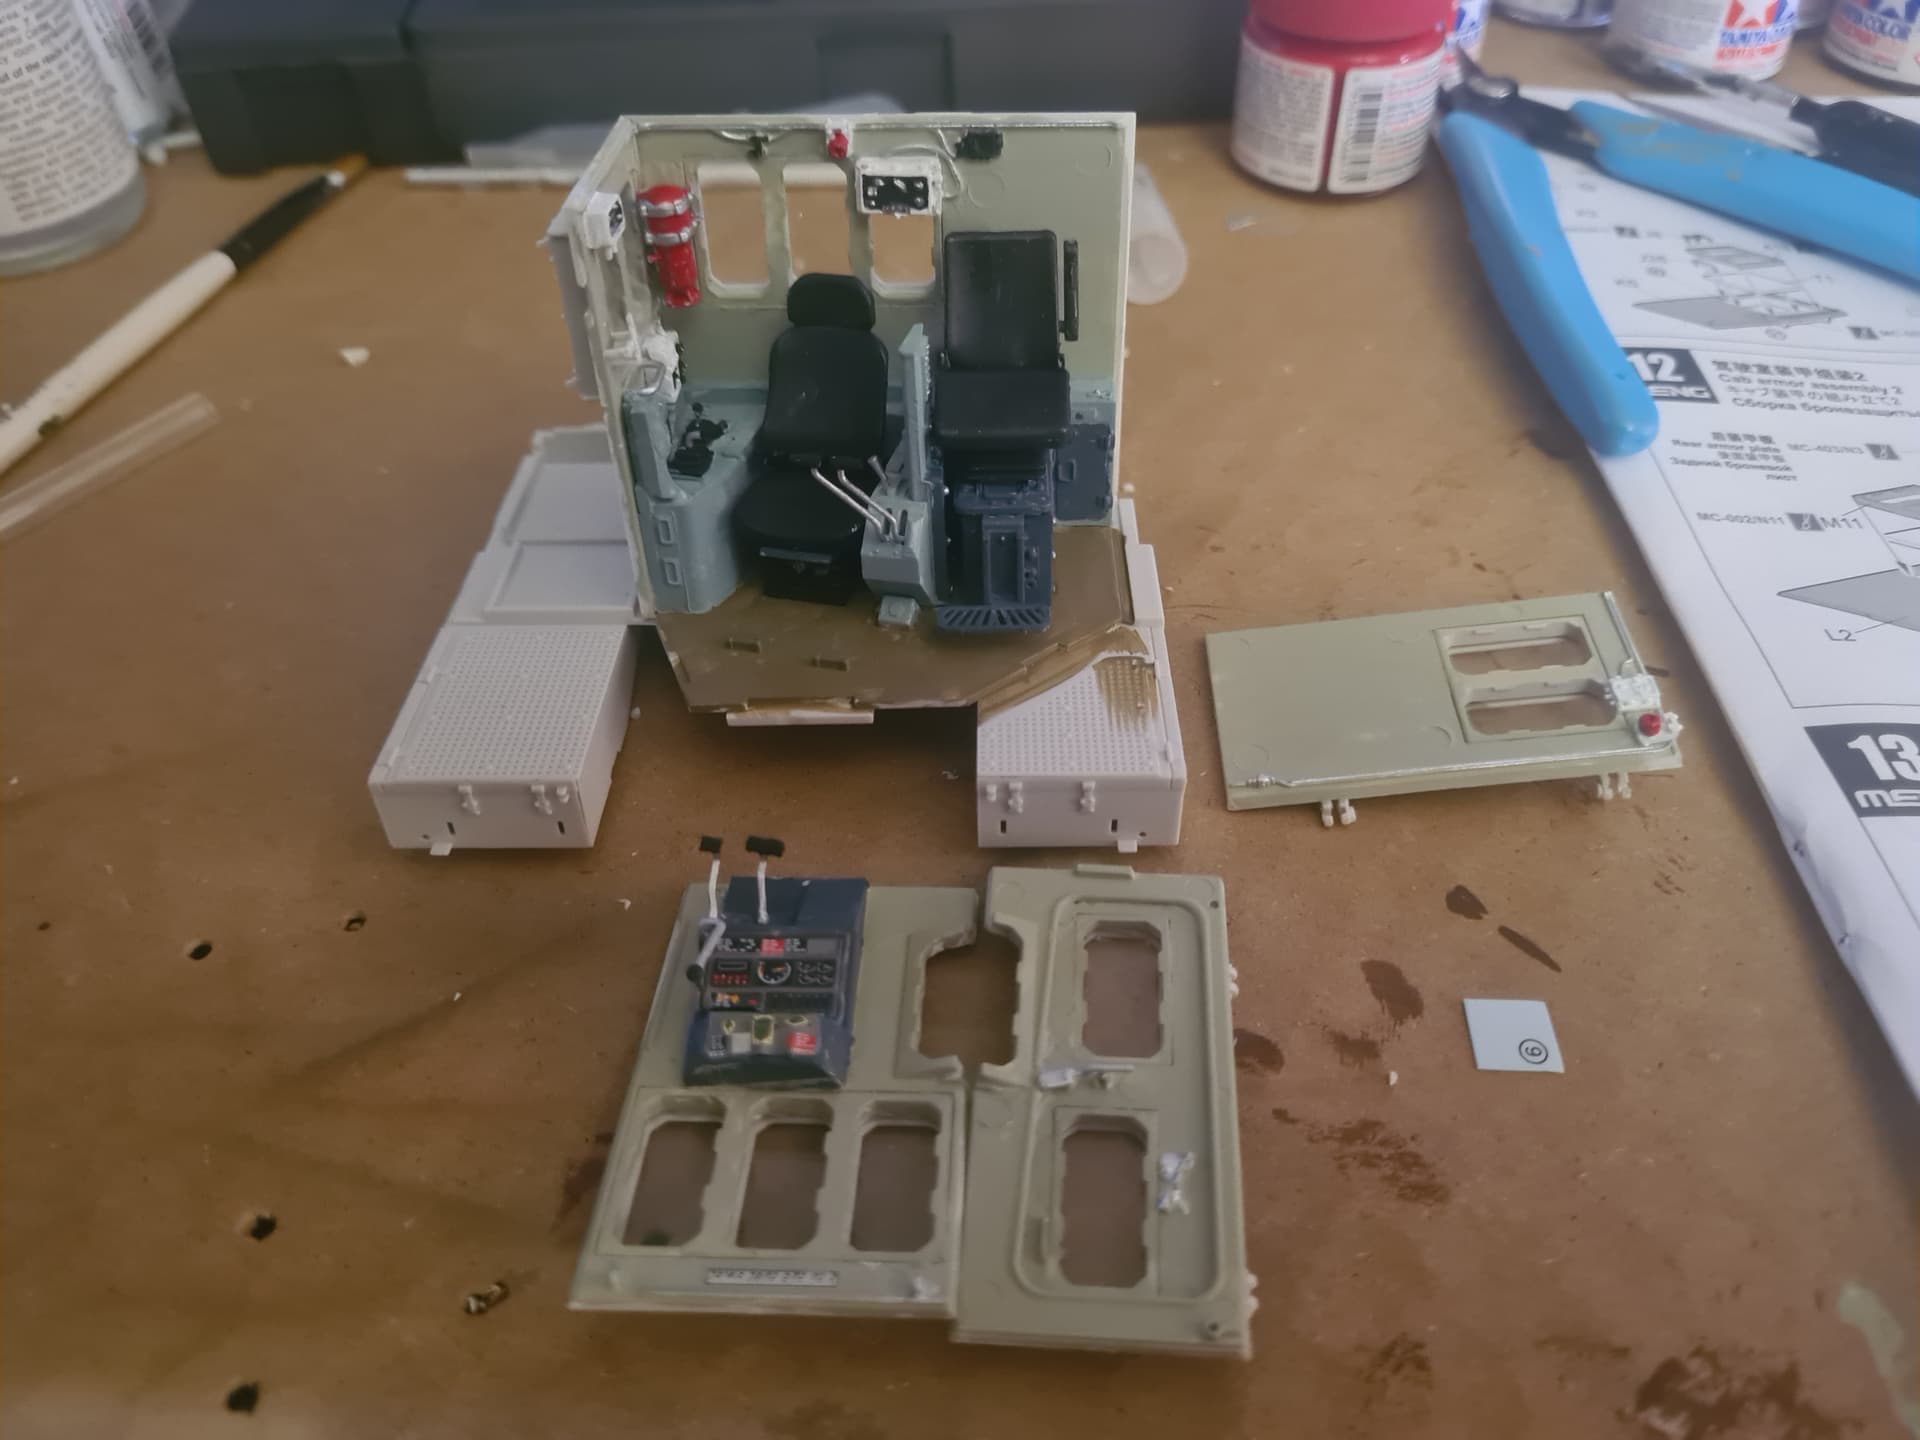
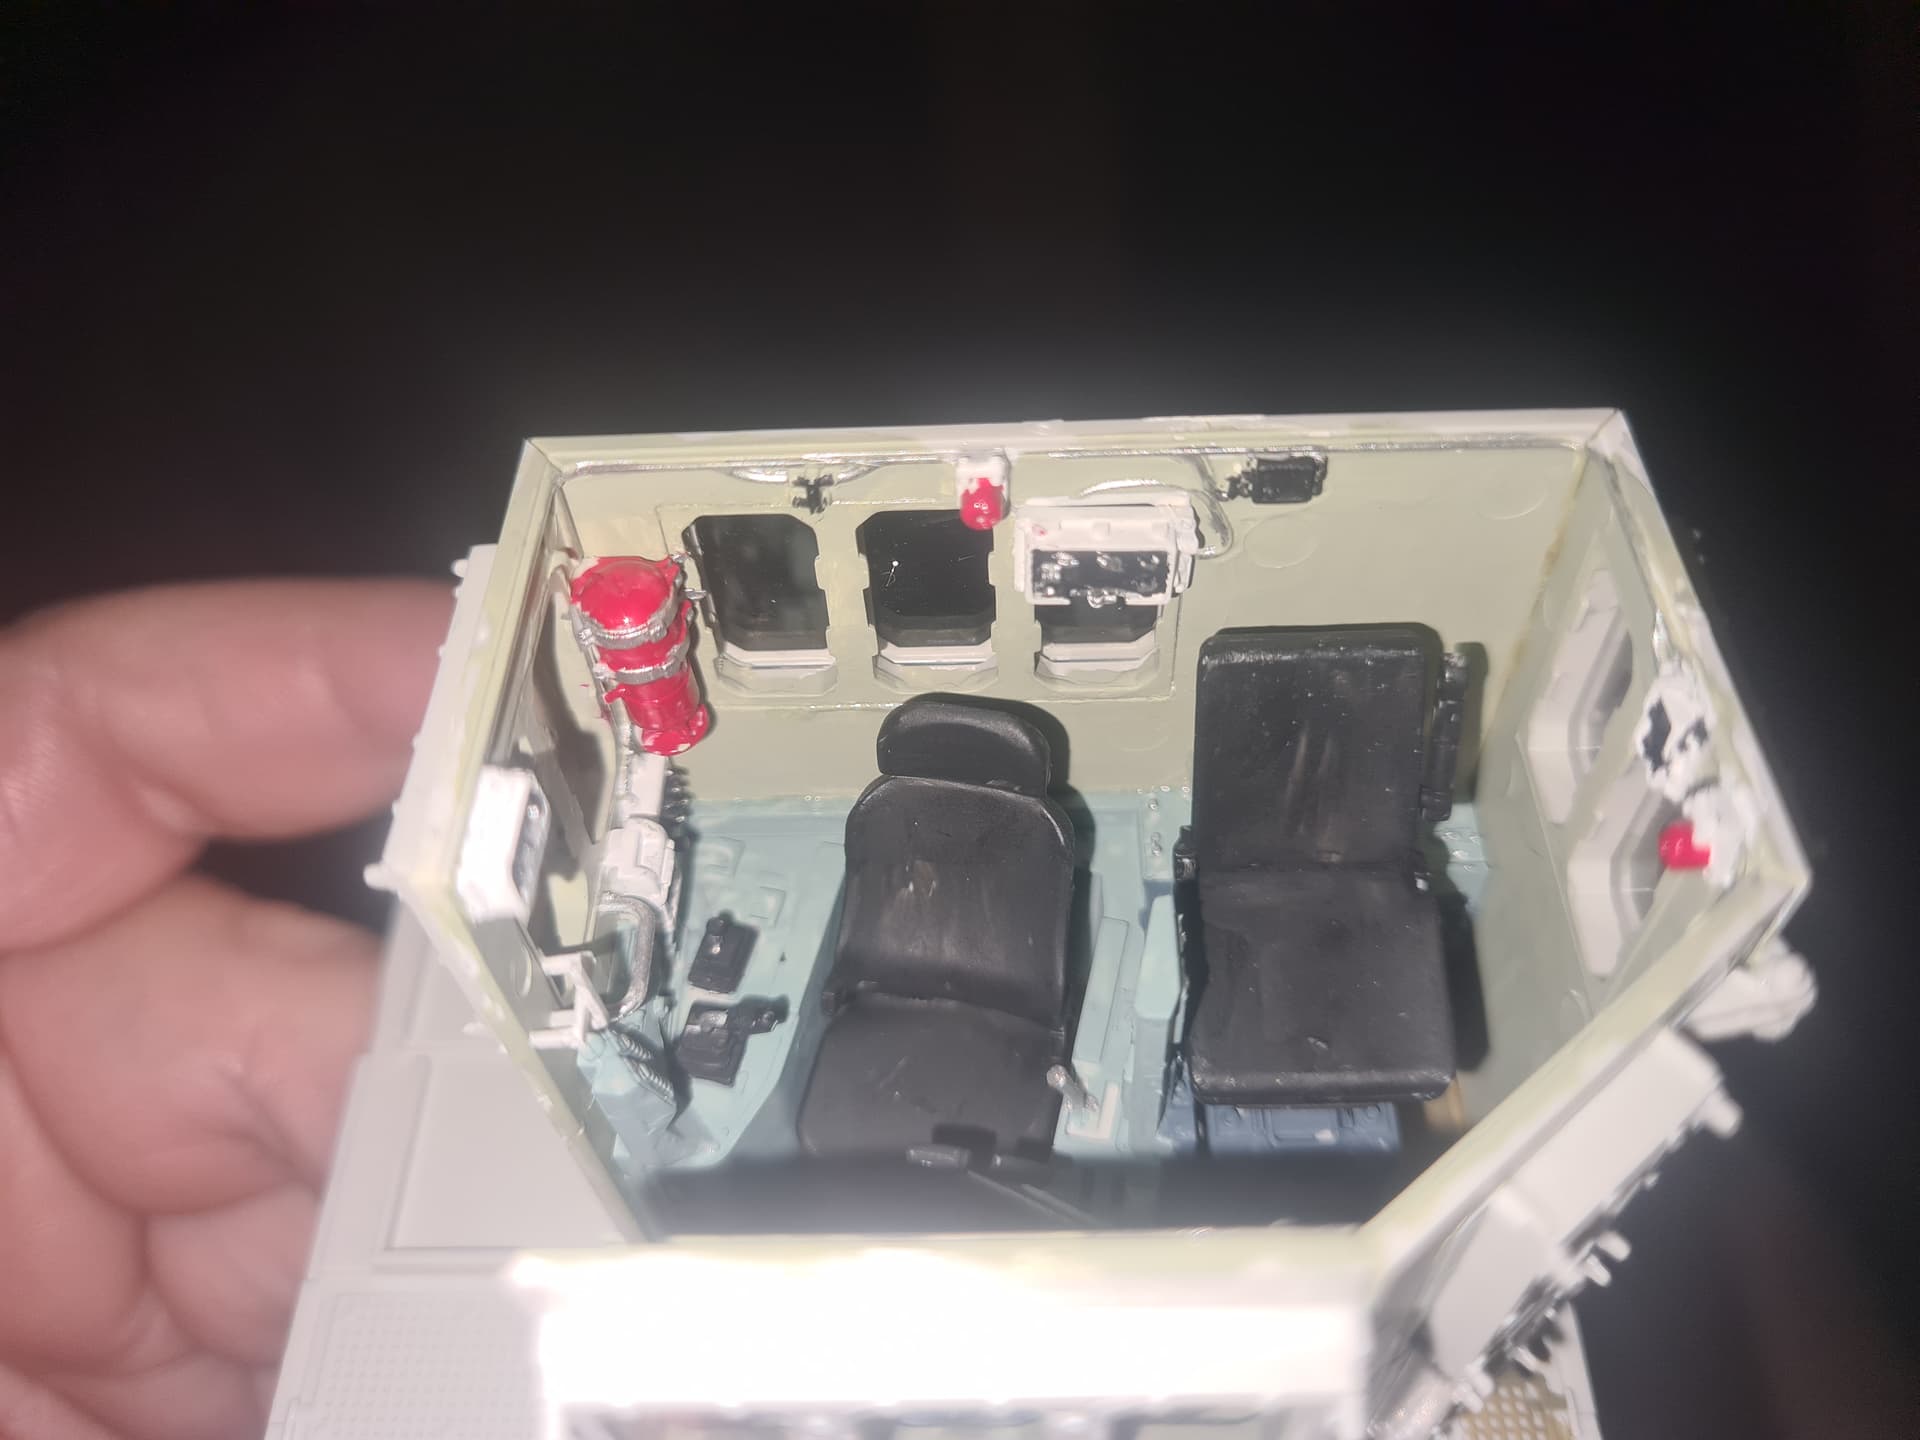
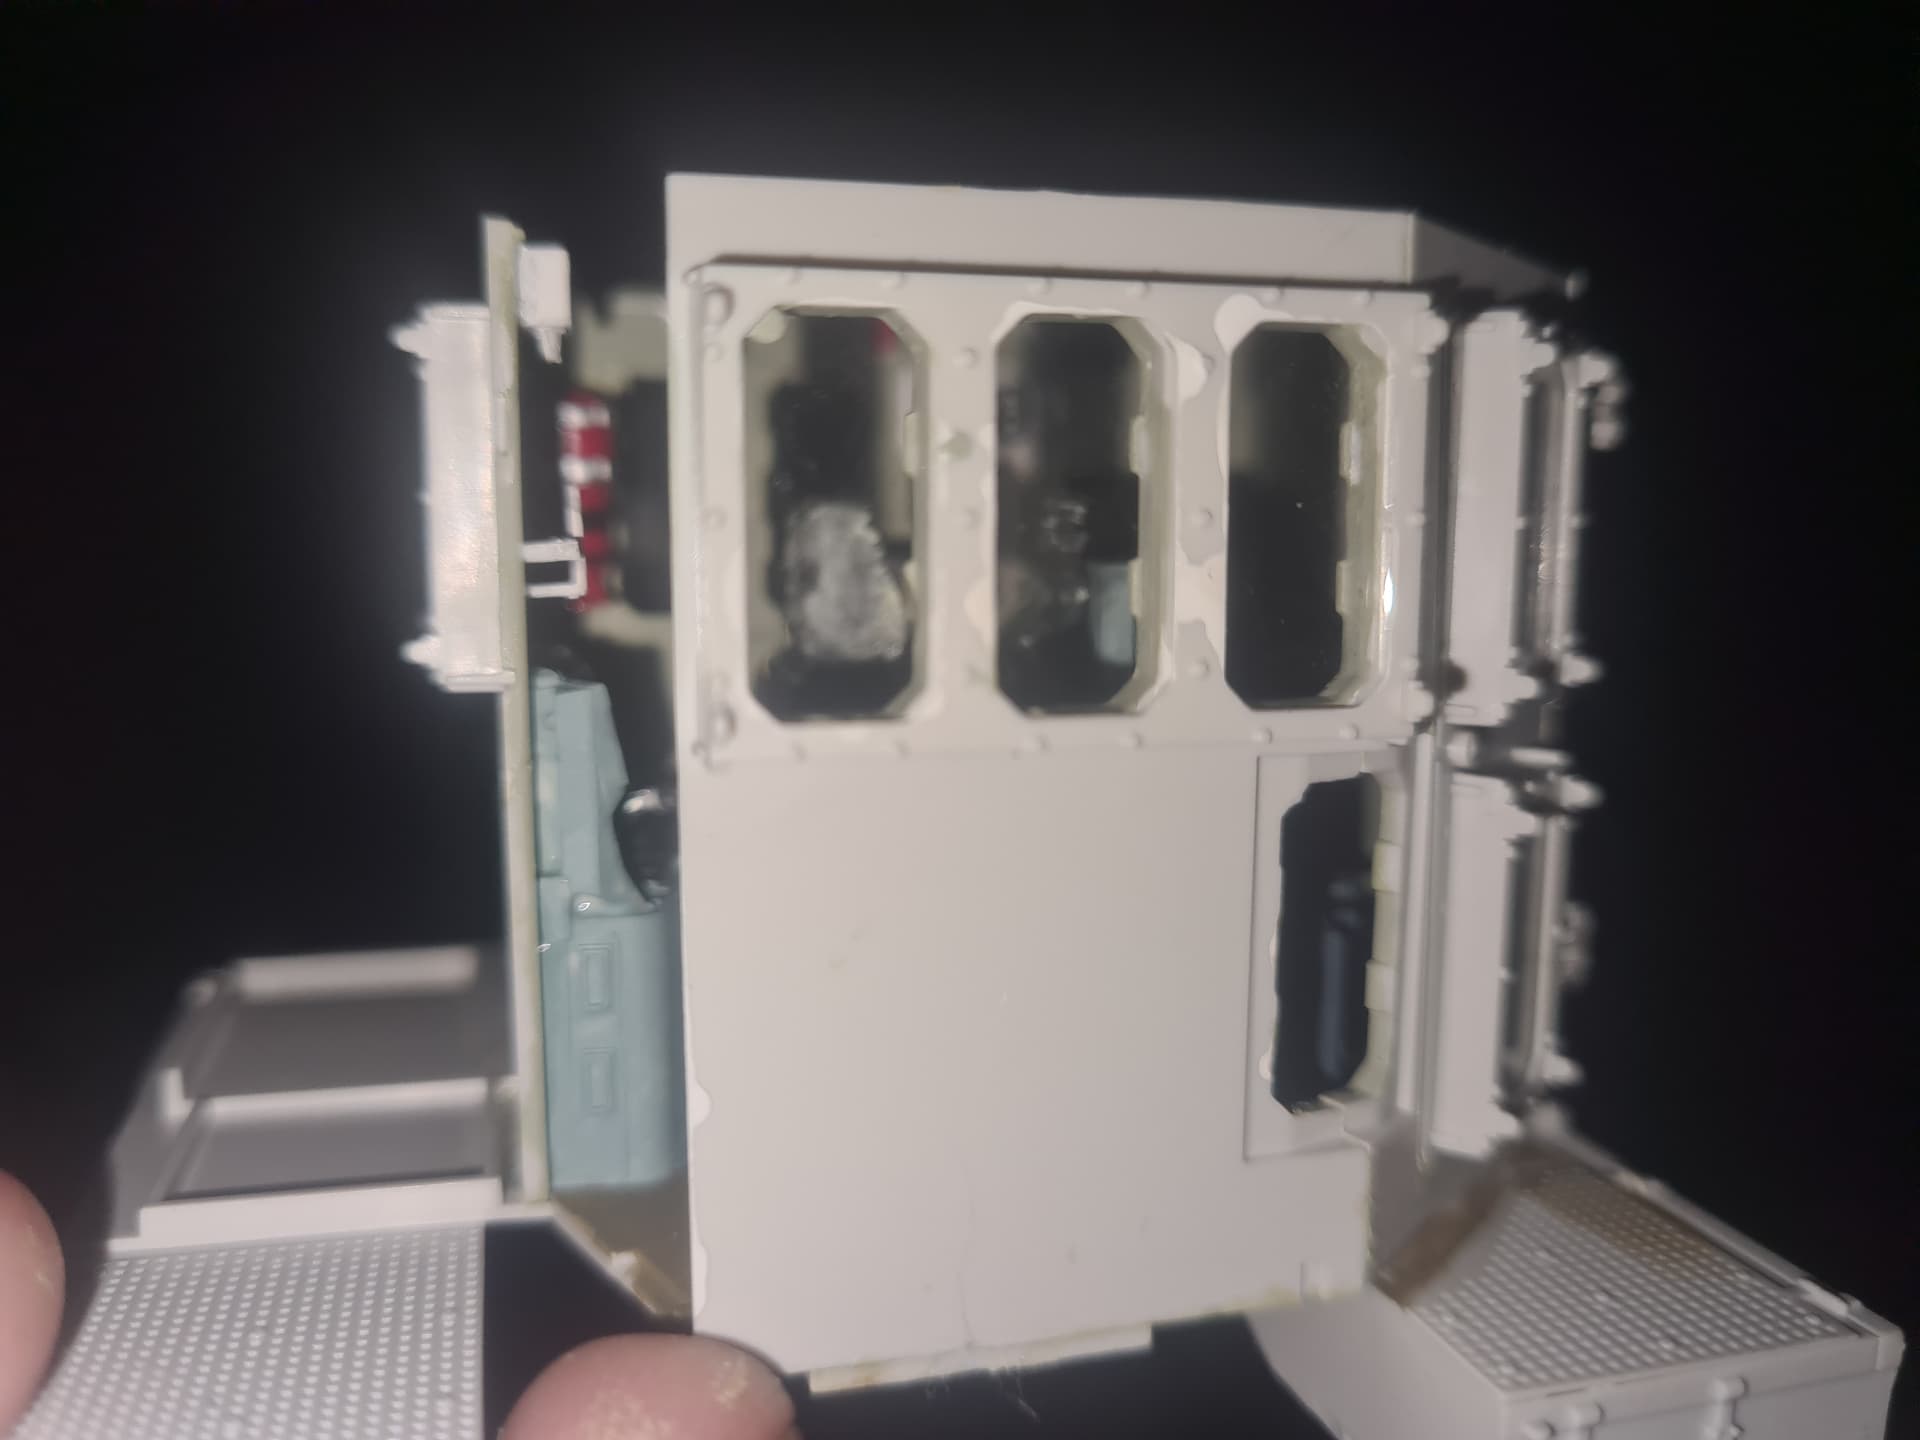
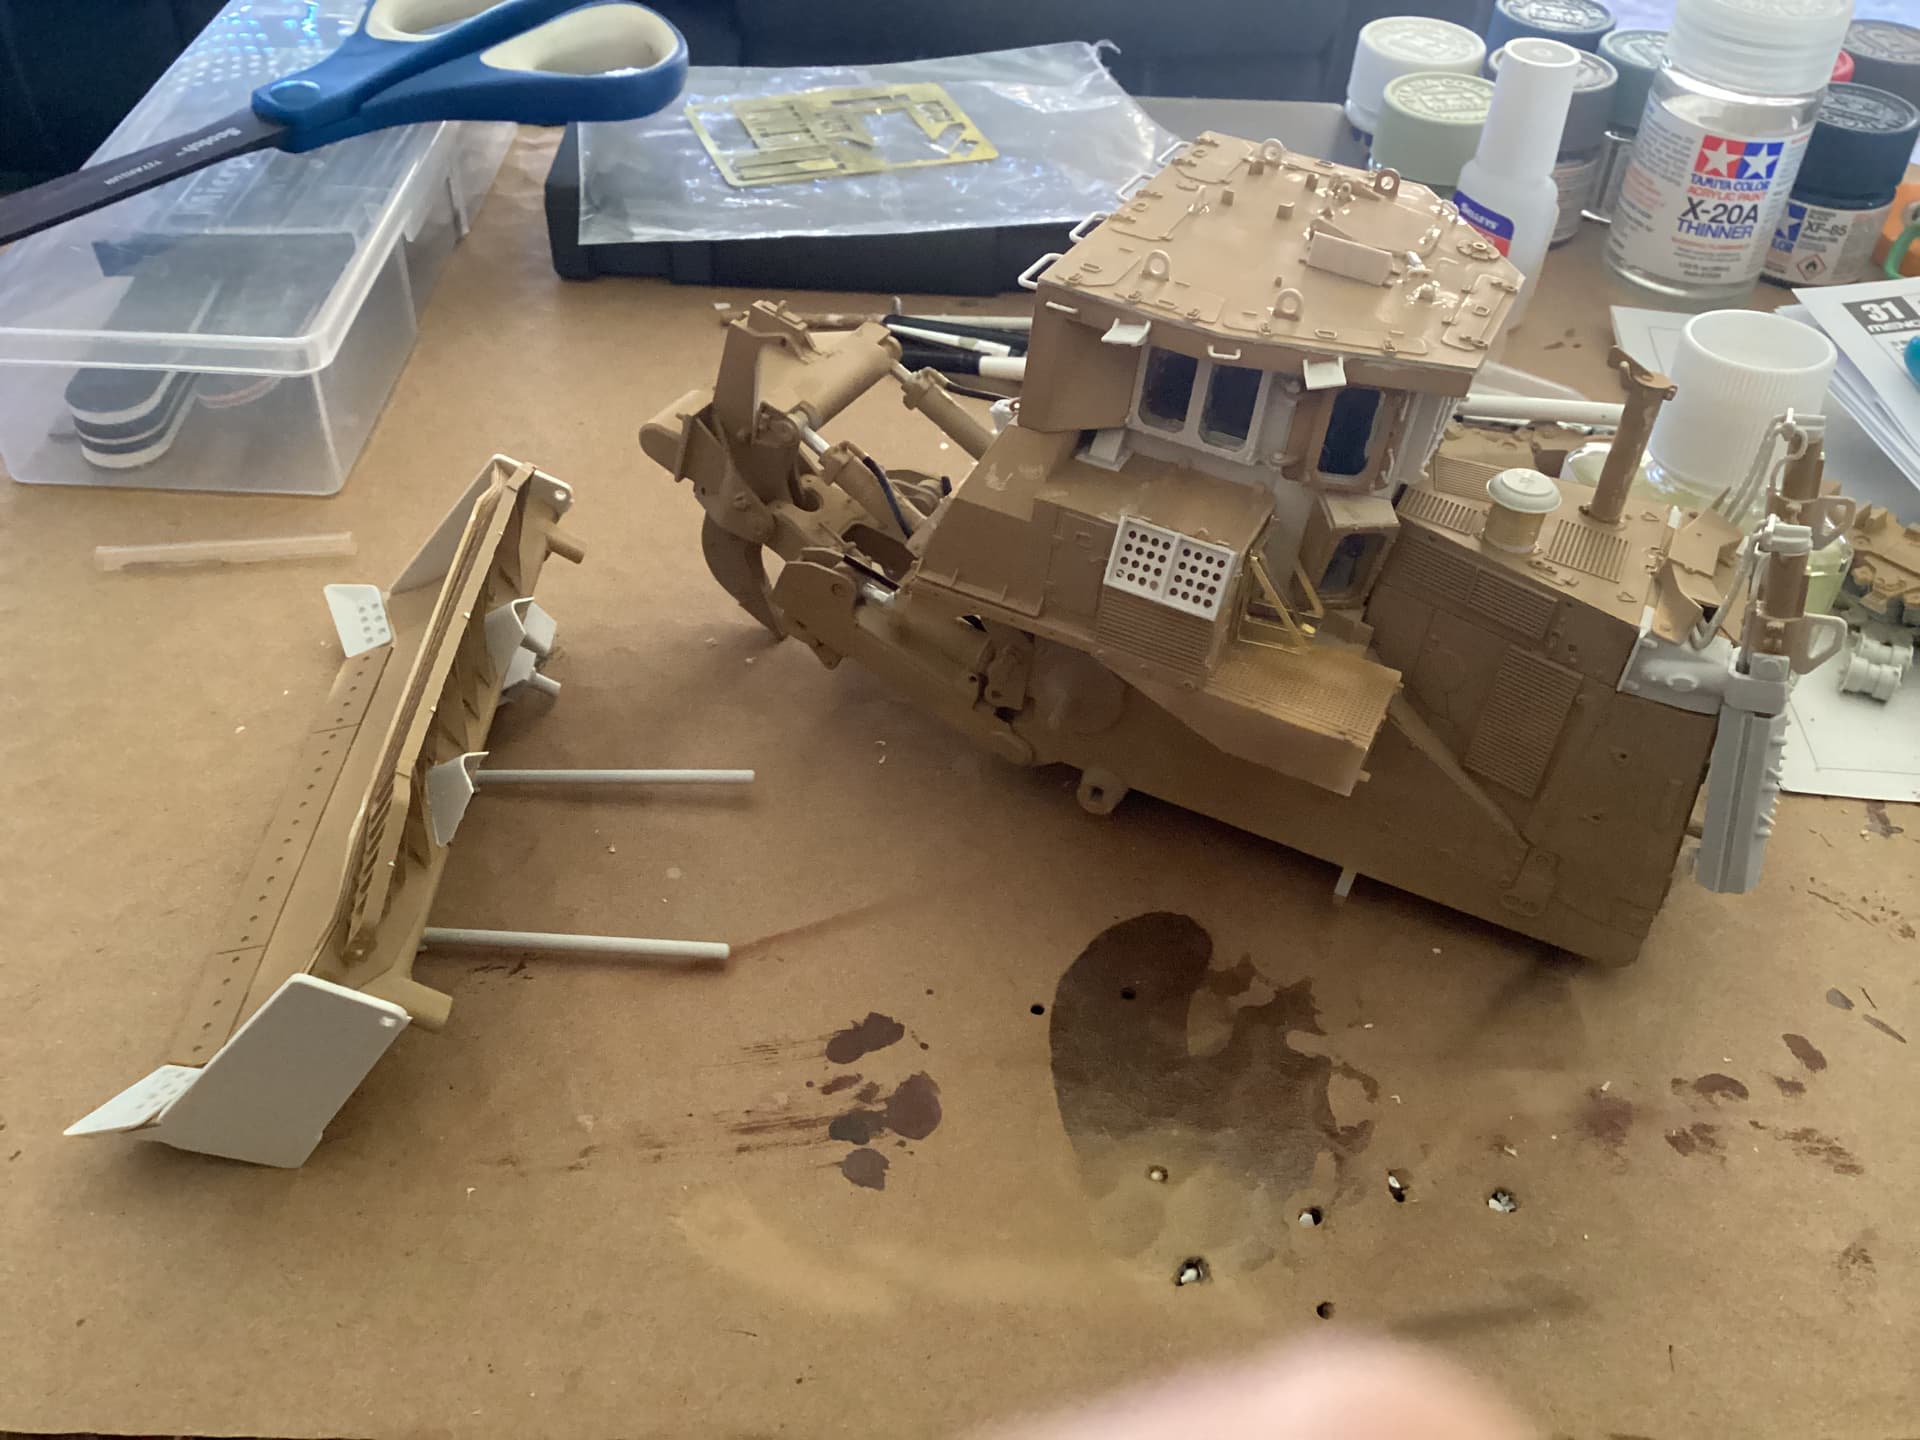
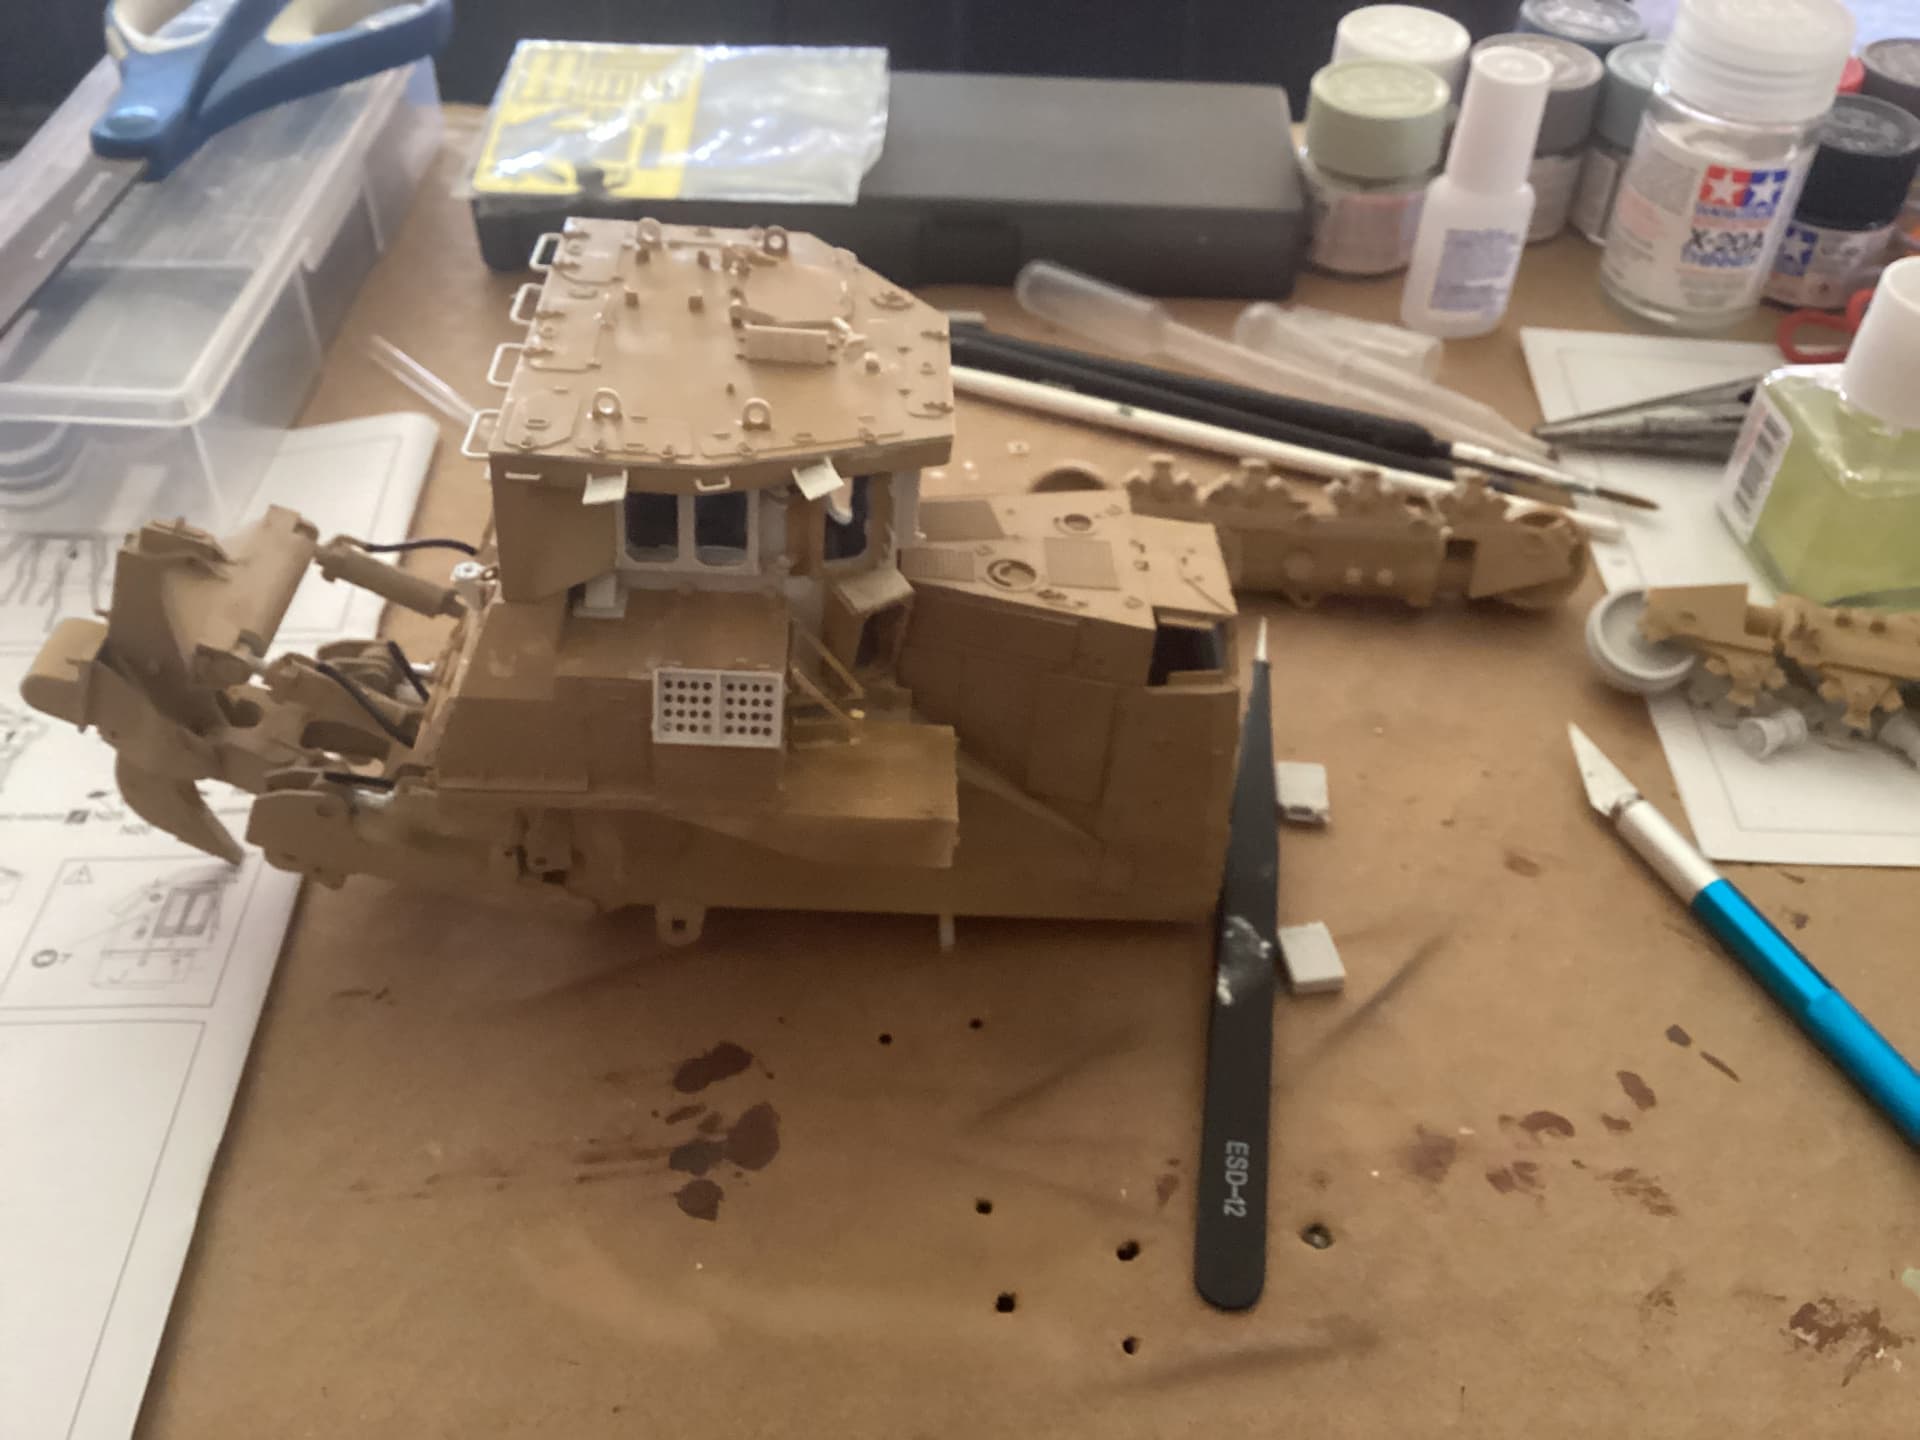
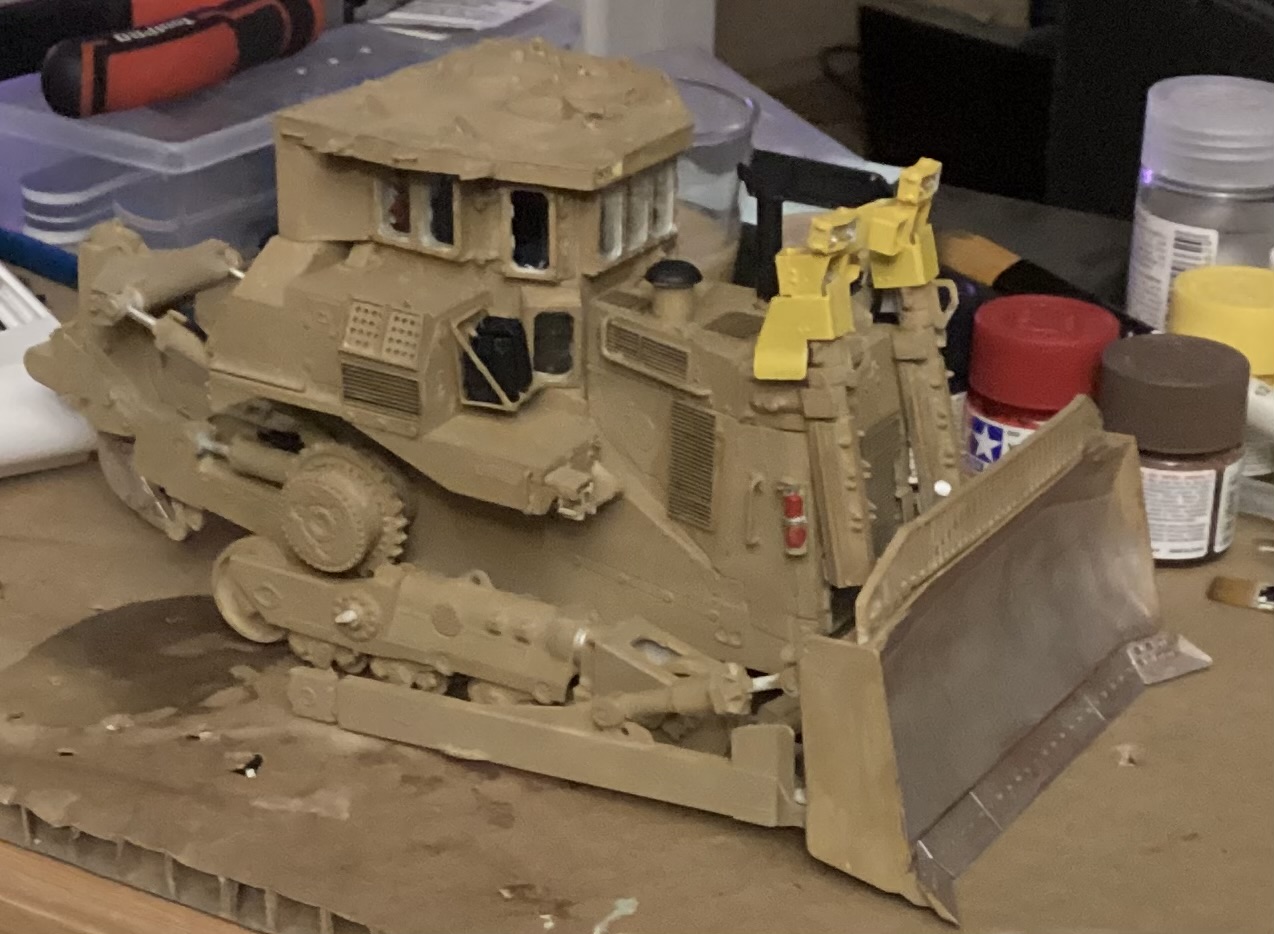
This is some progress made on my Meng D9R Armored Bulldozer 1/35 stegosaurus series model this is about 12 hours work , it’s a high difficulty model and i have been using tamiya paints unfortunately i manage to damage a window putting the cab together you will see in one of the pictures.

7 Likes
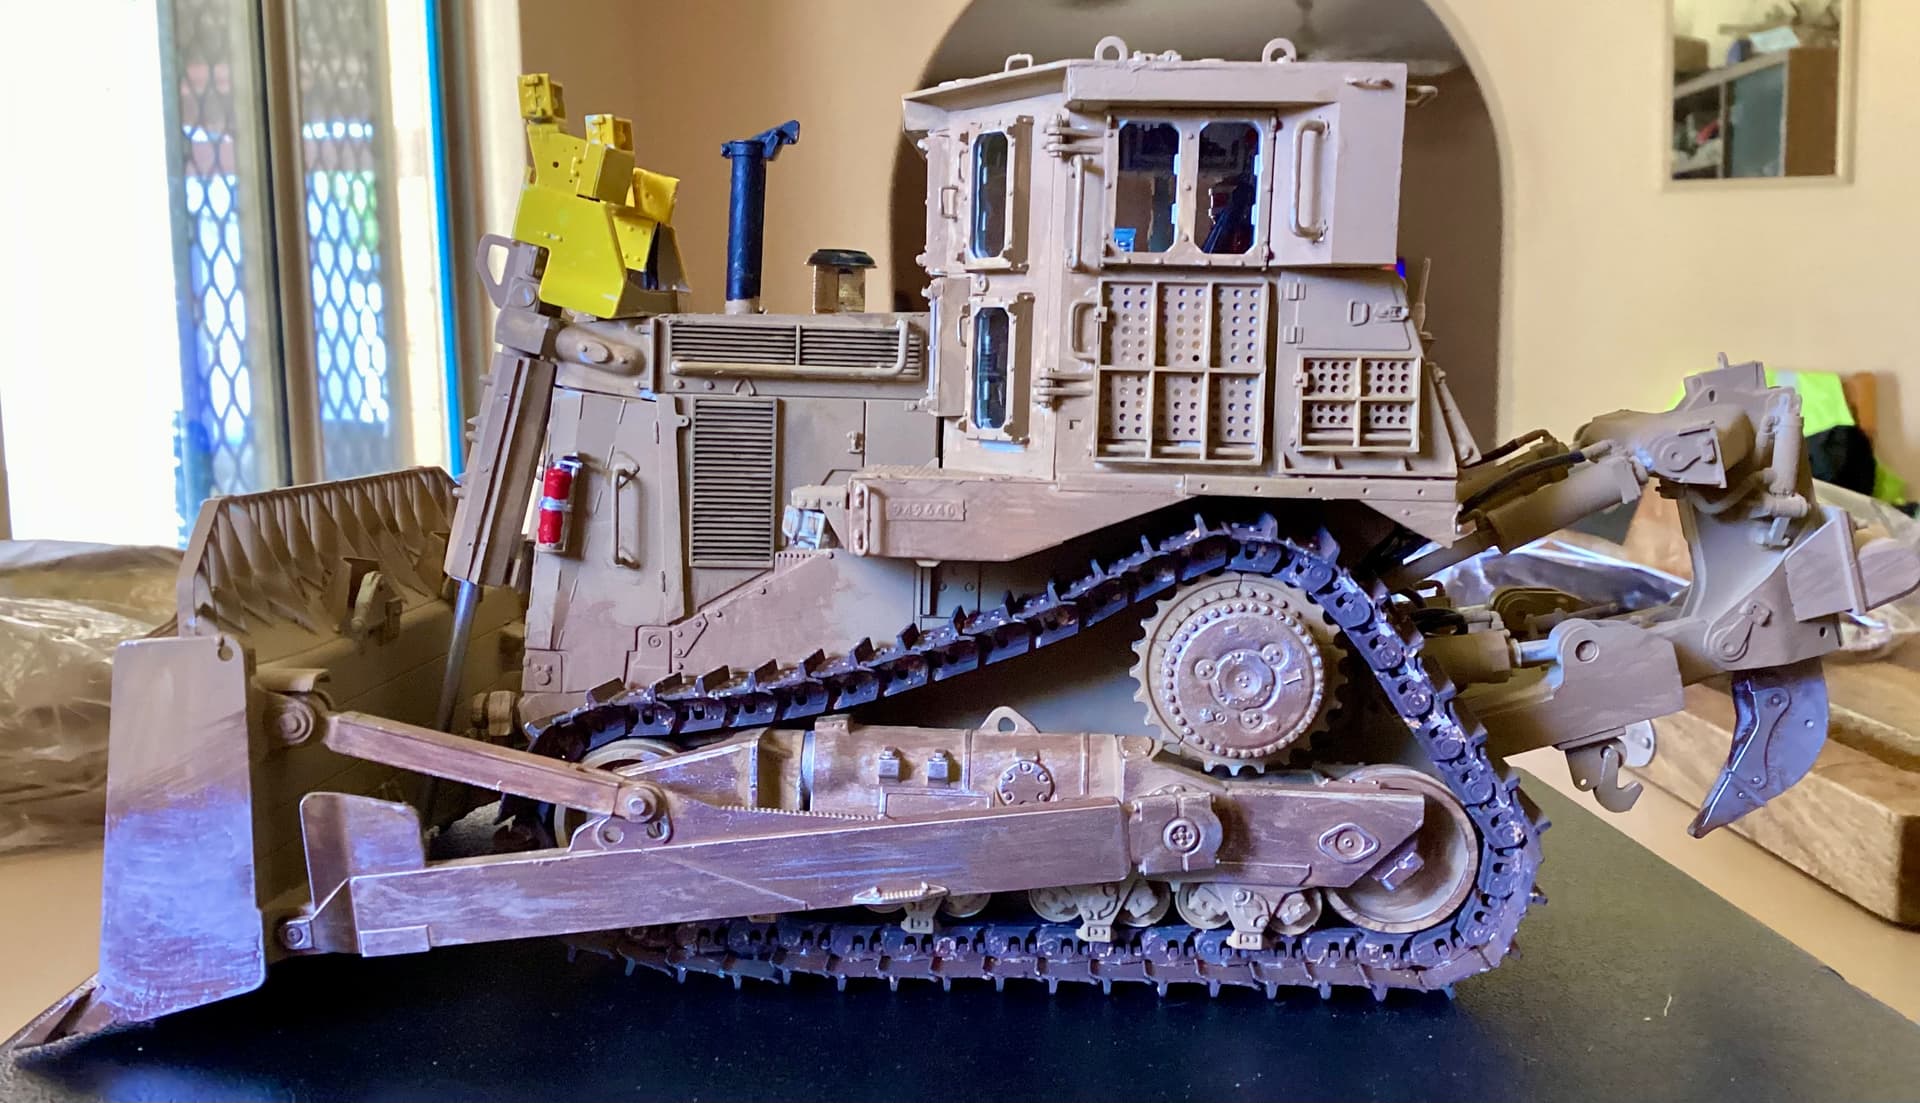
I highly reccomend the Friulmodel tracks and burnishing fluid. It really made a difference in appearance with the heavy metal sag. I also added the photo etch armor slats detail up set and it is a crazy Mad Max looking piece of machinery.
Thanks for the advice I will definitely look into the tracks
1 Like
Yes, absolutely. They look great on my build.
I just checked them out found a supplier in Melbourne and bought them thanks for the info
Have fun. Dont forget to post updates on them.
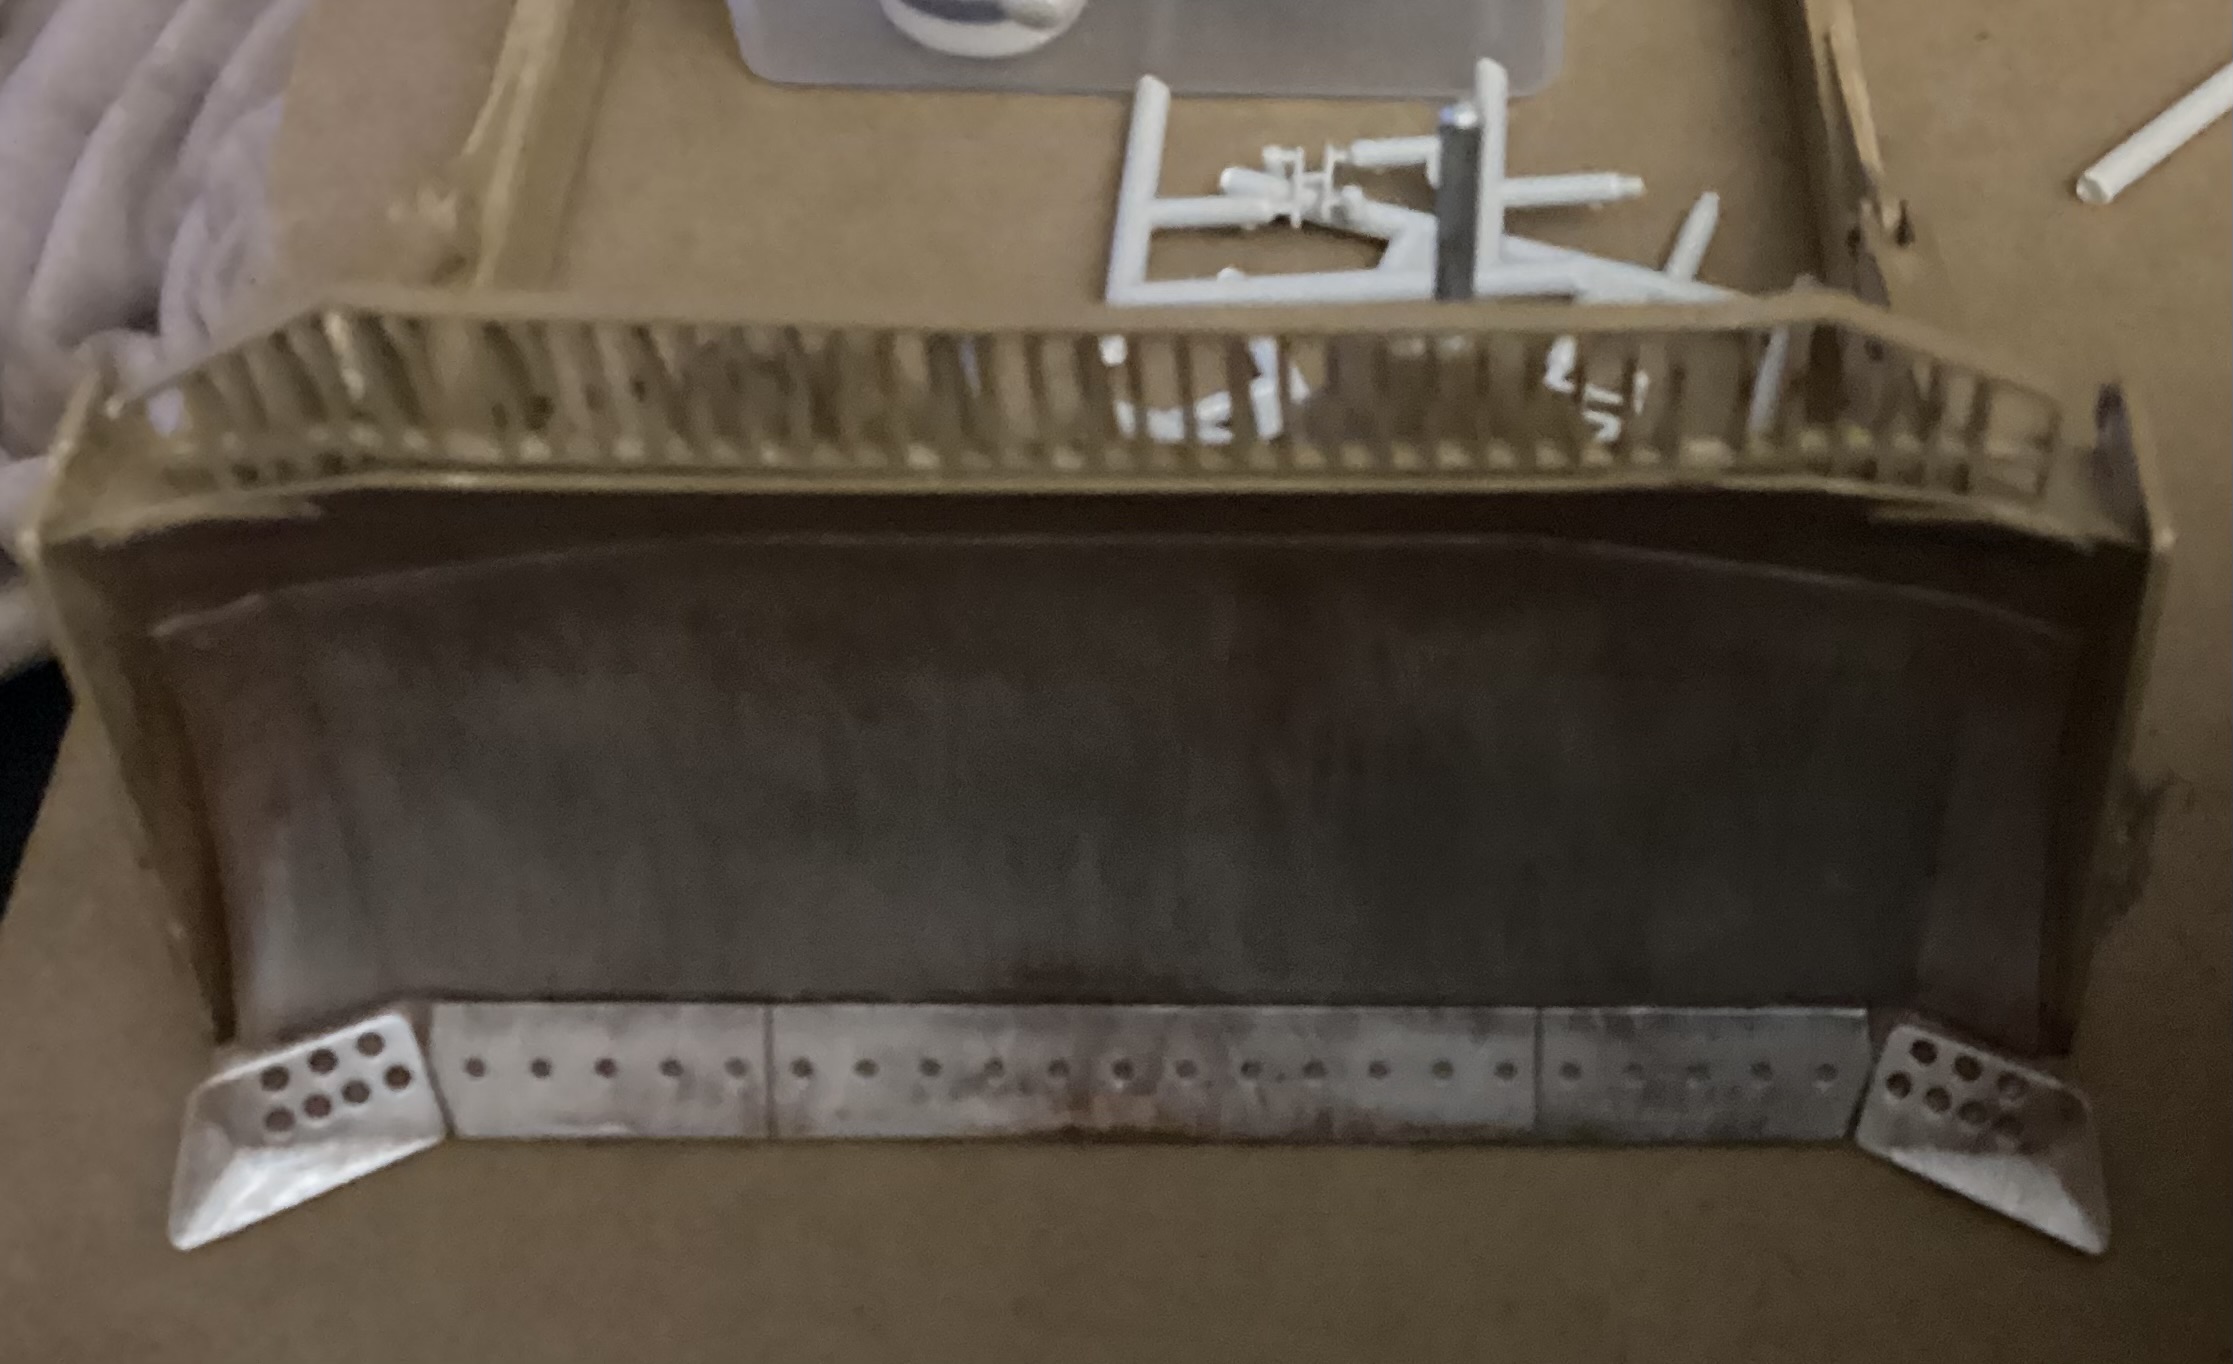
Progress update on D9R Bulldozer a lot more done in the last couple of days run out of desert yellow and now have to wait for a couple of days for the model shop to open. The model has gone together really well,some of the detailing can be a bit tricky because it is so small but pleased with the result so far.
6 Likes
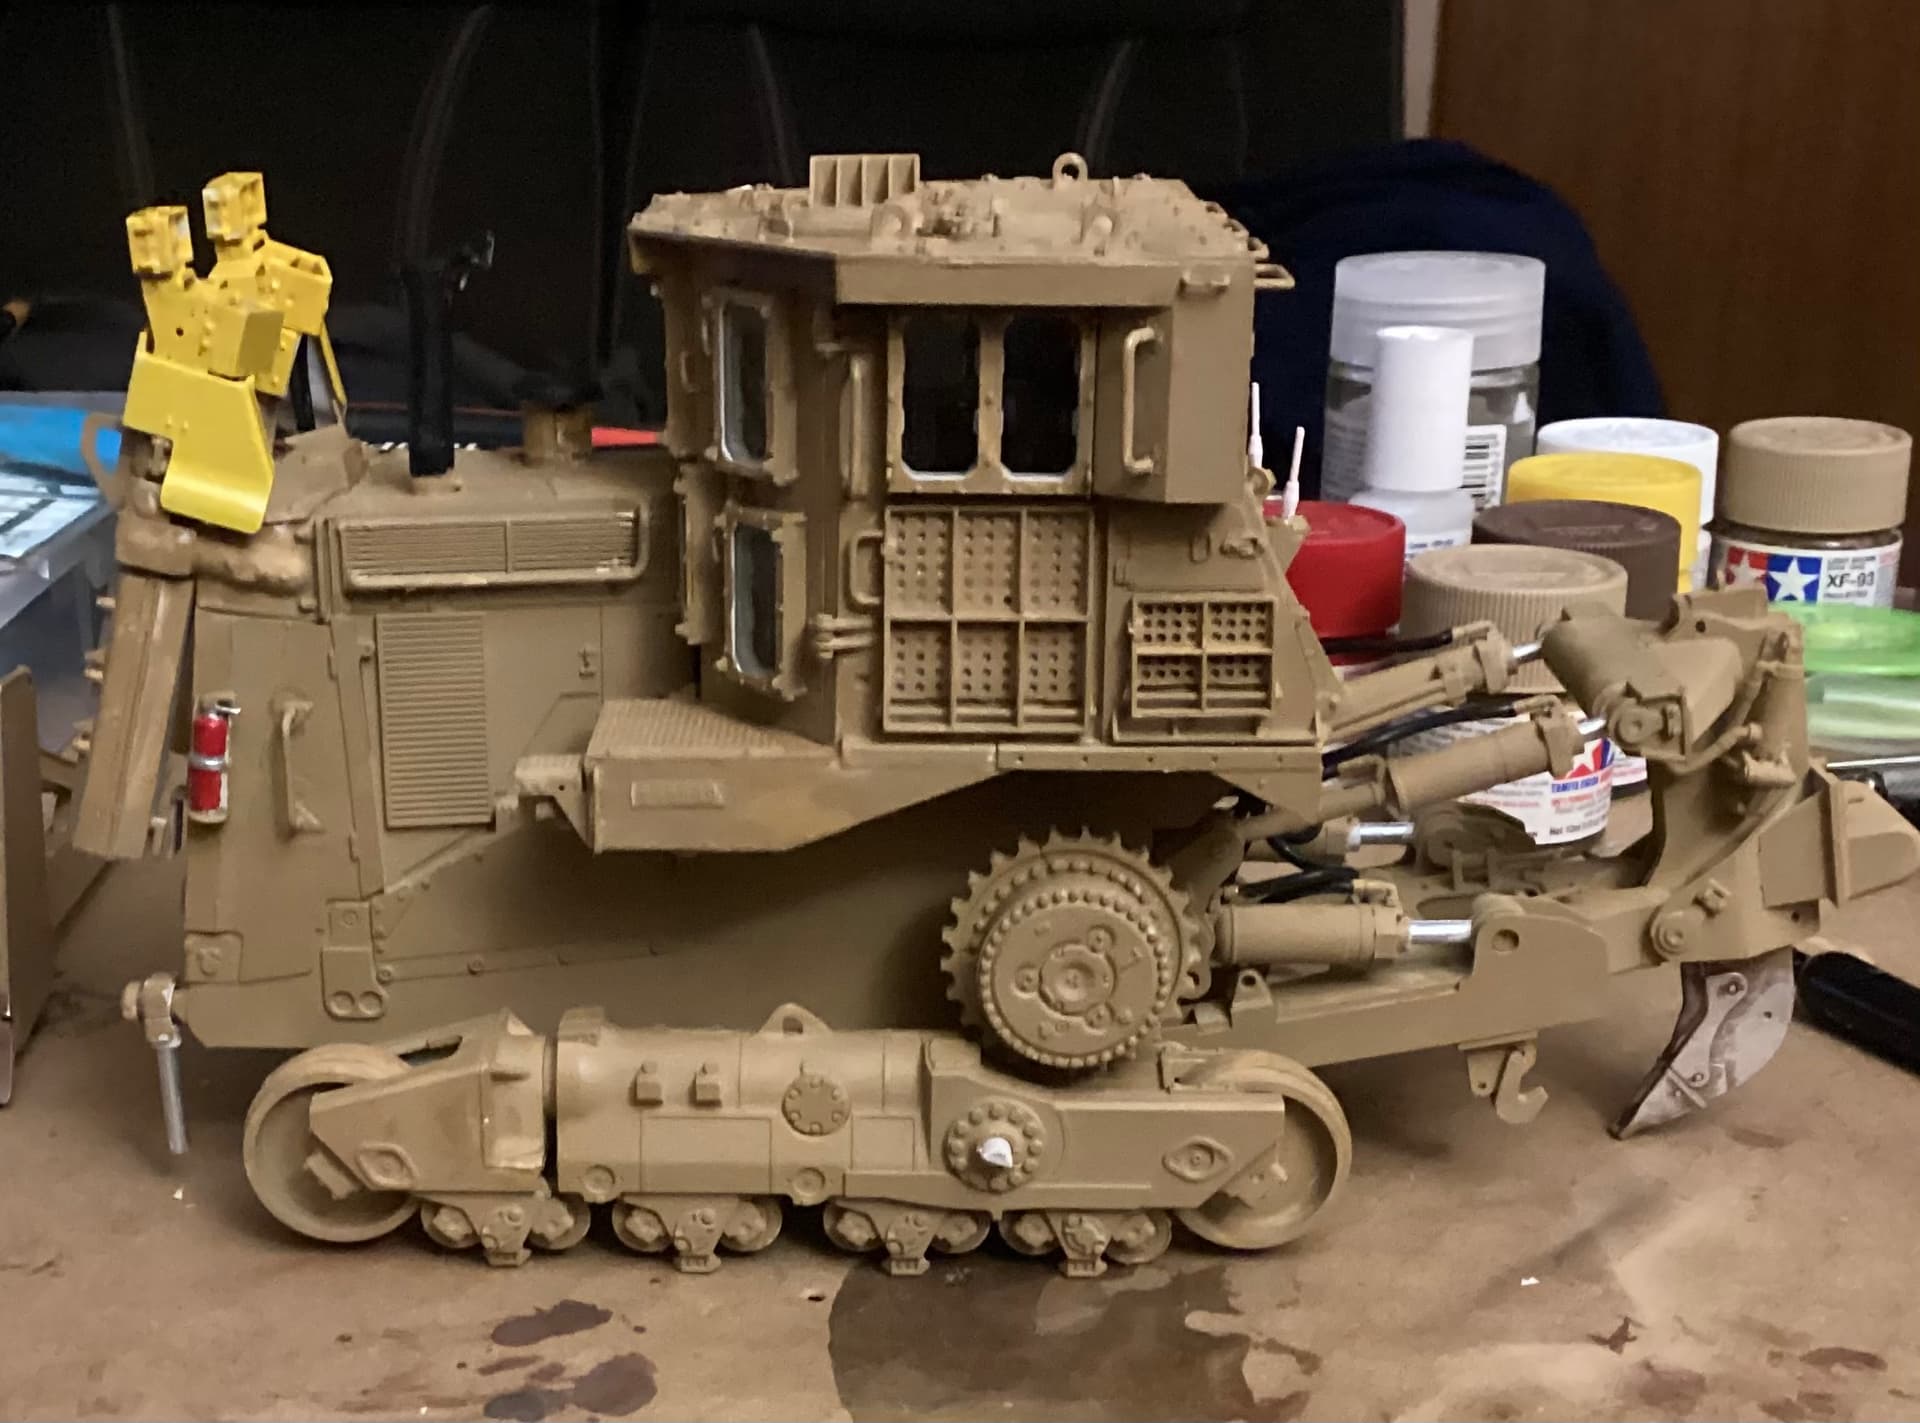
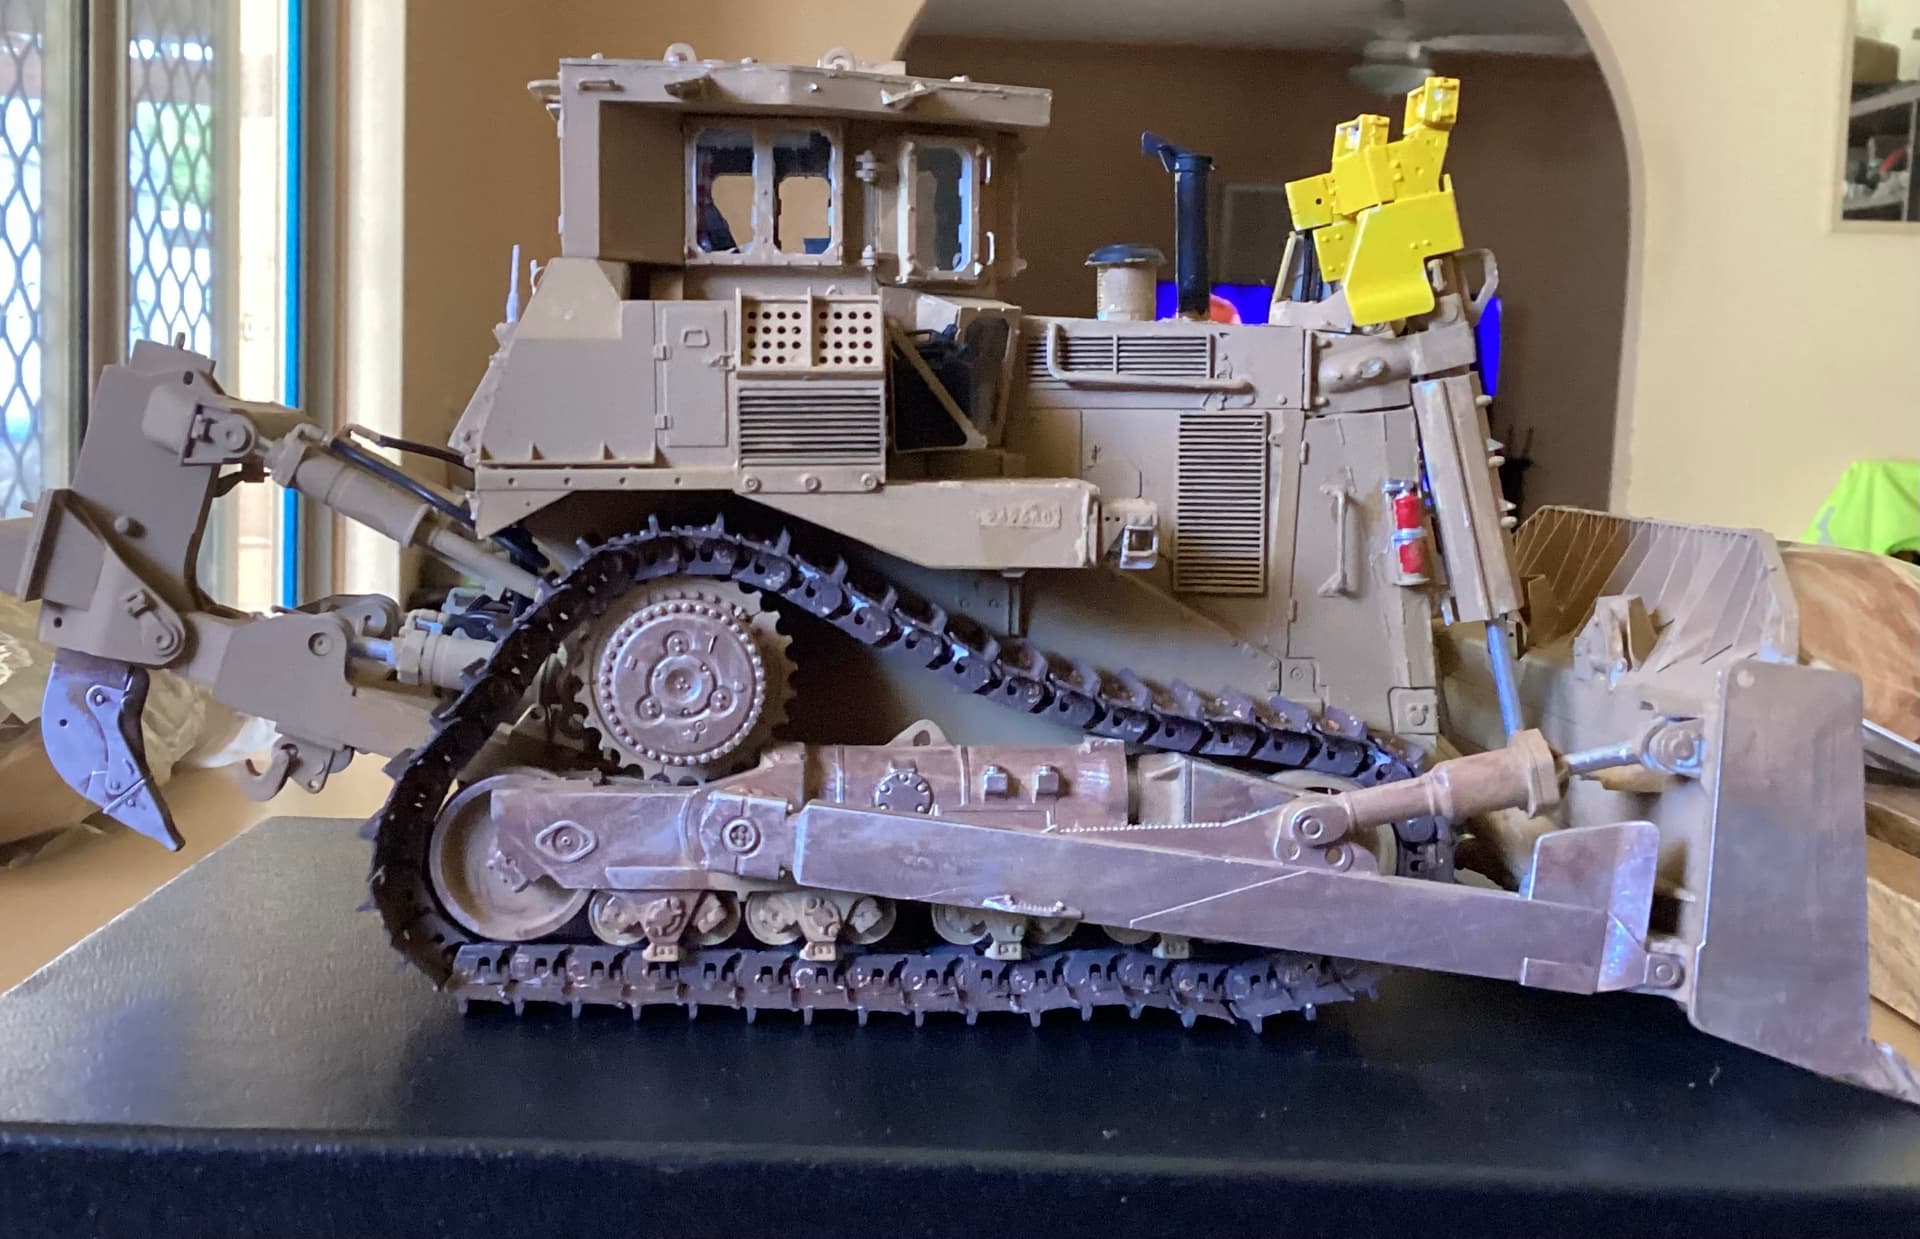
On the home stretch now just waiting for the tracks and burnishing fluid to arrive and doing some final detailing
5 Likes
It looks like progress is moving along swimmingly. A detail tip for you after your tracks have been burnished. Take a fine sanding file like a 600 grit and knock the blackened finish off the exposed treads to give it the worn and or polished look from general use.
1 Like
DR 9 Bulldozer is all but finished , had some problems with burnishing the track’s because of super glue , I will do some more detailing when I get a display box for it add some mud and dirt . It was a fun build with some difficulty in parts but overall was not too bad.
7 Likes
Congratulations on an amazing build. I’ve seen a few of these in person, and they are impressive for their size.
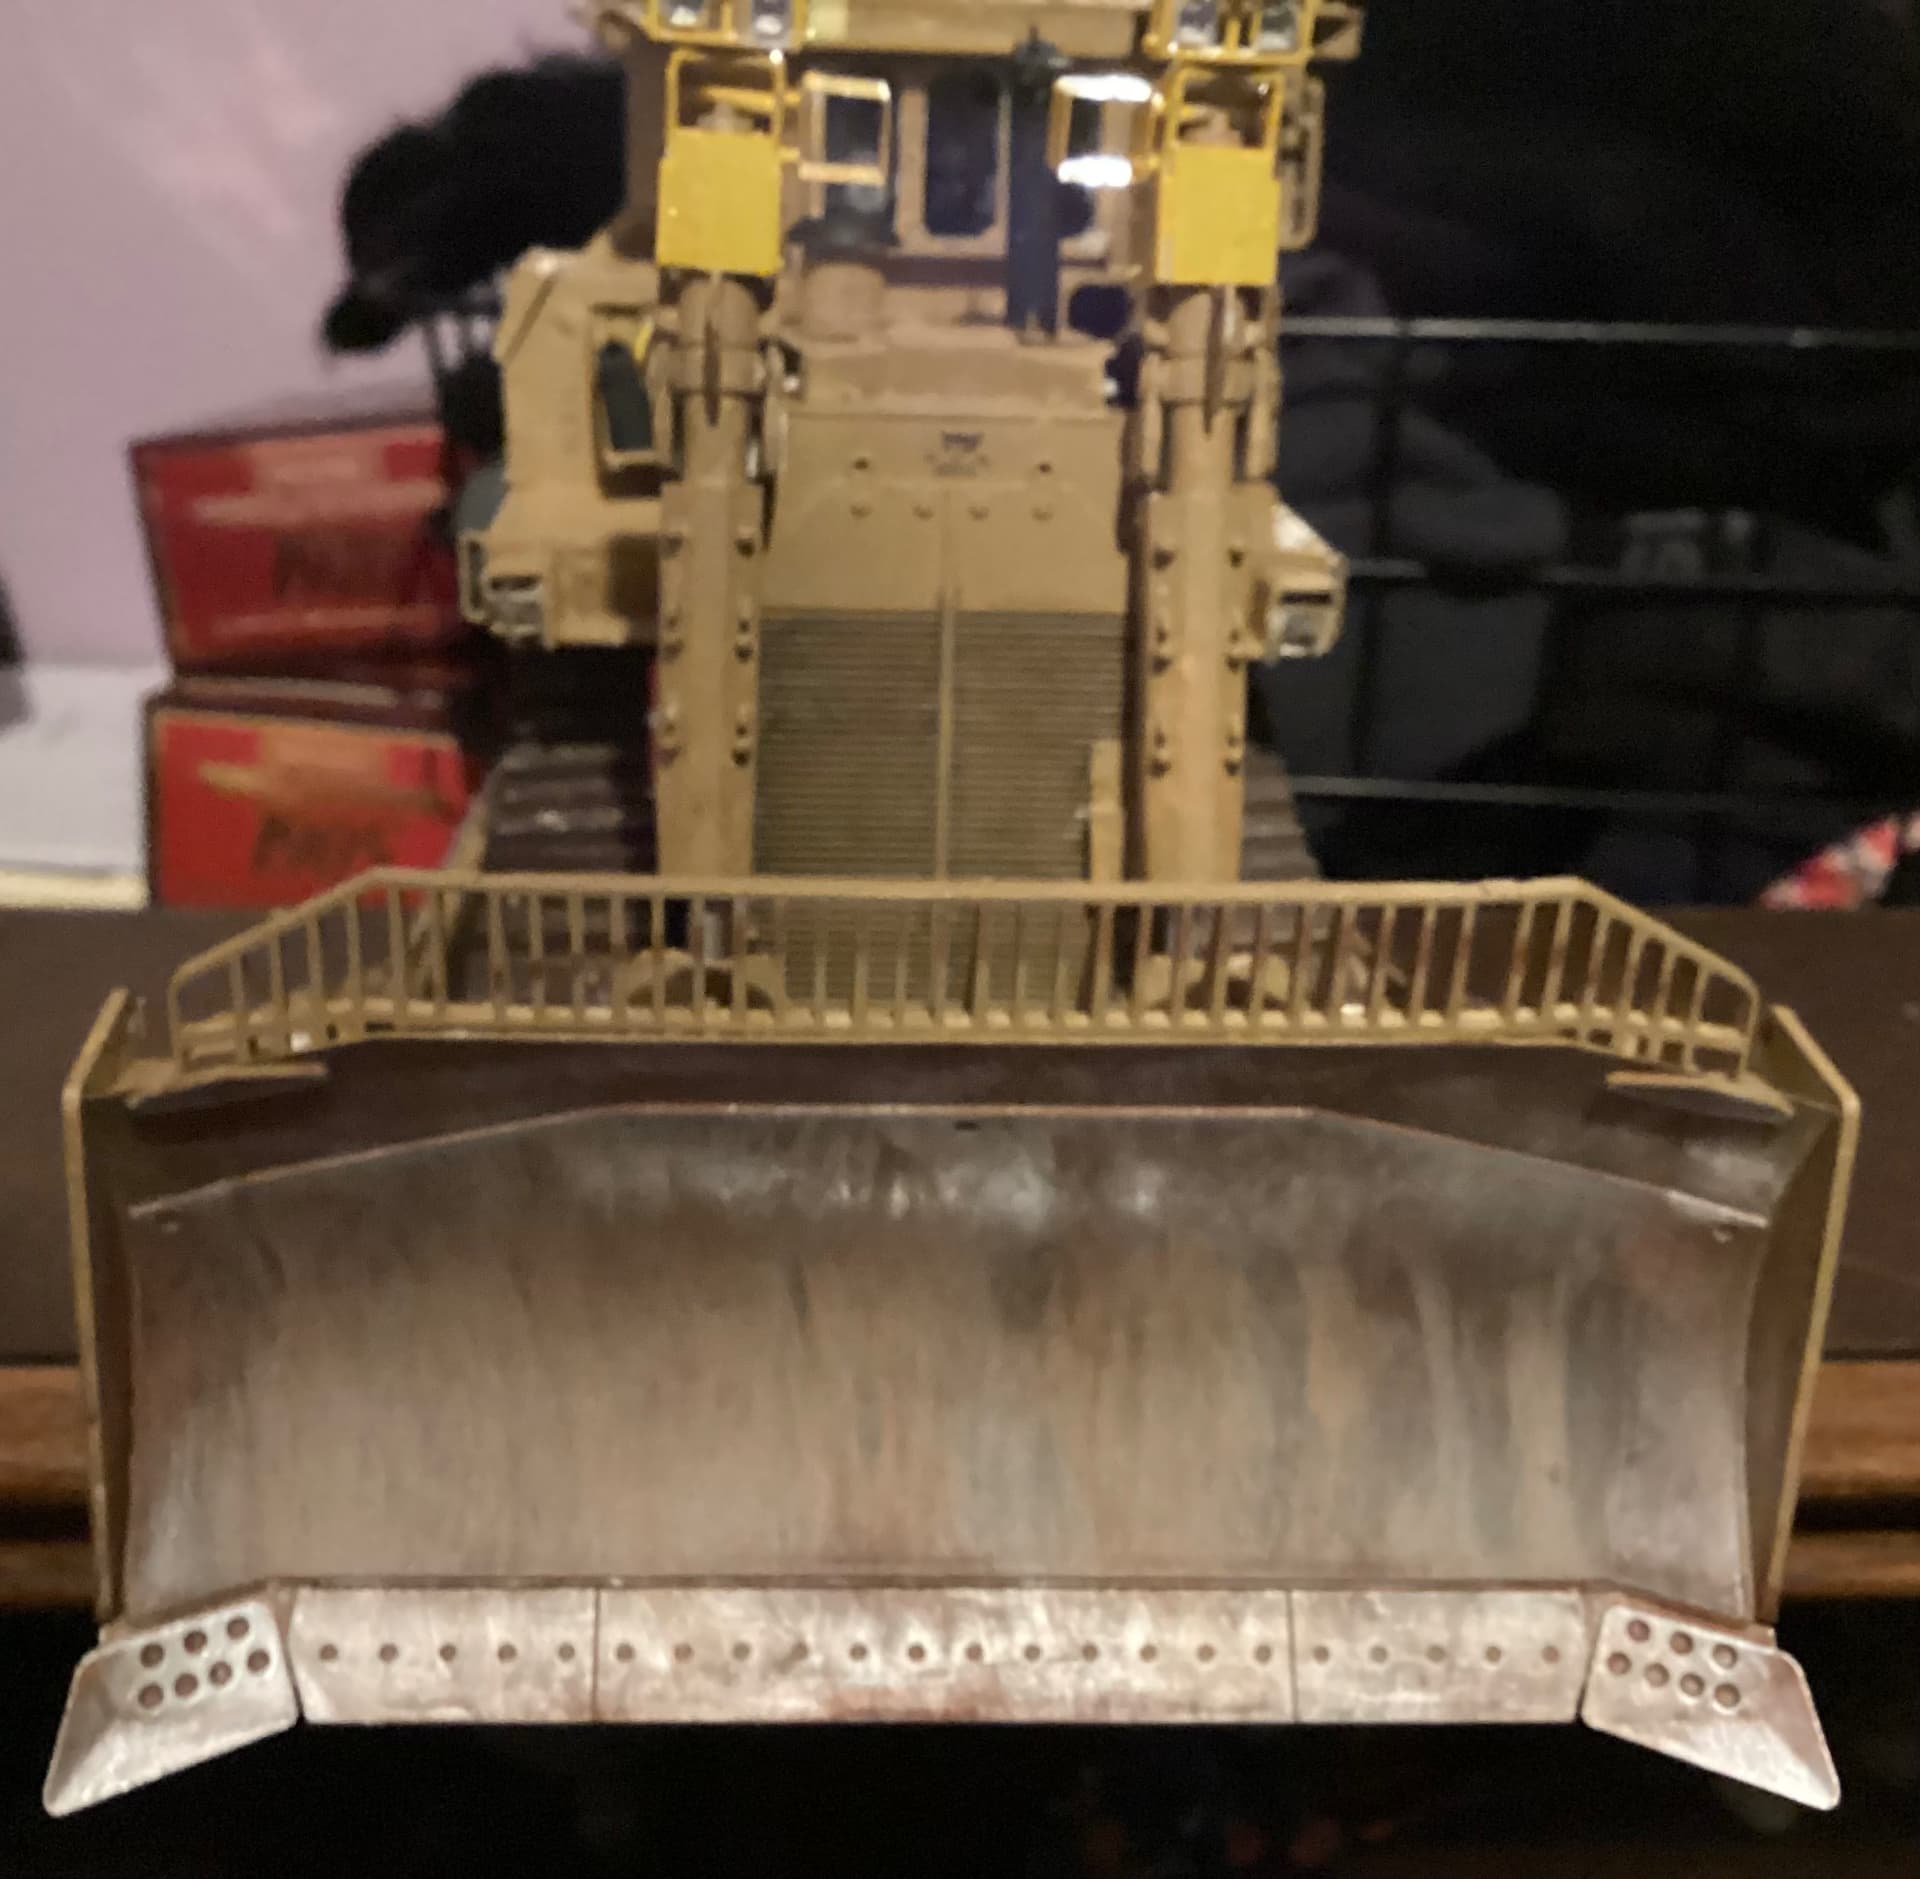
Great job. Blade looks fantastic and man that’s a wicked looking machine.
1 Like
That looks absolutely incredible. That track sag says it all.
Theres two ways of going about burnishing metal tracks. You must have done full assembly before submurging. You can also drop the individual links in beforehand to minimize risk of contamiation of CA glue and completely etching every surface. I have run into my own issue in the past of not using acetone to clean the links before burnishing and ended up with two sets of almost unusable assemblies. I now soak my links in a sonic cleaner to cut down on labor and time.