The Pro-Modeleer B-25 is very tail heavy! I have had to completely fill the nose wheel well as well as behind the instrument panel and yet I still have to add a lot more (see last picture) to barley sit on it’s nose wheel!
Those missiles look fantastic! Please eleborate on your method and what brand they are. Painting and attaching weapons really is one of my weak points - i can never get them to look any good. How did you do the rings of colour? Is is masking and paint, or did the set come with decals?
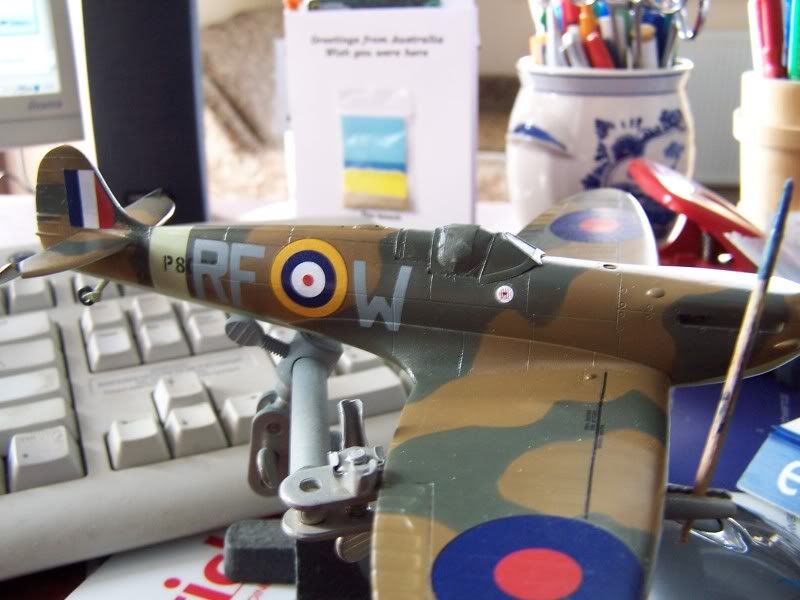
The rest of your builds look great - you appear to be building faster than I could buy, well done. Please keep the WIP updates coming.
The missiles came with the 1:48 scale F-15 kit I am working on. There is no magic to the finish on the missiles. I hand painted them (GASP!) then picked up after market decals for the missiles. Some of the decals were a PITA (pain in the …) to put on, discovered that it is easier to cut up the decals to smaller manageable sizes. Then I put on a coat of Testors dull coat for a rattle can. I just have 5 more missiles to go now.
Had thesame problem with my kit but closed her up before realizing it…DUH! I used the rear hatch/step stool method to keep mine sitting level! Make sure you put that puppy in the middle of the shelf!!
stuffed the engine nacelles last night and the sucker still sat on its tail. I was afraid that the weights, once put inside the nacelles would shirt the center of gravity to far back again. The sole reason for this is I want to do the glass nose version not the painted nose version. If I did the painted nose this would be a mute point. I was hoping (and still am) I could get away with the rear entry hatch as a brace.
Whoa WedFactory, slow down!!! You’re making me feel inadequate! I can only concentrate on one build at a time. I’m still finishing off my first build for the year.
Is that the 1/48 Academy RAAF F-111? I’ve got it in my stash, but not game enough to start, I took one look at the wing mechanism and decided it will have to wait until I’ve got a few more builds under my belt.
Yes it is the Academy kit, but it is the Libya raider version. ( wanted this version because my Dad was USAF and we were stationed in England for 3 years at RAF Bentwaters a near by base)The wing mechanism was very easy to build. One catch I found out after closing up the wings. The kit as 6 hard points on the swing wings, and so does the real aircraft, but the outside hard points don’t swivel with the wing and can only be used with the wings swept full forward. If you plan to model with swept wings cut off the 2 outside hard points and fill the holes.
Wonderful stuf!! dries to touch in 15 minutes, goes on in thin coats. I put 2 coats on the F-15 in 20 minutes (took me longer to mask it!) and from start of first coat of paint to pulling masks 1 hour. It is a gloss paint, dries very smooth. I definitely am going to use in on my XB-70’s.
Sorry about the quality of the pictures, the gloss white plays “L” with the auto exposure on the camera.
Well I finally got the decals on the Stuka, took 3 days! (took over 20 minutes each to soak the large crosses on the underside of the wings to break them free of the backer paper!)
I found a way to do panel lines on raised panel lines modes on another forum using pastels and thought you guys would like to see it.
The A-10 I am finishing turns out to be a great testbed for this technique. At this point the model is painted, decaled, and dull coated. The dull coat is important as the pastels do not stick to gloss coat. The dull coat rougher texture allows the pastels to grab better.
For this technique you will need chalk pastels, a small paint brush and a large paint brush…(in the photo below I have ground some black and med gray pastels for use…
Using the small brush, brush the black pastels on the model following the panel lines…(try to center the brush over the panel lines)
!(http://i249.photobucket.com/albums/gg222/wed192/My A-10/100_5766.jpg)
Don’t panic it looks heavy right now but the next step tones it down. After applying the black pastel, use the large brush and the med gray pastels and lightly dust the entire model. With aircraft brush the direction of air flow, on other models in the direction of the most likely weathering.


![http://i249.photobucket.com/albums/gg222/wed192/My%20F-111/100_5653.jpg![]](http://i249.photobucket.com/albums/gg222/wed192/My%20F-111/100_5653.jpg!%5B%5D)