Hi All,
I thought I’d share some pictures of my recently completed build, the Eduard Spitfire Ixc. I chose to model Jerry Billing’s mount as it appeared over France in late June, 1944:
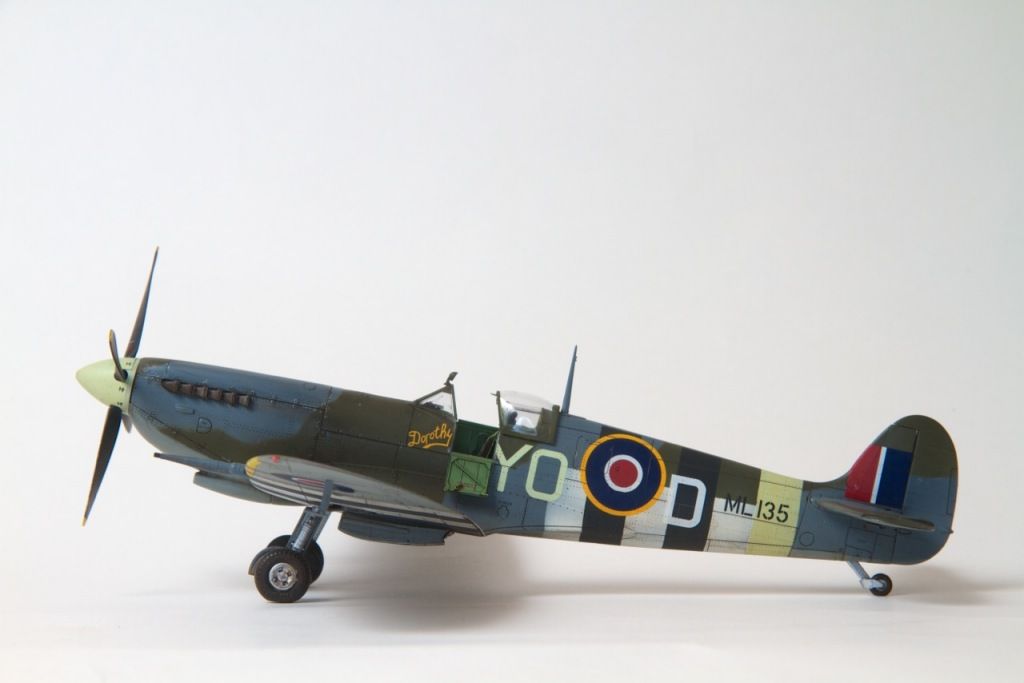
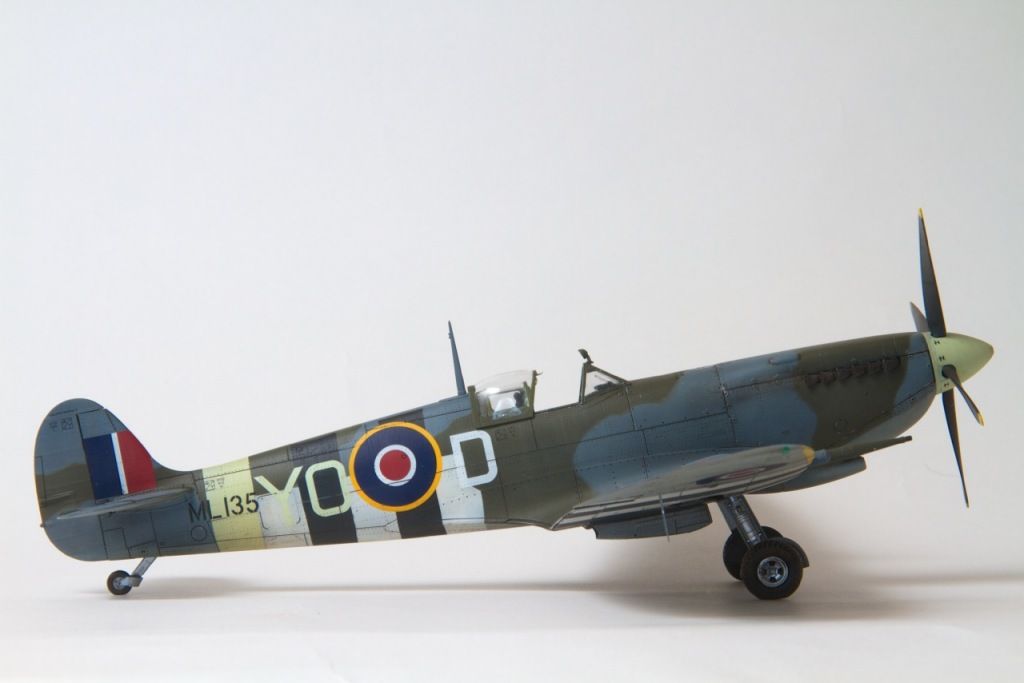
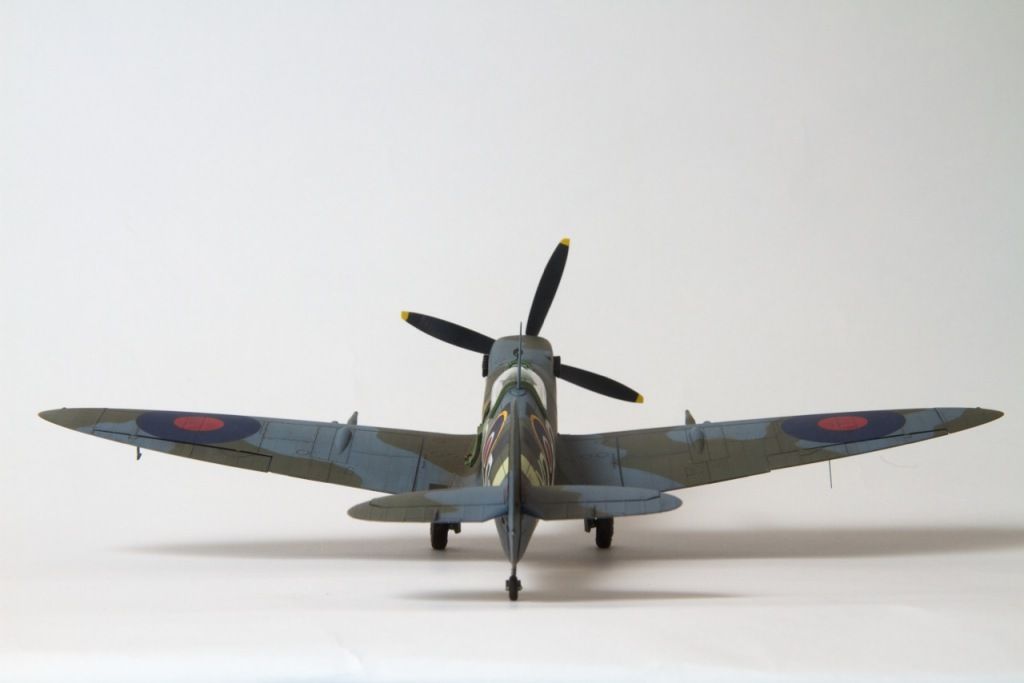
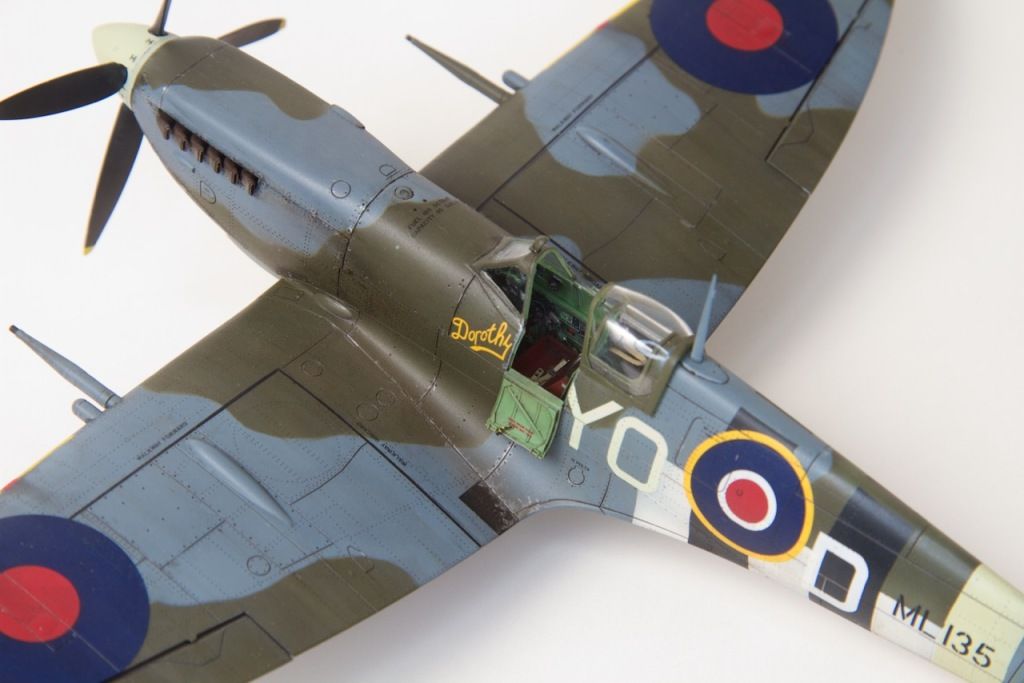
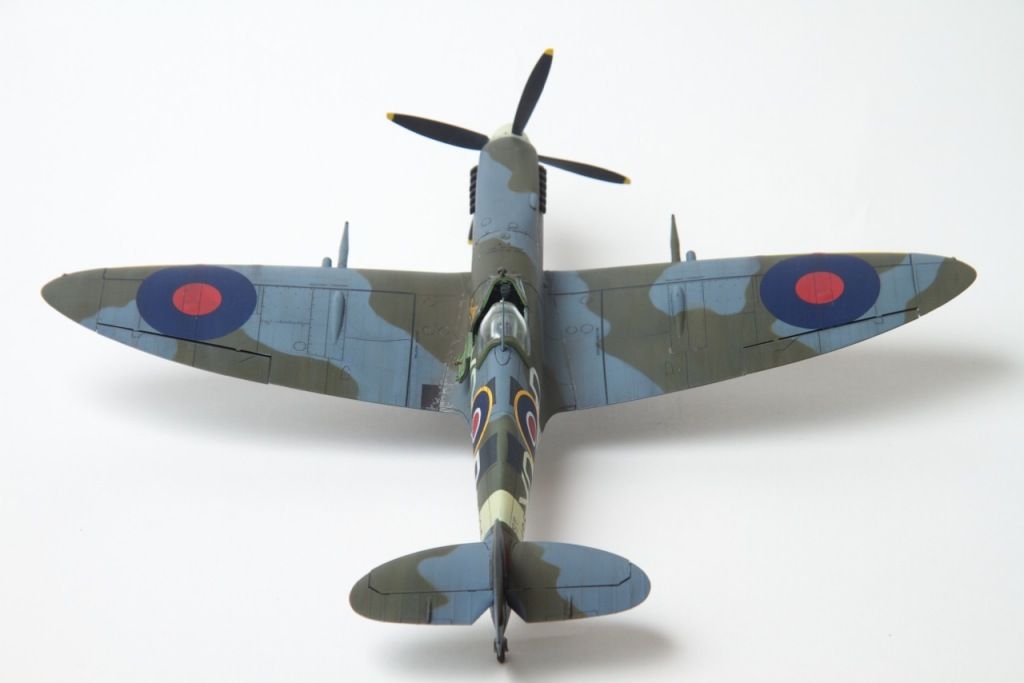
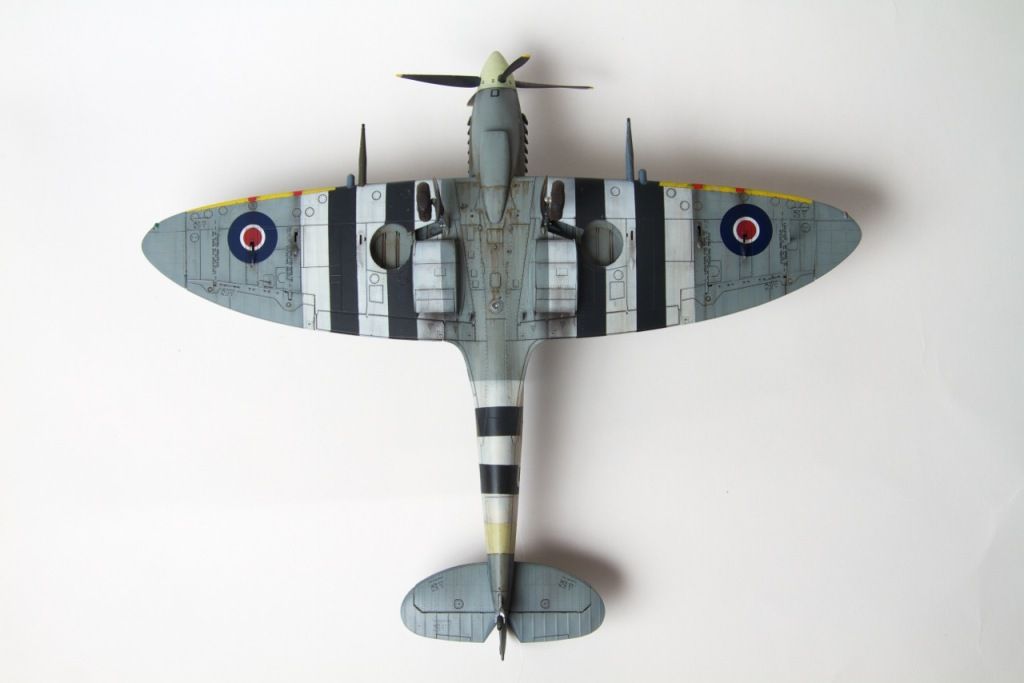
The overall scheme was painted with the Tamiya RAF trio of XF-81/82/83. I used Gunze Sky for the prop and tail band. Weathering was done with oil paints (including Windsor & Newton Transparent White for fading/streaking, black & burnt umber) and a Dark Dirt Flory wash in the panel lines & rivets. A silver pencil “chipped” the paint, and MIG European Dust Pigment added to the dirt.
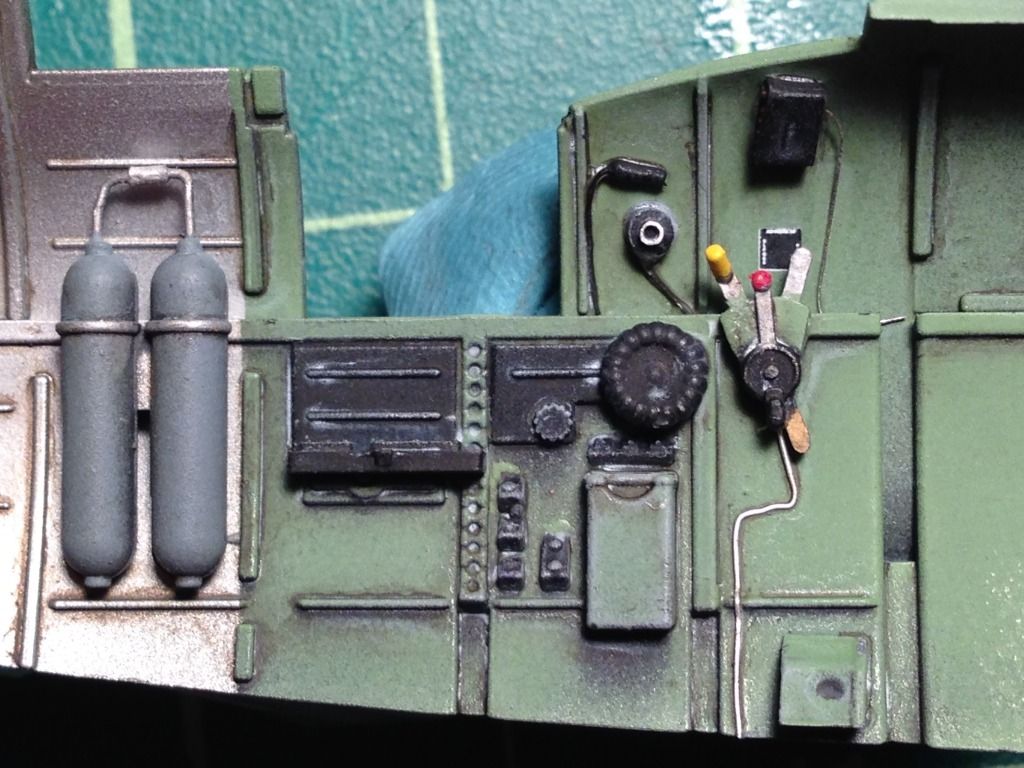
I did spring for the Barracuda resin wheels and Master Model brass cannons. Everything else was included in the kit other than some details I added to the cockpit (which is quite nice as is to be honest.) I used a few placard decals from an Aeroscale set to add a bit of interest. I also added an oxygen hose made from fine wire wrapped around a bit of larger wire, as well as a wobble pump made from a bit of plastic rod and piece of photo-etch sprue for the handle. Both are visible in this photo below (along with plumbing I added using bits of wire):
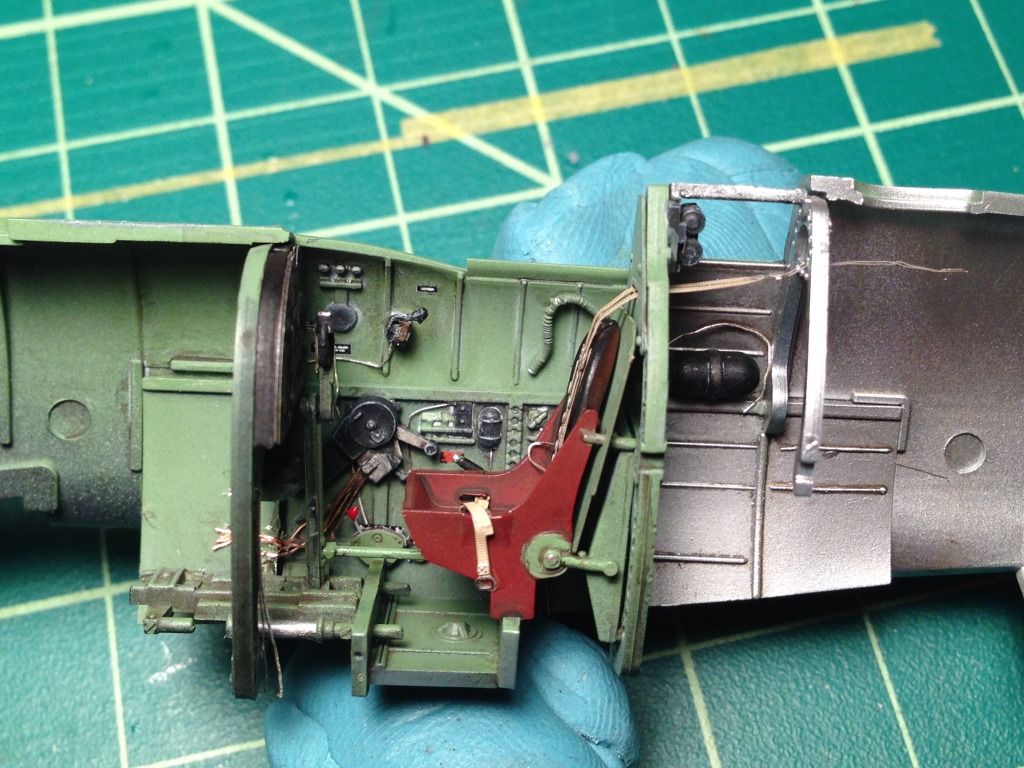
Additionally, I added a cockpit light (aluminum tubing and wire) and camera control (a disk cut from plastic rod and a small piece of aluminum tube). Both are seen above the lower cockpit tub, near the door opening. The tank plumbing is wire and… you guessed it, aluminum tubing:
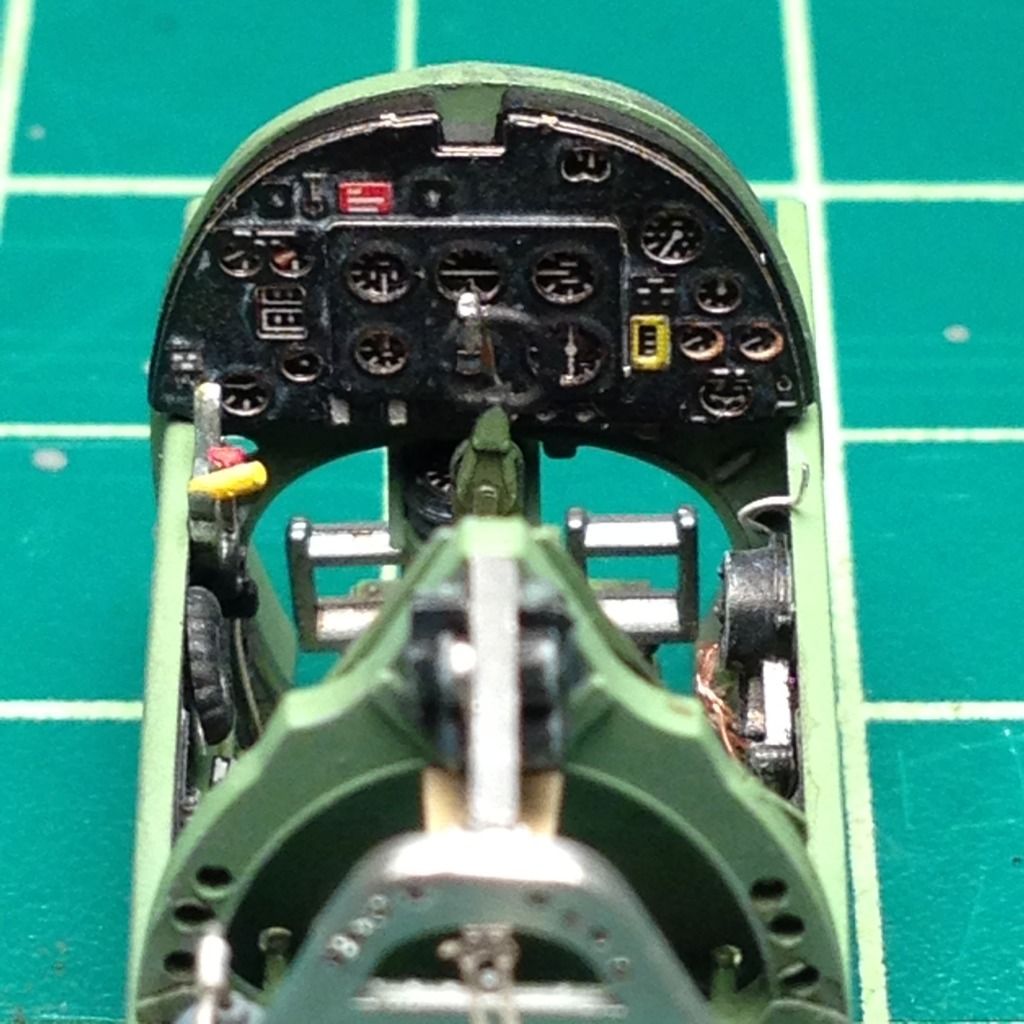
One more to show how nice the kit’s instrument panel is:
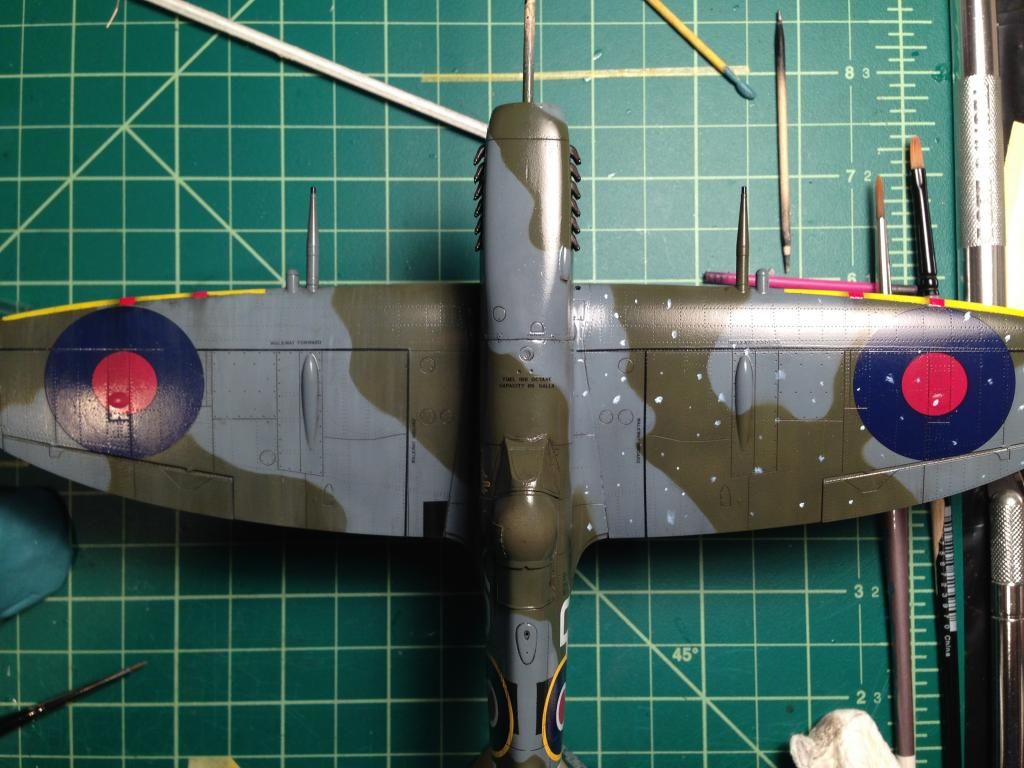
And another to show the impressive surface detail Eduard has molded:
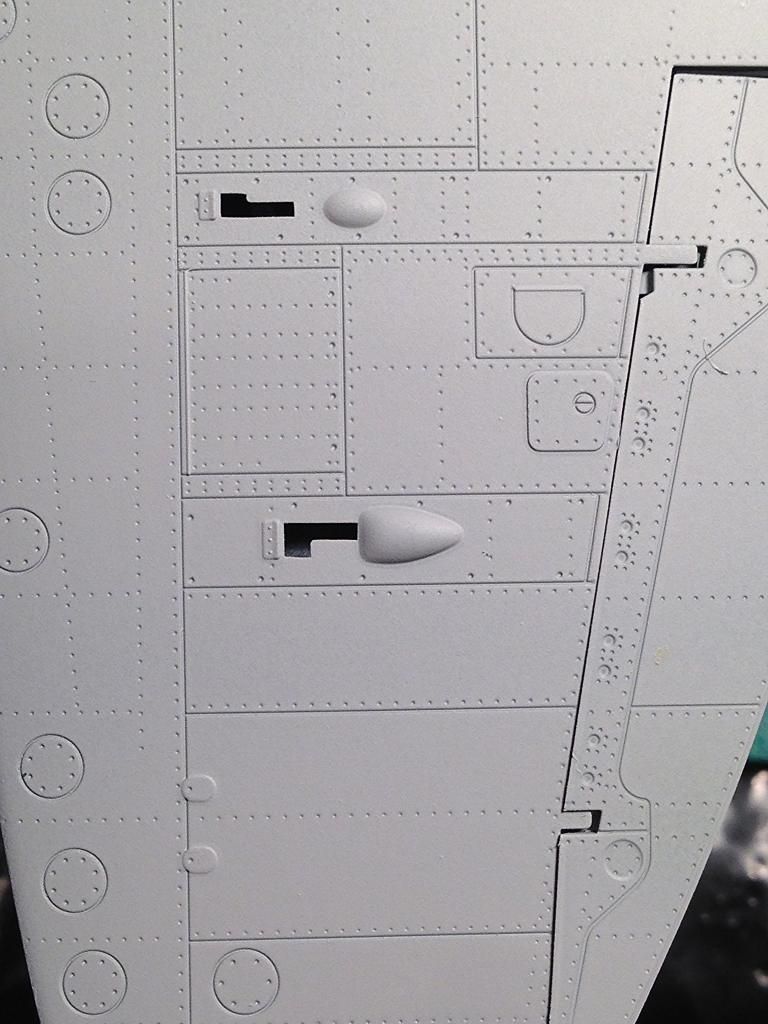
I know there are those who don’t like seeing rivets. To my eye, Eduard nailed the appropriate level (no pun intended) as the rivets don’t jump out on the finished model until you move in and really take in the details.
Much has been written about this kit, good and bad. I have to say there are points on both sides that I would agree with. Overall, the detail is fantastic, and the finished model is really beautiful (Eduard’s contributions… I’ll let others make up their own minds about mine). Some of the complaints about the needless over engineering ring true to me: 15 pieces for the wheel bays not counting the wings!!! The two piece cowl requiring detail destroying filling and sanding*? Frustrating, yes, but none of these complaints would stop me from building another Eduard Spit.
- I know there are talented modelers who will tell me that learning to properly handle seams is an essential modeling skill, and I understand that this is true. However, on the list of things that i enjoy about this hobby, filling & sanding would be… dead freakin’ last. Behind masking canopies, behind cleaning my airbrush, behind, well, like I said, everything. To me, filling and sanding are the fraternity hazing of the modeling world: totally sucks and has to be endured before the fun stuff, but I had to do it, so you do too.
On a more positive note, while some have had issues with the kit’s decals, I had no problems with them. They settled into all of that surface detail quite well for me, and even the stencils are printed well enough to read (with enough magnification!). I’ll leave it to others with more knowledge than I to determine if the roundels are the proper color and diameter, but I was pleasantly surprised with the quality.
The aftermarket stuff was a mixed bag for me. Both additions are well made and very nice looking, but I had had issues with them (certainly due to my own lack of skill). The brass cannon fairings look great and weren’t a large expense, but the level of detail on the real things doesn’t allow for much separation above the kit pieces. The openings of the barrels are a bit crisper, but that is really where the difference stops (at least to my eyes). On the downside, I have yet to find a primer that can keep Tamiya paint from falling off of brass if I look at it funny.
The resin wheels look great, and are noticeably more detailed than the kit parts. I attached the wheels to the axles after they were already installed on the aircraft, but held the spoke portions off so I could glue the axle stubs from the inside. Unfortunately, I should have test fit them post painting, because they did not go on for me with out some brute force effort that chipped the paint on the tires and damaged the axle mounting pegs. As a result, the left wheel sits at a bad angle in the pictures above (I need to repair it still).
I didn’t do a WIP post for this, as I wanted it to be a quick build between more complicated WWI projects. I sincerely appreciate the effort Joe and others who post detailed logs make to share their insights here. I did take (phone) pictures along the way, so if there is interest, I can put a post together to show the process. (I can’t say I have done anything that hasn’t been seen before, or is particularly innovative, but will share if it helps someone.) One tip I will mention is that I attached the upper cowl without the exhaust stubs using a bit of white glue. After painting the camouflage, I was able to pop the piece off and install the exhausts and replace the upper cowl. Avoids masking the exhausts; pretty easy.
Sorry for the long post. Thanks for looking (and making it this far if you did!) Questions, comments, and pointers are welcome.
Blue