Complete! Tamiya 1/48 251/1 Ausf D Halftrack & Base (16.05.10)

Good evening folks,

I’ve got my stonking great Dragon Panther G in the stash which I was thinking about making a start on this weekend BUT I’ve also got two 1/48 Tamiya kits waiting to go so…

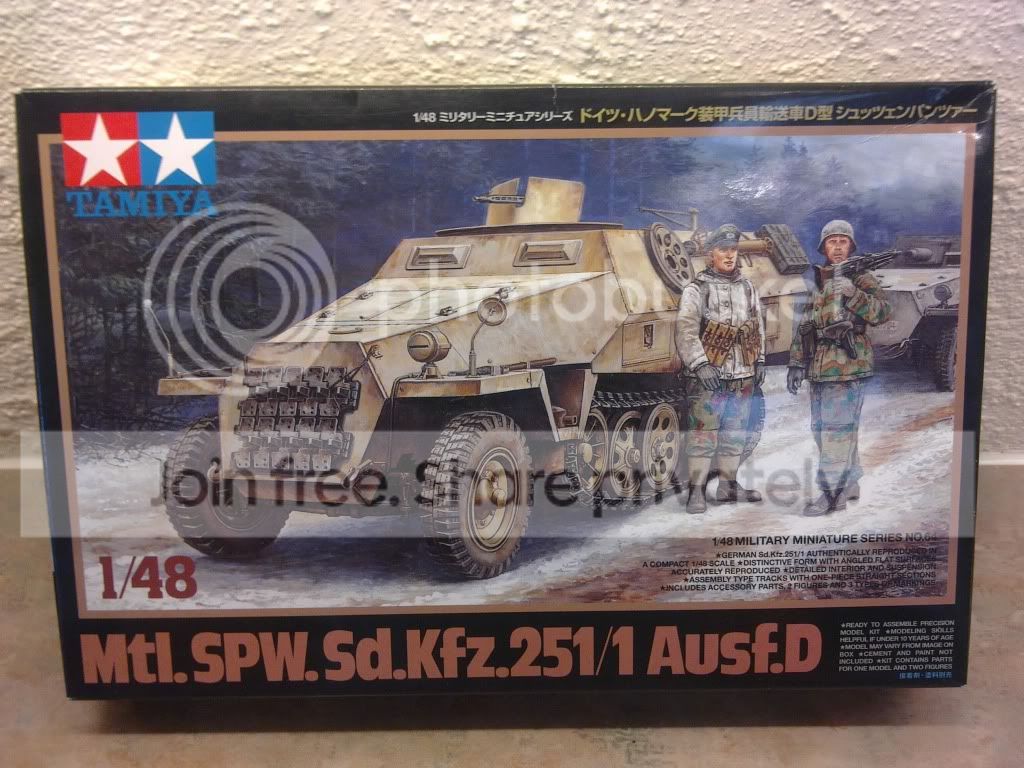
I’ve decided to build the little halftrack whilst I get all the aftermarket items for the Panther together. I’ve got the new turned barrel and various bits but am still yet to order Fruils and there is a good chance I’ll have my new AB very soon so while I build up all the bits for that kit I thought I’d try my hand at 1/48 again and maybe a hairspray whitewash (it will be my first attempt)!

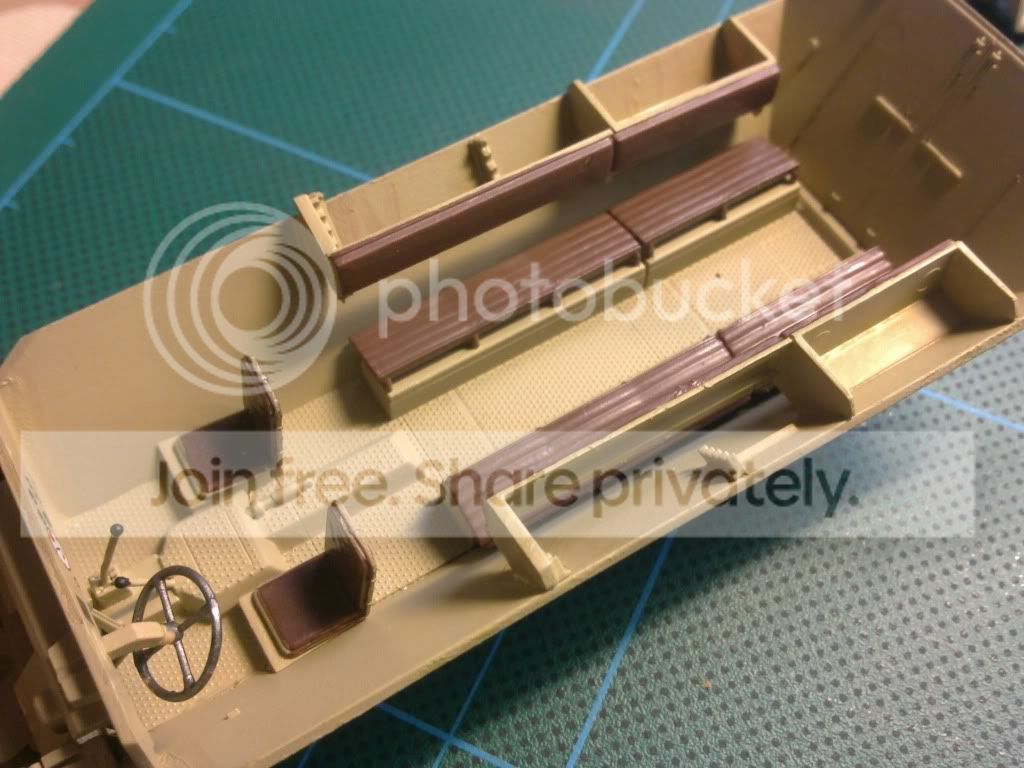
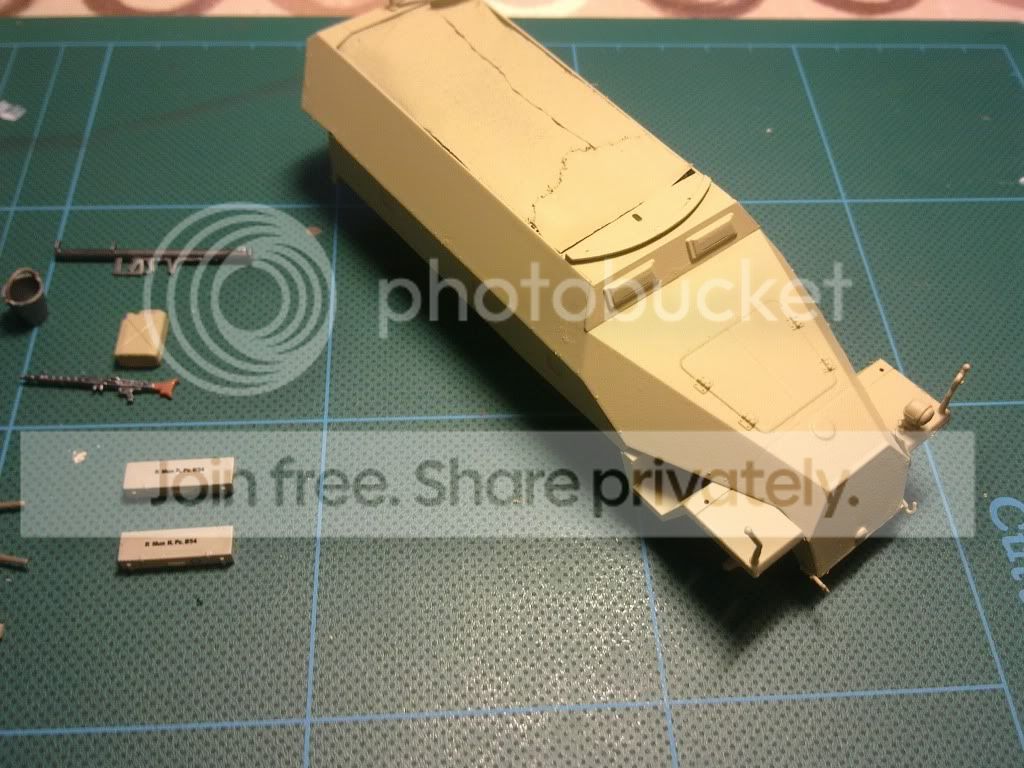
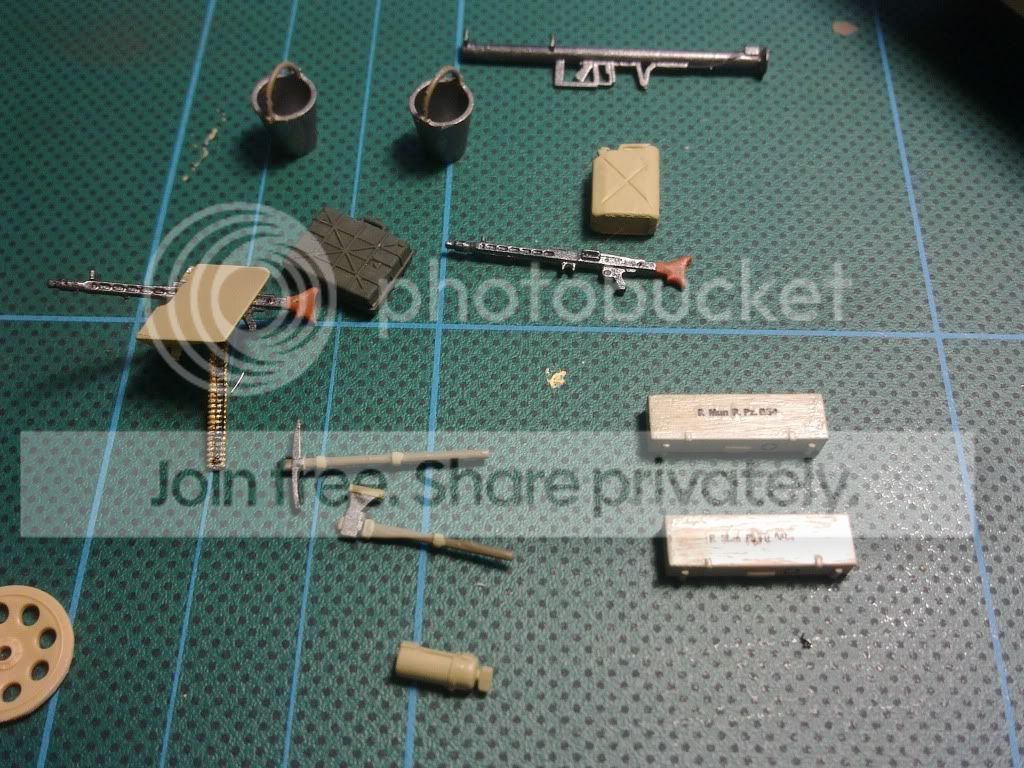
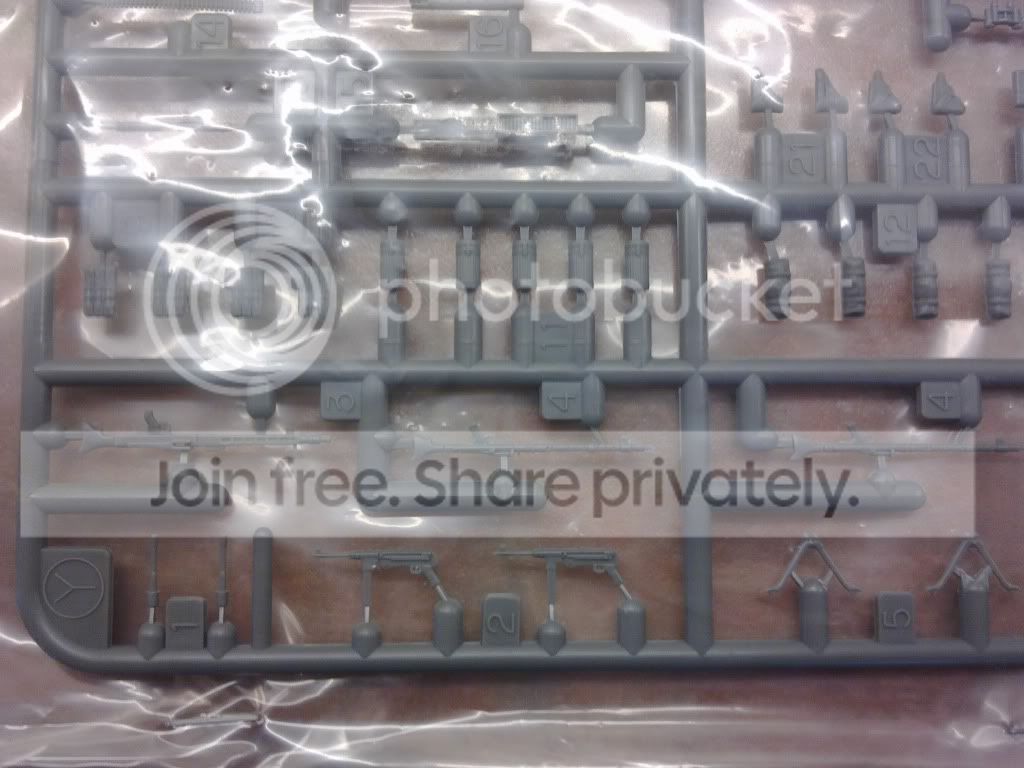
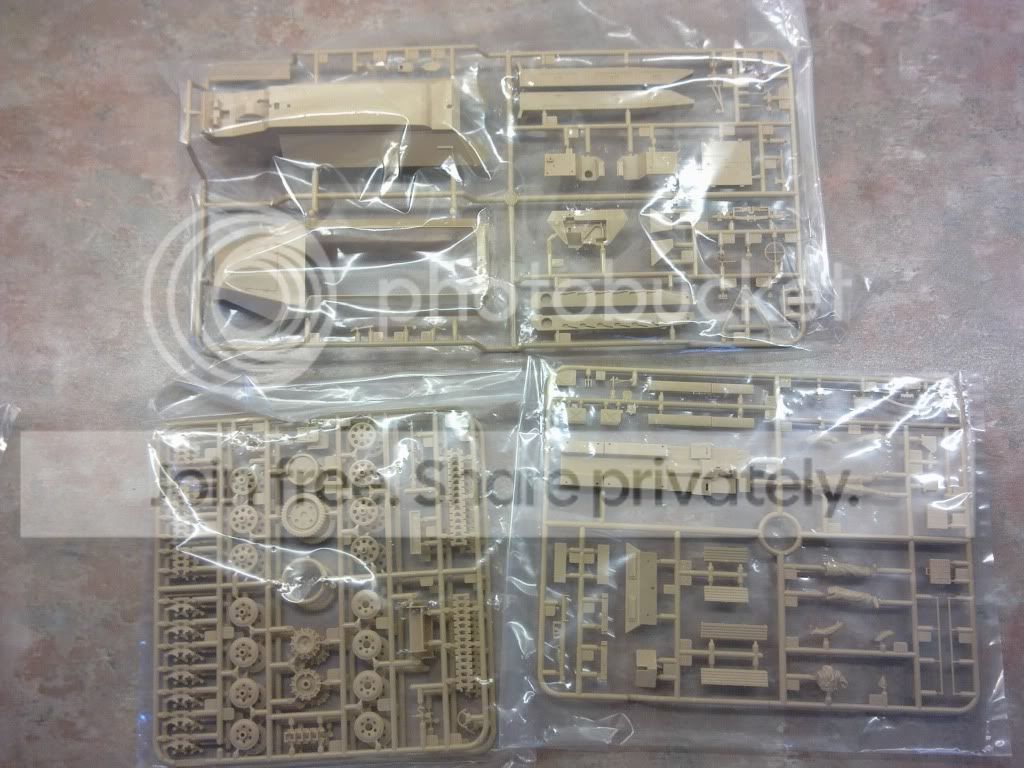
Tbh there is very little to it - the upper and lower hull sections, the internal section with the benches, the racking, dash, running gear and tools. Approx 6 small sprues in all and one of them (the grey one) contains a variety of stowage and weapons-most of which probably won’t be used.

I’m working from home tomorrow just taking the odd work enquiry so I’m not sure if I’ll have much or any modelling time (Sunday is my day for all things models but the Sunday person is away ill so muggins here has to fill his boots).

Anyway, I’d forgotten how small 1/48 is after working constant 1/35 for a good few months! Pretty tricky! She looks well moulded and, apart from the odd EP hole, of the usual excellent Tamiya quality. Due to the the obvious lack of parts it’s not going to be a long build but that’s more time to play with weathering etc. I’m definately planning to try some new methods on this little beast so there’s a chance she might not turn out 100% superb but she was a very cheap kit (£10 half price) so she’s a chance to learn new methods without being hit hard in the pocket if she doesn’t turn out spot on.

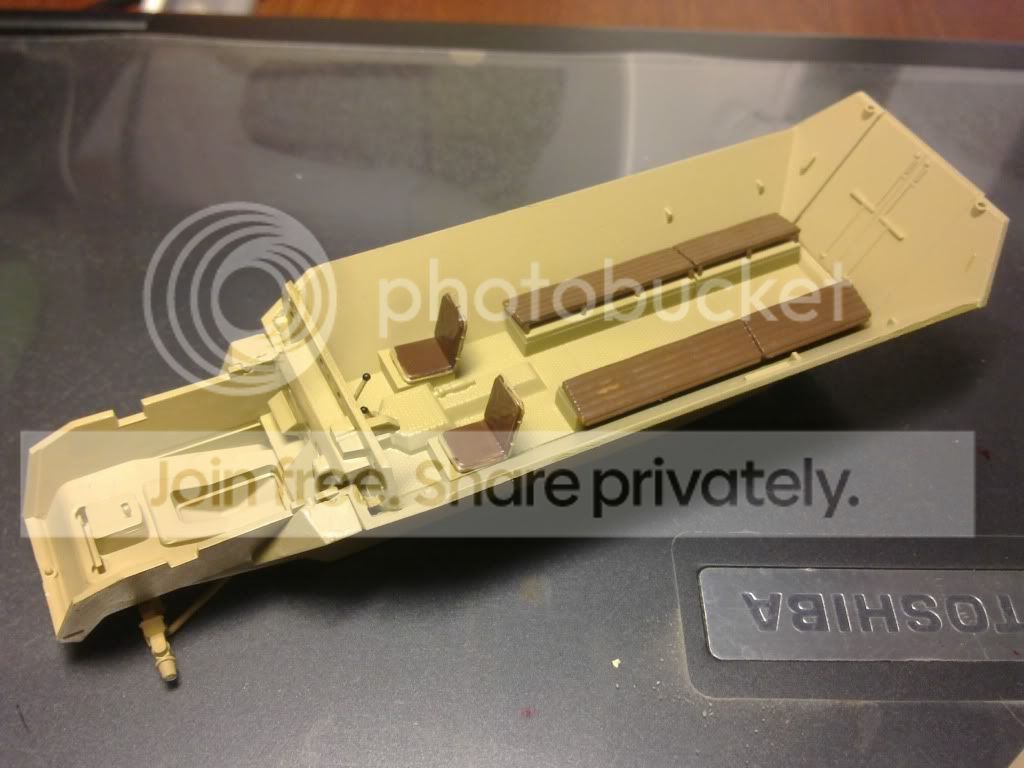
Onto the build, the first steps call for assembly of all the wheels etc-having thought about it I’m going to leave the runing gear until the end as the bases with the mountings for the tracks either side is totally separate which means I can assemble the tracks ‘off-build’ and stick the whole left & right assemblies on without being hampered by the actual model.

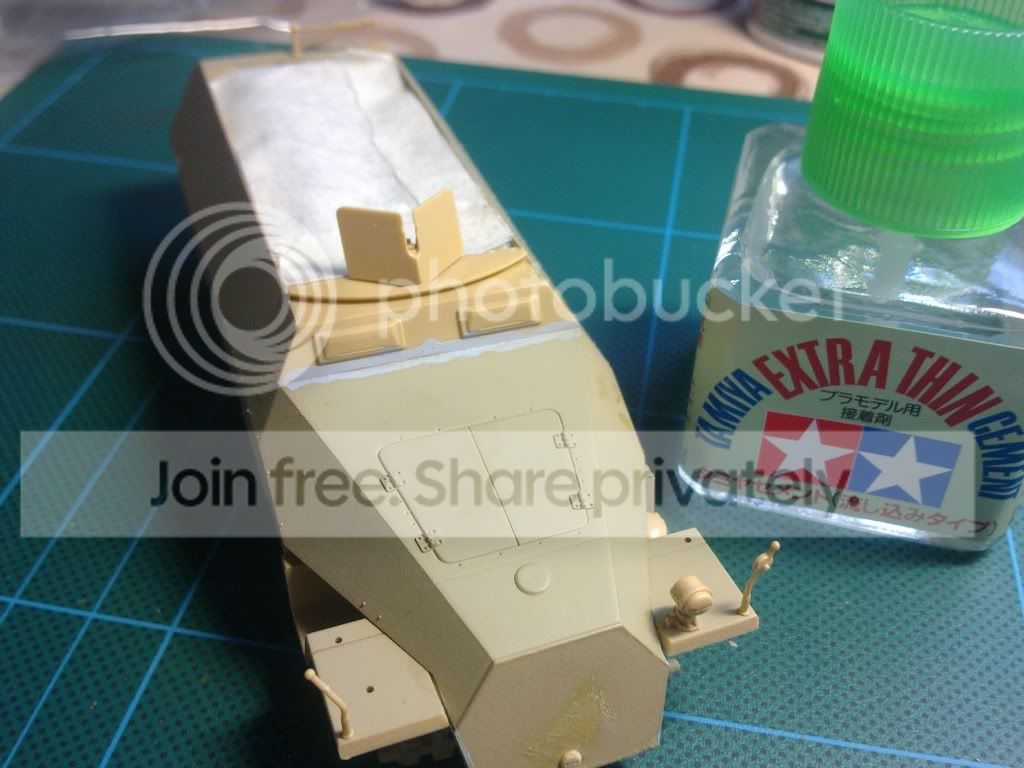
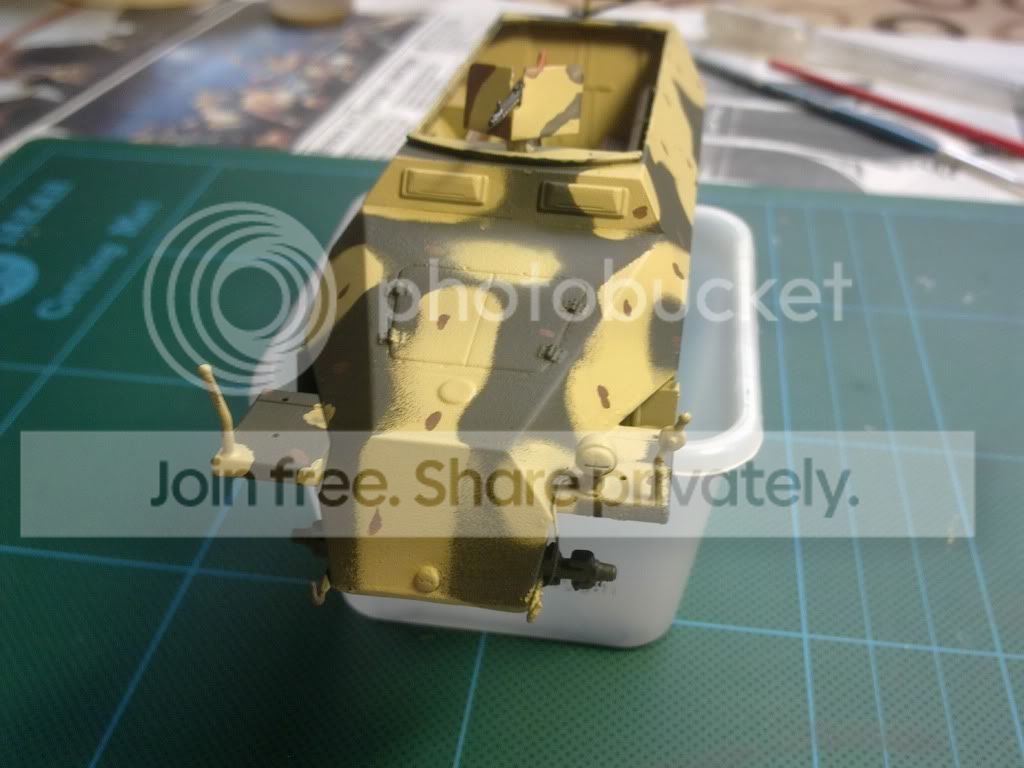
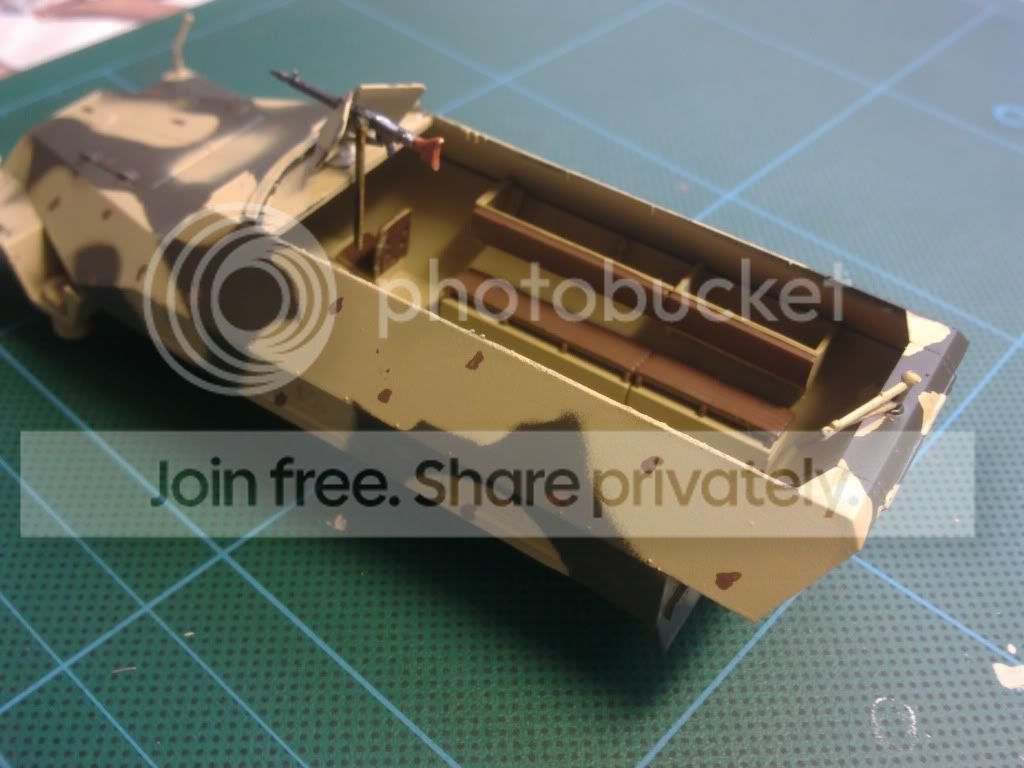
For the record I’ve given the rear benches a quick lick of red/brown and the front seats a covering of flat brown. Obviously they will get more work at the weathering stage but do to the size of the pieces it’s far easier to put down the base coats now than after fixing. The upper hull is still waiting for a second coat of Dunky. (I used my mix of 50/50 XF-60 & XF-55(?) Deck Tan to make the Dunky as I think that XF-60 on it’s own is sometimes a touch too ‘greenish’. I’, pretty sure it was Phil h who gave me this piece of advice?

Check her out guys…

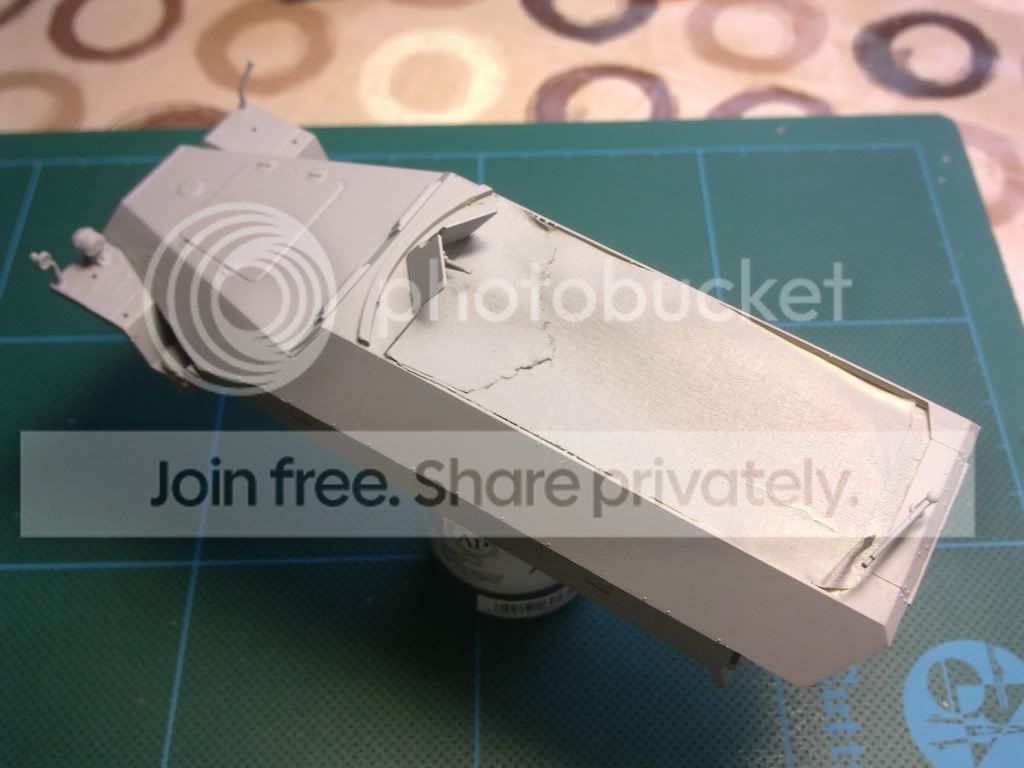
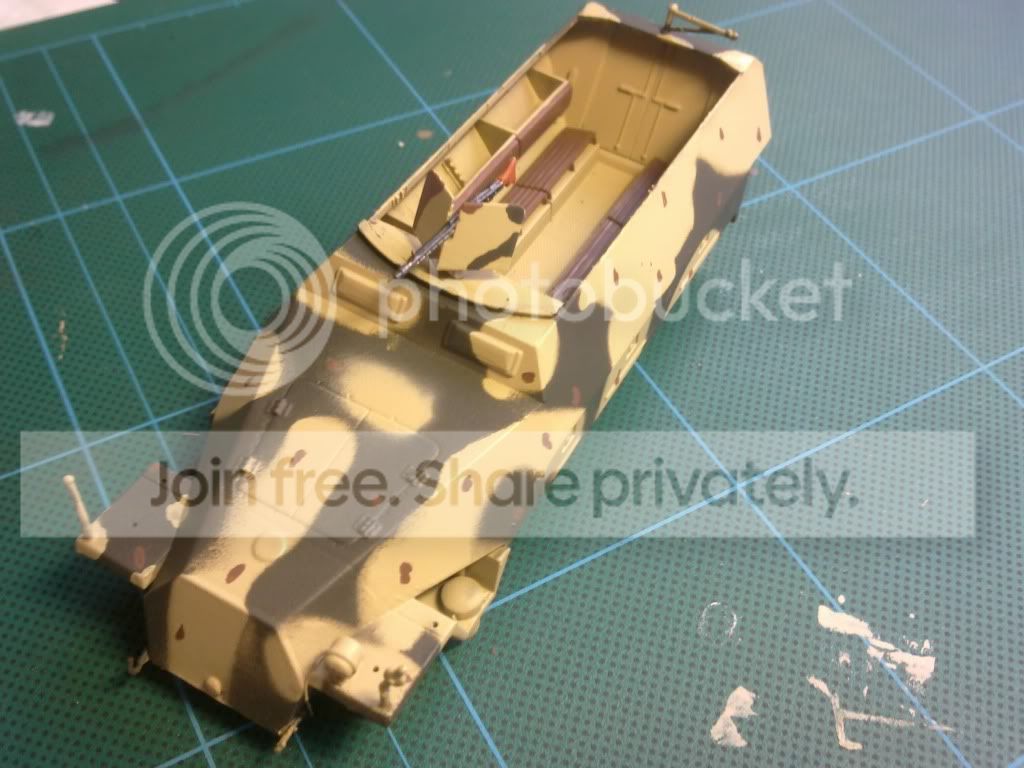
Loose dry fit of upper hull

Thanks for looking chaps and if I get the time there will be an update tomorrow!

ATVB & take care,

Ben [Y]

I have the kit in my TODO pile, so i’ll watch your progress with interest.

Regards, Rick

Looing good so far! I haven’t yet tried anything in 1/48 scale, but Tamiya’s growing line is tempting, as they’ve now got quite a variety. I like Tamiya’s choice to use link and length tracks on their 1/48 scale kits, because I really hate those 1-pice rubber things that they have in most of their 1/35 scale kits. And it’s a good thing that you toned down the dark yellow- Dark yellow doesn’t look fantastic on its own. Looks like this build could go pretty quick!

Personally, I don’t think I’ve ever seen this kit built up before in 1/48 scale…so that said I’ll be looking forward to seeing how this build comes out, and your hairspray whitewash.[Y]

Thanks guys,

The build itself should be pretty fast-there is very little to it. I have found an article in one of my mags called ‘Hanomagic’ where the writer builds this very kit and there is a photo walkaround of a real Ausf.C so not much difference-VERY handy.

Being able to assemble the tracks and running gear off build is a big help as Link & length are great but I find them a right pain with my stubby digits, especially in 1/48!

In the article he painted his Halftrack in Dunky Yellow and found some refernce pics where the halftrack had large sections of green over the top as cammo-I think I could do this effect with 1 x rubbish AB and a some decent masking!

Either that or she’ll look like the box art…

ATVB chaps,

Ben [Y]

Good evening folks,

Well having not really had the chance to get near this build for nigh on two weeks I’ve made some good progress today.

The interior has been painted and is looking good-the radio and dashboard decals are on and the stowage racks are in place. The lower hull interior is totally painted (basic-weathering to come) so I’ve fitted the upper hull and have masked off the top opening to permit safe spraying!

I wasn’t hapy with the first external base coat that I gave her last week as it was lookin a tad greenish on the exterior walls so I’ve made a fresh XF-55/XF-60 mixture and I’ve primed the entire exterior so tomorrow I can re-apply a couple of coats of the new mix. Everthing is in place except the tools and MG’s. I’m not going to use the figures this time I’ve decided. I’ve also decided to be a bit brave and go for a basic red/brown & green camo scheme using thin stripes and dots. Not being able to adjust my AB to a very fine spray I’ll be having to mask it all.

I’ve quite enjoyed building 1/48 again and I think I might have a crack at some more smaller scale stuff in the future. This is a lovely simple build which I would happily recommend to anyone!

I’m letting the primer coat dry overnight now so I’ll be back to spray the main Dunky coat tomorrow and then I’ll make a start on the running gear.

Interior (unweathered - just the basic colours at present)…

Gaps filled with Mr Surfacer 500 and open top sealed up…

Fresh primer coat on…

So far she’s coming along very well. If I manage to pull off a half decent cammo scheme she could definately be one of my better builds!

I’ve noticed a bit too much Surfacer inbetween the front vision ports so I’ll keep an eye on that but otherwise no problems to report!

Thanks for looking folks,

ATVB

Ben [H]

Ben,

Mr Surfacer, even when dry, is soluable with laquer thinner. When you apply it take a qtip and dip it in laquer thinner and work at the Mr. Surfacer until all that is left is what is in the gap. It is also sandable or “scrapeable” with an xacto blade. When working it with a qtip and thinner go perpendicular to the gap so that the slurry you create helps to fill the gap even more.

Brian

Thanks Brian!

It’s a case of the ‘camera is better than the eye’ again mate! I have this model in front of me now and I’m honestly struggling to see that raised piece of Surfacer that is so visible in the photo! I’m in two minds as to wether I touch it at all as the primer coat is looking lovely and I don’t want to go scraping away at the front area and make a mess as I was hoping to get the base coat laid down this afternoon. Mr Surfacer is very good though, I’m very glad I managed to get some!

Anyway, advice needed; I’m going to lay down a couple of coats of Dunky Yellow then leave that to dry overnight. I’ll then make a start on the wheels and tracks.

I’m going for a very basic cammo scheme-thin streaked lines in XF-61 & XF-64 with a few tiny ‘spots’ brushed on. As my AB is only a cheapo propellant can job I can’t do thin lines so i’ll be masking tomorrow. I’m going to work out where the decals on the sides will go and mark them spots as I dont want the decals sitting on a green stripe! I picked up a monster pack of Blu-Tack and some wide masking tape-any tips oneffective masking. I can’t see a way around the hard edges the masking will give me but I can’t help that, can I?

Also, there is a ‘thingy’ sat between the two front seats and I’m not sure what it is. I’m pretty sure it would need painting? see here…

Can you see that raised gearbox area betwen the seats? What is that item sat on the middle? What colour should it be? I have a fire extinguisher to fit too. In my book it is red-is this right? I’m finding lots of pictures but all in B&W!

ATVB & thanks,

Ben [Y]

She looks great, Ben! I’m tempted to get it myself…

About what’s in the middle - I got no idea. Seems like Super Mario did some random plumbing?

About fire extinguishers - they were always painted in dark yellow (Or German grey before Feb. 1943)

Think about it… Would you fancy running around with a bright red item with your camoflague dress?

And the steeringwheel… Shouldn’t that be black, not metallic?

I think she’s crackin’! Can’t wait to see more!

ATVB,

-Lasse [t$t]

Cheers Lasse - You should DEFINATELY get this build mate, there is so much extra kit with it there is limitless potential. Loads of rifles, packs, ammo clips, buckets etc (see my sprue pictures), two figures as pictured on the box and a great pair of MG42’s for mounting front and back. If you really put your mind to it you could have it built in one long session. There is a super belt of MG42 ammo ready to go-it clips to the front MG. I’m just about to paint that now actually-I’ve just sprayed the vehicles Dunky Yellow base coat so I can’t touch that for the day now so I’m going to paint a few tools and the MG’s/stowage etc. I’m leaving the tracked parts until very last to allow for weathering on the underside and I can assemble the tracks off-build as they assemble into one complete piece that can be stuck onto the build when finished, I’l just have to Dremel or sand off a bit of surface paint to ensure a good bond.

As for the steering wheel, quite right it should be black but I wanted to see what it looked like with a different colour-it needed a primer coat anyway. I’m going to paint it black later on.

I looked at a picture of another build that someone had done and noticed that he’d painted the item over the gearbox silver in some areas-he was also the guy who painted the fire extinguisher red! I saw that and thought 'hmm that can’t be right" which is why I mentioned it! I’ll see what other people on here have to say re the gearbox hump item as I won’t be able to access it before tomorrow afternoon now anyway seeing as the top is all masked off.

ATVB

Ben [Y]

The lump between the two seats should be the same as the rest of the interiour. As for the fire extinguisher, i normally paint my yellow, but seeing as it is inside the vehicle and out of sight, a red one wouldn’t be seen anyway. because of its position, photos of them on 251’s are hard to find. I have seen illitsrations of them in red, but this is on early 251’s, not the later model you are building. I have seen some people paint them red even on the outside of AFV’s just to add a dash of bright colour. I think either would be fine.

Hinksy: Just finished my 251/1 great model mine was also Tamiya kit but in a different box have fun with it. Aceses5[2cnts][::DD0]

Cheers Aceses5 & Bish,

She’s building up nicely. I wish all my builds were this enjoyable! I’ll definately be doing some more 1/48 builds in the future.

Righto, She’s had two light coats of Dunky and has been put aside now for the cammo application tomorrow. That time has given me some time to sort out the extra bits which I know I’ll be using as stowage etc.

I’ve run a length of 5 amp fuse wire from the back of the front light down to the engine bay as per the box art. I’ve painted both MG42’s in gun metal and used a light rust/dark orange colour which seemed to work for the Bakelite stock. I’ve painted the axe and pick-axe along with the extinguisher. Also painted is the ammo belt (NOT easy; it will be hardly visible anyway but it makes a nice touch) and I’ve hooked that up to the forward MG and have placed that in the mounting so I can fit that when the masking comes off-I can’t fit it yet anyway due to the ammo belt hanging down.

The grenade case, Bazooka and two cases of rockets for the bazooka are all painted up and decals are on the rocket case. Finally, I’ve painted up the two buckets and a Jerry Can. The Bazooka, Grenade case, spare wheel and Jerry Can are shown fitted to the exterior walls, everything else will go inside.

Tomorrow I’ll have a crack at a basic cammo scheme and take things from there!

Cheers guys,

ATVB

Ben [H]

Looks like it’s coming along nicely Ben.

Regards, Rick

Cheers Rick,

I’m very pleased with the progress so far. I’m a bit apprehensive about the attempt at a cammo scheme tomorrow seeing as it’s my first attempt with this AB but at worst it’ll go badly wrong and I’ll just have to overspray the cammo with the base colour and try again until she’s ok!

I’m undecided on thin lines or larger ‘chunks’ of colour. I think I’ll go with the latter?

When I’ve got my 1/35 ONTOS and Panther G done (they should keep me busy for a good few months) I might try a few more 1/48 builds. This has been a great little build and very enjoyable. Tamiya keep knocking out the 1/48’s from time to time so I’ll keep my eyes open. Hopefully there’ll be no more of them awful die-cast chassis jobs!

I’ve got a Tamiya 1/48 Tiger I upstairs with the die cast chassis. This was my first ever build and being my first attempt it wasn’t great! I’m hoping to build it again with all the skills that I’ve picked up in the last year. It’s my favourite tank of all time and I’d like a decent Tiger model on my display shelf.

WIP update tomorrow after the cammo has been done (and hopefully has gone very well)!

ATVB

Ben [Y]

Good afternoon guys,

Well, I’ve just finished doing the bit I was dreading the most - painting the cammo pattern!

The painting guide showed various patterns over a Yellow base colour - either a whitewash over dunky, green & brown stripes or more of a DPM type pattern, again using green and brown.

I chose to paint the base with a 50/50 mix of XF-60 & XF-55 and decided on larger areas of XF-61 Green with tiny spots of XF-64 Red/Brown over the top of both.

I used Blu-Tack as a masking agent which worked perfectly. What I didn’t want was a hard edged cammo pattern which masking tape would have given me. Seeing as the Blu-Tack is raised on the edges very slightly a direct spray gives the fuzzy effect that a spray would leave.

remember this is my first EVER cammo pattern using my propellant can AB and masking. I’ve done one before but that was with a brush. This is all new to me!

I’m really happy with how she’s turned out. You have to remember this is my first EVER cammo pattern using my propellant can AB and masking. I’ve done one before but that was with a brush. This is all very new to me! Obviously you guys do some amazing stuff but with the spray kit that I currently have at my disposal I’m pretty chuffed!

The only downer was I managed to snap one of the rear view mirror stalks during the process of masking (LHS) but she repaired ok.

Let me know what you think (the front vertical area didn’t work too well but that will be hidden by the spare track links)…

Front view (the '42 is held in place by Blu-Tack for the picture) I painted the shield with a brush…

A terrible photo of the rear doors but you get the idea! The doors came in one piece-a shame as it would have been nice to have had the choice to pose them open…

RHS view…

LHS view…

Overall view - I’m very happy with it!

Thanks for looking guys!

I’m just going to paint the seat backs as they should be and fit the extinguisher then she’s being put aside for the night as I’ll be applying a couple of layers of MIG Tan Filter for Tritonal finishes tomorrow ready for next weekend. Some filters and washes should tie this all together nicely.

I’ll make a start on the road wheels and tracks shortly.

ATVB

Ben [H]

Hay guys looks like this Hanomag is a popular model I found mine at Hobby Lobby I did’nt know the Germans had bazookas I was under the impression, they were a US Army wepone. My dad was in Europe during WW2 he told me the German tankers were scared to death of bazookas,because it was the only wepon that would penatrate Germen armor. my [2cnts] Aceses[bgr]

Bazookas, rocket launchers…whatever they’re called.

There’s the PANZERSCHRECK which is the item supplied with this kit (shown mounted on the LHS side on the box art.

http://en.wikipedia.org/wiki/Panzerschreck

Also supplied in the kit is a PANZERFAUST which is optional stowage-this was the disposable launcher which you seein all the movies, firing a large anti-tank warhead.

ATVB

Ben [H]

I love 1/48 armor and yours is looking real good. I have this kit too, so am looking forward to your finishing touches.

Cheers buddy,

As I’ve mentioned before, this is one GREAT kit. Even though it’s 1/48 there aren’t any annoyingly fiddly bits whatsoever, a thoroughly super build-you should get cracking on your one!

I haven’t started assembly of the tracked section yet but it all looks pretty straightforward. The brilliant thing is the whole track assemby can be put together off the vehicle and fitted in one chunk.

I’m planning on adding a couple of layers of MIG filter for tritonal cammo finishes during the week then next weekend I can get down to applying decals and washes and getting some stowage in there.

ATVB

Ben [Y]