Complete! 1/48 Airfix Hurricane Mk.I (new tooling)

Hi all,

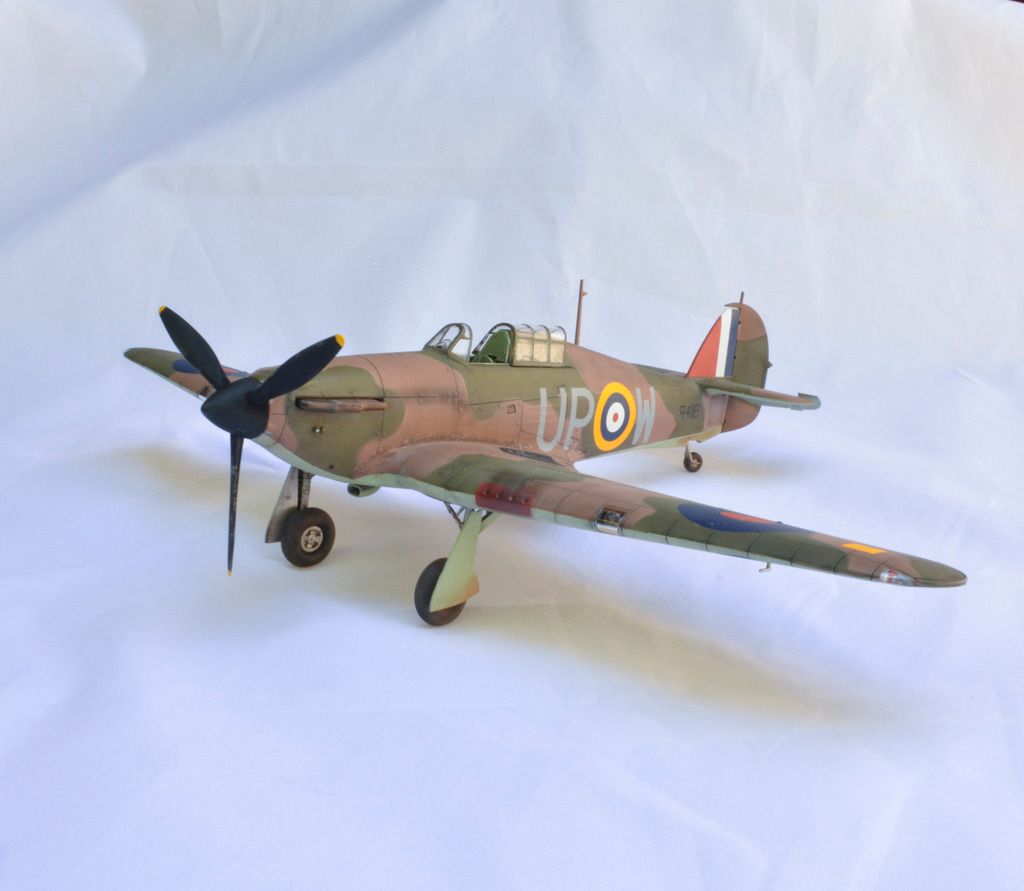
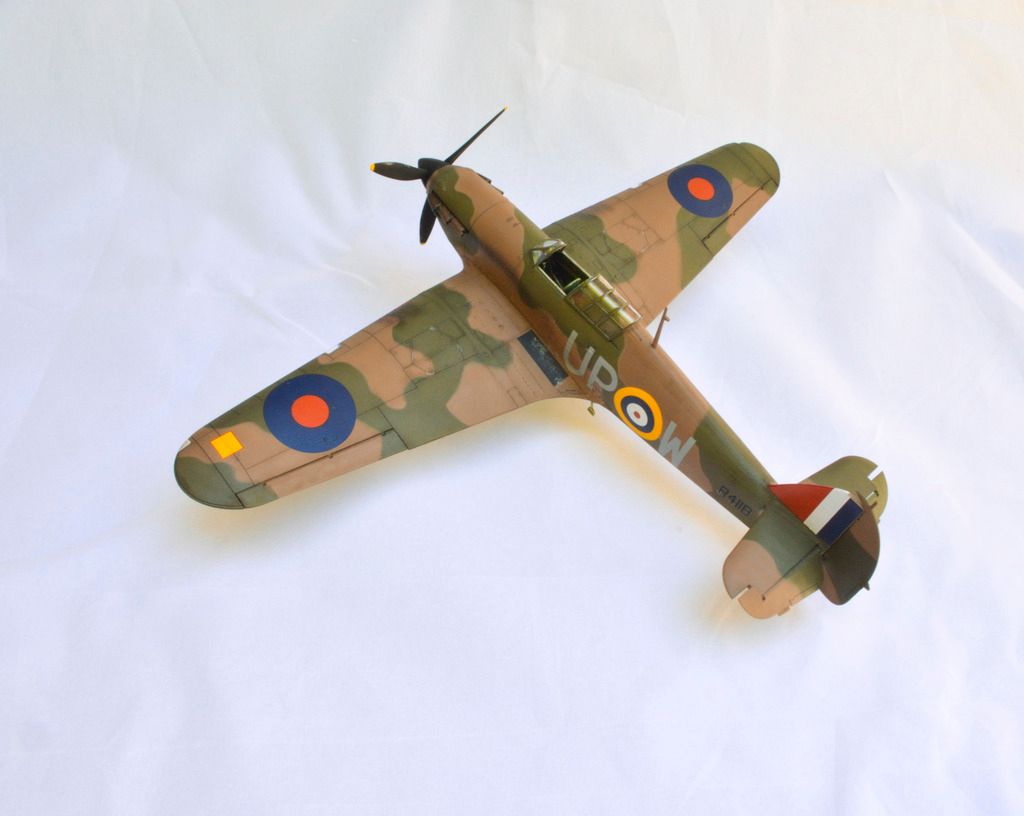
I’m building this for the Battle of Britain group build, and given that it’s a British plane and a British company released an affordable ($26-ish) model this year in 1/48, I had to go with the Airfix one. As it’s a new kit, I figured I’d do a WIP so you can all check it out if you wish.

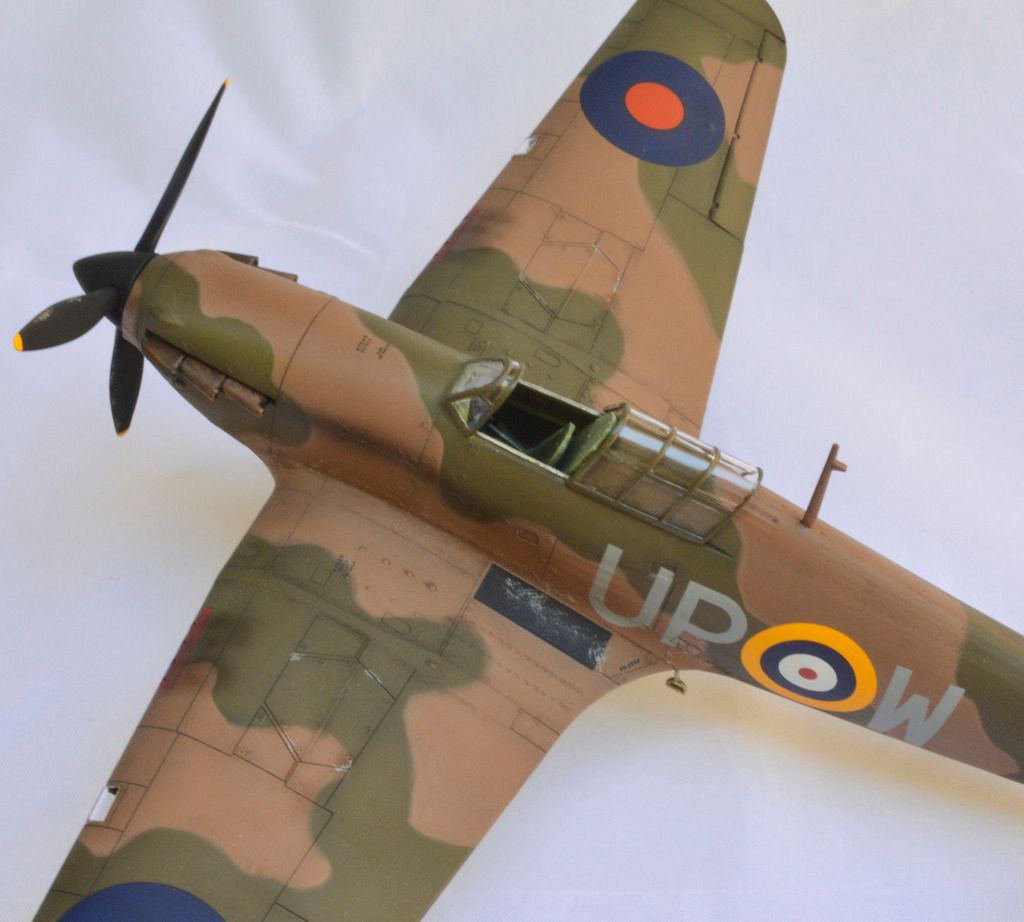
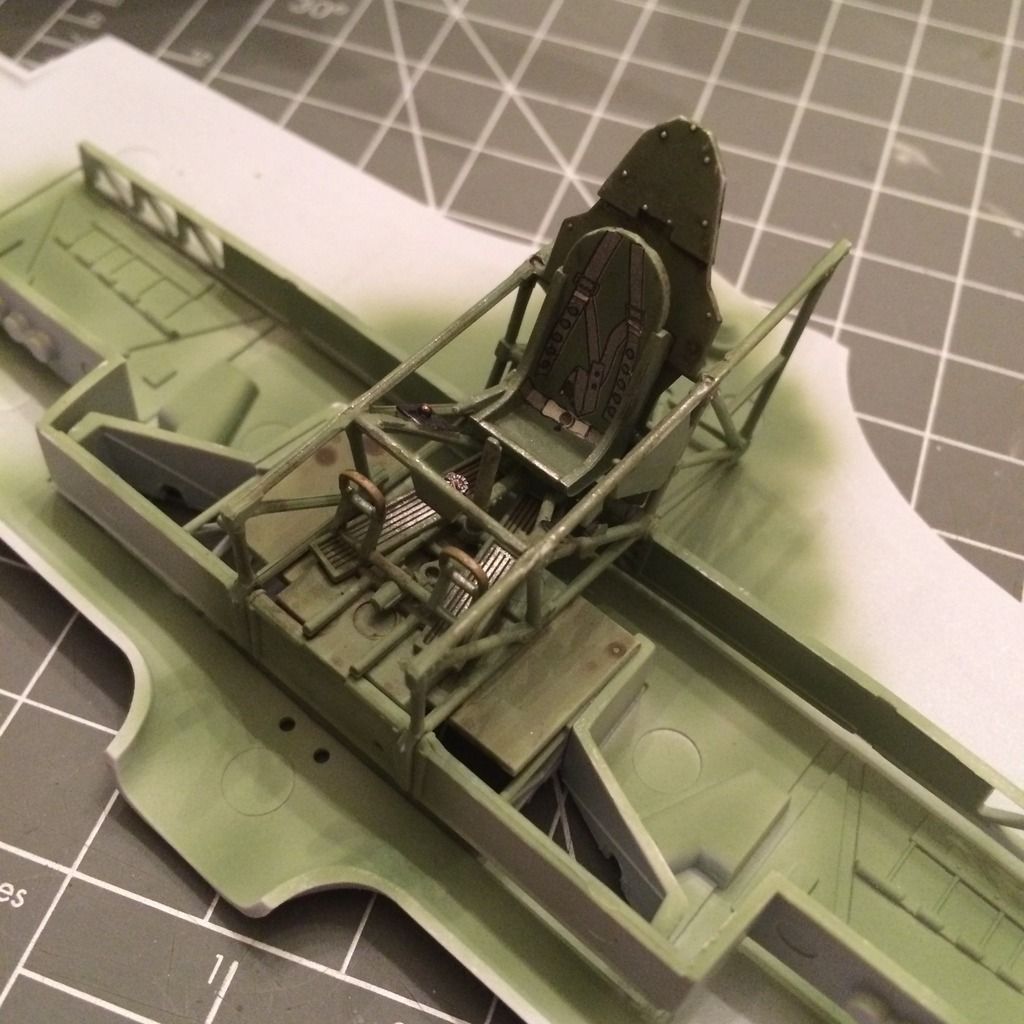
The cockpit is first (surprise!), and it’s a nice recreation of the tubular metal frame inside the cloth skin.

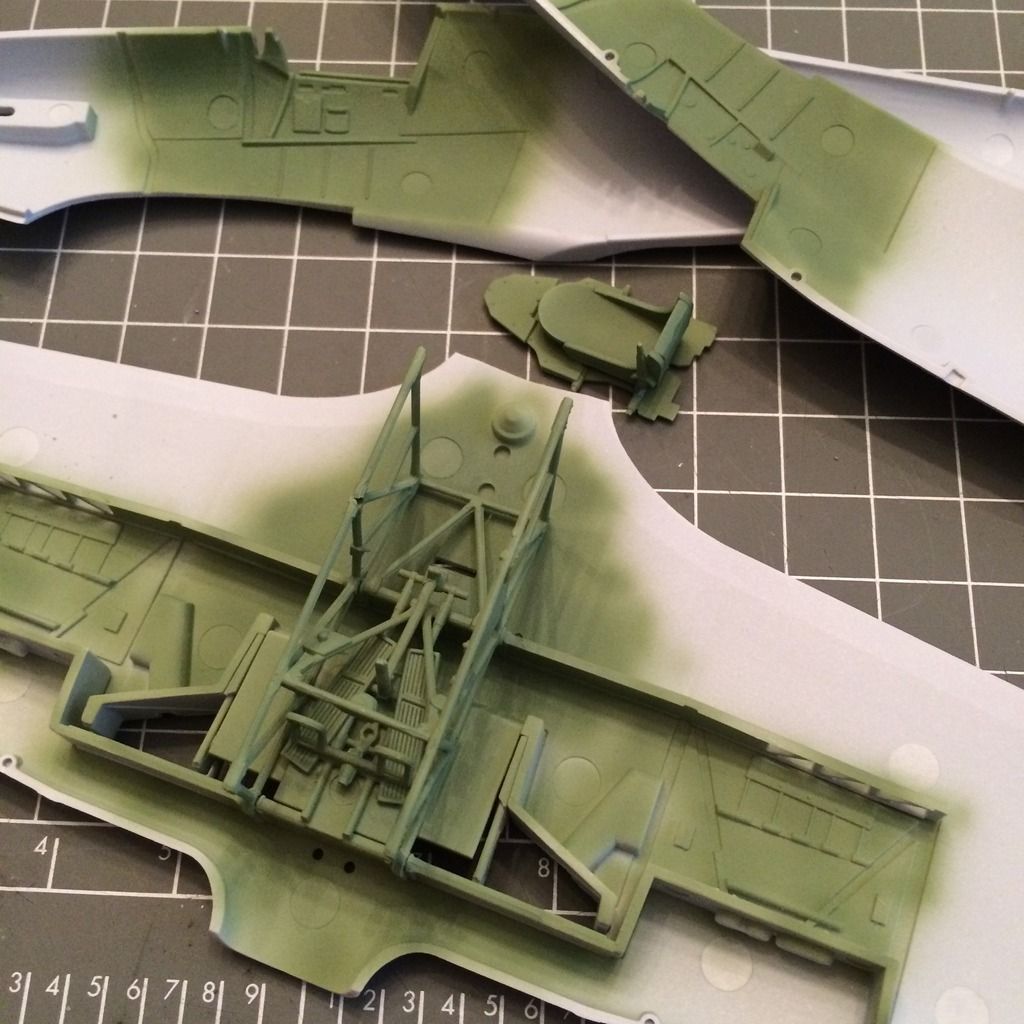
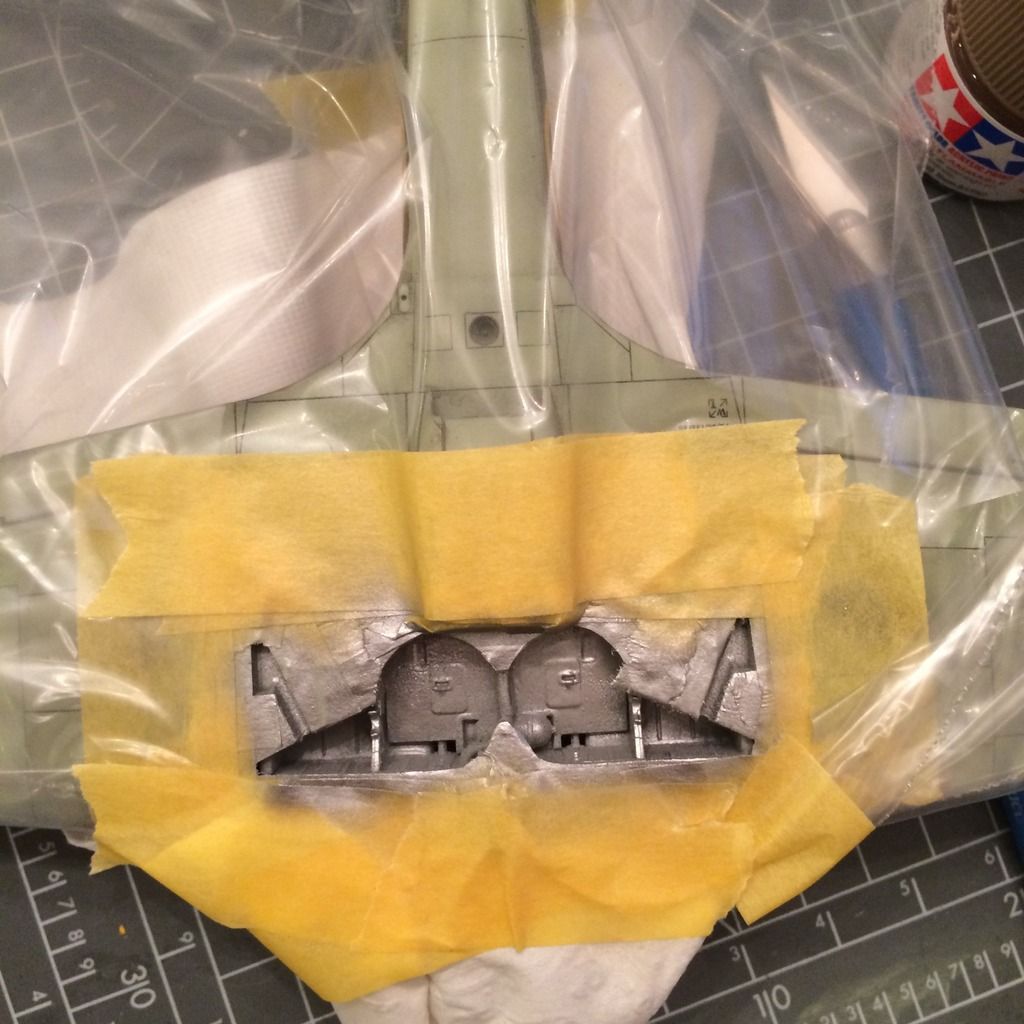
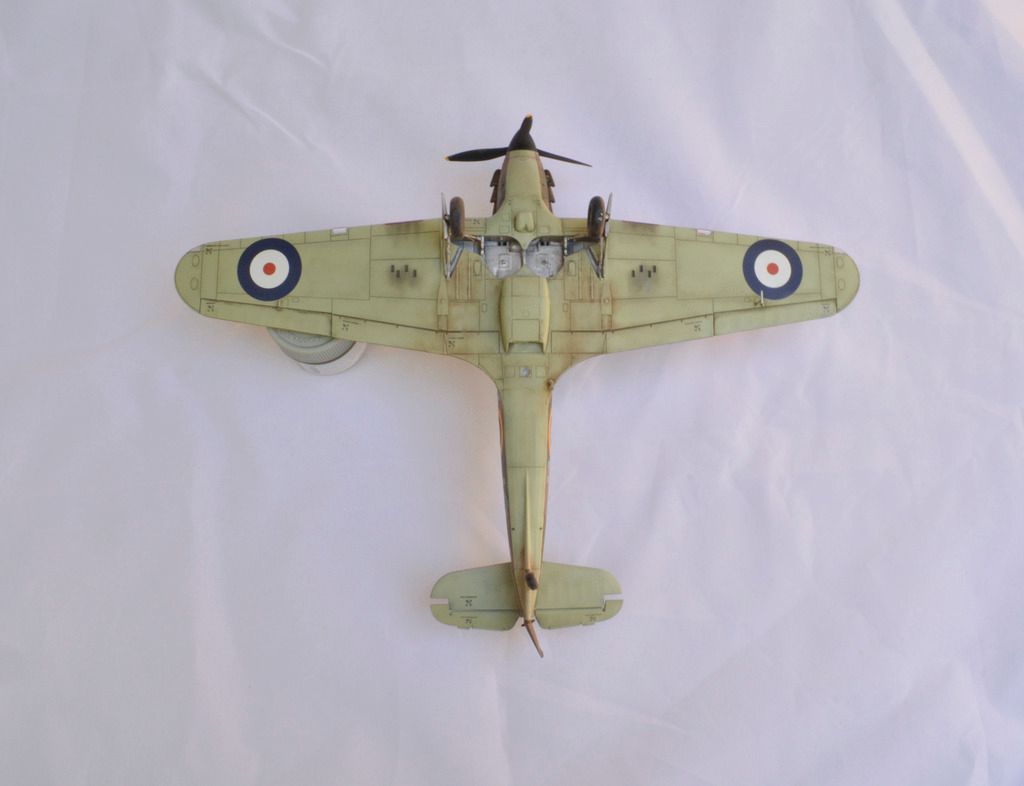
This kit has the option of displaying the gun bays open, with plenty of interior struts and whatnot, along with the 8 .303 machine guns, ammo belts and a few boxes. Thankfully Airfix molded the wings as single pieces, and if you want to display them open, you simply cut away the molded-on doors and replace them with the provided separate pieces, so there’s no annoying aligning of panels on the wing top. I opted to go with closed gun bays, so I tossed all the extra parts in the spares box.

The cockpit framework glues to the wing spars (and the underside is the top of the wheel well). You install the instrument cluster and a bulkhead when you join the fuselage halves, then you drop that down on the completed cockpit and wing assemblies. Be careful here, as it’s easy to get the fit wrong, and I ended up with a 0.5 mm step from the bottom of the wings to the bottom of the fuselage (front and rear pieces, which I believe has to be installed after you drop the top in place). I used Tamiya putty to re-slope the portions slightly for a smoother fit.

Oh, and Airfix provides a decal for the instrument cluster as well as one for some detail next to the pilot’s left elbow. No harness is provided (I used a Tamiya Spitfire decal), but there is a pilot figure. I also used a leftover Eduard PE compass.

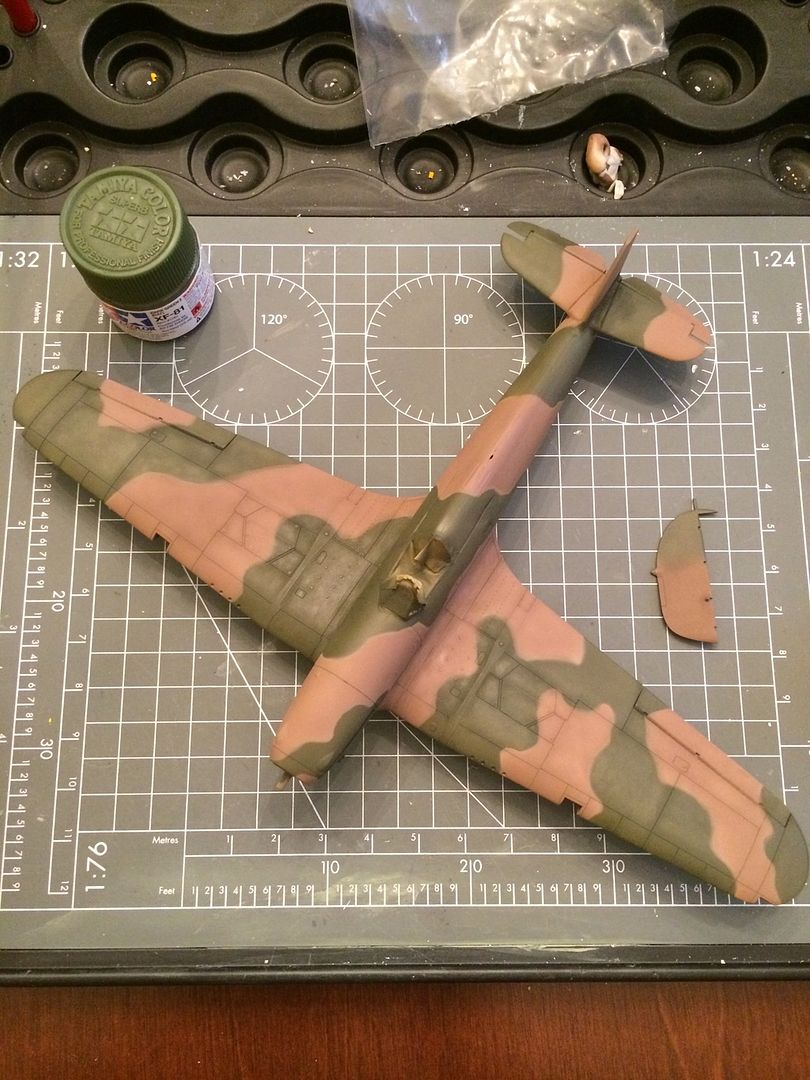
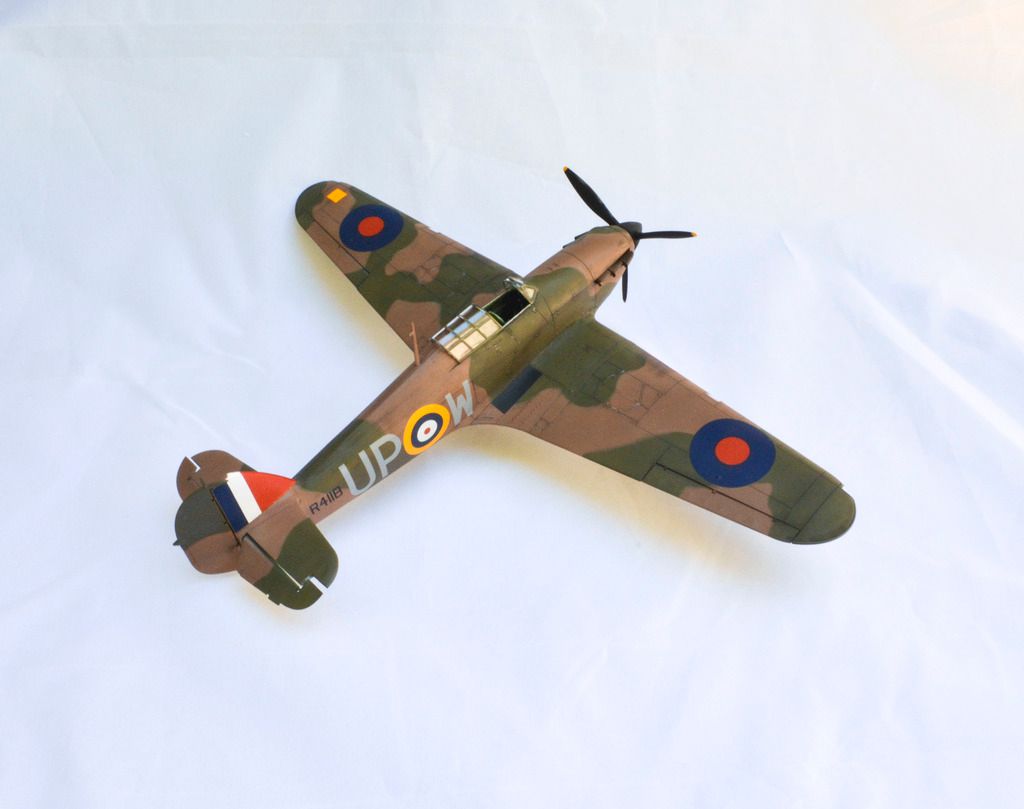
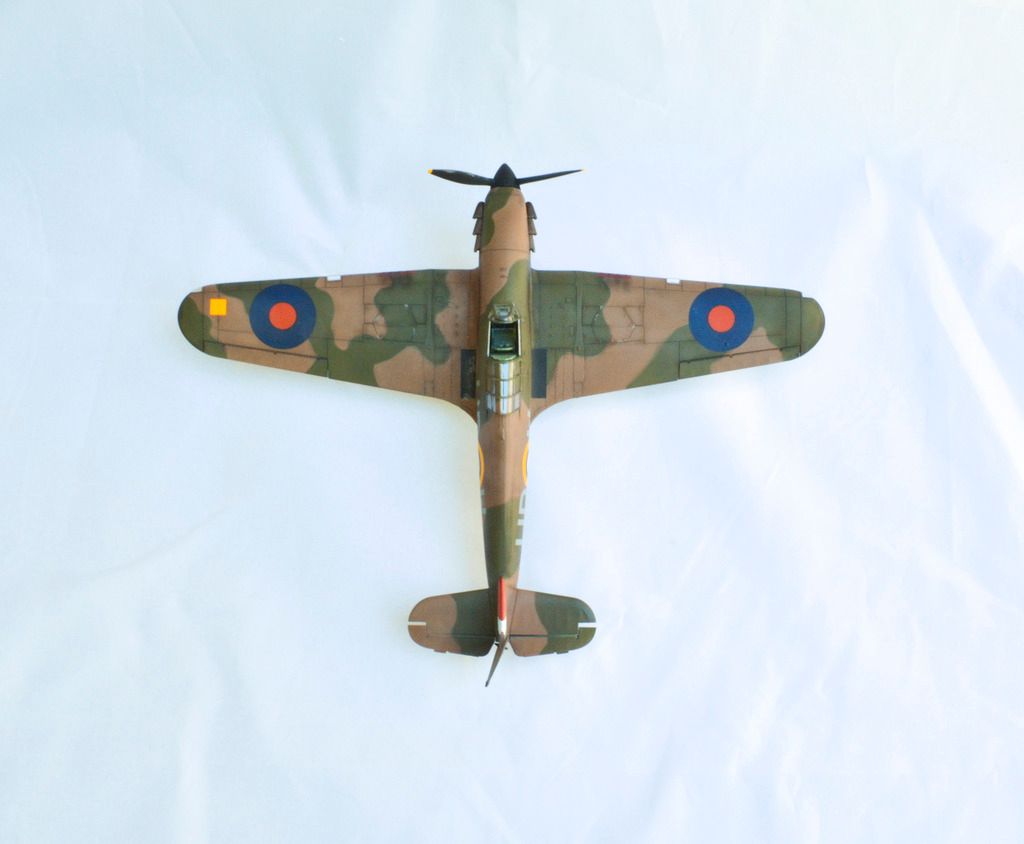
The horizontal stabilizers are each molded in top and bottom pieces, and the temptation to paint them before gluing them was there, but don’t – the joint to the fuselage required filler on mine (I used Perfect Plastic Putty). The elevators are molded as one piece, and while I will eventually glue mine in the down position since that’s how they appear to rest on the real thing, I left it loose for ease of masking while painting. You could keep the elevators and the rear bit that holds them on separate until after painting, but I wouldn’t recommend it (the rear part required filler on mine).

I installed the windscreen, but left the canopy off. The kit provides two canopies - for open or closed positions - which is a nice touch. They are also very thin, and the open option fits very well. My closed canopy had a gap at the rear, so I didn’t install it for painting and opted to mask over it instead.

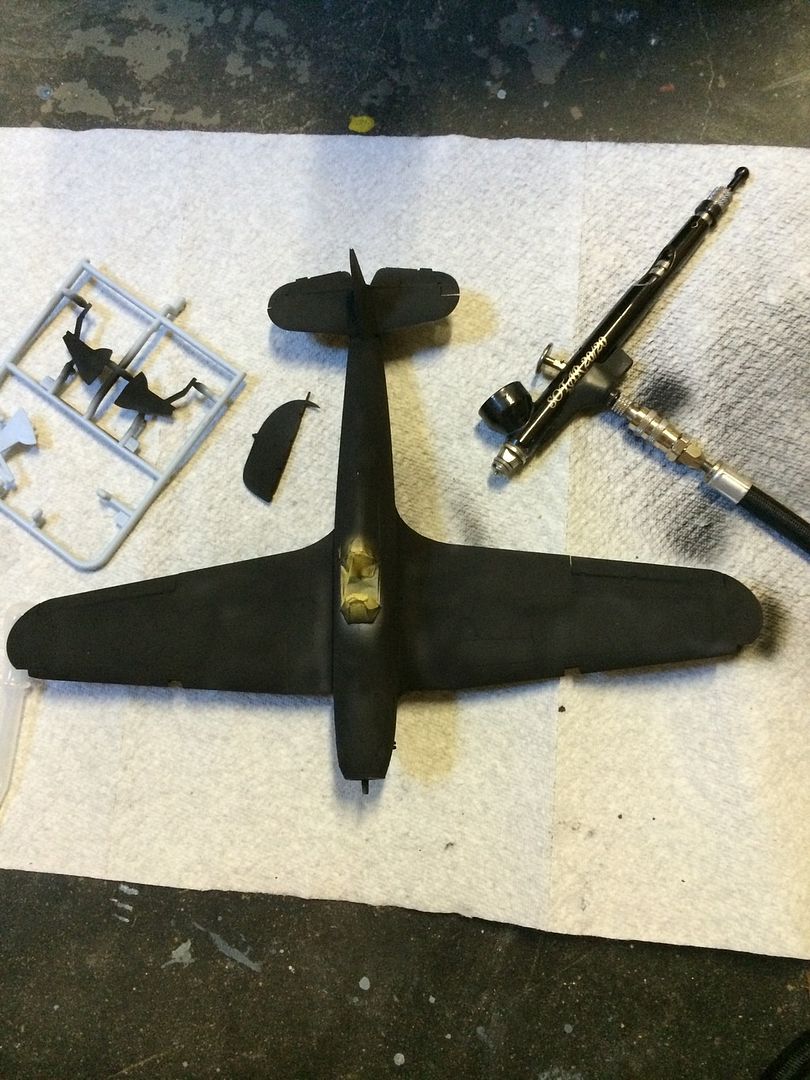
The way the canopy (open or closed) sits over a portion of the fuselage can make masking awkward, so I painted a 1/4-inch strip of dark green behind the pilot’s head so I’d have more room to lay down a mask. Any subtle variation in the paint shade will be unnoticeable under the canopy.

The kit went together quickly, and then it was off for the base coat of black. I used Model Master enamel thinned with Tamiya Lacquer Thinner 1:1 at 20 psi. I layed it down haphazardly and then sanded it with 12,000-grit micro mesh when it was dry.

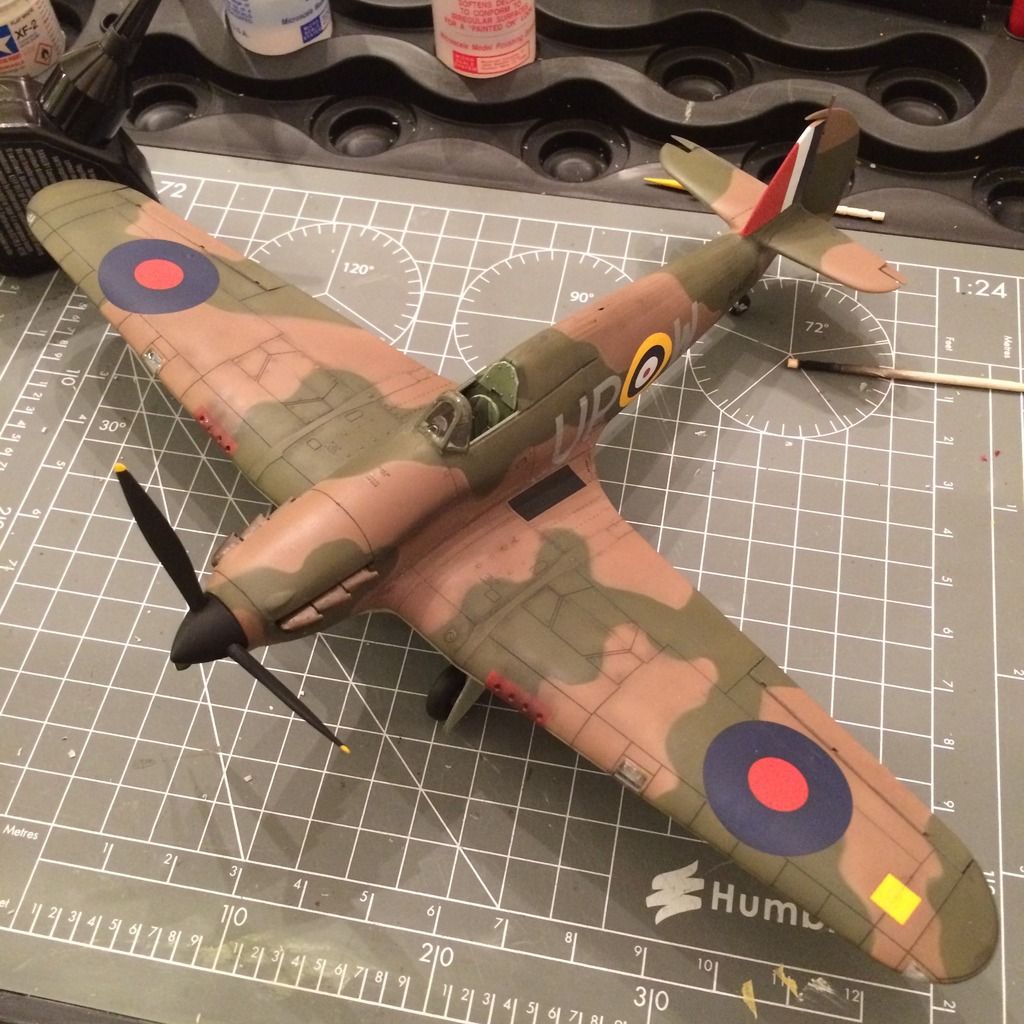
Next, I laid down the first light coat of Tamiya Sky, thinned with Tamiya Lacquer Thinner (2:1 thinner:paint) at about 17 psi (Including these numbers because of the last two issues of FSM where people were asking).

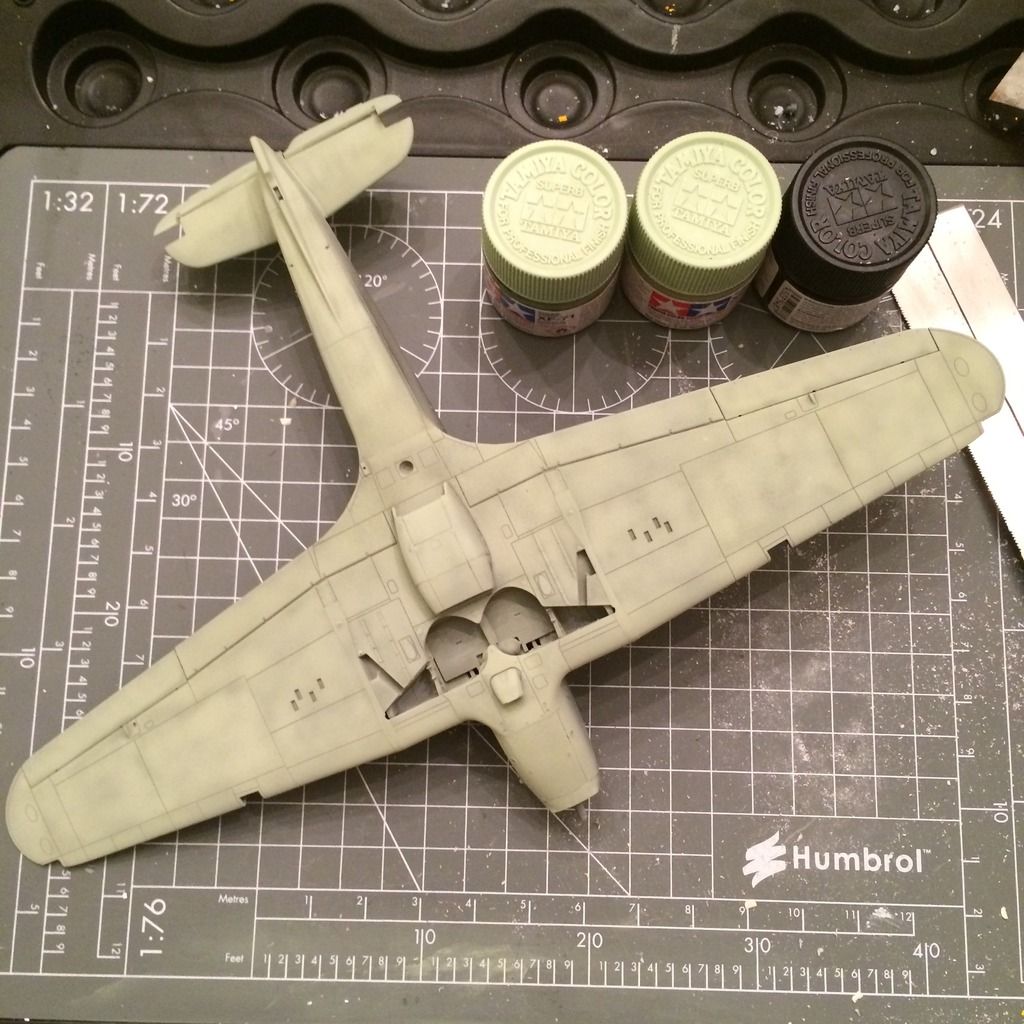
I then sanded it with the micro mesh. Right now it looks terrible, but it’s supposed to. Next step is to cut the Tamiya Sky with Tamiya Flat White 50/50 and hit the insides of the panels. Then I’ll go with a 70/30 thinner/sky mix and use it to blend the colors. Then it’s on to masking and shooting the topside.

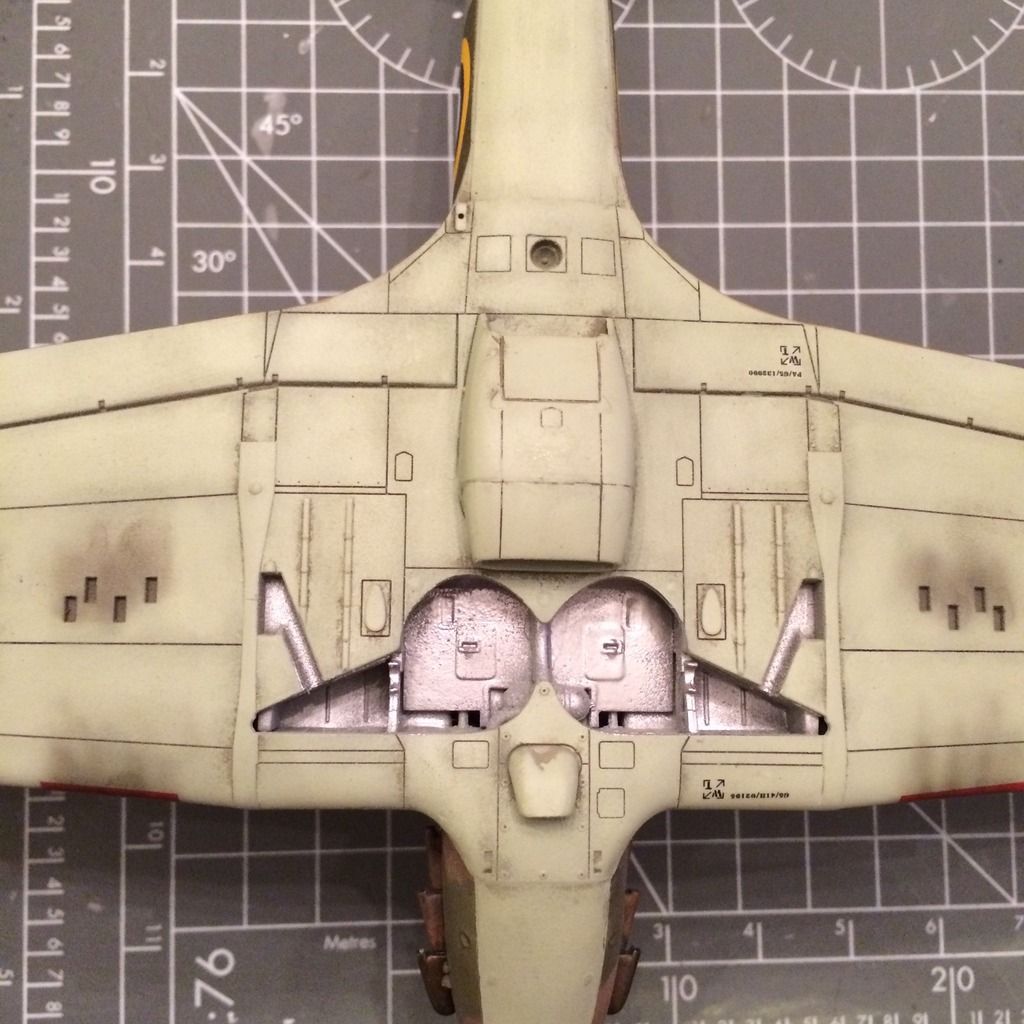
Of note with this kit is the fact that it includes different fuselage underside parts, including an arrester hook, hinting that Airfix will release a Sea Hurricane in the future.

Cheers,

-BD-

I’ve built a few of the older Airfix kits and they are less than impressive, like the old Revell kits. But, I’ve read that the new releases are really quite nice kits and on par in quality and detail with many of the better made kits today. From what I can see by your WIP that seems to be the case. I really like the cockpit build here, very cool. Looking forward to seeing this one come along.

BK

Wow, very nice detail on the cockpit! Awesome job! Waiting to see your final touches on this kit.

Toshi

It really looks like you get your money’s worth with the new Airfix kits.

Nice job so far Brandon, I’ll nbe following this one ,and tnx for posting here as well as the in GB

Looking good so far nice im building the old tooling 1/48 nice to see how far airfix has come where is the group build being held any links

Looks fantastic, funny I’ve built about a zillion Spits but never a Hurricane. Looks like a super kit, I’m going to have to pick one up for myself.

one fo the guys from the club brought this kit in on a pre order from hannants…I was salivating just looking at it!!

these new airfix kits are quite the bomb!

Nice work. I have this and their new Spitfire waiting. Your WIP is most appreciated.

Great build Toshi!!

I like how you let us know how you are painting your planes and the paints you use. It’s a BIG help!!

Ok, it’s been a few days, and I have the paint basically done (just a little touching up here and there before I go to clear coat tomorrow (technically later today, I suppose).

I used Simply Tacky to mask after I painted the green. I shot the dark earth on tonight after work and pulled the masks when it was dry to the touch. THis is where I am now:

I also painted a few bits of the canopy rail. I didn’t mask it during the build, so I’m doing them one by one with thin strips of tape. Takes forever, but hopefully it works out.

-BD-

very nice!!

That camo looks fantastic. I can’t wait to build this one…

I plan to get one in the future when I make a trifecta purchase of 1/48 Spitfire , Hurricane and the Defiant!!!

Thats looking very nice there BD. That cockpit frameing looks well detailed. And you have done a greta job on the camo.

Thanks, everyone! I’ve made some more progress on the Airfix 1/48 Hurricane Mk.I.

When the was done, I went to the decals. Against my natural aversion to them, I used the decals for the tail markings…and to my surprise, they worked very well. I only had to paint the leading edge, and the decals matched perfectly with Tamiya XF-7 for the red and XF-2 for the white.

The rest of the decals and stencils went down without issue. It took several dosings of Micro Sol to get them to sit over some of the raised details (the roundels on the upper wings, specifically), but they all sunk down into the panel lines quite well. I’m guessing they’re printed by Cartograf.

After looking at the restored aircraft this one represents, I decided that I should actually respray the wheel well aluminum. And in this week’s edition of “Crap, I sound like my father,” I will say that it would have been way easier and faster to do it right the first time.

For the exhaust stacks, I tried to replicate the brownish metal patina (not rust) of the Hurricanes I’ve seen, along with the exhaust staining on the back two exhaust stacks. I base coated them in gun metal, then gave them a wash with metallic brown before giving them a very thin coat of clear orange. Then I gave them a Flory Grime wash, and finally dull-coated them and used the Tamiya weathering kit (the one that looks like makeup) with the oil stain pigment. The exhaust streaks on the fuselage were applied with airbrushed Tamiya smoke at about 25 psi. After that, I streaked the Tamiya weathering kit’s oil stain with a hint of burnt blue in it. Then I ended up wiping most of it off, so I really have no idea what the final result is made of.

I’m working on throwing some mud staining on the underside, as those grassy airfields in England in September weren’t exactly dry, and I’ve seen that on some BoB RAF planes.

I’m hoping to have it done by Eagle Day, and then, if the votes on my Instagram page hold, it looks like I’ll be doing the Stuka next.

-BD-

And it’s done in time for Eagle Day! (Finished it late last night, and it looks to have just returned from its first mission).

Overall this was a fantasic kit with great decals that provided minimal problems and a whole lot of fun.

Without being too wordy, I’ll just get to the pics.

All comments and criticisms welcome. The dirtiness on the bottom is meant to represent mud flung up on a grass runway. The exhaust streaks are airbrushed - the first time I’ve used the airbrush on an already-decaled model. I used the airbrush for the gunsmoke, too. The other dirt is ground up Yarka Sauce brushed on, then wiped with a damp finger.

Thanks for looking!

-BD-

P.S. Please excuse the photo lighting. I had to shoot them at lunch today, and the sun was pretty stark and threw off the white balance, and I’m not good enough with Photoshop to fix it.

Pretty solid build! Great work on the camo and the weathering.

Wow! Brandon, you’ve hit that one out of the ballpark! That’s a great looking 'Cane dude, the camo work is fantastic. Uh, I don’t know how I did it but something happened to this font. I didn’t know how to change the size but suddenly, this happened. Any ideas how?

Superb job. Fantastic work again. Thanks for taking us along.

BK

Awesome model. Man, you’ve got some SKILLS! Nice job on the weathering and panel shading too!