First, I have to say that a lot of things went wrong with that build. I first started that plane in february after assembling the Revell 1/96 apollo saturn rocket to redecorate the room of my oldest child. So that plane represent my return to the hobby if I may say so. After the assembly work, it was put aside because of the /?%&&$ putting and sanding job it required. After several months, I could finally look at it and tell me “I can finish it”. So I got back to it with the $/?%?&$?% putting and sanding job. Do I have to say that I screwed it up really bad. It doesn’t show much on the pictures but the engine intakes are ugly. The fun came back when I was ready to paint it. I really enjoyed the doing the paint on that bird and I used the pre-shading technique for the first time with very subtile results. But in the middle of the paint job, I droped my airbrush on the floor and the activation button broke apart. (It is a cheap Mighty mini from Testor made of plastic) So now I have an airbrush with electric tape around it. Then came the “Coating with Future” part. It went good except that I didn’t know I had to mask the canopy. The Future builded up on the canopy and it has a bumpy texture (I don’t know how to fix it)
Now the decals … My model was sitting on a turntable on my workbench so I can work easily on it. I was in the middle of the decaling process when I hit the bottle of micro sol sitting next to the turntable and it splashed directly towards my decal sheet. Within a second, I grabbed the decal sheet to bring it in a safe place but the bottom part of it was already wet. So there it goes, the numbers that go on the wing were destroyed and the false canopy decals were soaked wet. It put them aside to let them dry. Finally, most of them were still usable but not the numbers. So I had to use some numbers that goes on German Tiger I to replace them but they are white instead of light grey.
So even if all these misadventures happened, I’m still happy with that build. The end result is not so bad for my first aircraft. I learned alot and it will not be my last one. So enjoy and all comments are welcome.
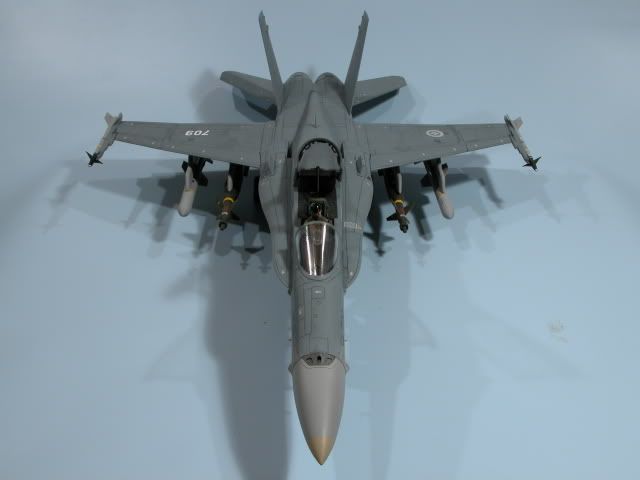
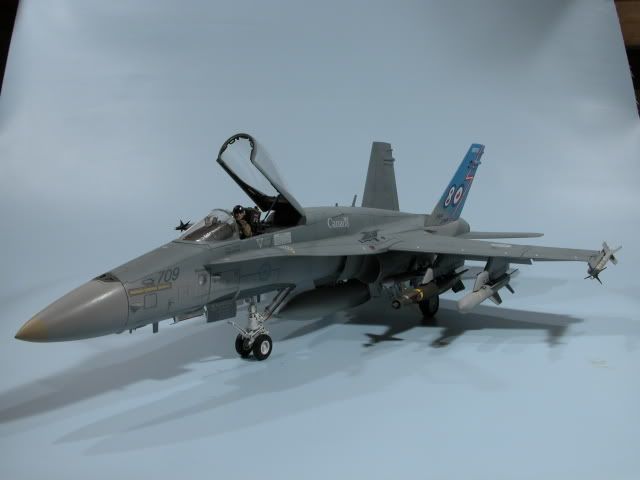
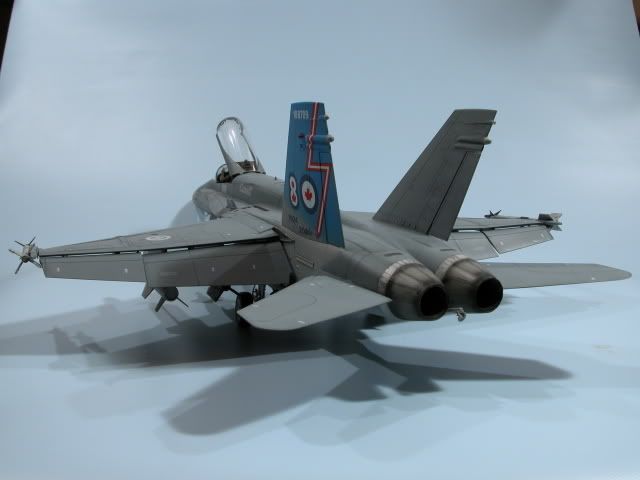
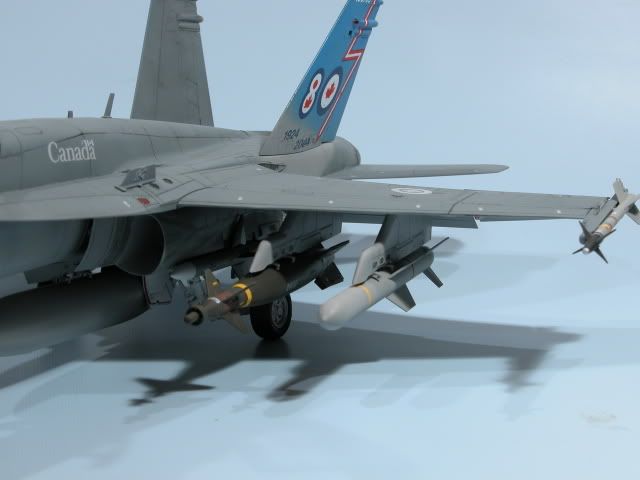
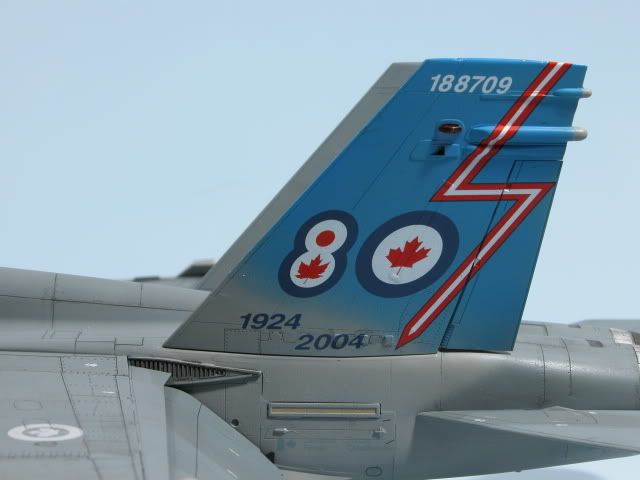
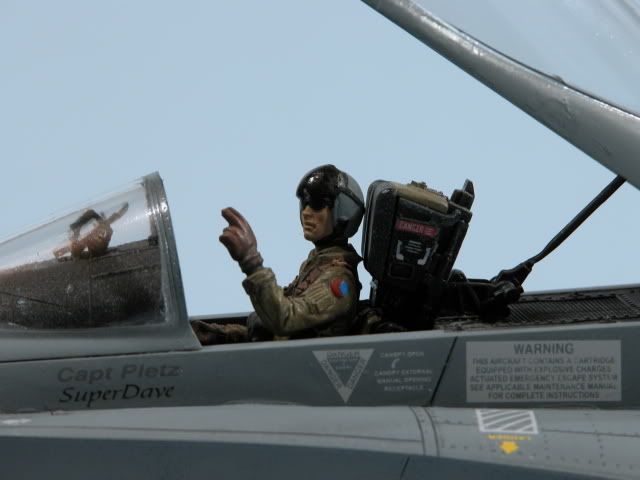
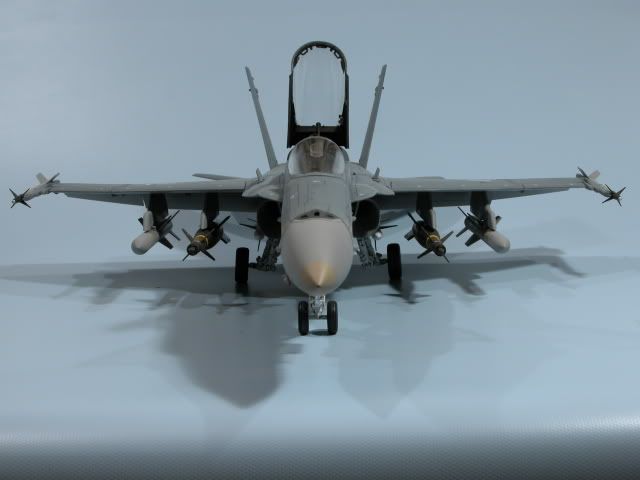
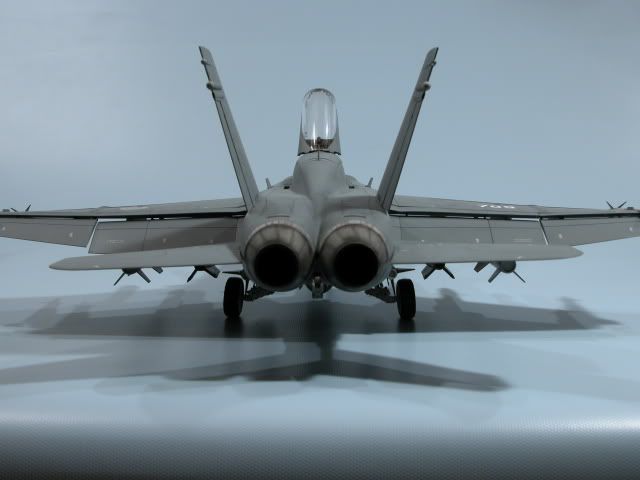
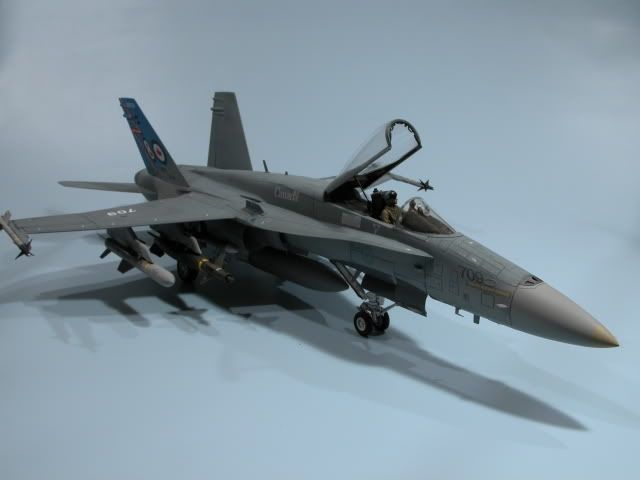
My Academy 1/32 F/A-18 Hornet depicted as a Canadian CF-18 CAF 80 years special


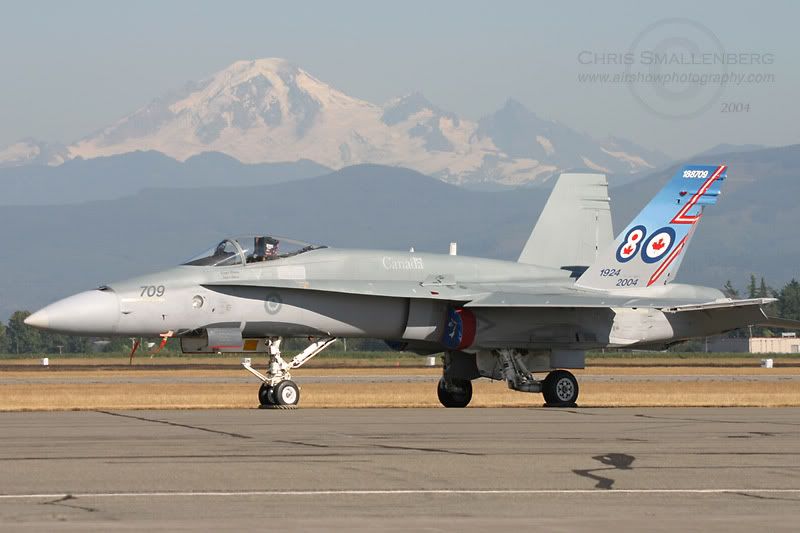
And here is the real thing