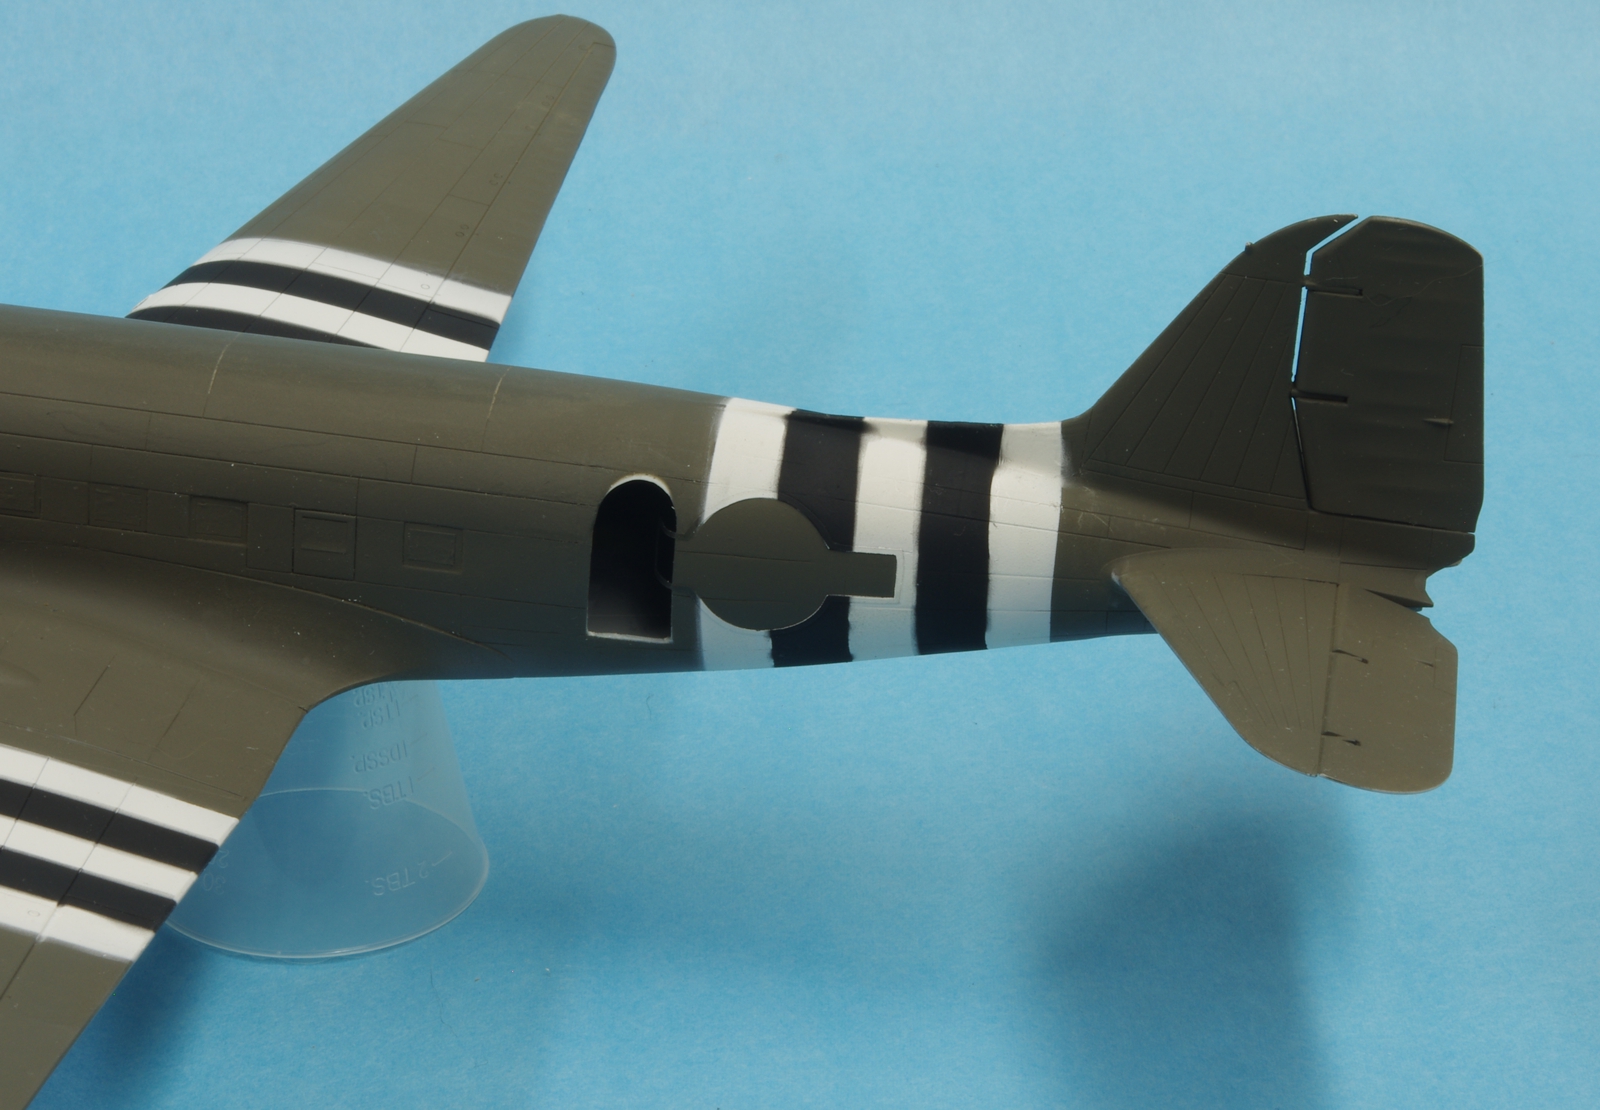
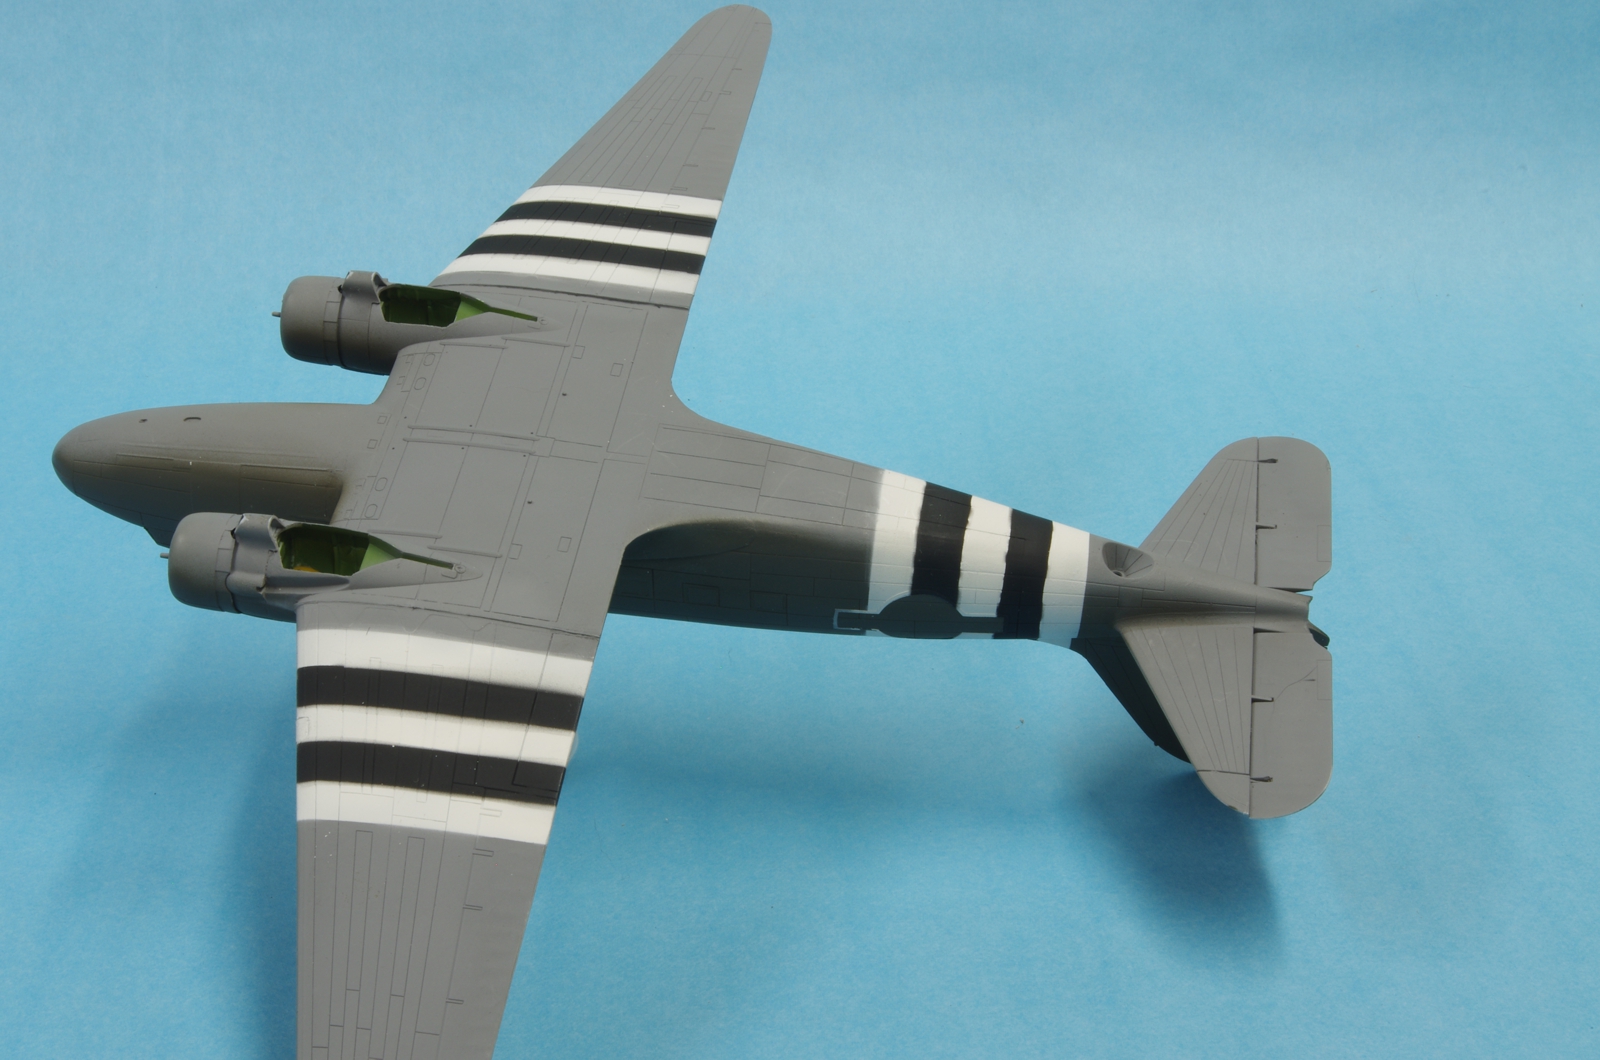
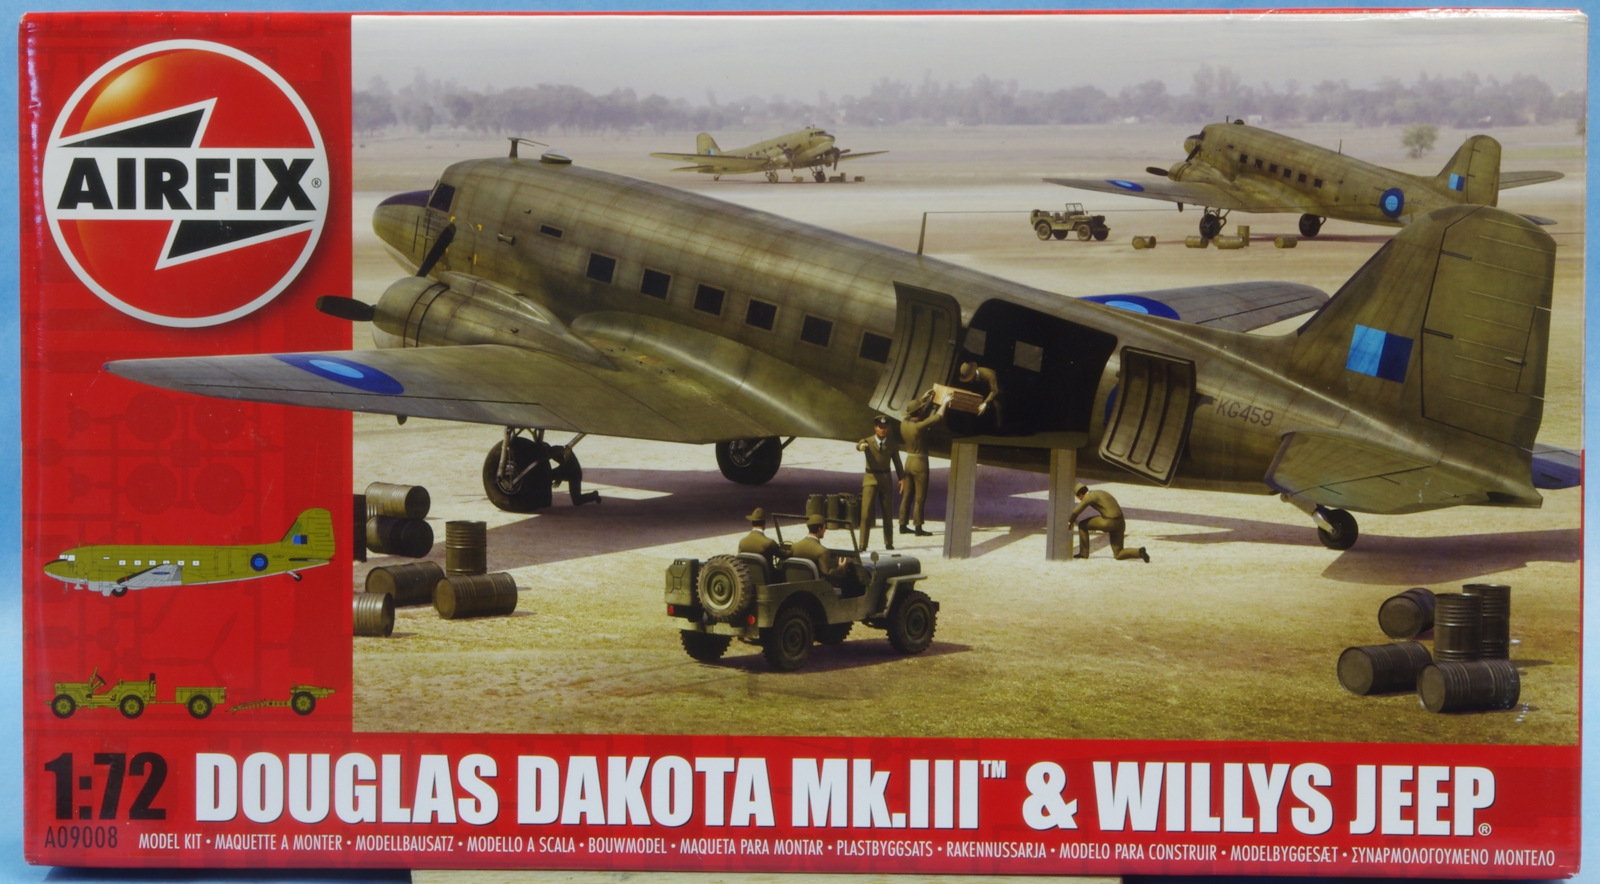
This is the kit that was released as a new tool in 2014. The Dakota Mk. III boxing was used but US Markings will be applied and it will be modified to be a C-53D with a single
door on the left, larger than but similar to the airline style door. C-53’s did not have a reinforced cargo floor like the C-47 with its double doors. Out of 406 C-53’s, 159 were C-53D’s. Another difference the D had was the side mounted seats like the C-47, other C-53’s had row type seats. Over 10,000 C-47’s were built.
I started this kit in early November, intending it to be the tow plane that was used to tow General Pratt’s CG-4A. It was put on hold pending information from the Air Force History Office at Maxwell AFB. It now appears that the information I need will be at least another 6 months in coming so it will be built as the C-53D at the Aerospace Museum of California which is from the same squadron that towed the Fighting Falcon carrying General Pratt and may in fact be the plane that towed it.
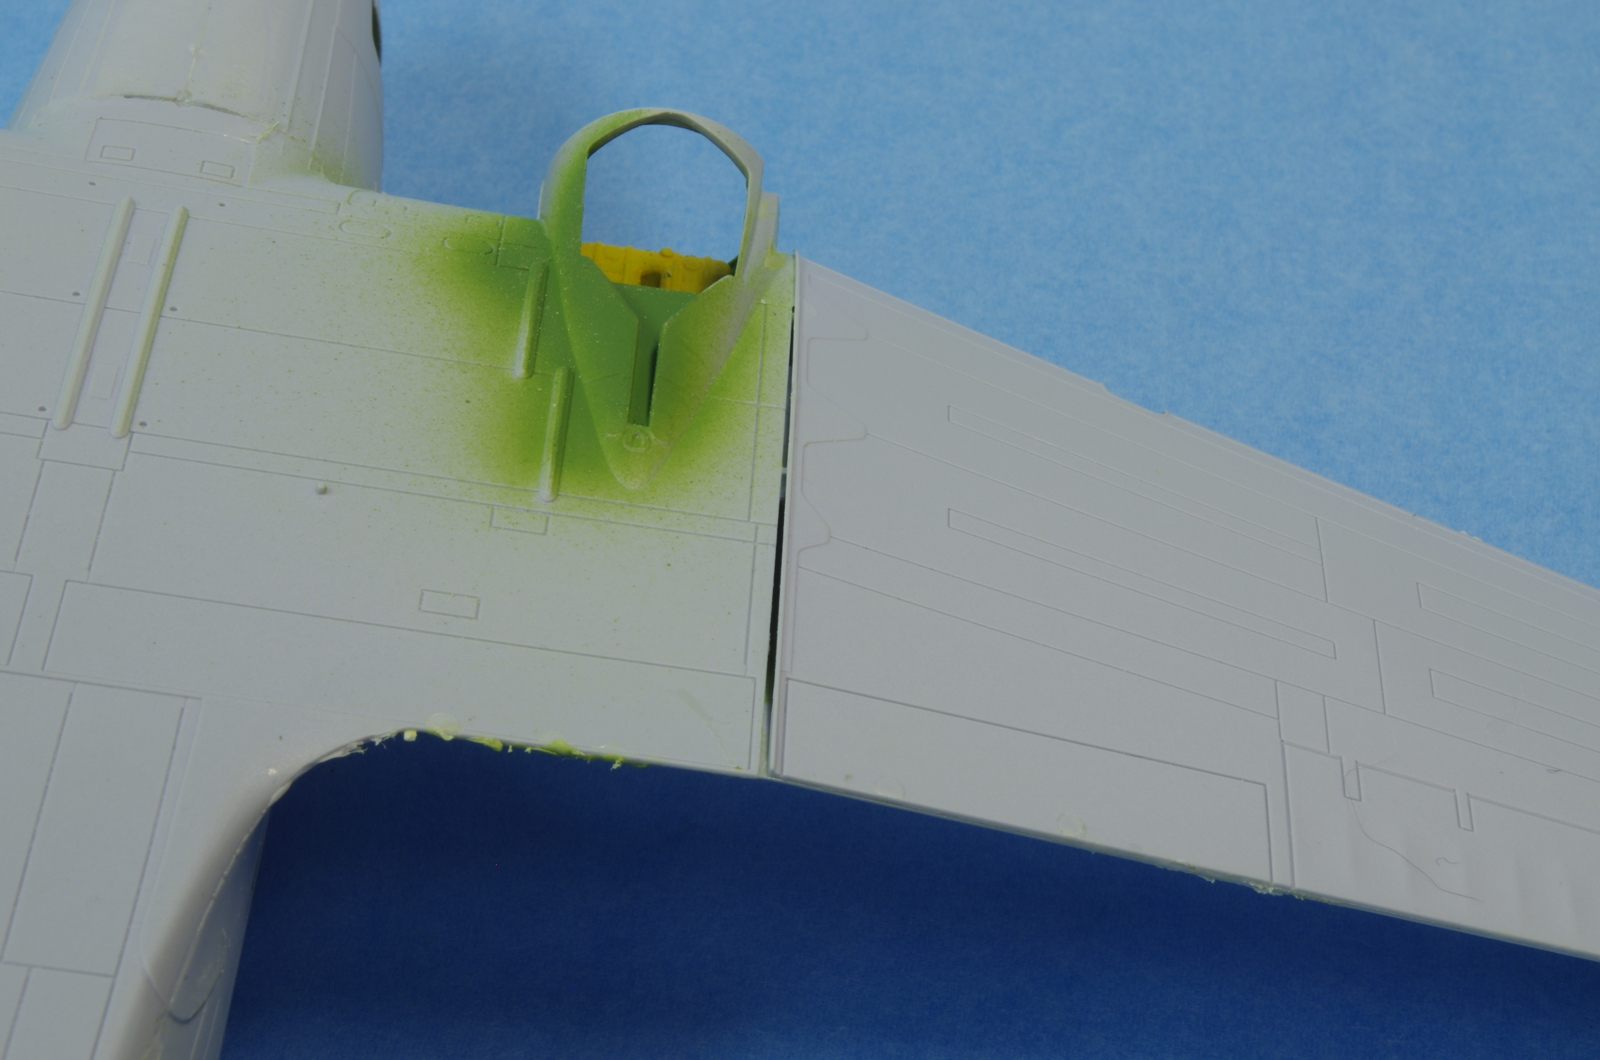
The kit has a very complete interior. Painted with Model Master Interior Green and AMC Grey on the floor. The rudder pedals are odd, at first look I thought since they were not centered I would pose the rudder to be offset the proper way, but a second look made me realize the copilot’s pedals were commanding a turn one way and the pilot’s the other. Hmmm… Seat belts are painted Tamiya Tape.
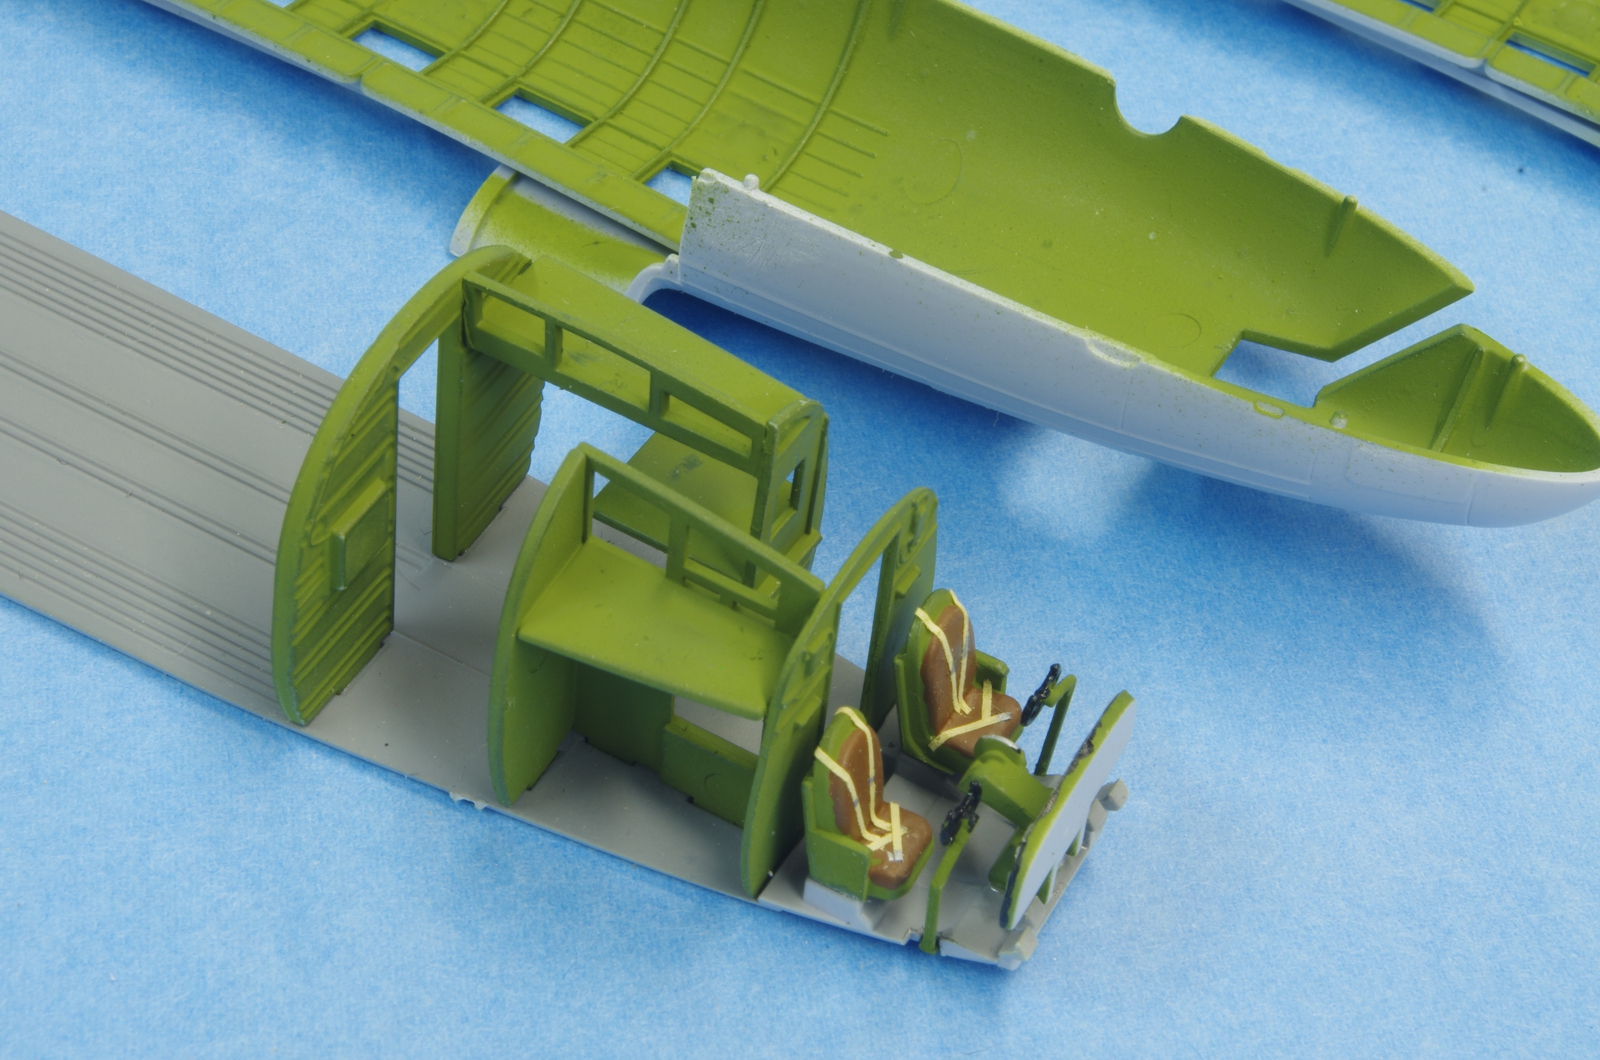
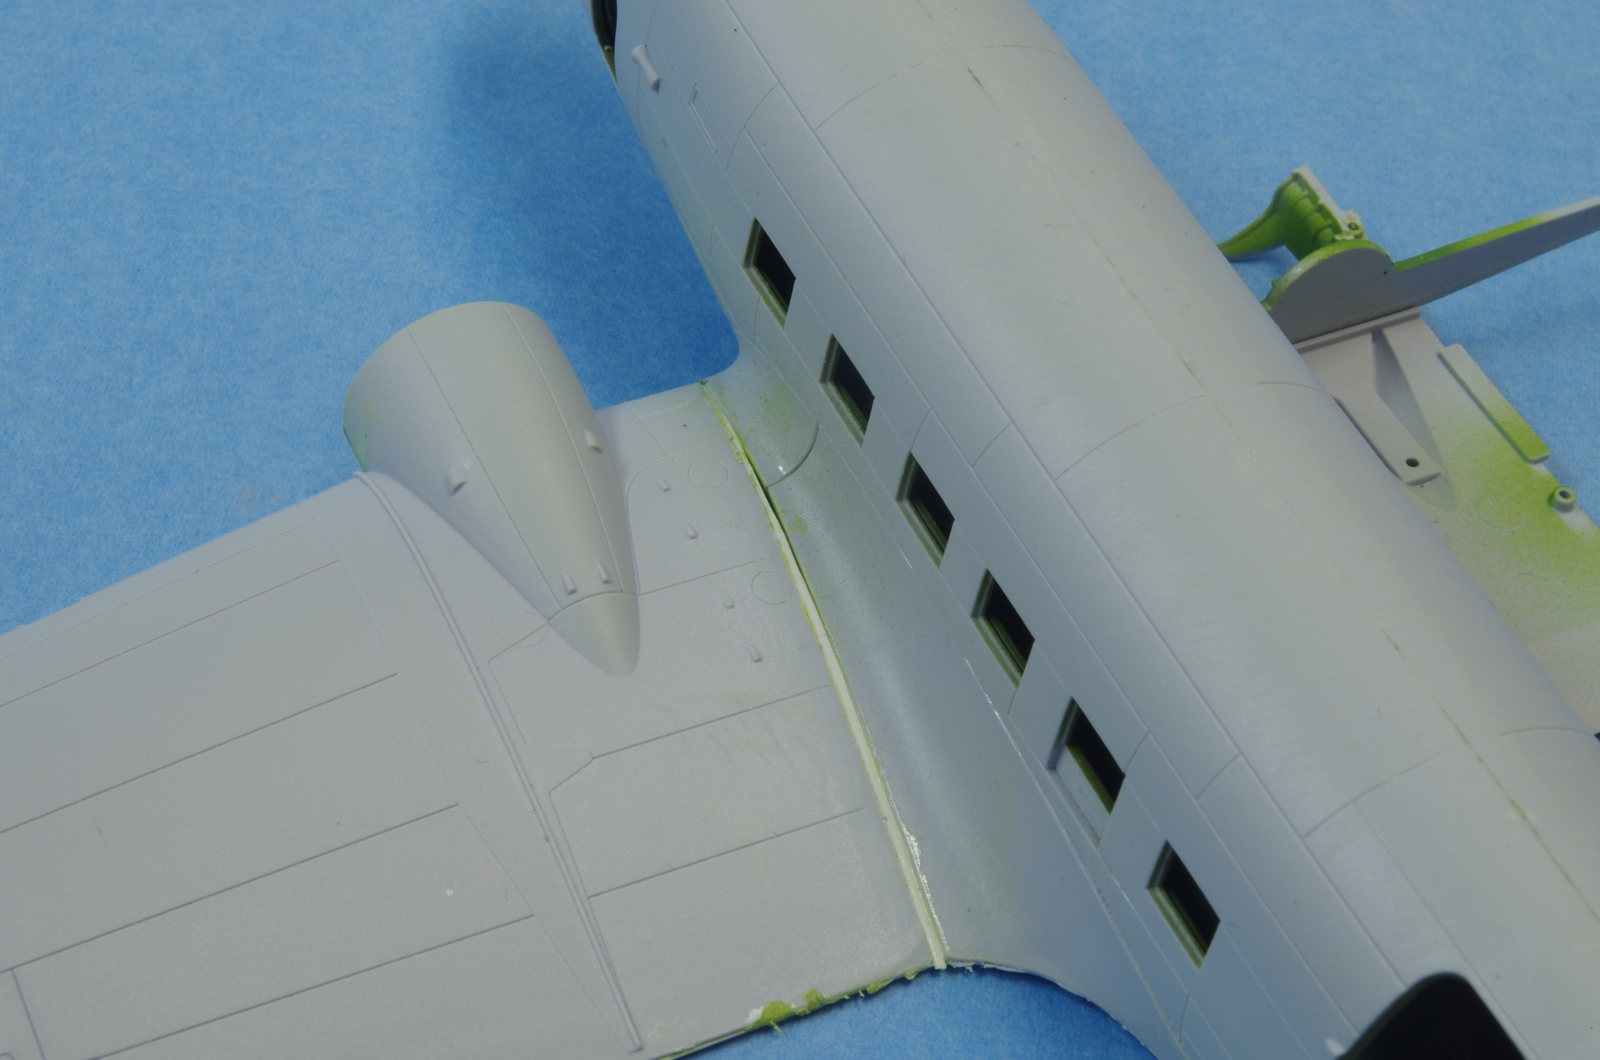
The part at the bottom of the photo is a light bar that runs down the top of the cargo compartment. Flat white was flowed into each recess and Future was later dropped in from a twisted wire fork.

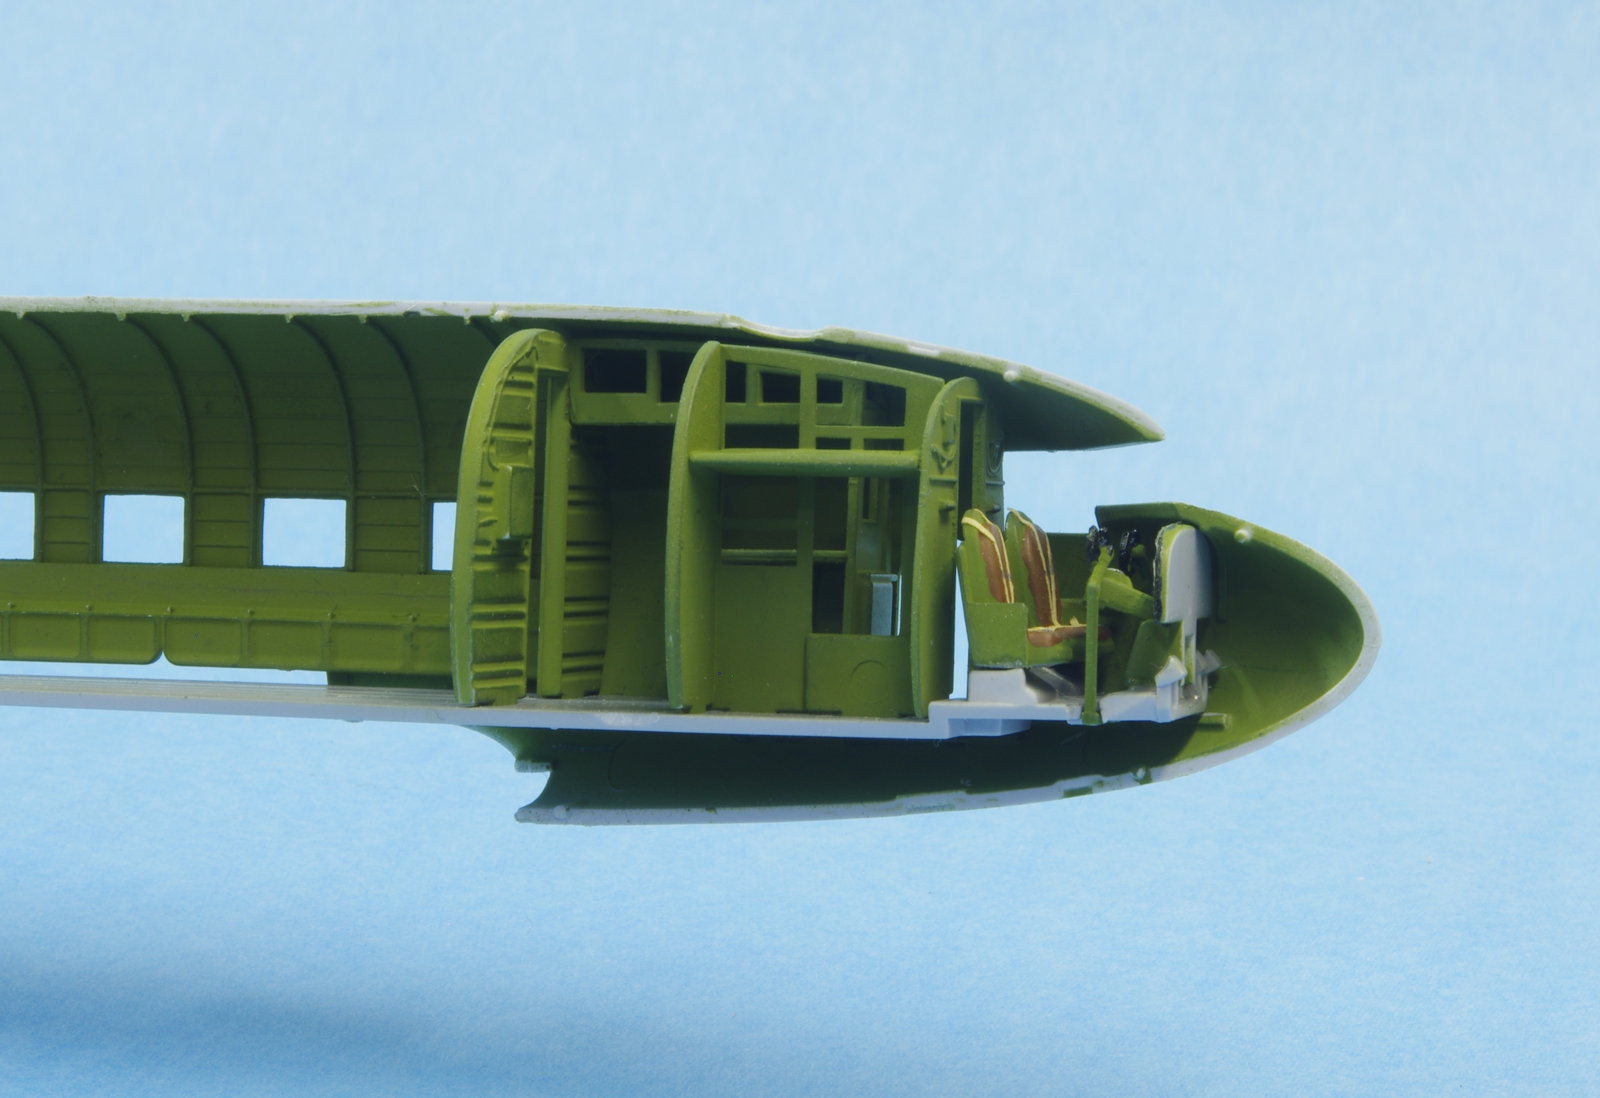
This is the last time the instrument panel will be seen.
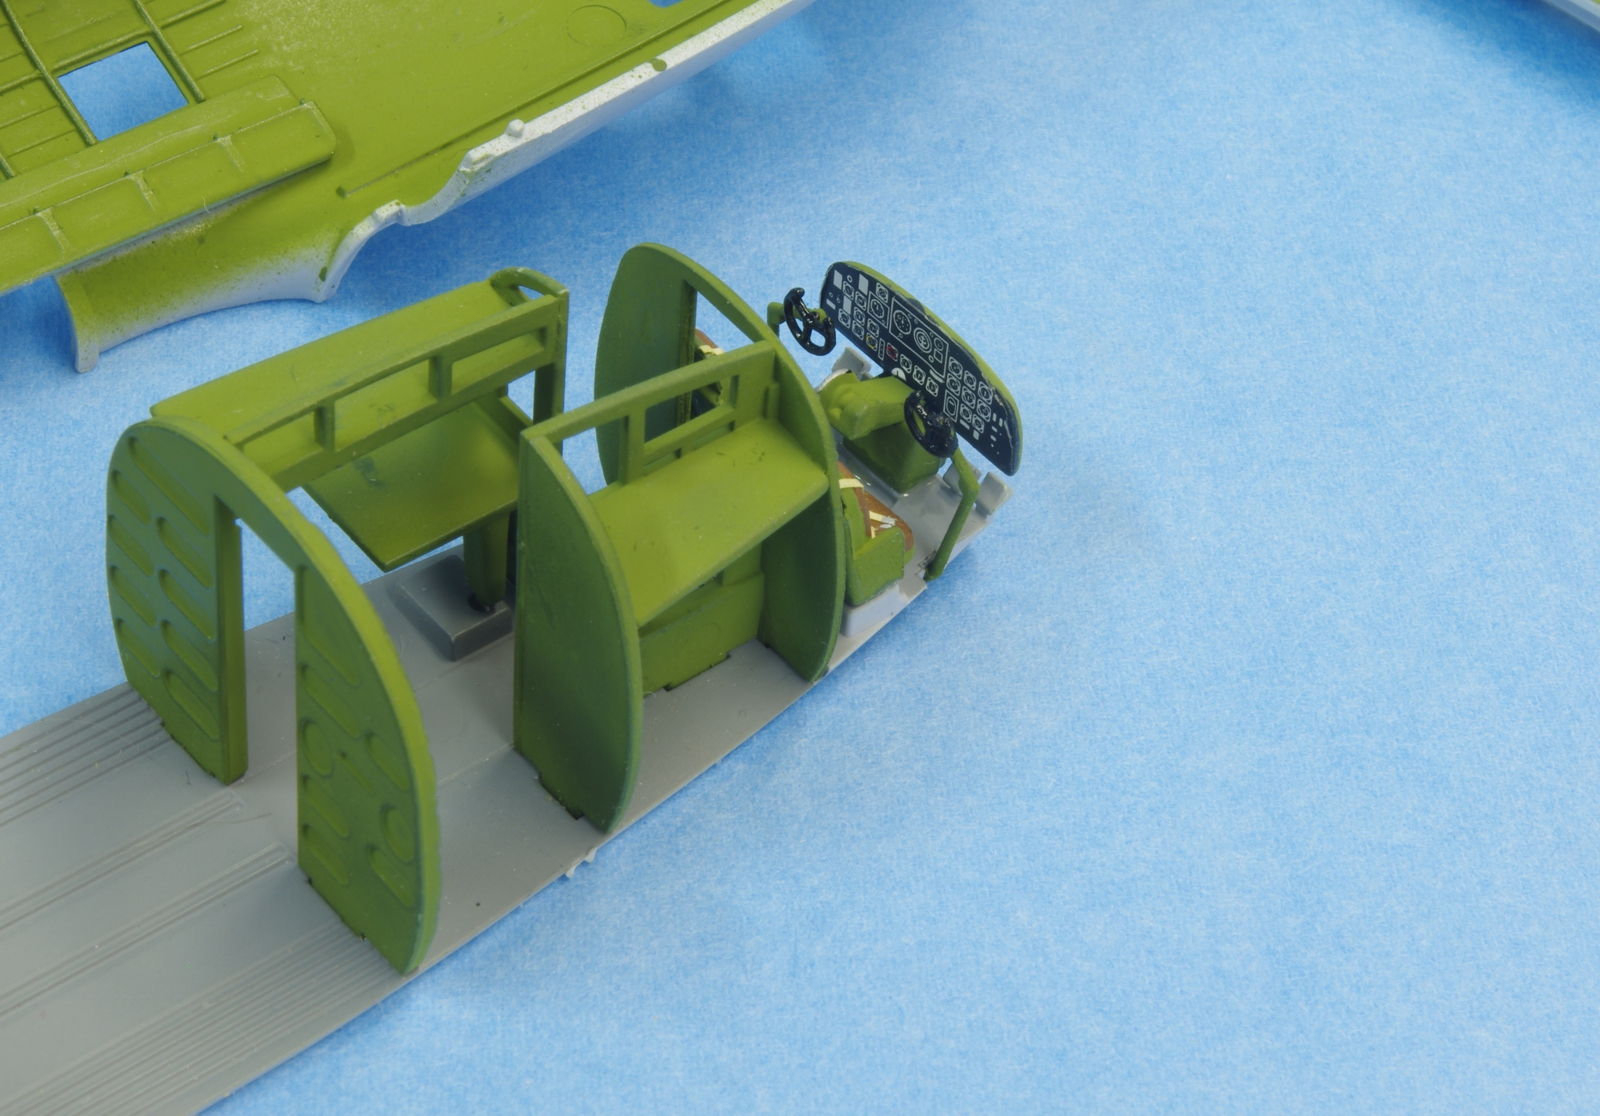
The interior parts were not glued on to a side of the fuselage until the fuselage halves had been glued together, that way it floats into the center. It will be sufficient to only glue the aft end anyway and that is easy to do because of the open area that later will be covered by the wing lower center section. Some sanding had to be done on the fuselage bulkheads shown here to get the fuselage to close up. It wasn’t much but it took several trial fits to sort out where things needed to be sanded.
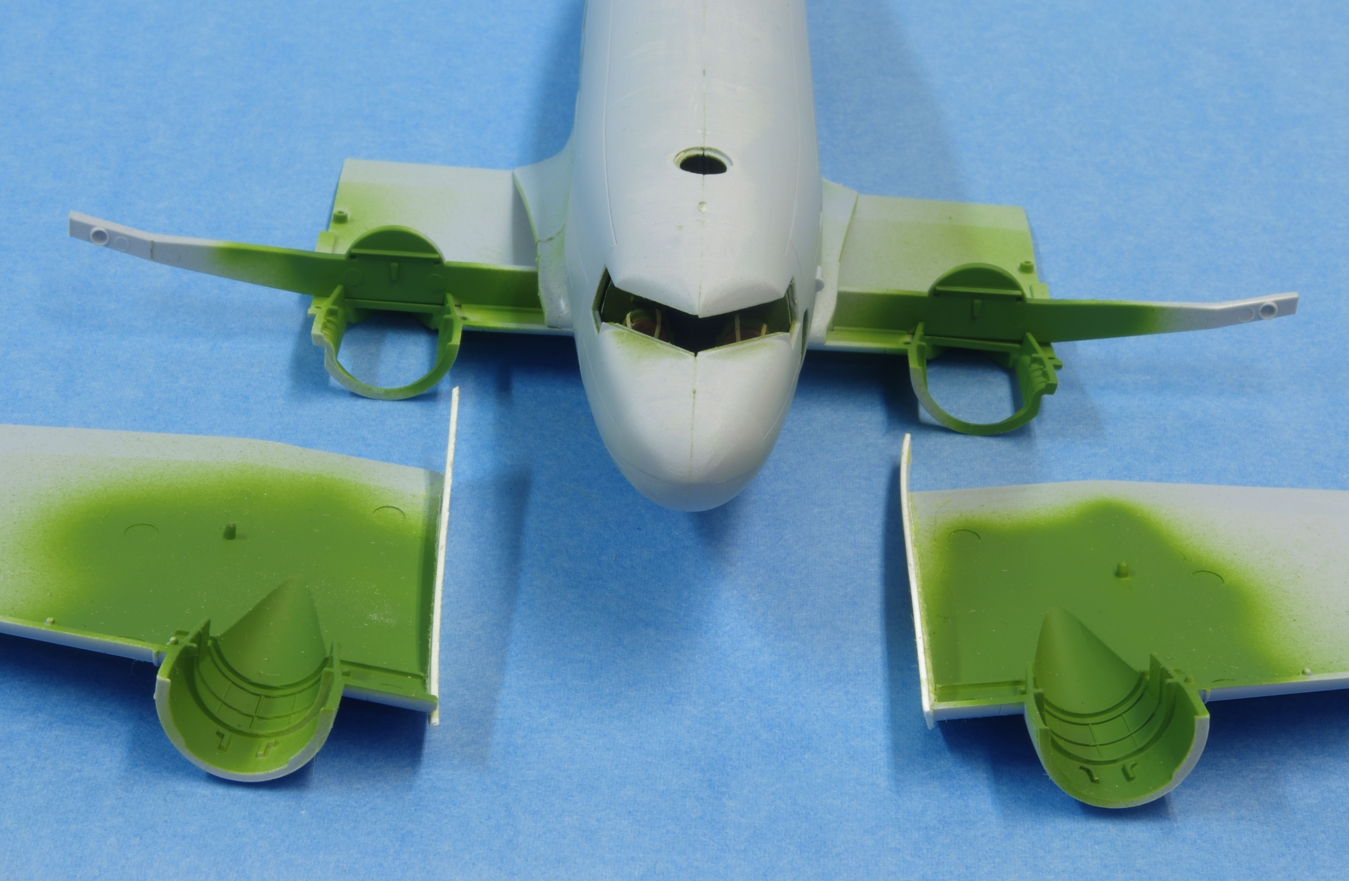
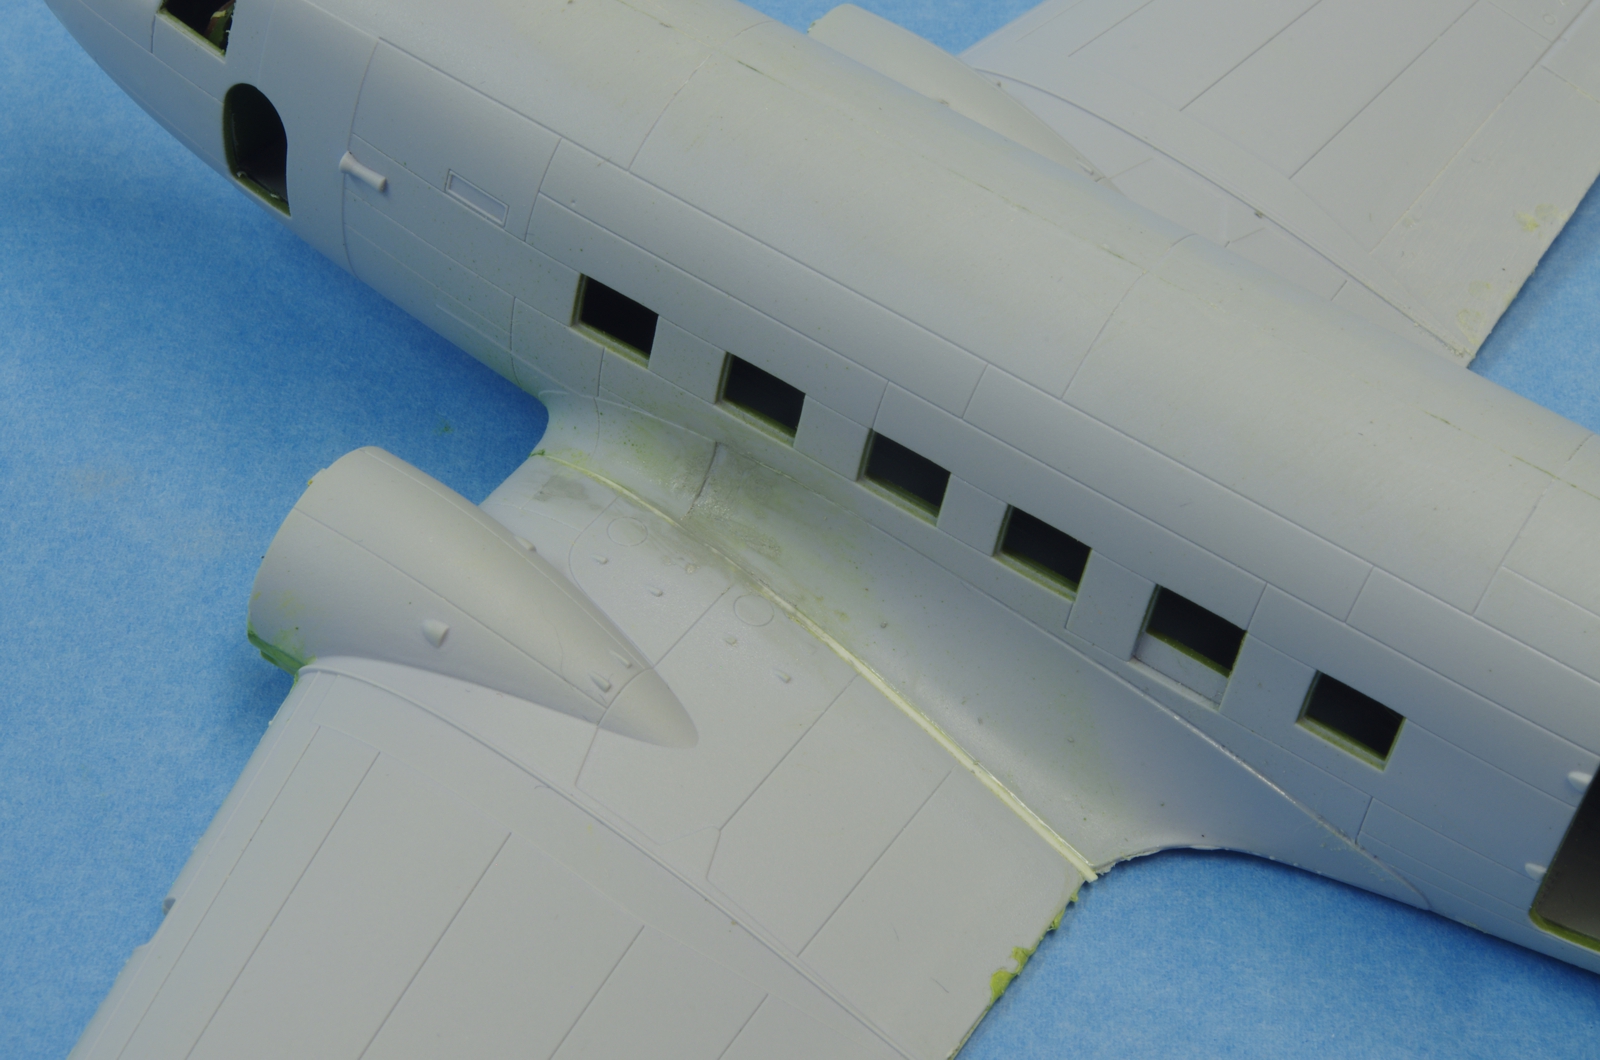
The wing fillets are separate parts that are glued on to the fuselage and they fit well and were easy to get in place. Although the lower wing center section fit well to the fuselage with the spar in place, it was necessary to thin down the spar where it nests into the lower wing center section before the spar would drop into position where the upper wings would mate properly at the nacelles and leading edge, at first there was a gap at the leading edge. The spar height was OK but the width fore and aft did not rest all the way down in the groove in the lower wing center. When the upper wing outer panels were test fitted after the spar was thinned on the lower edge they mated very well everywhere except at the wing root, so .020 plastic card was added to the root of the upper panels to improve the fit.
No pains were taken as to shape before the plastic card was glued on. After it had cured sufficiently it was carved to basic shape with an Exacto knife and then sanded to conform to the upper line of the wing and to clear the spar as well as to mate with the trailing edge properly.
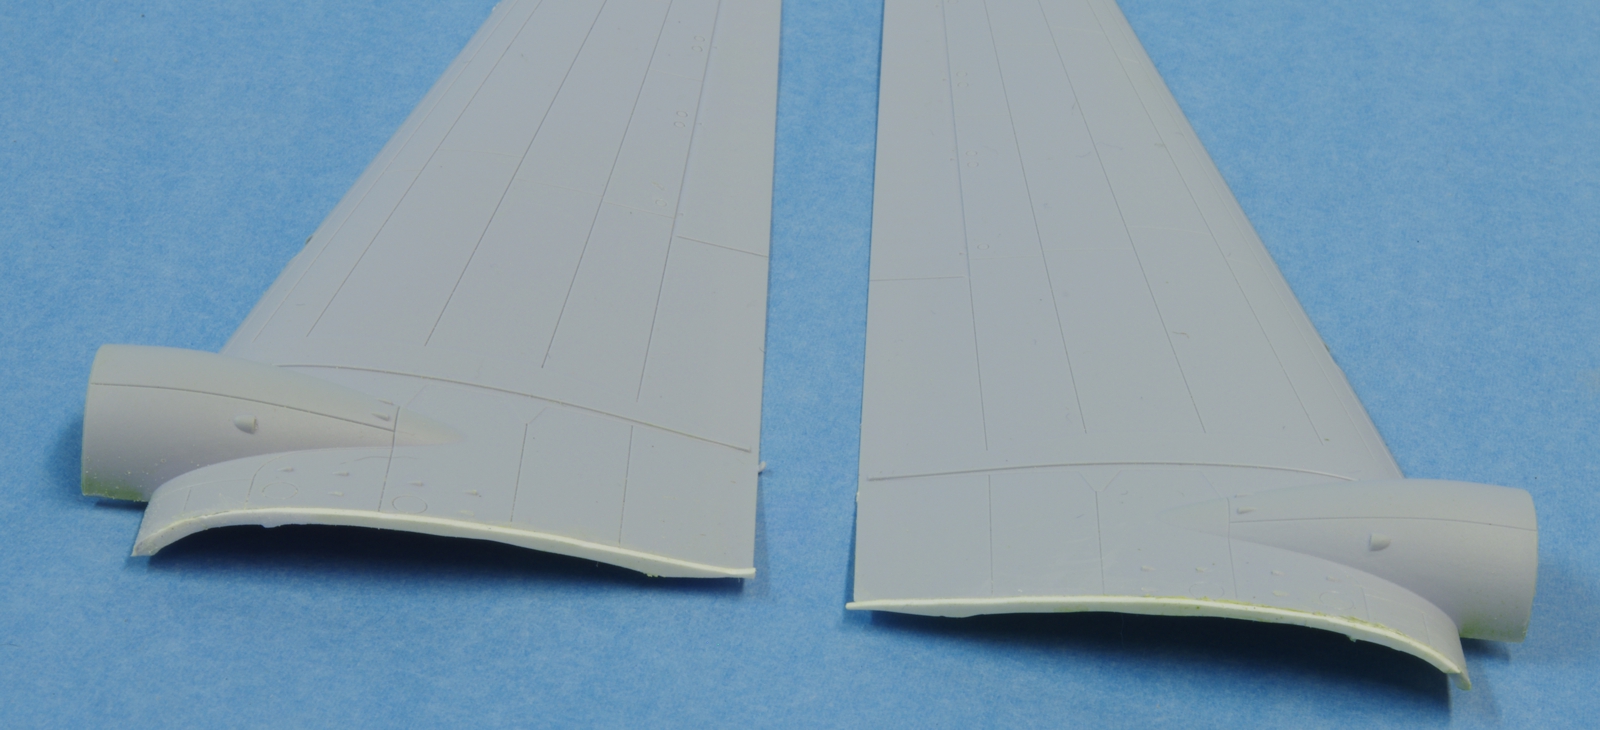
The lower outer panels had a gap as well, the same on both sides and getting wider as they went aft.
The .020 plastic card did a good job on filling most of the gap on the upper wing roots, and had to be sanded slightly up at the front.
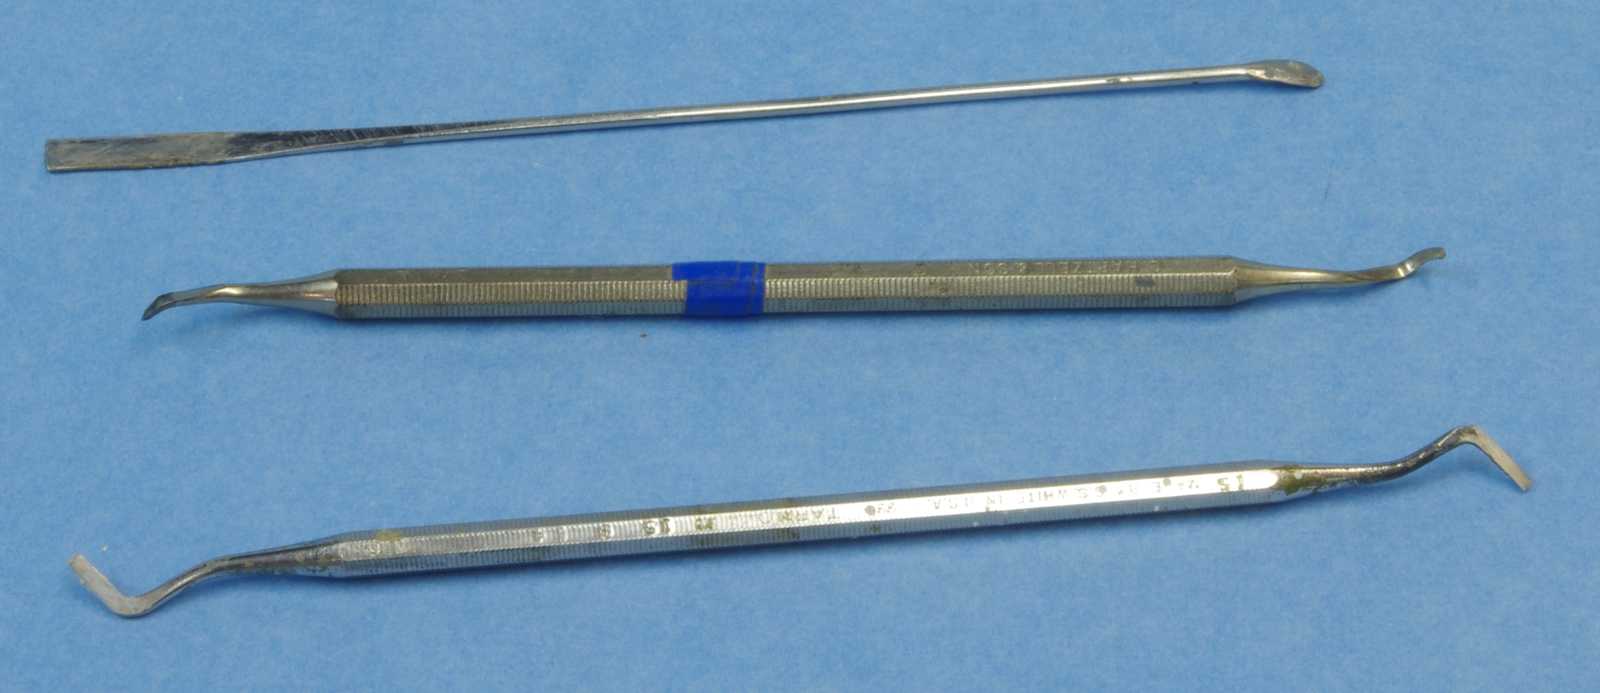
The two lower dental tools have been useful in filling gaps surrounded by fine detail. They can be used to place small amounts of filler accurately and to scrape away unwanted filler while it is still fluid enough. The top one is better for curved areas or where there is more room to work and more filler can be applied. The less filler that goes on, the better the sanding elbow will feel.
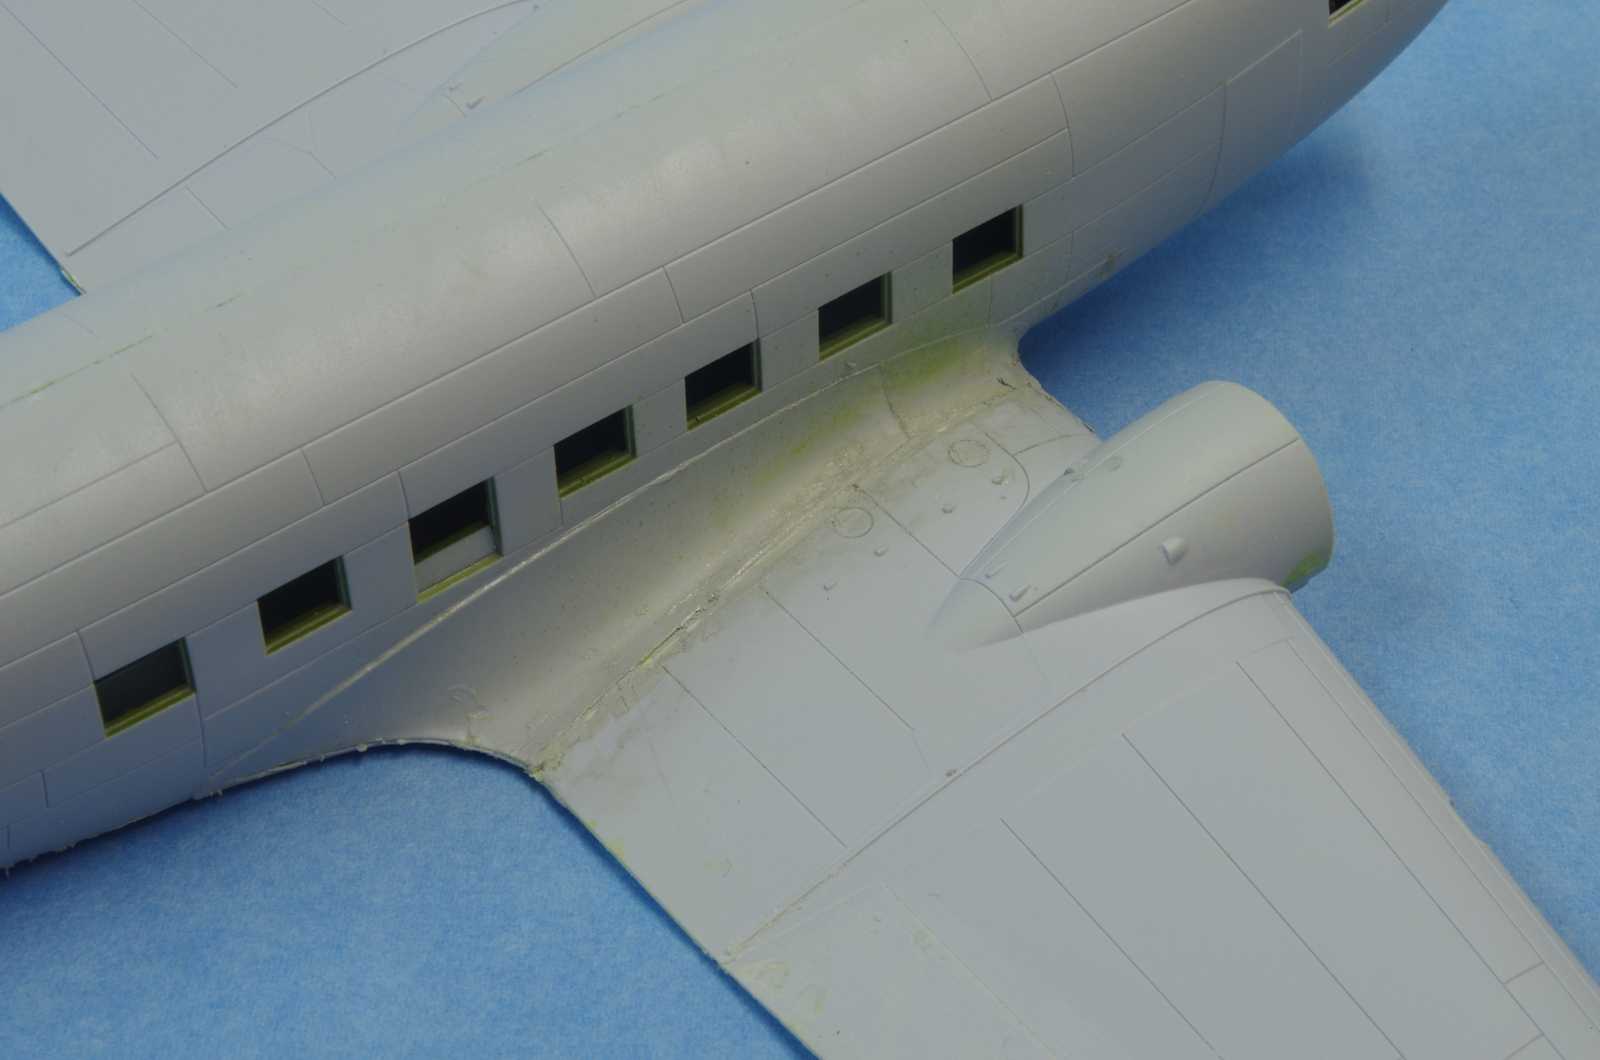
There was some interference with the spar on the lower outer wing panels which was alleviated by removing some of this flange. It still fit properly at the landing light area.
The remaining upper wing panel gaps were filled with Tamya putty, again as little as possible was added and filled detail was cleaned with a scriber. No sanding has been done at this point.
The lower left wing join before sanding.
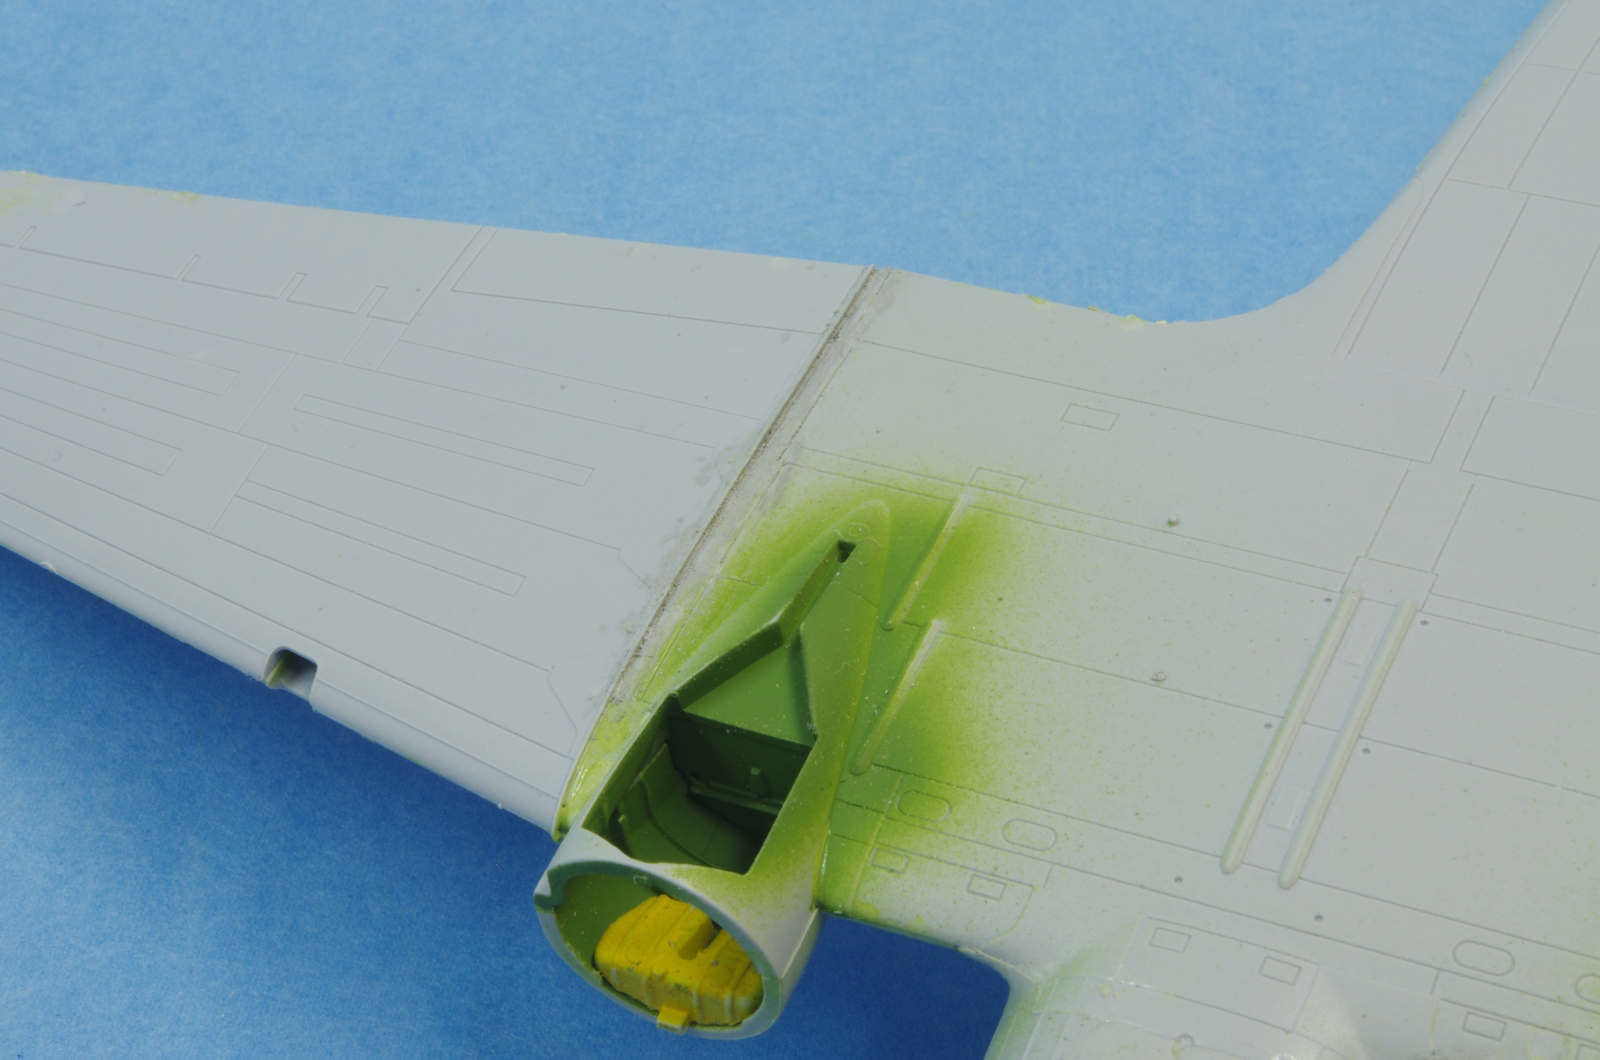
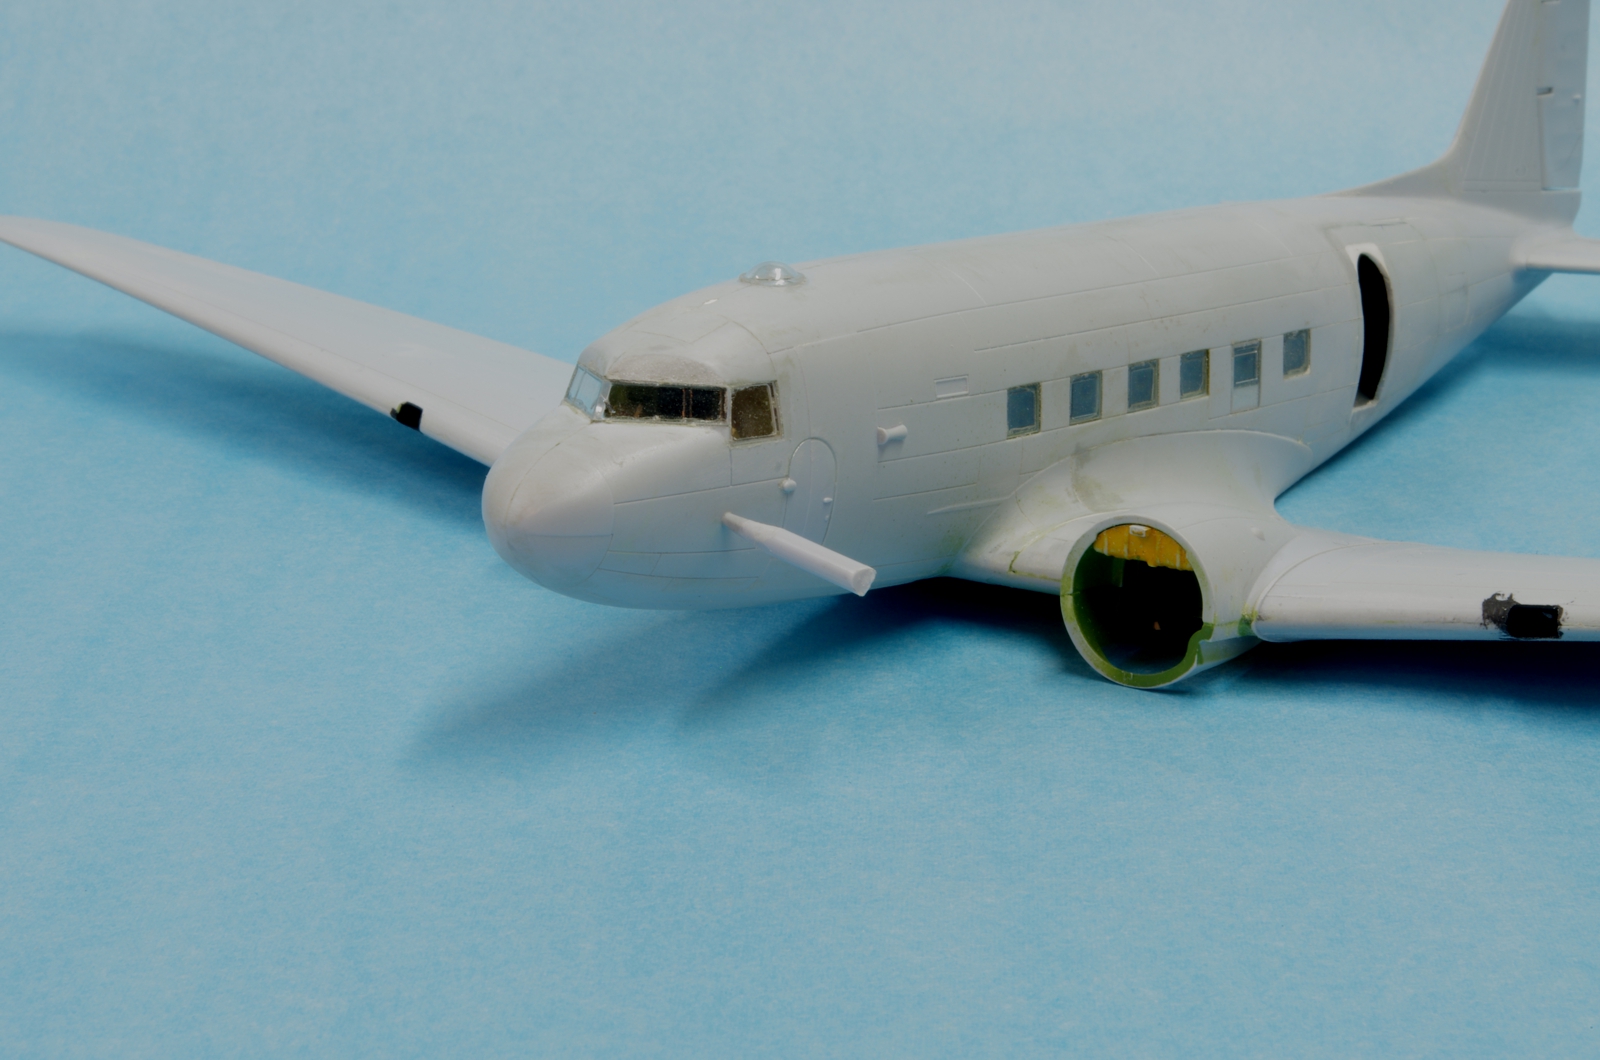
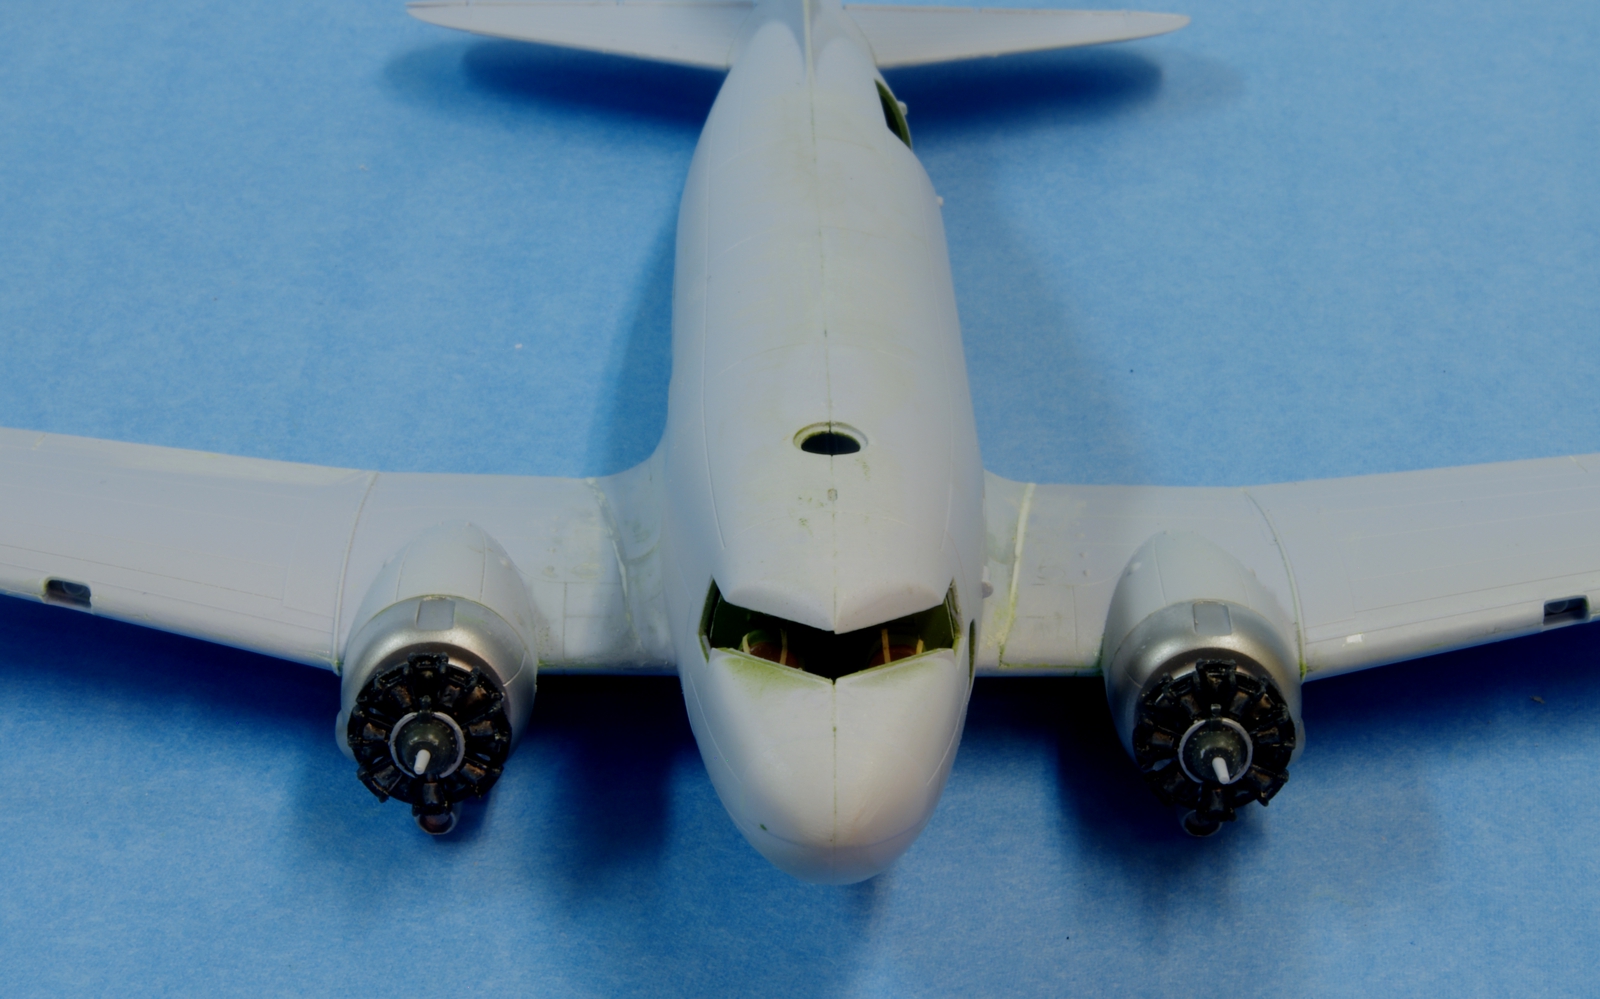
The lower right wing join after sanding. Since there needs to be more strength than what putty will provide, after the first sanding thin CA was run down the joint and another light sanding was quickly done to remove any excess. The fit of the front of the engine nacelles is very good, they are just hanging from a peg on the oil tanks in this photo.
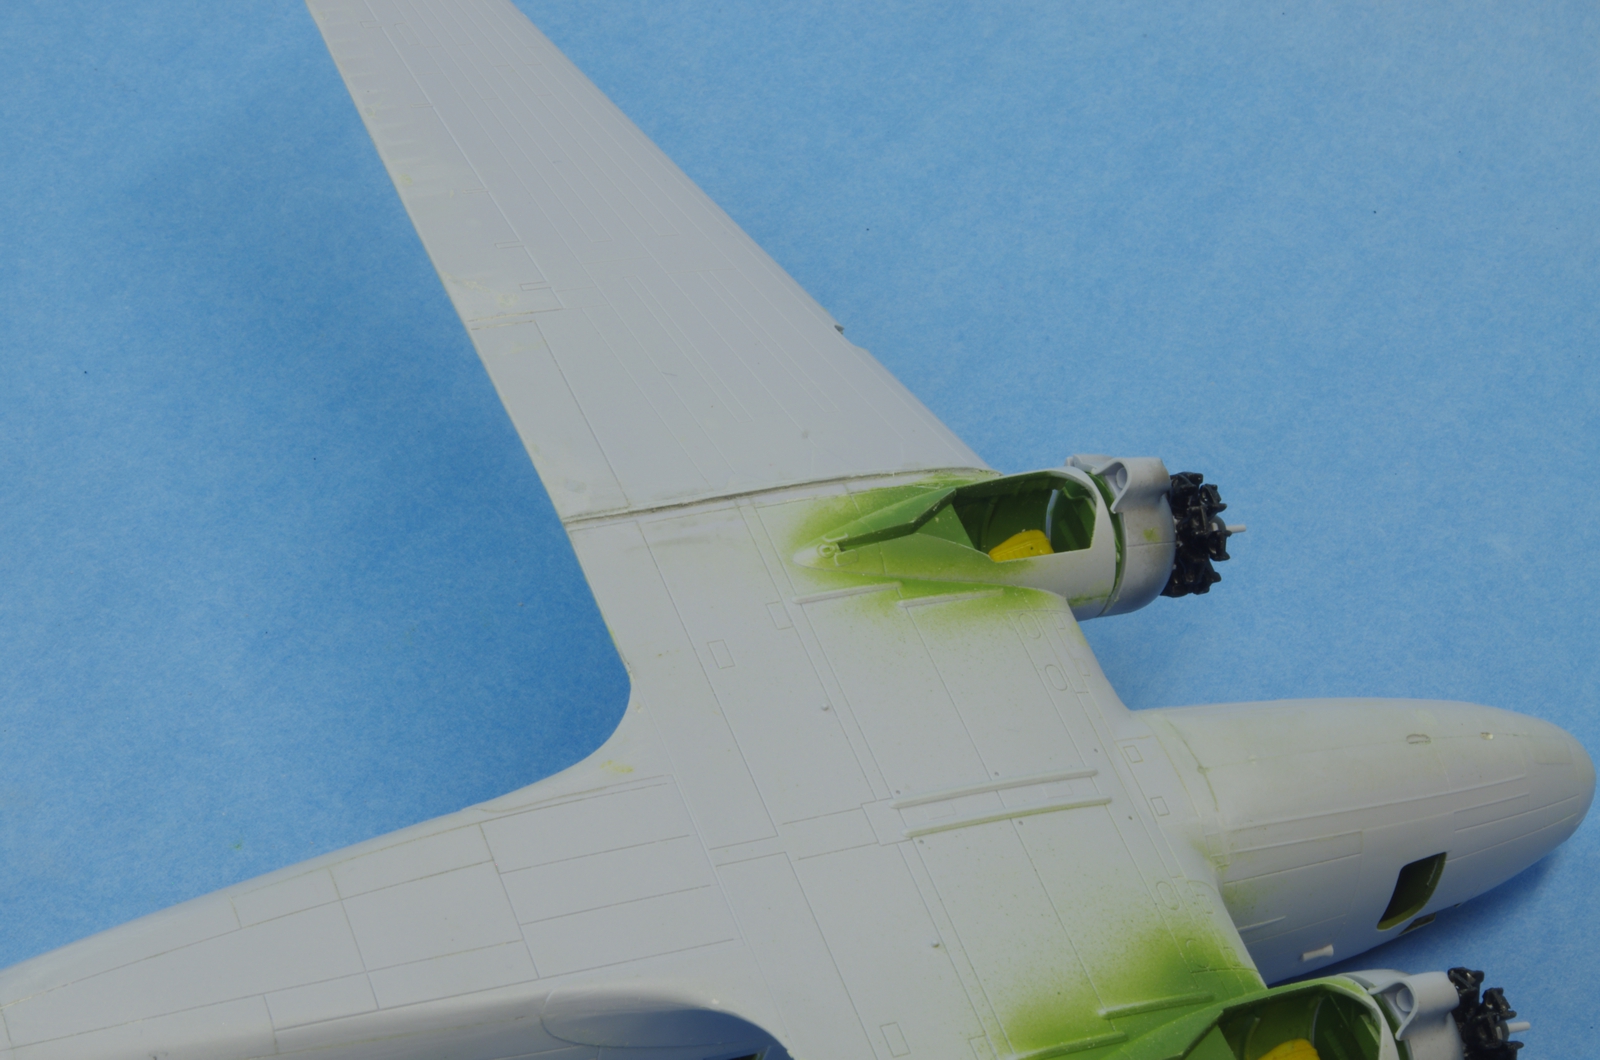
The engines cylinders were painted Model Master gloss black lacquer, then the area between each set of push rod housings was filled in with Floquil Old Silver. The same paint was used to paint the ignition ring, the reduction gear housings are Model Master Navy Gloss Grey. Before the ignition ring and gear case were installed the cylinders were given a heavy coat of Tamiya Smoke followed by Alclad II Flat Clear. The dishpan area behind the engine is painted Model Master Non-Buffing Stainless Steel Metalizer. It probably will not be visible with the cowl flaps closed.
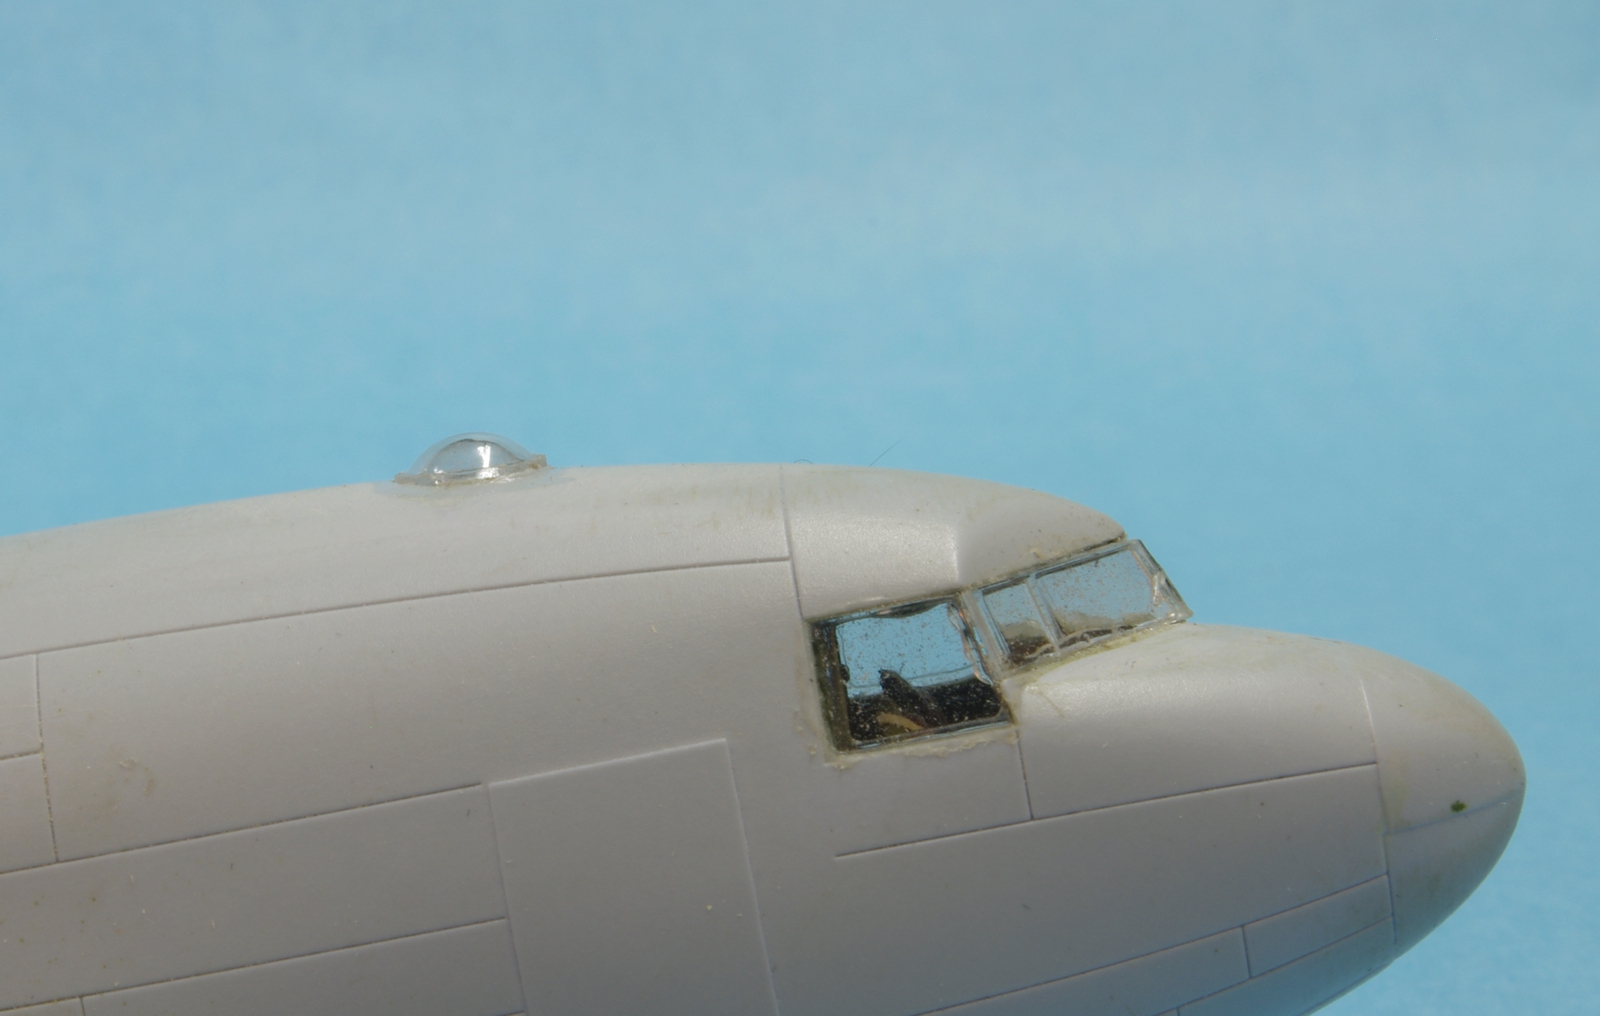
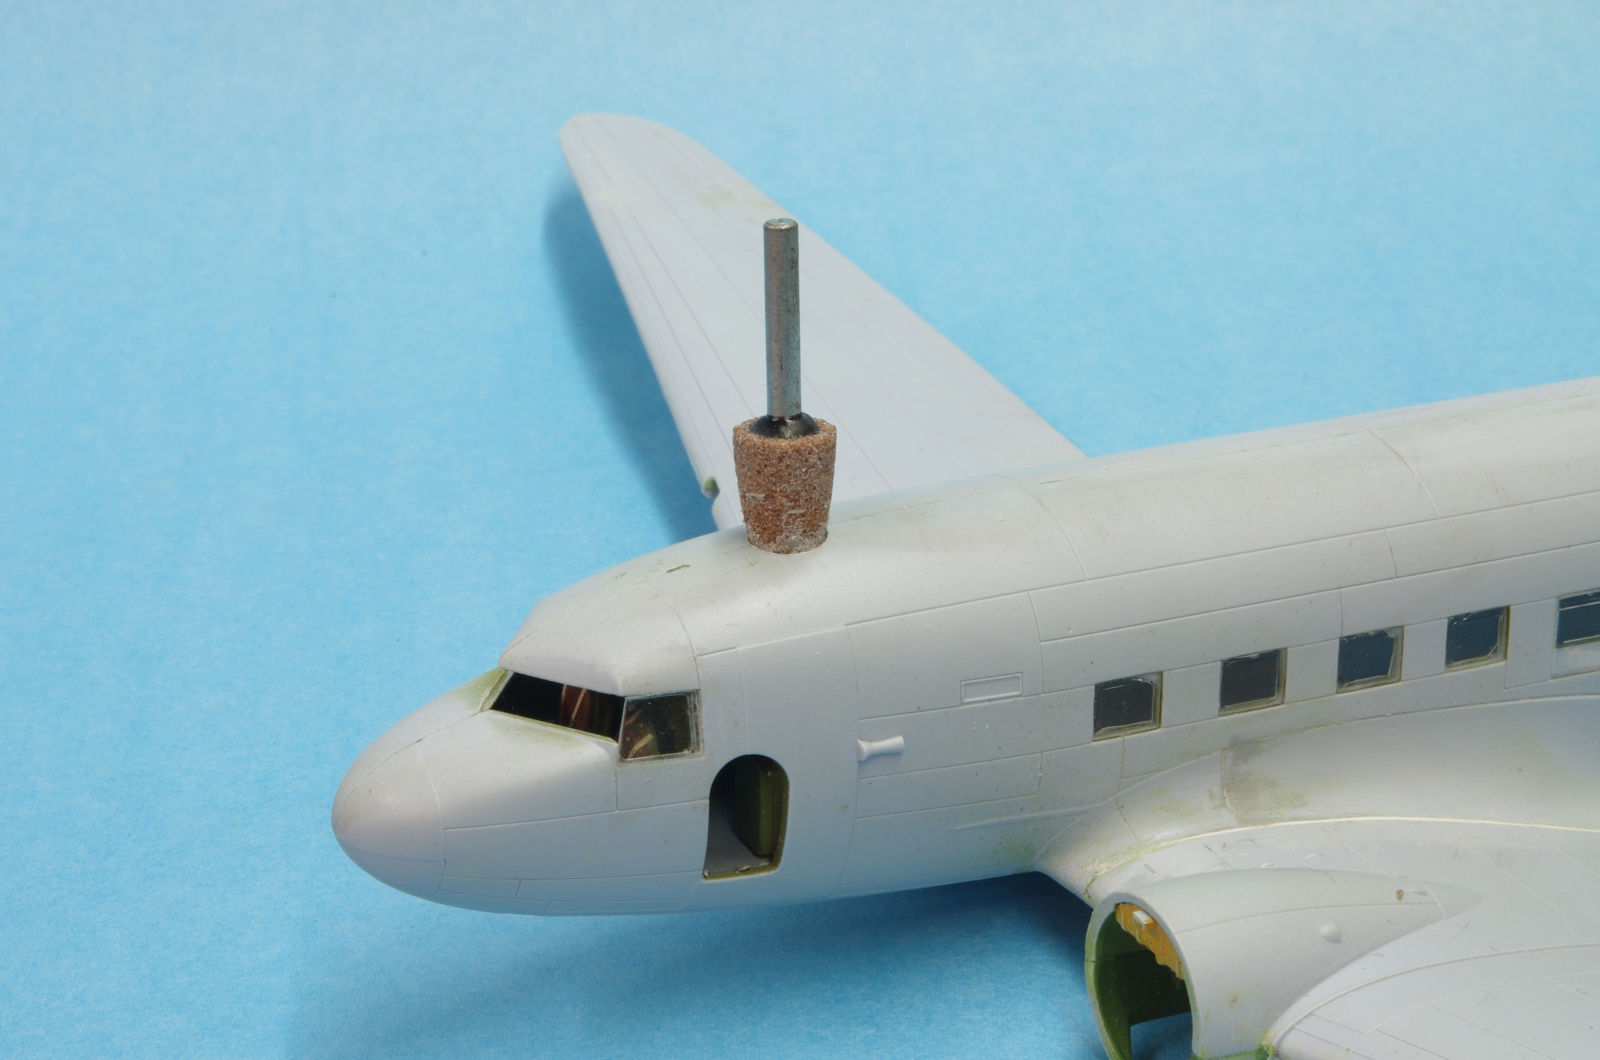
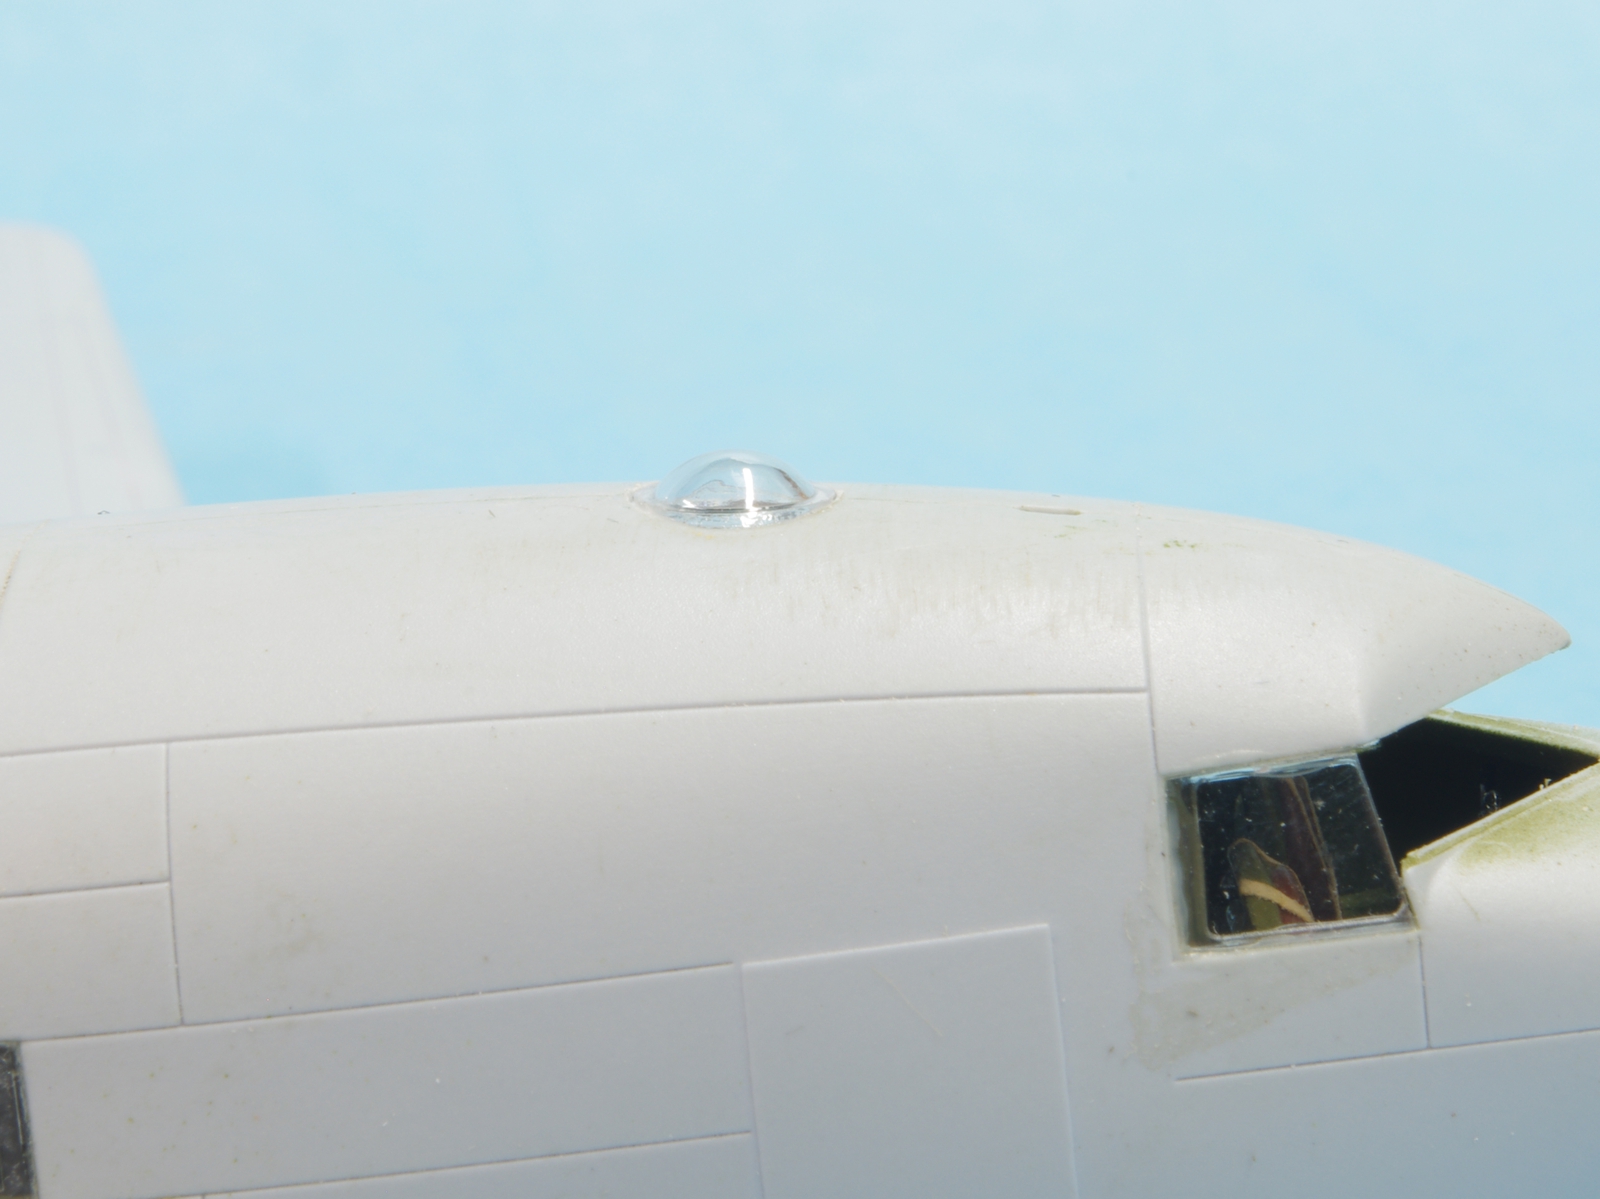
It would appear that Airfix changed their minds midstream on the astrodome. The clear dome is cast with a tapered fit, while the fuselage is molded to accept a stepped shape. The bottom of the astrodome was too large to fit in any part of the hole. The Dremel stone shown has about the right drift angle and was used by turning it with the fingers, test fitting the astrodome until the fit was correct. As can be seen, the cockpit side windows and the cabin windows have been installed. The left cockpit window required just a bit of sanding, but the rest fit very nicely.
The first fit. After this some research was done and it was found that the radome sat on a prominent ring above the fuselage. Stay tuned for the Mark II radome picture.
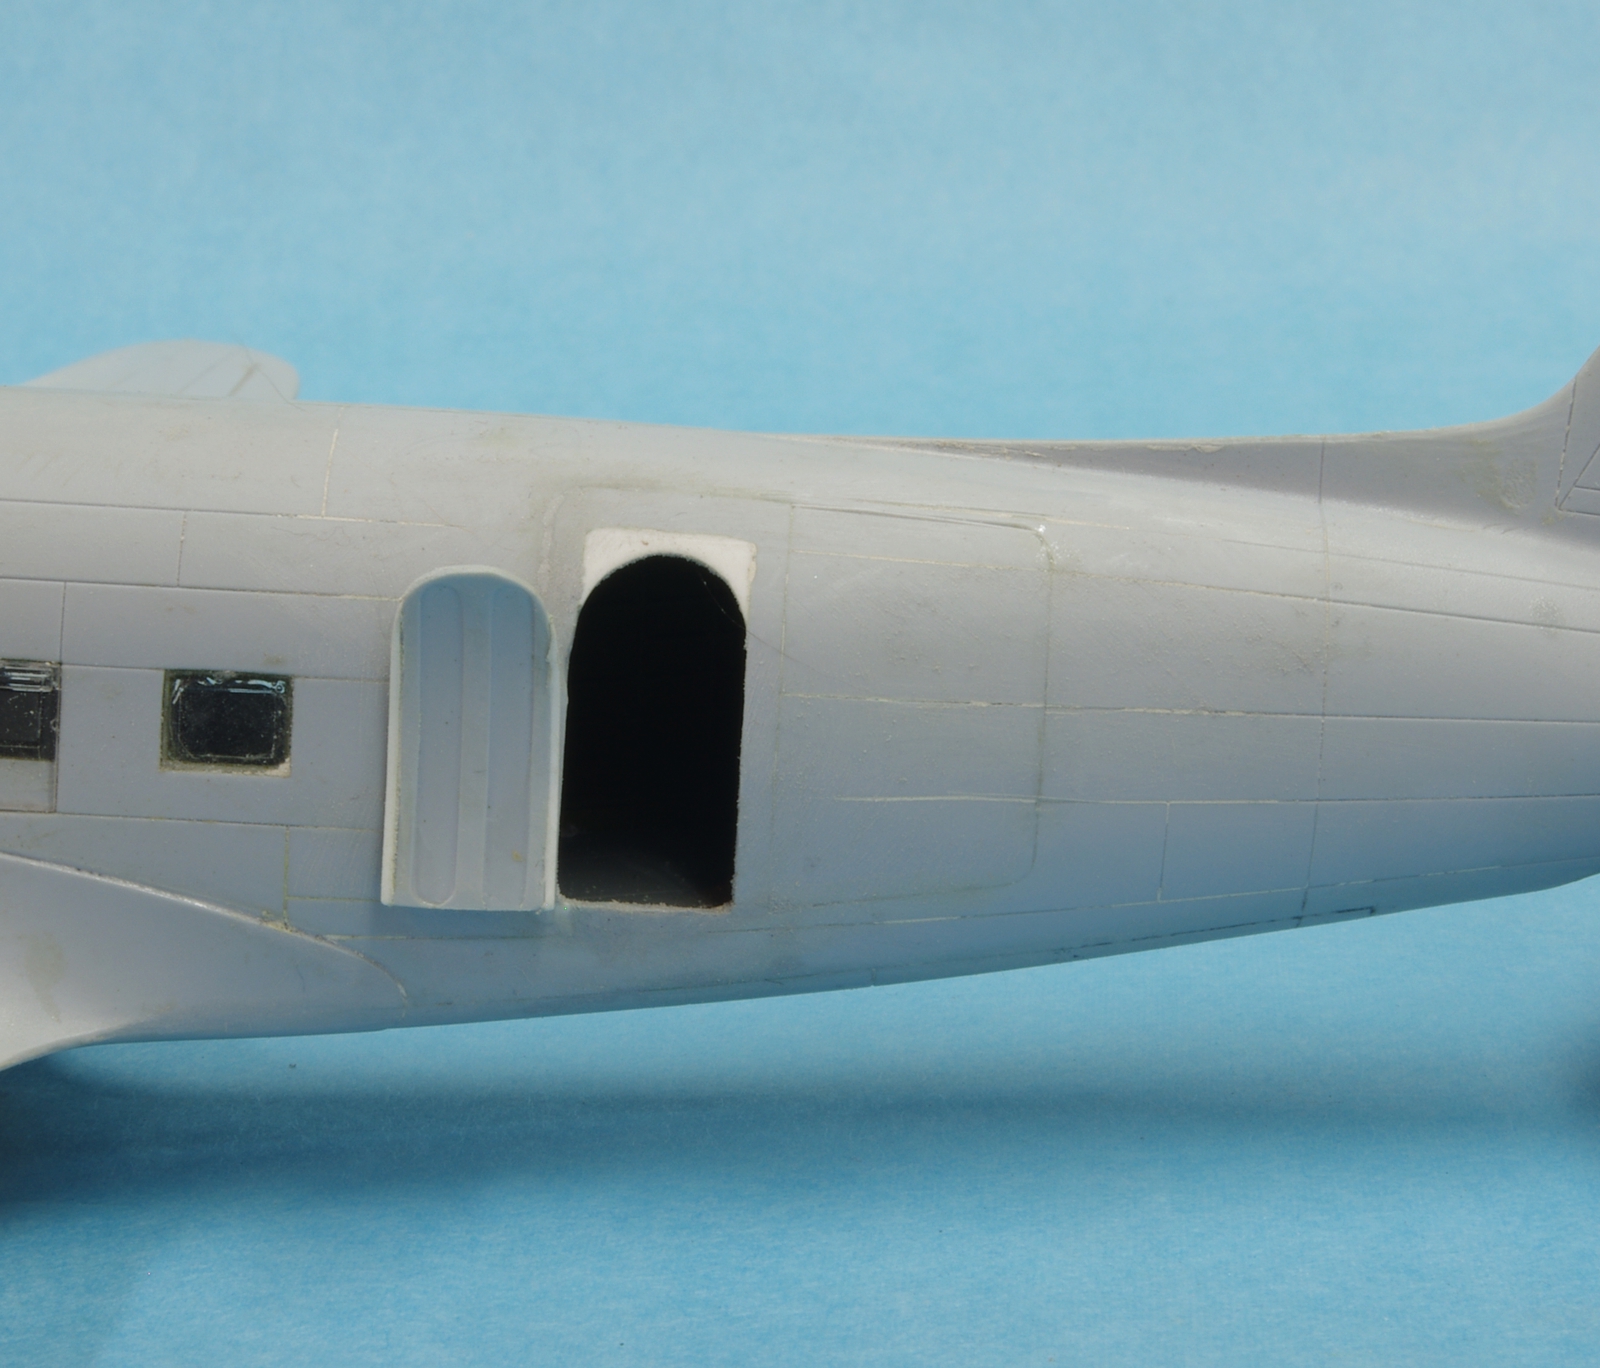
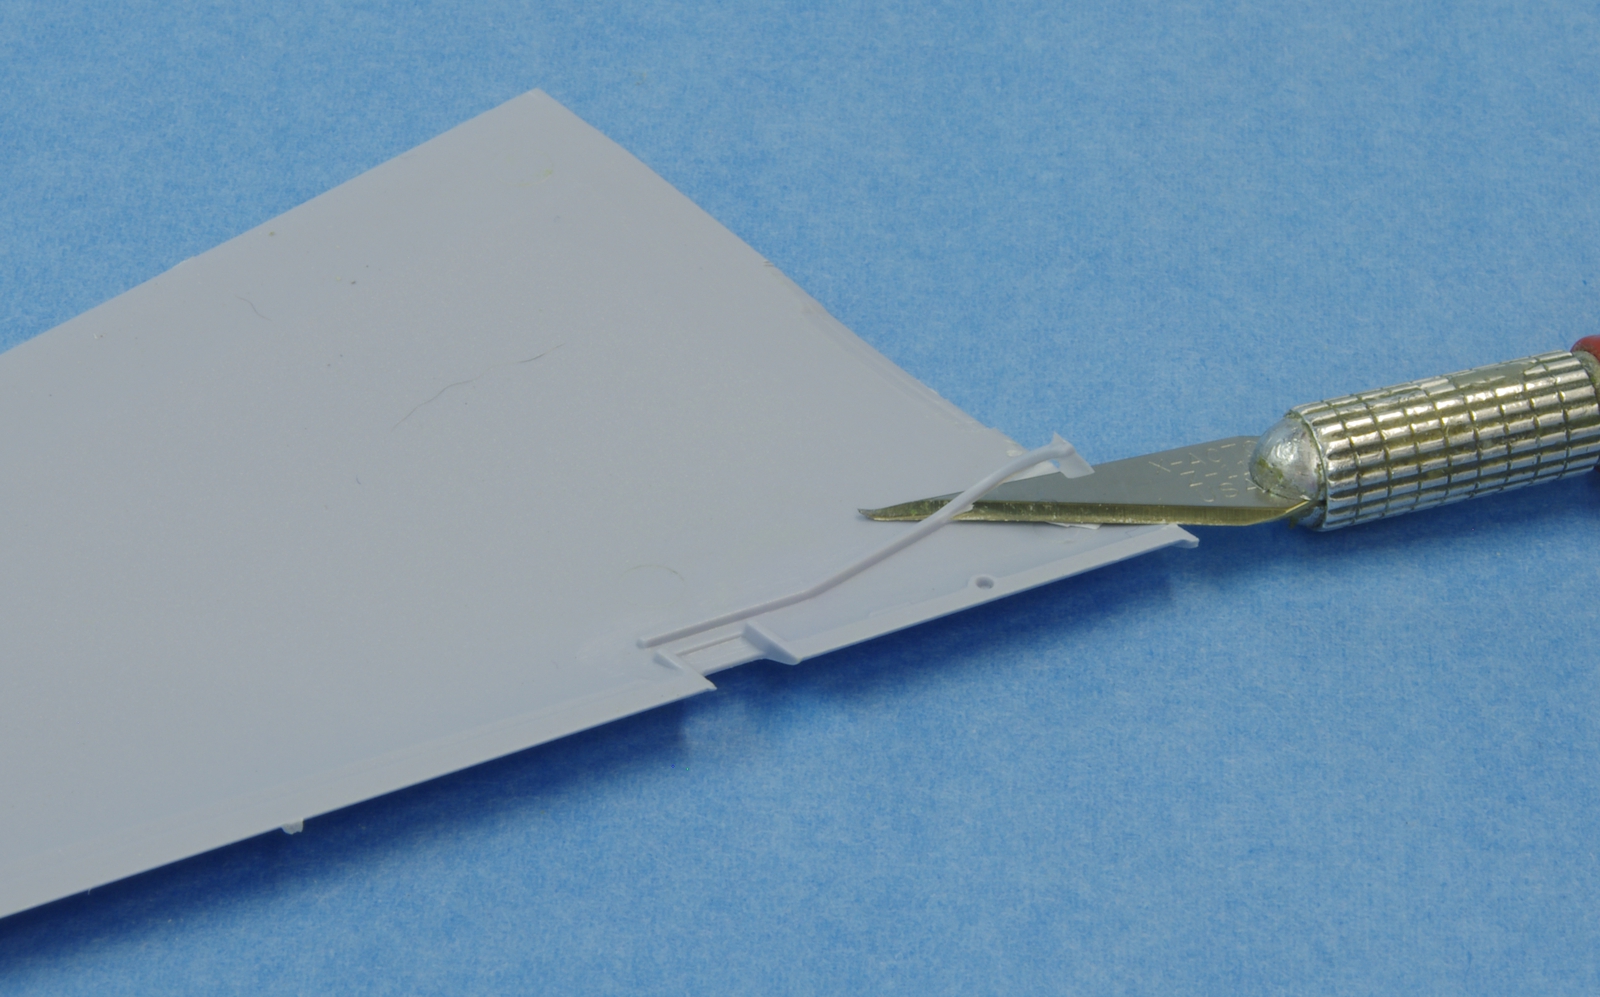
Since this is a C-53, it is necessary to change to an airline style door. Work is in progress. Inset is a photo of a C-53 door.