Thru the Generosity of my super friend, warshipguy , I am building a Revell 1/96 Kearsarge & have an Alabama to match for Christmas from my wife. I must be a good boy.
I have had more fun building a ship this size than any thing I have done in a long time. 1/350 kits were getting too small for me & I really believe that this size model is easier to build for a real old guy with 87 looming next month. Here is my work to date.
I glued the deck together & put styrene strips on the joint. I sprayed the deck with Tamiya Deck Tan & spent at least 6 hours with my super sharp drafting pencils & a 6" alum ruler drawing deck lines in the very shallow lines. That di really make it look good. Then I washed it with thin Raw Umber & then a very thin black wash. I will hide the joints with the big guns & some coiled thread.
I glued short square strips along for the deck to glue to & then masked it off & painted the inside white. Then I glued the bottom of the hull together with the small clamps. Then I put a 9" 1x2 with a shaped bottom for the mounting screws to fasten to.
I wanted to add that for glueing anything like a painted deck I use Formula 560 white Canopy glue used by flying plane modelers. It drys super strong & can be washed off with a wet Q tip. I use it to glue cannons on the deck & all sorts of things like that.
I also tested the deck before i glued it together to see that it would snap into a glued hull. It worked perfectly. Thats why I just glued the bottom of the hull together & then glued the deck in & glued the rest of the hull together.
It really looks good now with most of the deck detailed. More pictures later.
another masterpiece on the way ,it’s good to see you are doing a WIP , on this build . and the explaination as to what you are doing .when you drill the holes in the bottom for the pedestal’s , how do you go about it gene ? , the bottom up , top down ., as you’ve no doubt fathomed , I have never done it , and the glue join isn’t that wide , how do you prevent it from splitting ?
Steve, I have waited too long too many time & it makes it much harder to do. The best way is to glue the hull together, with lots of glue in that area. I do use a bead of super glue all along the hull joint. I shape the 1x2 in a vise & mark the center all around & have a line to work to.I plane each side to fit the hull. Take a little more off in the front & rear & check the fit. It need not be perfect, enough will touch the hull.Load it with ACC or epoxy. I bought the plane when I was 19 & it built a lot of houses.
Now I mark the 2 screw points & drill a small pilot hole, with my wife helping me be straight. I use a small square for one way & she sights the other way. Then I use 2 or 3 more larger drills, progressivly larger & it won’t split that way.
I use a #6 wood screw 2 1/2", but you will use a #8 3" long at least. You can screw it to a work base with shorter screws.
Bill, A masterpiece because you gave it to me. I thank you as I work on it. It really has been my most fun model. I am thrilled that that wasn’t you that was sick. I hope whoever it was is ok. I played footsie with the old reaper 26 years ago when I had 4 90% blocked arteries & had quit my bussiness moved to the mountains & was building our new house within 3 months of surgery. The doc did a great job & it is still ticking like crazy, with no blowouts.
I got yourmessage & thank you. I have been looking at scaledecks deck. Iwill be happy to be looking at them both , because it means I am on my way to 88. Thanks again , Bill.
Semmes wrote Memoirs of Service Afloat about his time as Captain of both the CSS Sumpter and CSS Alabama as well as his service as an Admiral commanding Confederate naval forces defending Richmond*.* It is one of my most treasured books. Also, John Kell wrote of his service as First Officer/ XO in the Sumpter and Alabama, and of his service commanding the ironclad CSS Richmond. They both make interesting reading*.*
Bill & Don, I will read it, & I have 2 books that I got on ebay & more on order at my library. I didn’t have the Semmes book on order yet because I didn’t have the ame of it. I am going to build all the Steam /sail civil war boats I can find. I have theHarriett Lane Lindberg boat & it is real nice & can be detailed a lot.
GM, Thanks for the advice, most of that I am doing. I use big wood dowell on smaller ships & subs. I have been doing your method on all my ships & even on the ones where I use the big fancy pedestals… I usually put my points 4" apart on smaller ships & 6" on the Kearsarge. I don’t go further than that as it is too hard to fit the wood inside if it gets any longer. Thanks, & did you have a health problem? I hope you are ok.
How is your Corvette? I stay on that Kearsarge & do nothing else. It is really a fun build.
Interesting reading. There’s no date, but I think I remember first reading it back in the early 2000s. (Back when we hadn’t seen a release of the Kearsarge on the market for over 30 years!)
The author points out that the Kearsarge kit is a mix of 1864 and post-1888 refit features, while the Alabama is a modification of the Kearsarge molds to try to make it look different, but has some serious dimension and shape errors… (The Alabama was 11 feet longer than Kearsarge, for starters.)
The conclusion is that the best way to get an accurate Kearsarge model is to start with an Alabama hull!
As I said, very interesting reading. Even if you’re not looking to undertake such a big conversion project, you may get some ideas about simpler changes you could make to Kearsarge to make her look more like the the 1864 version…
I had sent the following message to Gene, but it seems appropriate here. “Concerning the Alabama kit . . . You should check online for the deck plans because the Revell kit’s deck arrangement is very wrong. Scaledecks has done a wooden correction that is quite accurate. Perhaps you could give it a look. No, I am not saying that you should purchase one given your skills at painting, just look at the photos. Also, Alabama’s masts were stepped with a very pronounced rake that the kit doesn’t duplicate. Finally, there is a very nice set of corrected cannons by Cottage. You will need this set, which can be readily found on eBay, because the Revell kit simply uses the Kearsarge’s parts.”
To this I would add that the upper wales on the Alabama kit’s hull halves need to be removed. Also, the gun ports should be repositioned. Plug those weird cutouts in the stern. These corrections would give you a much more accurate model. Any other hull revisions might be too major to undertake.
I’d just forge ahead with what you’ve got. The Kearsarge builds up nicely, and is pretty convincing. The Alabama, well, it’s a ship that’s not well known in terms of it’s design and detail (outside of the context of this model) and it would take a whole lot of work to get right.
I value my time at anywhere between $ 50 and $ 100/ hr during the period 9-5, M-F. Add the dozens of hours spent on the kit, the very high cost of all the AM stuff; and the two Blue Jacket kits begin to look like a bargain.
rcboater, I had looked at tha Steel Navy article. I have been looking for a good view of the Revell deck for the Alabama. one that shows the gun rails that are cast in. I figured they would be the same as the Kearsarge & that’s wrong. Like waeship guy says, to look at the wood deck with the PE rails.
I probably won’t get into making a lot of changes on the Alabama as I don’t like to get into lengthy projects. It’s not that I think the reaper is after me, I just want to be building models when I hit 90. I remember my great grandmother at 90 & she seemed ancient & she hit 105. I feel about 14 when I’m building & that’s what I want. I wonder what I could build at 104.
I did prefigure what to do about slanting the masts. I would cut the section that goes into the deck & put a slant on it. Then I would drill a piece of large brass rod thru the mast sections & AC glue it in a good ways & then bend it to what I need. I do a lot like tha with brass rod. This one would be big. What do you all think? I just thought that I would predrill the hole in the mast.
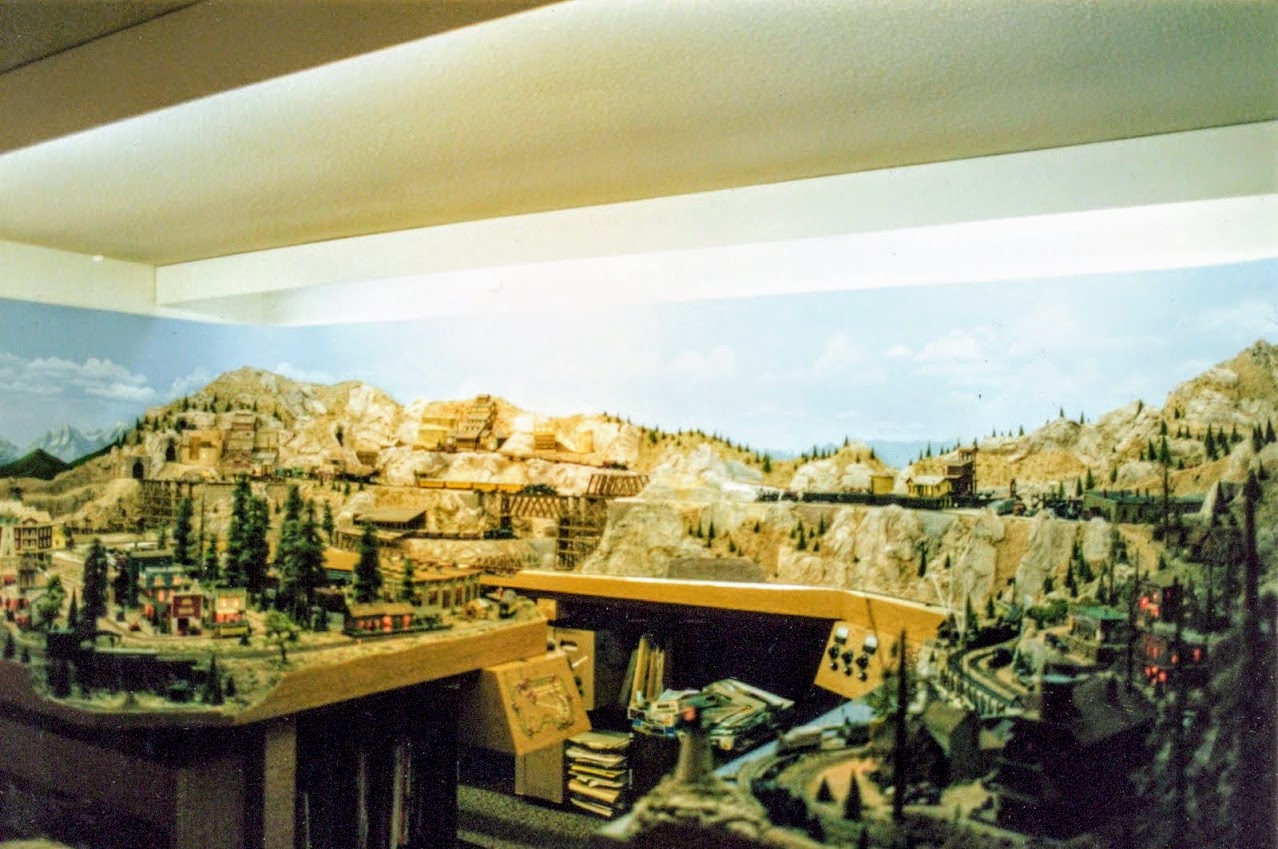
Bill, my wife doesn’t know me when I come up. I built a 10’x18’train layout in the garage, back in the 1980’s & lost about 20#. I built it in 4 pieces & carried it in to our Living Room. I do get excited on some models. This shows what a Living Room is for. For train layouts or ship models.
Bill, I want to calm down that red in the funnels & I misplaced the left half of one. That is the only part I missed & I am still looking for it. Since I took this, I put that little rail in the front deck on, & it worked great. I pre drilled all the little holes for thread in the posts & opened up the deck holes. They have all been too small. I then fed all the small posts onto a .010 wire & put them in each hole with super thin AC . I just glued the bottom & then came along & straightened each one & glued the top. It worked great & then I painted the tops.


 Bill, my wife doesn’t know me when I come up. I built a 10’x18’train layout in the garage, back in the 1980’s & lost about 20#. I built it in 4 pieces & carried it in to our Living Room. I do get excited on some models. This shows what a Living Room is for. For train layouts or ship models.