Building 1:24th Kinetic P-47D Thunderbolt Razorback

At the 2019 IPMS-Seattle spring show, I saw the 2 large boxes someone was selling. Getting closer I saw it was a pair of 1:24th scale P-47’s’ One Razorback and a Bubble Top.

I have never heard of this company before, but after the seller let me look at the kit inside this vertical height box I was impressed. Kinetic Box | Russell Scharf | Flickr

I decided that I’m going to use the decals on the box art! Except I’m going to need to figure out the Invasion strip widths, so I can paint them.

While doing some research about the “Squirt II”, not only did I find some original black and white pictures, I found a picture of the Piolet. And enough information about where he was stationed before the D-Day Invasion, fighter squadron and battle group.

I2 P-47D Title 3 | Russell Scharf | Flickr

Fujimi’s 1:24th scale Garage and Drivers set
With a kit this Big I’m planning to squeeze as much detail as I can! Starting with a piolet, I have. I got for another project, but it was a scale to big for what I wanted to use it for. I had to make a few cut’s between the leg’s so my, now piolet could reach the peddles.

I wish I would have taken pictures before I started modifying the Starboard side of the cockpit.

IMG_9276 | Russell Scharf | Flickr

Port side. IMG_9289 | Russell Scharf | Flickr

This kit came with a few different Instrument panel’s, one with raised detail’s. Ore this one with a Decal for the instruments. IMG_9280 | Russell Scharf | Flickr

I almost thought about back lighting them, but where it sit’s in the Cockpit might make it a little hard. IMG_9302 | Russell Scharf | Flickr

While I was test fitting the piolet for maybe, the 12th time. I thought I would test fit the Cockpit into the main body. IMG_9307 | Russell Scharf | Flickr

By the instruction’s, there is going to be a support on the inner structure for the wing. It’s Going to be Big! The detail’s molded into this kit is amazing, they printed detail inside part’s of the Wheel well part of the Fuselage , But when It’s built I probably wont see it?

IMG_9397 | Russell Scharf | Flickr

I stated with cutting a little plastic for the life vest for the Piolet.IMG_9317 (2) | Russell Scharf | Flickr Then a little card stock belts, plastic was to thick. IMG_9321 | Russell Scharf | Flickr And used Kristal Klear for the Buckels.

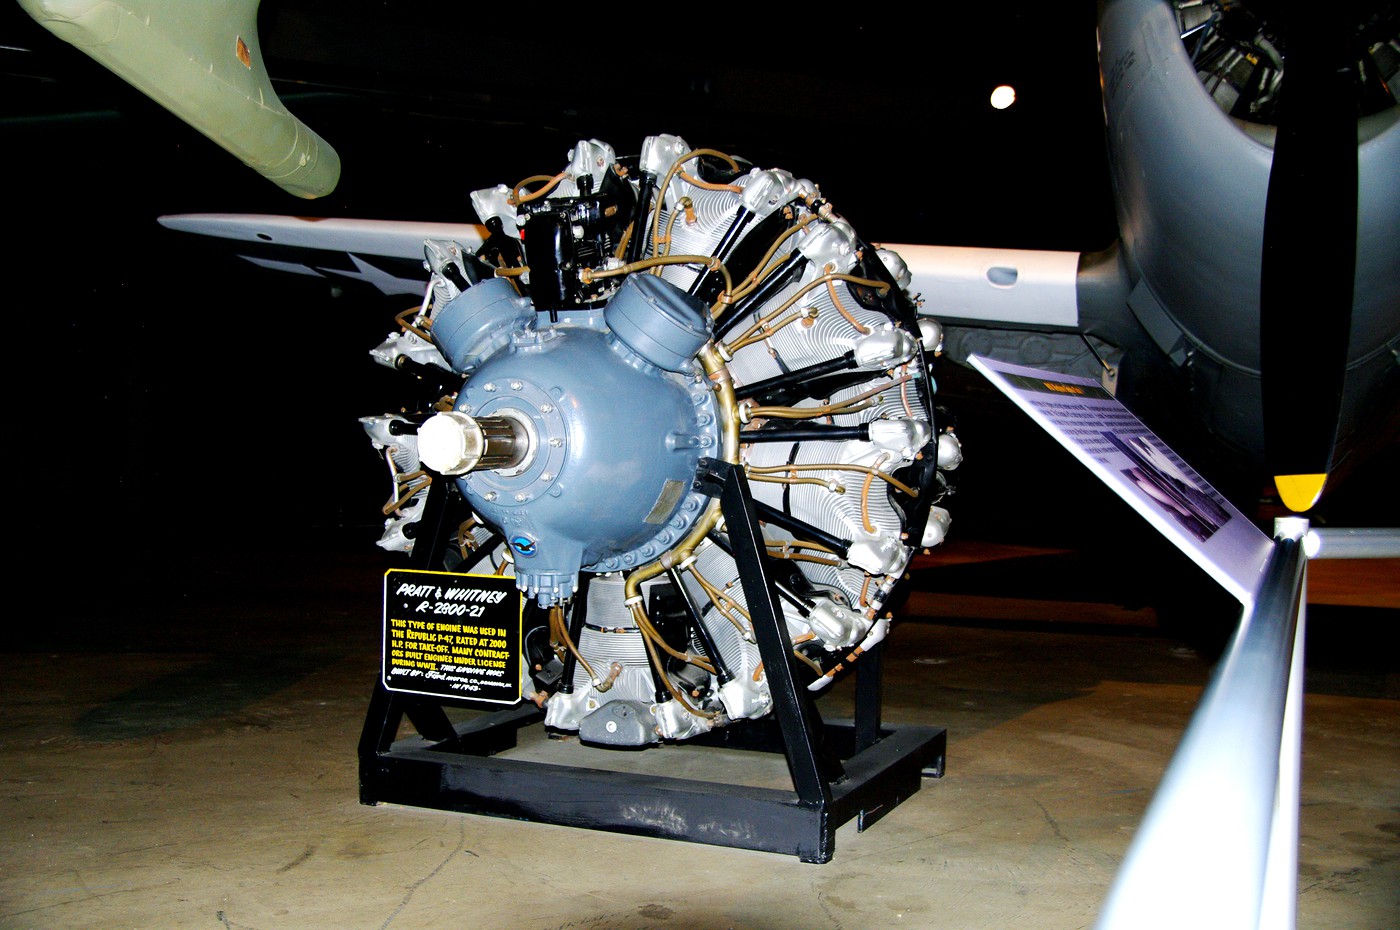
Added a little color and started the Helmet. I have yet to up lode other pictures. I am at the moment detailing the front half of the Double Wasp Engine. Adding details that didn’t come in the kit. IMG_9323 - Copy | Russell Scharf | Flickr

Thank You for Your Time!

Nice detail you got there, I think you will have to buy the paint in bulk for that monster size plane LOL

Theuns

Amazing job there- love the cockpit!

I picked up the bubbletop version years ago but haven’t had the guts to start on her. It’s one of those things that I’ll put off forever thinking I’ll build up more experience before I tackle her and will probably end up toes up before I build her. [:XX]

Thank You Gamera. Yes she’s a Huge. After building this kit, I brobaly wont build anything this big again. Well except the movie version of the Seaview. But she wont be really big untill I hang her from my cealing. From my cealing because I wont have enough space anywhere else to display her.

Thank You Theuns. Yes, it will take alot of Paint to cover the hull and wing’s! Before Tester got out of the 1/2 oz bottels, I bought 3 bottel’s of Olive Drab and anther 3 of LIght Sea Gray.

My local Hobbytown Sold enpty Tamiya 3/4 bottels. It got close to the brim, but I was able to pour two 1/2 bottle’s into one. I’m hopeing that will be enough?

Boy, I’ve wanted this kit for so long! Did you get both kits or just the one? You’re off to a great start on it. I got the “Vintage Fighter Series” 1/24 P-40B some years ago. It turned out okay but the features were “toy” like. I wonder if the Kinetic company is a branch off of the Vintage Fighter Series company. I’ll be following this build very closely.

TJS

Thank You TJS. I was hoping to get the Bubble top except when I retuned to his table, all that ws left was the Razorback. But what I learned about the plain and the Piolet that goes with the markings I’m going to use. I’m glad I wsa able to get the razorback.

But after looking at the fine details, like in the engine was kind of disappointing.

So I started studying all the pictures I could find online. I even found a Black and White video on Youtube on how to fly the real plane. Didn’t expect to find that one!

I dont know about the company, but after seeing how much this kit is! I got it for a bargon!!

Well the cockpit and piolet are just about done. The next two steps are the Engine. I’ve been tarring through the internet looking any details that doesn’t come with the kit.

I’ve found enough of the port side. I barley any of the starboard. I took one of the Bubble top Tallahassee Lassie 065 | Russell Scharf | Flickr , while they were doing maintenance. 064 (2) | Russell Scharf | Flickr

But I’m still looking. The only detail missing is the plug wires. I’m planning on using 20 lb. fishing string. Thank You for Your Time!

I don’t know if there is any connection between Kinetic and VFS, but Kinetic produces some good quality 48th scale kits like their Trackers and Hawkeyes.

I’ve long considered this P-47 but with all the big Monogram bombers I have hanging in my workshop, I don’t really have enough room to add another “beast”.

Looking forward to seeing your build.

Thank You Aggieman.

Yep, this will take a lot of ceiling room when It’s done.

This huge box is still has a lot of parts in it, I know because I just went through it all. And I still have alot of building to do. IMG_9395 | 6" inch and 15 Meter ruler. For Scale. | Russell Scharf | Flickr

And trying to squese in as much detail’s I can. That’s a 6"inch, 15mm ruler.

The demetons on the box are in mm’s, Length 458, somwhere around 18" inches. Wingspan 518mm, around 20" inches. And with over 250 parts, probably going to be heavy when It’s done to?

Thank You for Your Time!

Here is a fairly high resolution pic of an engine that I had on hand. Not sure if it is exactly right for the razor back and year that you are working on.

PW Radial

Also here is a link to some info on the entire induction system. I never really realized how full that big old fuselage was!

https://lynceans.org/all-posts/the-complexity-of-a-ww-ii-p-47-thunderbolts-powerplant/

Hope this is useful and thanks for sharing the progress on your build.

That’s another reason I don’t build more big aircraft models like this and 1/32nd scale. I feel like I need to try to superdetail all over. What you’ve got is fantastic, love how she’s going!!!

Thank You Back to the bench. The picture You you just posted, just gave me another angle to see where all the Spark Plug wire’s go! [:O]

About the Engine, They put them, well four of them on B-17’s. Alot of power in a kind of big fighter aircraft.

I just found the old War Department, Black & White “-How to Fly the P-47- Piolet Familiarization” How To Fly The P-47 - Pilot Familiarization (1943) - YouTube

After looking at the instructions, as soon as I get the engine done. This kit will get Big quick, putting together the two half’s of the fuselage. Thank goodness there will be inner wing’s and cockpit support’s sticking out.

Thank You for Your Time!

Thank You Gamera. I never thought I would build a WWII FIghter aircraft this big earther. But when I saw this kit, a usally a over $100 + kit for $50. What is the quote “You only regret the stuff You don’t do” somthing like that. And I thought. “What the heck, why not”.

But like I posted before, after learing about some infromation about the Piolet and the Aircraft, made me excited about building it, No mater How Big it Get’s [:P]

Thank You for Your Time!

Piolet, cockpit update.
With turning a Racecar driver into a World War 2 piolet. I had to scratch build a few parts.

IMG_9384 | Russell Scharf | Flickr

From the Goggles, Oxygen mask and a Air house, I had to build another hose trying to bend it the shape I needed it be. All it is a paper clip wrapped with fishing string, along with more then enough super glue And yes, I have gotten my fingers stuck. As you can see here, I had to strip and repaint the piolet’s face. But this step, (The first one) is just about done.

IMG_9386 | Russell Scharf | Flickr IMG_9388 | Russell Scharf | Flickr

I’ll be uploading a finished picture as soon as It’s done.
Thank You for Your Time!

Very cool! I really like the idea of reworking a race car driver into the pilot! [Y]

Thank you Gamera!

Yeah that bird is going to take an obscene amount of paint! Can’t wait to see the final product.

Thank You Mopar Maddness. I hope I have enough to, but I should. Before I get to finishing it, I’m learing how to give this P-47D a well worn look.

p-47 thunderbolt razorback Squirt II - Bing

This the plane I’m going to do, with all the Bump’s and all the dirt.

Thank You your Time!

Nice work! I love the cockpit!