Hey guys,
this is gonna be a “shorter” one (pun intended) on the picture side, but I have documented the painting process so far on my YouTube channel.
Small disclamer upfront - my videos are not really professionally edited, although I have improved with the latest one, so expect a pretty raw experience.
So let’s start with the build; I bought the Vespid Models Tiger I, since I have seen this manufacturer featured in a few videos and was intrigued - the details level seemed to be out of this world for the scale. And yeah, absolutely, I was impressed by the ease of the build and the amount and quality of the details. The only real problem I had with this tank was with the link and length tracks, but I hate these anyway and the scale did not help with that.
See for yourself.
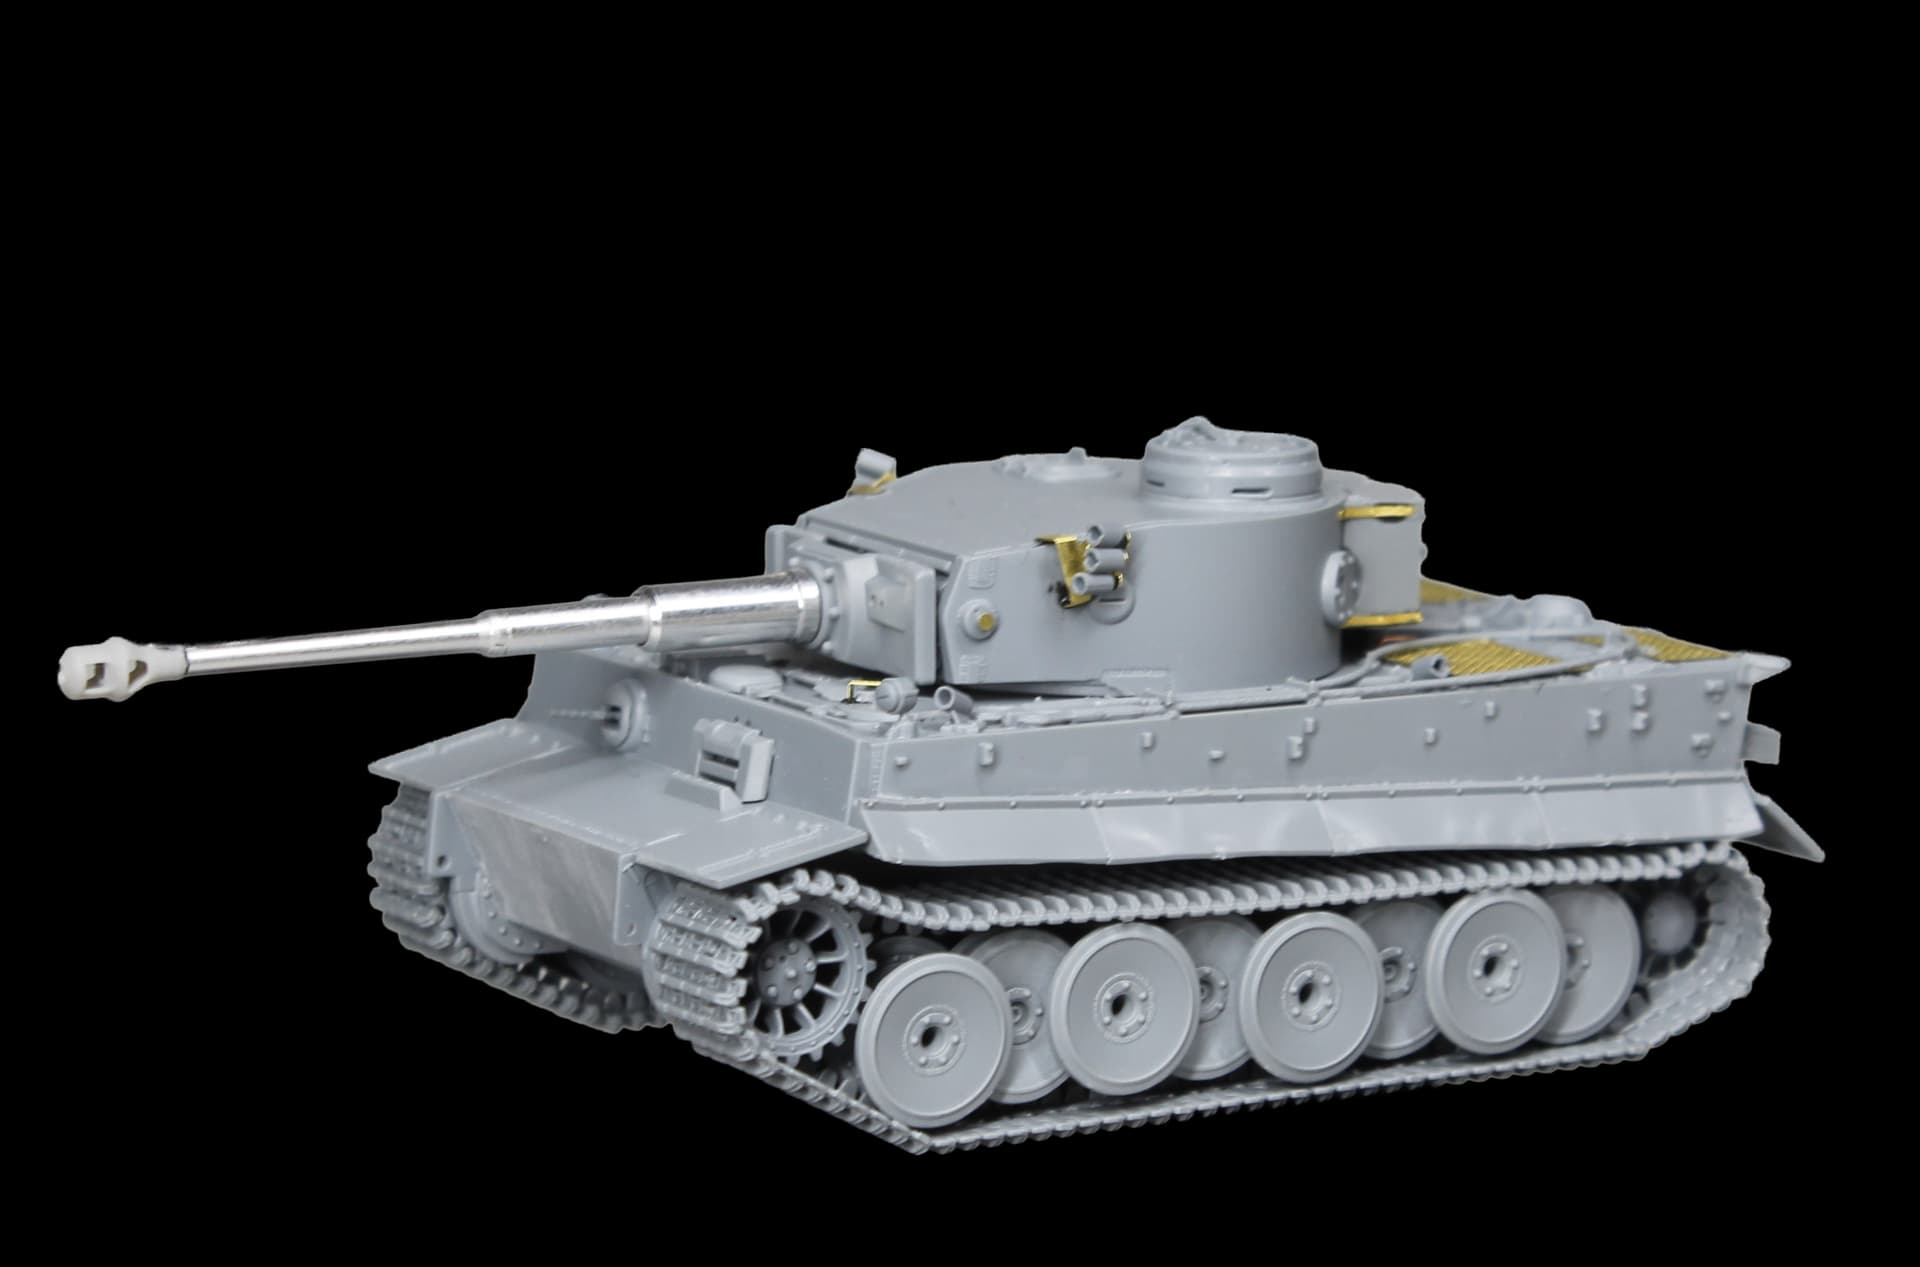
So next up, naturally, I was anxious to get this thing painted and since I have been using their black primer for quite a while, I gave the model a nice coat in VMS Oxide Red acrylic based primer. Isn’t it a thing of beauty? Note that I added a few tarps before I primed the tank.

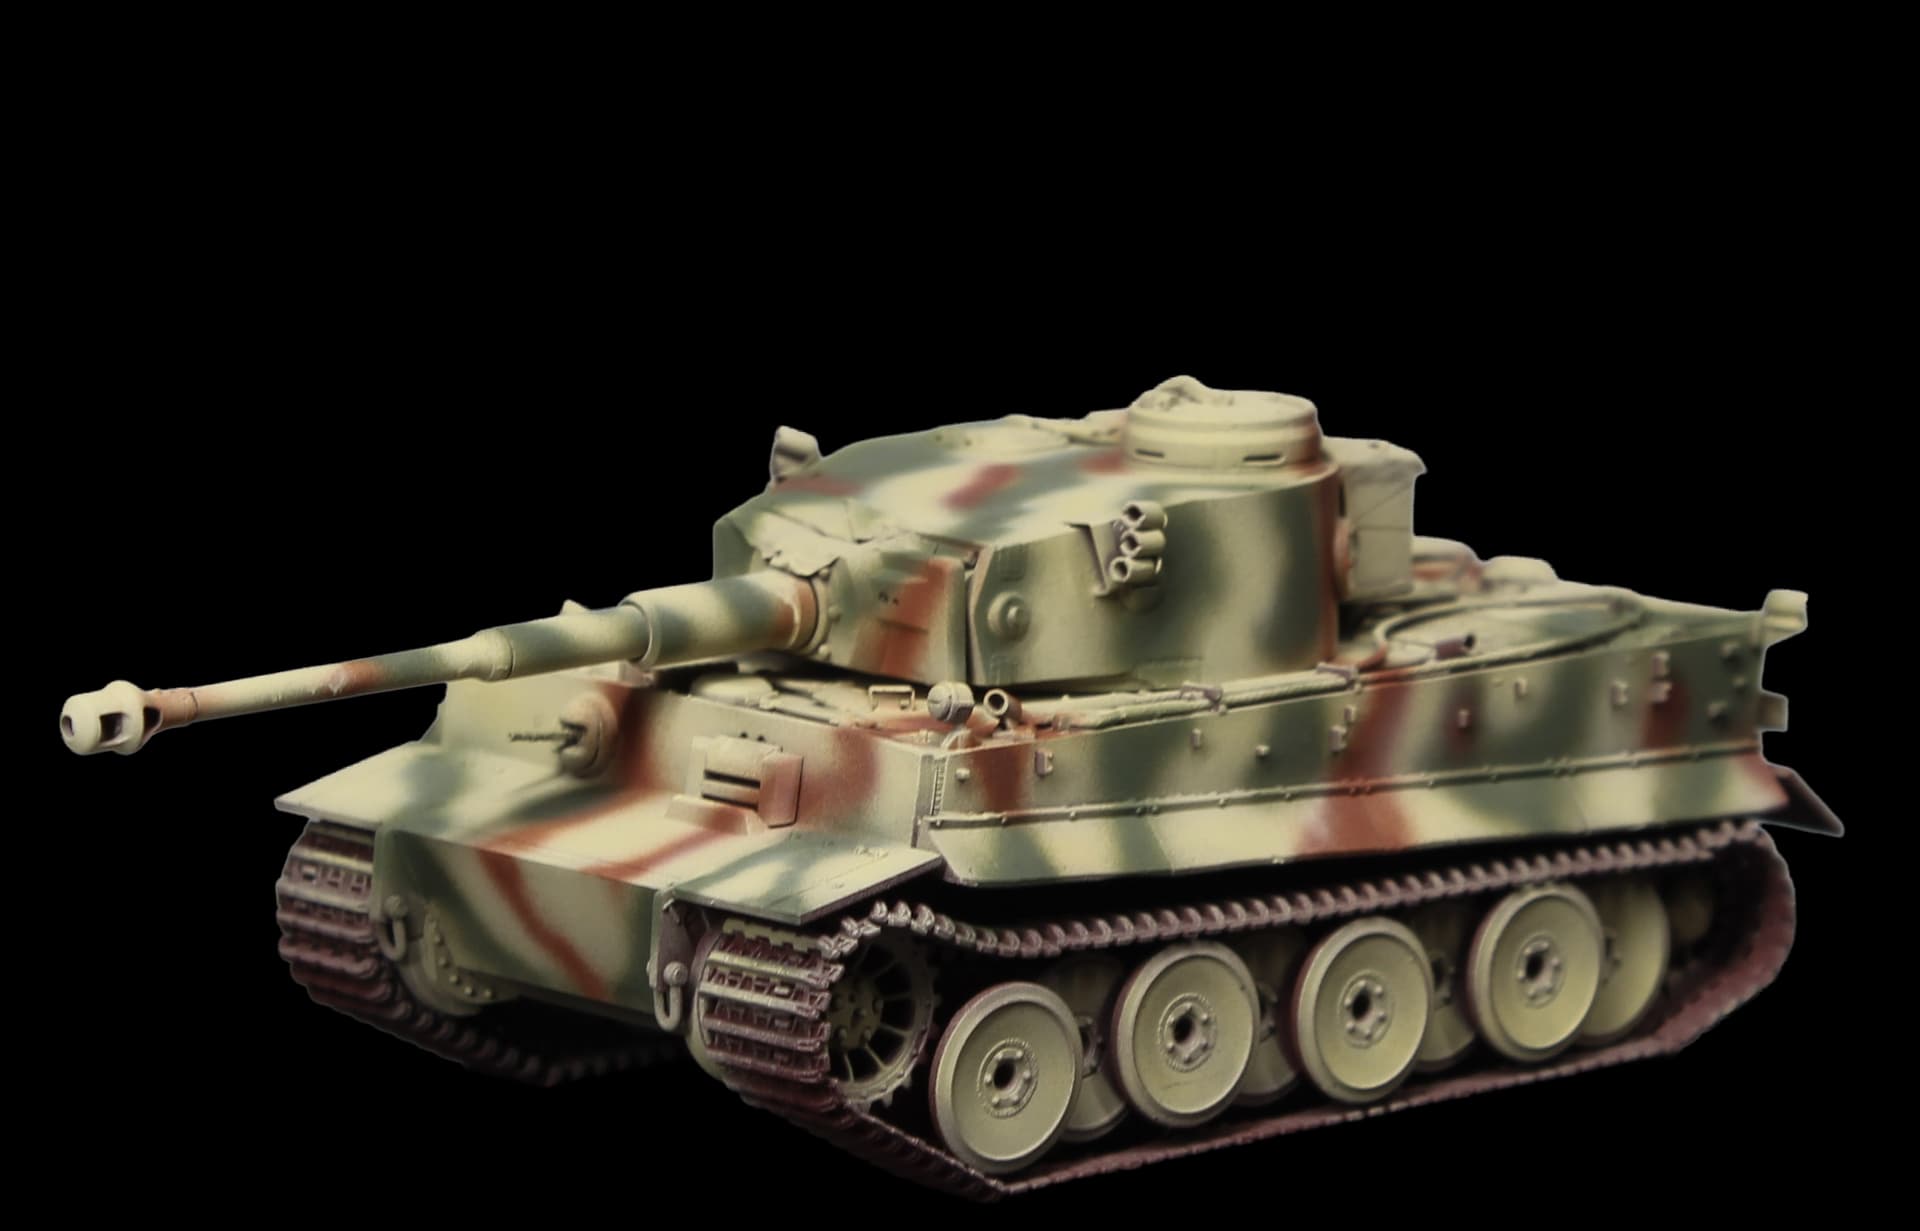
Now comes the interesting part - German three tone camo with the airbrush.
But on a 1/72 scale model?
Well, I have a bit of experience with airbrushed camo from my two other projects, but they were bot in 1/35 scale…
Talk about leaving your comfort zone ![]()
Here’s the video:
Well since that went quite okay, I stayed motivated to continue with the journey.
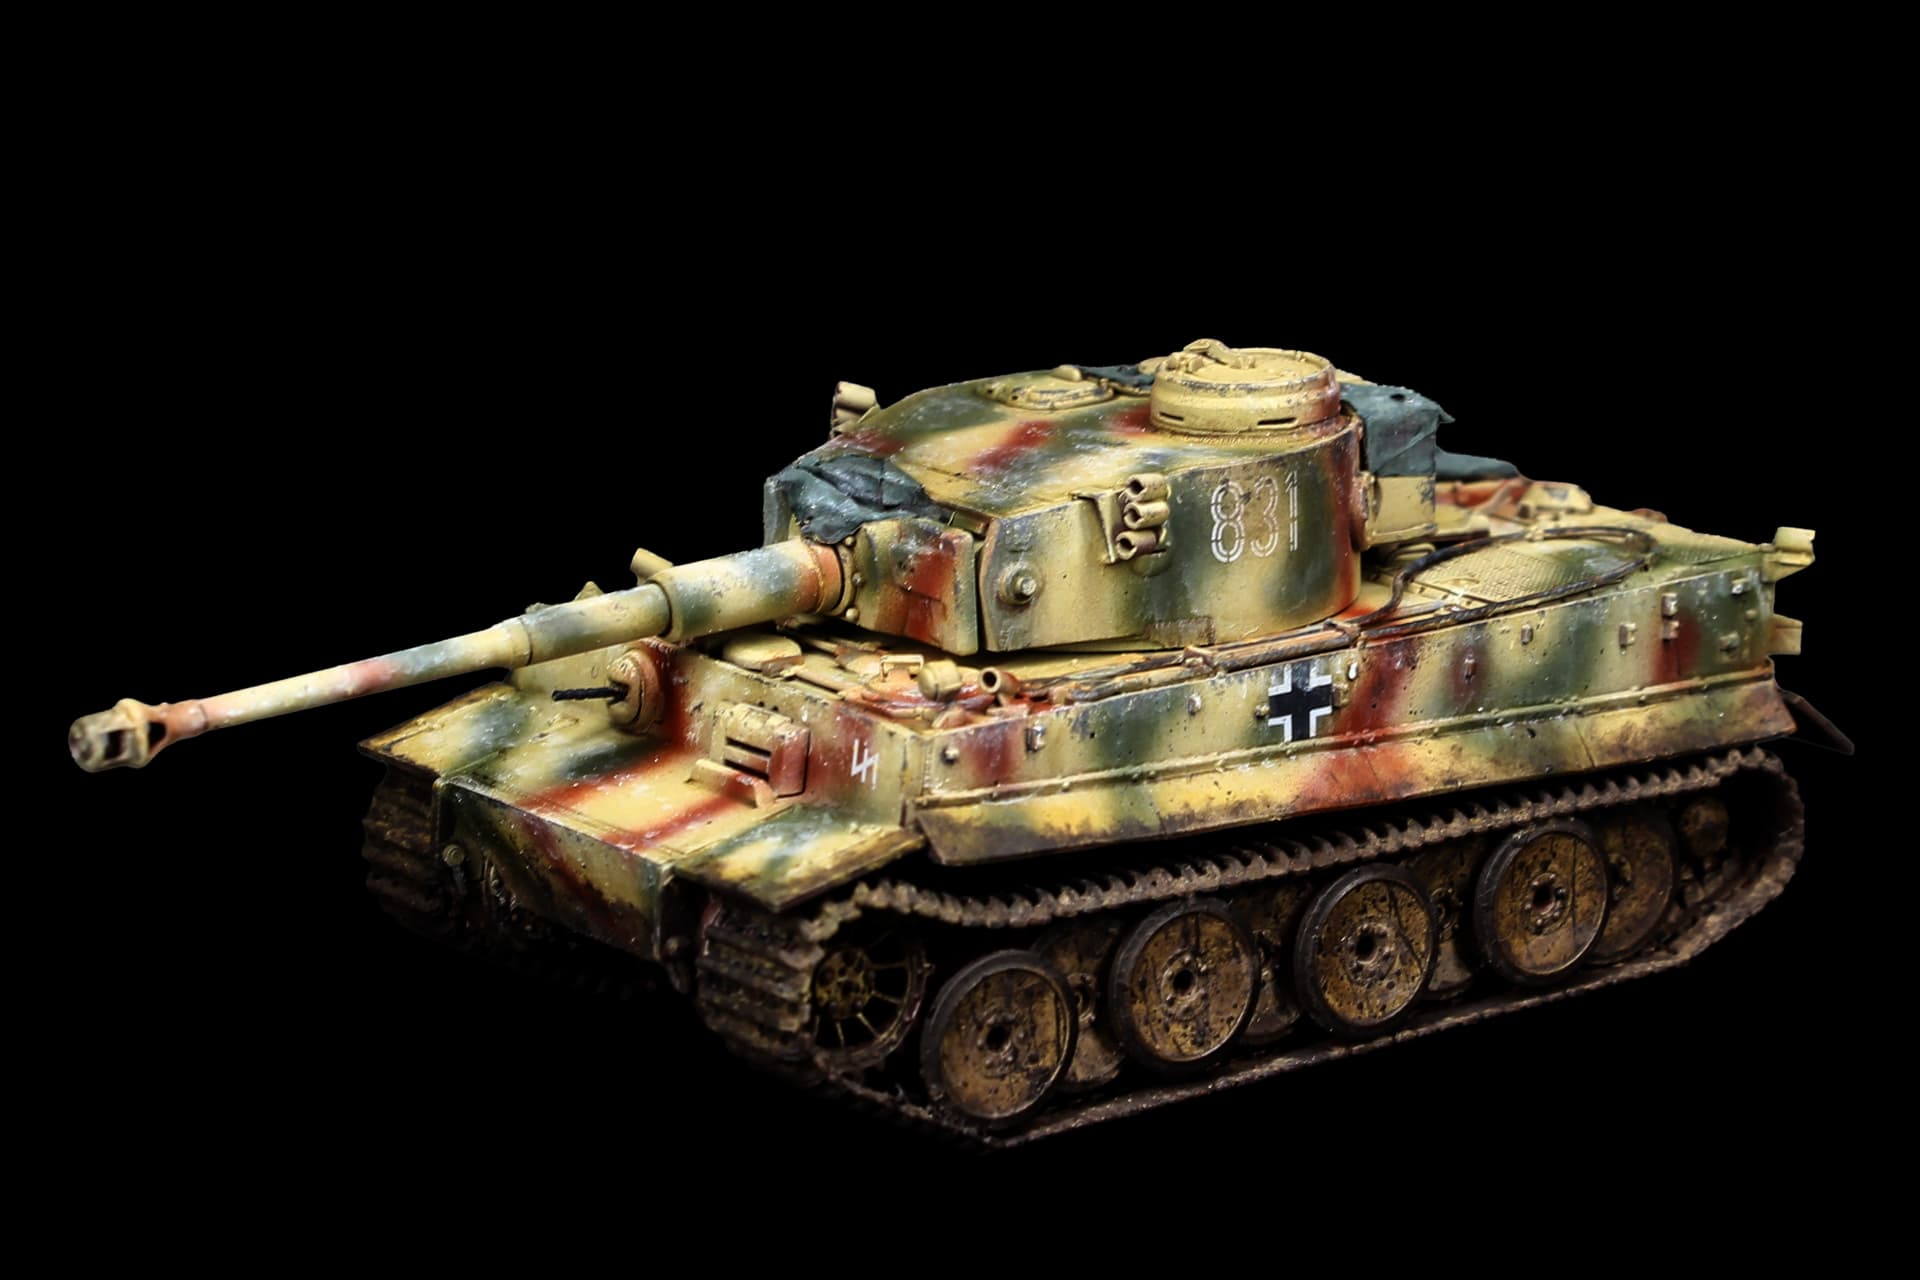
So the Tiger received a clear gloss coat, a few decals and then a satin varnish coat.
I blocked in the tracks, rubber parts of the road wheels, a few tools, etc. and the tarps.
Next up it was pin wash time, for which I used a greenish brown oil paint from Abteilung 502 (Industrial Earth) mixed with a slight drop of a lighter brown (Dark Rust) and after a day of drying removed the excess with a makeup sponge and brush.
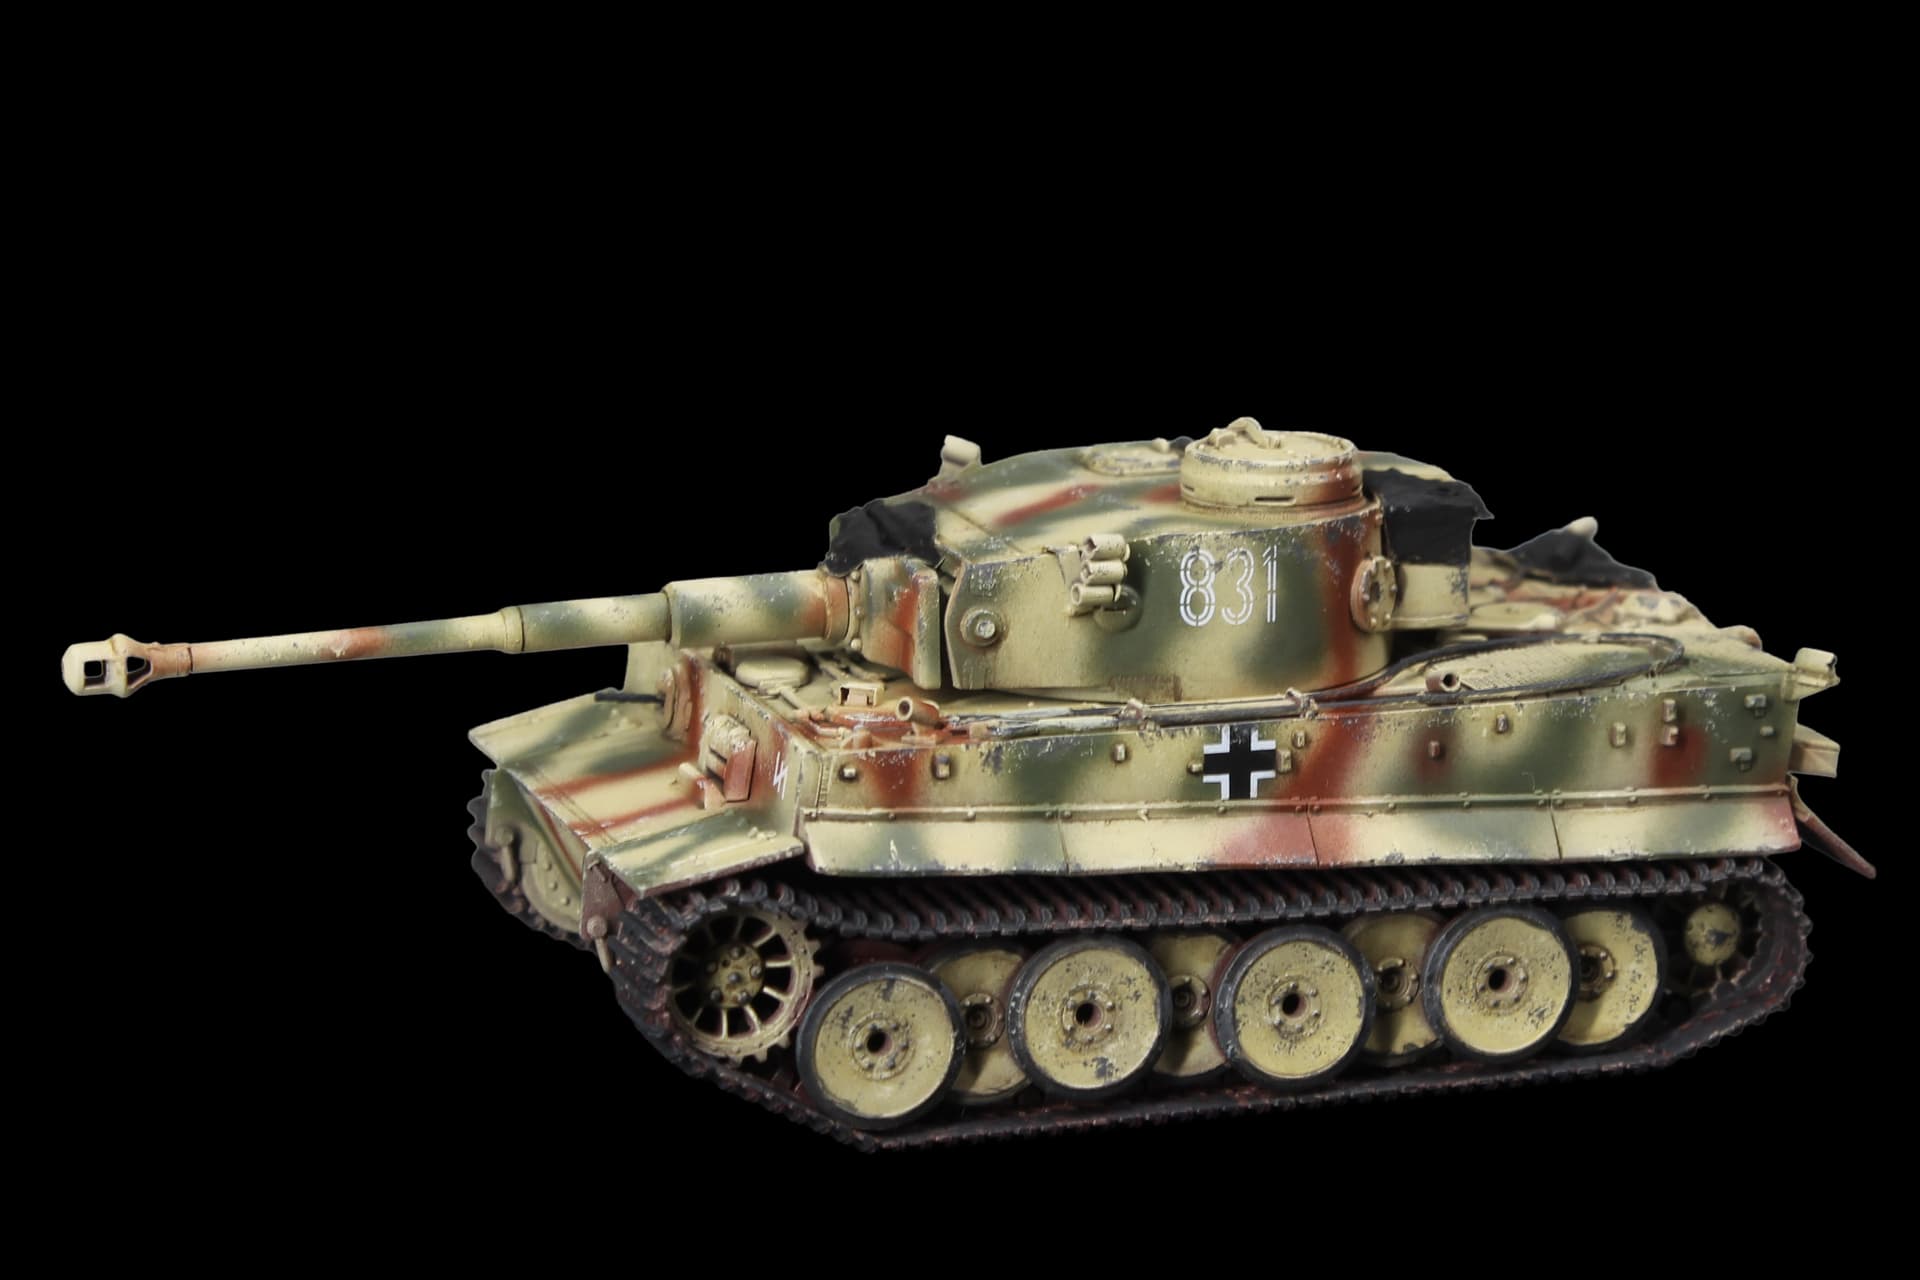
To redefine some details I mixed the two camo colors with dark yellow and the dark yellow with white and went to edge highlighting and general highlighting. I kept it subtle, but it had a noticeable effect. The next step for me was chipping with a lightened version of the dark yellow again, first by sponge and next a few refined ones with the brush. I kept it mostly to places where natural wear could occur.
After that I went in with dark grey to do the heavier steel chips, where the bare or primed metal shows through and shows heavy wear. I used both the brush for selected areas, aswell as the sponge method for heavier worn areas.
Here’s the video on that part:
So, that is all so far - next up will be dirt, mud, oil dot filters and all the fun stuff, plus the final painting of still missing details, etc. Maybe I’ll even create a small vignette for it when I’m done.
Let me know what you think so far and if you like it!