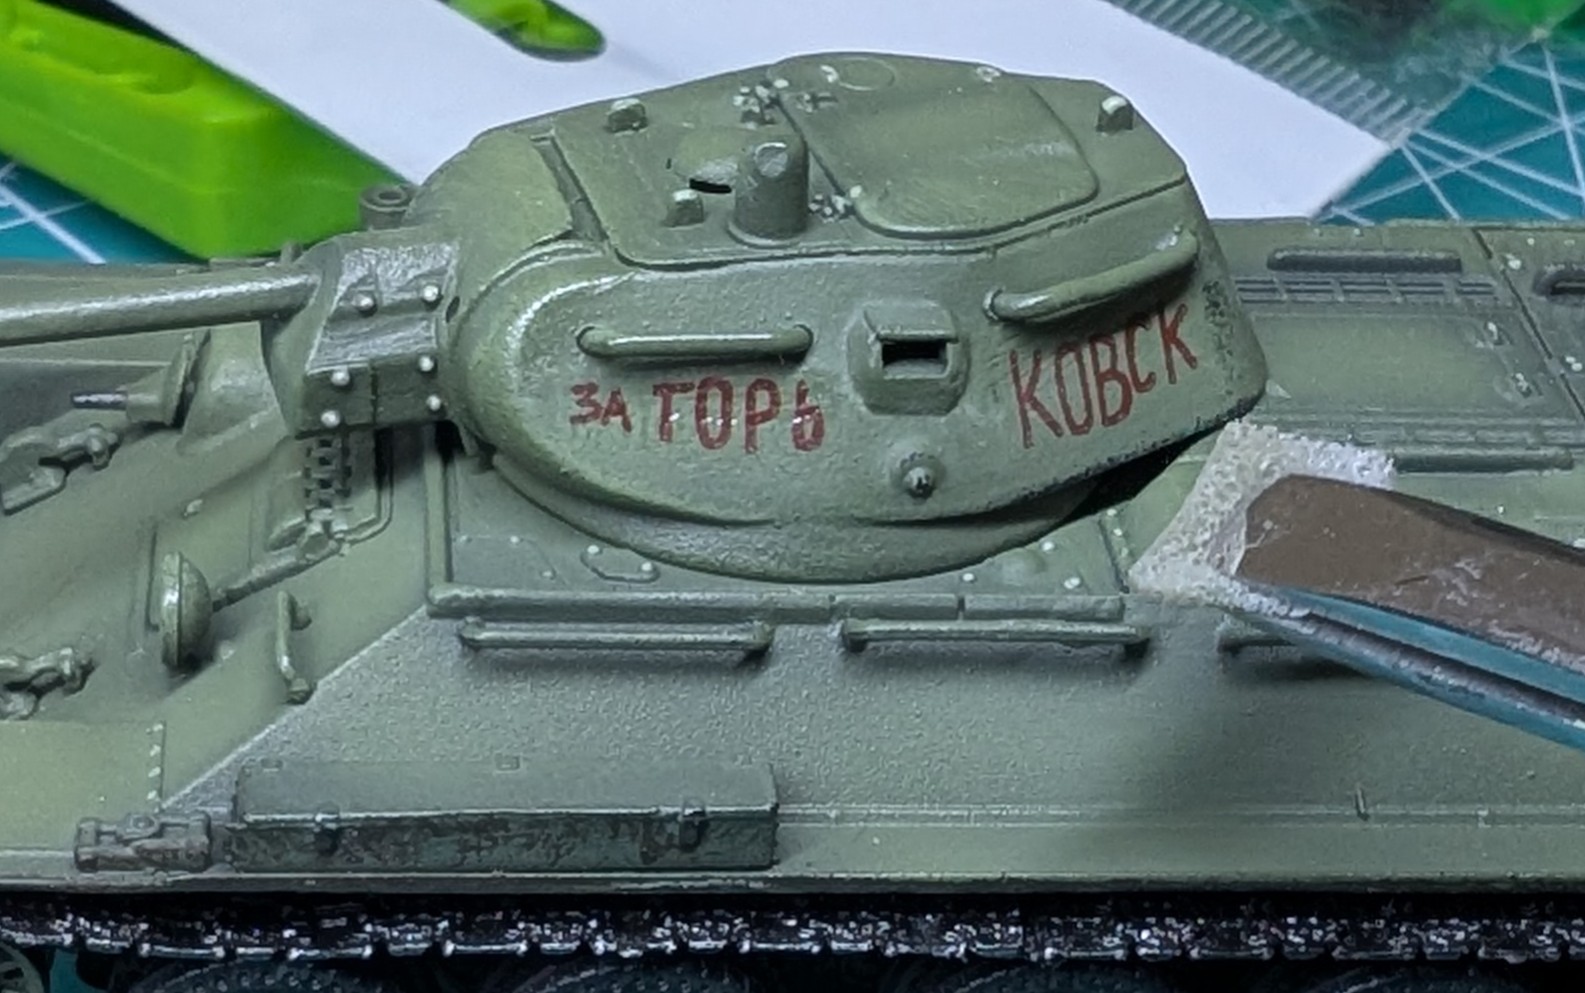
A wet-sanding with a small piece of #3000 sanding sponge smoothed out the edge of the decal nicely. A pair of self-closing tweezers (the ones from the Trains.com store in fact!) made this task much easier.
I’d initially sanded dry which yielded poor results with the edges of the decals looking visibly traumatised and discoloured. Was worried I’d need to strip back, reprint and reapply the decals but thankfully the wet sanding saved it…
Although unintentionally, the sanding even managed to restore some of the surface texture lost when the decal went down - That was a factor contributing to how the decal stood out from from the rest of the turret
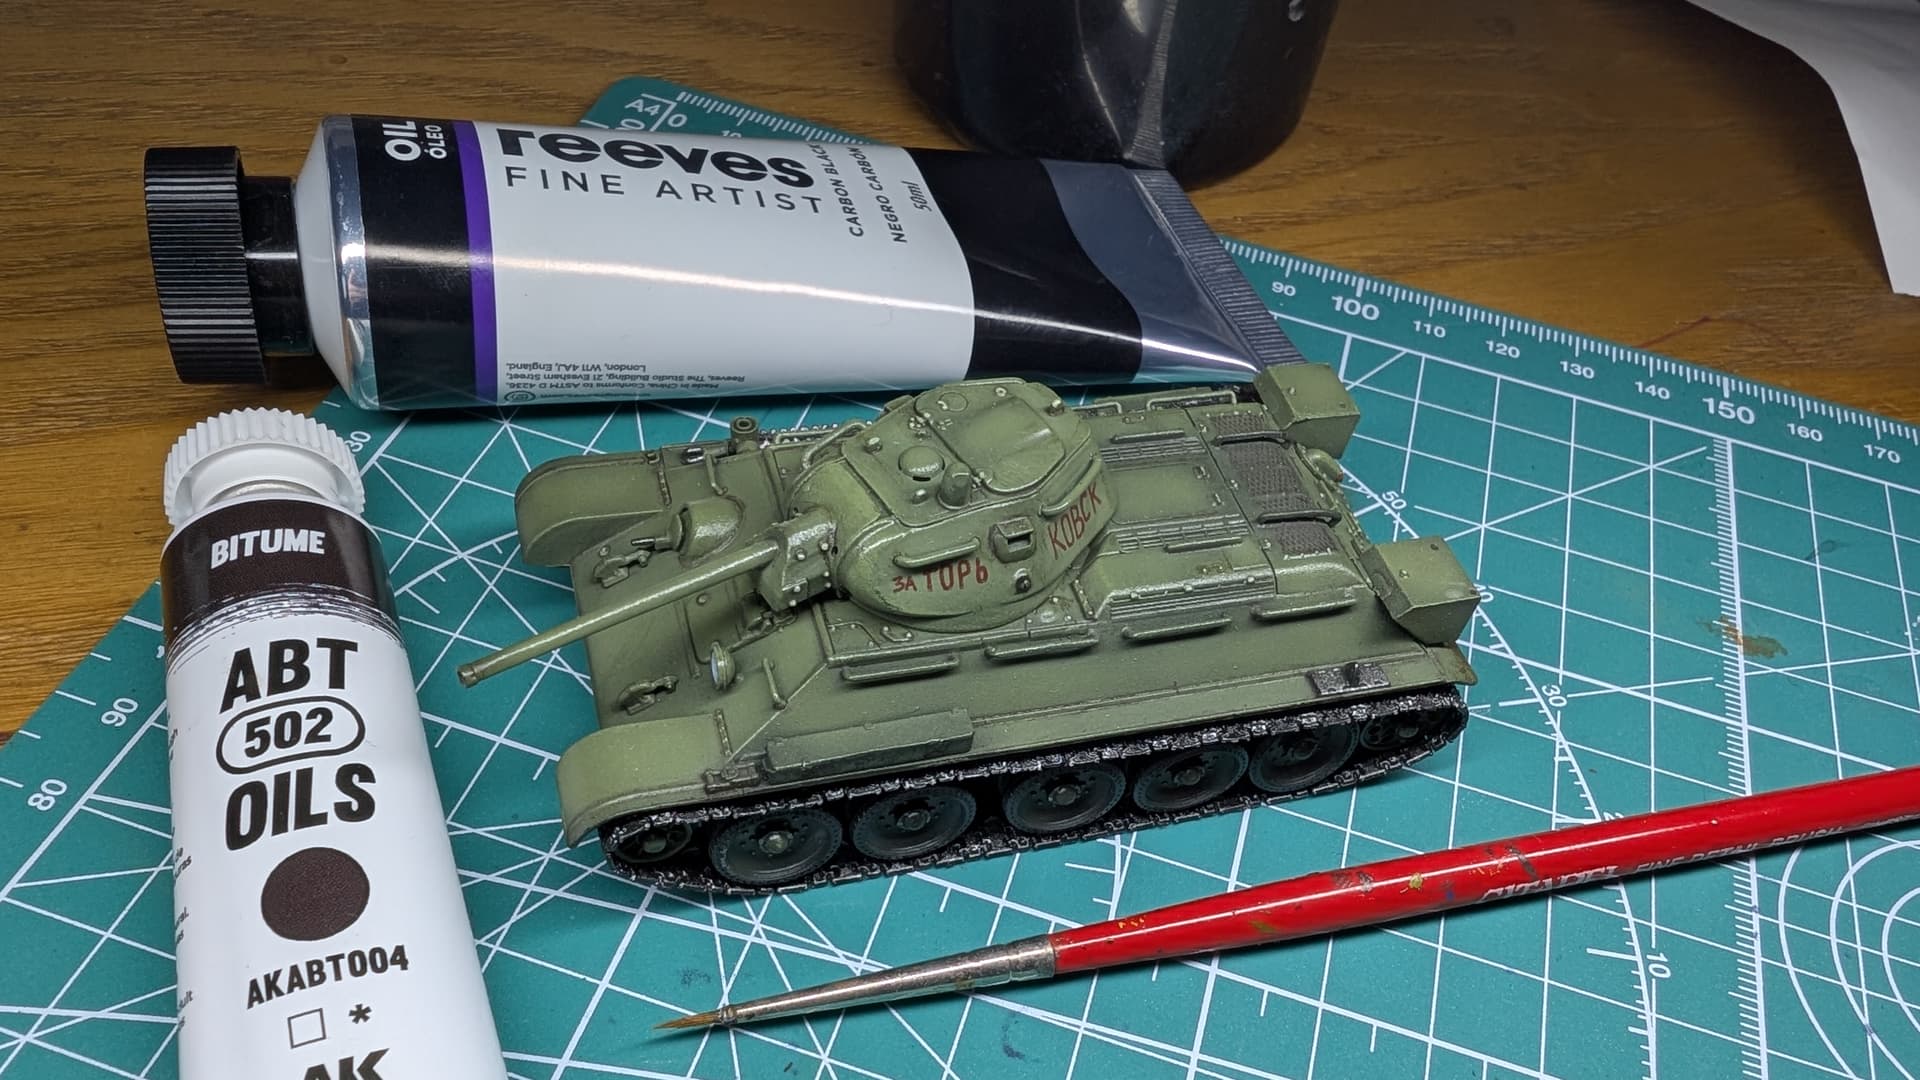
Been a little while since my last update, as May tends to get busy with a collision of family birthdays and the like… Have finally had the chance to start playing with oils as a pinwashing solution for the first time and I have to say they didn’t disappoint!
On advice from elsewhere in this forum I’ve run with Abt502 oils, thinning with white spirit. I’ve only touched the upper frontal plate and the hull roof so far, cleaning up as I go, but I’m loving how forgiving the oil paints are in one’s ability to lay them down and then reactivate them with thinner to clean up
If you can deal with the smell, I feel like this is a vastly superior method to using acrylics having tried both recently…
Edit: Extended pinwashing to the turret, rear and flanks, just need to finish the undercarriage! Not sure if it’s my technique but am finding I can only do this in small doses, even outside, as this white spirit stings the senses…
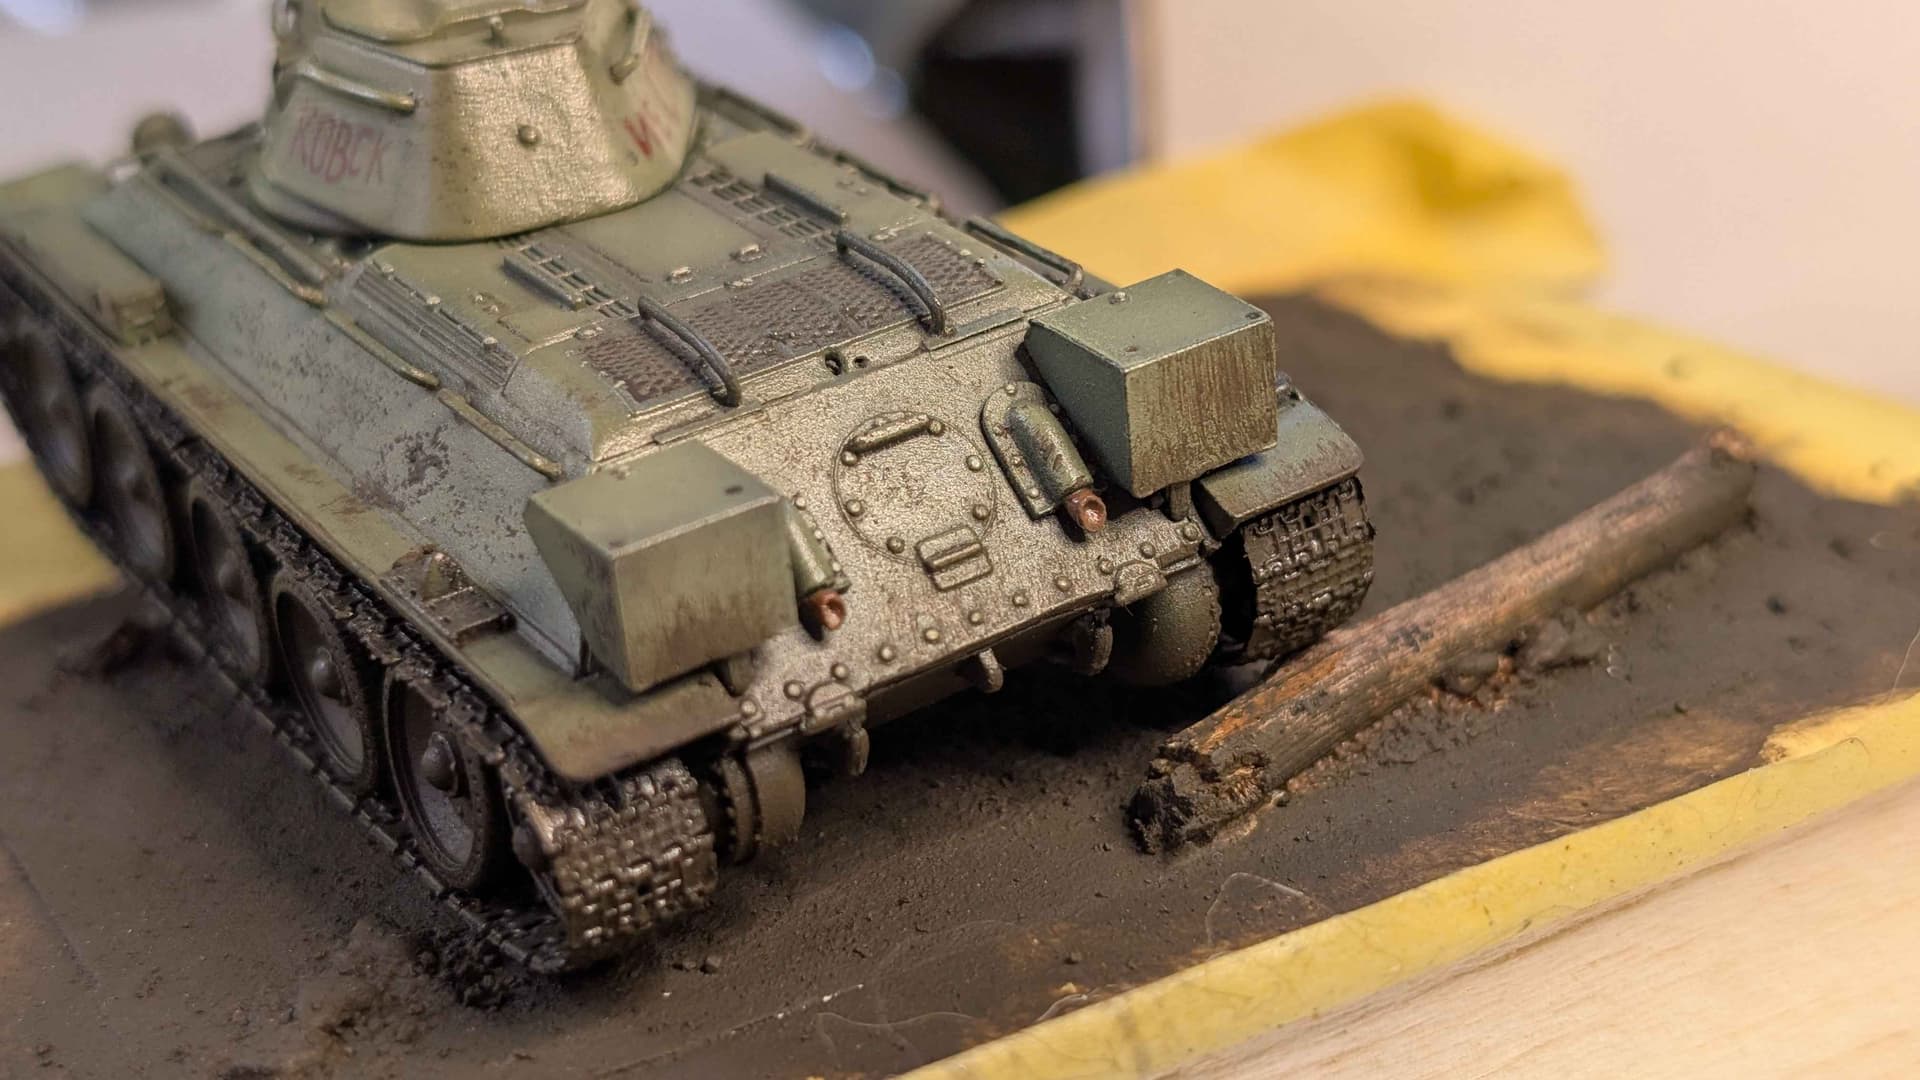
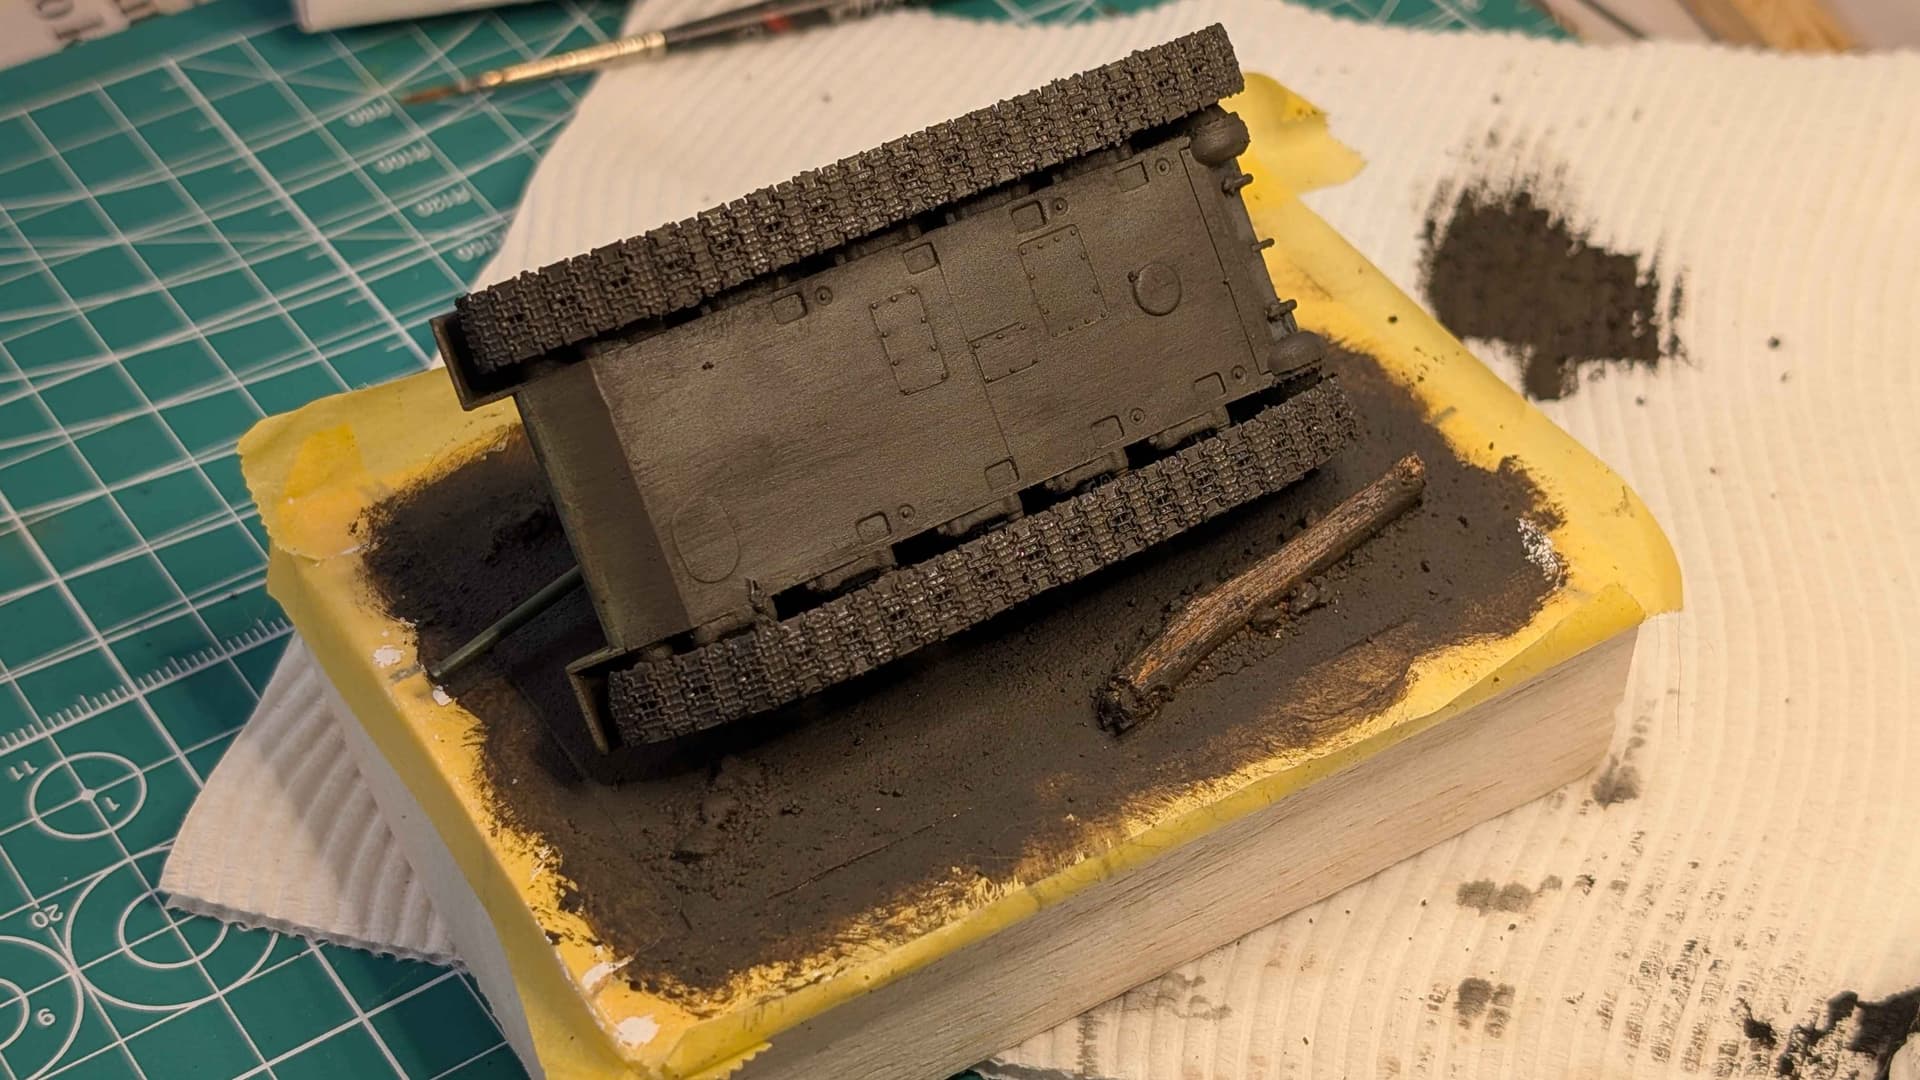
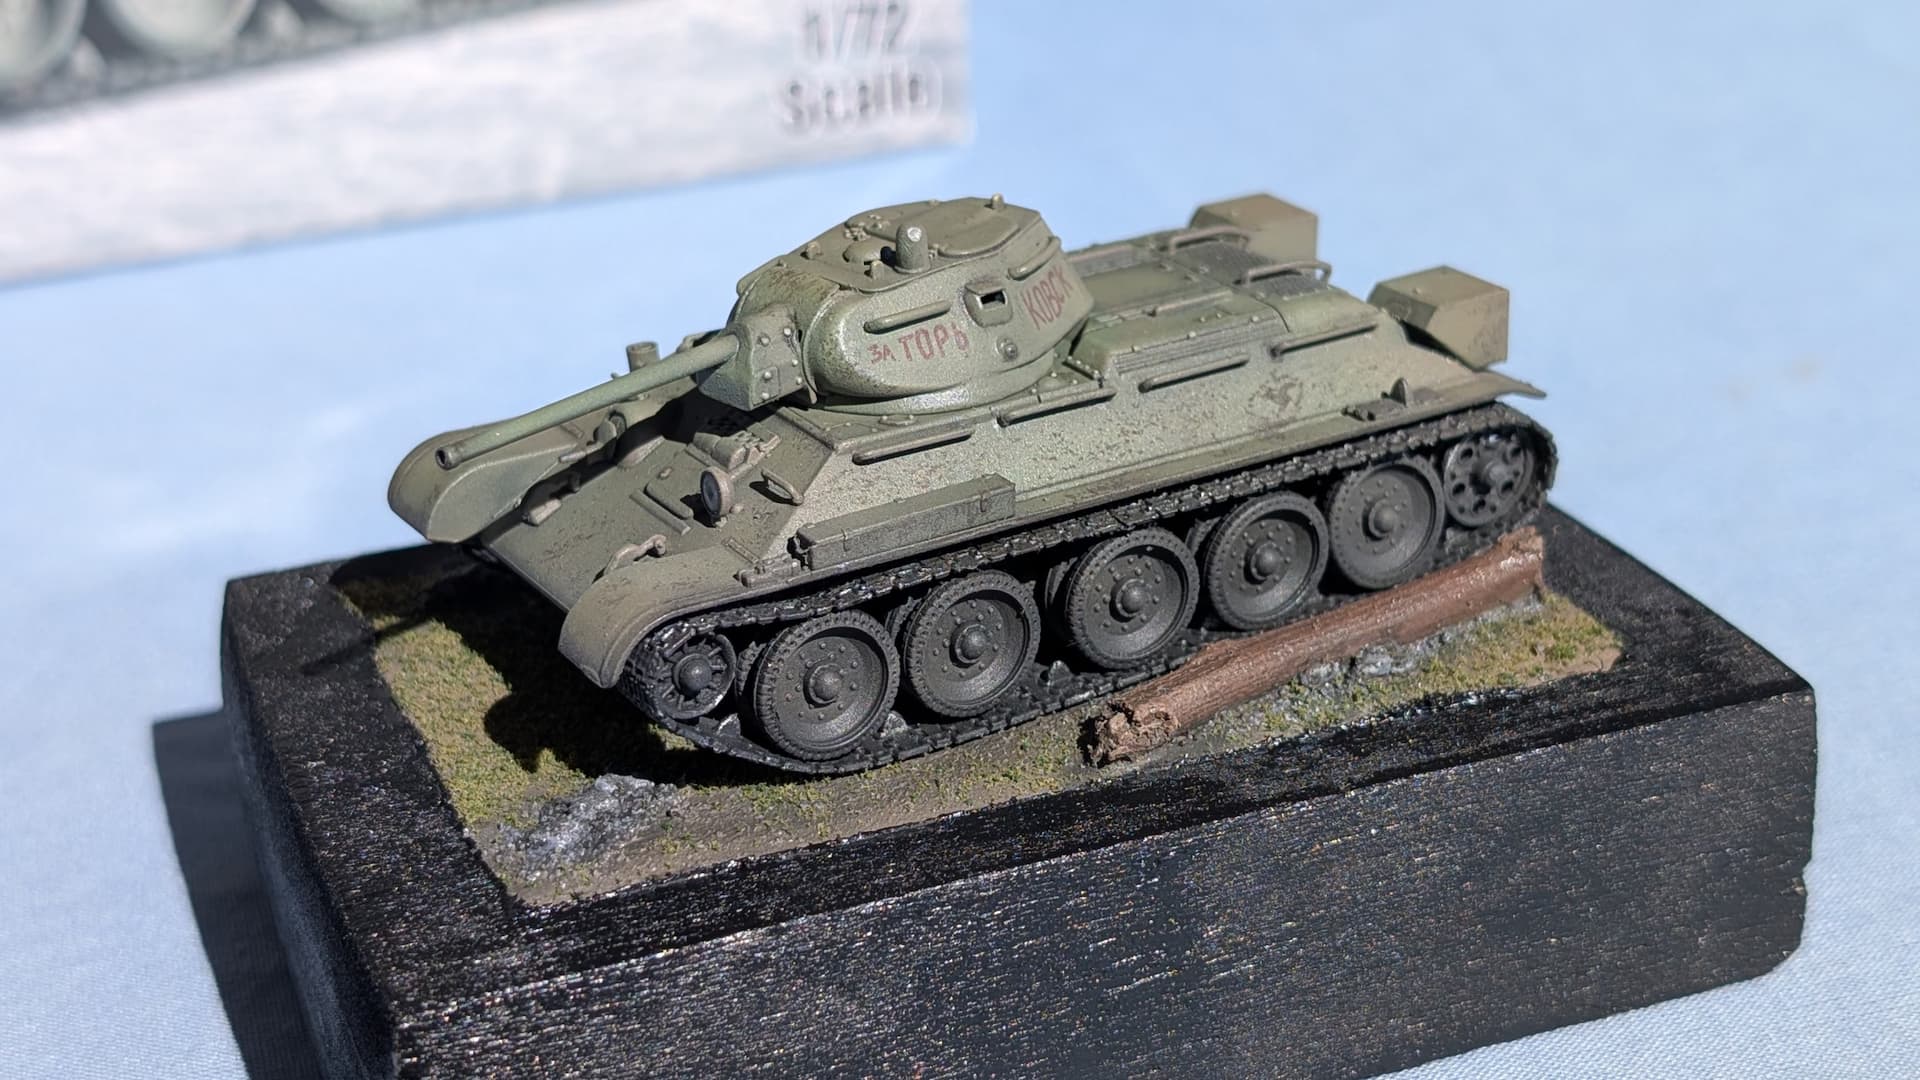
It’s been a hot minute since I’ve been able to work on any models, but T-34/76 has finally had some love yesterday with shading of the undercarriage and application of some mud/dirt
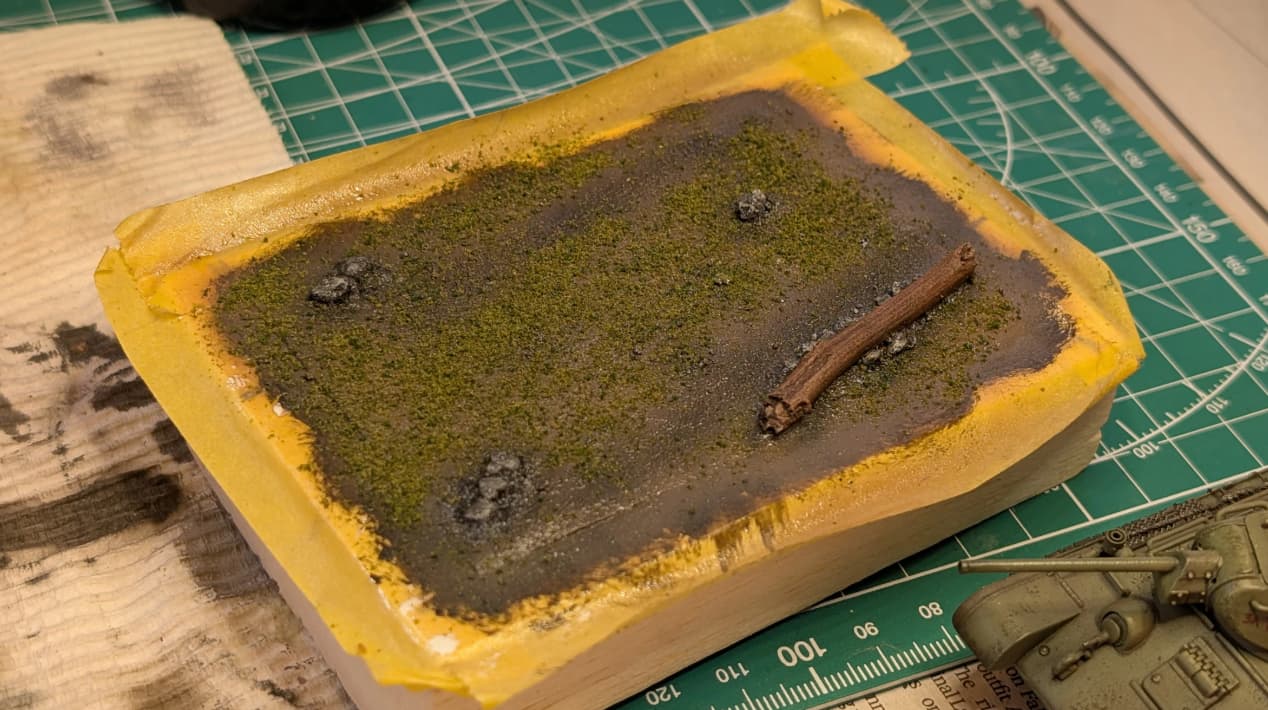
Again, trying not to get too carried away with the mud as we’re representing a scene in Summer 1943. The plan is to work the model concurrently with the base, so that the colour and consistency of the soil remains somewhat similar between what’s on the ground and what’s getting picked up by the tank in transit
I’ve used a mix of fine green and yellow flock, using Deluxe Materials Scenic Spray Glue as a fixer. Unfortunately it’s application is not very precise, and although it dries clear it also has a very tacky feel to it. This overspray can be cleaned up immediately with water or after drying using isopropyl alcohol, but I still found my sticks and stones to be sticky (well, the stick was a stick…) … Hoping a clear coat will keep the surface from becoming a super-effective dust catcher, as painting over the other features has proven somewhat effective at stabilising the surface
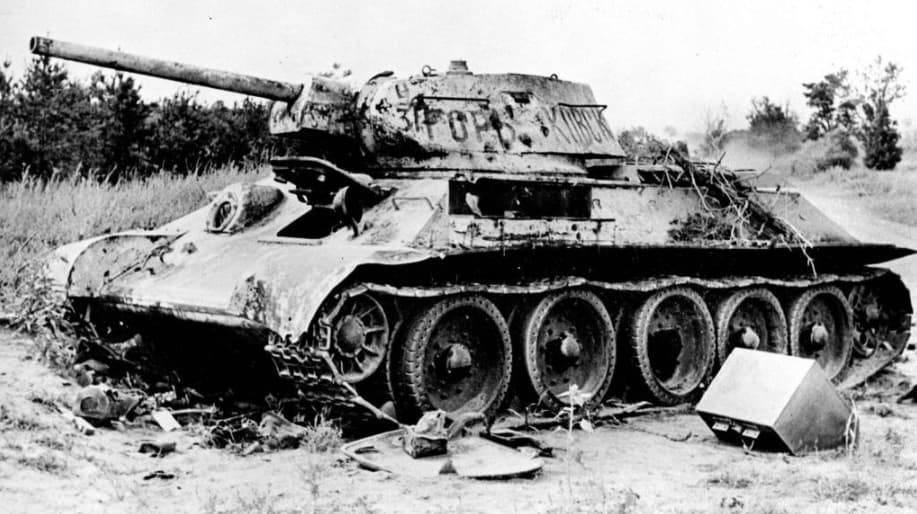
Calling it a day on this one! We had attempted to replicate the time and circumstance in which this vehicle found itself, chasing down retreating Germans in a 60-100km push following the Battle of Kursk in July 1943 - Unfortunately for this vehicle, in the course of that 60-100km push it has struck a landmine. The resultant damage appears significant in the photo (Roger Viollet - July 1943), although much of this may be a result of the tank being scavenged for spare parts, ammunition or leftover fuel by an army on the move as evidenced by the missing hull machine gun…
We also embarked on a little side-quest experimenting with creating our own wraparound decal for the turret, as the decals had interpreted the inscriptions from the Roger Viollet photo as symmetrica unit markings - This I feel was mostly successful, but next time I won’t use a double-hit of clear coat - One is enough, and two makes for fat decals that need a lot of fine sanding to acheive that painted-on look
This was a pleasant enough kit to build, but wasn’t without its issues:
Brittle plastic (See Post #4) - The gun mantlet required extensive repairs after some close side-cutting caused a fracture into the part. I suspect some of the pieces (the gun mantlet included) may have actually been 3D printed rather than injection moulded, as there was evidence of layer marks on the parts
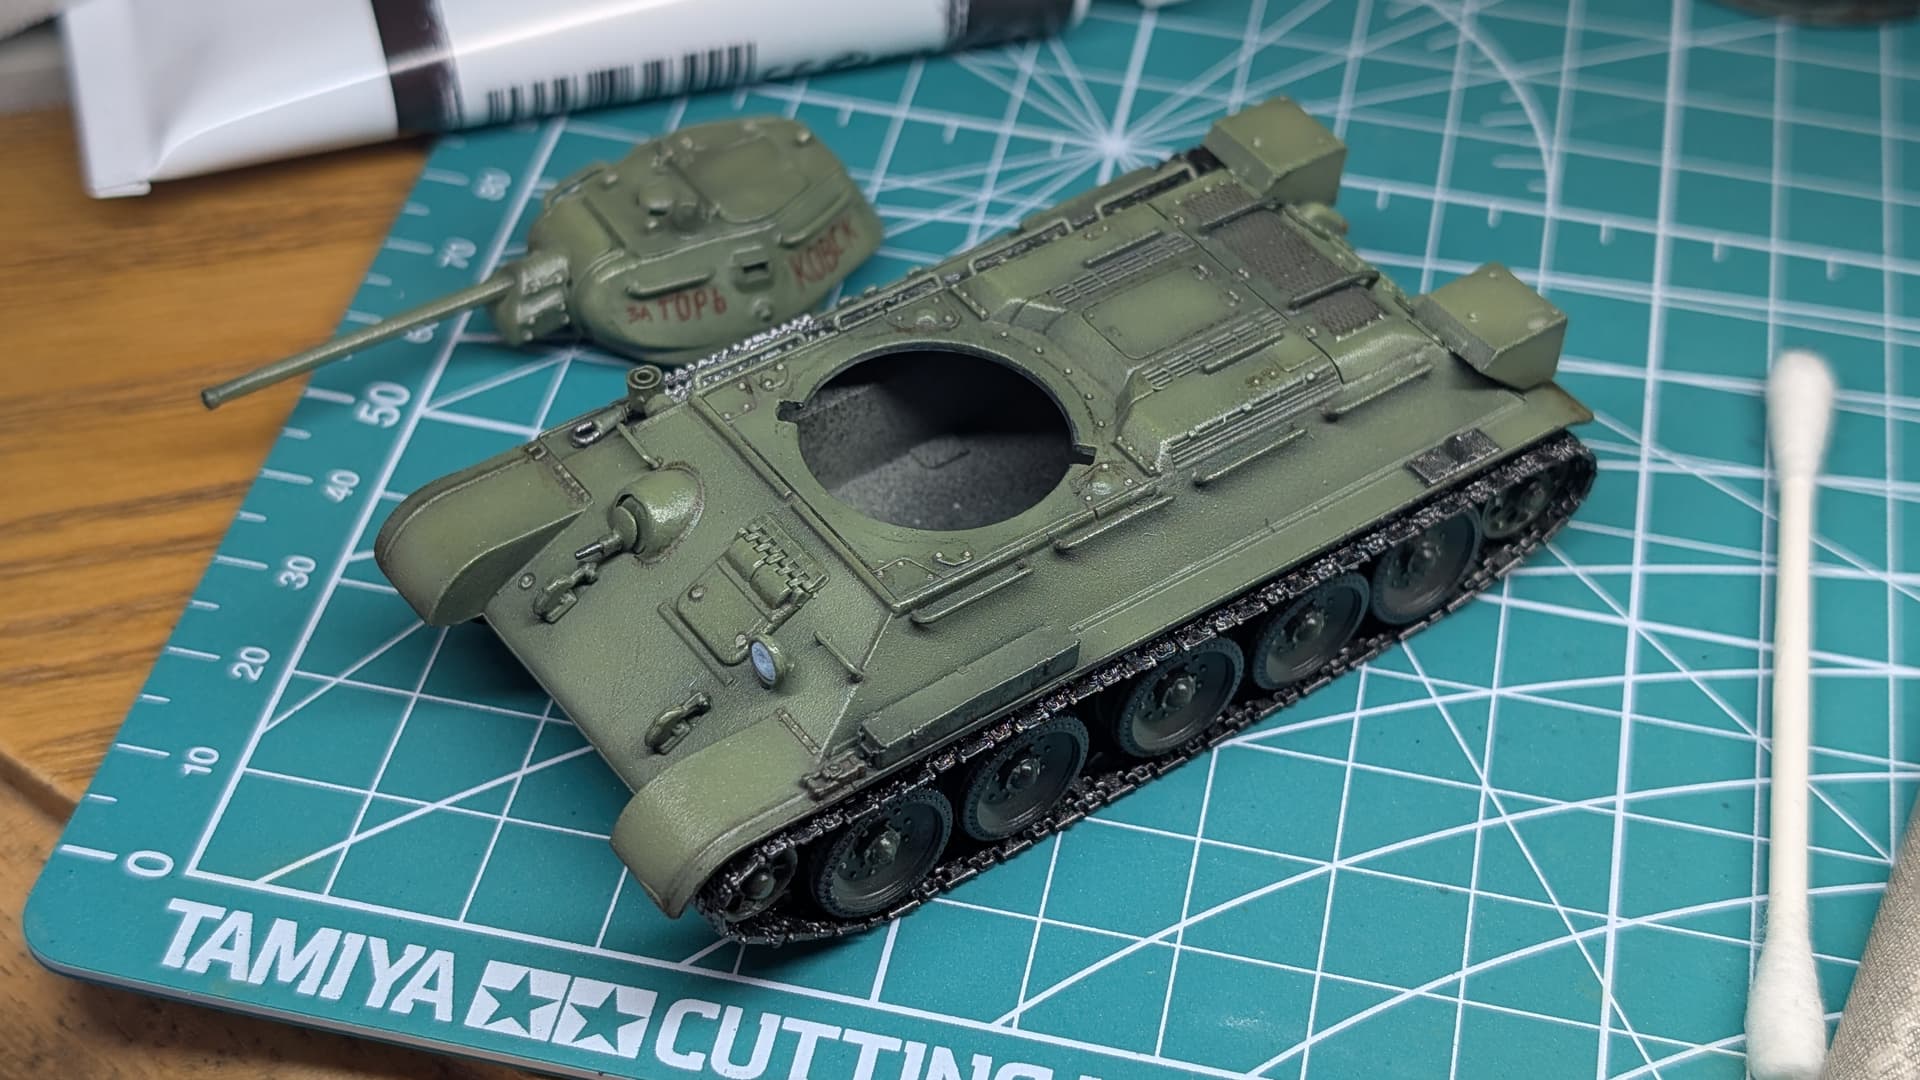
Fuel tank mouldings (See Post #7) - This was a pretty silly omission by the kit design, which could have been mitigated by an additional part to close the open mould of the fuel tank. We’ve remedied by stuffing the fuel tank with kneadatite (green stuff)
Inconsistent approach to moulded details (See Post #27) - Handrails and hatch handles were often moulded as individual pieces however the turret handrails were moulded as solid blocks integral to the turret. We ground these off and replaced with bent paperclip although in hindsight staplers would have been better
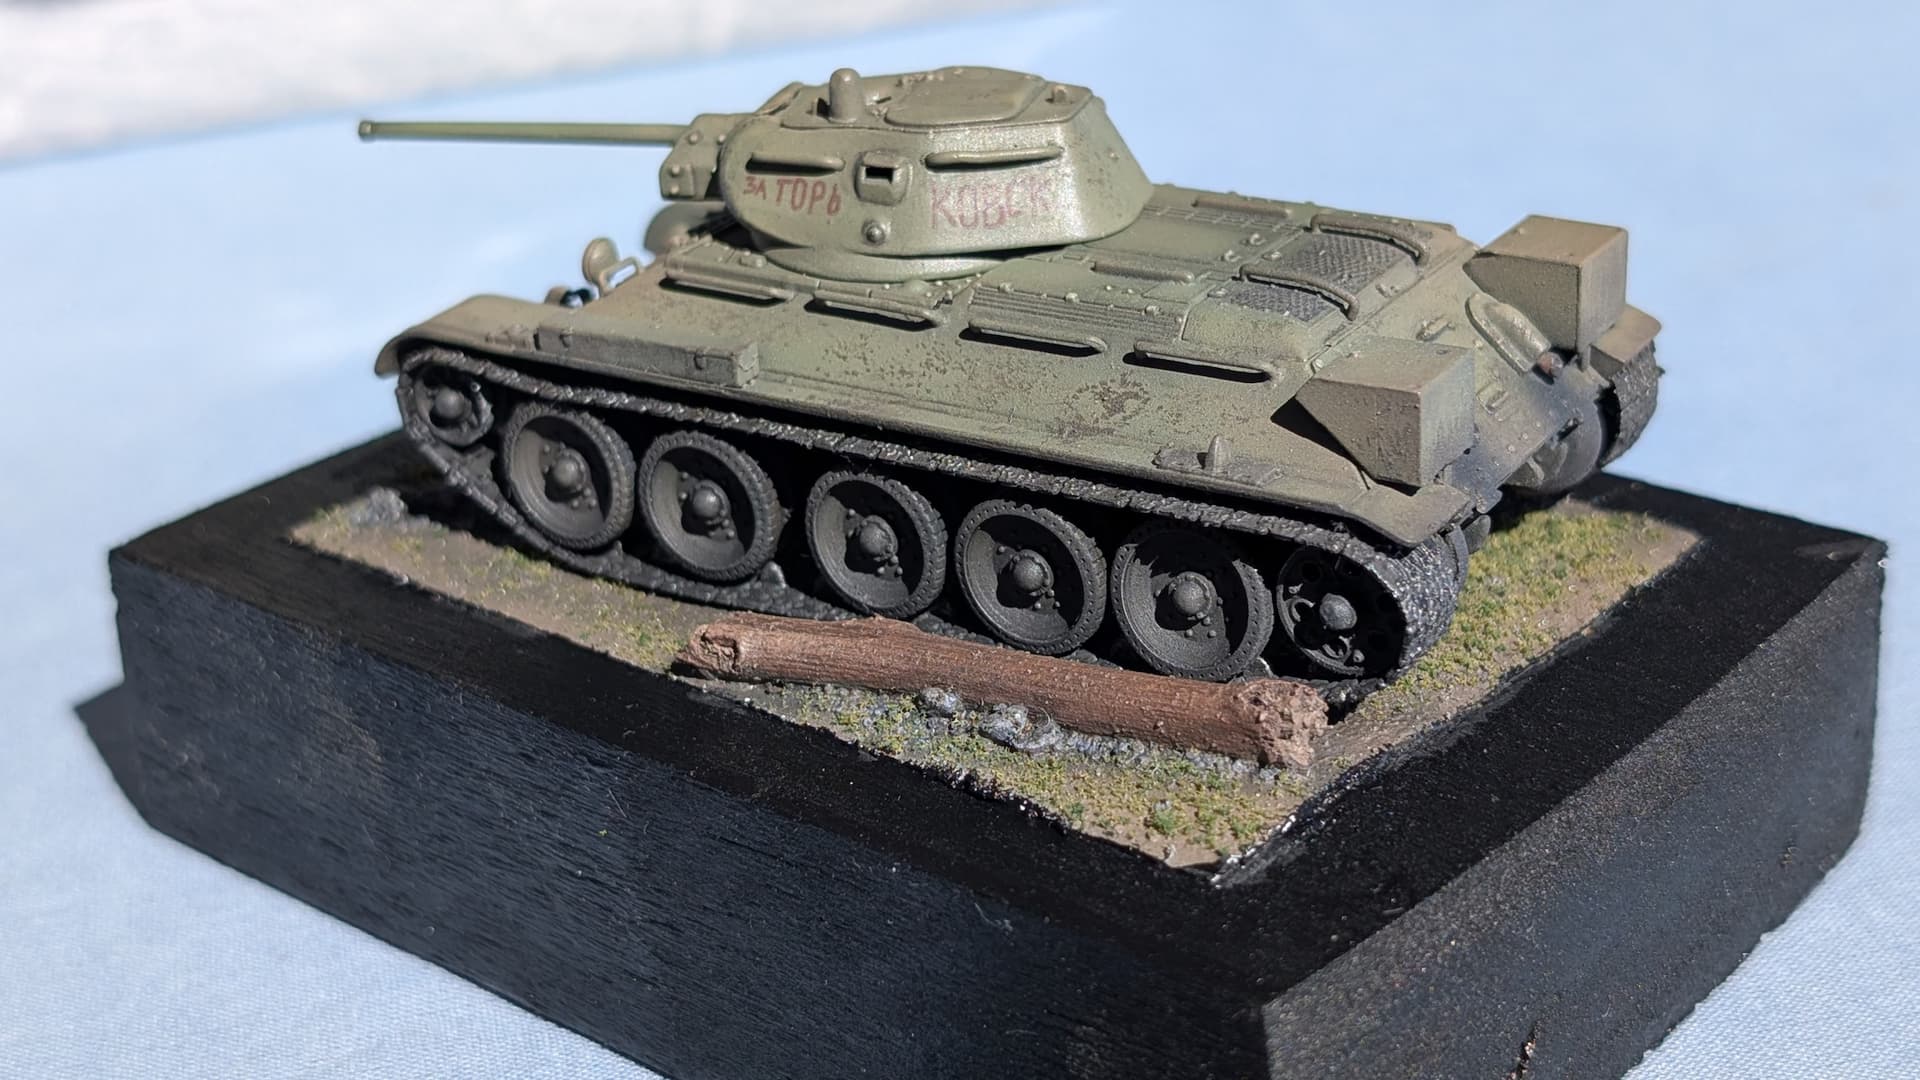
Rubber tracks (See Post #35) - They’re a great way to represent tracks on a cheap kit, provided the vehicle is intended to maintain a farily high track tension. T-34’s tracks have a much looser fit, requiring us to use a thin wire to physically tie the track onto some of the road wheels. This was by no means a perfect solution but at least it doesn’t look like Factory 183 was employing one Harry Pyotr to enchant levitating tracks
String Tow Cable - The string tow cable supplied responded to the Chaos Black undercoat by instantly fraying, which no amount of flaming appeared to mitigate without risk of burning the model it was stuck to. I didn’t have this problem with another kit primed by rattle-can lacquer-based paint, so it may be a materials compatibility issue arising from poor quality string
At the price point of the kit though, a beginner modeller facing these issues probably wouldn’t care, while an experienced modeller would either be buying something else, or relying on a mix of skill or aftermarket parts to solve their problems. None of these issues were fundamentally in conflict with our main objectives from this build however, and I wasn’t going to splash on aftermarket track whose value exceeded that of the base kit
Although I was quite happy not to overcook the weathering on this kit, I’ve potentially missed an opportunity to do more with the oils such as creating more targeted streaking effects where rainwater might naturally collect and flow down the hull. Maybe I could have been more ambitious with our objectives, or added to them as confidence grew…
The undercarriage has come out much darker than I’d like, with much of the 4BO on the road wheels having been drowned by the travel grime. This sort of physical condition may have some basis in fact, but I feel like I’ve abused the privelege on this occasion.
In any case, thanks for following this journey and your words of encouragement and wisdom along the way - You all make this community an absolute pleasure to be a part of
\Daren, congratulations on the completion… and ending on a high note!
I liked your self-analysis at the end and I intend to start using your idea in my projects. In my last conclusion, I made a summary, but I believe that your reflection in the conclusion of T34 was very good.
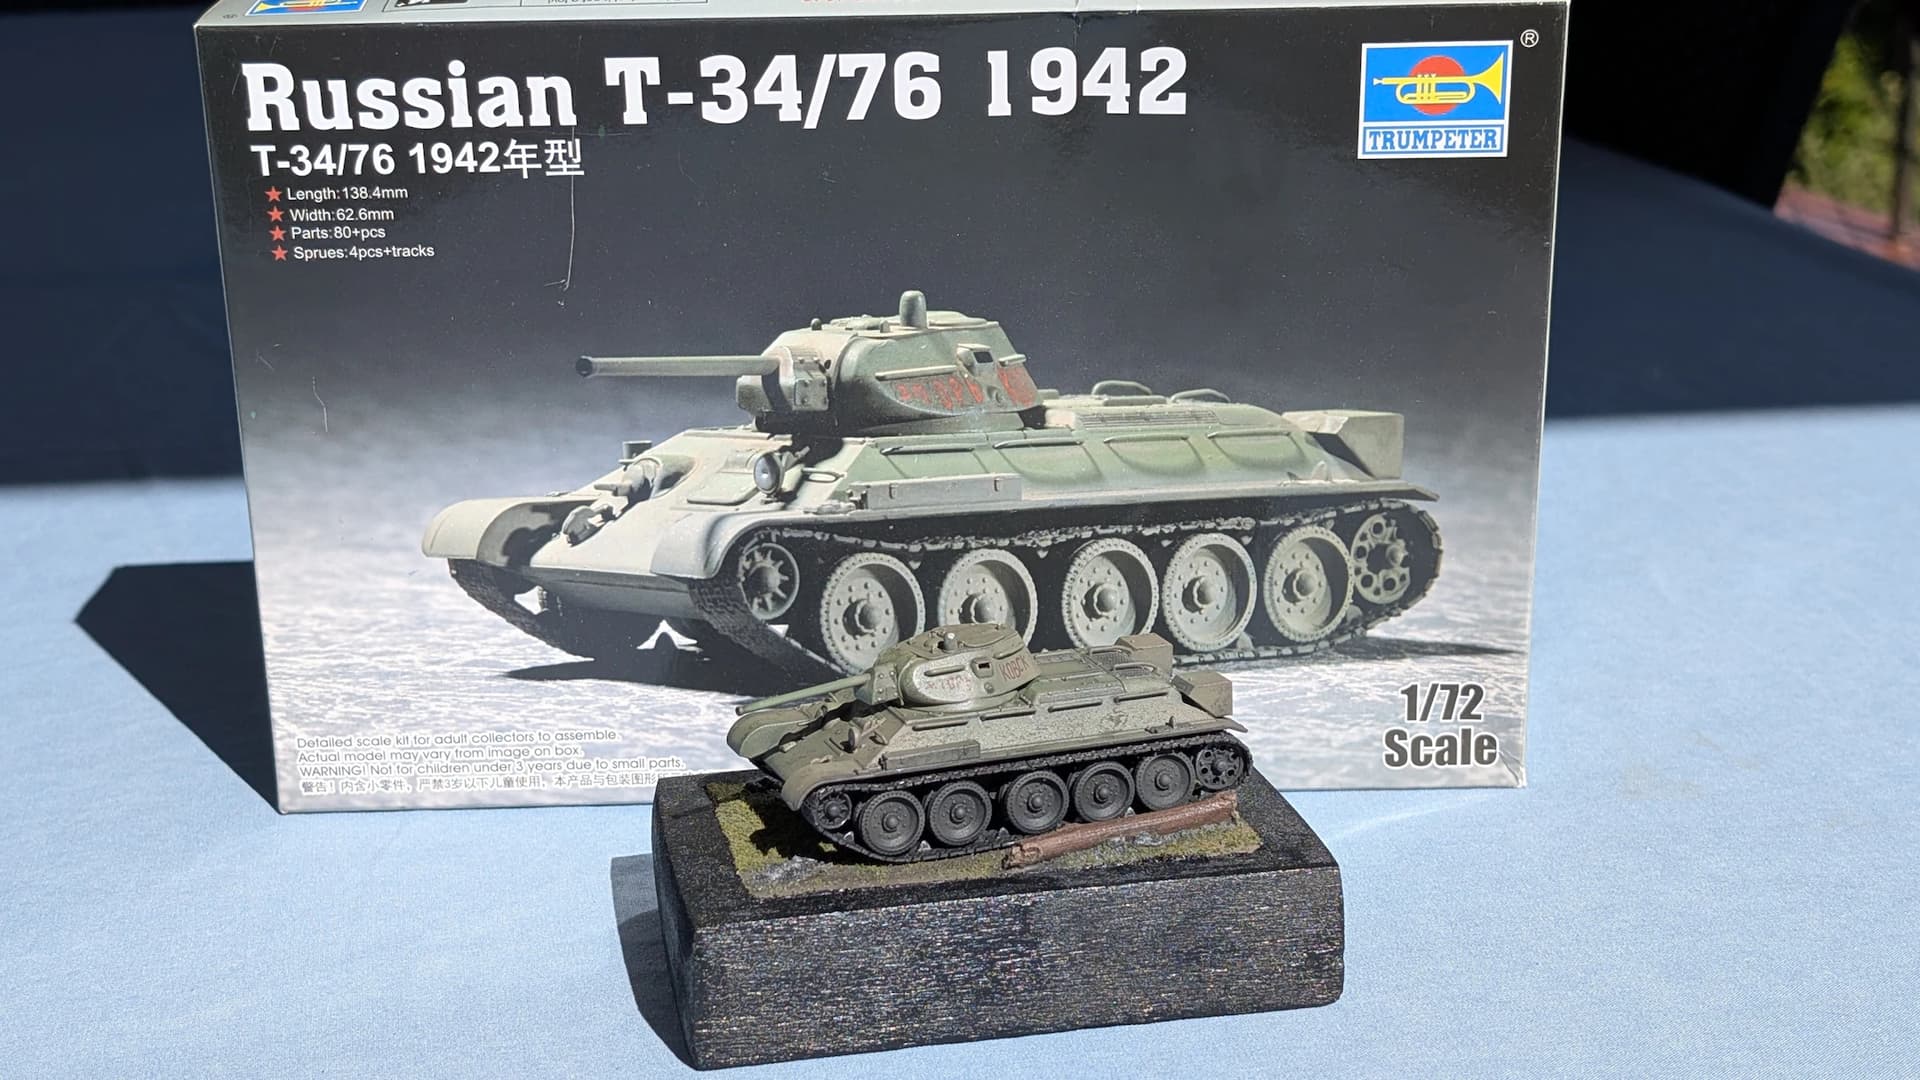
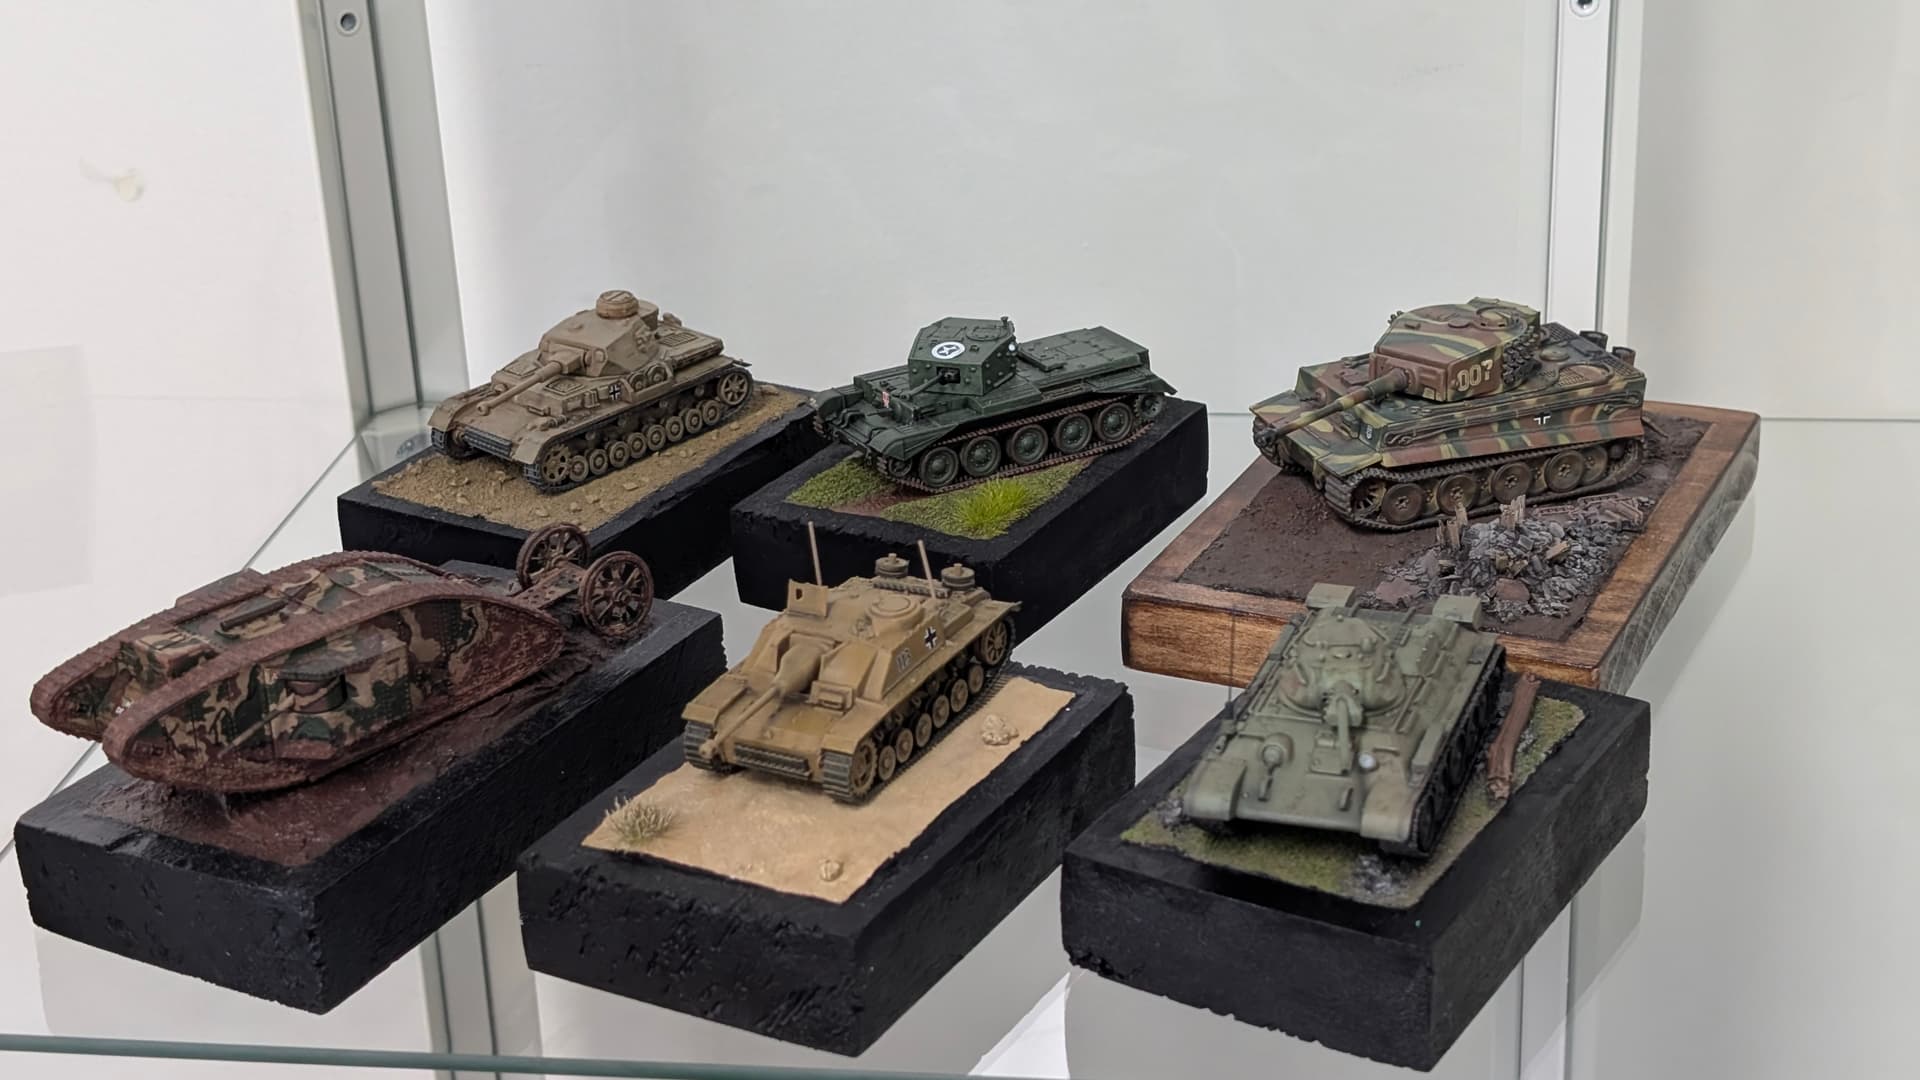
It’s now hanging out with me at work, with it’s other friends of scale…
A last-minute addition was the whip antenna, which the directions would have me constructing out of heated and stretched sprue. Not trusting the brittle Trumpeter plastic, I’ve instead pushed some wire through some plastic rod and super-glued in place
@S.Hollowell … Thanks mate! I feel like I’m slowly getting the hang of this now…
@Mobious … Cheers sir! The sidequest into custom decals was one of the most satisfying parts of this build! I put up a separate post to cover that side of it in a bit more detail if that’s something you’re interested in - Looking at that “Ferocious Frankie” P-51D of yours, I can tell you’re not shy when it comes to using aftermarket decals to create some super-interesting topics! (That was stunning!)