Hey guys!
Not a new member here (used to be “kylewoody”)… but the forum wouldn’t sign me in under my existing email and password, said it didn’t exist. Made a new account, said my email was already taken. Whatever, I made a new account.
Anyways I got the Diamond Star Toys 1/15 time machine from the first movie, nuclear chamber and all. Not a bad piece, but after seeing these inspirational builds I decided to do one myself! Hopefully I can link to them as it helped me a great bunch - plus I’d like to give credit to the builders.
http://www.therpf.com/f11/modify-back-future-delorean-1-15-a-106817/
http://www.therpf.com/f11/bttf-diamond-select-delorean-1-15-upgrades-mods-119215/
Now I know these aren’t straight up model kits, but hopefully I won’t get shunned too much! I’ve been building 1/350 and 1/700 ships quite a bit lately so I thought this would be a good break. I would build a regular model kit of the Delorean like Aoshima’s, but I wanted it BIG… and this toy is the only one this size. [H]
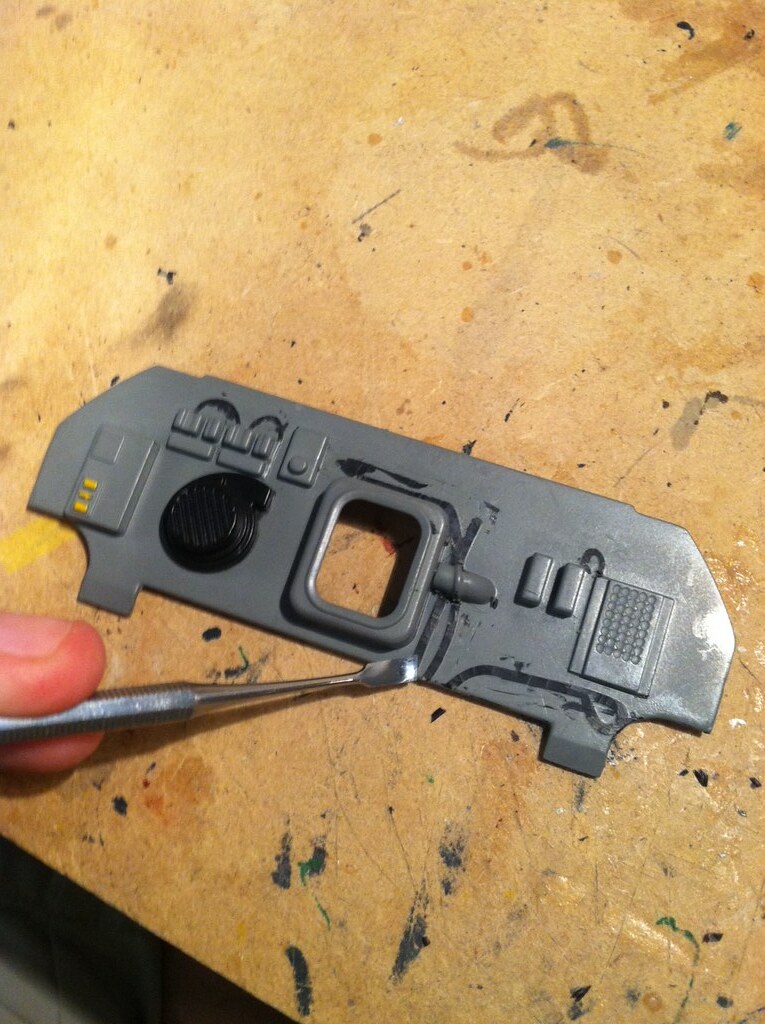
So… here she is off the rip. Not bad, but definitely a shiny plastic, mass produced look.


Definitely don’t like the blandness and molded in stuff, like wires and time travelling gizmos. First step, take it apart! Just six screws on the bottom, then carefully remove the LEDs from the body.

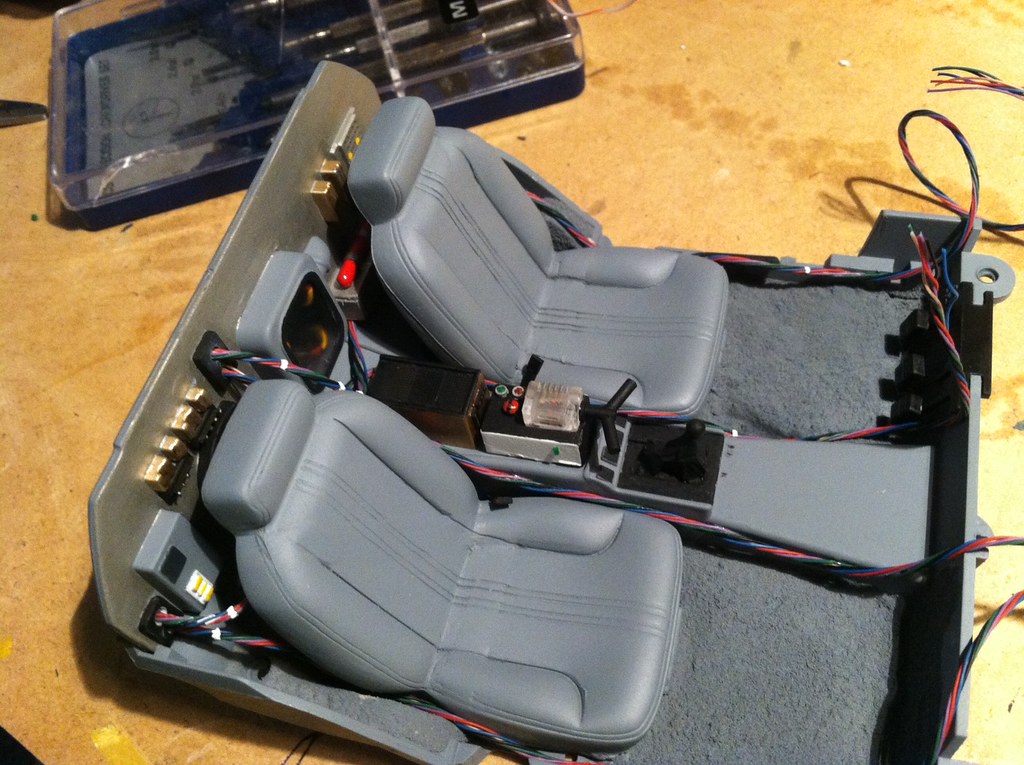
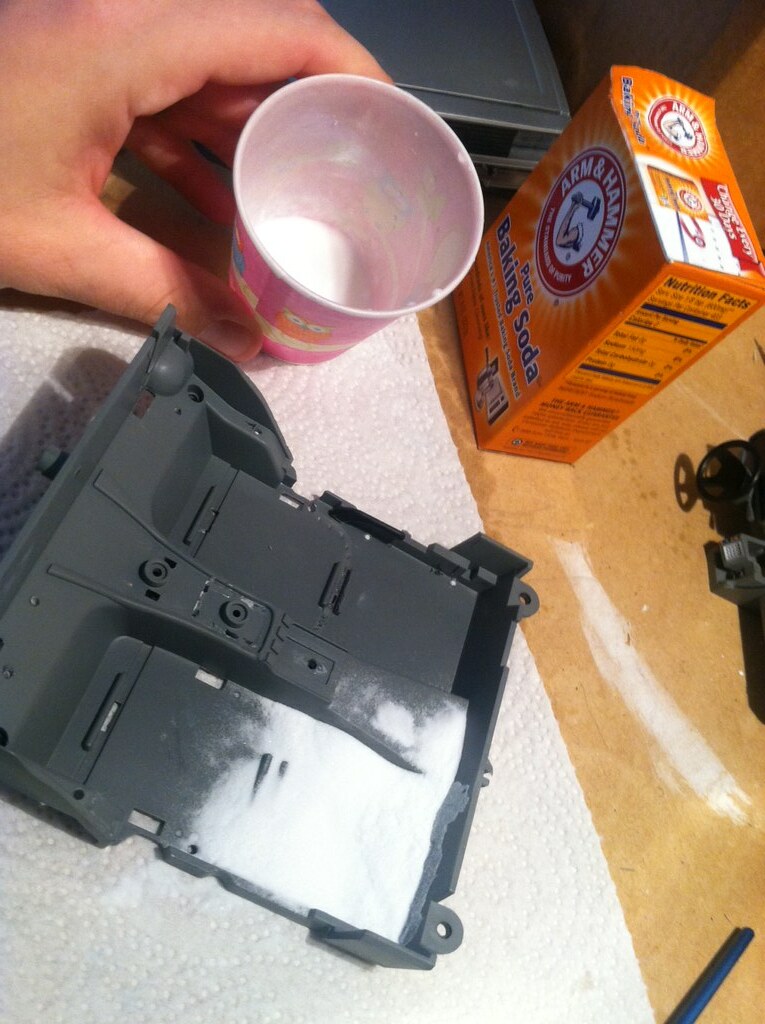
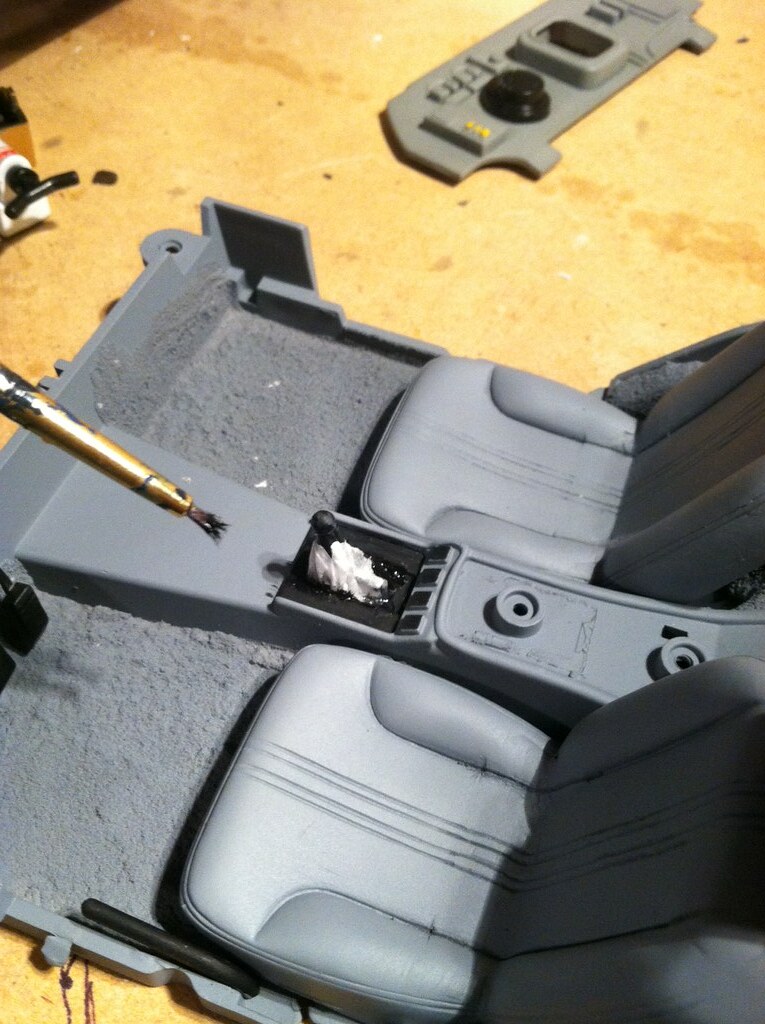
Adding carpet to the smooth interior tub - had no flocking so I tried the baking soda technique and thinned white glue. I think it works pretty good!
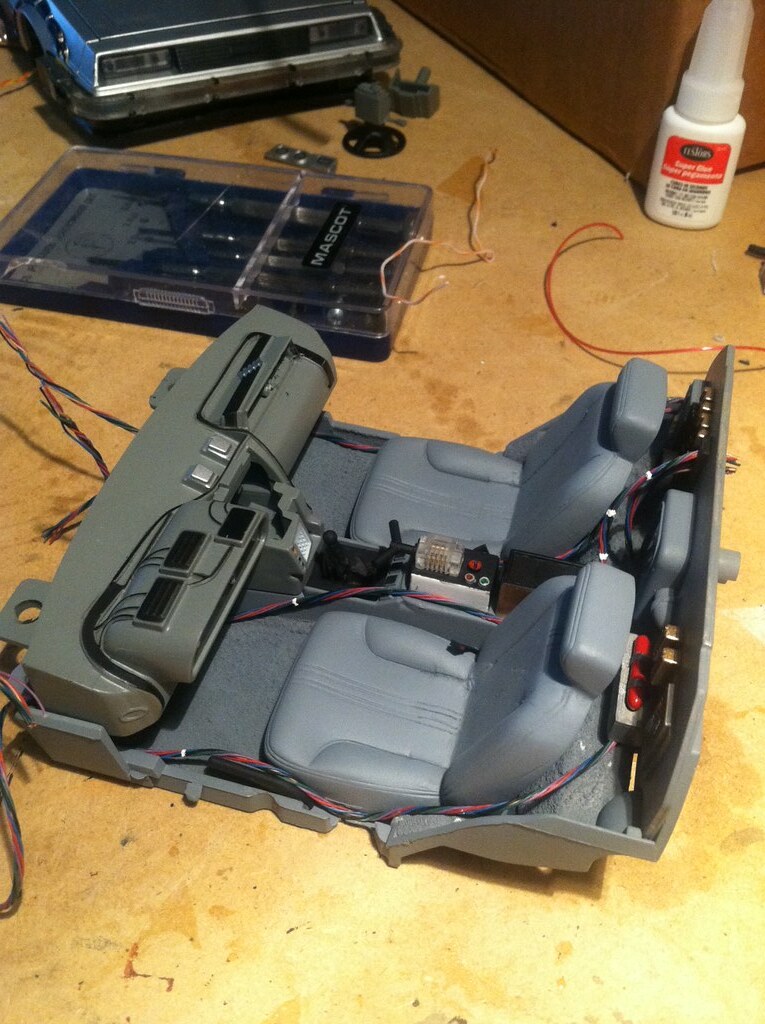
Then scrape off the molded in seatbelts. And sand. Then scrape. Then prime. Then sand. Etc.[bnghead]

Also wanted to detail the shift boot. Just used tissue paper and CA. Trimmed off excess with a sharp X Acto blade, then hand painted with acrylics.
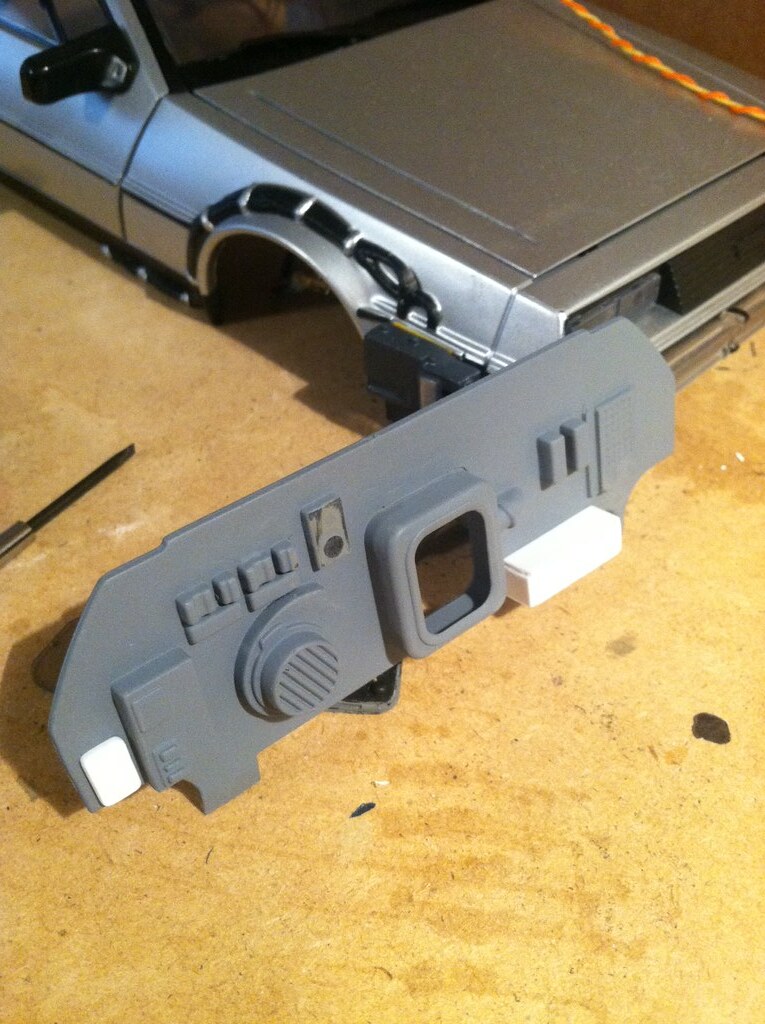
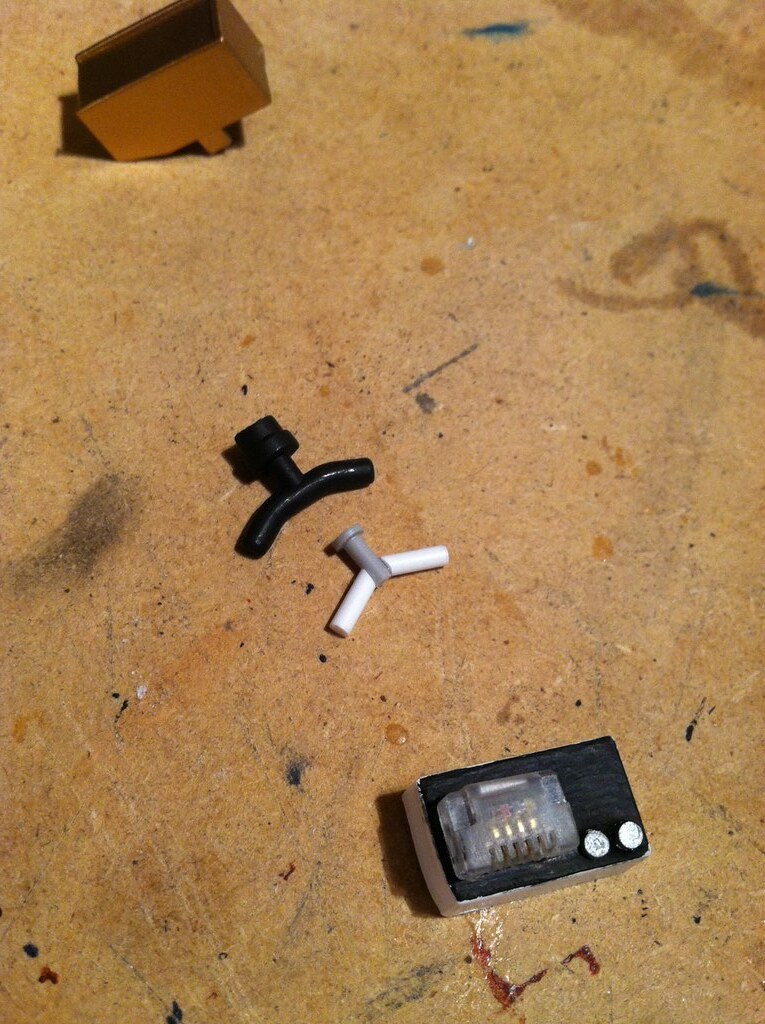
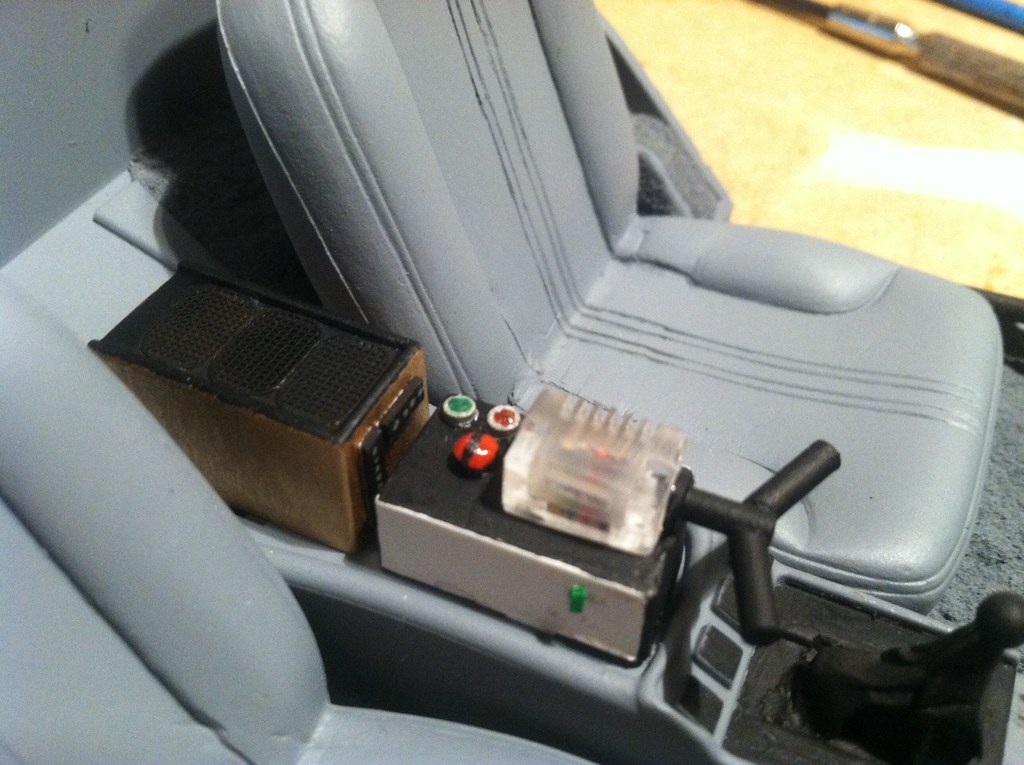
Totally redoing the time circuits switch in the center console. Borrowing tek’s idea of using a phone line fitting.

Didn’t like the main switch itself, is too big/clunky and shaped wrong. Just used some scrap styrene rod.
Detailing the power inverter looking thing on the center console. Appears to have like a chicken wire top, so I used so scrap PE stuff from 1/350 lifeboats.


That’s about it for now, working on the back panel where the rear window was, then the dash. Real wire will be run throughout for a realistic look.
Kyle