I know that I didnt finish some other of my buildings (
StuG III G Finnish). But that one was so interesting and I started it also.
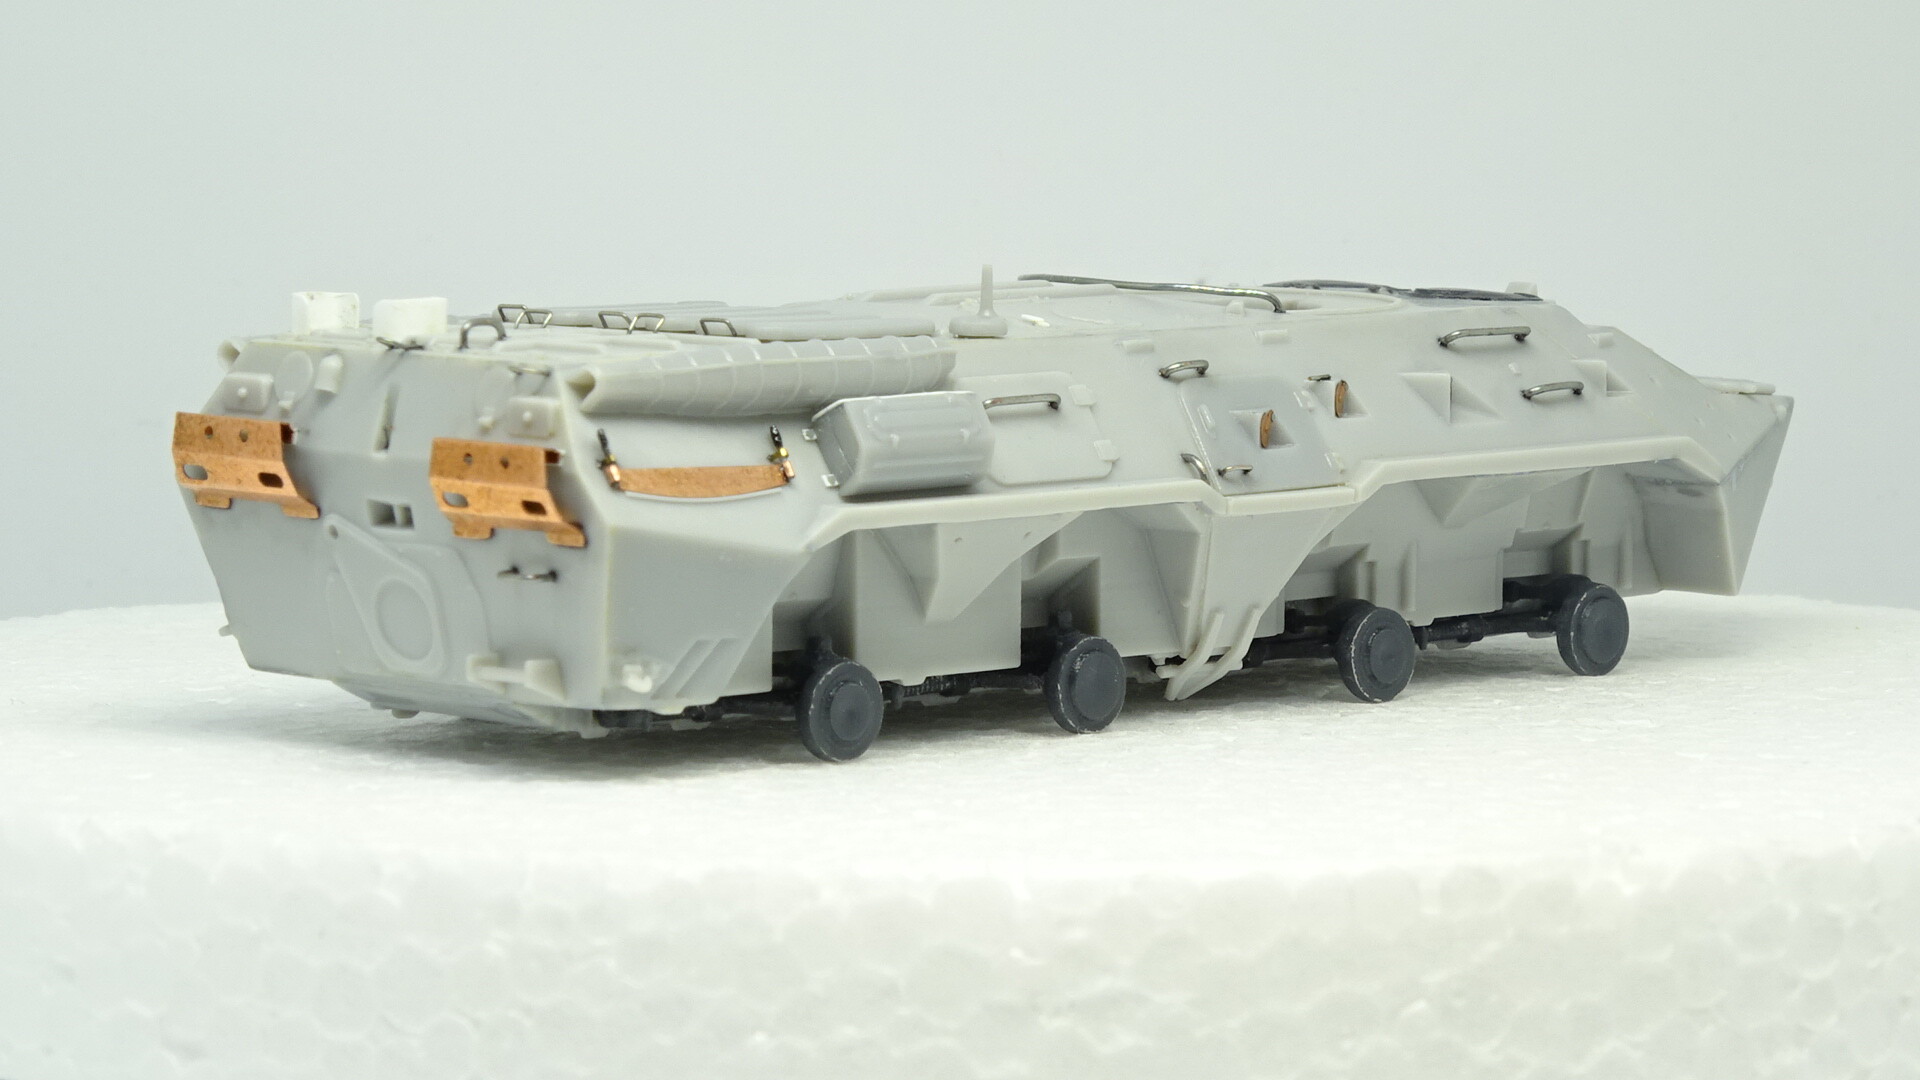
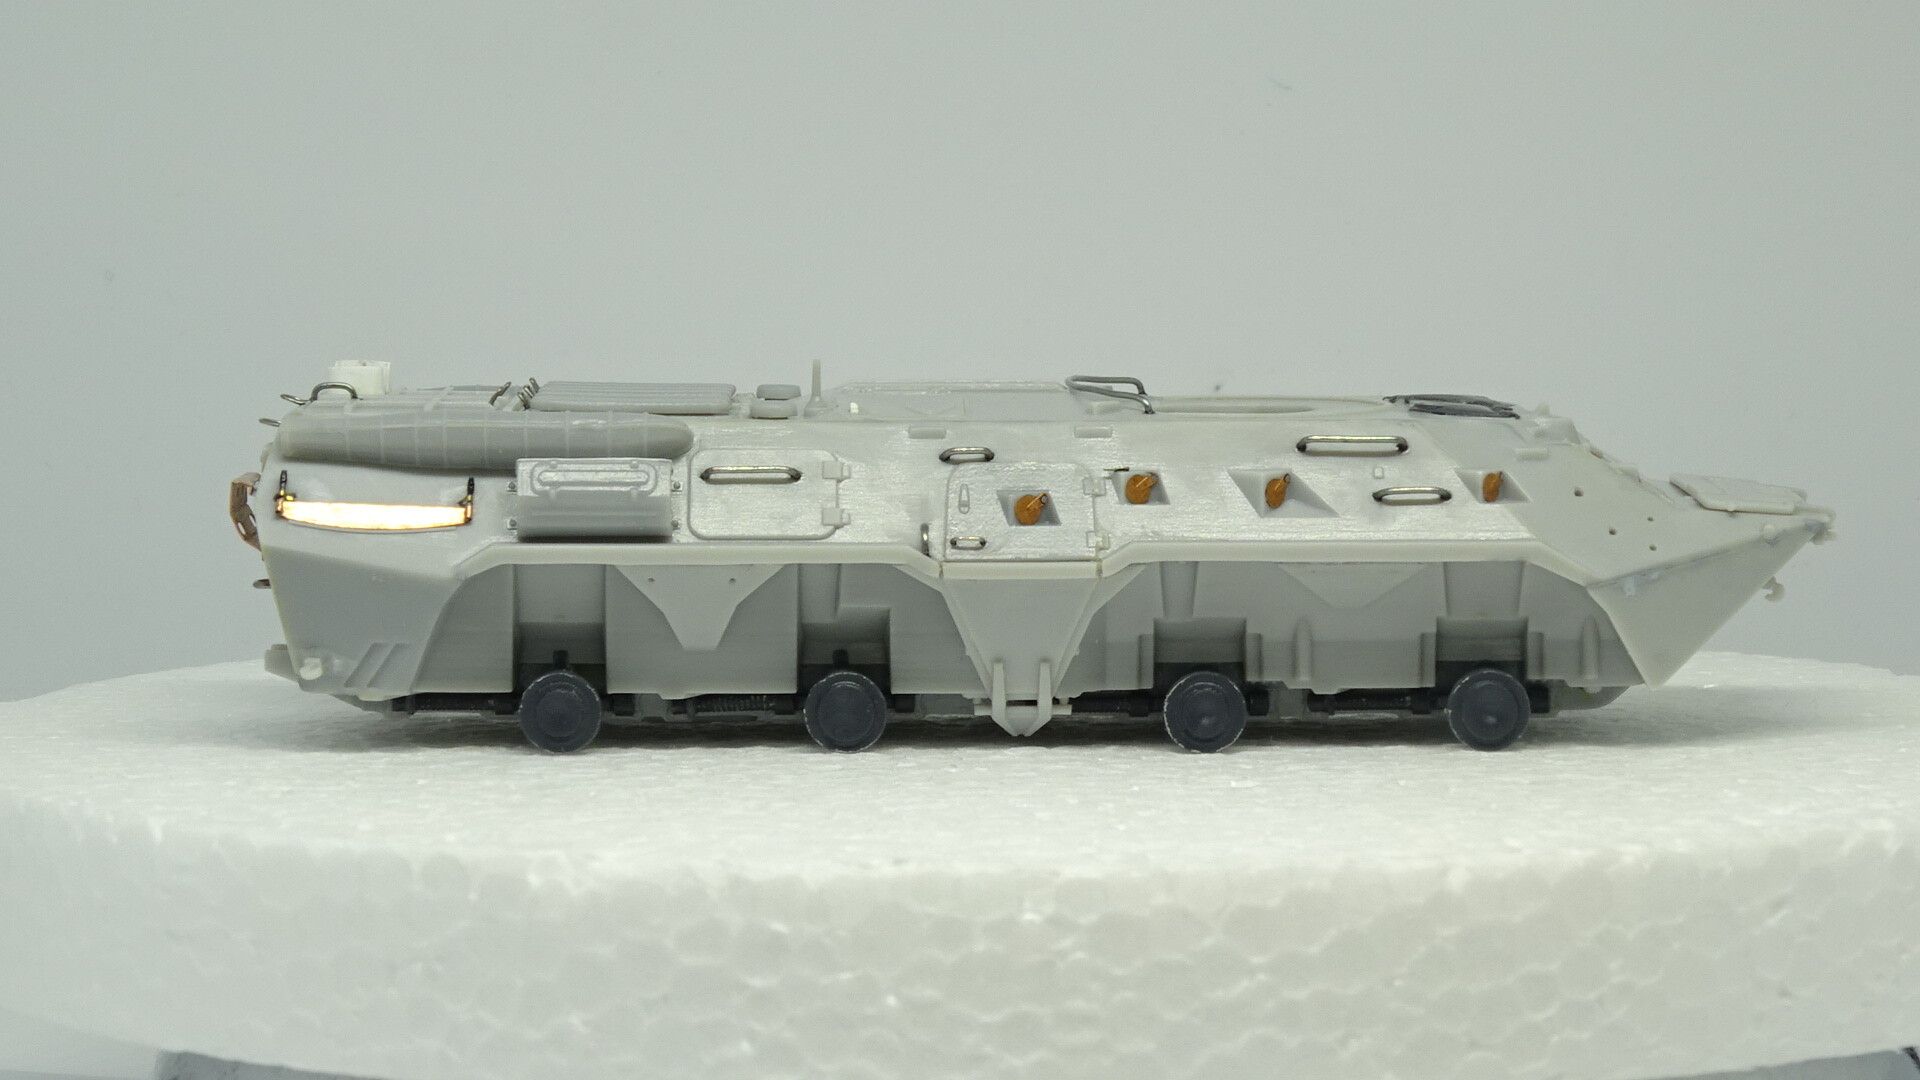
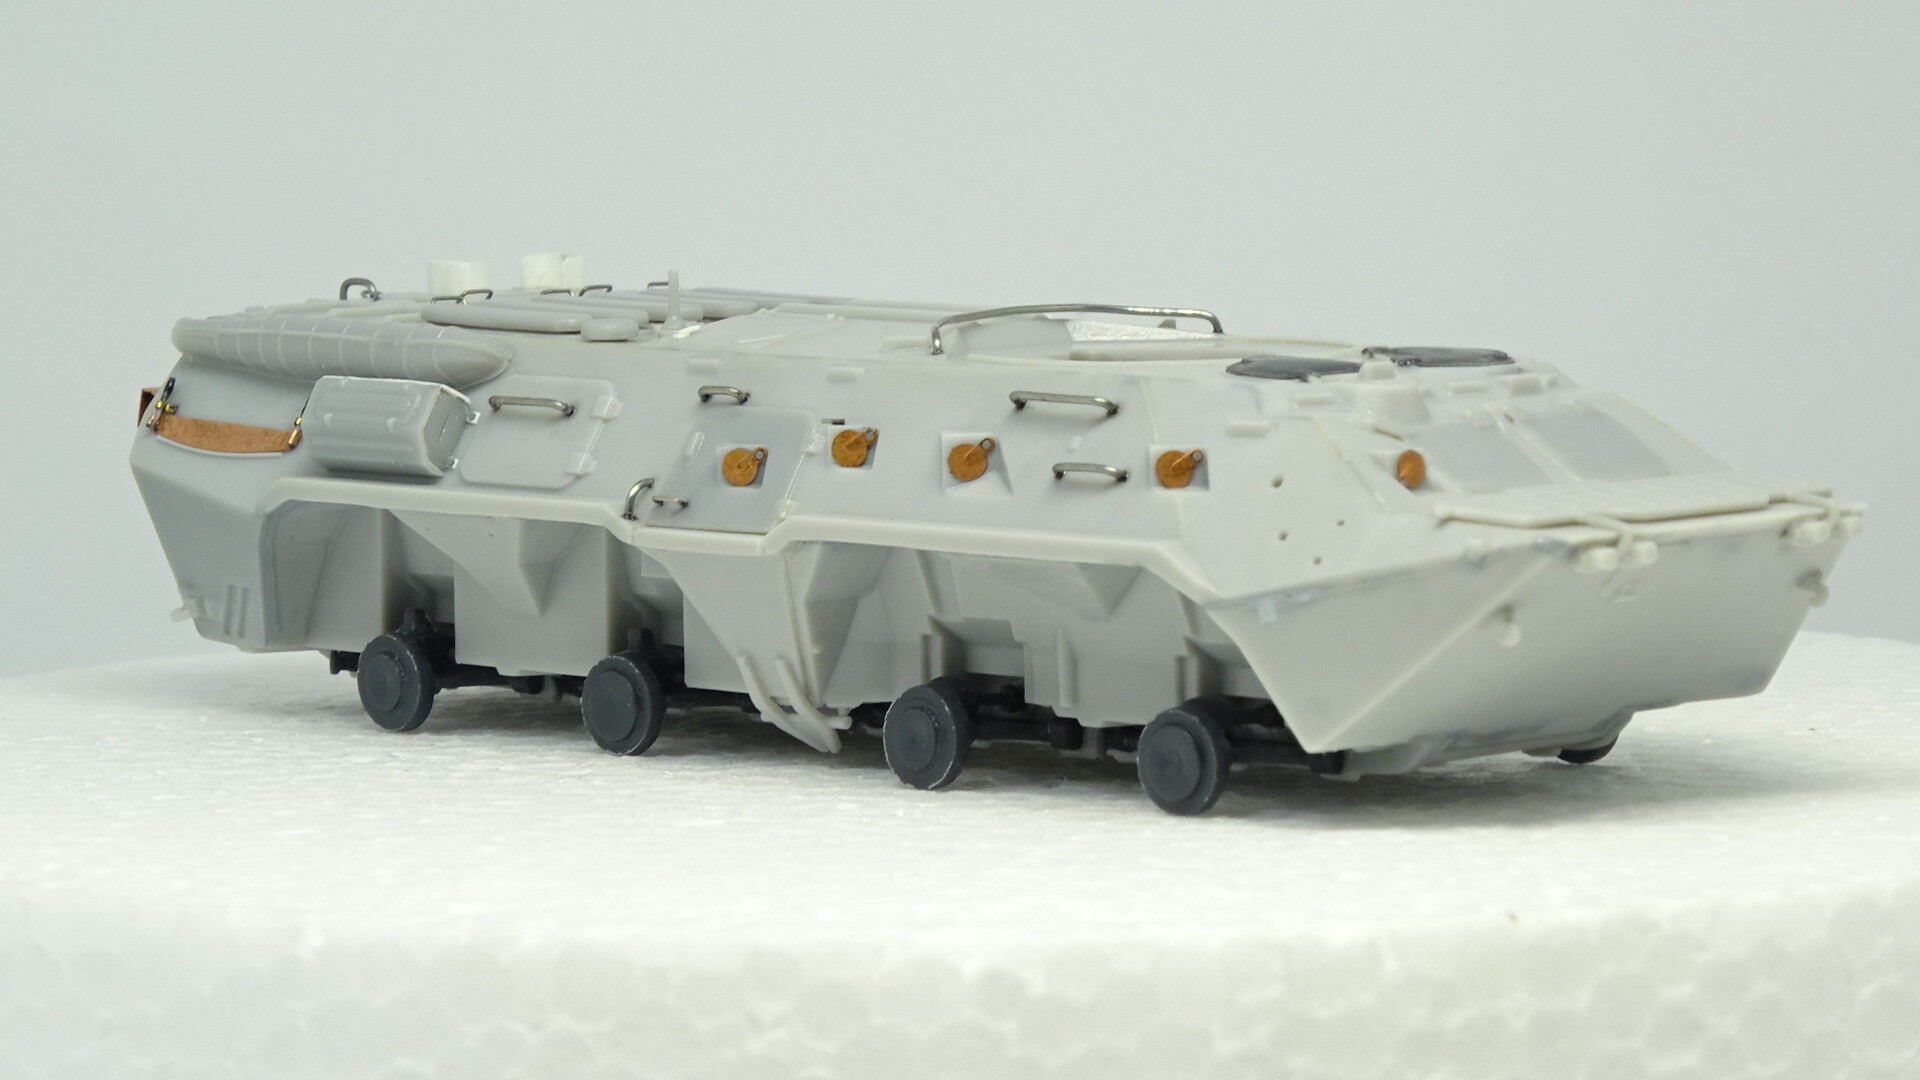
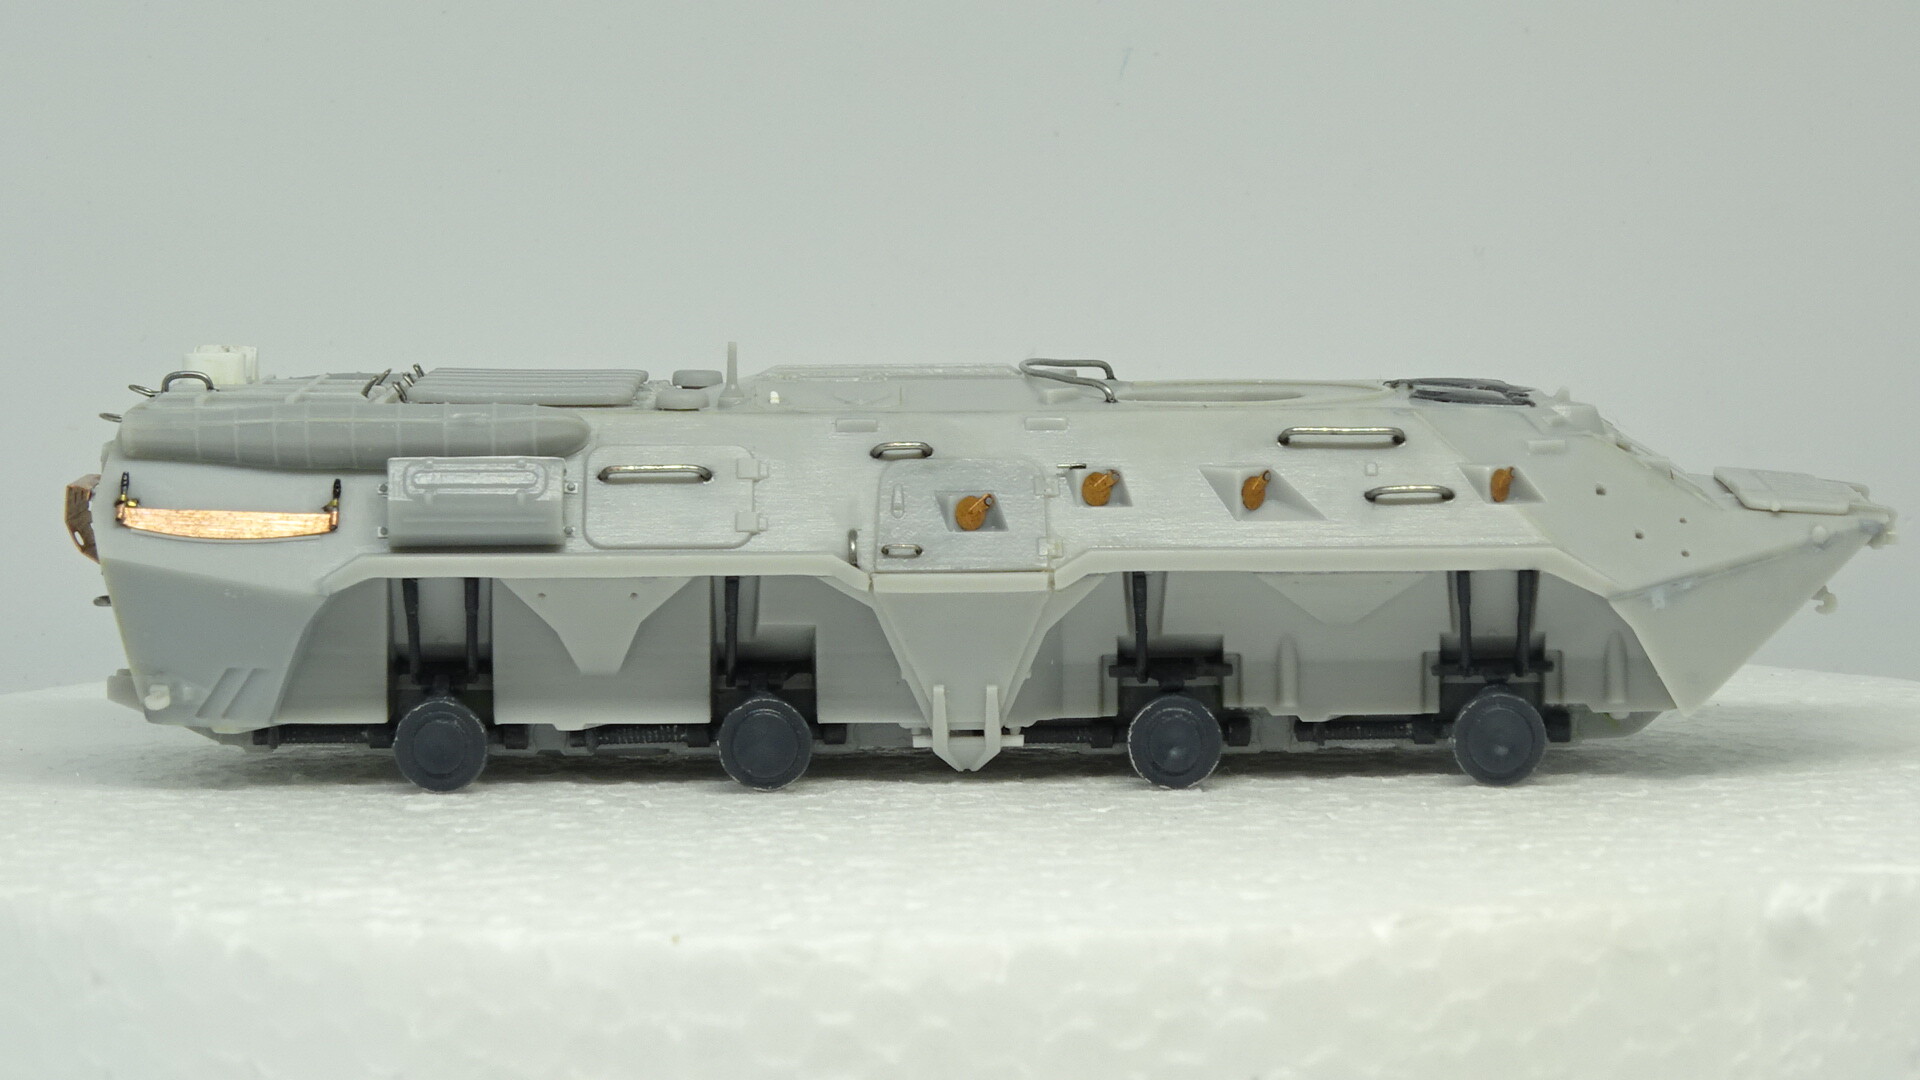
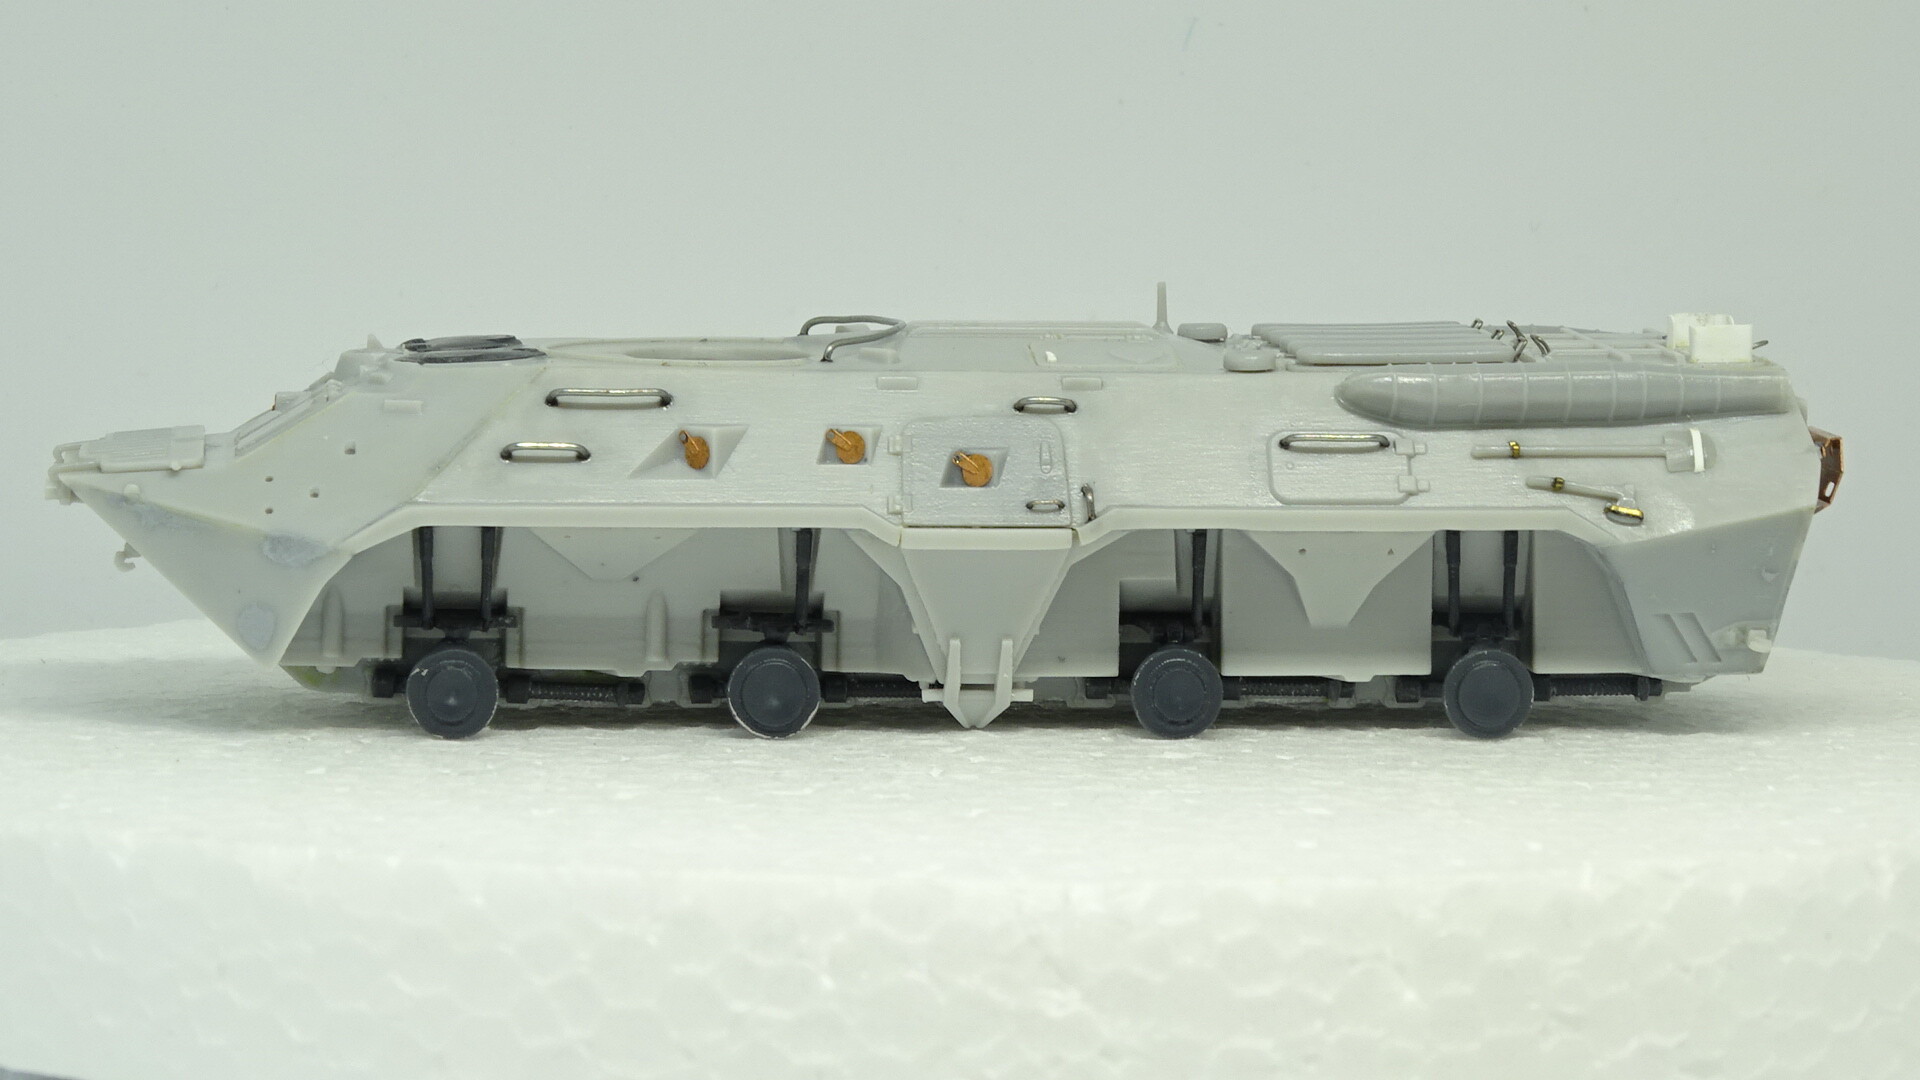
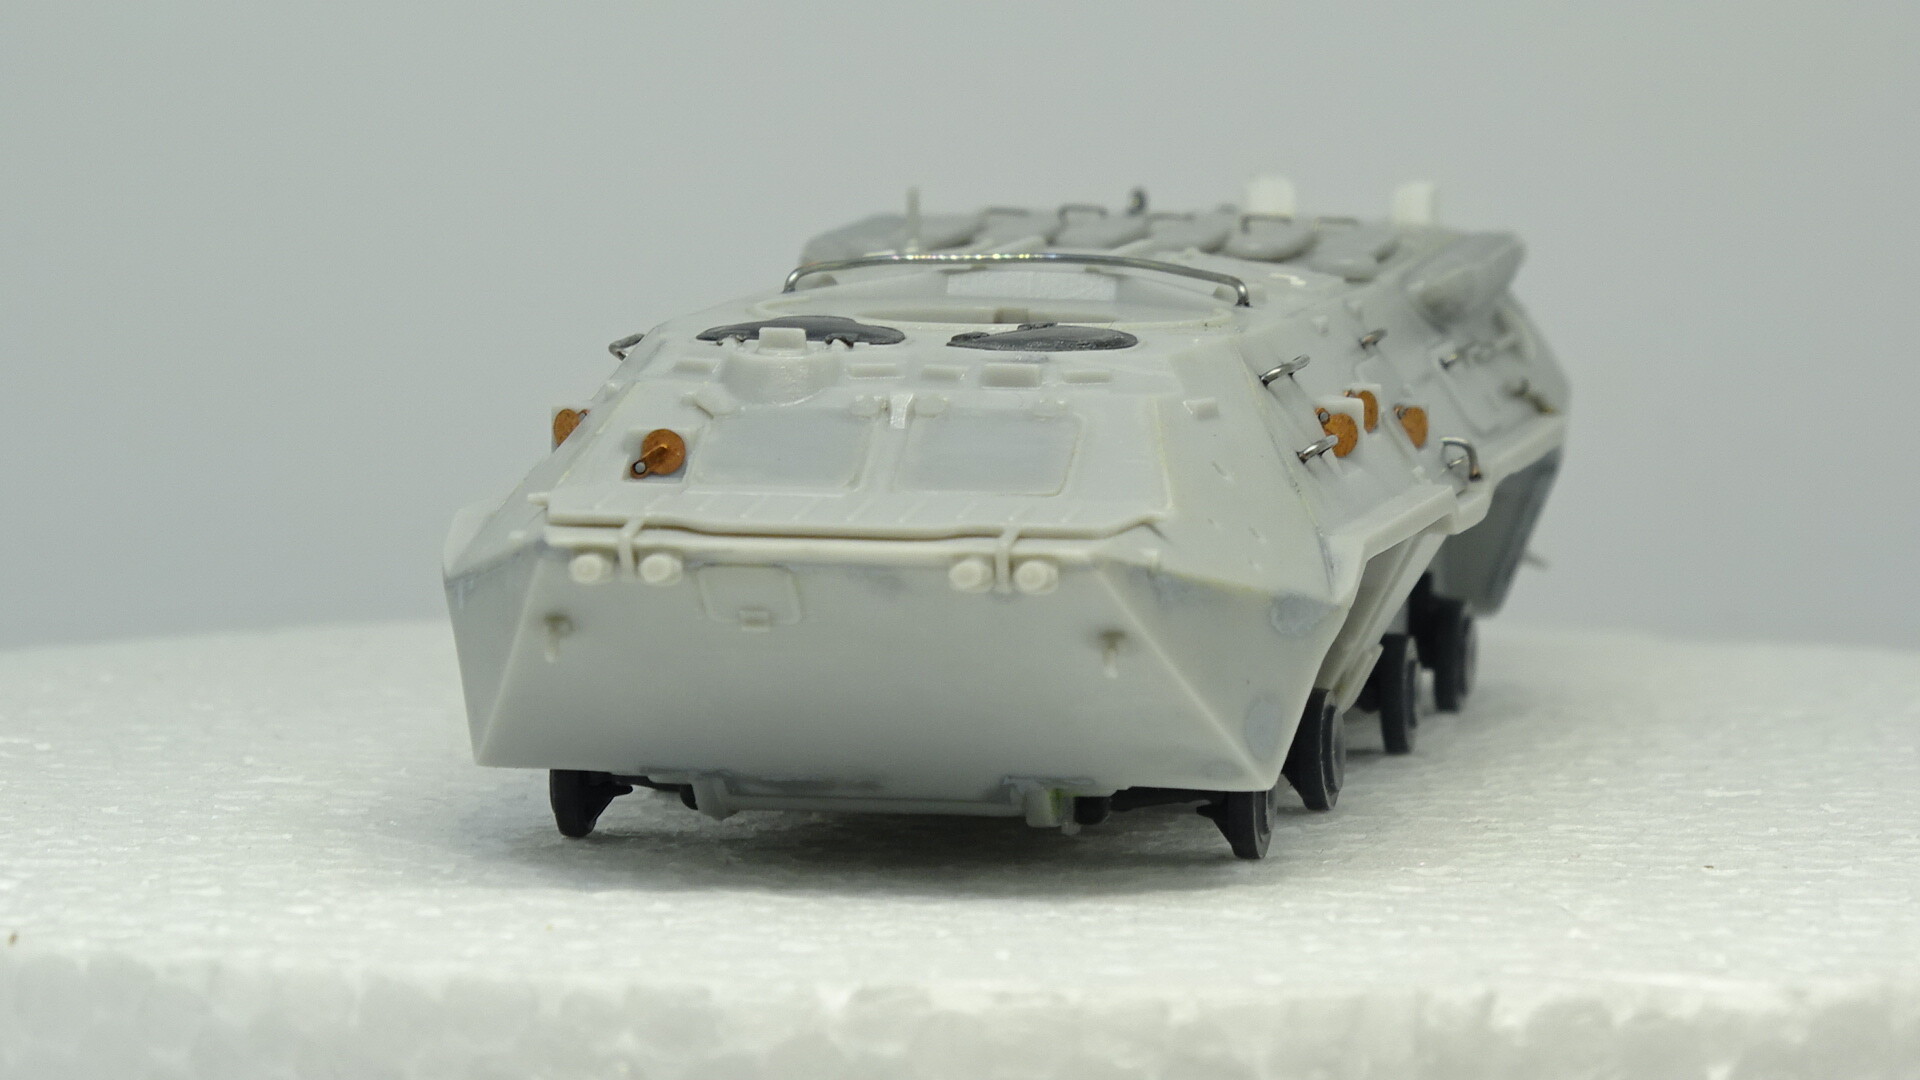
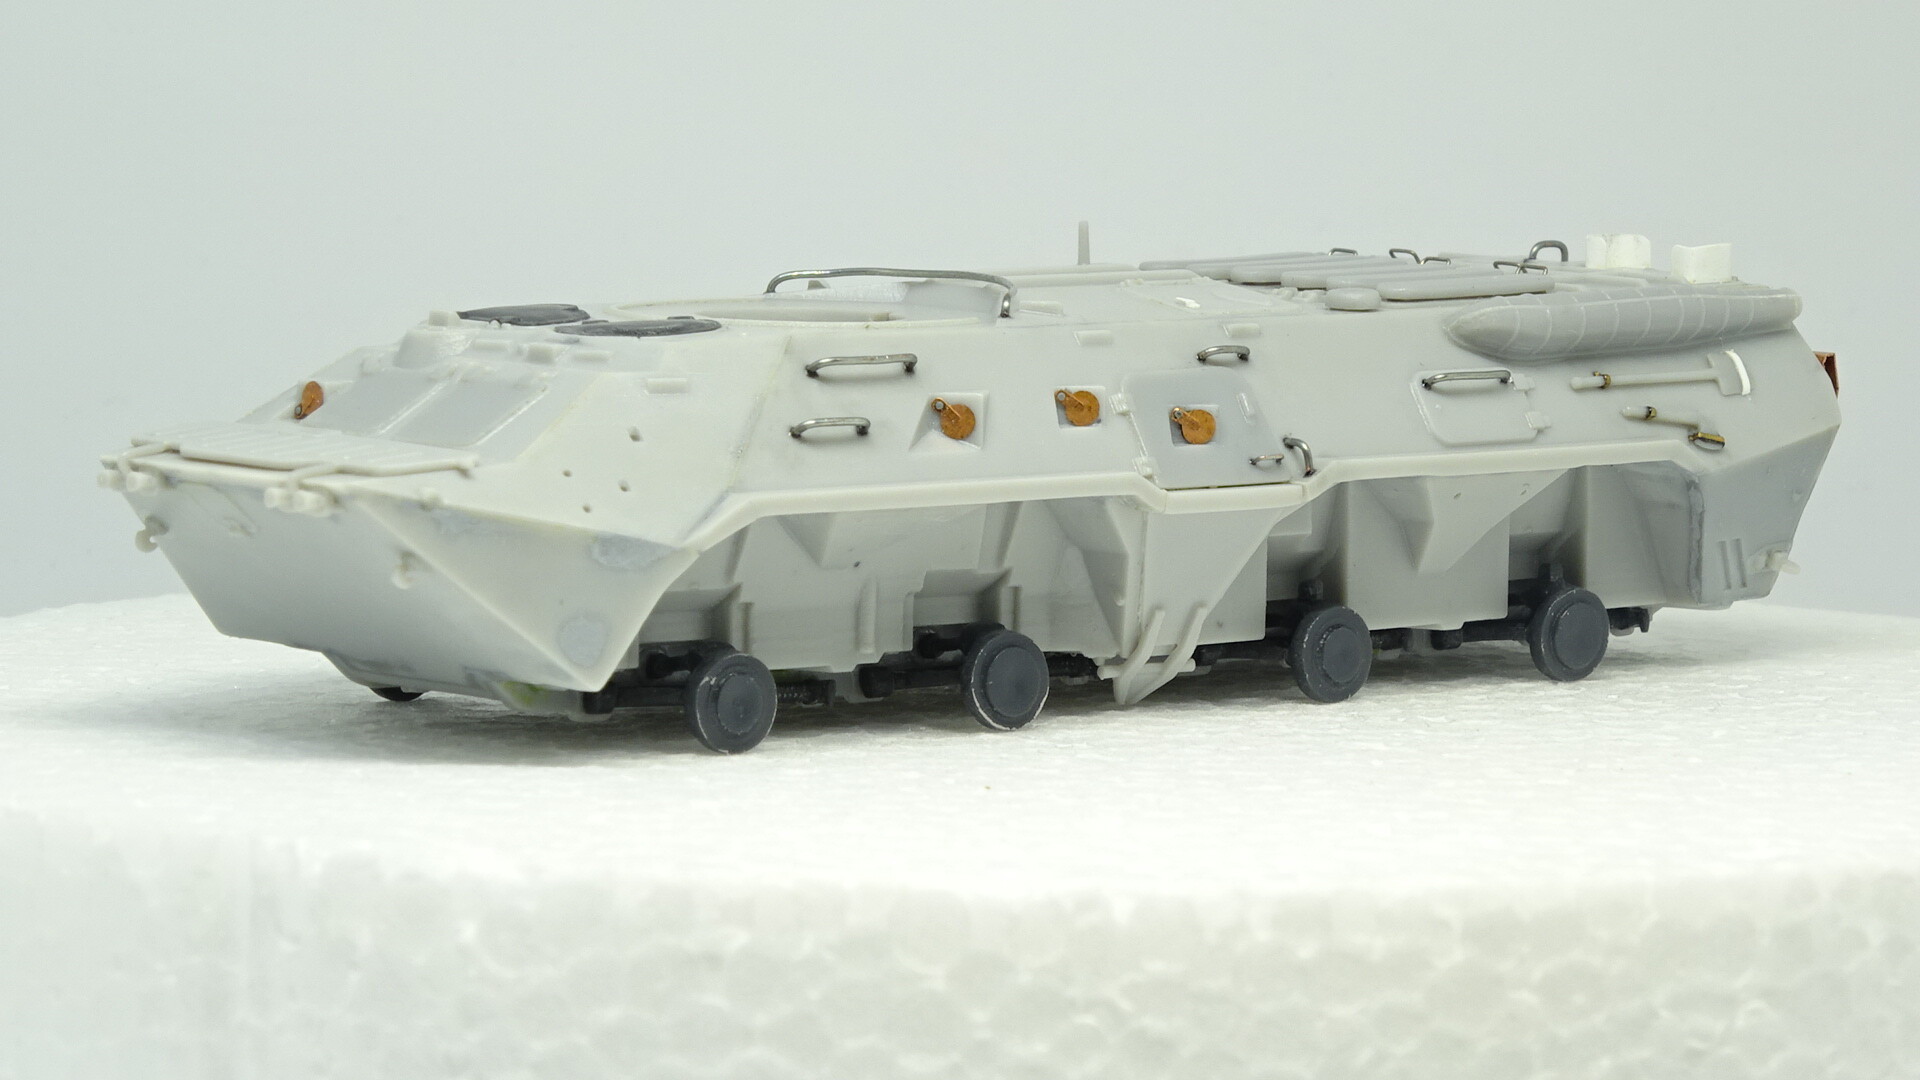
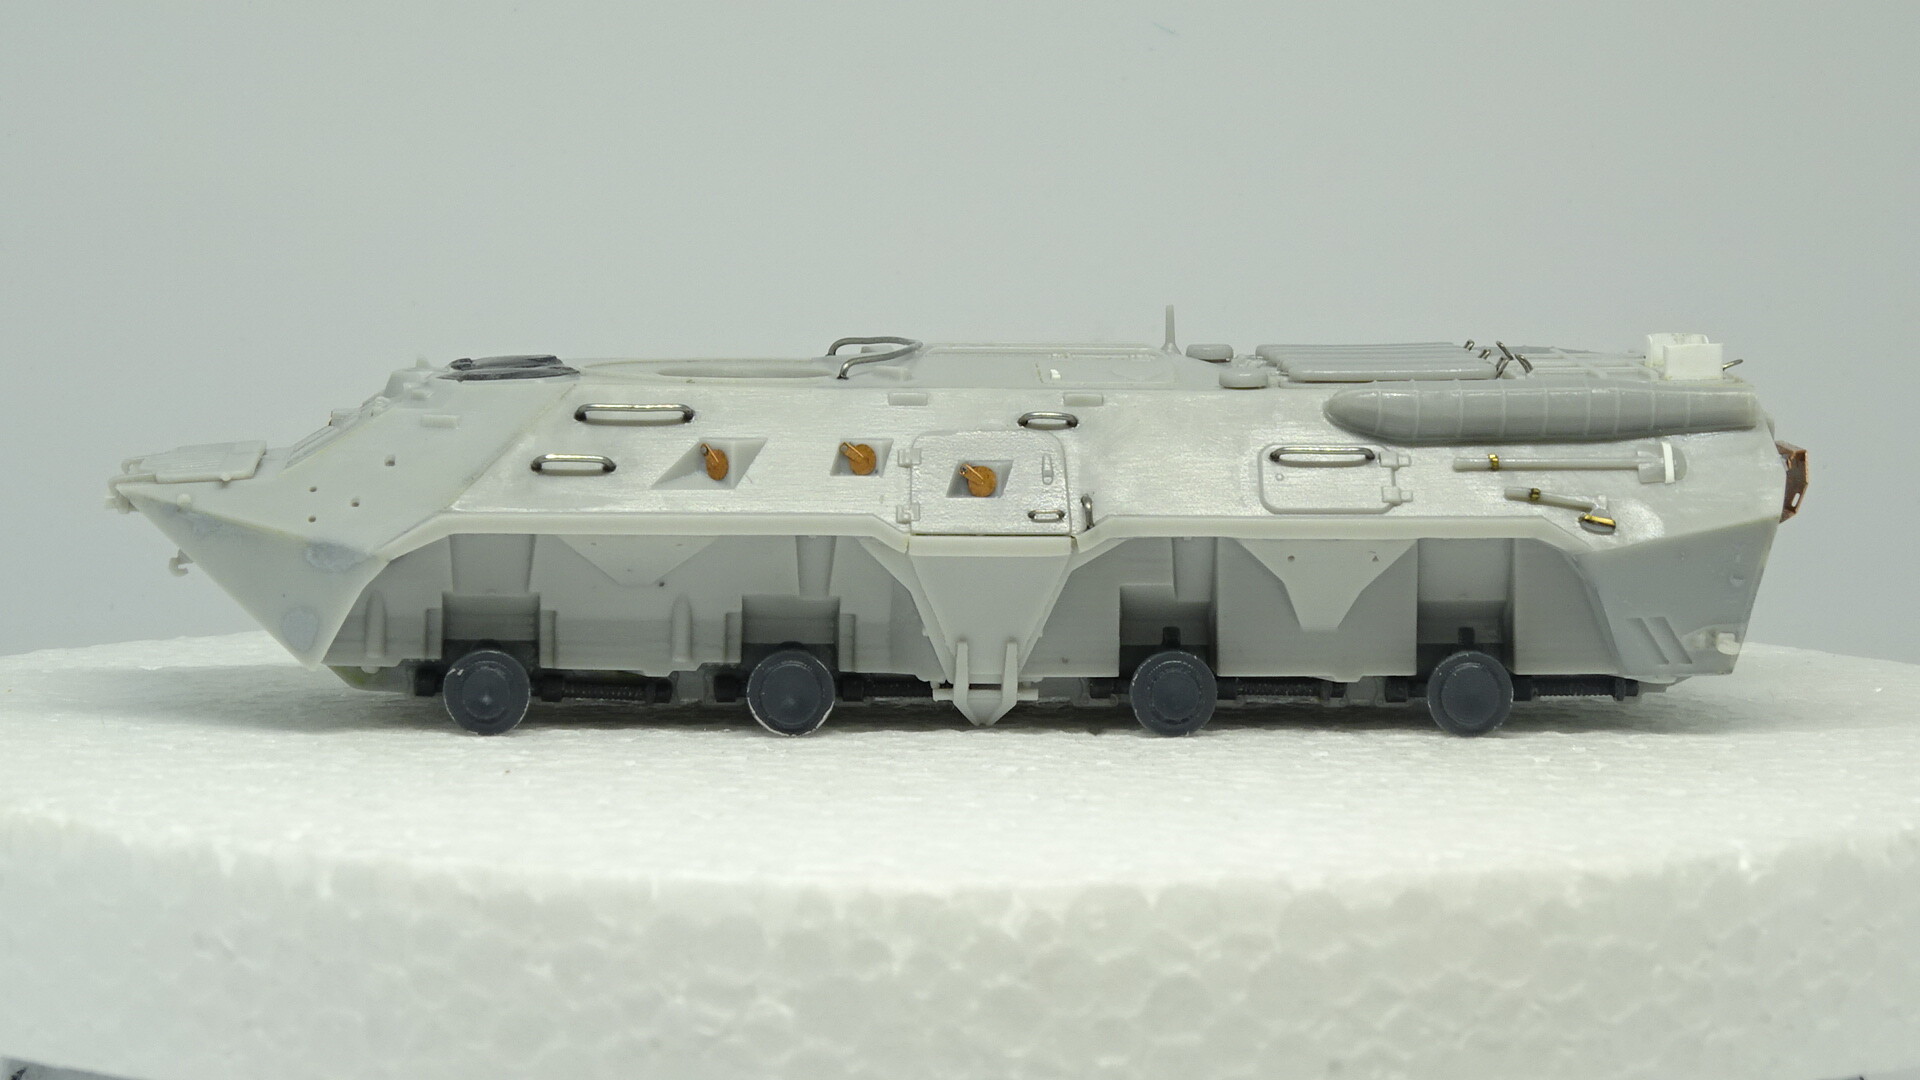
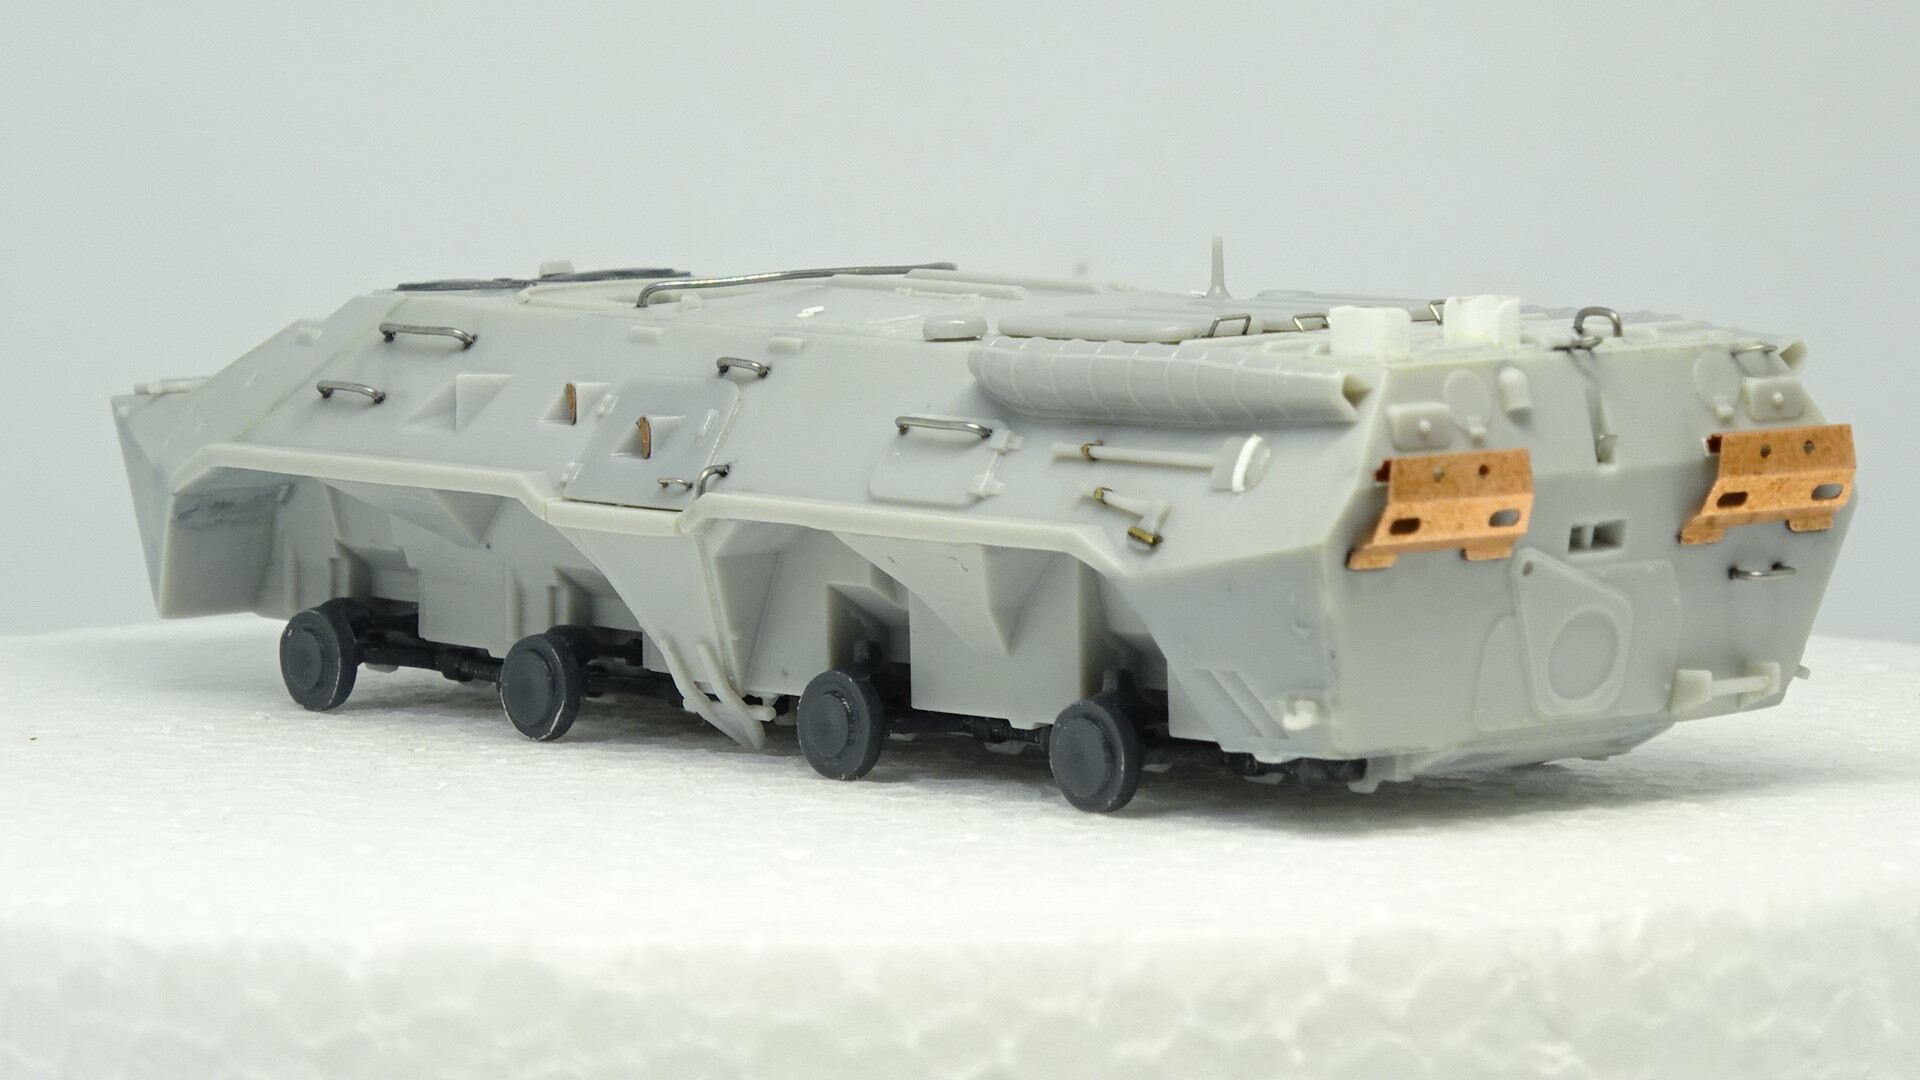
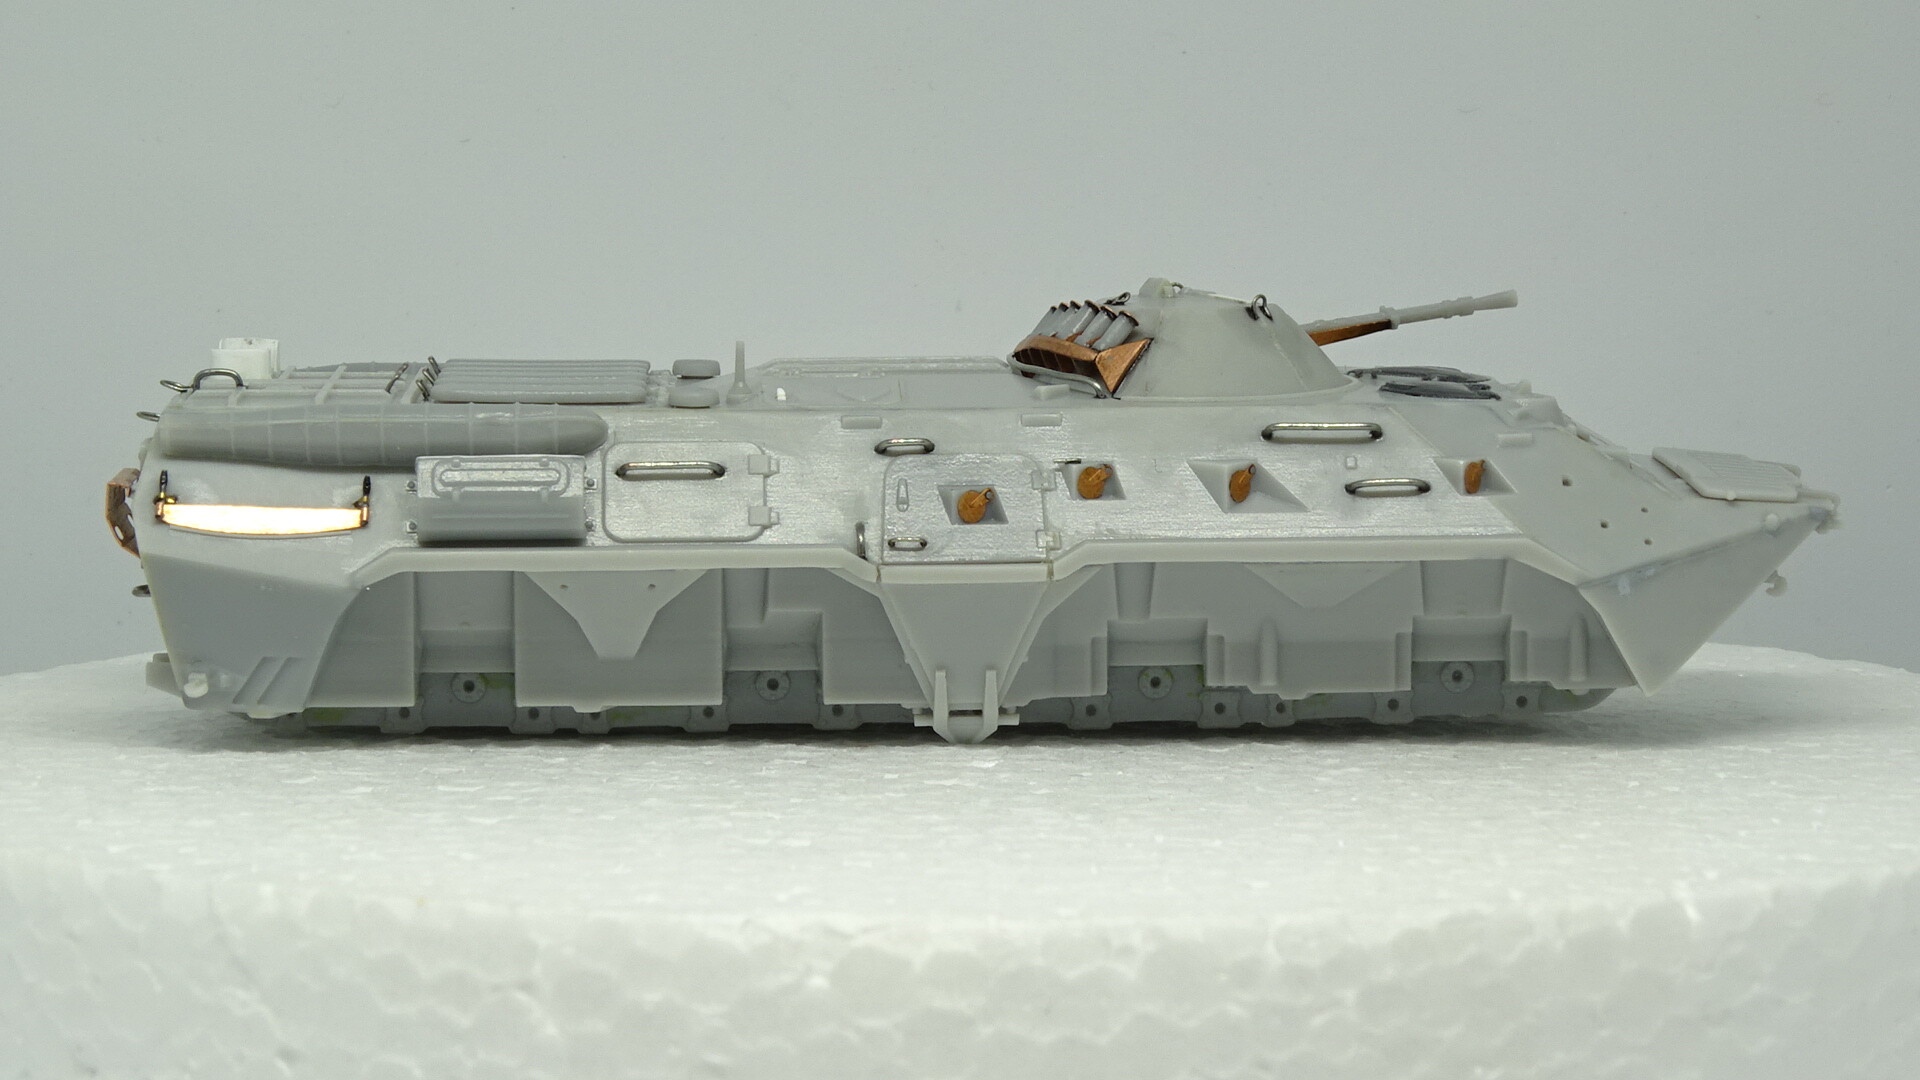
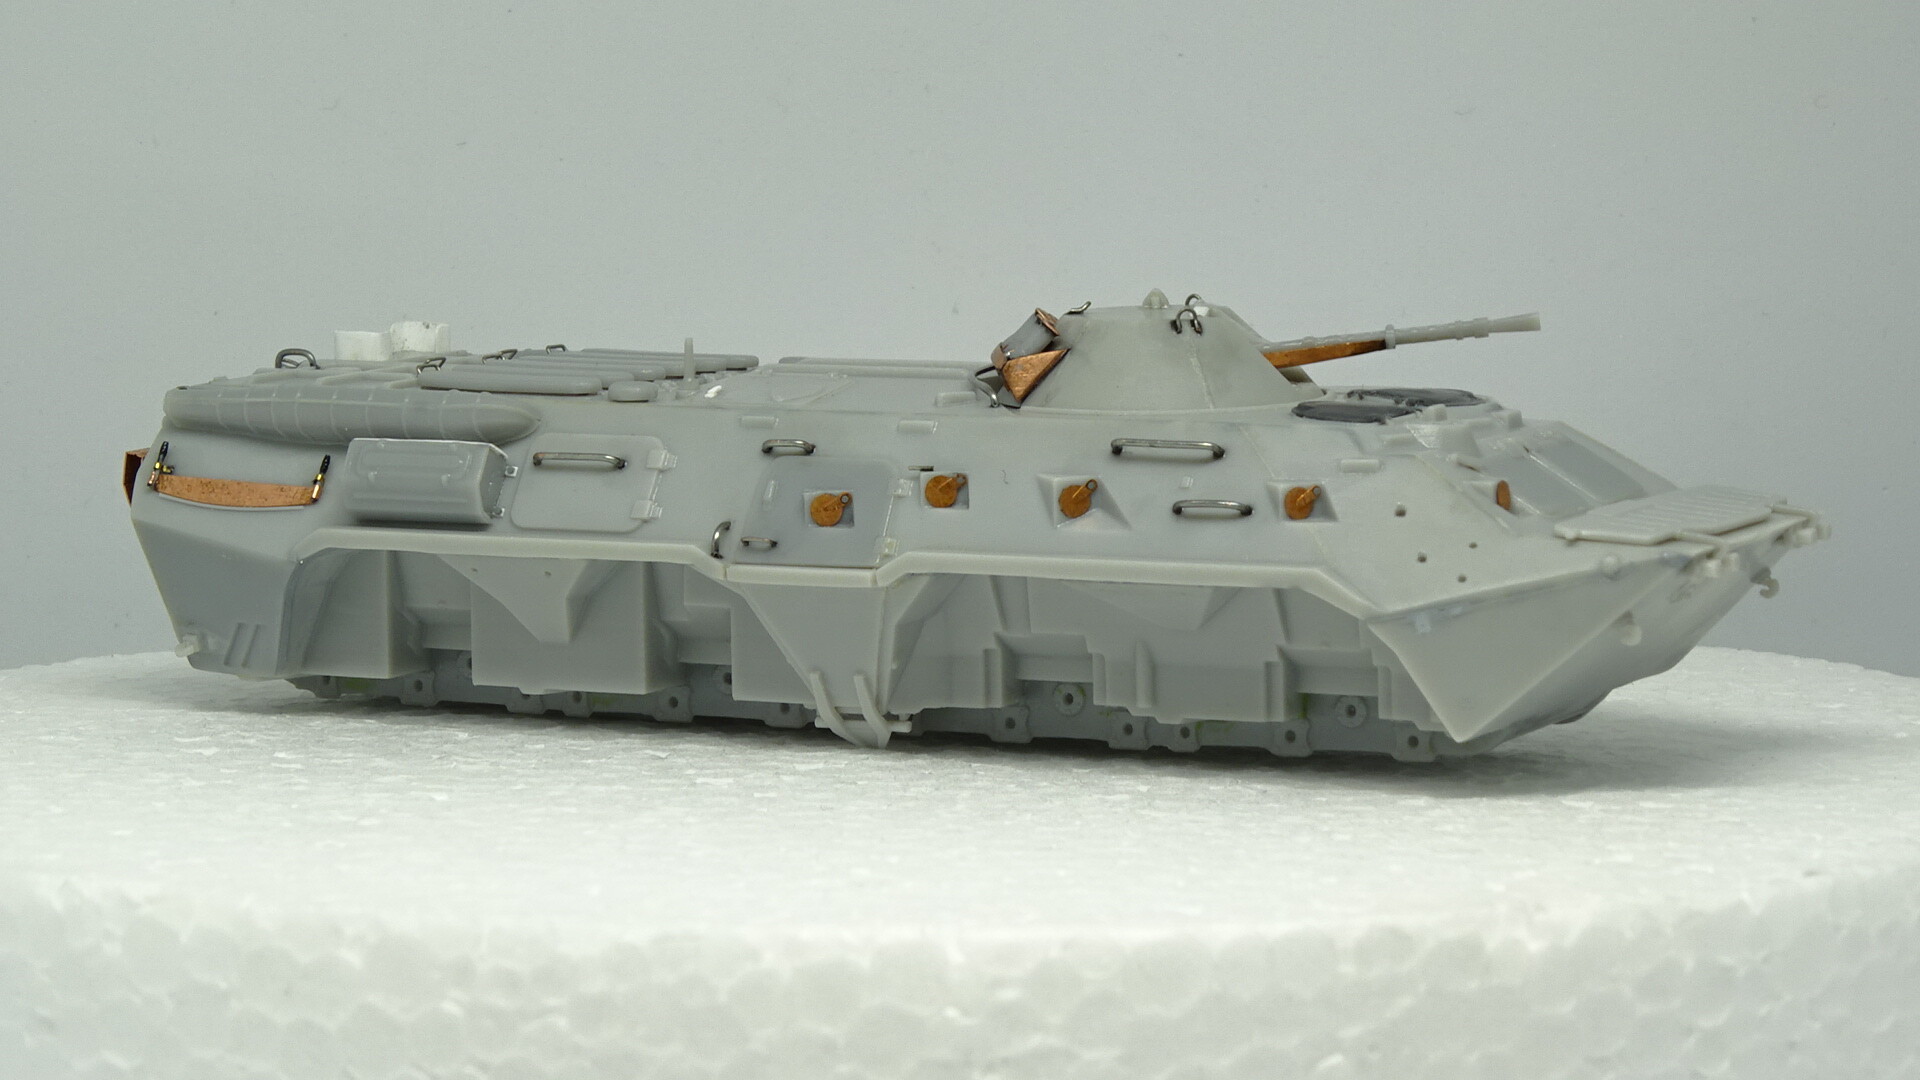
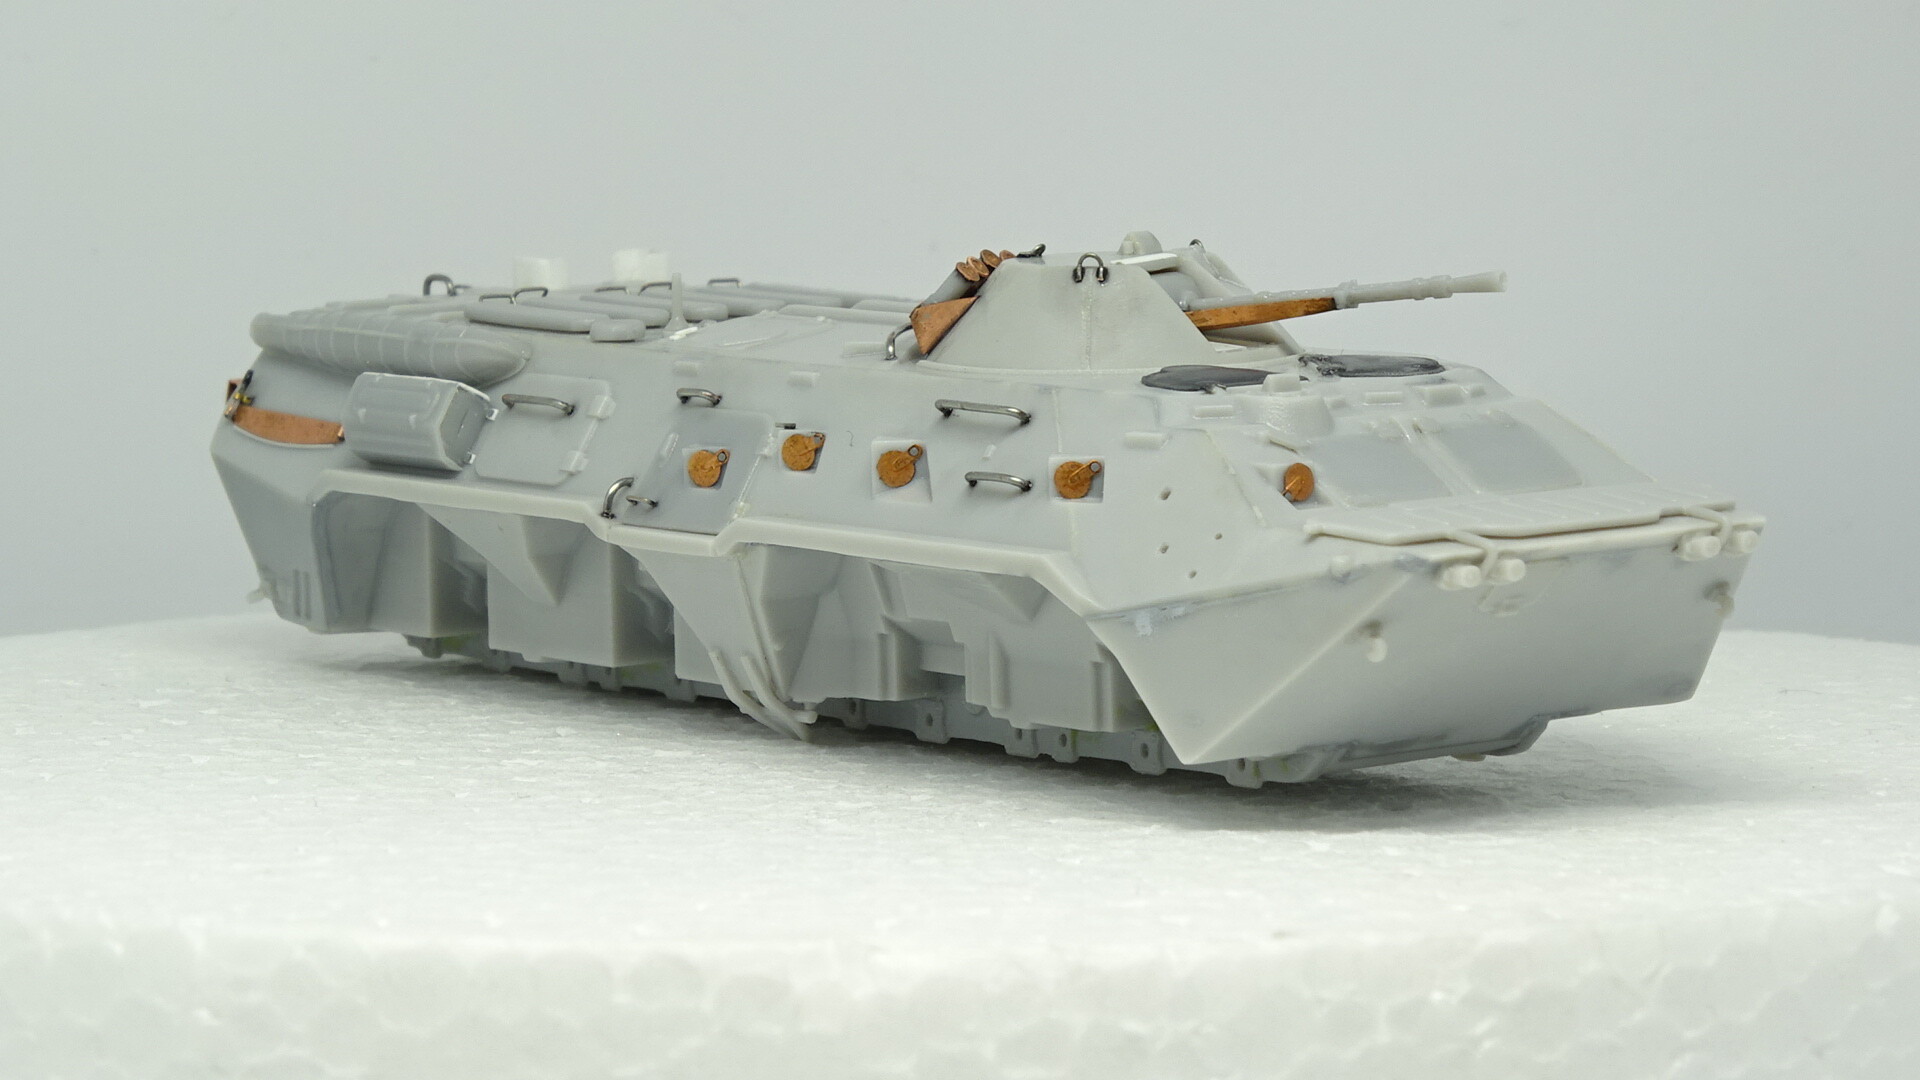
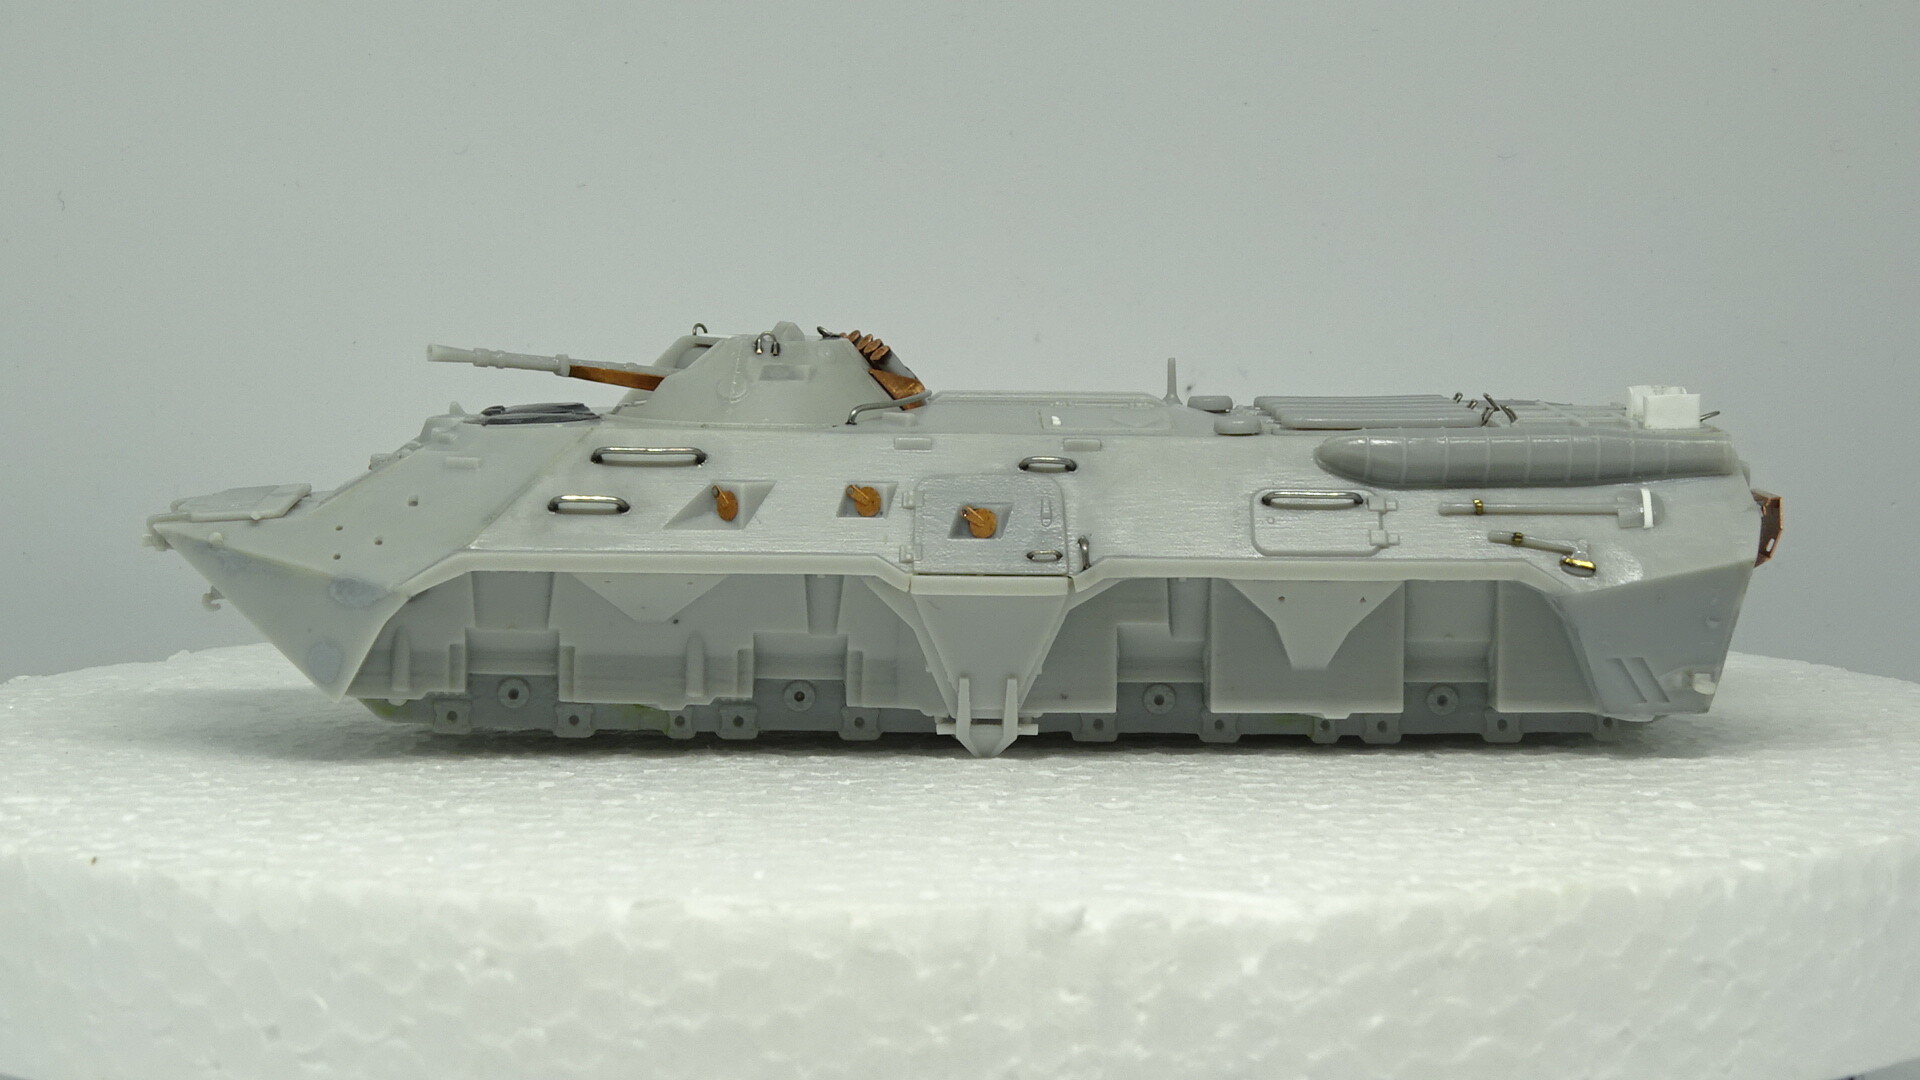
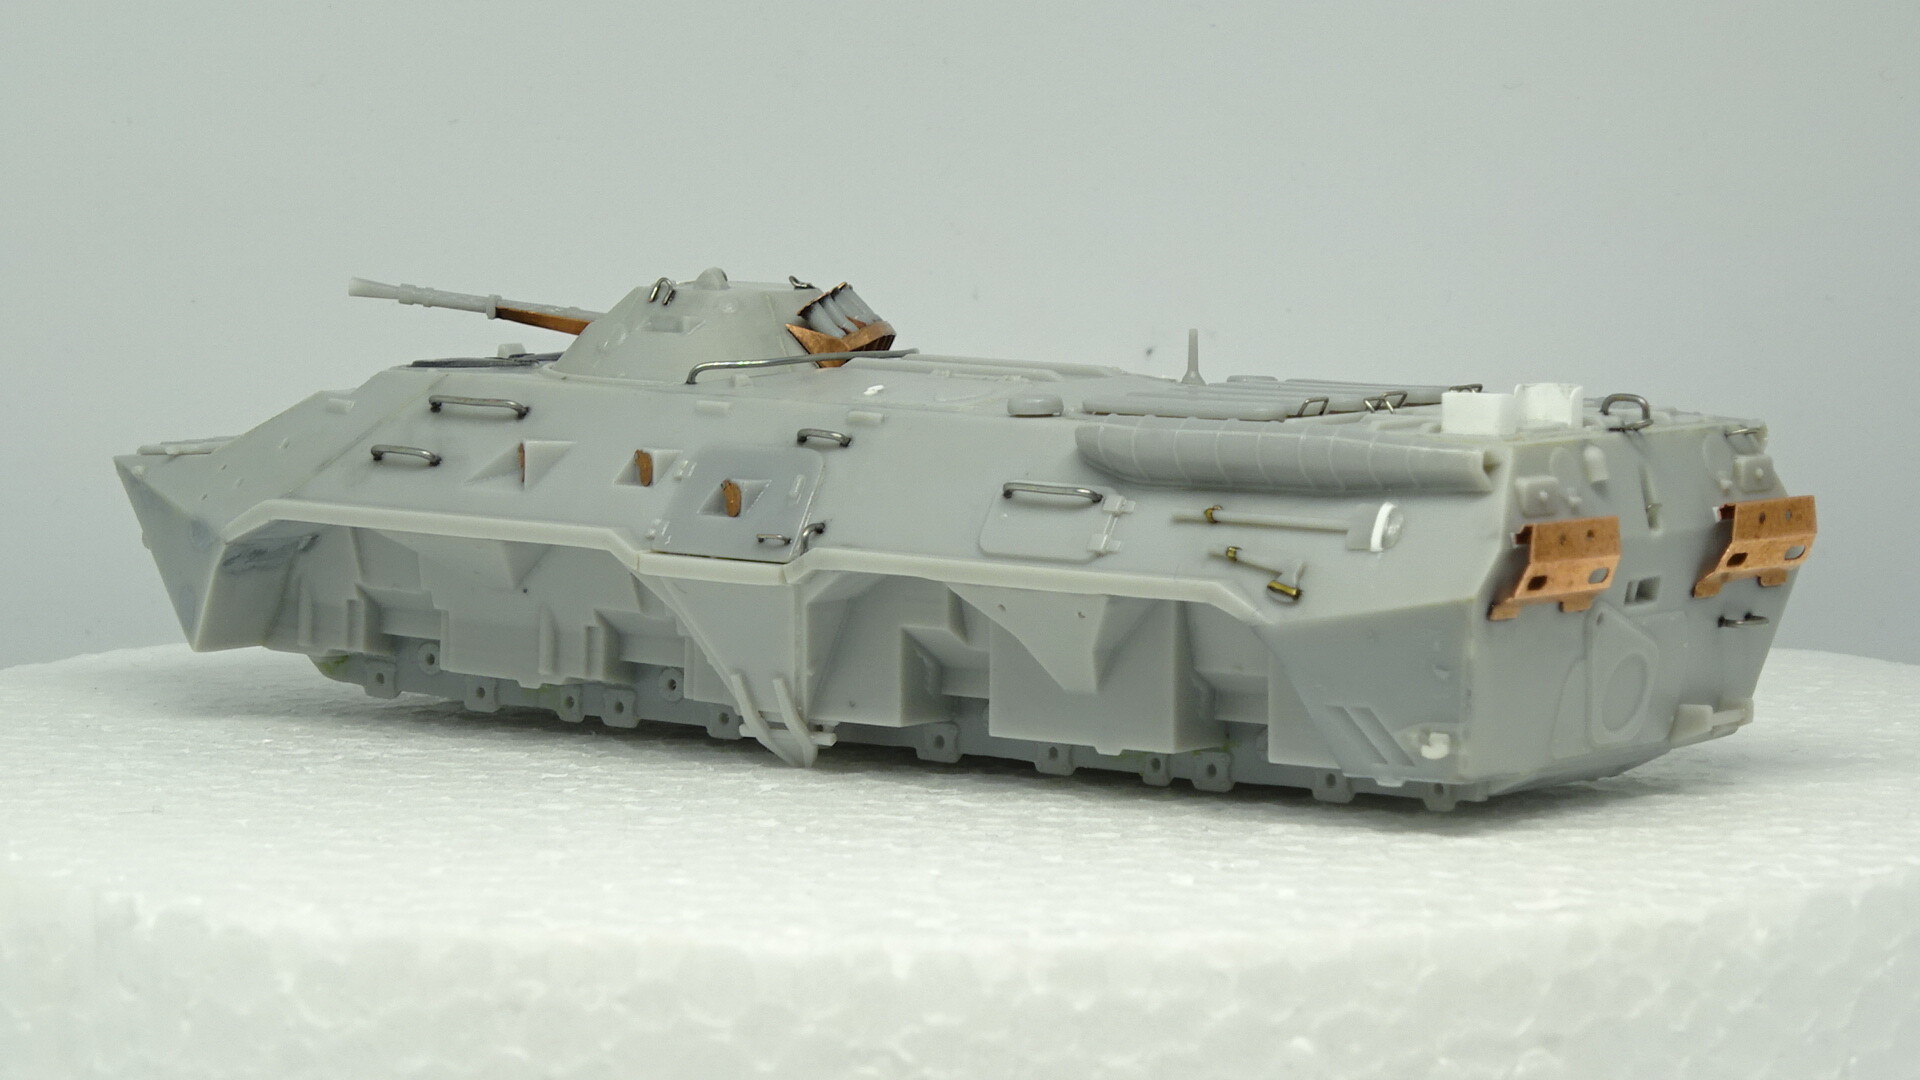
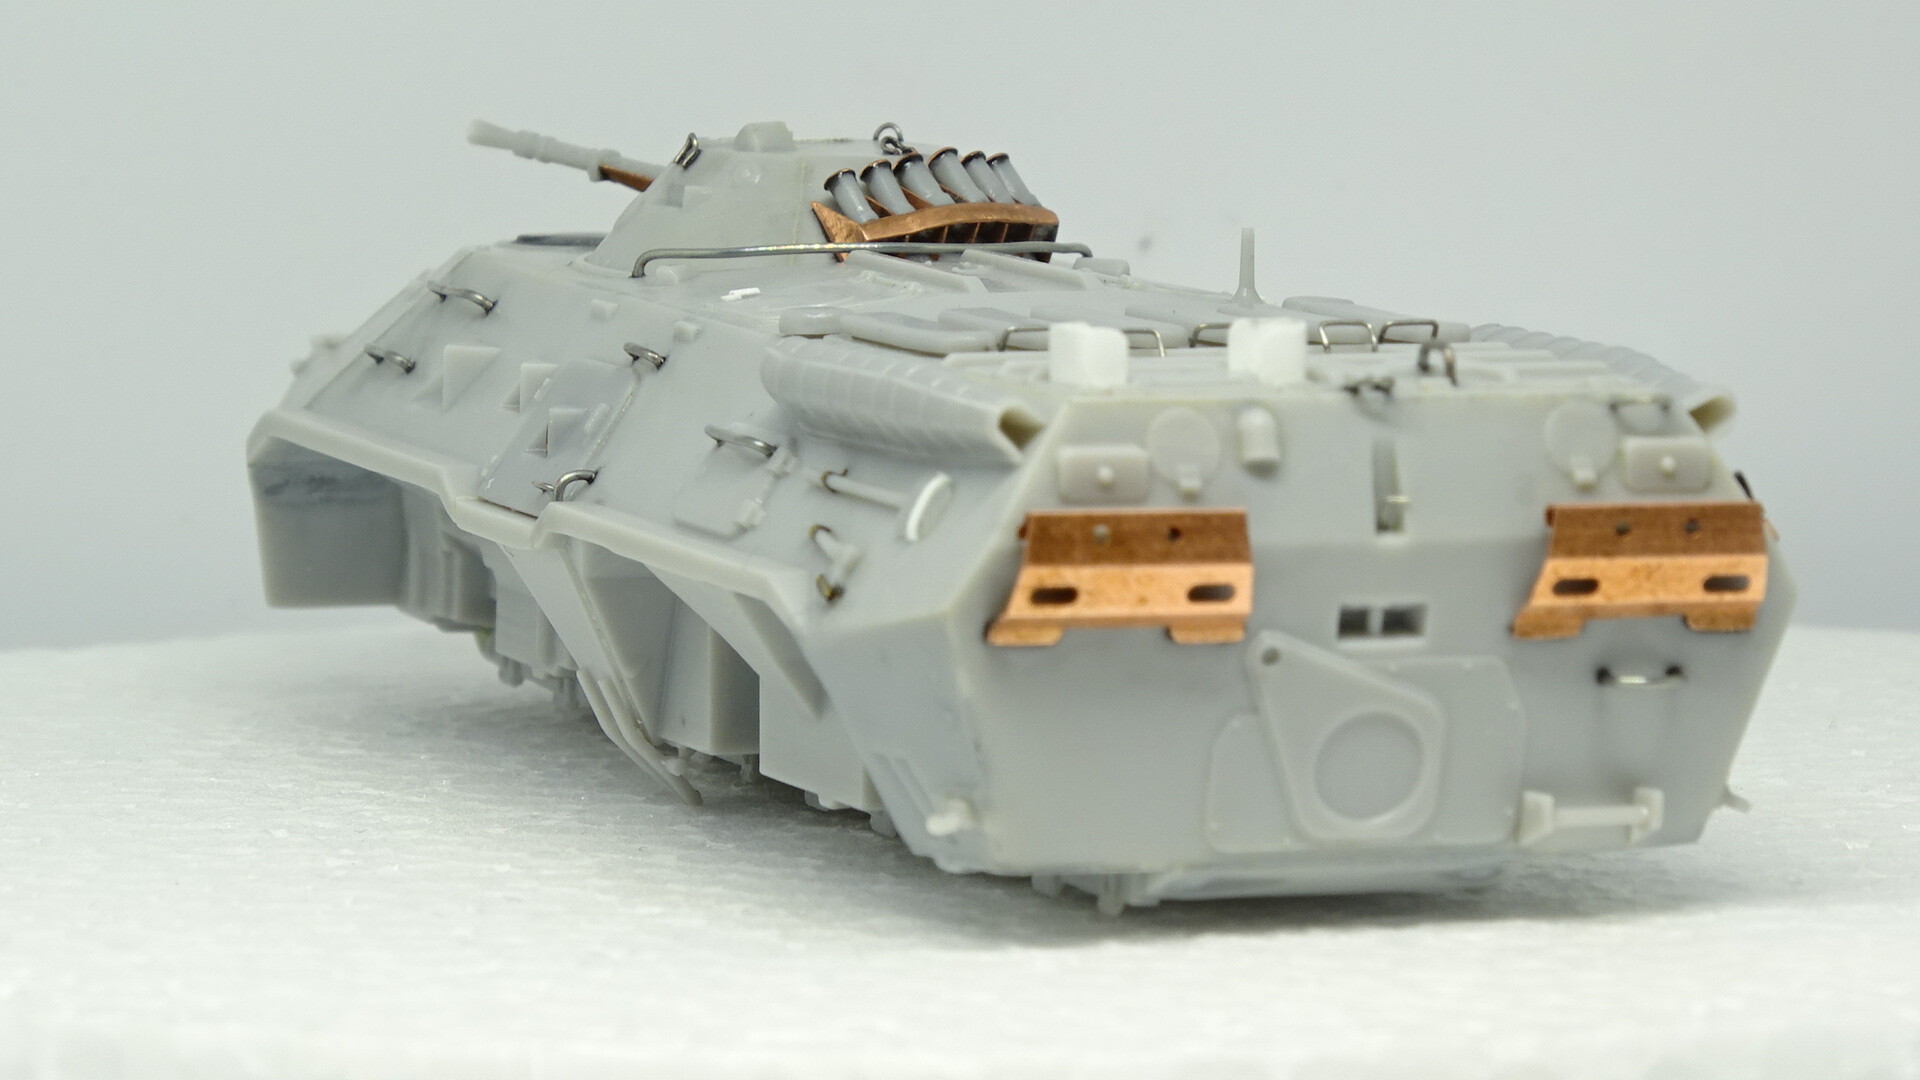
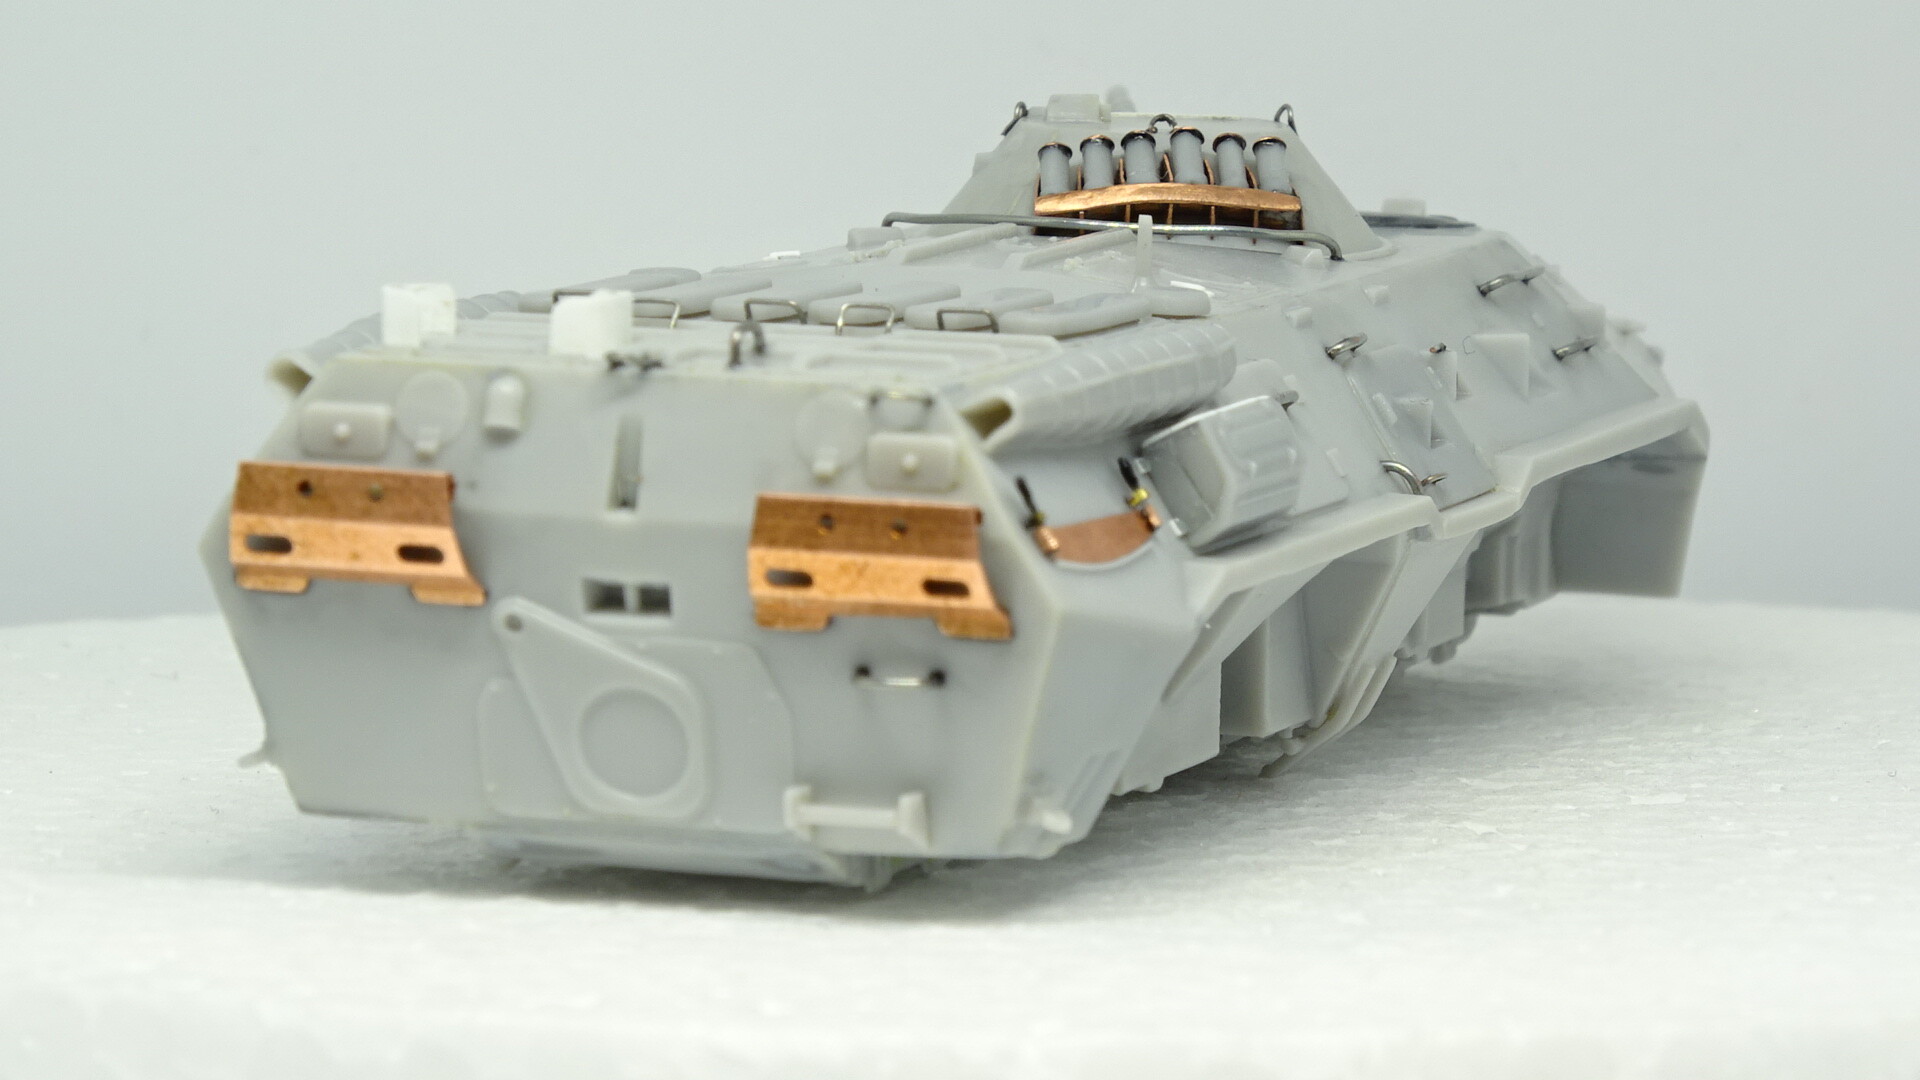
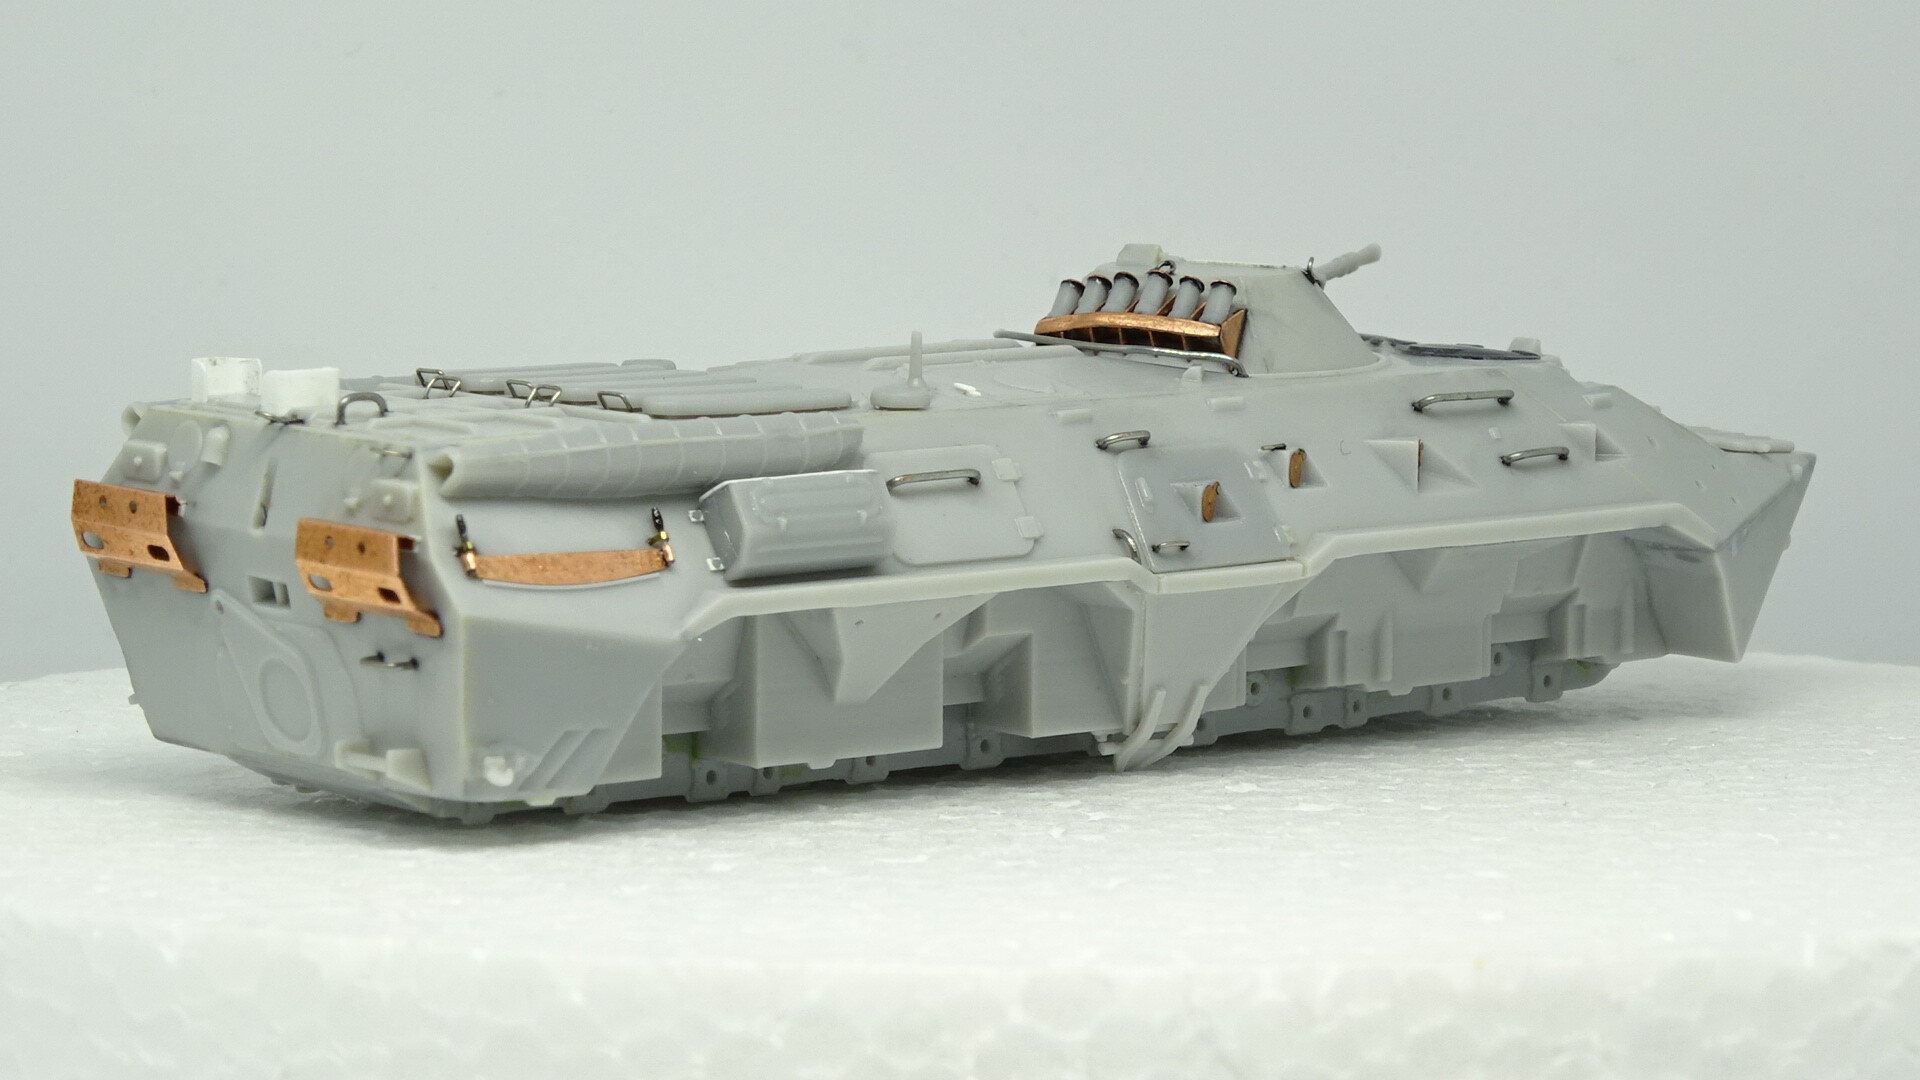
So, currently it looks like that
I know that I didnt finish some other of my buildings (
Can’t wait to see the finished result!
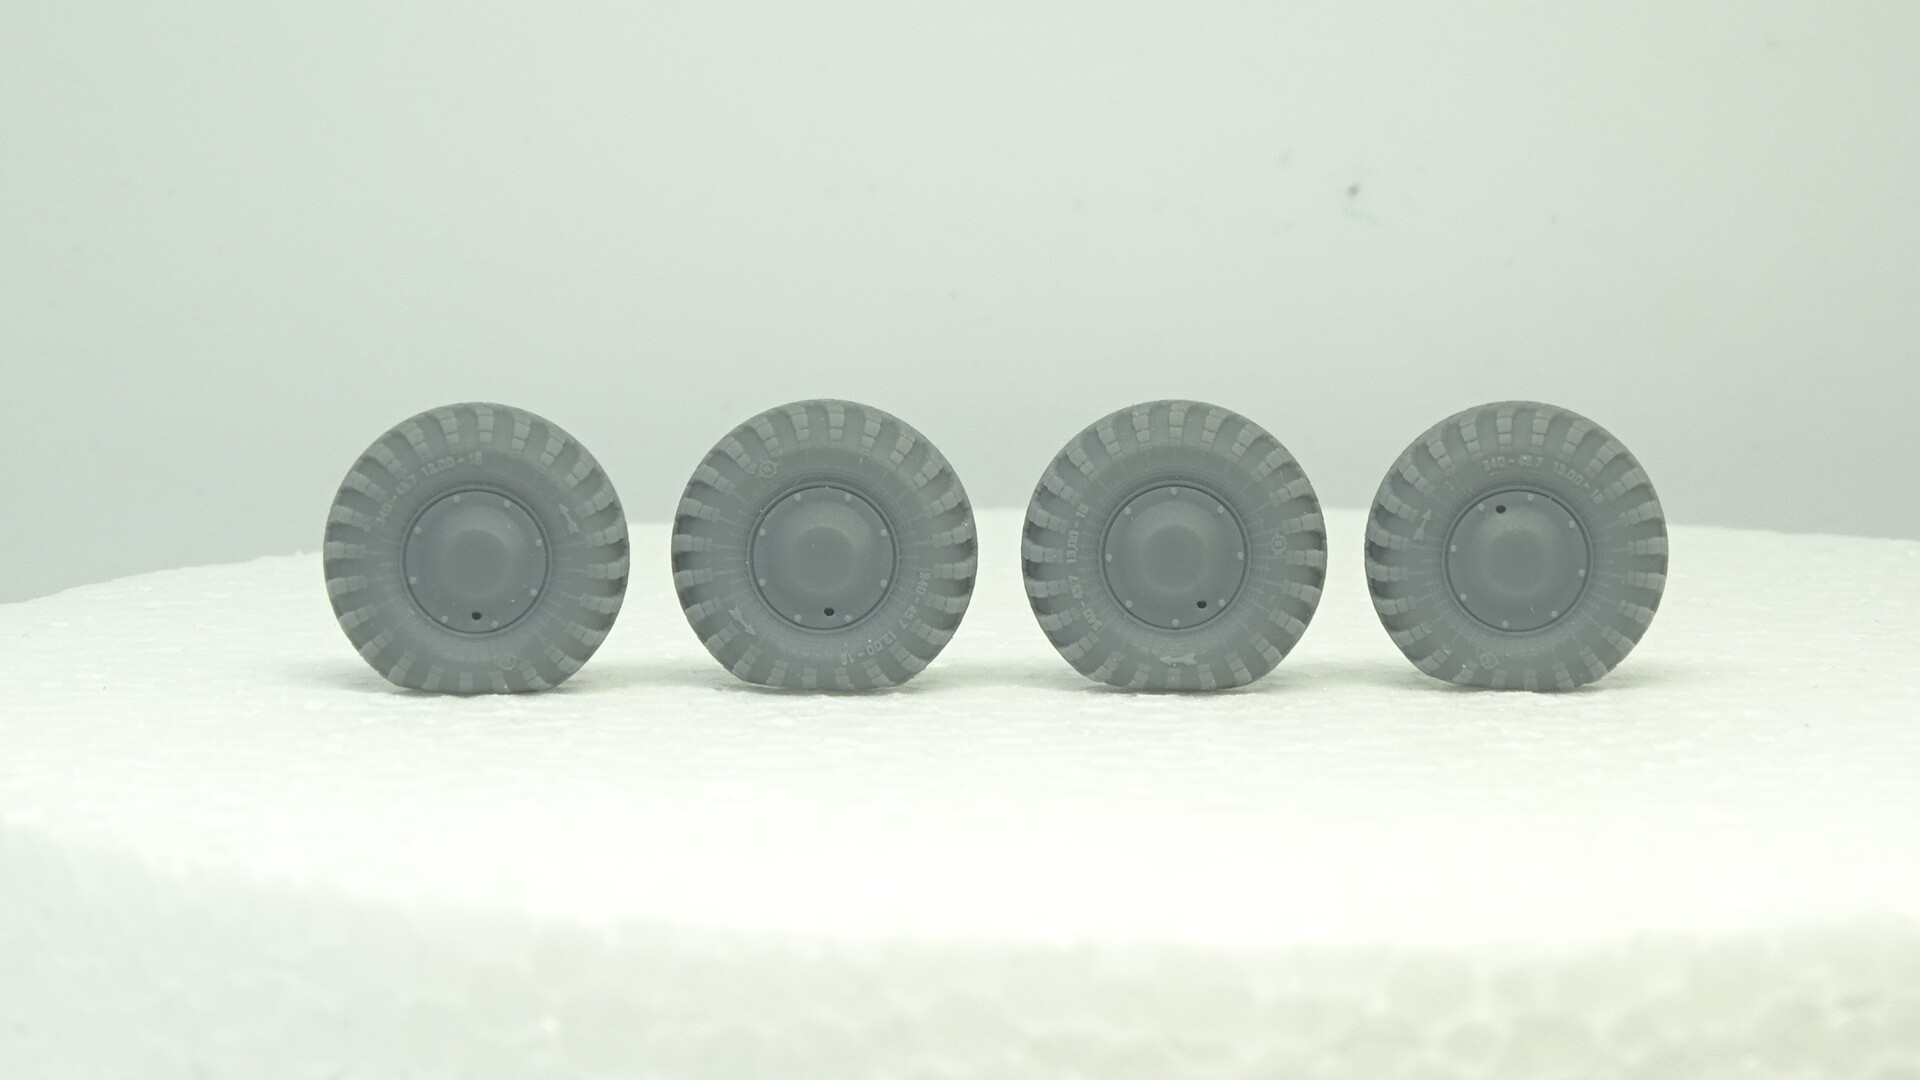
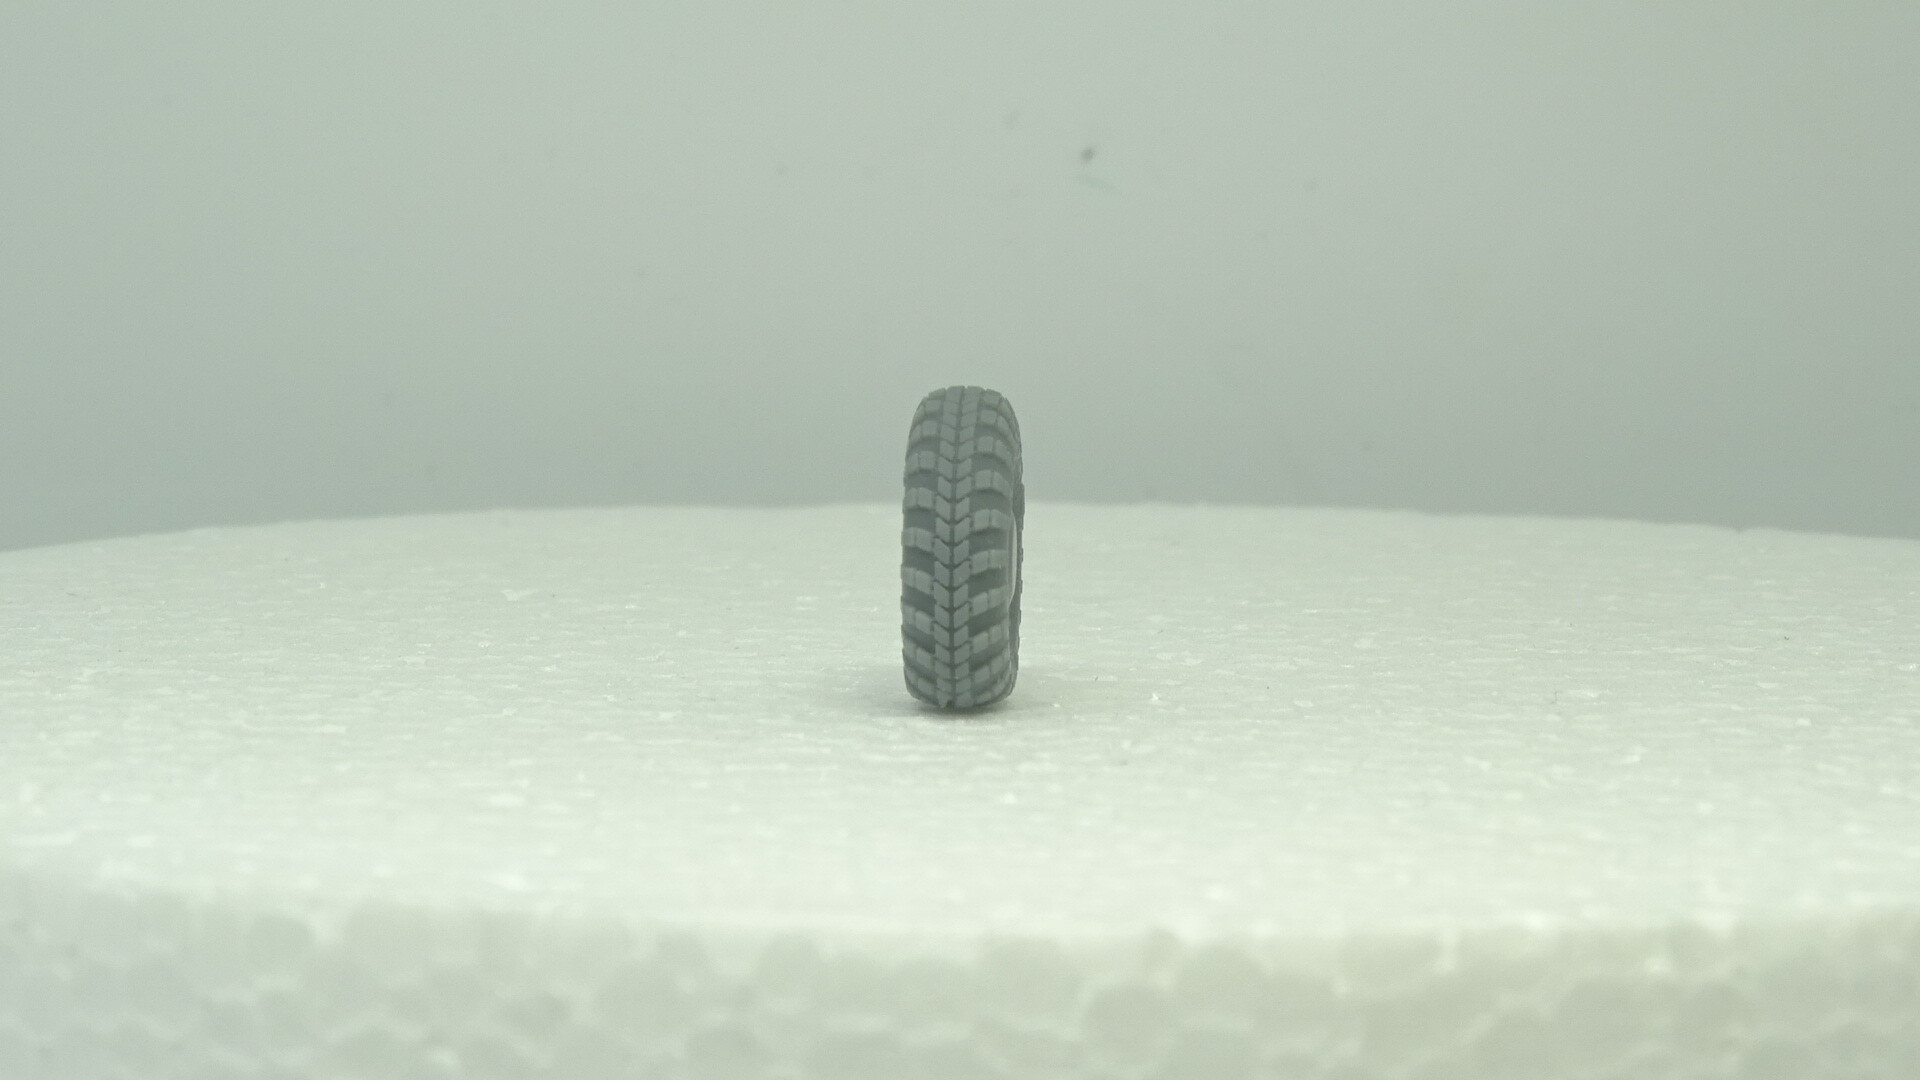
Dear fellow modelers, after a summer break we have to start our projects again. So, I bought these 3D printed wheels for my BTR80 and they are quite nicely done:
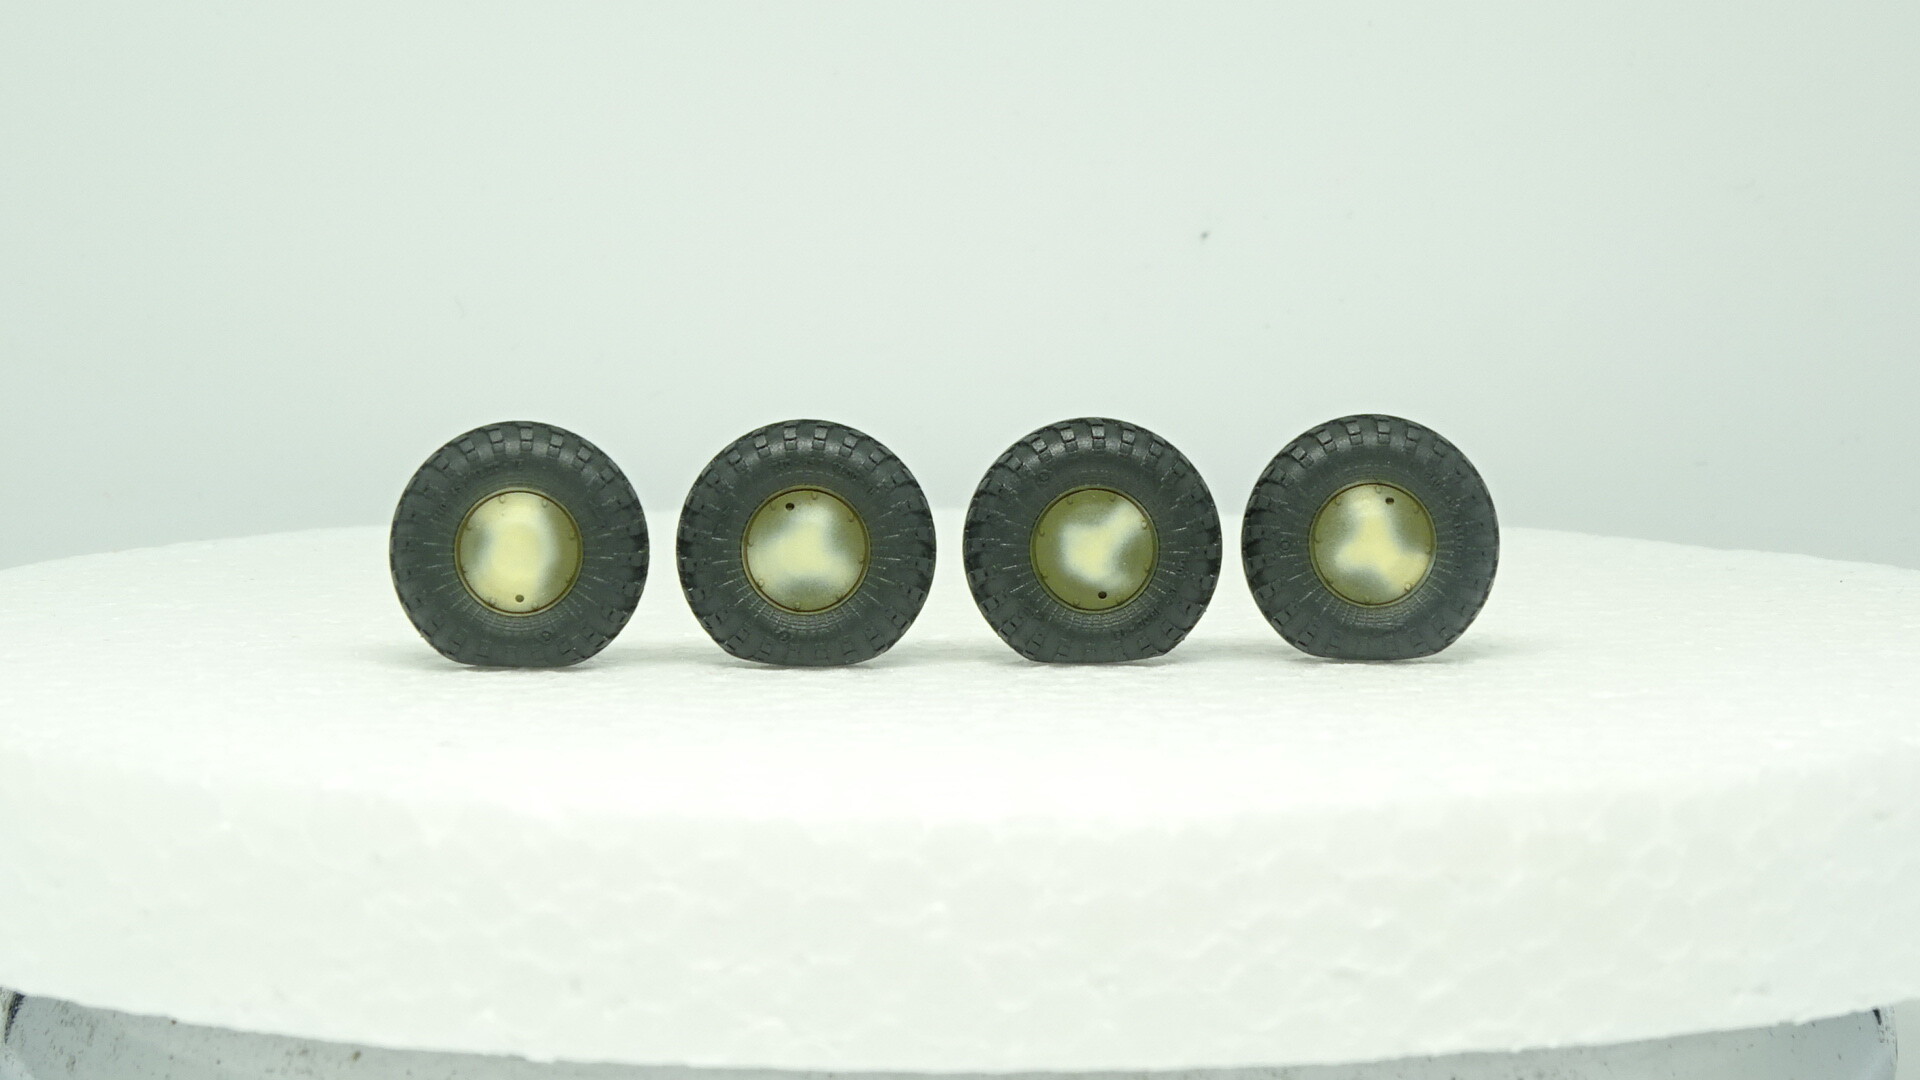
And the wheels are already painted, covered with clear varnish, and the hubs are also treated with a coat of filter.
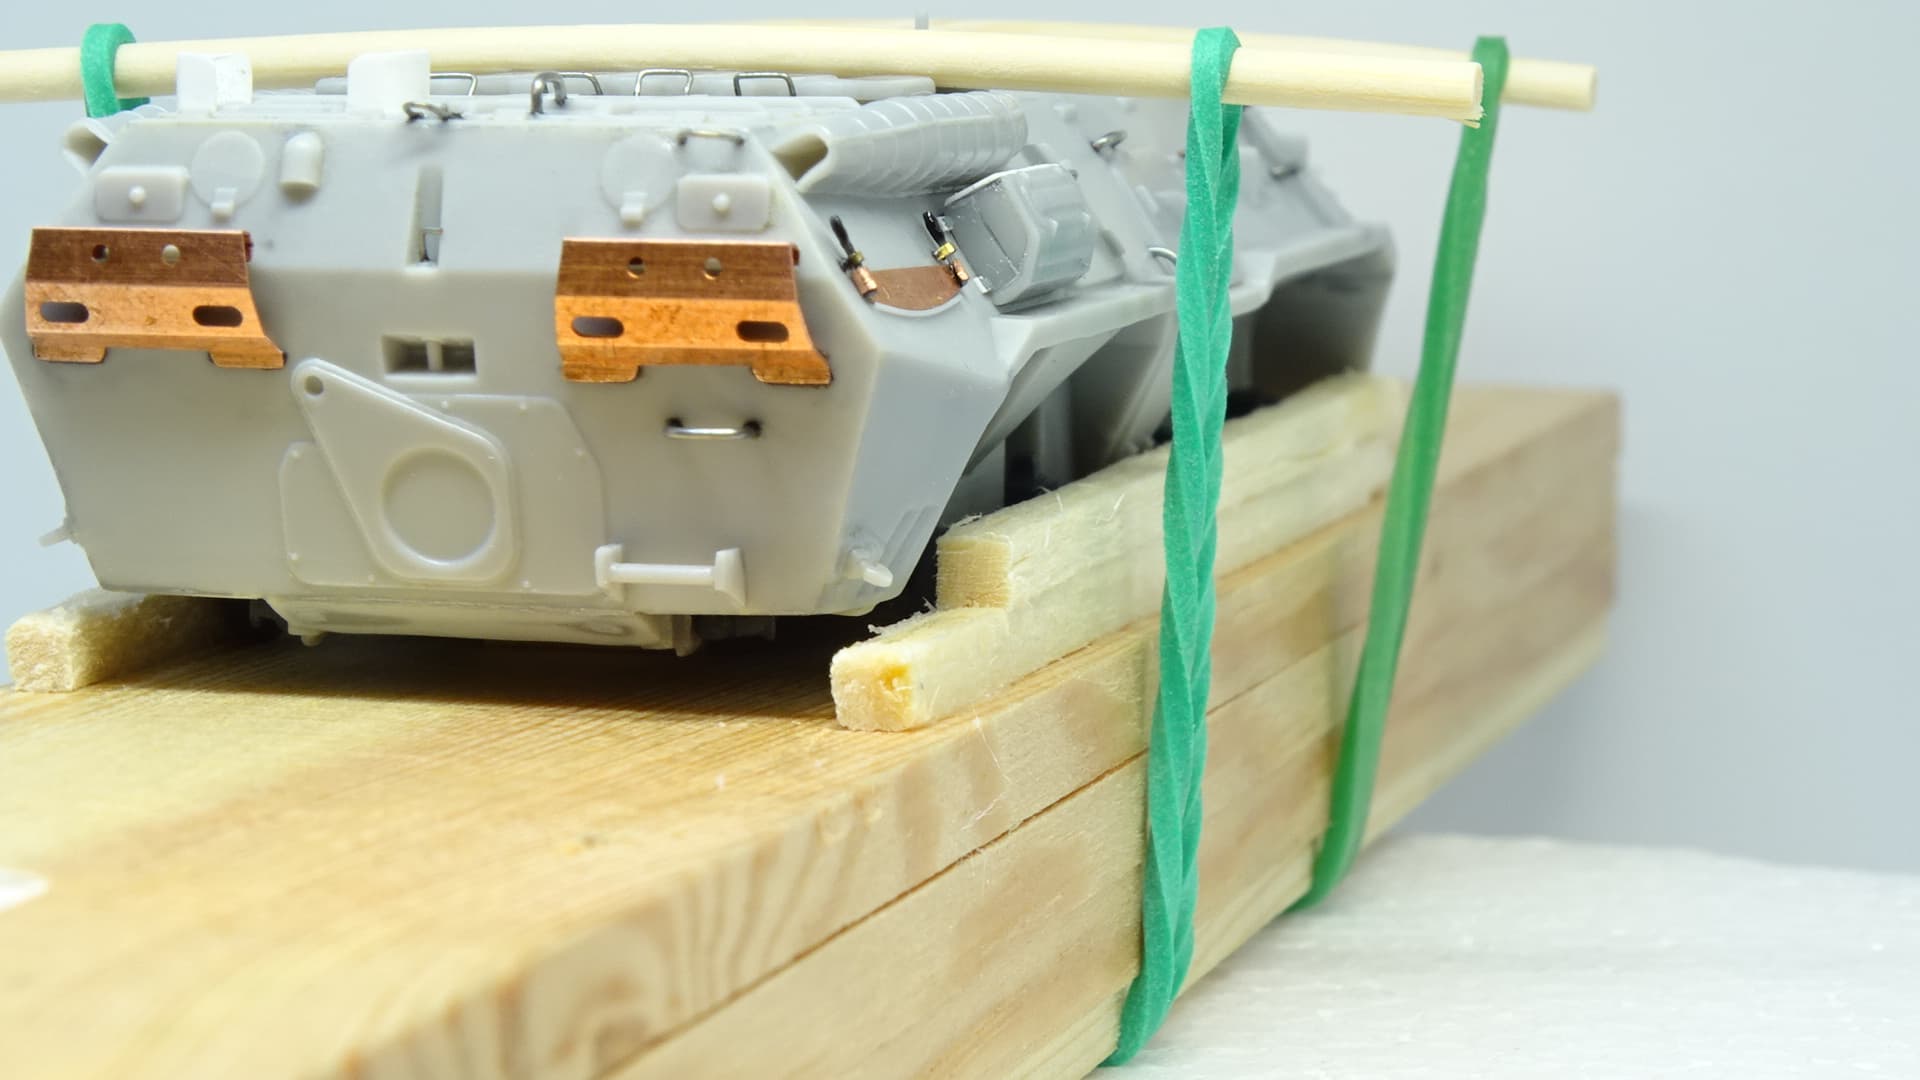
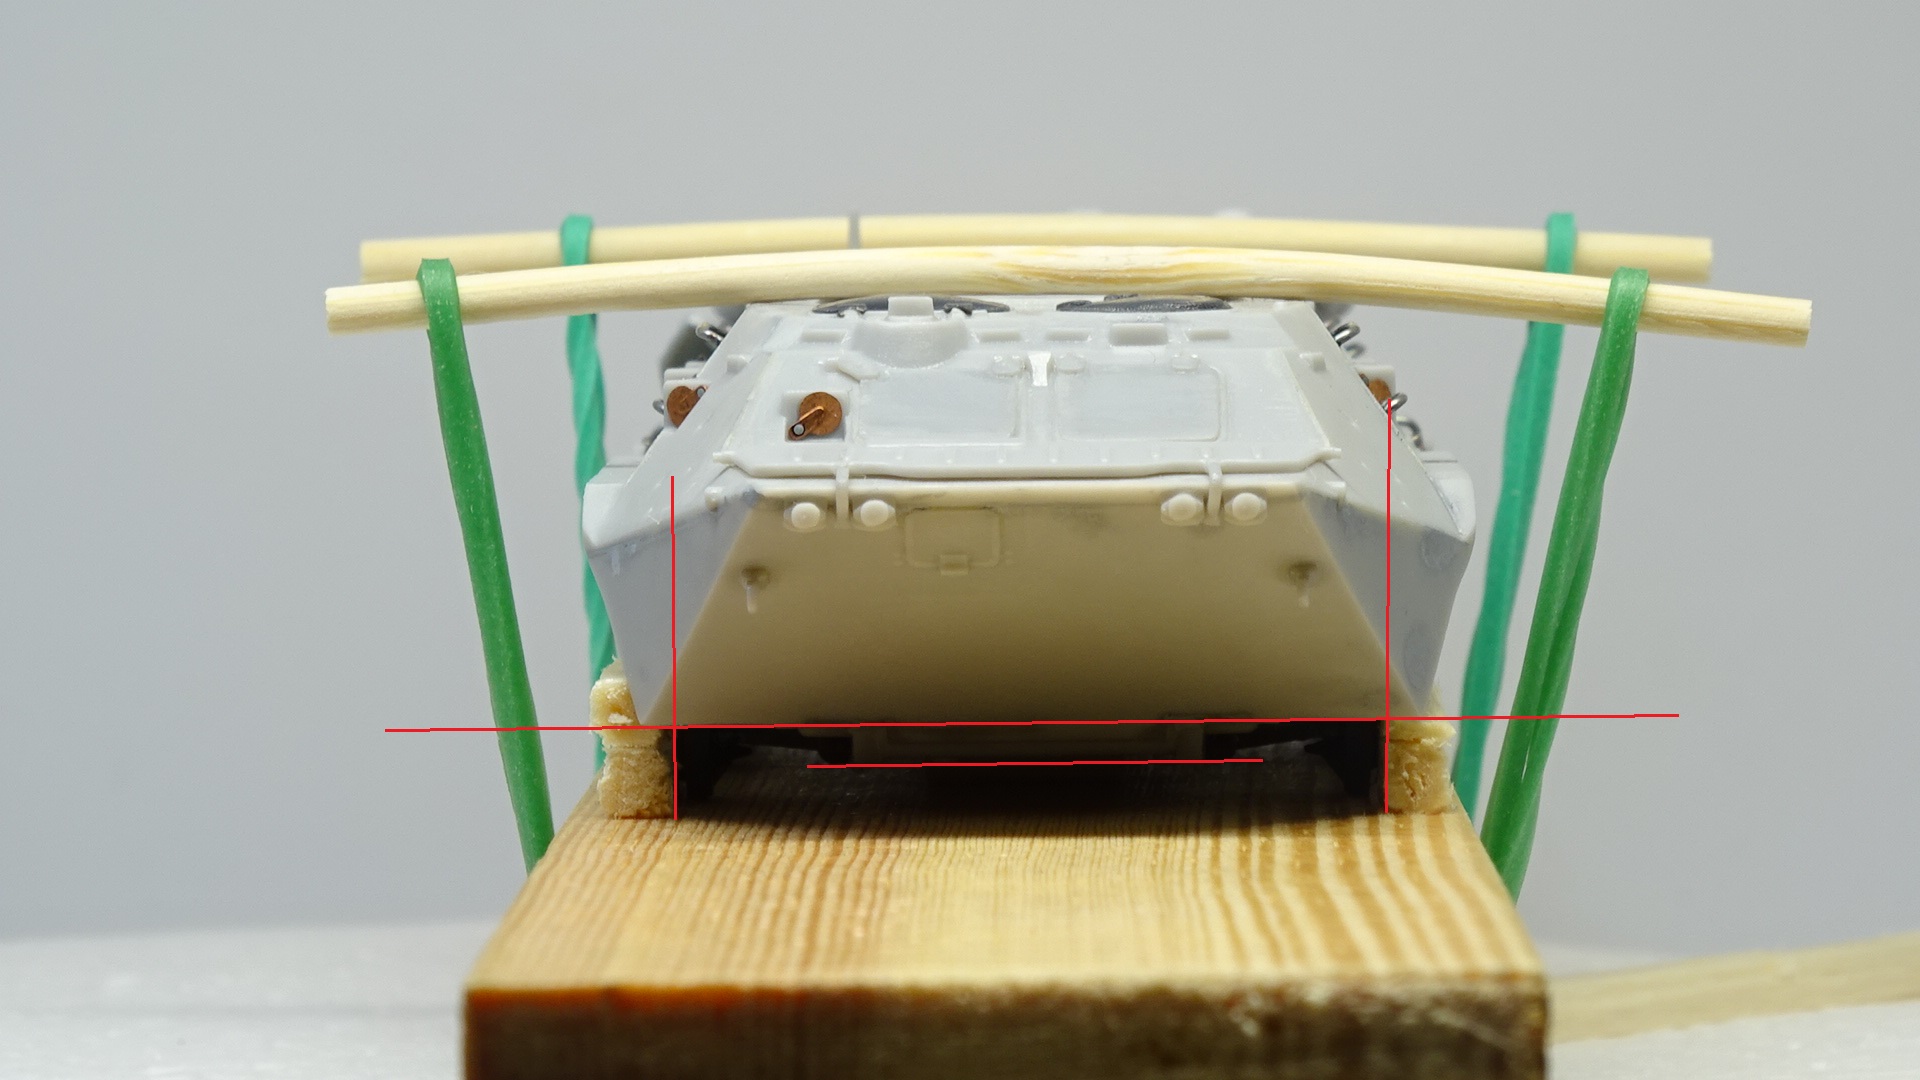
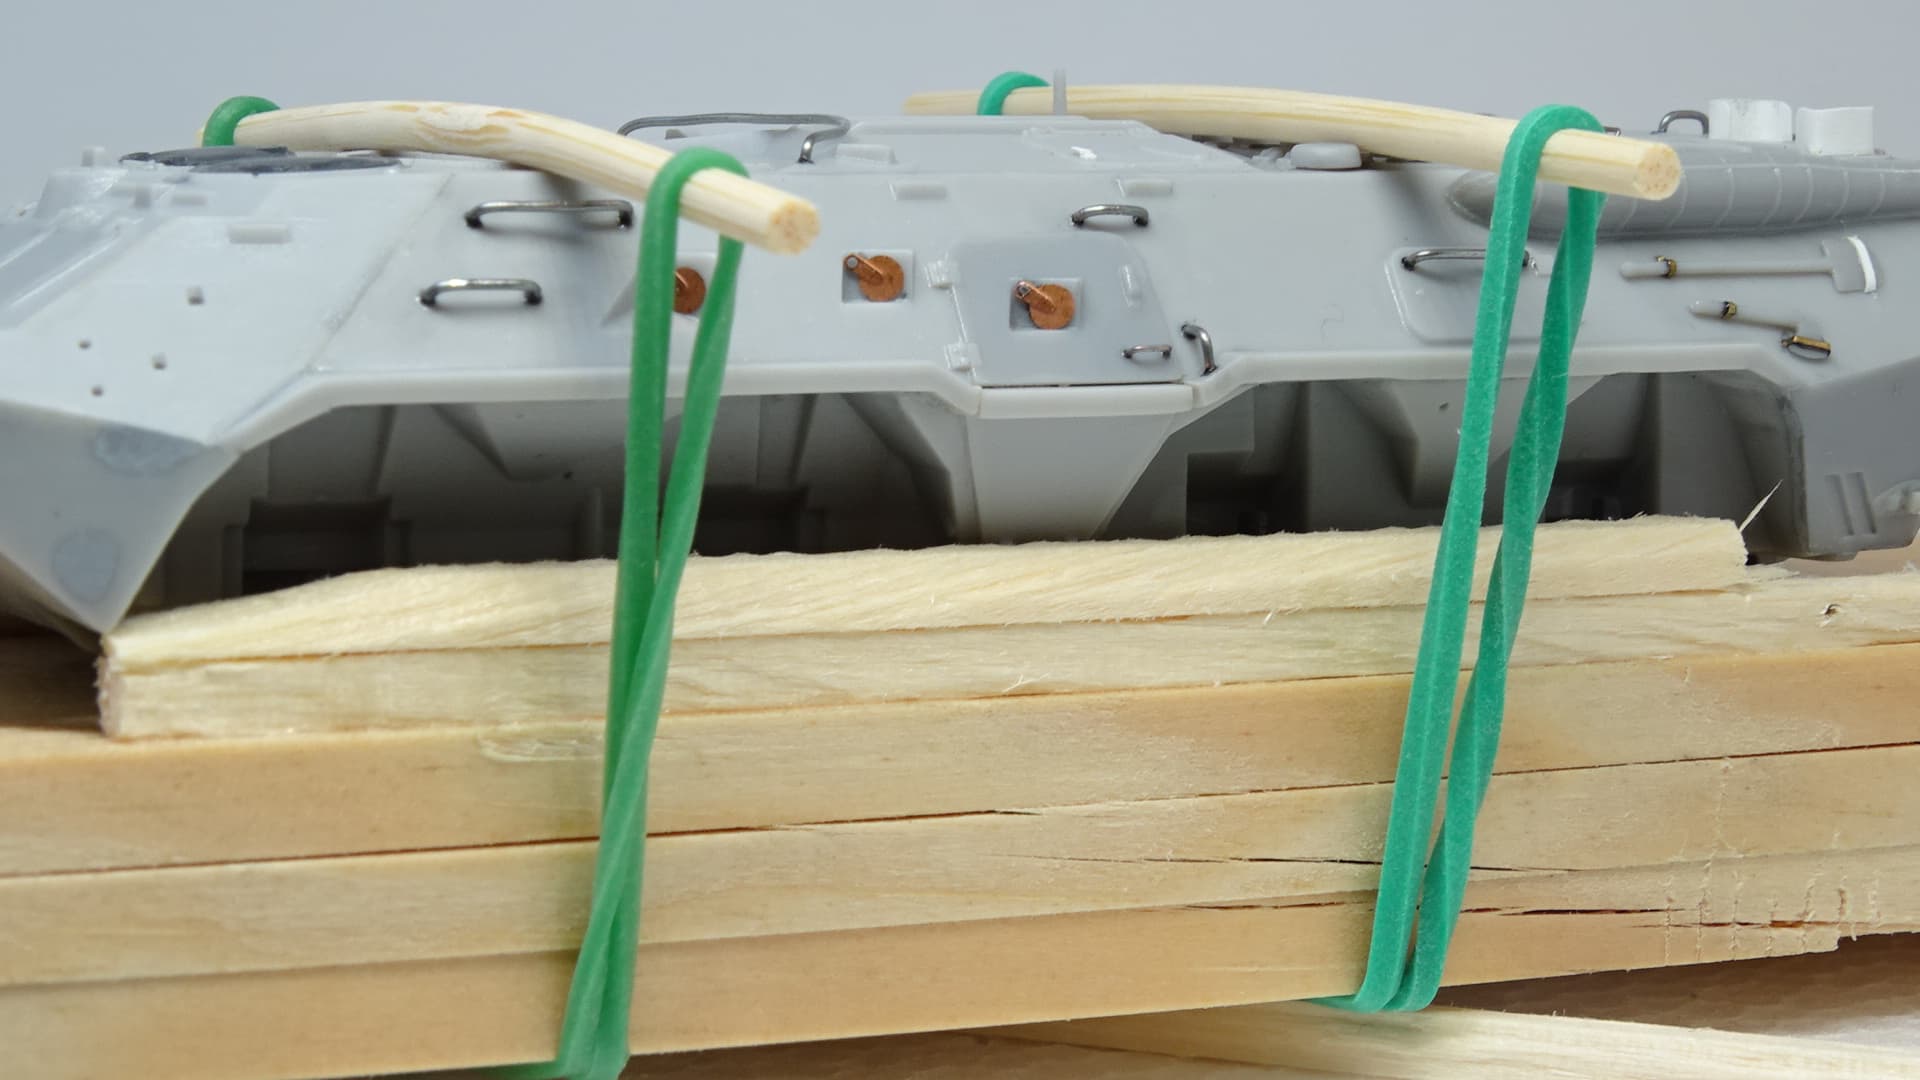
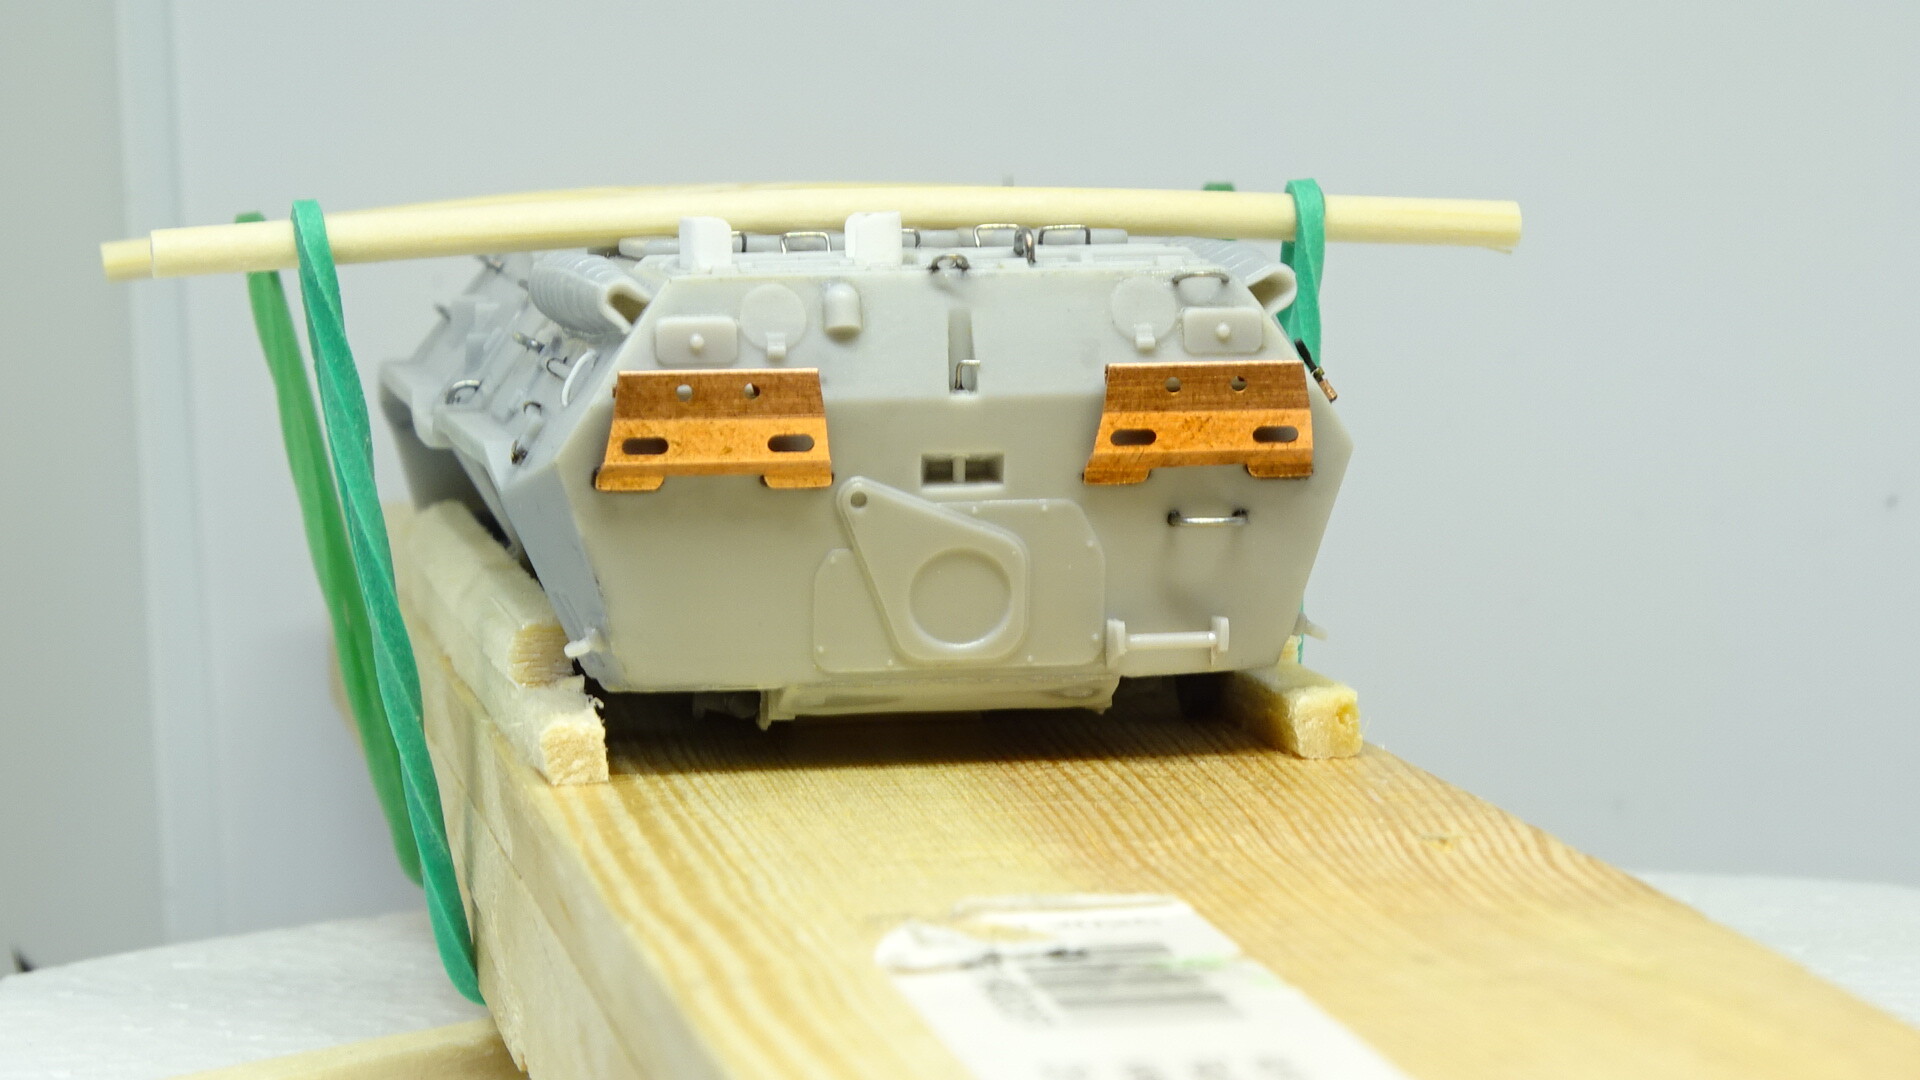
The suspension was mounted on the vehicle. To hold it in a straight position during all process of gluing some fixation was required:
Nice Jig you’ve got there!
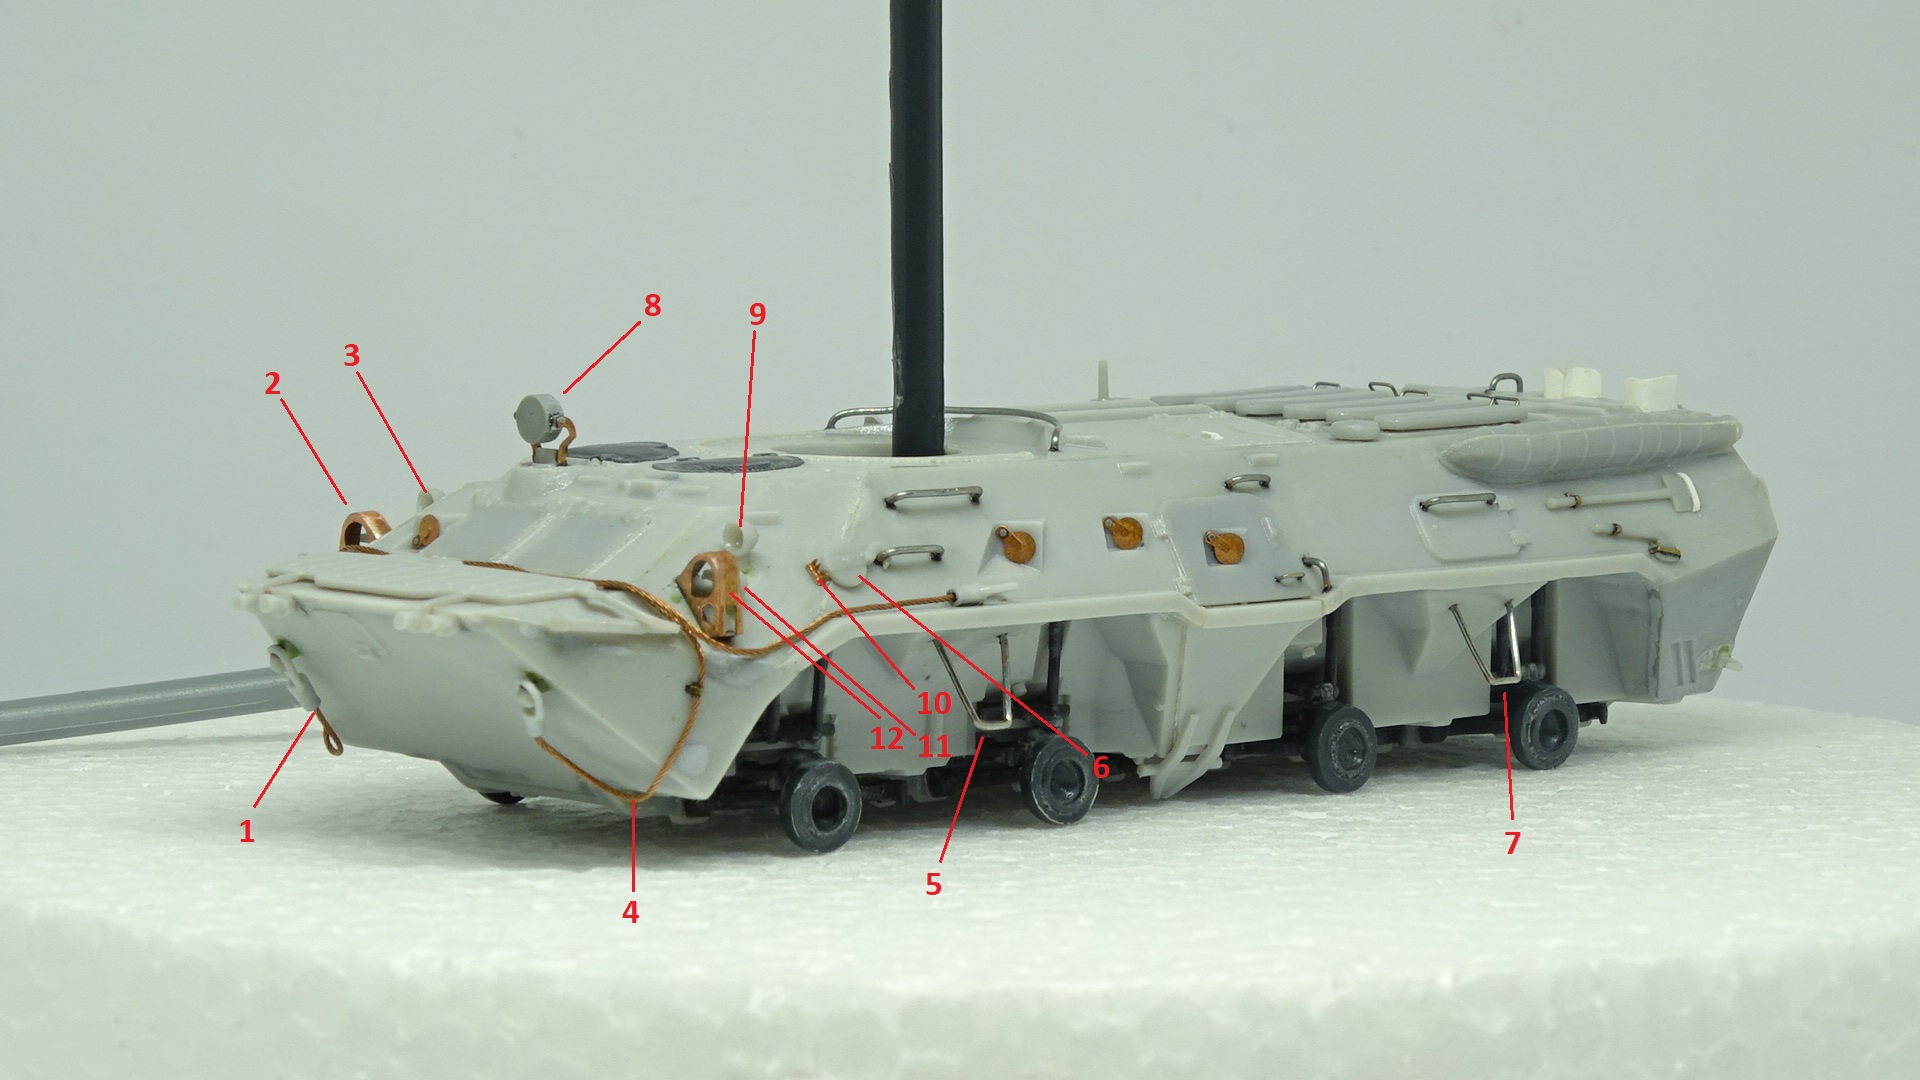
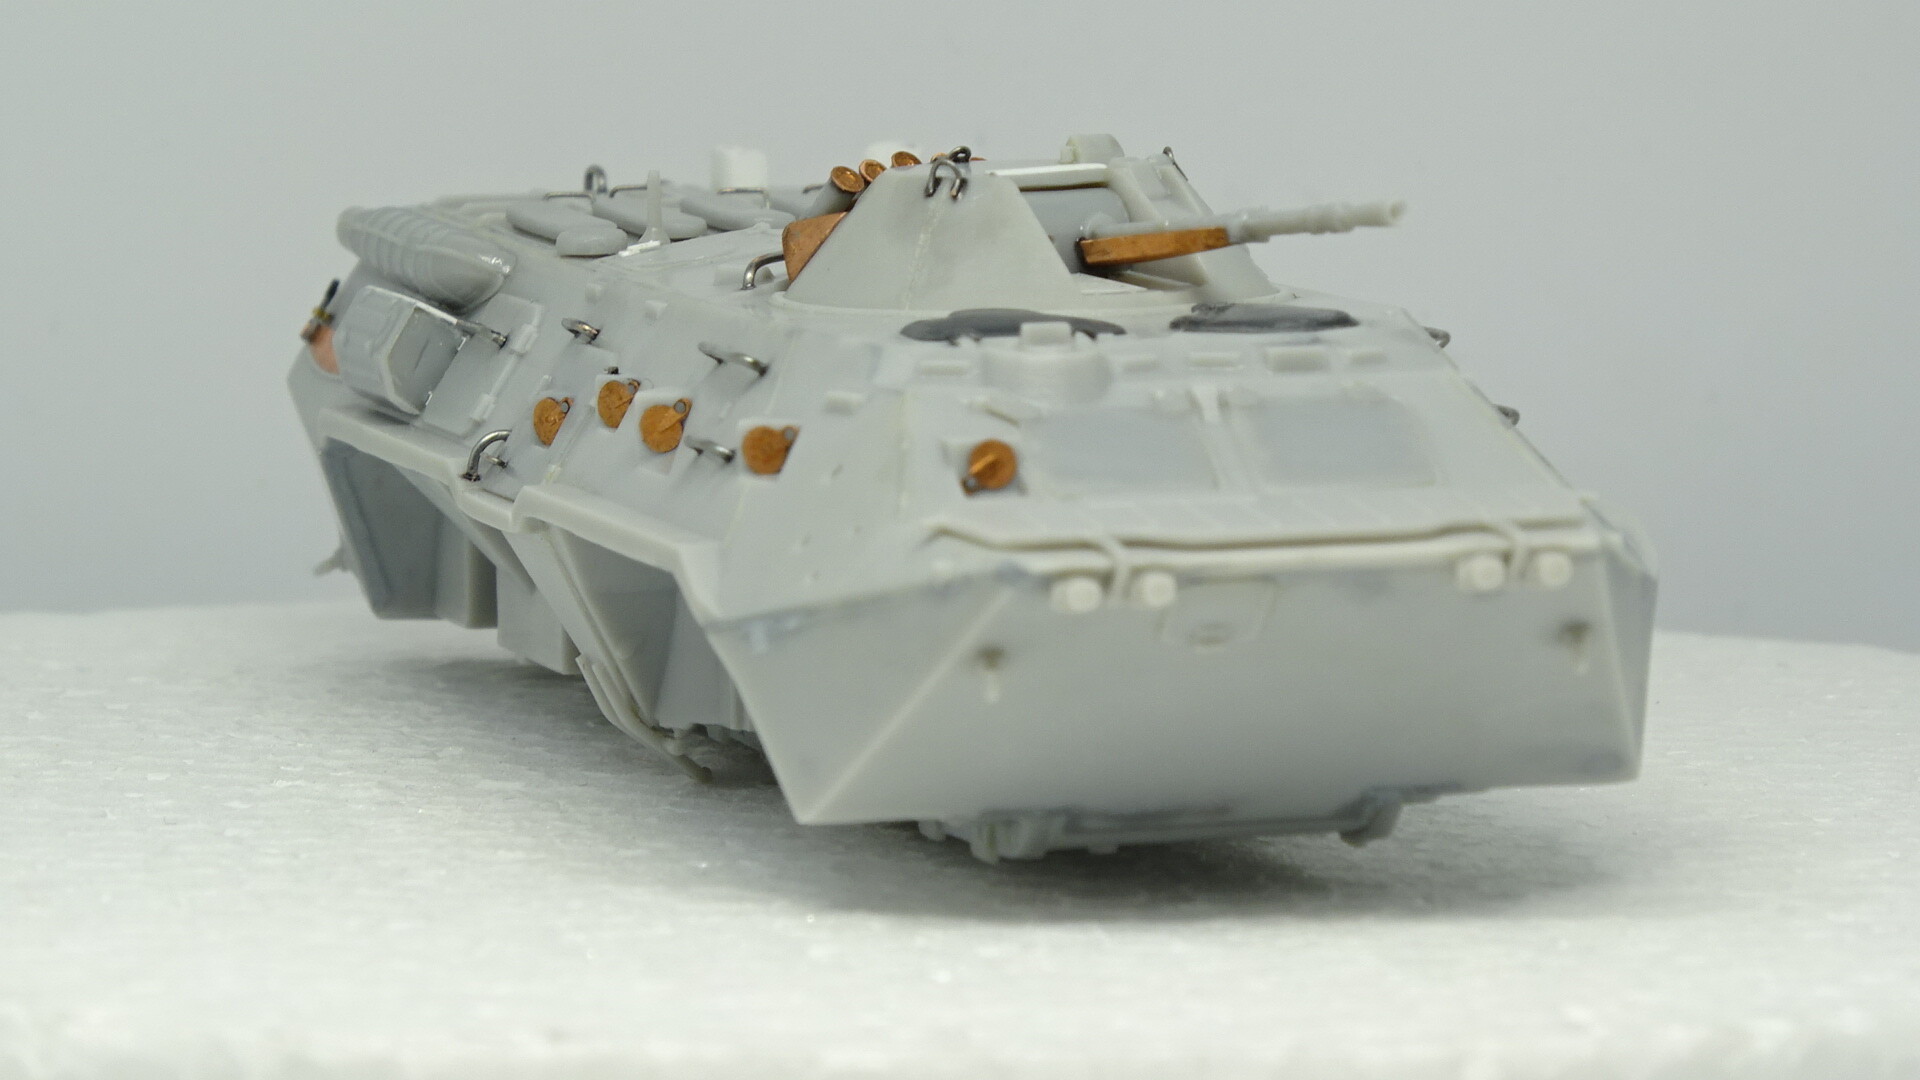
1 and 4 - towing cables (some aftermarket resin + copper cable, I forgot the name of company), 2 and 12 - covers on front lights (welded from photoetched parts of the kit), 5 and 7 - made from 0.5 mm wire, 3, 9, and 11 - front lights (additionally drilled), and 8 - IR searching light (hand made from a stirene stick).
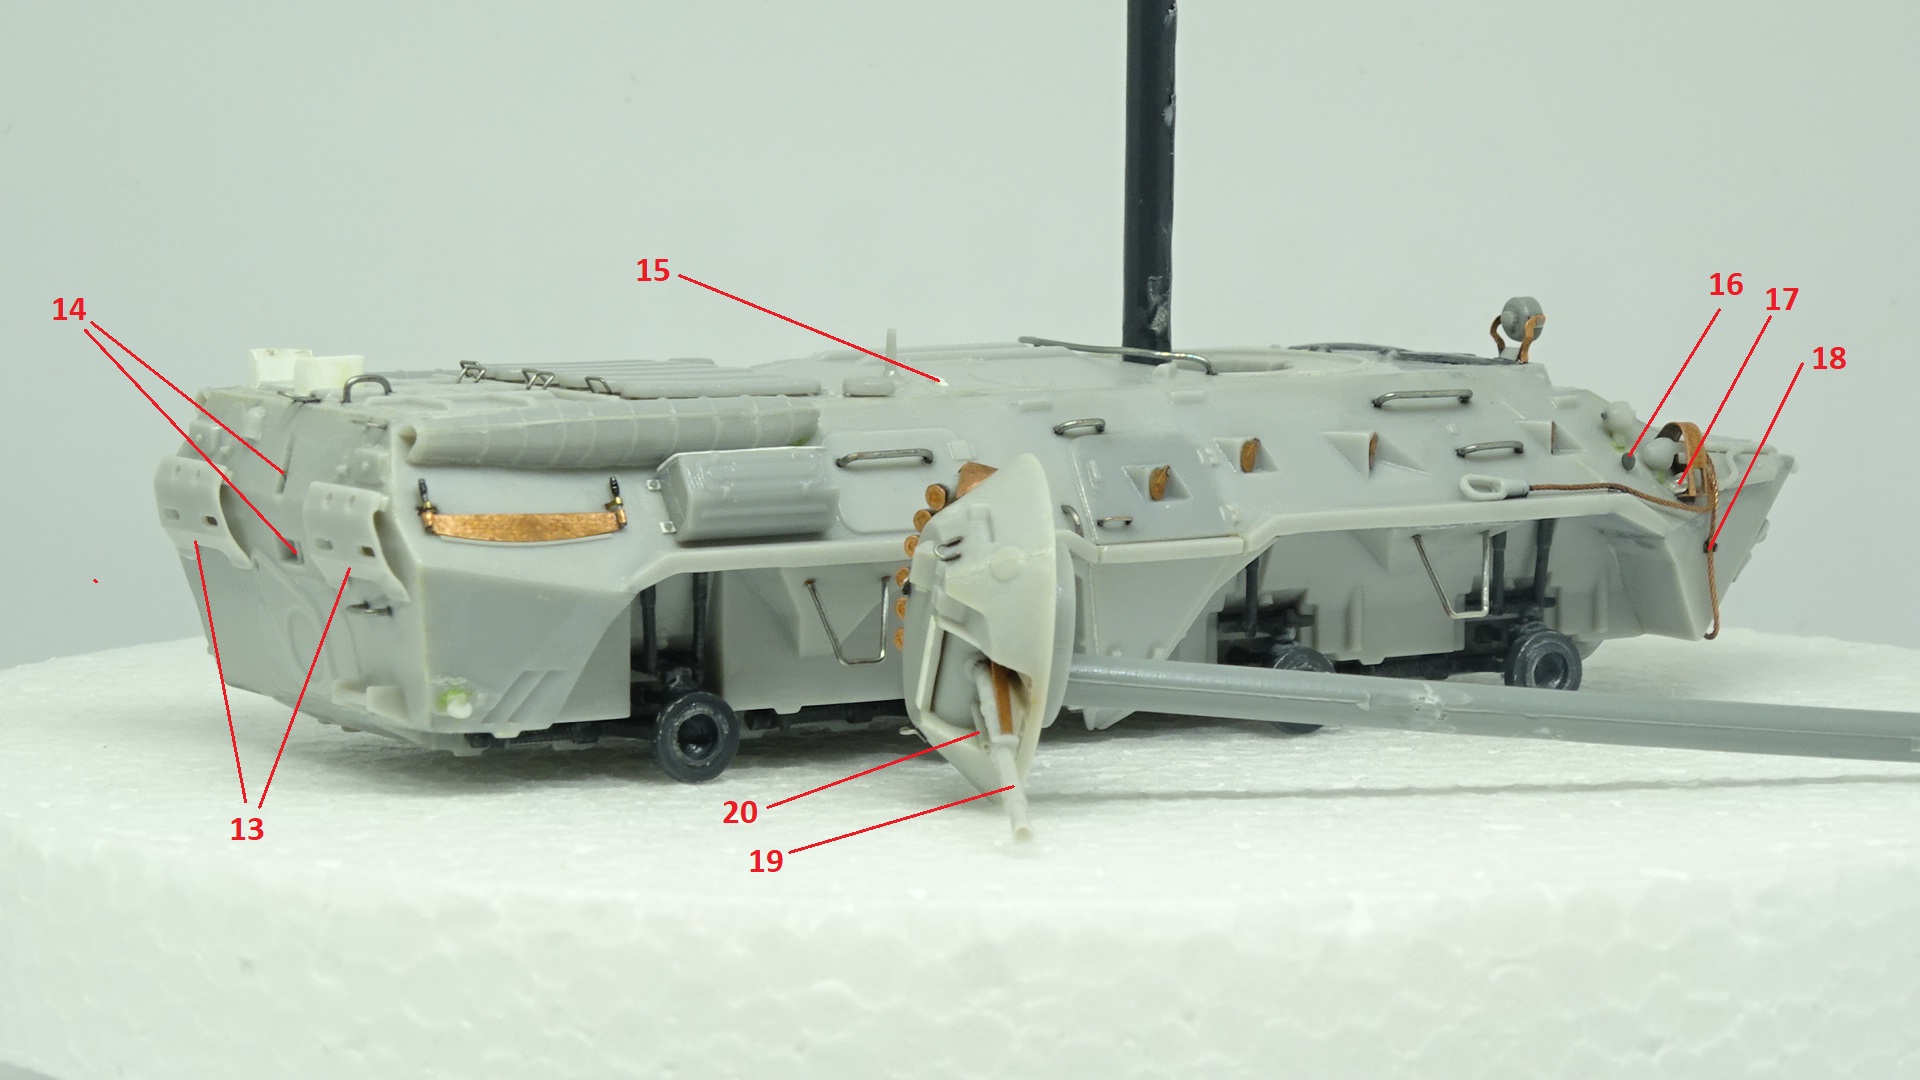
13 - photoetched parts were replaced by stirene parts from the kit, 14 - rear towing hook made from a stirene stick and a 0.3 mm wire, 15 - handle made from stirene 0.2 mm sheet, 16 and 17 - light and voice signals made from a clear stirene parts and a stirene stick, 19 and 20 - KPVT gun from the kit and PKT made from a stirene stick.
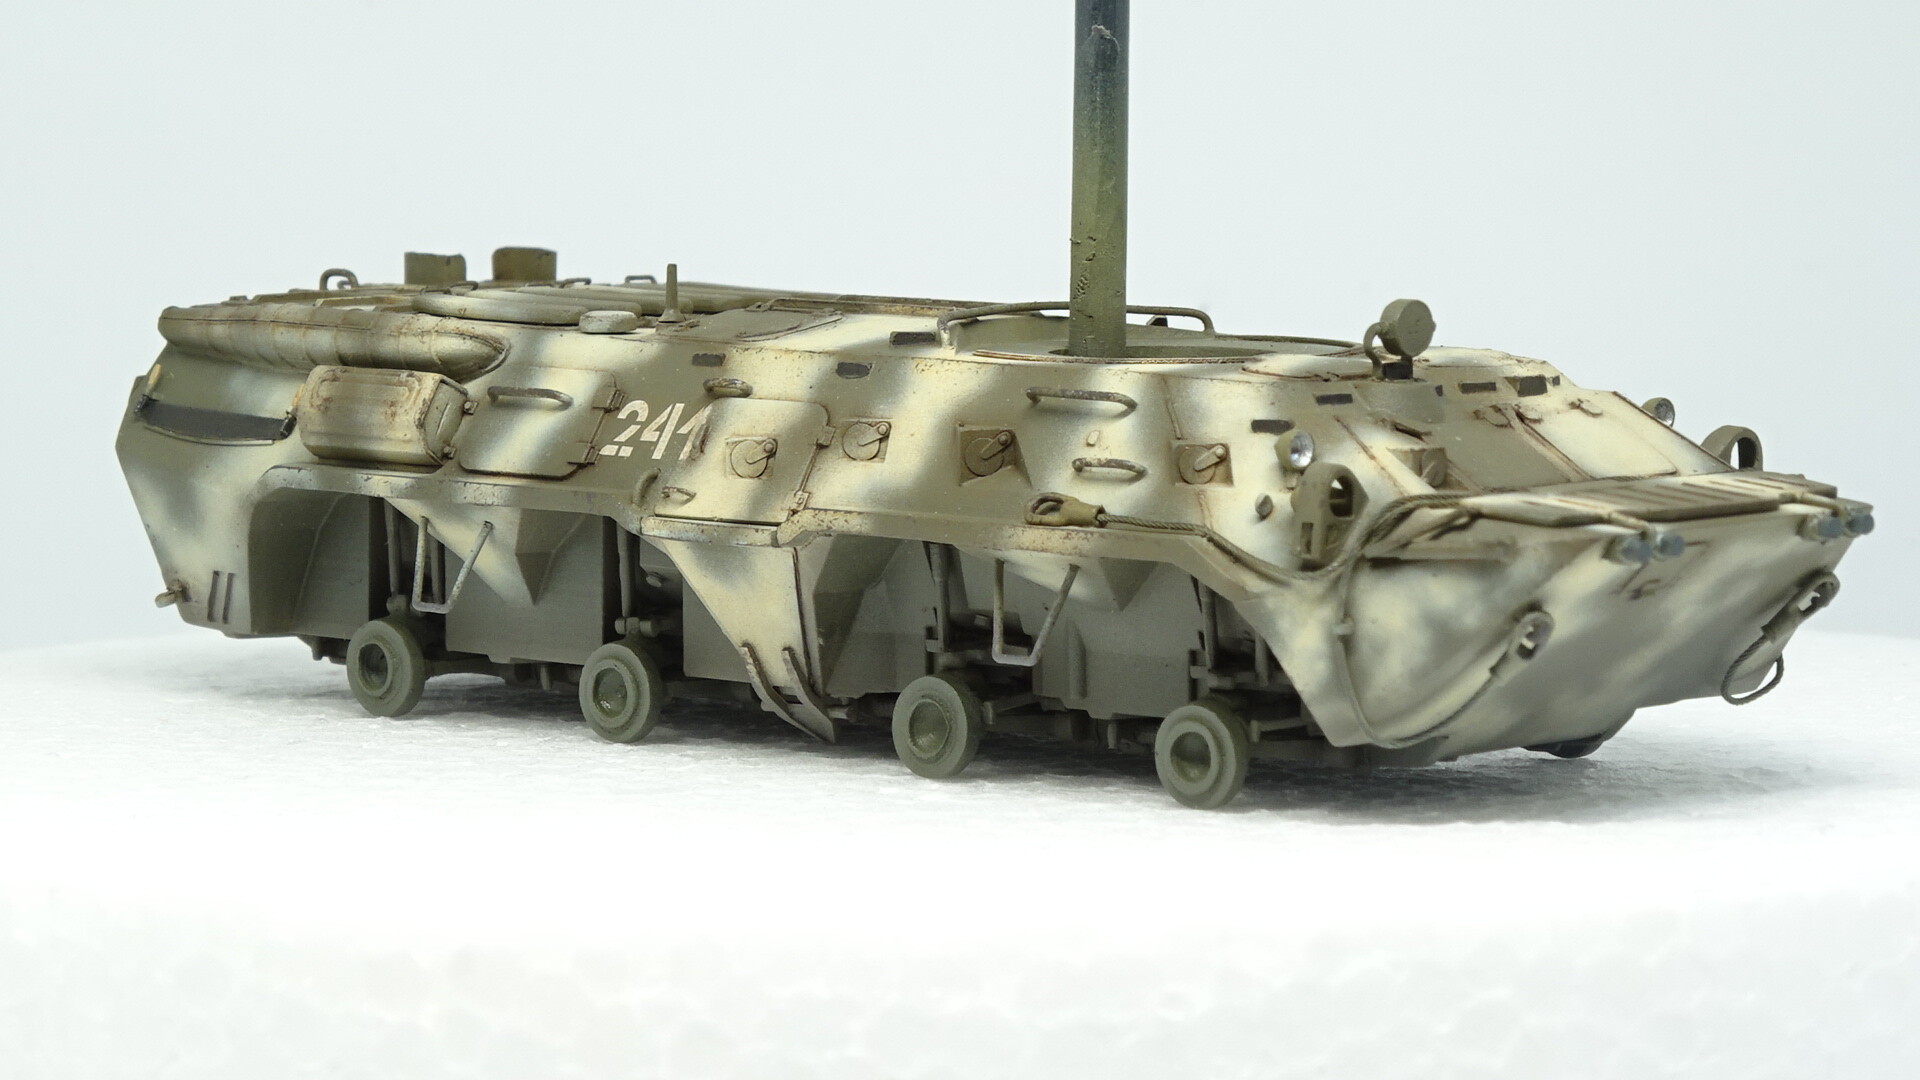
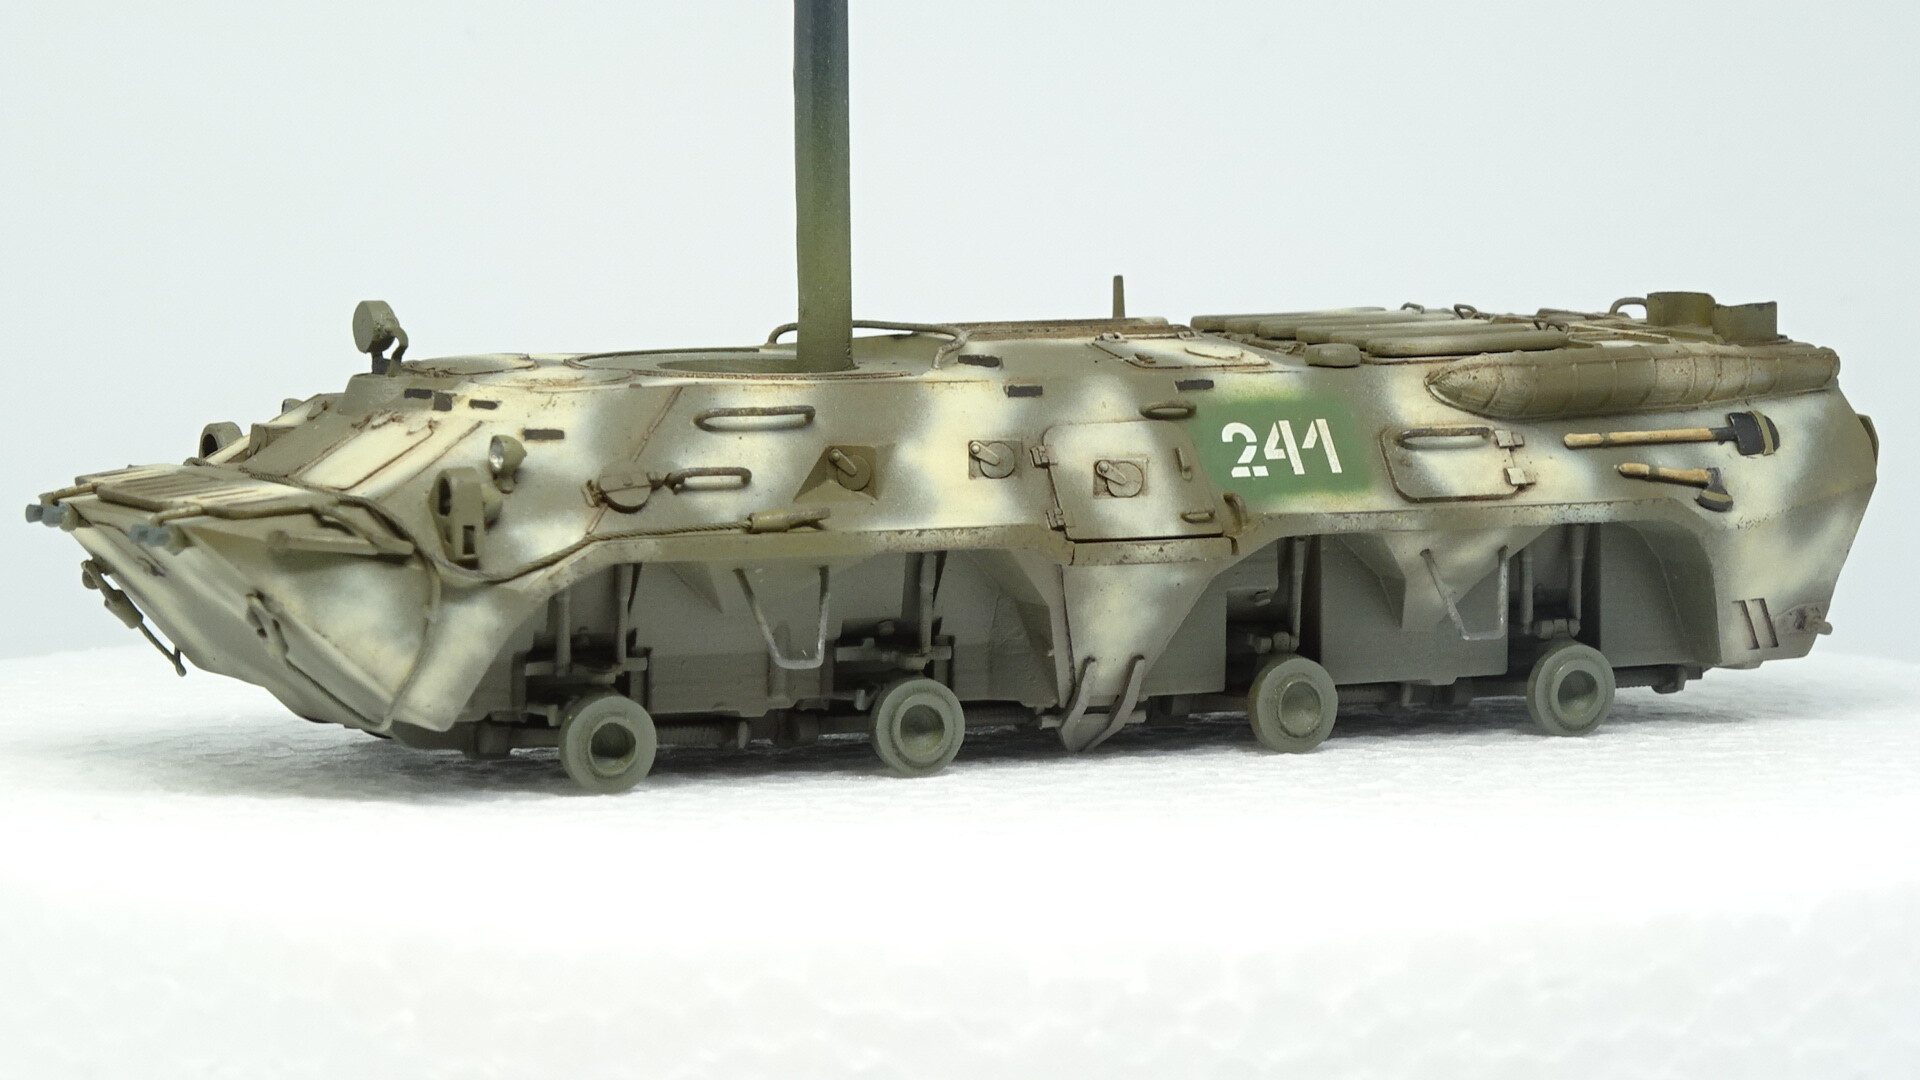
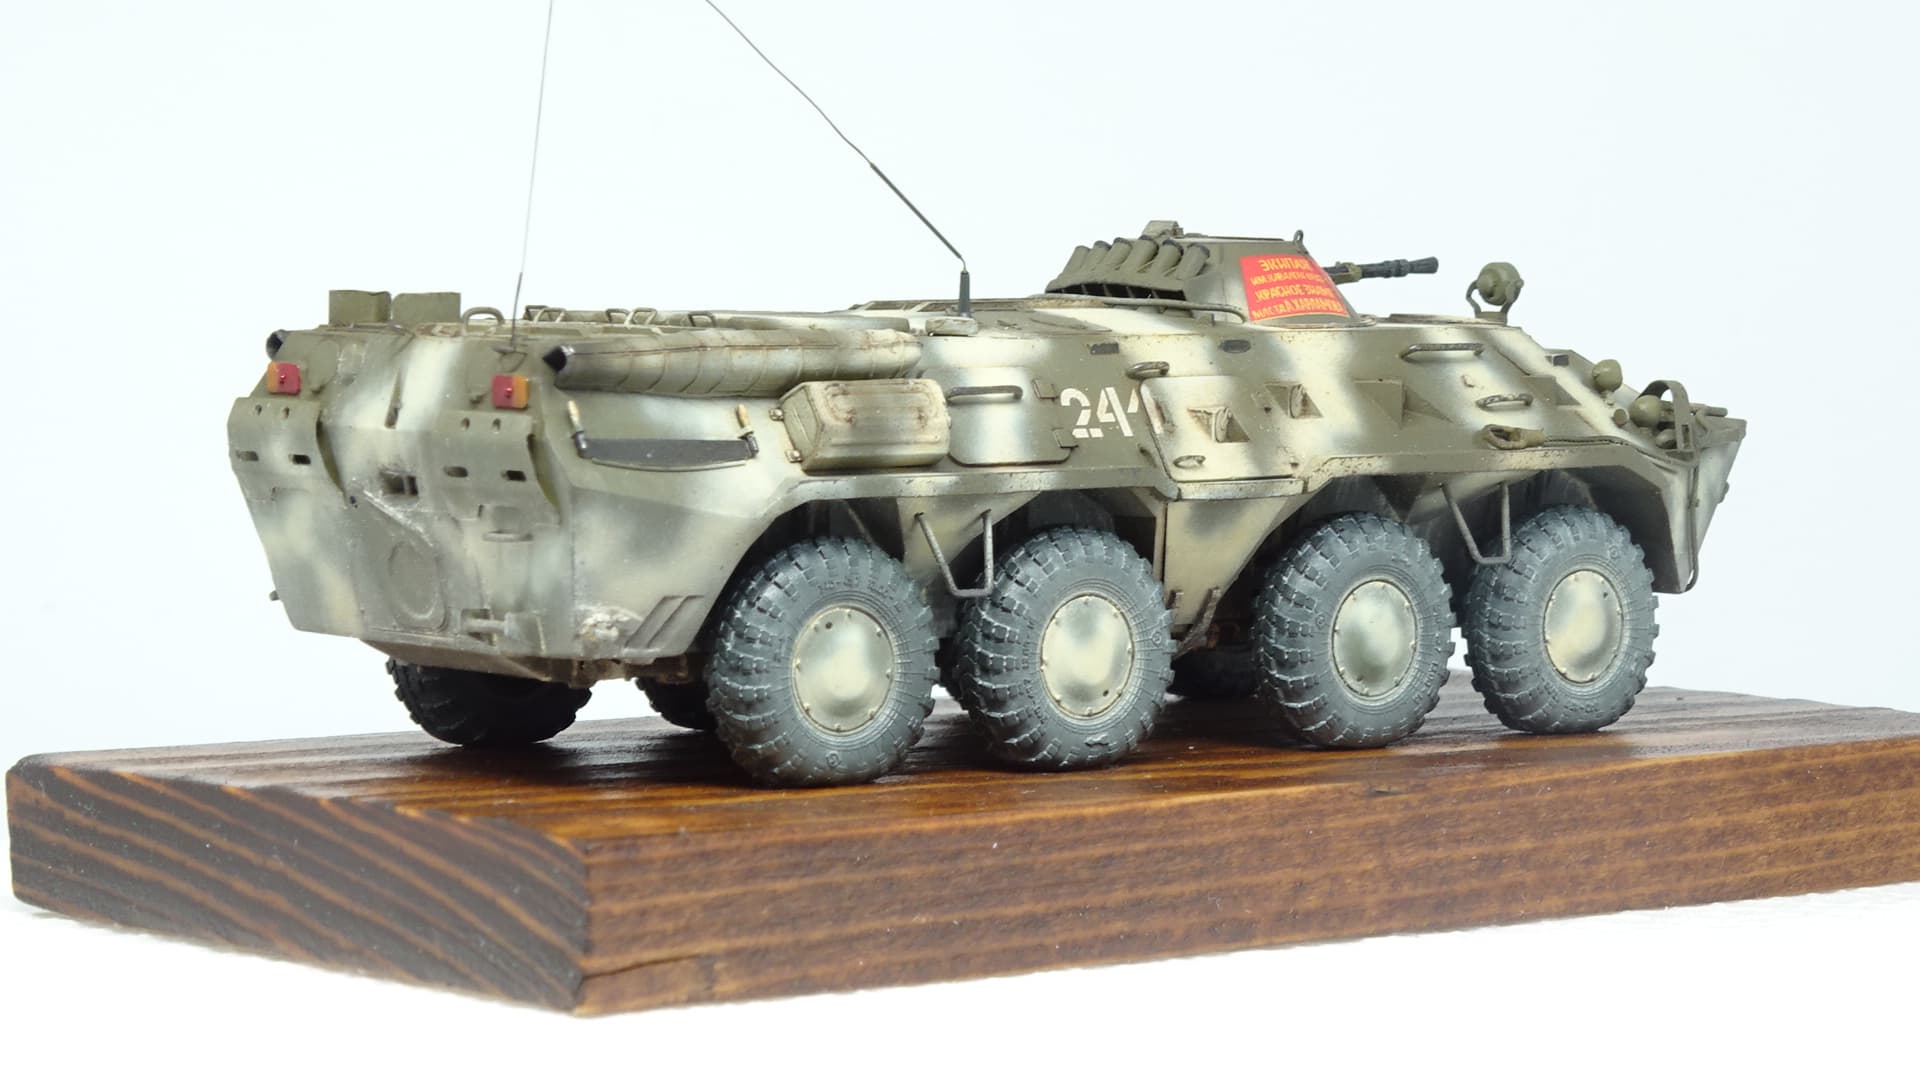
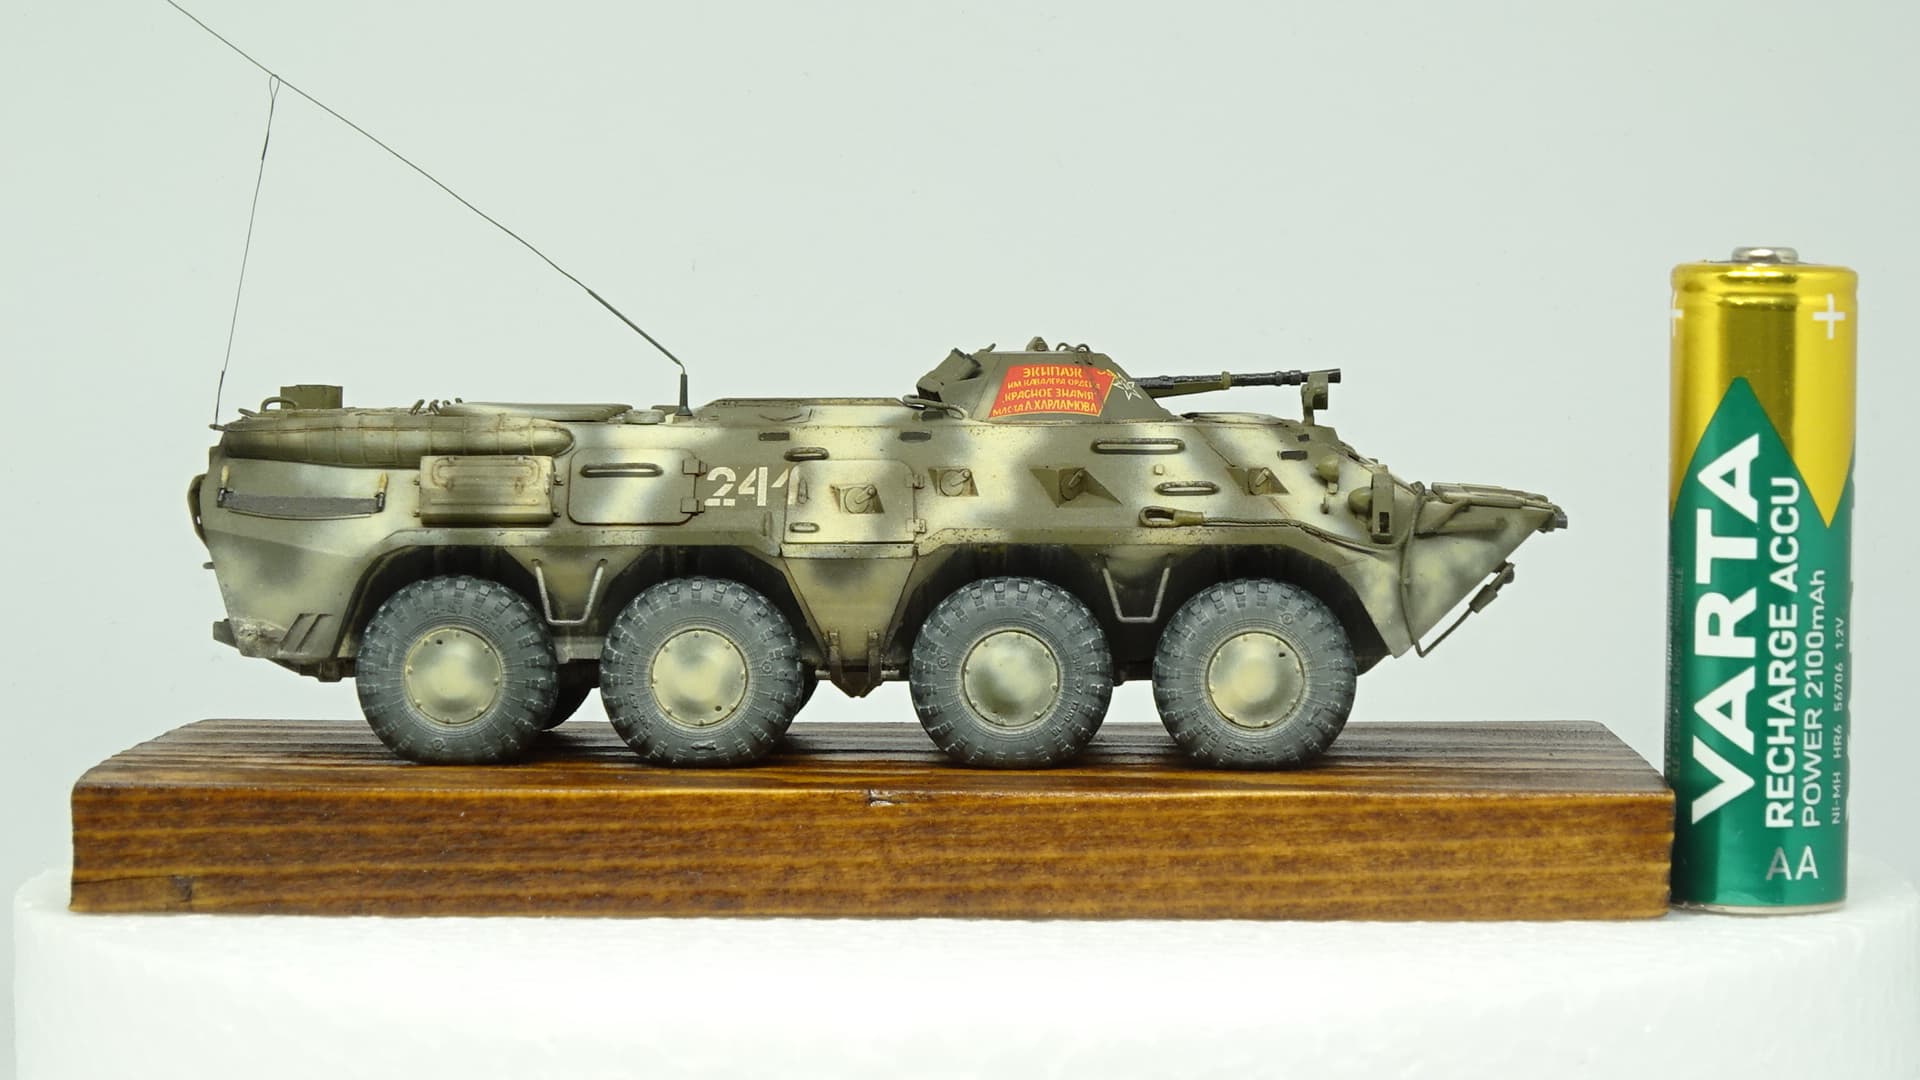
And now it is painted (different greens from AK RC and greyish yellow from AK RC), decaled, covered with clear varnish (Tamiya clear and flat clear), filtered (AK 076), and washed with AK 083 and A.MIG 1004
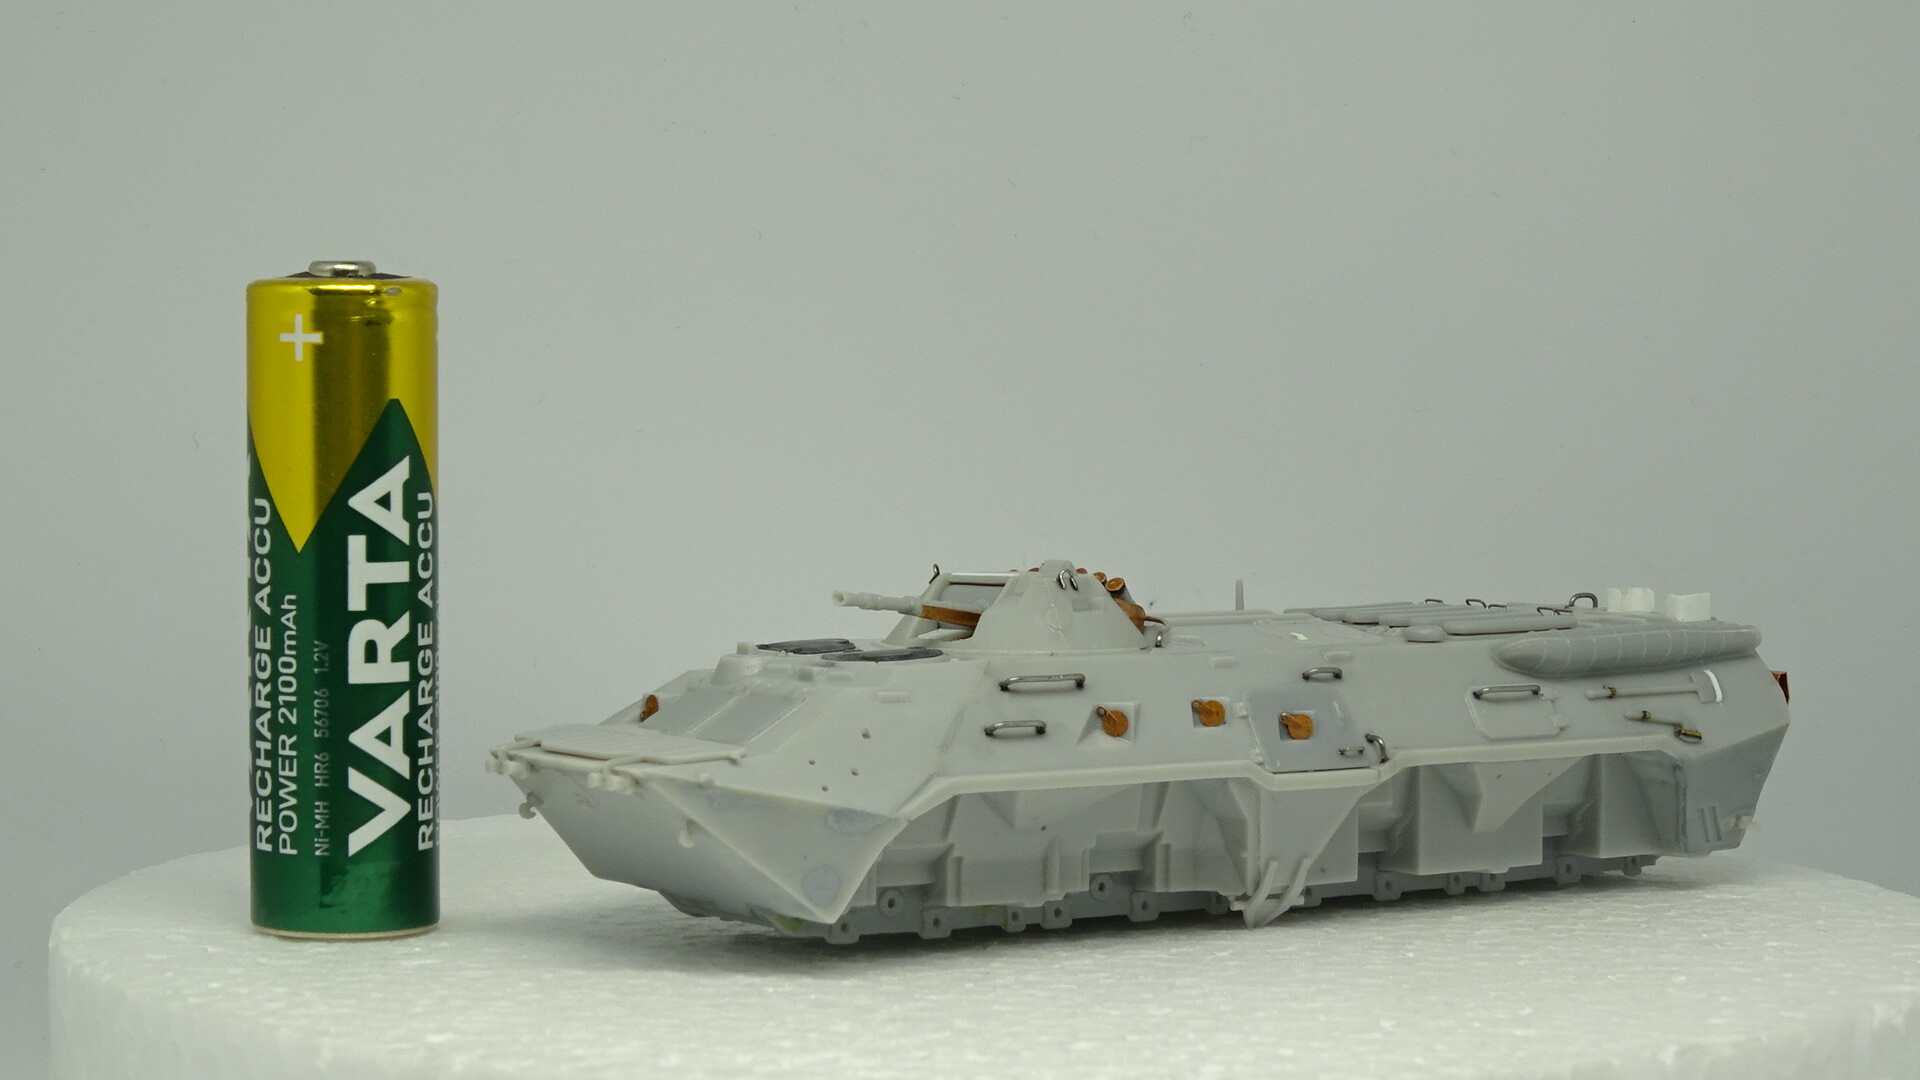
By the way, this strange stick in the vehicle is just to hold it in the hand.
Lovely detail work in 1/72, paintwork looks great too.
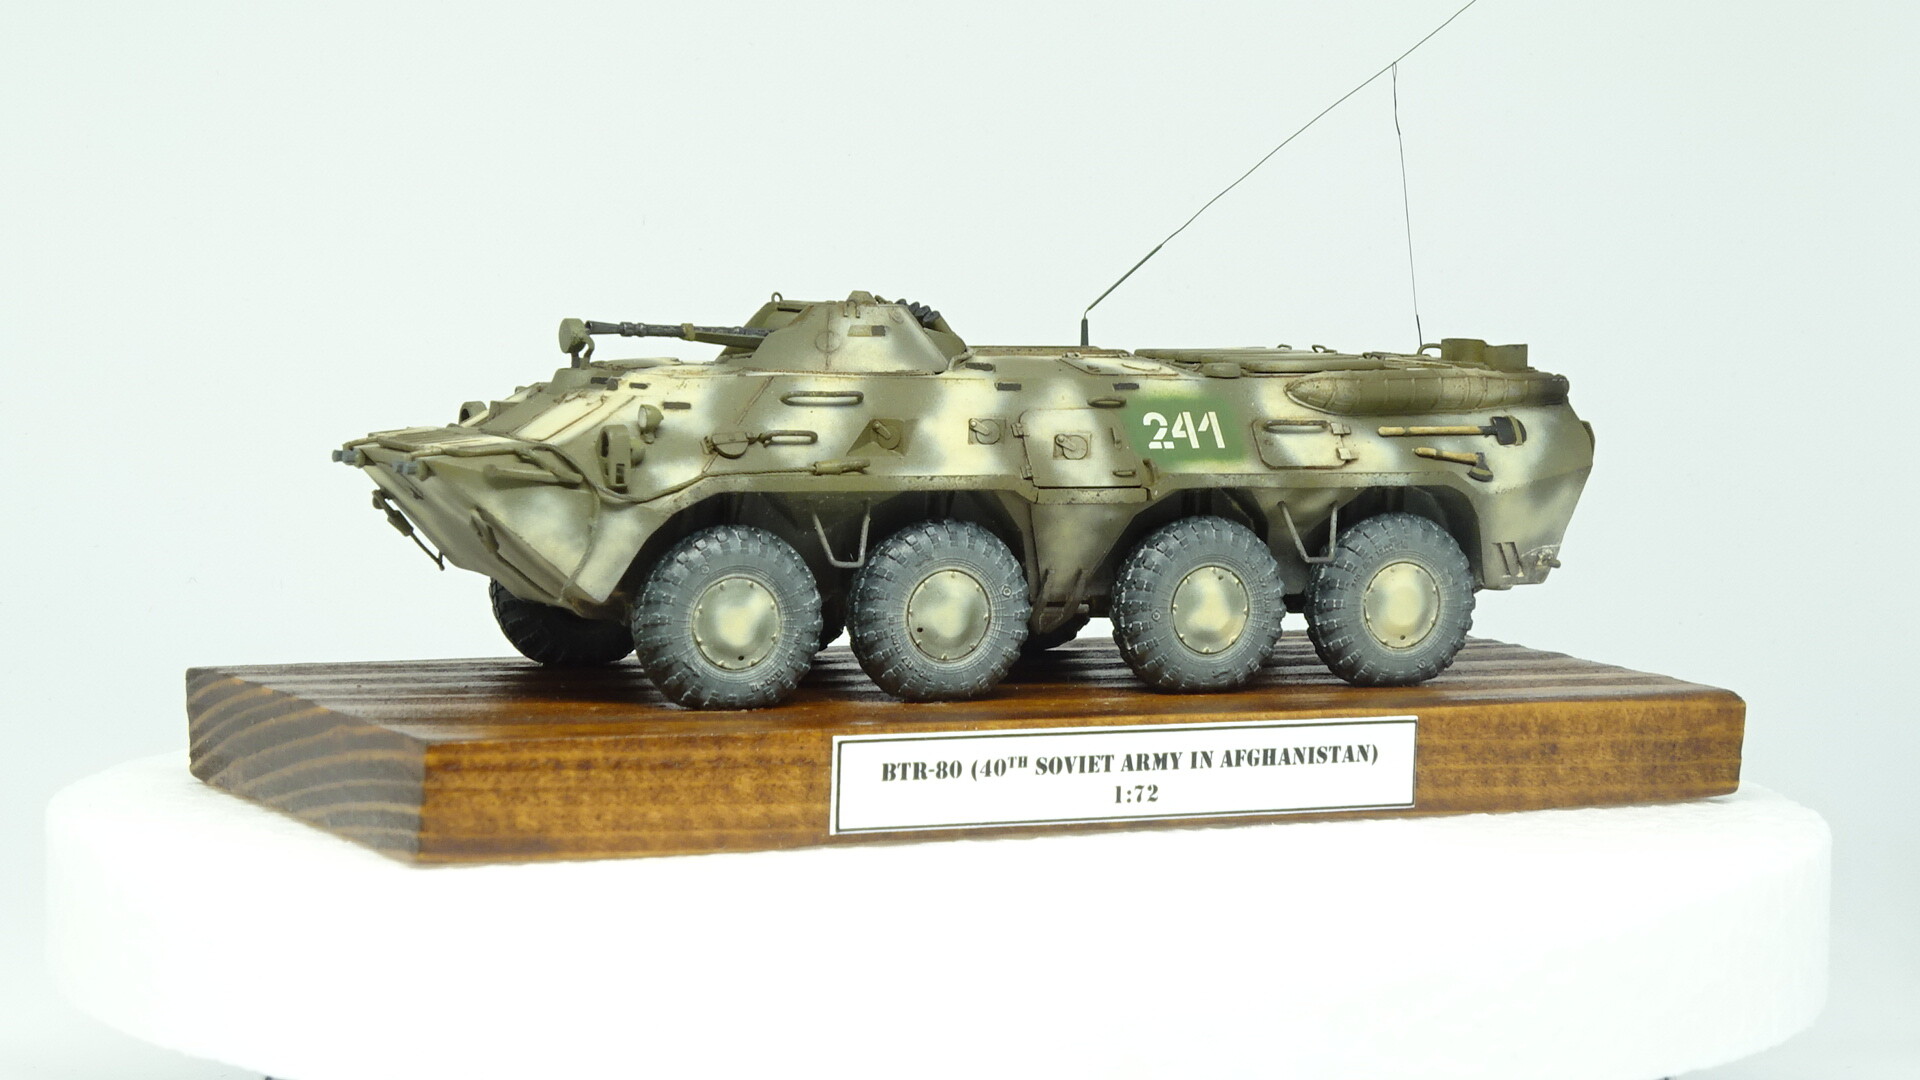
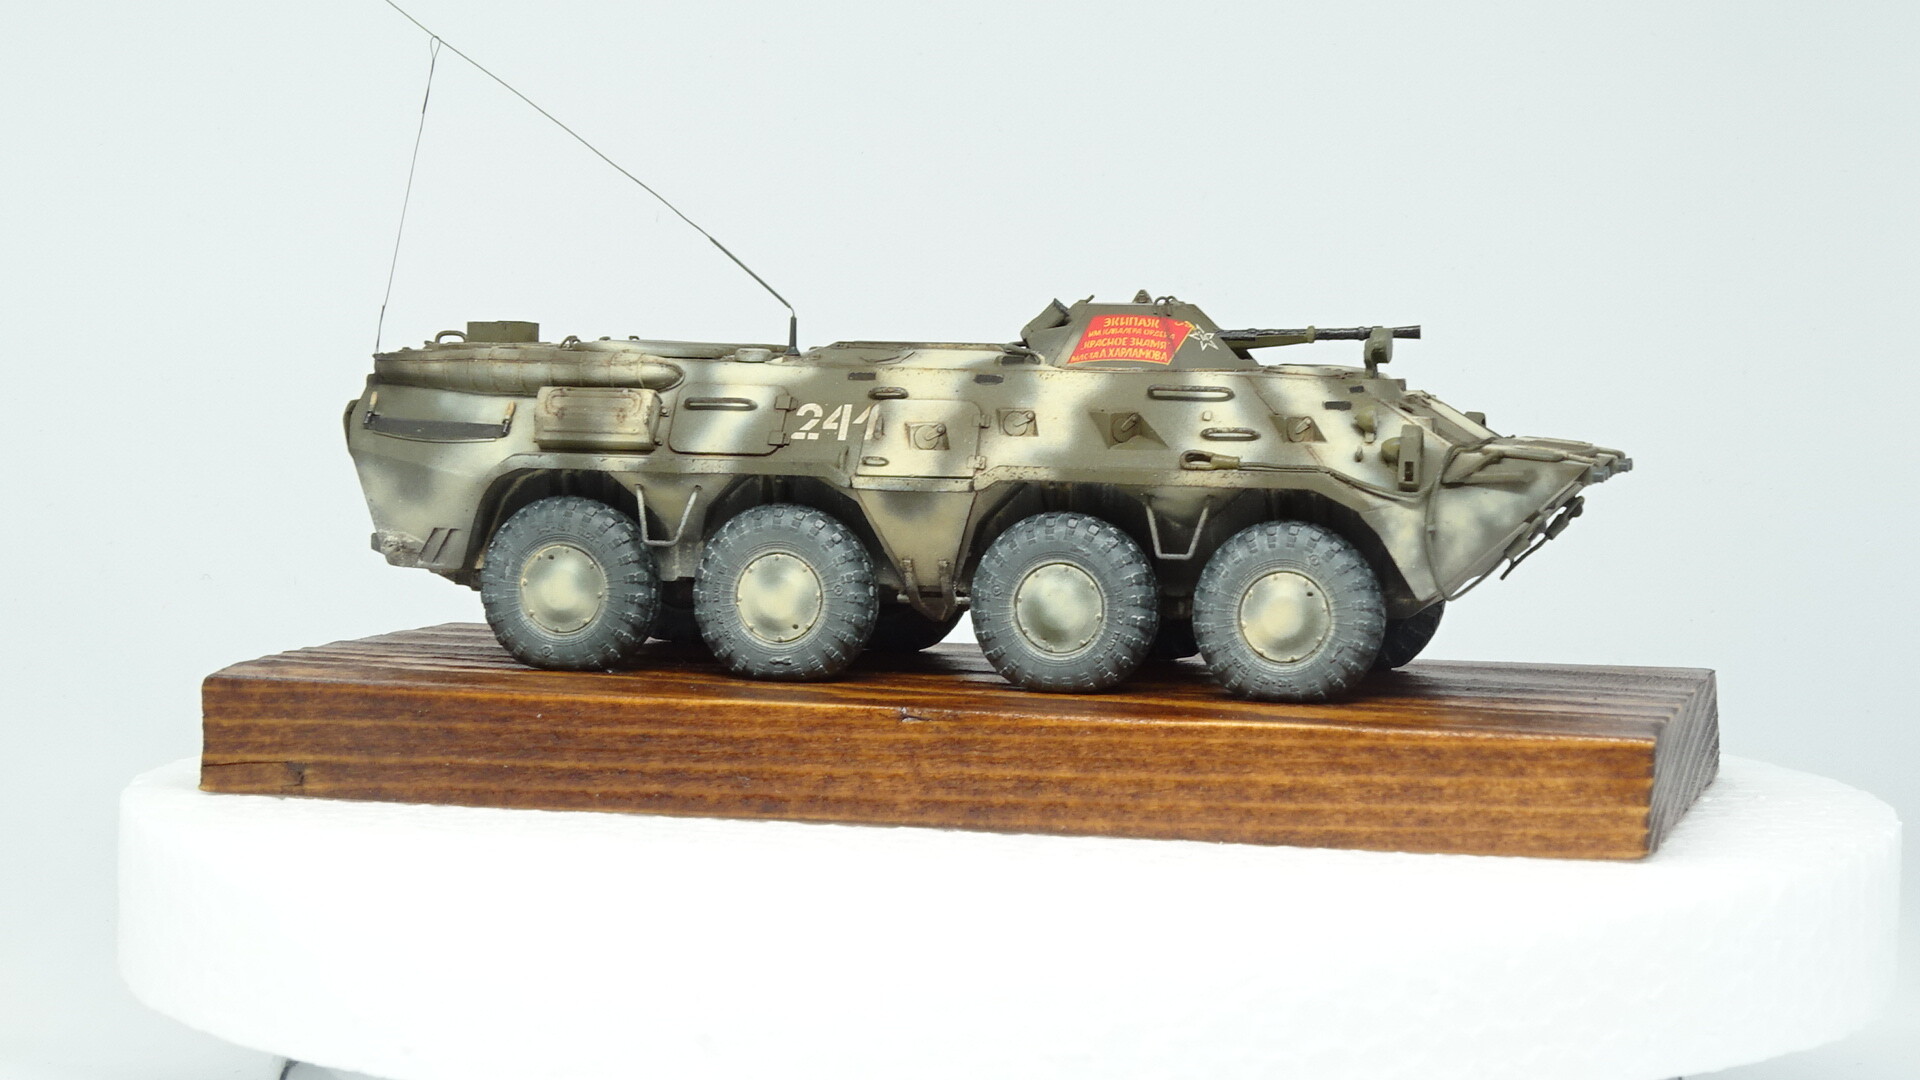
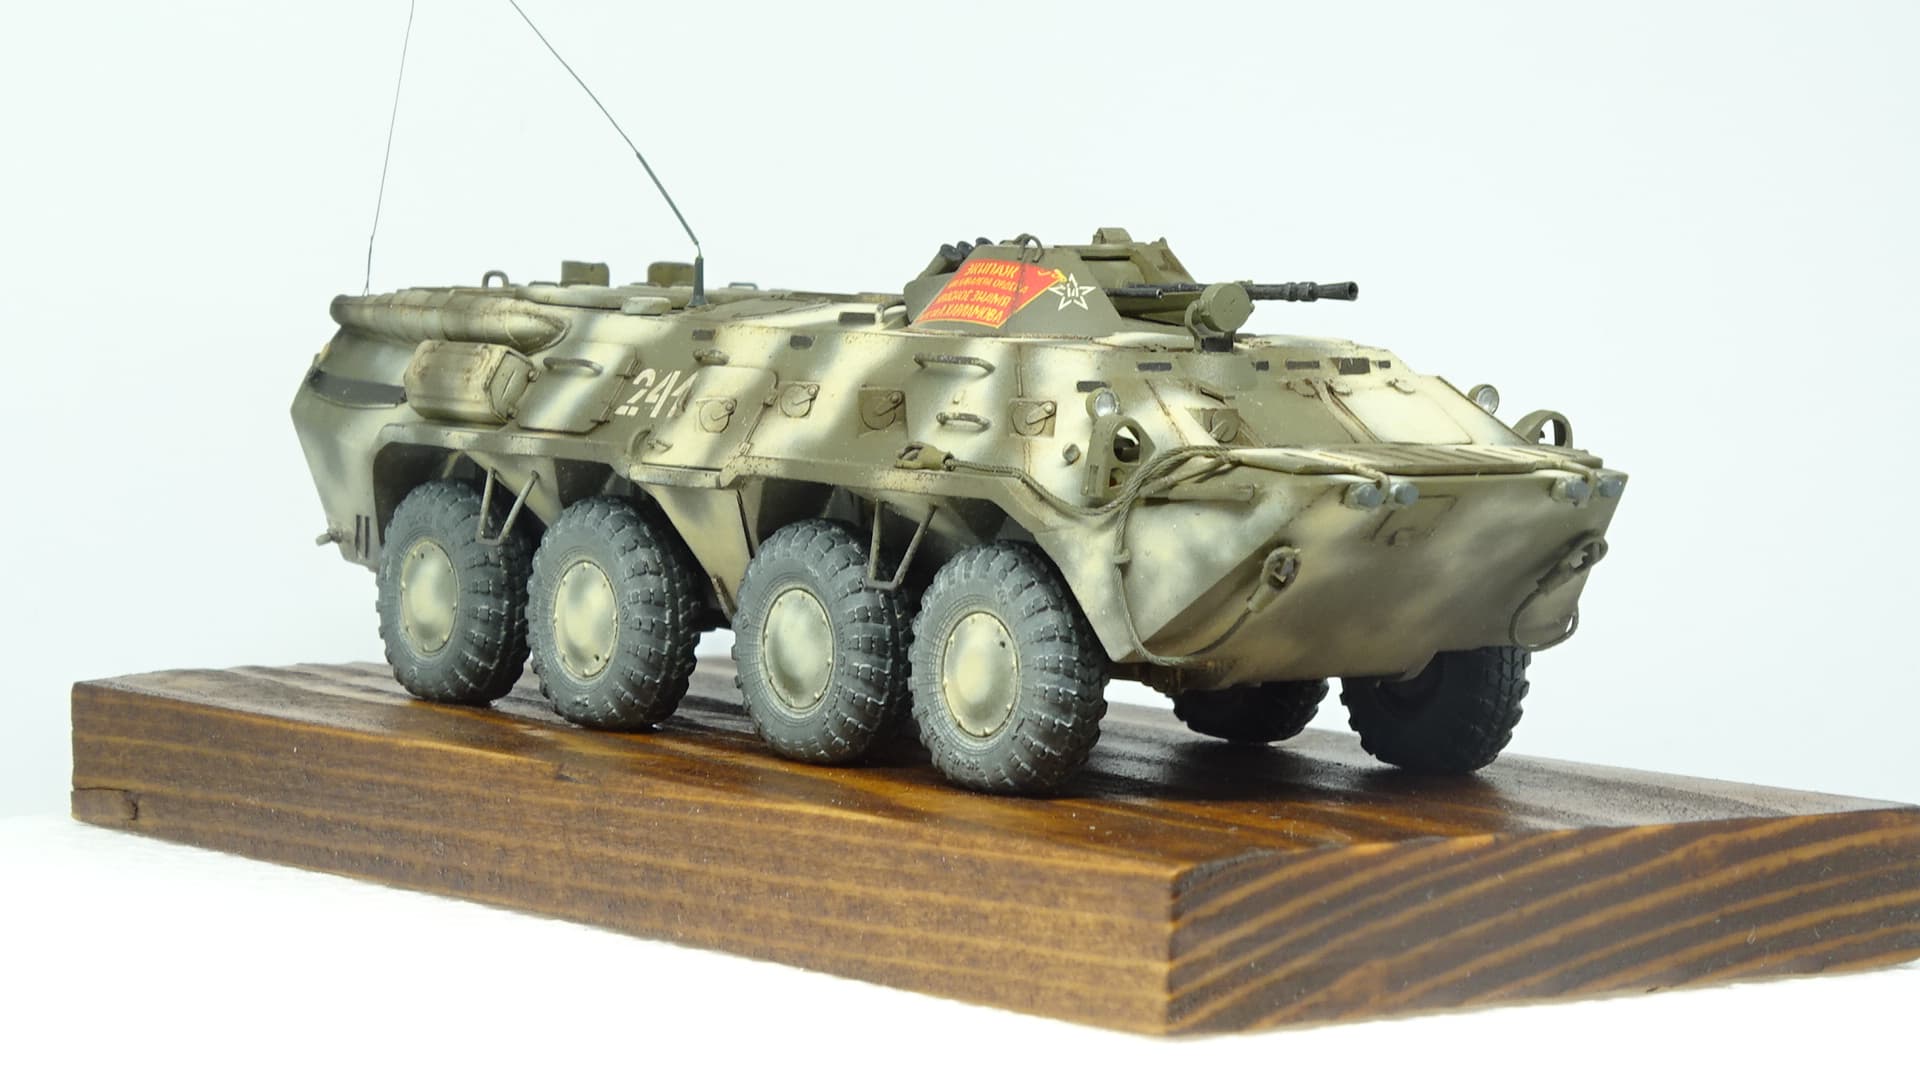
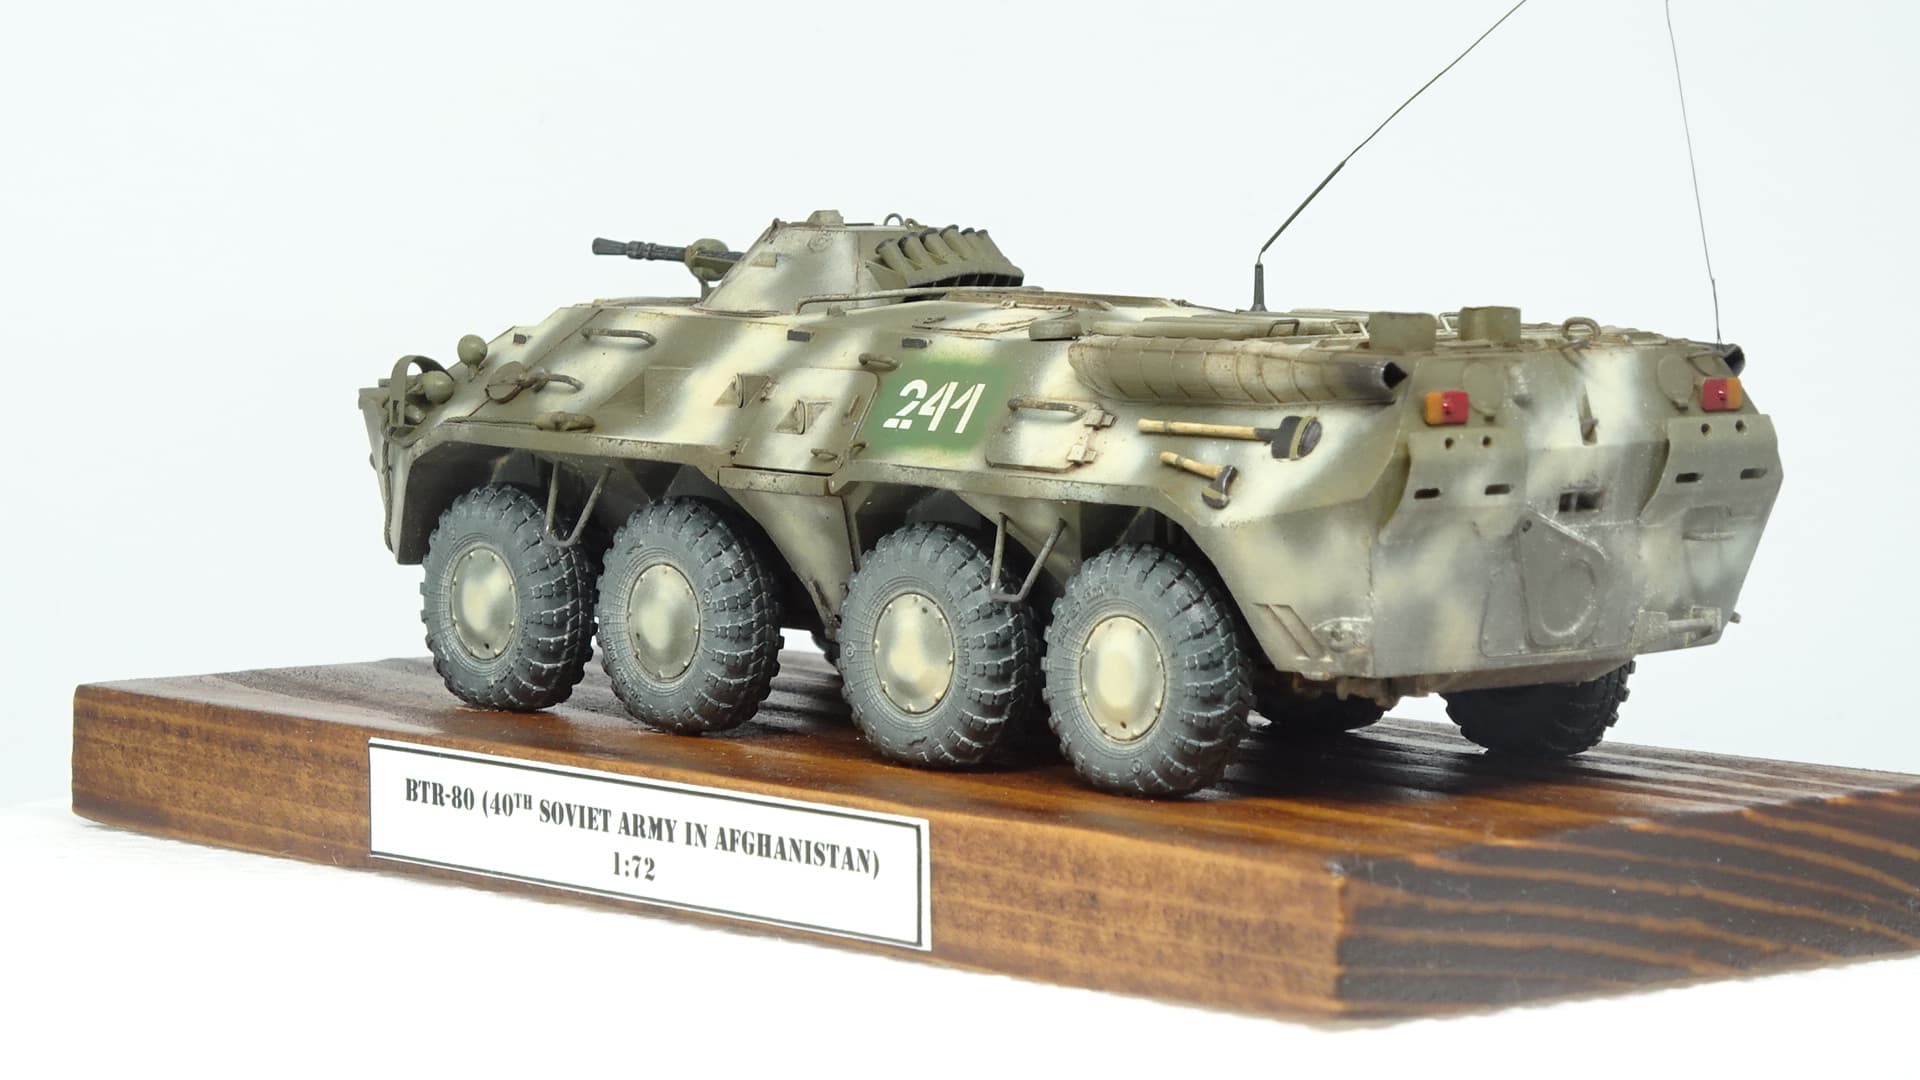
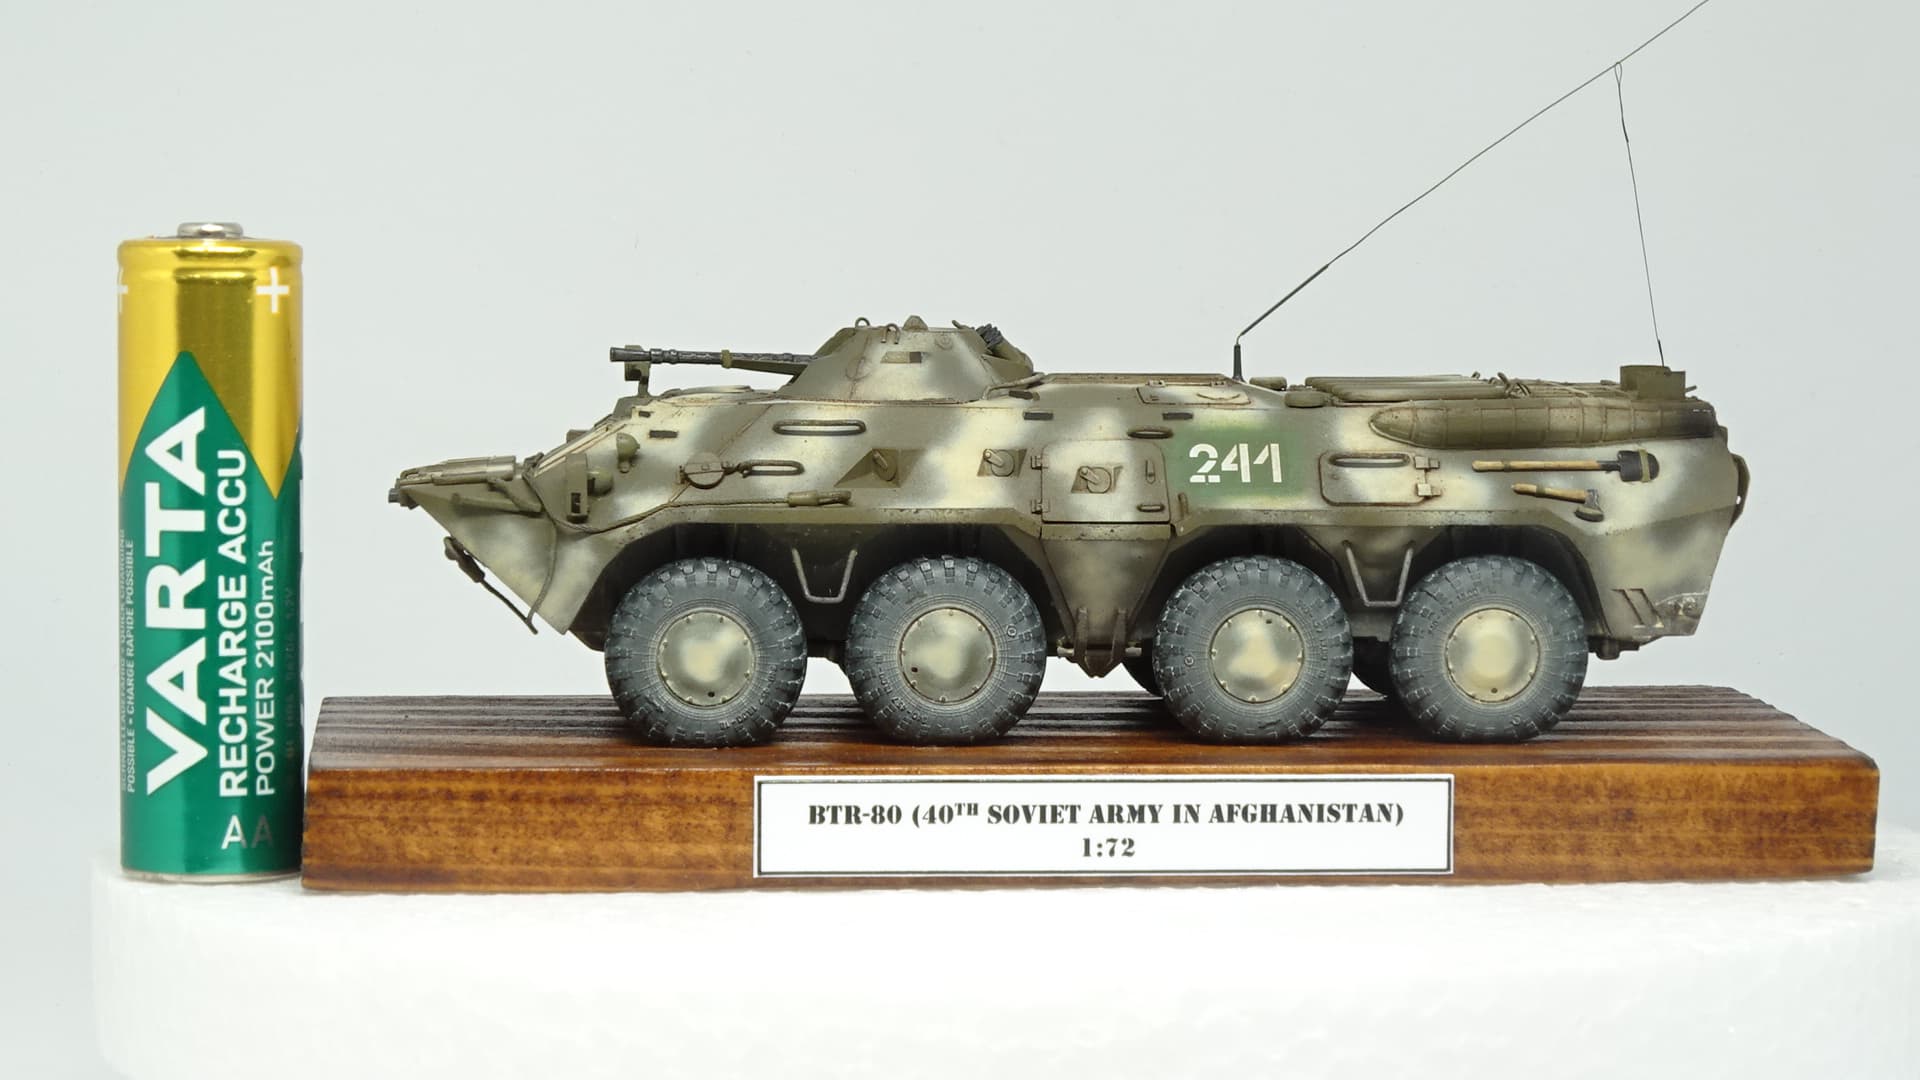
Dear fellows! Finally, the wheels and turret were mounted on, some weathering was added and all this together was placed on the stand. So, please enjoy and comment.
That’s some great work, expecially for 1/72. Looks great.
Superb, the paintwork is excellent.
How did I miss this one? That’s some phenomenal detailing, with the end result having all the finesse of a much larger build…
Great idea with the hull jig! Certainly a more sophisticated way to apply even pressure than my last build (which involved landing another WIPm odel with a cast aluminium hull on top of the subject)
Thanks.
You miss it because I am a quite new user on that site and I dont know anyone yet and practically no one knows me.
That was very very hard story. And I hate this model at the end. If you look on the foto of the unpainted plastic you will see that some bolts were changed onto 3d printed, those covers for the front light are actually soldered photoetched parts and the upper front lights have covers from polished transperent plastic (it was full of pain to made them from a polystirene stick).
That was the point of that build and it was done by detalisation, painting, weathering, and imaging.
This was ACE kit. So, you must fix all irregularities in a curved details.
I also realised an interesting thing about this kit - the red flag decal on the turret has wrong shape and wrong text (wrong surname!).
This is exceptional work. Looking through the photos without something there for scale, I would have guessed this model was at least a foot long. Then you see it next to the battery and realize just how tiny it actually is.
And the paint job is spectacular. Getting that much detail into something this small is impressive enough, but then getting the paint to look realistic at that scale is another thing entirely. The feathered edges, weathering and overall finish all look perfectly in scale.
I’m primarily an aircraft modeler, but I’ve recently been asked to judge armor at a show, so I’ve been trying to learn more about what goes into really good armor modeling. If something like this showed up on the judging table, I’d certainly be paying attention.
I was curious about one thing as I followed the build. I noticed you replaced some of the photo-etched parts with styrene. Was that because you thought the styrene gave you a more realistic thickness or appearance at this scale?
Really impressive work.