It’s been a while since I’ve built an armor project, kept getting side-tracked by different things but have finally gotten back to it with a project I’ve been wanting to do for a while, Bronco’s Pzkpfw I Ausf. F (VK 18.01).  Got things off and rolling on this build by doing things a little differently. Bronco includes a lot of detail for the fighting compartment interior and also constructs the hull out of multiple panels vs. providing a single ‘tub’. Ordinarily I wouldn’t be that big of a fan of this approach but with all the interior detail and how tiny this vehicle is, this is actually a plus on this particular build as it lets you work with each panel separately. So, the first order of business was to prep all the major hull panels and the compartment floor and do a mock-up using masking tape to hold things together to ensure there weren’t going to be any surprises along the way.
  No major issues to report but it will be fun installing all the suspension torsion bars and getting all these elements together permanently once the detailing and paint work is finished, but we’ll cross that bridge much later on! Because many of the interior components are made up of multiple parts, some tiny, some that require fit with other small parts, etc., I bounced around between various steps while glue set up to try to make the most of my available time. Taking advantage of the hull mock-up situation, I assembled the various transmission and drive-shaft components and also connected the firewall to the large transmission cover housing since those are initially separate pieces. The alignment here is key as it drives (no pun intended!) not only how the firewall sits but also where the commander’s seat lines up and how everything interacts at the front of the hull. No real margin for error here either given how tightly packed everything is on the inside.
 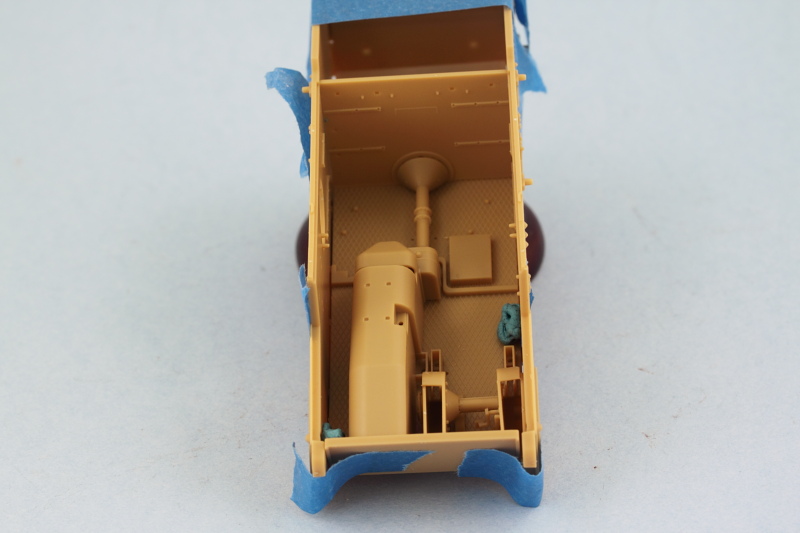 Once the glue had set on the transmission and firewall combo, I undid the mock-up and restored everything back to its panel parts for easier handling. The tiny driver’s pedals were added and the driver’s and commander’s seats assembled. The commander’s seat is a multi-part and very delicate ‘free standing’ assembly…so lots of care needed here to get it all together and aligned correctly. I left the headrest and main seat cushion separate for now to make it easier to paint them and will add them later.
 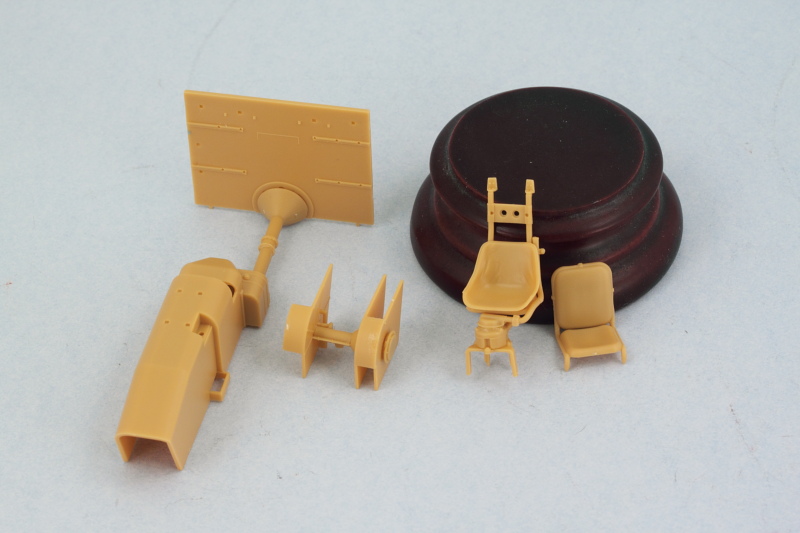 One of the really nice features of the kit IMHO is the inclusion of workable crew side escape hatches. Yes, that’s right, fully workable…but you do have to be very careful with the assembly and where you put the glue, but in the end if you do it right, they will work just like on the actual vehicle. Only downside is that they tend to want to swing open all the time, so once the glue had set on the hinge arms, I’m using small blobs of blue-tack poster putty on the inside surfaces to keep them ‘closed’ while work continues.
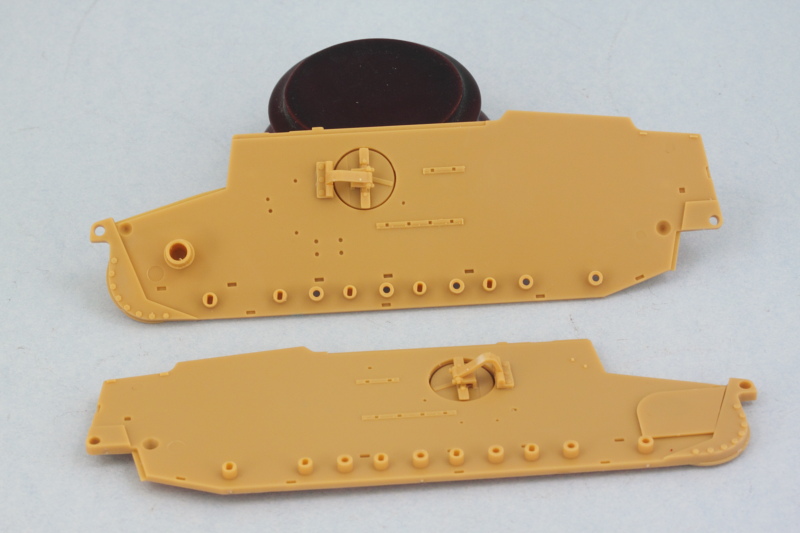
 Next up will be devoting some attention to the rest of the gear details that go in this area like the radios, numerous ammo sacks for the turret MGs, crew equipment, etc.
Nice, I will be watching this. I would like to get this version of the Pz I and this looks like a nice kit so far.
Thanks Bish! I’m very impressed with the quality that Bronco provides in the details and molding. The workable tracks included are another nice feature as well as they are quite sturdy/durable design and have the hollow guide horns molded on the links vs. separate parts, always a plus in terms of speeding the assembly process. [B]
Nice to see you back here Bill! I really like your kit choice…been eyeing several recent Bronco releases myself! Nice work with the hull mock-up, makes it easier to get a good fit!
Sounds good. There’s a few of there kits I rather like the look of, they have some interesting subjects, and I don’t recall reading of many problems with their kits. I rather fancy the Pz I Bridgelayer and Pz II D myself.
Very cool, Bill! I may take some good natured ribbing for saying it, but the Panzers I, II, II and IV series are by far more my favorites than the big V’s and up. This should be fun! I assume you are doing it in the box shown tri-color? That should look very nifty on this wee guy.
Brian
Thanks Ernest! The hull mock-up made life easier especially as two hands could only take me so far! [:D]
Bish, I also built their Marder II D last year and enjoyed it, so don’t think you would have any issues with the standard II D or bridgelayer that they offer.
Brian, like you I’m partial to the ‘workhose’ models vs. the flashier ‘big cats’ and have been wanting to do this one for a while. I’m leaning towards a two-tone scheme since I’ve learned that one of the markings provided was for a unit originally planned for use in Crete and so had a ‘Tropen’ scheme…and some other modifications as well that could add some extra flavor to the build…have to see about that though as things unfold. [;)]
Managed to get in some time on the interior bits and details on this pocket-Tiger. Bronco follows their usual penchant for tiny parts and there’s a lot going on inside this little guy. First up were the 22 ‘standard’ Gurtsack ammunition bags plus 2 ‘in use’ bags for the twin MGs in the turret. These had 2 or 3 sprue contact points each that had to be cleaned up so was a case of ‘22 Gurtsacks on the sprue, 22 Gurtsacks on the sprue…cut one free and clean it up, 21 Gurtascks on the sprue!’ type of effort. ![]() Worth it though as they have very nice molded details and will be painted with the AB when the time comes to avoid smothering some of the finer details.
Worth it though as they have very nice molded details and will be painted with the AB when the time comes to avoid smothering some of the finer details. 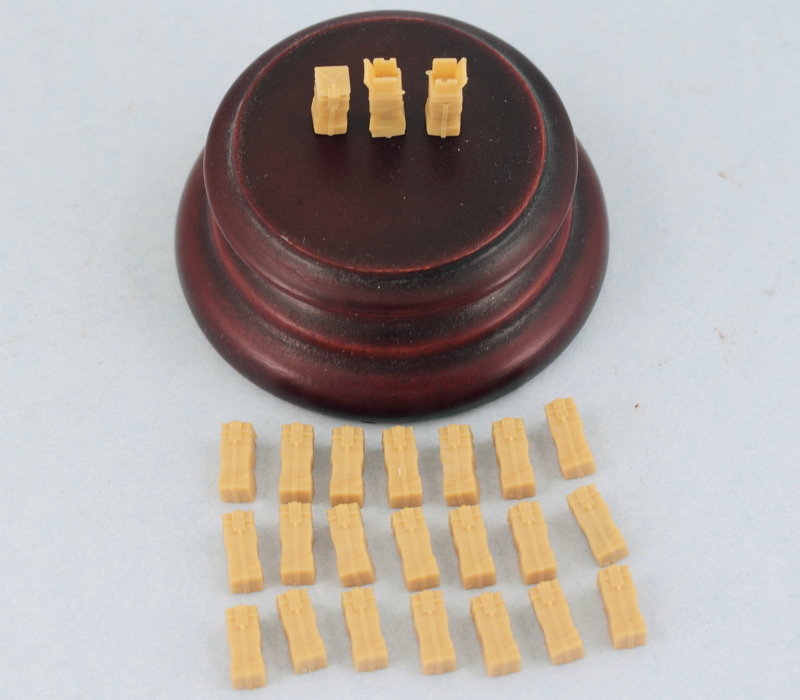 Next up were all the other different interior gear items that need to be painted/detailed separately before installation. The FE, the spare barrels case, the First Aid kit, crew mess kits and canteens (and also the gas mask containers, which I noticed I forgot while taking this pic!), the MP40 ammo case, the flare pistol and flare round holder, and the ‘Gedore’ tool box that goes on the compartment floor.
 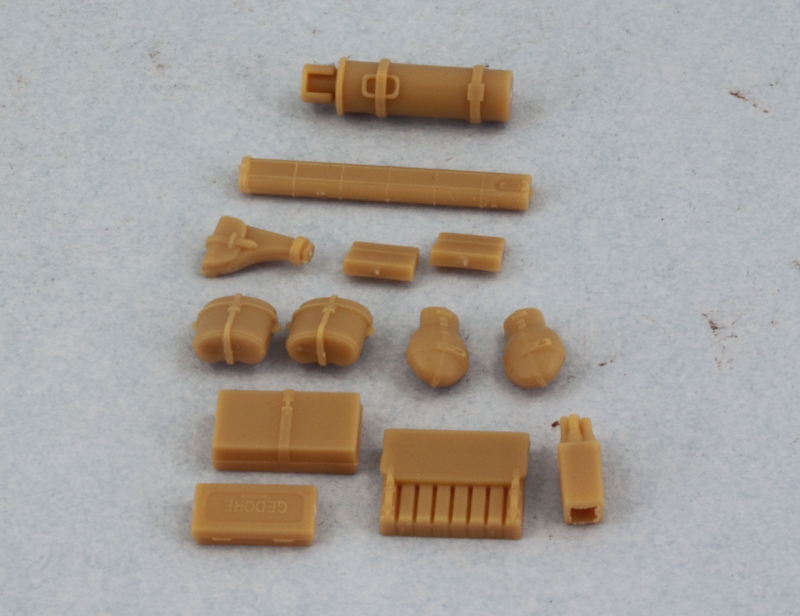 Little guy needs its comms gear as well, so the radio receiver and transmitter were assembled (special note, the back is hollow so if you plan to show the right side escape hatch open, this will need to be blanked off), and some holes drilled out with a #76 finger drill to take some wiring later on. Power transformer boxes and intercom box for the driver were also assembled and drilled out where appropriate.
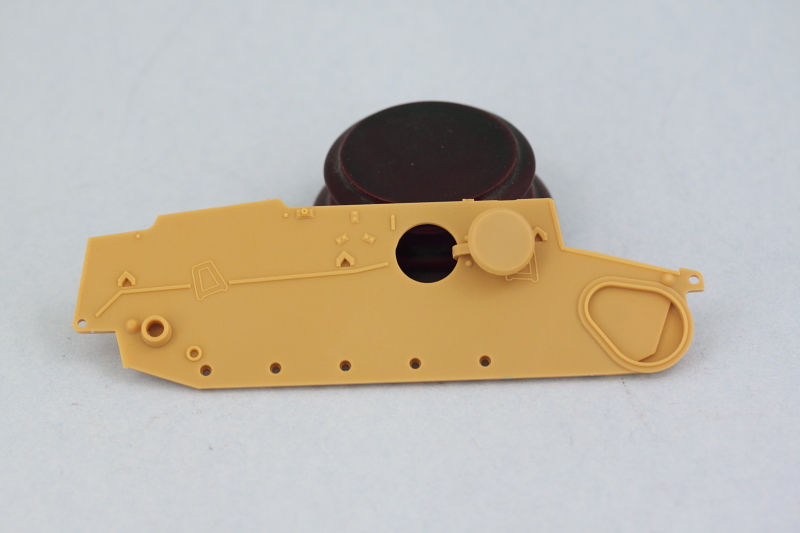
  Also took care of some other small details like the small box on the left side below the escape hatch and I assembled the driver’s front hull plate. The gauge panel mounts underneath it but I’m keeping it separate for now to make it easier to detail/paint and also to be sure it’s lined up properly since it has to fit just so between the transmission housing and the hull glacis plate. The hull roof plate was also prepped for paint although most of it won’t be seen of course once installed in position.
  Next up was the turret. Due to the size of the fully-detailed MGs, you have to install the base of the mantlet into the turret front and then install the MGs from behind through the base and into the mantlet. That’s going to be real fun I can tell, but will deal with that later. Mounts and mantlet base were installed so that the guns can elevate. The fit is kind of loose so I suspect that I will be gluing that in place later on once the weight of the guns is added and the external mantlet installed. External mantlet portion was prepped for paint on its inner surface since some of it will still be visible through the open commander’s hatch and I don’t want bare plastic peeking in around the edges inside. Last but not least, the turret base was prepped for paint as well to round things out.
 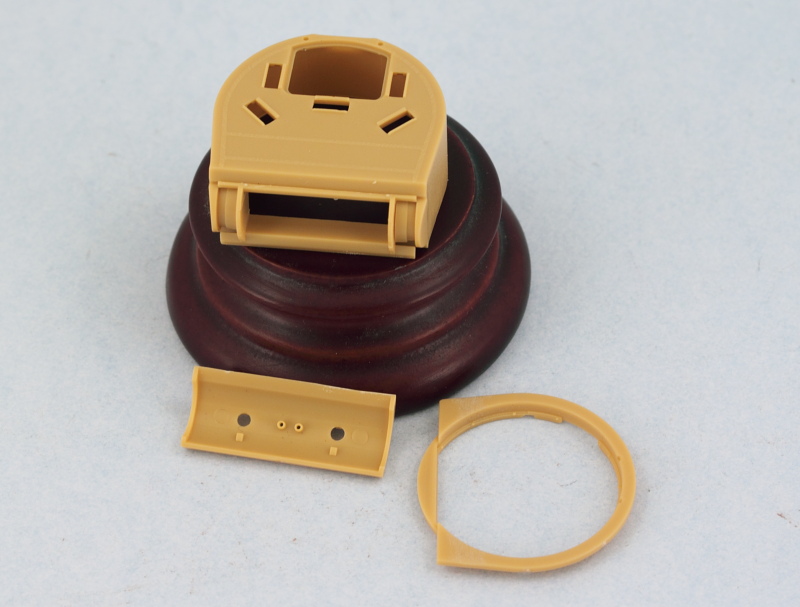 So that means next up is flinging some paint on the interior!
 ![]()
Wow,thats small Bill,looking forward to that interior.What kind of tracks with the kit,or are you using MK ?
Thanks Anthony! It’s a small little guy for sure. The kit comes with workable tracks that are quite nice, so no need for replacements IMHO. I’ve been working on them in little bits and pieces here and there as well when I have a few minutes to spare. This is what they look like: 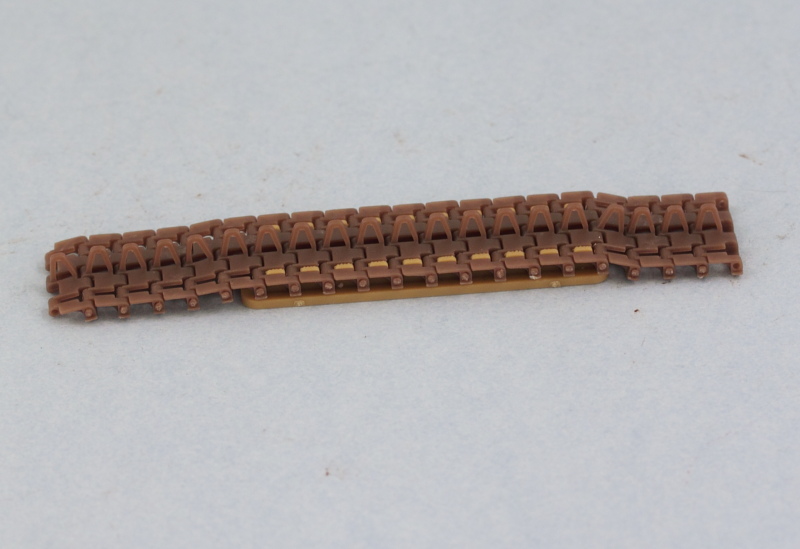
Hardly see many Bronco Kits, and never this one. It looks like really nice detail. Nice choice Bill.
Hi Bill! Nice going so far!
I will be following this one really closely, it’s a favorite of mine. [:)]
Nice work bill, some nicely detailed items there, are some of those resin.
Thanks guys, glad to have you along for the ride!
Bish, all styrene. One of the pics is a little darker than the others for some reason but it’s all molded in the same tan styrene. [B]
Really, some of those parts, especially the pic with the radio, do look like resin. And not just the colour, but the detail as well. Looks really nice.
Yeah,I thought resin too. Any way looks very well appointed
I can see a couple Bronco kits on my shelf very soon, thats nice detail.
Hi Bill,
What an amazing little kit, looking forward to see more of this ![]()
Very Best Regards
Johan
I’m very impressed with the level of molded-on detail that Bronco has provided on this kit. The radios in particular. Glad to have you along for the ride Johan and jibber!
Hi Bill- I usually pop in on your WIPs but I need to get better at leaving a comment [:$]
Anyway, your treatment looks good as usual. I don’t have any Bronco offerings in the stash and this’ll provide me with a close look. Looking forward to more [Y]
Dave