Cap’n - great info on the ammo pouches! Looks like good ole’ Francois got this one right, there are two pouches in the kit like the one in the first photo you posted. If they don’t have the internal partitions, they could be used for a few rounds of 40mm… I’m going to show one of them open. But I’ll probably need something more, looking at how many cases are laying there on the ground. Probably a bandoleer or that claymore bag.
Gamera - thanks a lot, I’m glad you like my mods so far!
Glenn - thank you very much, you really motivate me here!
Bob - thanks for the clarification! So we have supply shortages while stuff is roatting away just next door, huh? That’s cool, too - puddles of silver just waiting to get lost…
Right now I’m having minor problems with some filling - looks like my filler didn’t harden right, I have to re-do that before I start painting. Hope to get you fresh in progress photos soon, anyway!
Just remember that unless you were skating on a patrol outside the wire those web belts ran out of real estate very quickly for pouches. Big diff between an afternoon stroll with one canteen and four days at a crack with a minimum of three, thus bandoliers. Empty claymore bags were indeed great catchalls. (camera and film). The head scarf…well it came as part of the model…[:P]
And, by eyeball, from the box cover art, those appear very long.
40mm grenade sections (note the ammo shown is after the period depicted, but is the same proportions)
The cases are very “stumpy” and, at 120mm scale, ought show the prominent “lump” of the high-pressure capusle.
To my thinking, our dear Francois may have been shown (or seen) something like this:
And presumed only the “blue bit” flew out (such proportions being more consistent with other projectiles, too).
Alternately, he found, or was shown, the more modern “High Pressure” grenades, which have a longer case length (and cannot be used in the M-79 nor Mk 8 launchers).
One of the features of the M-79 was that it could take long smke or gas grenades, as it loaded like a shotgun. The grenade vest that was evetually issued circa 1970 even had four longer pouches for those rounds
This ability went away in the XM-178 and later M-203 launchers. But reurned with the introduction of the HK M-320 just a few years back, now (barrel tips out to the side).
In 1972 we also used the new flare grenades. It could be compared to a slap flare except that it was a little longer that the standard low velocity grenades we used in our 148 and M-79 launchers as well as our XM-174 automatic launcher. I think we started to get them in no long before the 1972 Easter Offensive. They were issued out in white ammo boxes to keep them seperate.
Very good info on the low pressure 40mm rounds here - I haven’t seen any with my own eyes and I actually didn’t know that the case was so stubby - but I’m definitely going to work this into the base.
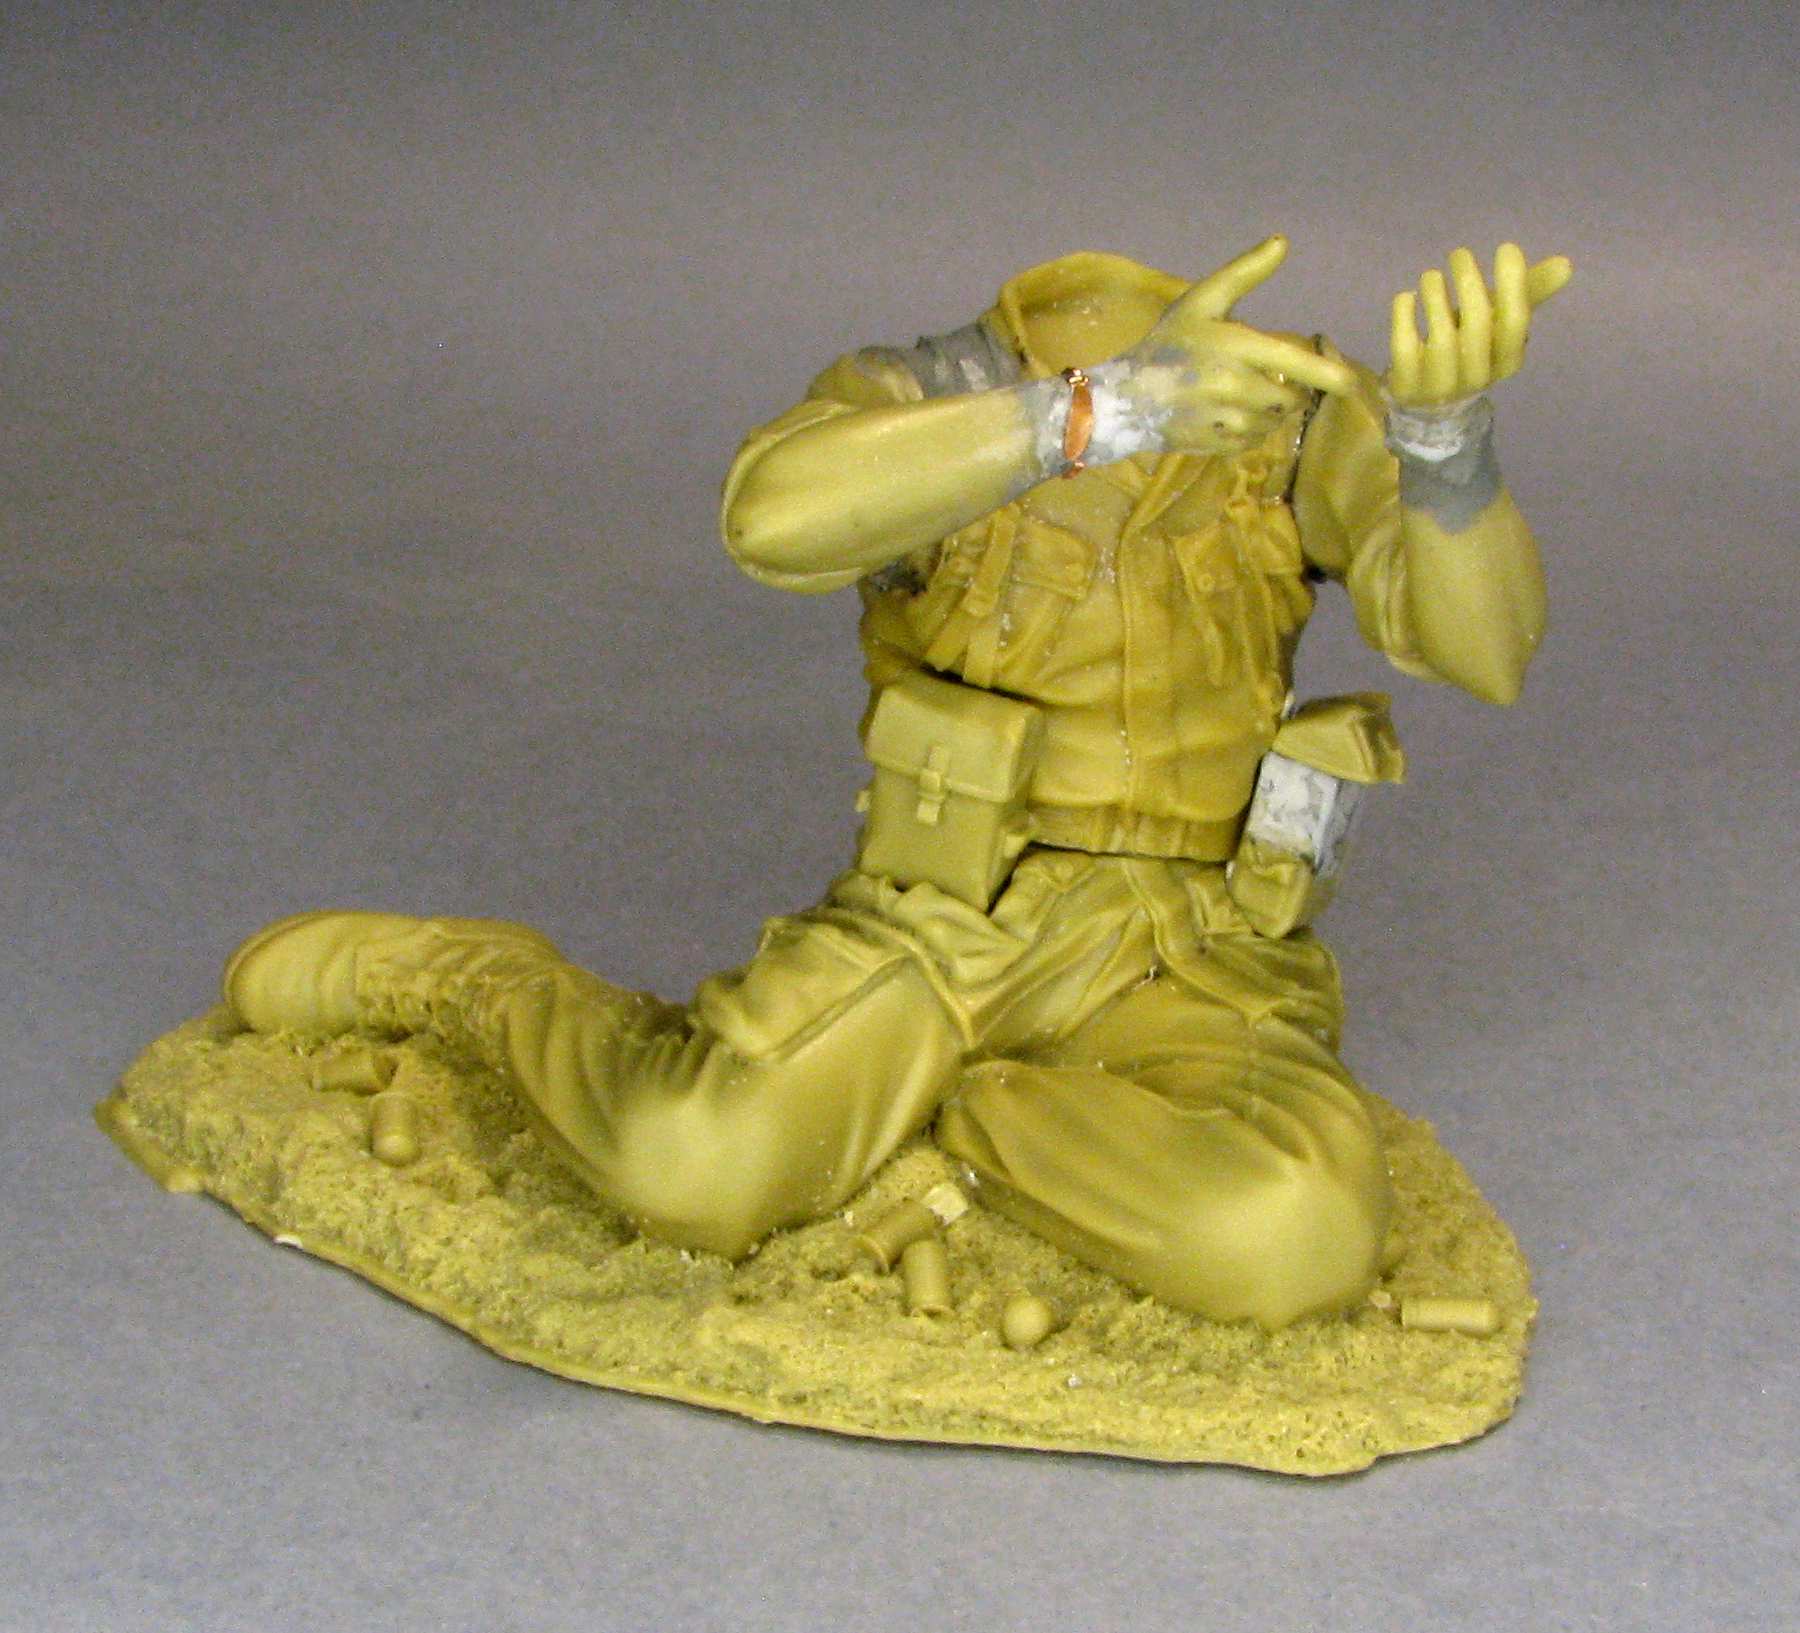
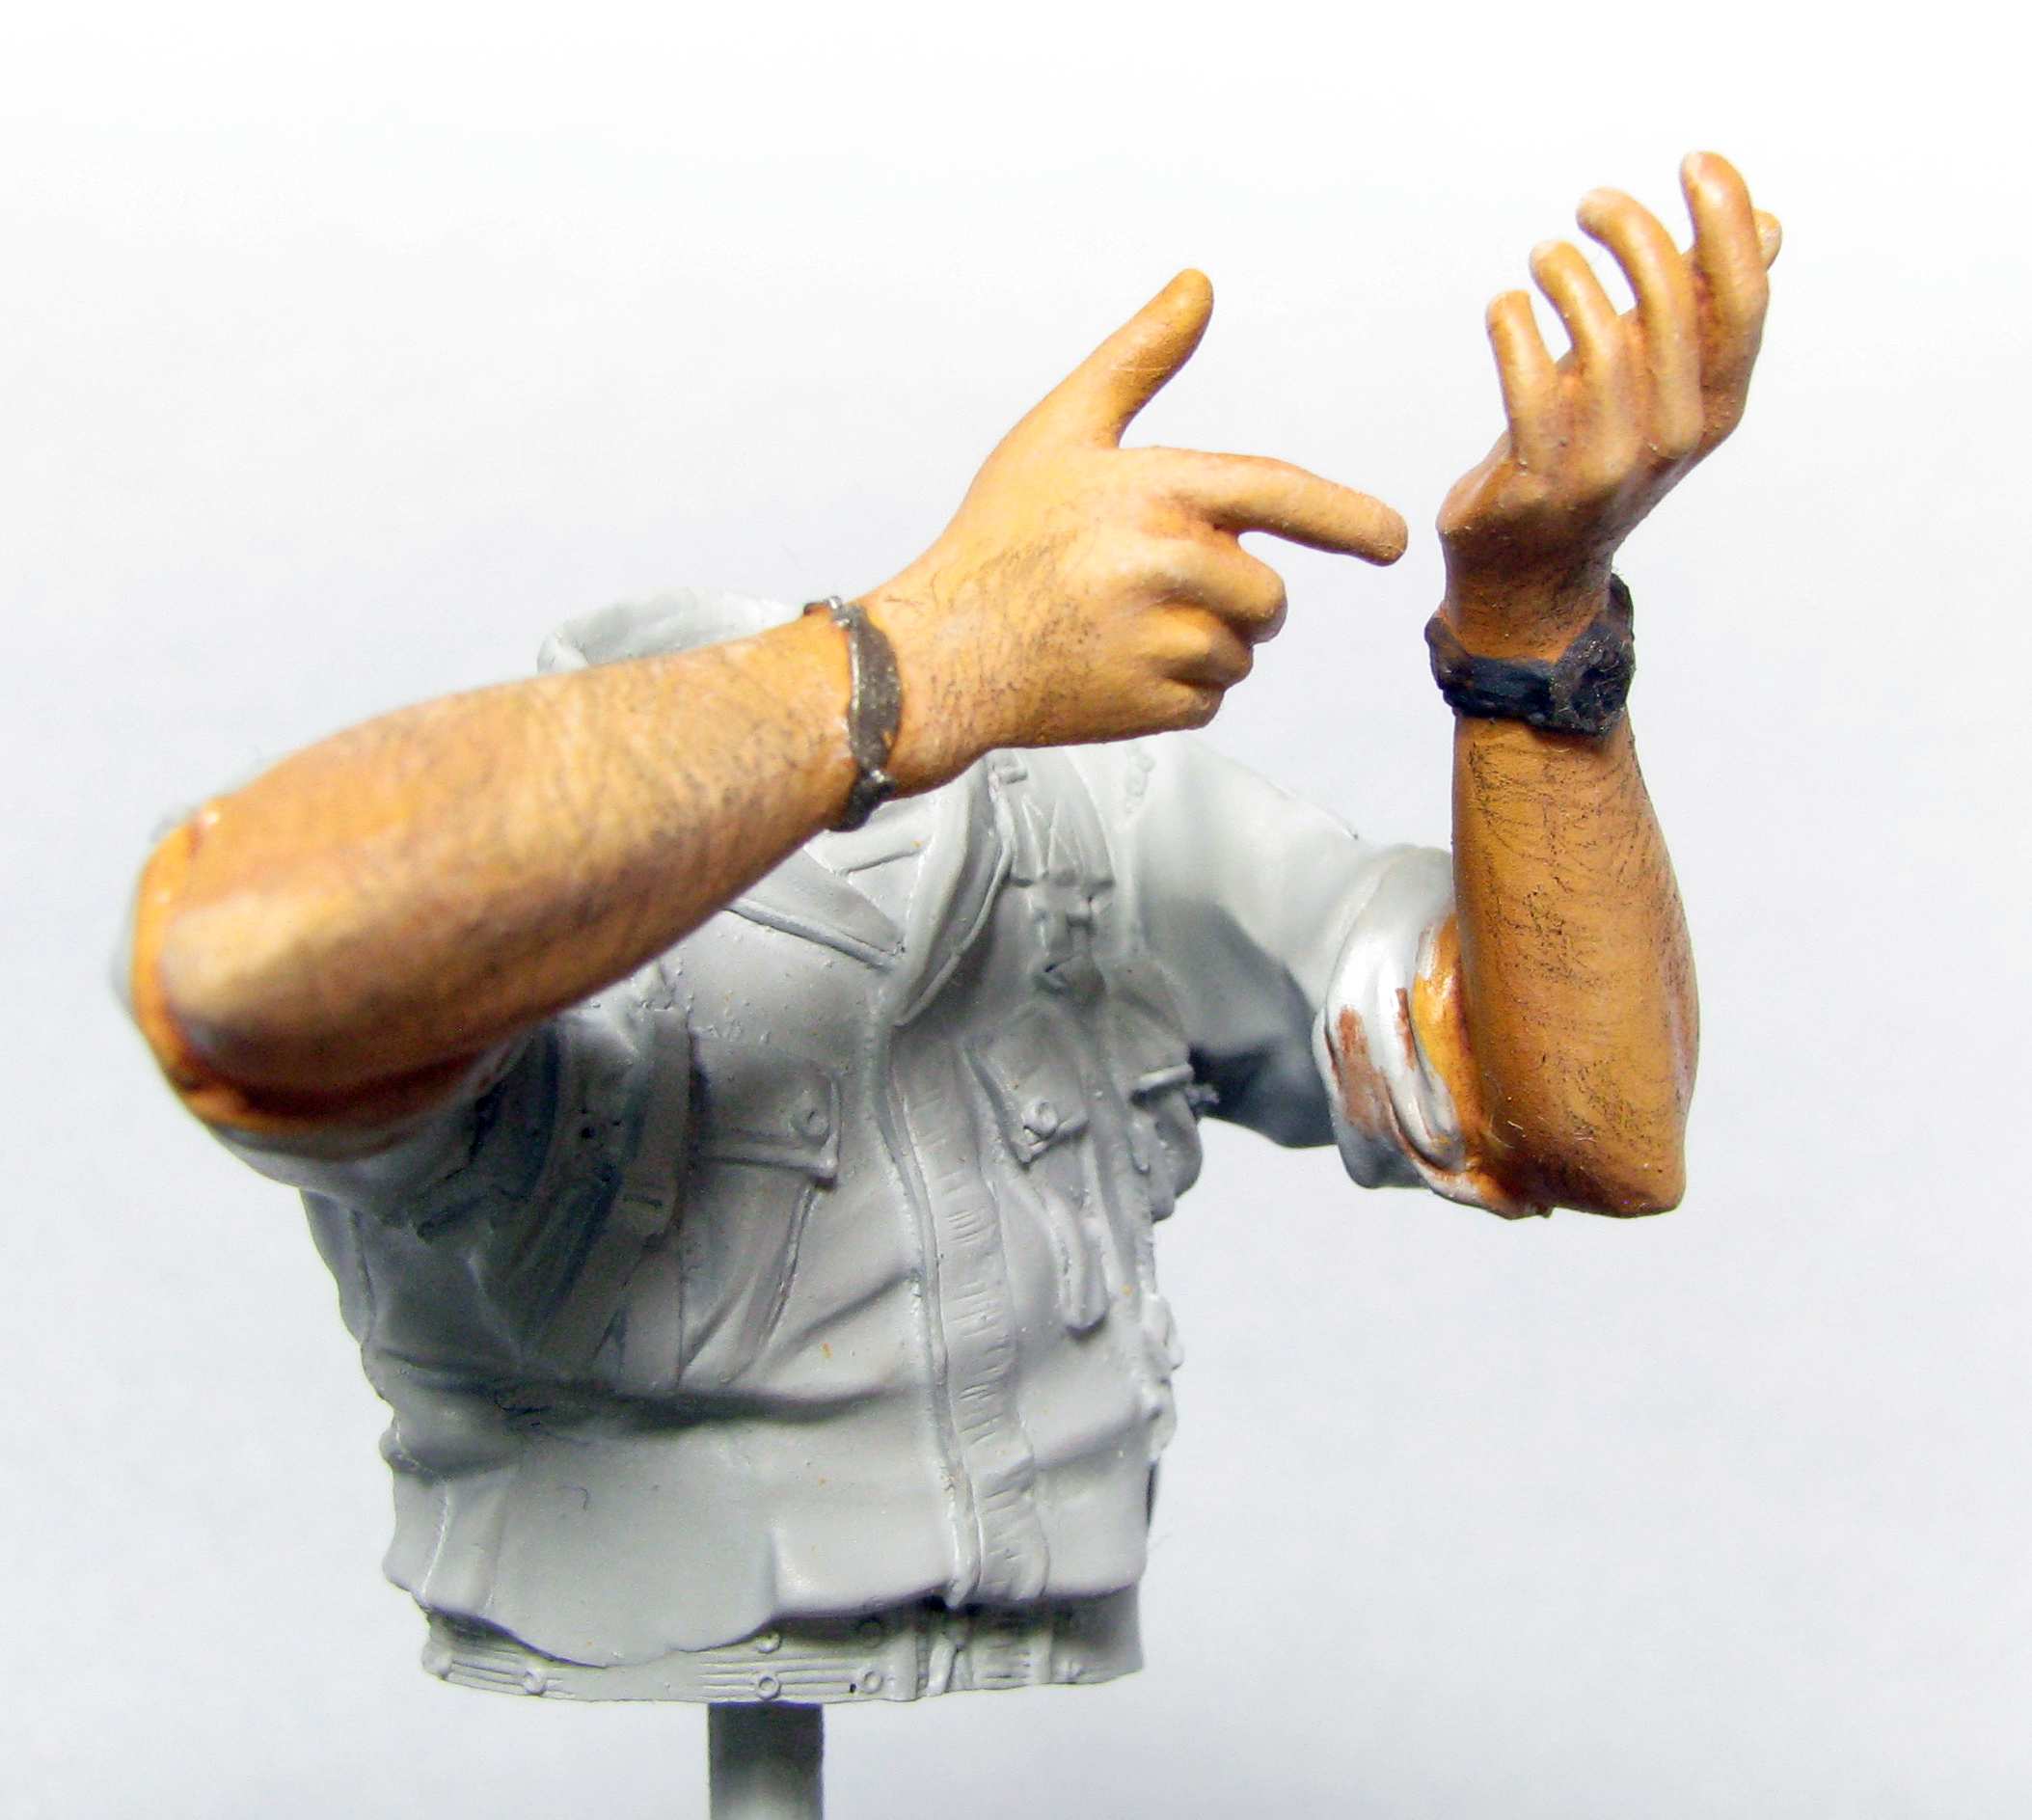
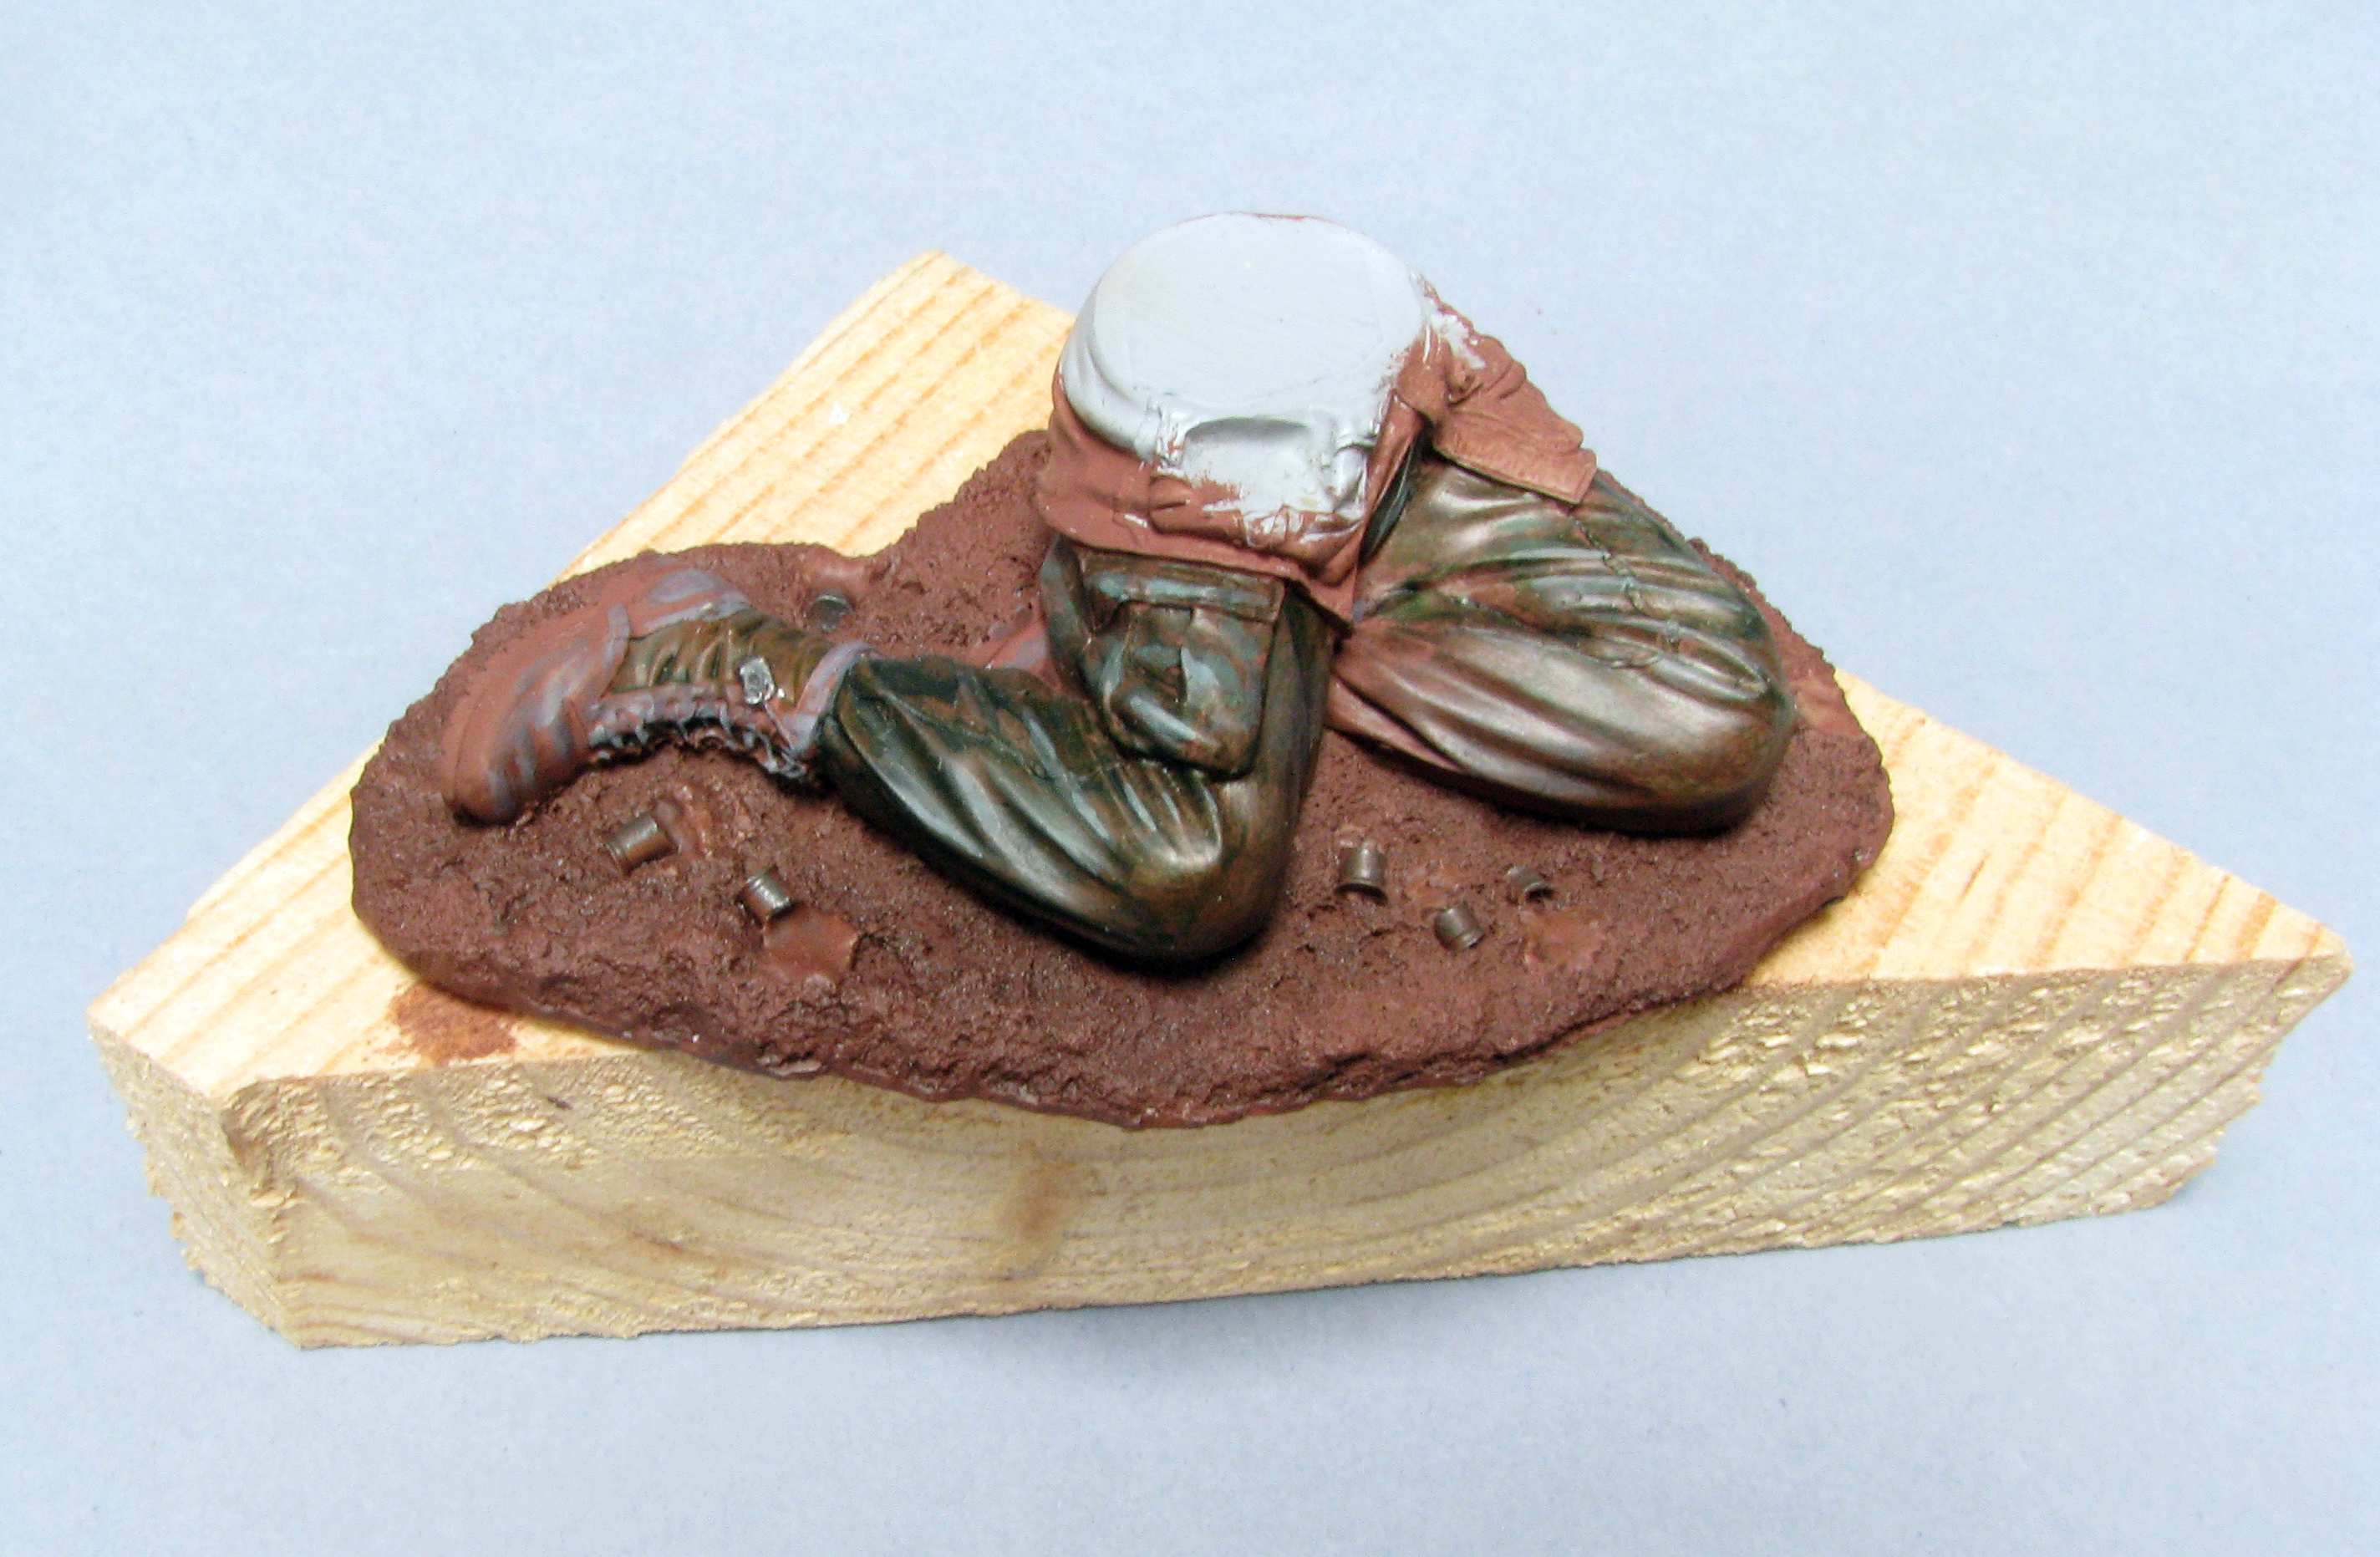
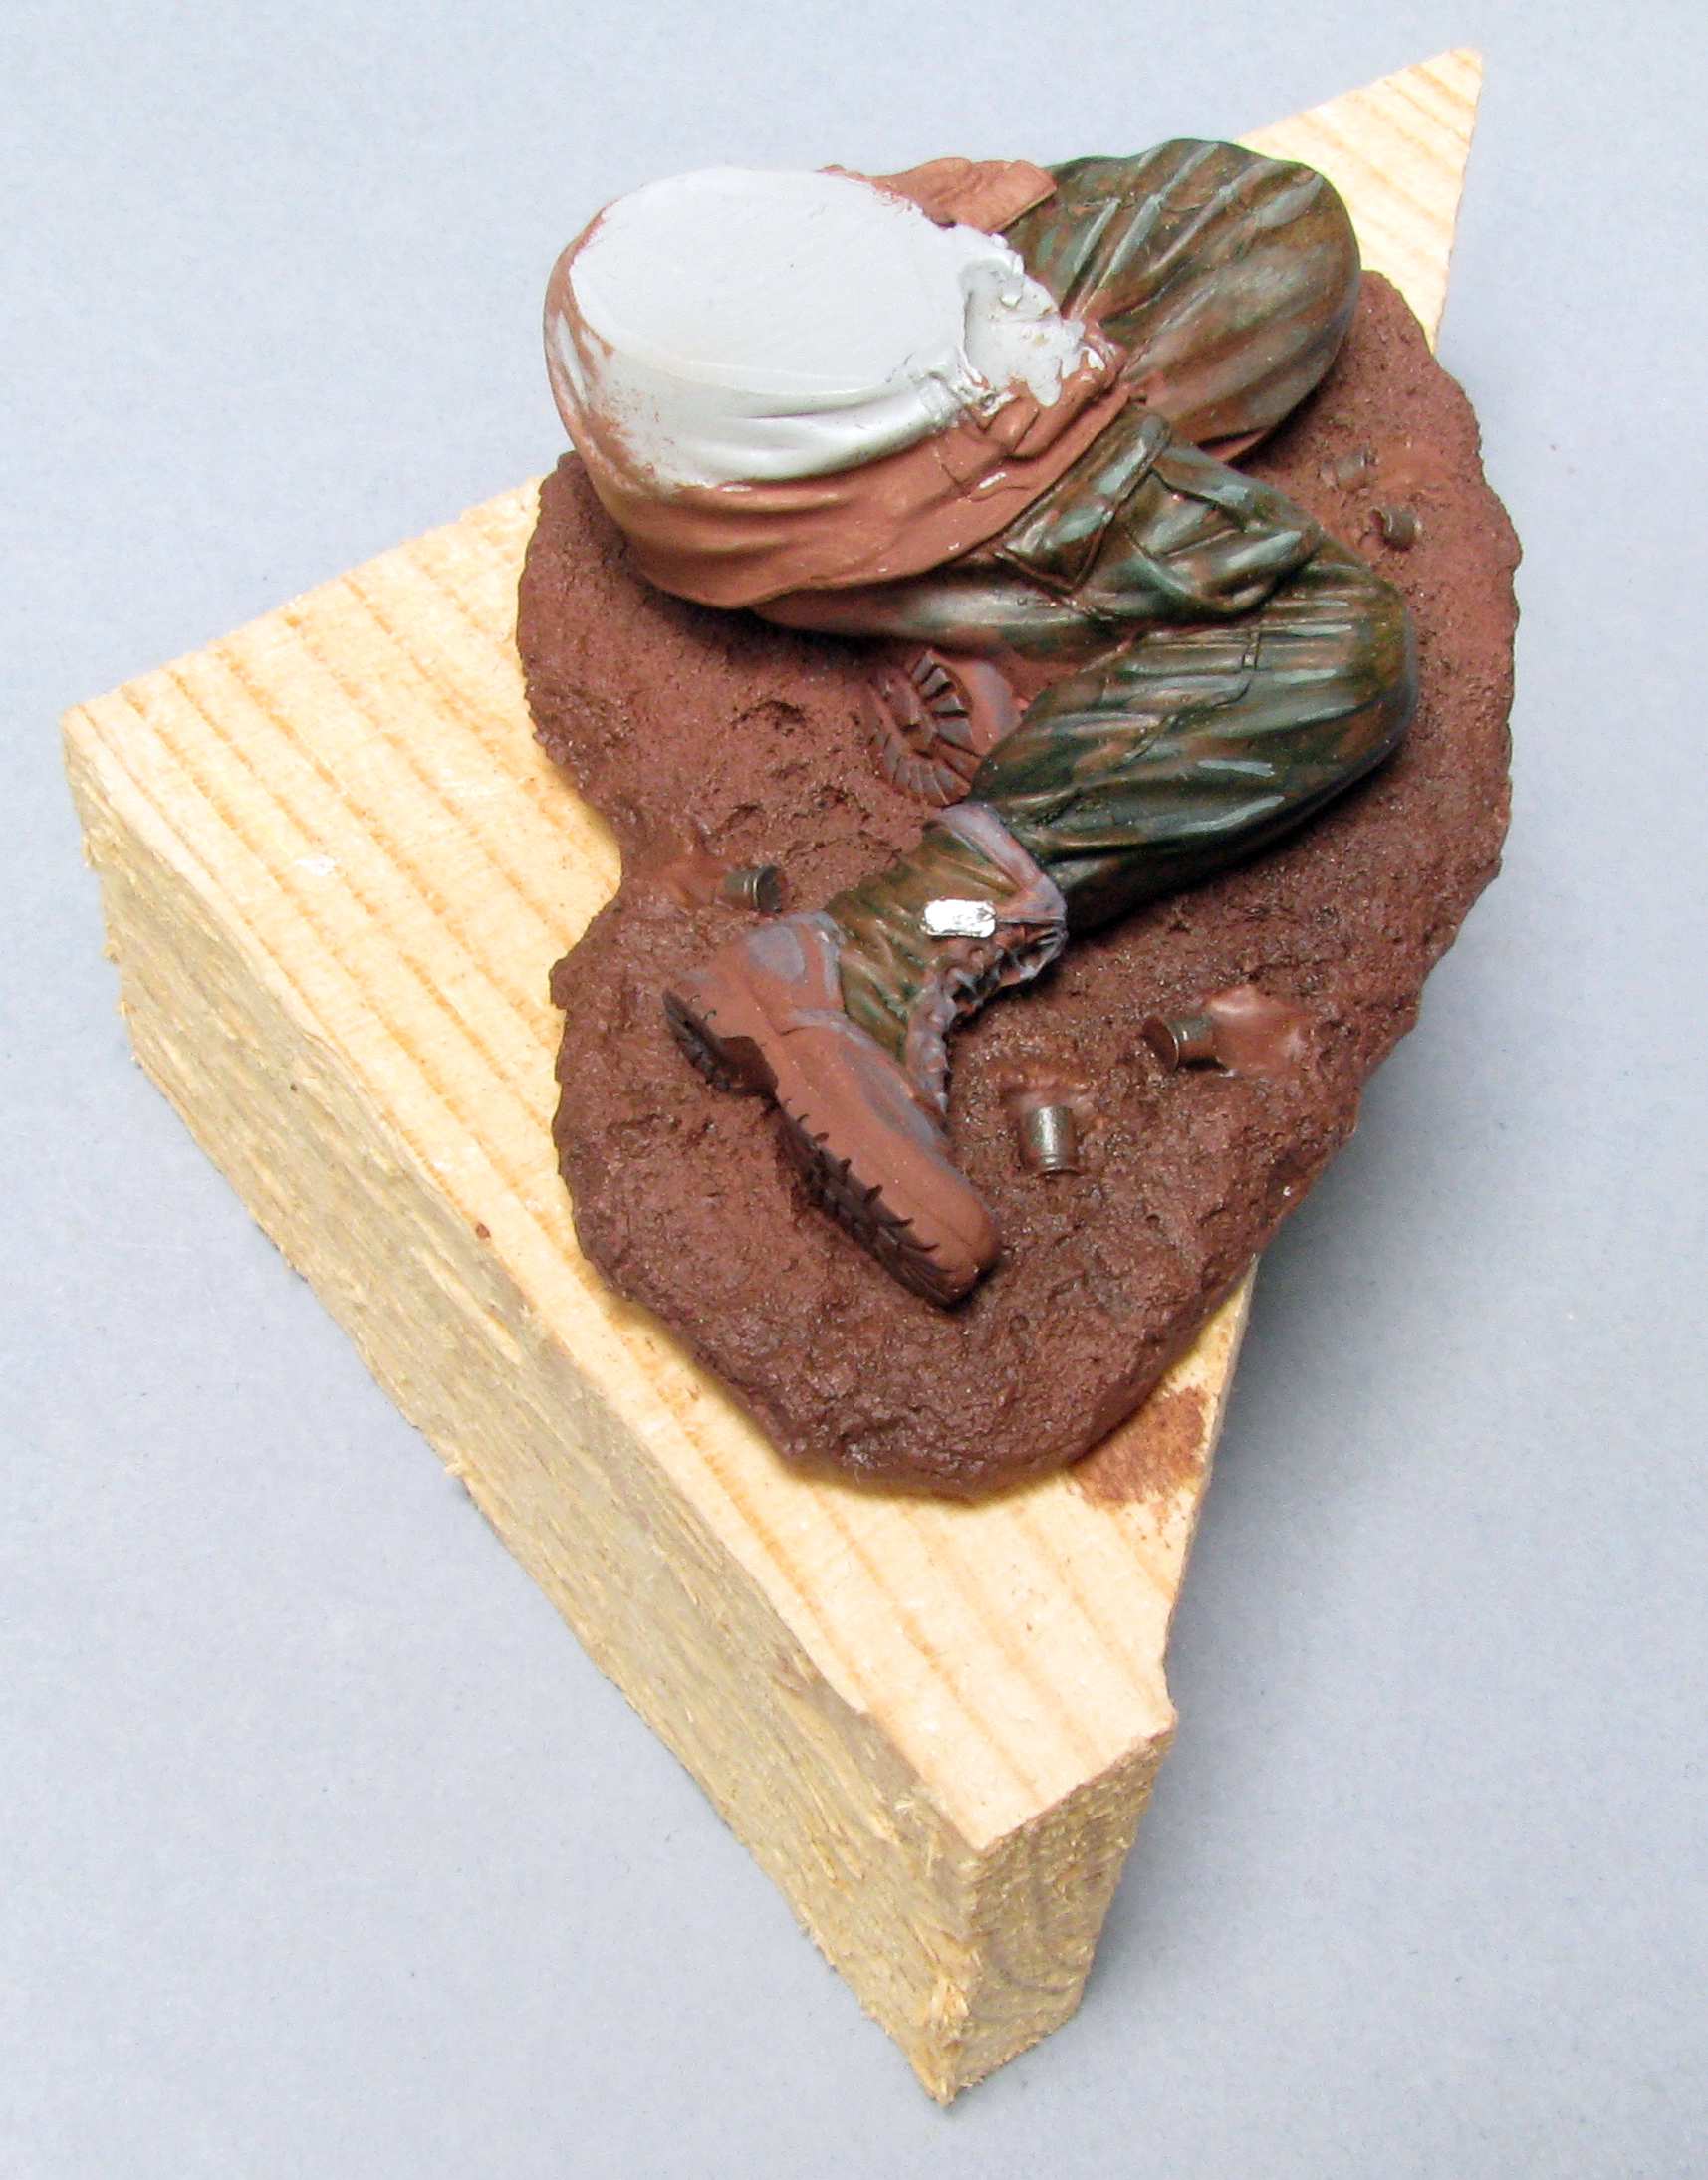
I have a little update at last:
I filled and sanded the joints smooth now, and I had to re-do the bracelet that got lost in process. I have also sawed apart one of the ammo pouches and I did some sculpting to show it open, as per your suggestions. I still have to re-do the “locking eyelets” of it and the strap, but I definitely had to do some fitting, because the ammo pouches work a little like machine keys here when joining the torso to the base.
I sure ache to start painting, but I know that it’s not so cool to do any cutting later when everything is painted, so I want to dry fit as much as I can before I paint.
Good to see your superb putty skills at their usual levels.
The depiction of this figure, as with too many of Francois’ figures, strike anachronistic.
He’s not wearing a flak jacket, which suggests before '67. But he has playing cards in the helmet band, an affectation that did not really begin until after '67. Is what it is, so, work with what you have–the modeler’s lot in life.
Now, I did notice something. One of the very distinctive things about the M-79 is just how thin the barrel tube is. (The low pressure behind the grenade does not require a heavy barrel.)
That “thinness” is going to take some skill to render well. I’m not sure a person can find brass tube with walls thin enough even at 120mm scale. Which does suggest rather a lost of fiddling with dril bits and scalpel blades.
If you add a sling (these are in more than half the contemporary photos) it’s the M-36 fabirc sling as found on the Garand. This has a spring steel clip at the rear swivel, and a loop through the front held by metal clamp. Just an item for your consideration, a way to make your figure unique among the many VLS ones out there.
That Mitchell Pattern on the fabic helmet cover will likely test your patience, too:
Thanks a lot for your kind words, and for more grat reference shots!
I think I can pull off the muzzle of that M79 by drilling it out some, and then I will put a “false edge” on the inside that will make the walls look thin without weakening them too much.
Yeah, I think a sling is a good idea here and I’ll be going with it. Would a sling like the one in the photo you posted be correct, or is it too modern?
I think I can hack that mitchell pattern - I made some of them in 1:35 before:
Or these:
I’ll have to make them a little more detailed in 1:16, but that should be doable. IMO the key to it is looking at your reference as often as you can…
Yes, that’s the correct pattern. The color, as I see it on my monitor is a tad “khaki” and the contemporary oned were more a medium green. Said green not being a sage geen nor the OG107 of uniforms. Best match, to my mind, would be the “middle” green in the Michell pattern.
One thing about this time period, this was across the time where US Army changed all its leather from russet brown to black. So, there were a number of 1911 pistol holsters that were tanned russet and black over-dyed (sometimes with PX-bought Kiwi dye). Which a person might render by using brown-black wash over russet. Because the final effect was a bit glossy, that suggests an oil wash. The edges, though wear, would then to highlight as a raw leather.
Note, those hosters did not (generally) have a raised “circle US” but an embossed one. The raised patter is a bit of a “red flag” for being a reproduction among collectors.
Your pick as to whether the canteen is made of: Aluminum, stainless steel, or OD plastic. The former two have a black bakelite cap, the latter a matching OD plastic cap.
All of which is pretty invisible in the carrying pouch.
Funny thing, in models (1:35 and 1:16) I’ve only seen the “circle US” on pistol holsters as raised, seeing the real thing embossed I would have said “something’s wrong here!”. The thing is, I don’t know if I can do anything about it… One thing that I can think of would be to sand it off and replace with black decal - and I don’t know if this would be better…
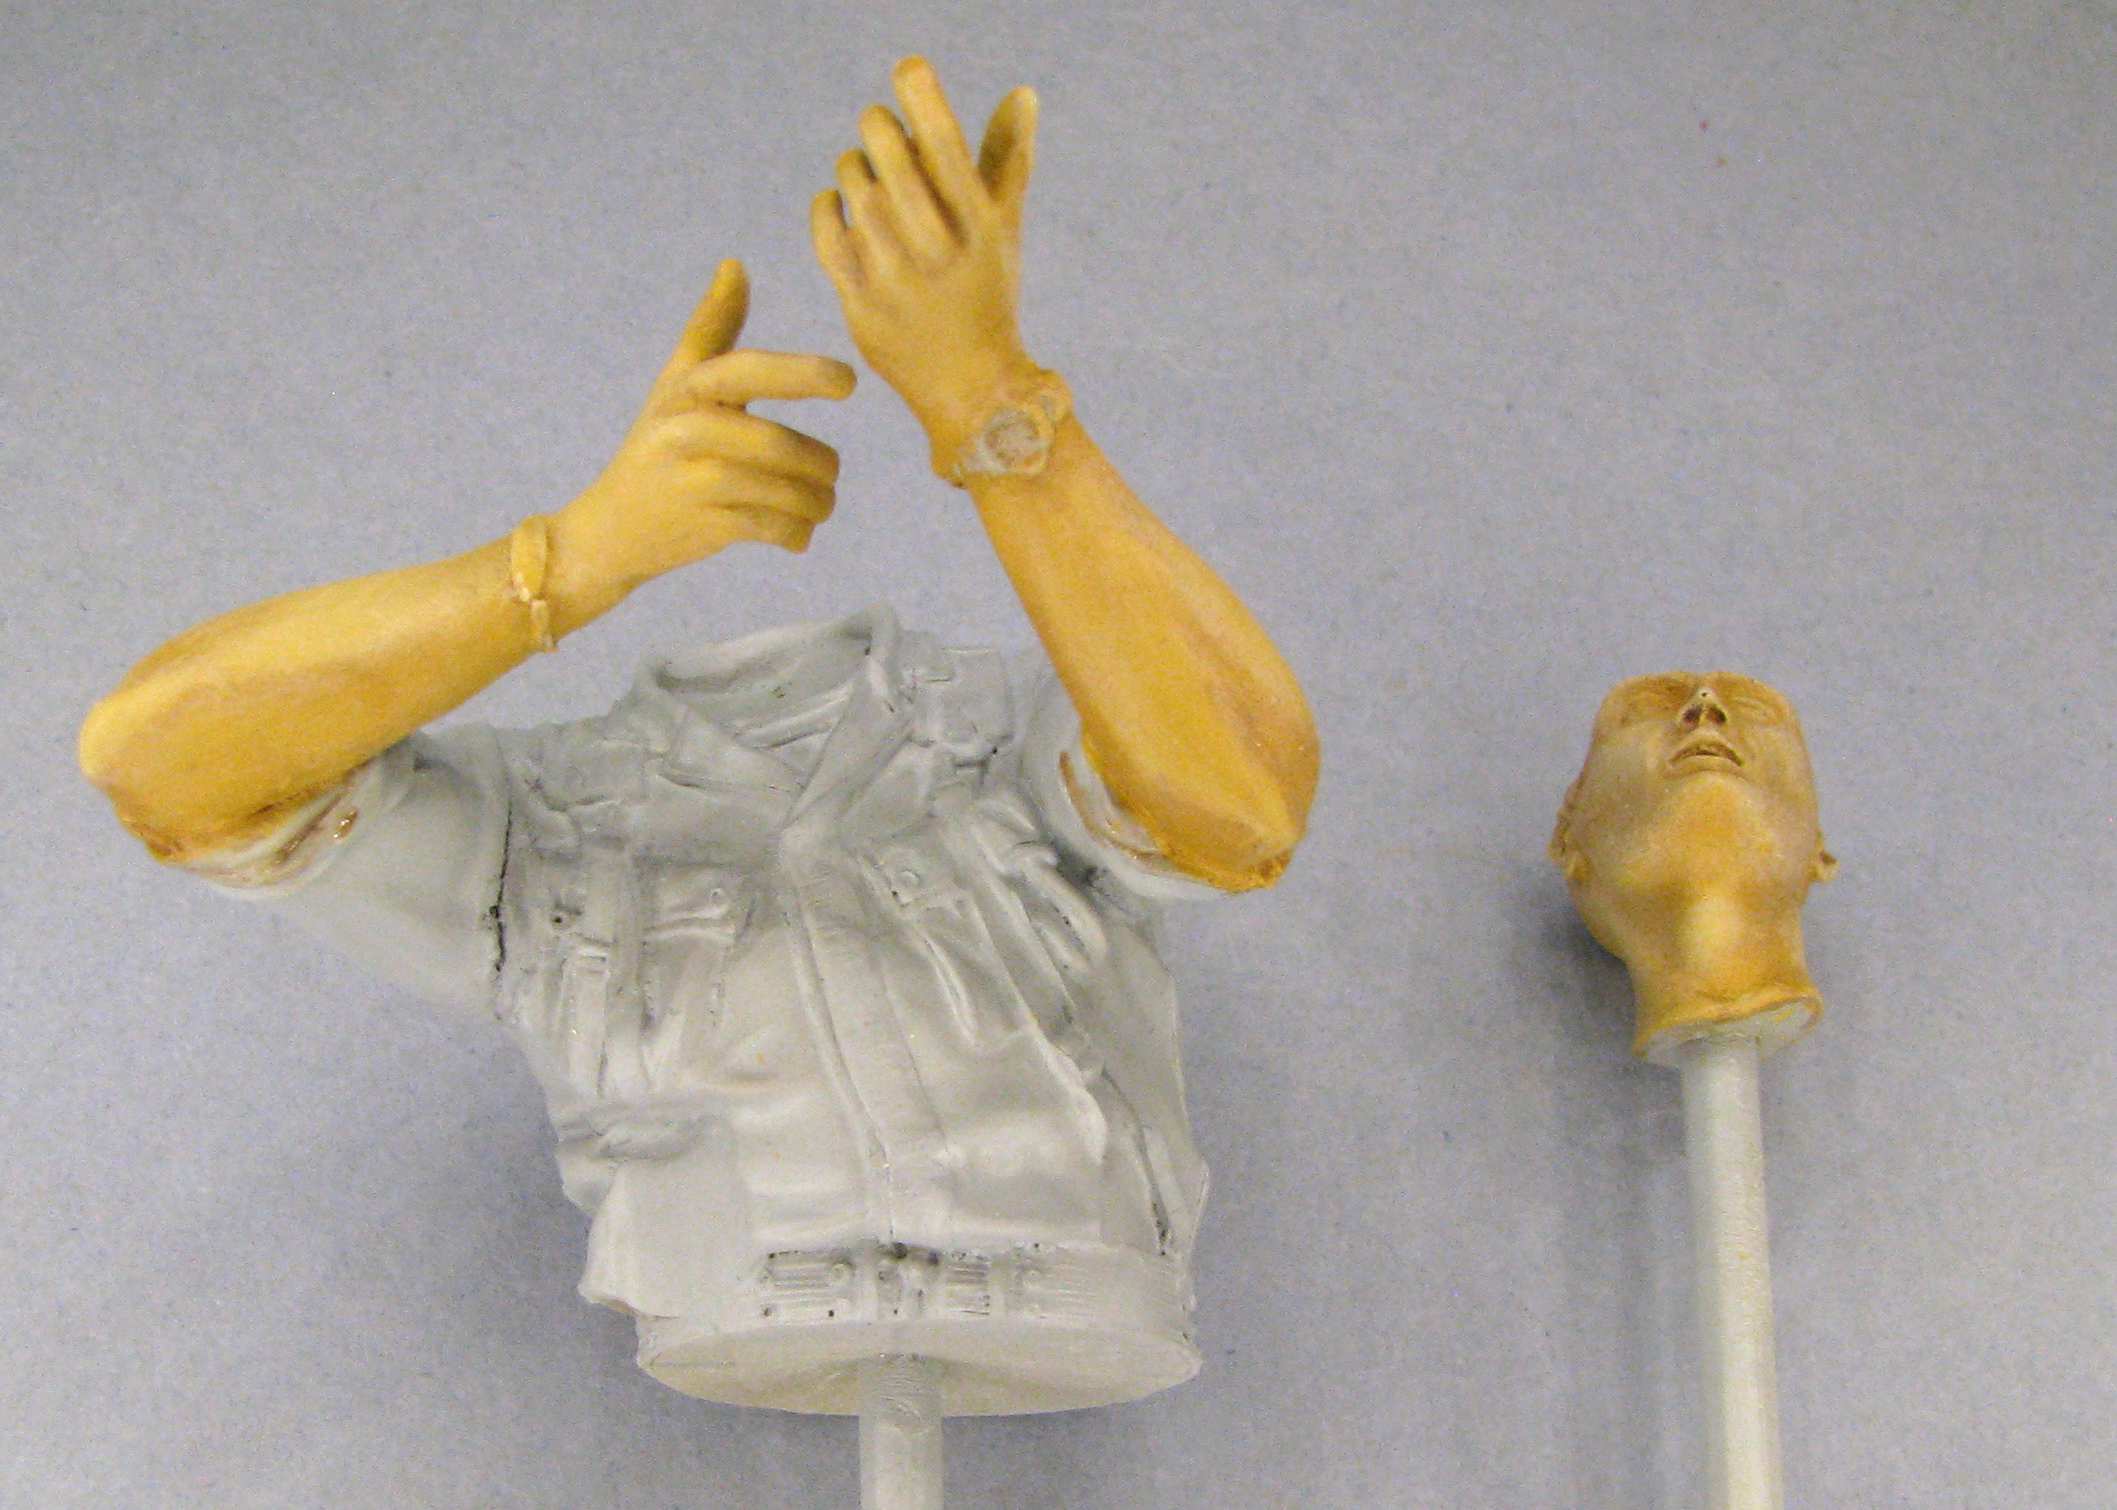
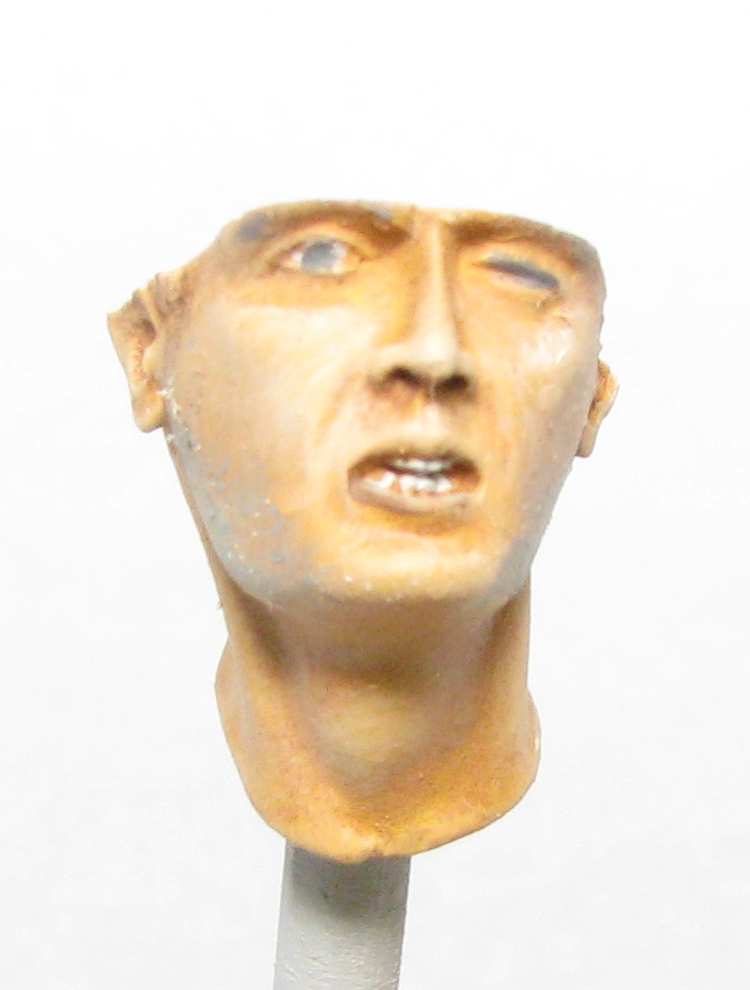
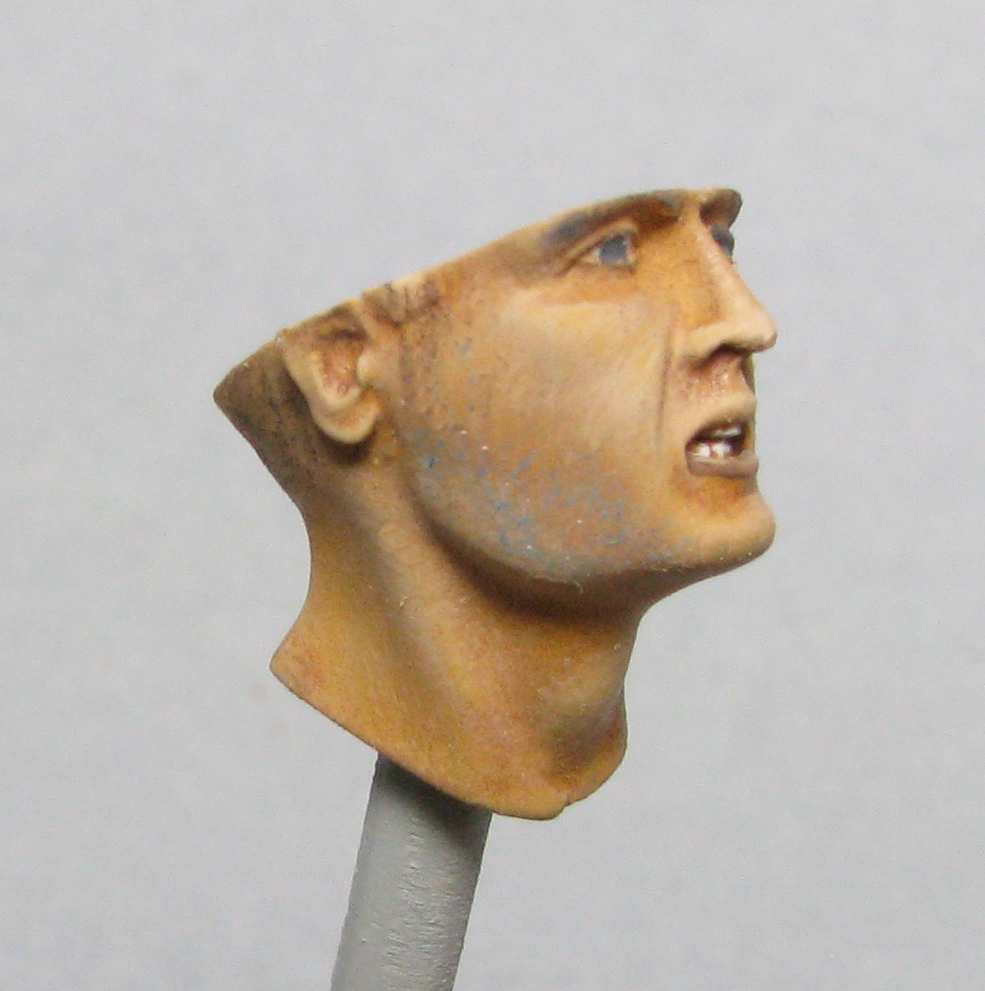
I’ve got good news, too - I’ve finally put some paint on!
I started painting flesh - first I put on primer (Tamiya grey from a spray can) and two layers of Humbrol 63. I let that dry really well, then I put on some was made out of diluted Humbrol 113 (dark boxcar brown):
I let that was dry a little, but not all the way down, and then I drybrushed on some pink made by mixing Humbrol 34 white with remains of that brown wash. That gave some nice shading:
I let this dry really well and started painting the details - bracelet, watch, teeth, lips eyes and so on. I used my daughter’s crayons to paint the hair:
Next thing will be the helmet - with all that stuff under the universal strap it is kinda small model itself.
Nice work, and good source of info you’ve got there. The Admiral must have a BIG storage roo.
I’m no figure painter, but I do draw icons and do some art painting.
Not related to your work, but one way to minimize any staring effect is to either eliminate the white on one side of the iris (looking sideways) or give it a little yellow, just to throw off the symetry a little.
Thanks a lot for your kind words - they mean a lot to me!
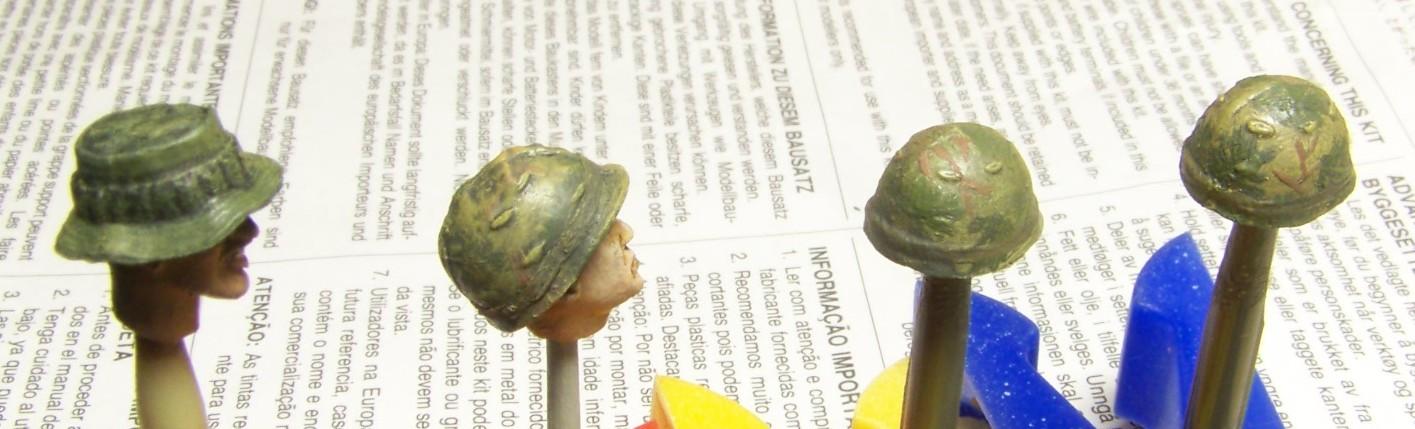
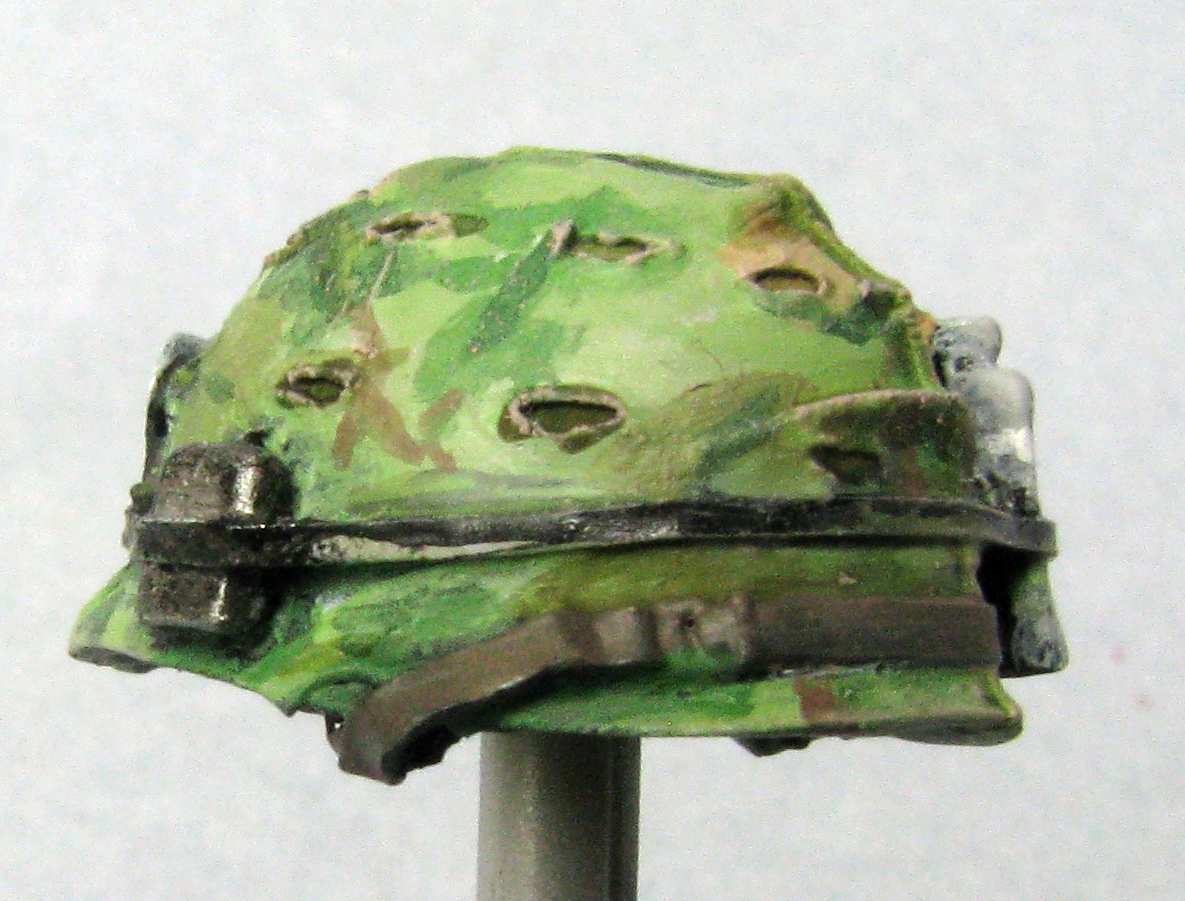
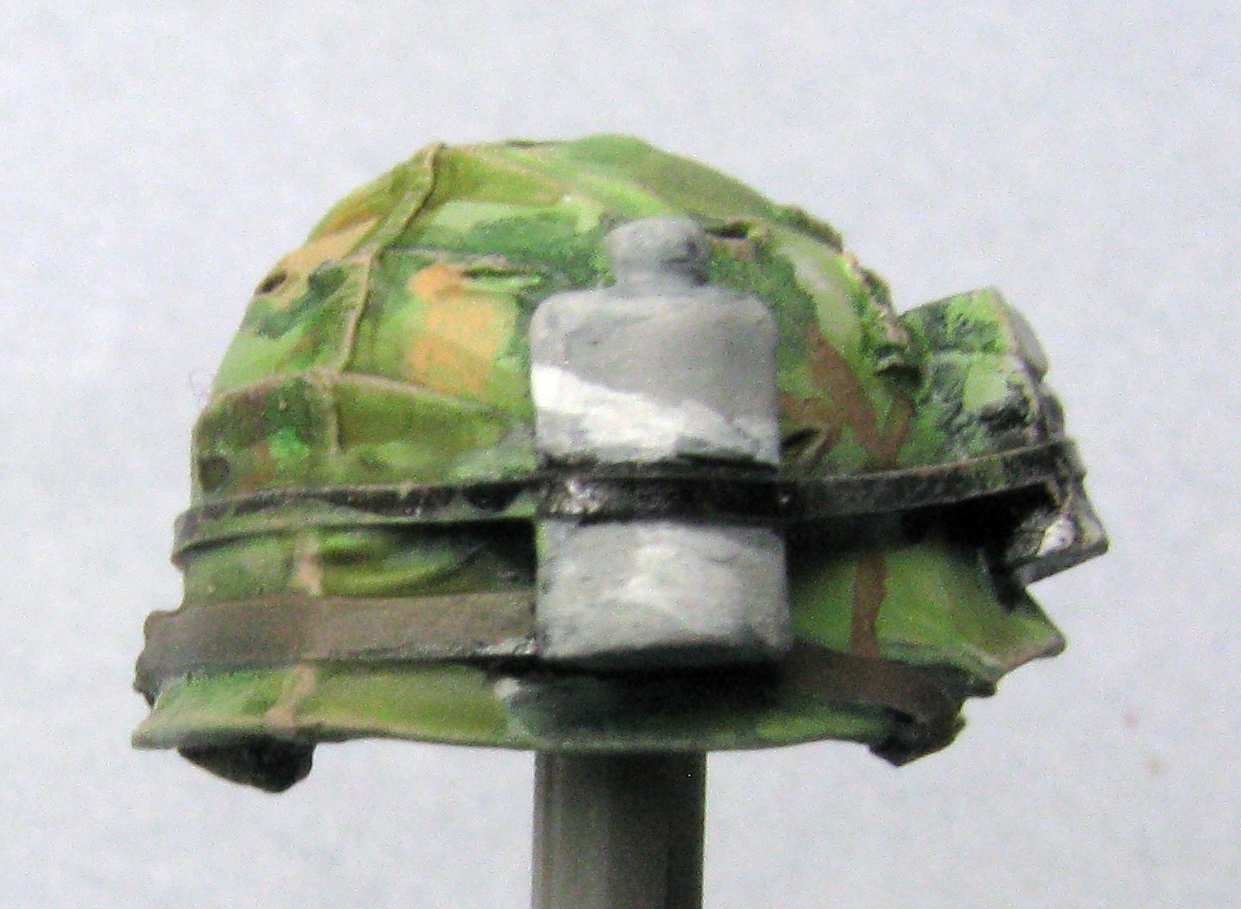
I took the photos of the helmet cover as an inspiration or reference and started painting the helmet. so far I have this:
I still have to work on the cards, have to look up perion cigarette packs and maybe work some more on the bug juice bottle and finally paint the straps.
Like you said, almost a kit unto itself. Nad well, done, too.
“Bug Juice” Bottles had a couple of forms:
Also
And, with white printed text
Your pick, all are “period correct.”
For “smokes” plenty to choose from:
The “skinny” ones were in ration packs.
More:
Lucky Stripe, Marlboro, are the iconinc ones, visually, but Pall Mall and Park Lane and Winston were seen.
The helmet band, did not become elastic fabric until about 1970, before that, the “grunt solution” was to cut a bicycle tire inner tube. Which look much the same today as back then–a gray rubber that was darker on one side and lighter on the other.
Sometimes more than one was used, due to occasional poor-quality local tubes.
Think Gunship Gray and lightened Panzer Gray.
Cards were a mix of “face out” and “face in”–your choice may come down to whether you want to render the classic “Bicycle” deck pattern at 1/16 scale or not.
This figure is coming along very well. I like how the face came out. Usually the face and especially the eyes can make or break a figure or bust. Everything here looks correct so far. But I remember using a jeep inner tube for my helmet band when I couldn’t get an elastic one.
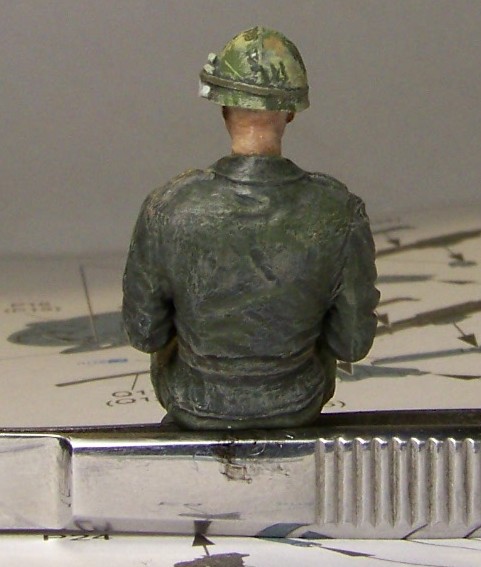
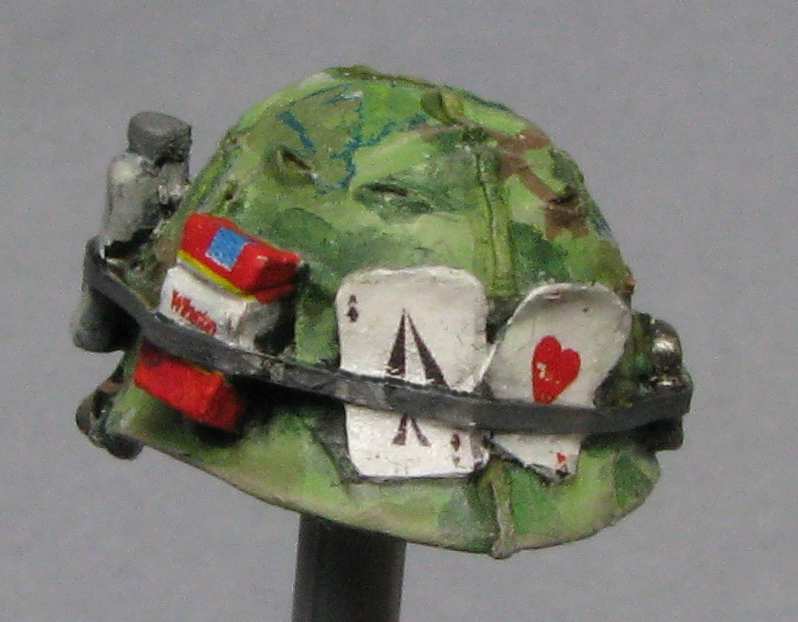
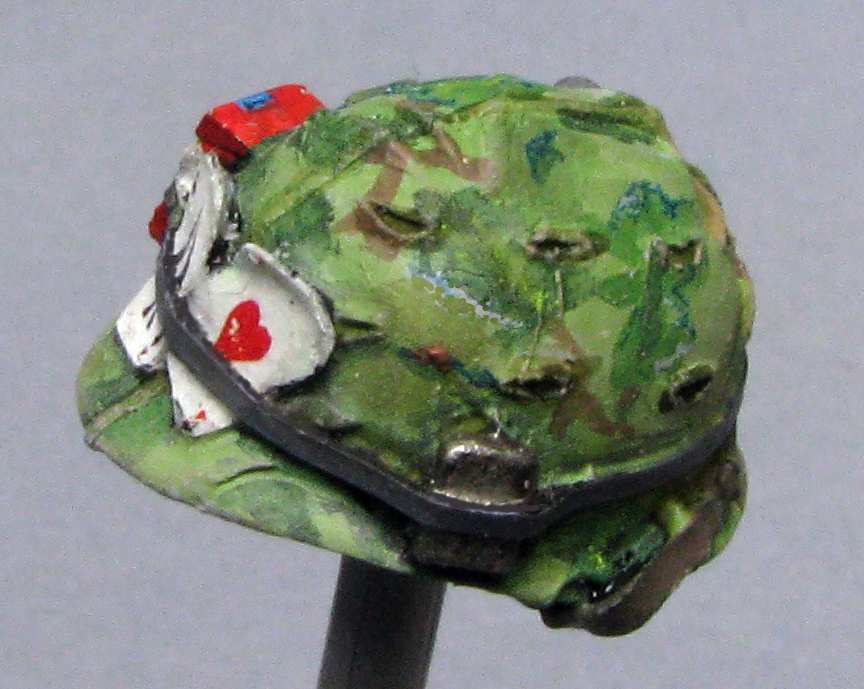
Sorry for getting back to you so late - I was waiting for custom decals to finish the helmet. But I went with your suggestion and so I painted the helmet strap “rubber colour”.
Here’s what the helmet looks like now:
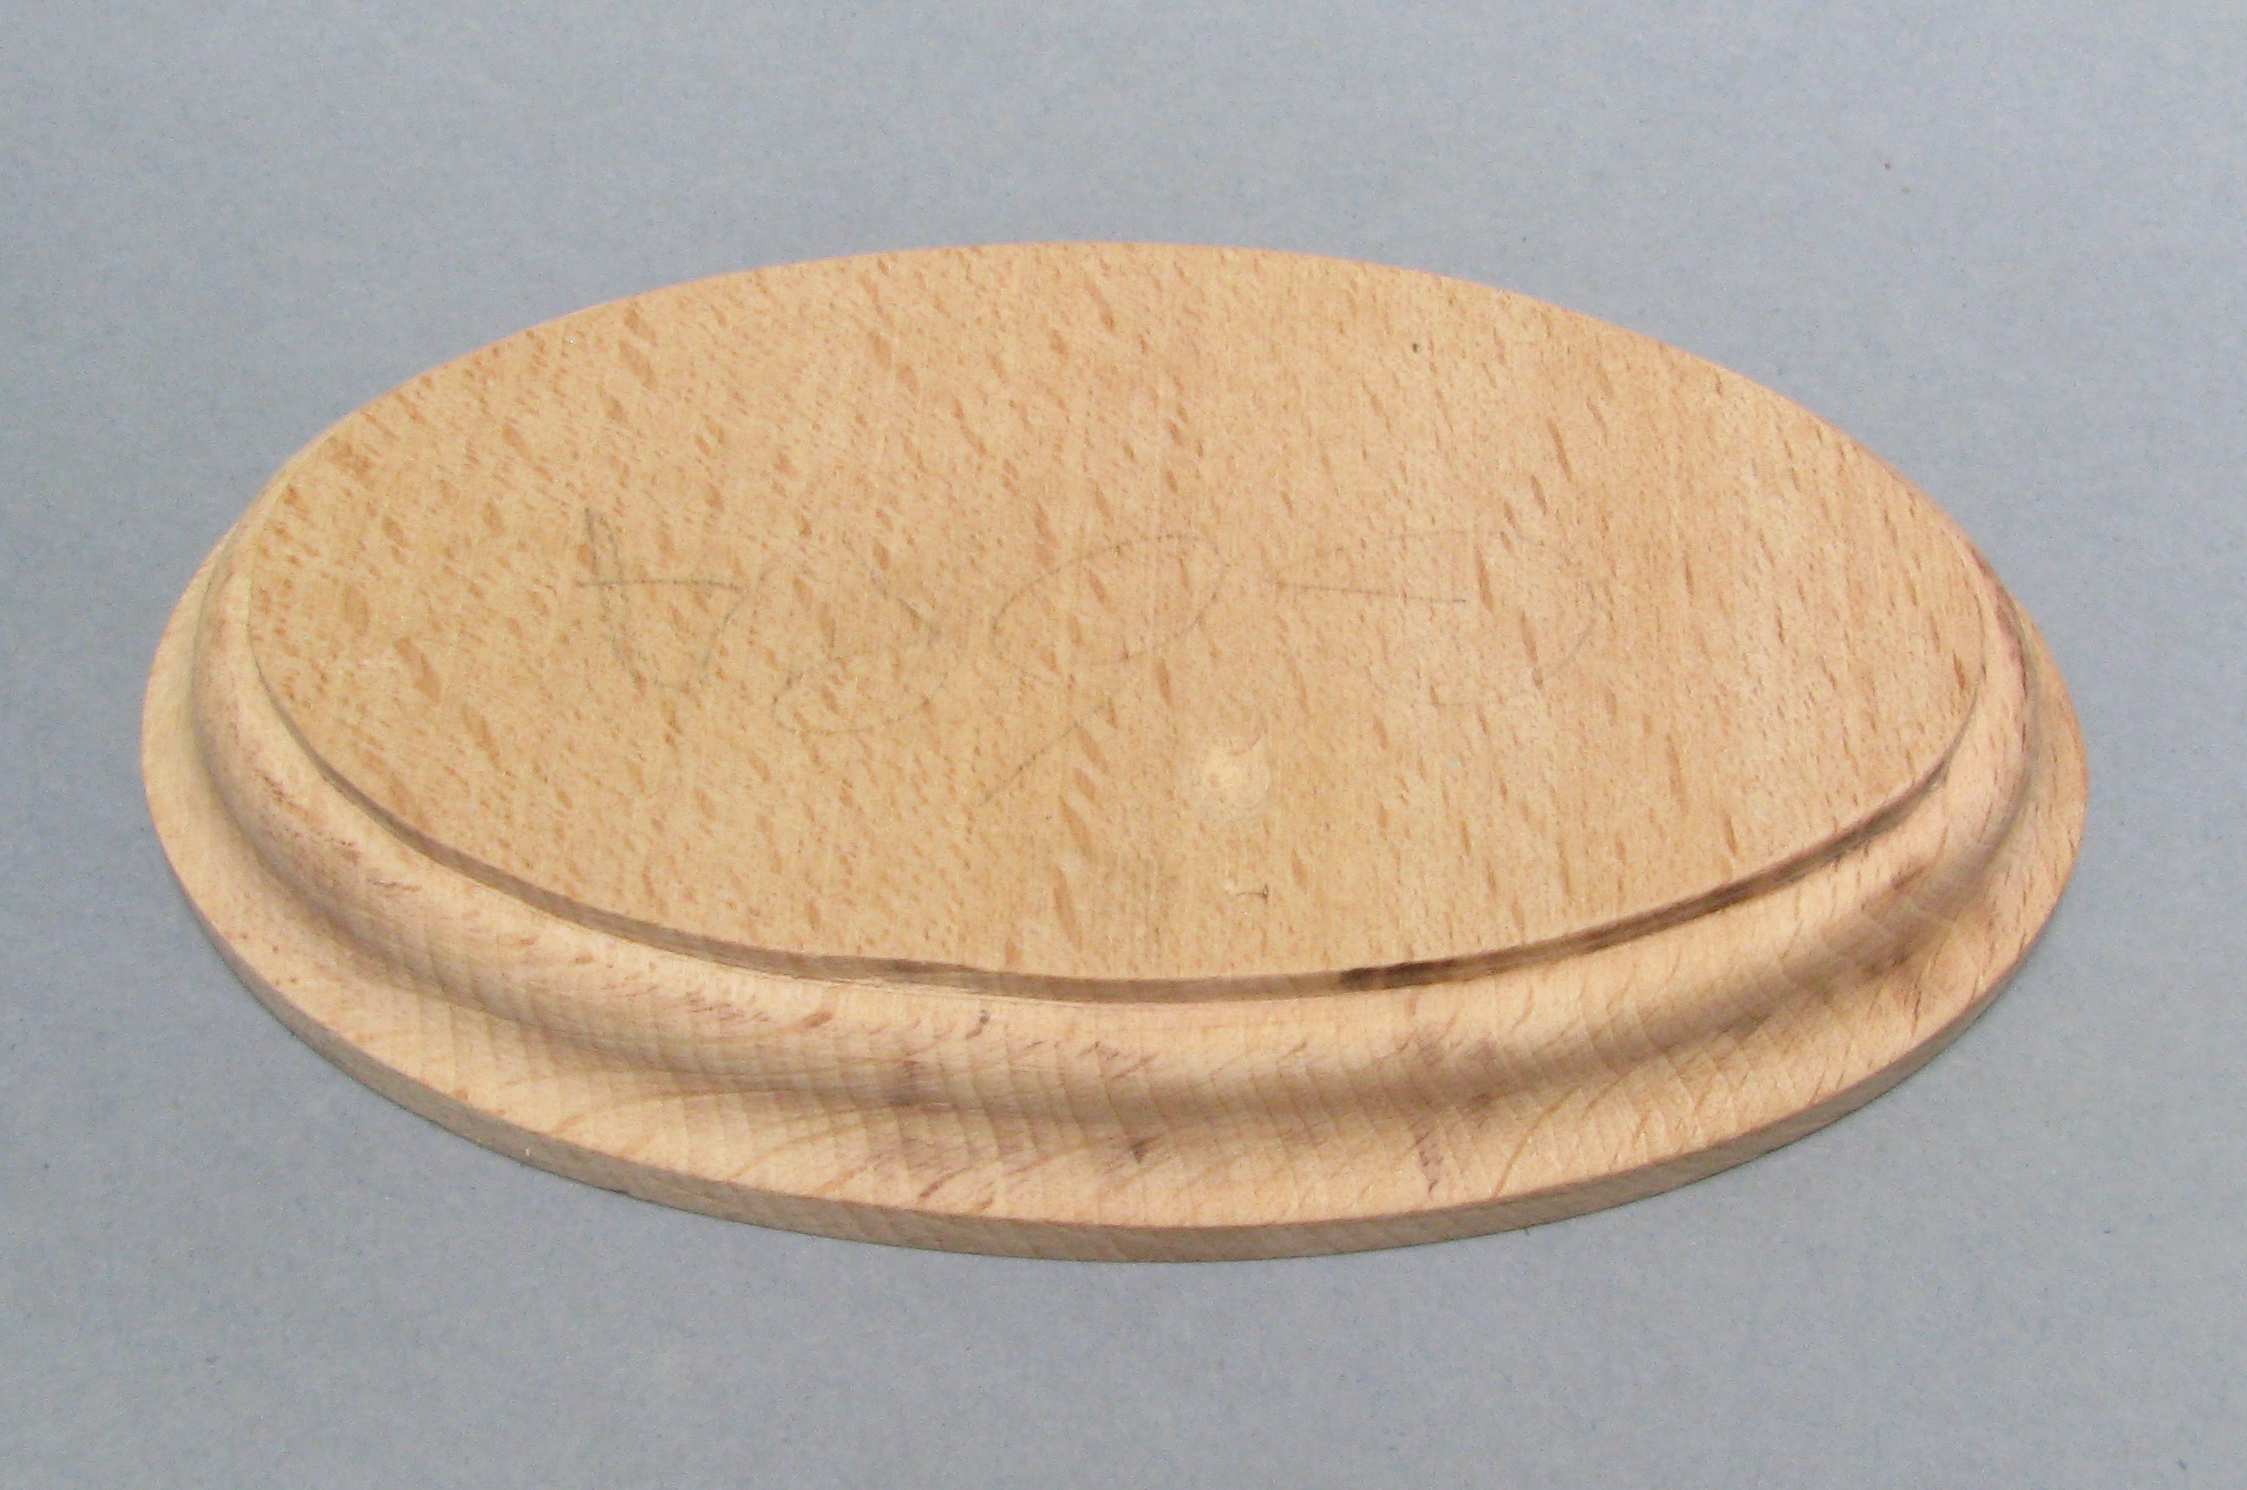
I have also used this time to prepare a base - I cut the shape out of a cutting board and my neighbour was so kind to run his router along the edge. So here’s my custom made base:
I have also tried to show how would the pant s look like worn by somebody sitting in the mud:


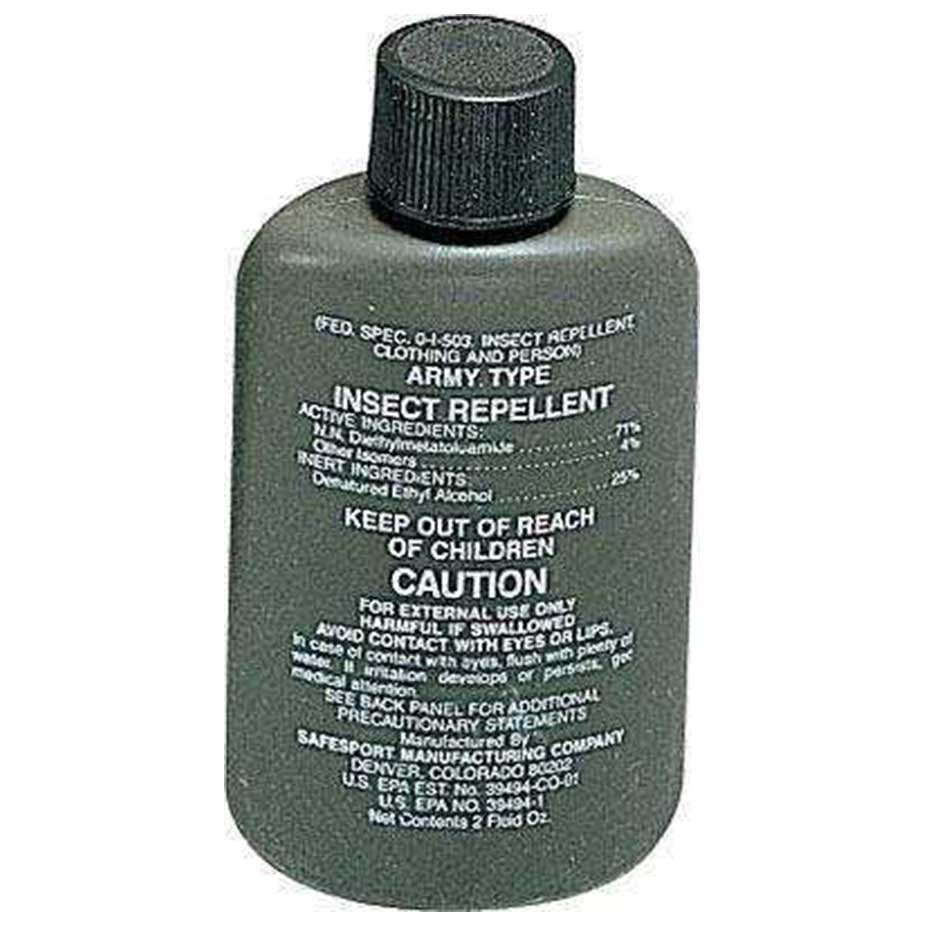 Every well equipped backpack on the Sierra trail in the late 60’s early 70’s had a bottle of bug juice.