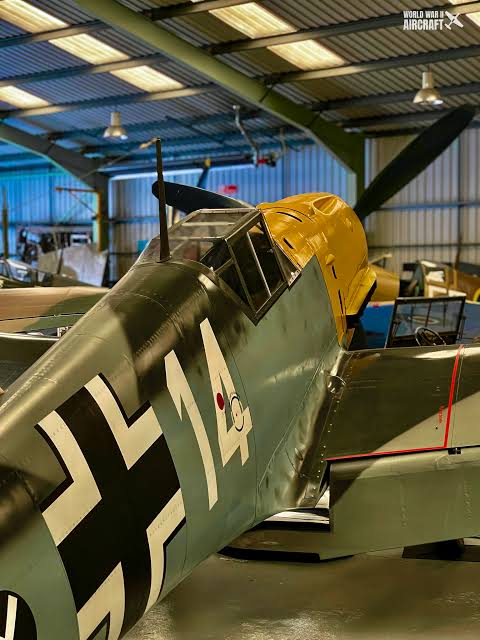
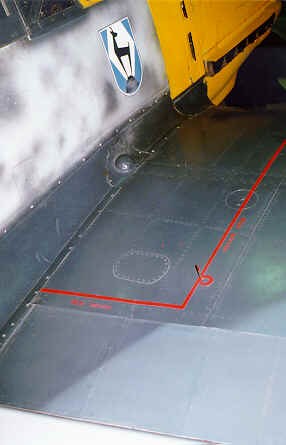
The inner wings that are joined to the fuselage have a long strip of metal running across the width of the wing.
As you can see from these pictures, I’ve highlighted one in Red.
I have never seen this replicated on any scale model 109.

2 Likes
Huh, I’ve just had a pass at some 1:24 kits. You’d expect with some more scale to play with, they would be less inclined to gloss over details like this but neither Airfix, Heller nor Bandai get this detail. I think that’s probably because that lower lapping of the aluminium skin is right at the wing root. This is a join that’s ordinarily going to get absolutely creamed by so much filling and sanding that it’s not worth detailing. Oddly they all capture the next row of riverts above…
2 Likes
I’ve looked at most scales and every one is the same.
Because I’m building the Eduard 1/32 kit it’s fought me all the way with large clumps of flash on the cowling and many more fit issues.
Last night I spent almost 2 hours trying to join the wings to the fuselage and now it’s glued it has a 0.5 mm gap that needs filling and sanding.
I hate this as there’s detail like rivets right next to the join.
So I’ve just bought some styrene sheets to replicate the aluminium strip.
2 Likes
What you highlighted is part of the wing to fuselage aerodynamic fairing.
2 Likes
That will look great in 1/32nd. How are you going to model the rivets?
1 Like
I haven’t got any rivets small enough so I’ll have to use my blunted airbrush needle to simulate the rivets.
Or I could cut them out of a stretched sprue but getting the right size might be a task too far 
1 Like
Buy a riveting tool. You can find one for about $20.00.
I watched a guy on YouTube who uses UV resin and a homeade kind of a dropper to create his own rivets and it looked really cool. I’d probably just use a hypodermic needle to dispenser it.