I’ve been working on this for my Service & Supply GB and since I’ve been keeping a photo record of my build I figured I 'd start a wip here in the armor sec.
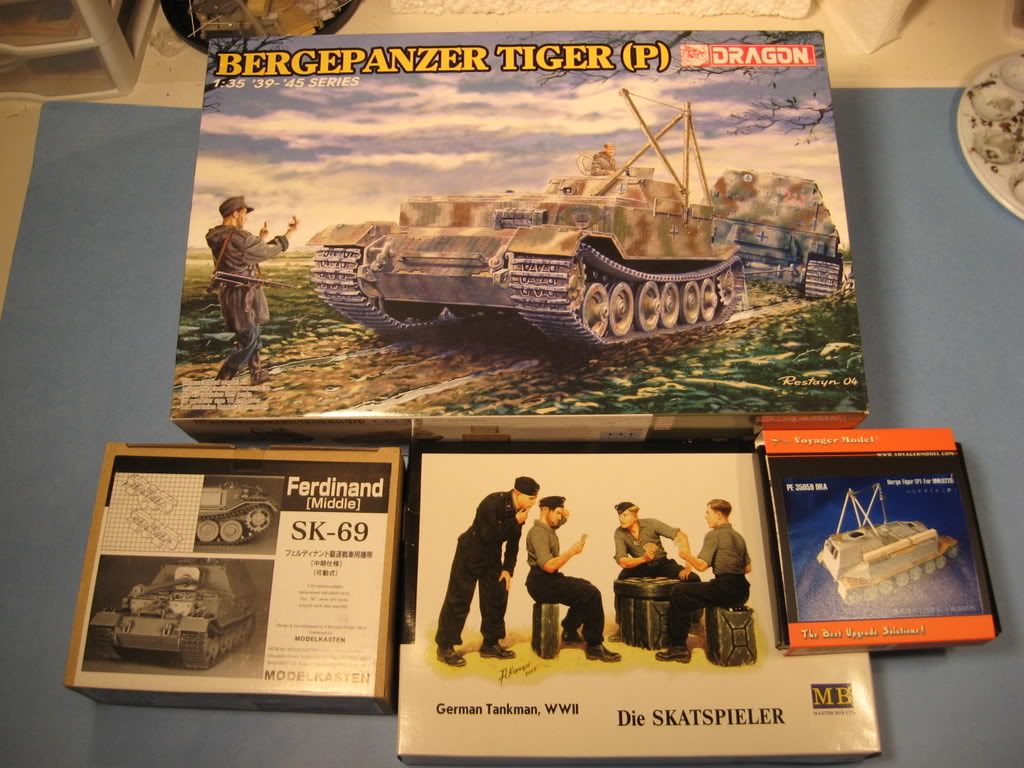
Heres a shot of what I’ll be using for this build
Since only three of these were built units and markings are pretty limited. The one I’m doing will be from sPzJgAbt 653 in Italy 1944.
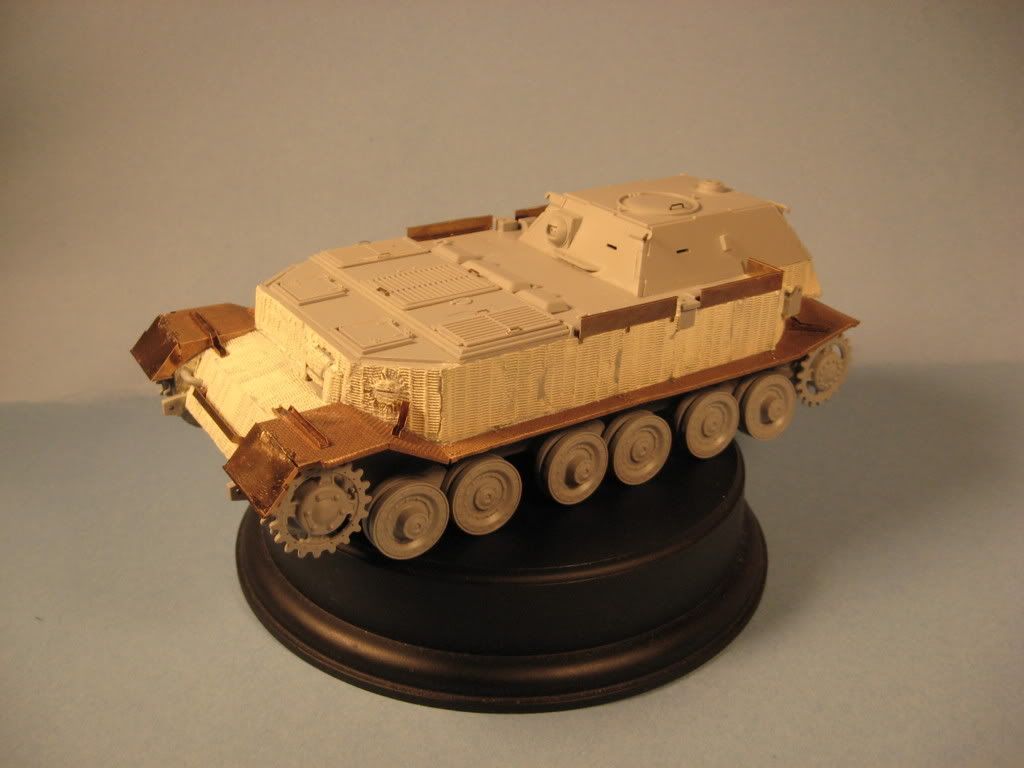
I started out with the road wheels and suspension. The only problem I encounterd was with parts F7-F6-F12 & F13. They all had raised pin marks these needed to be shaved off for a proper fit.
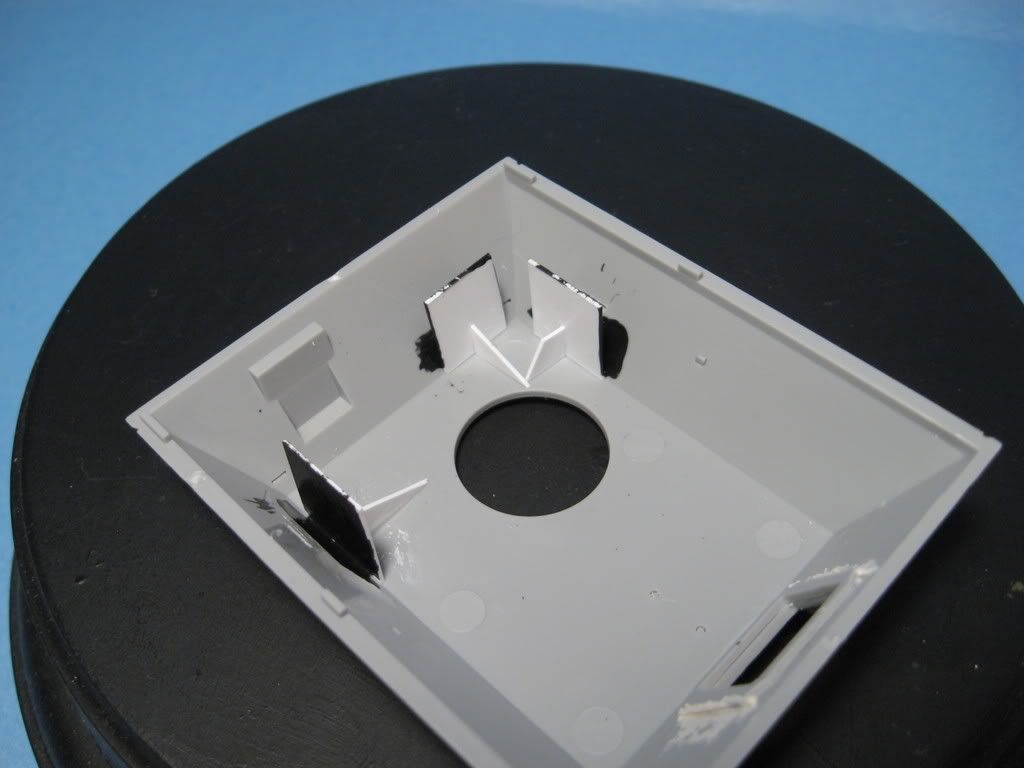
This kit includes a bunch of extra parts for the Elaphant and one whole sprue for a stug IV just for the remote MG! Since the hull is the same as the Elaphant the instructions call for some molded on parts to be shaved off and some mounting holes to be drilled.
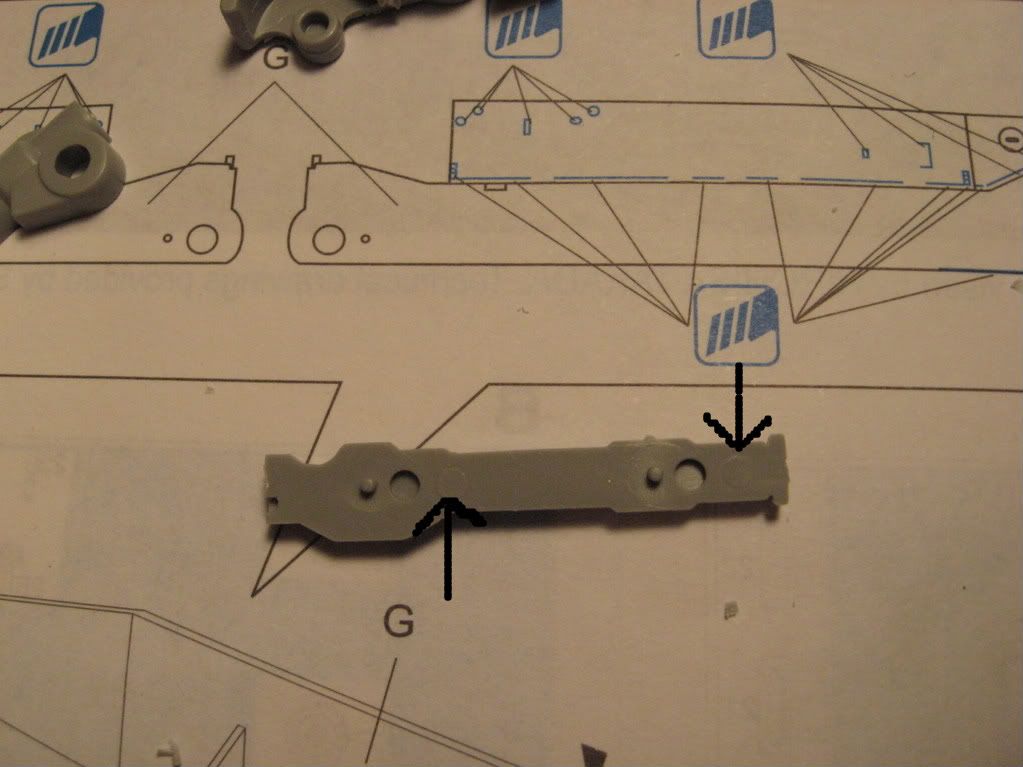
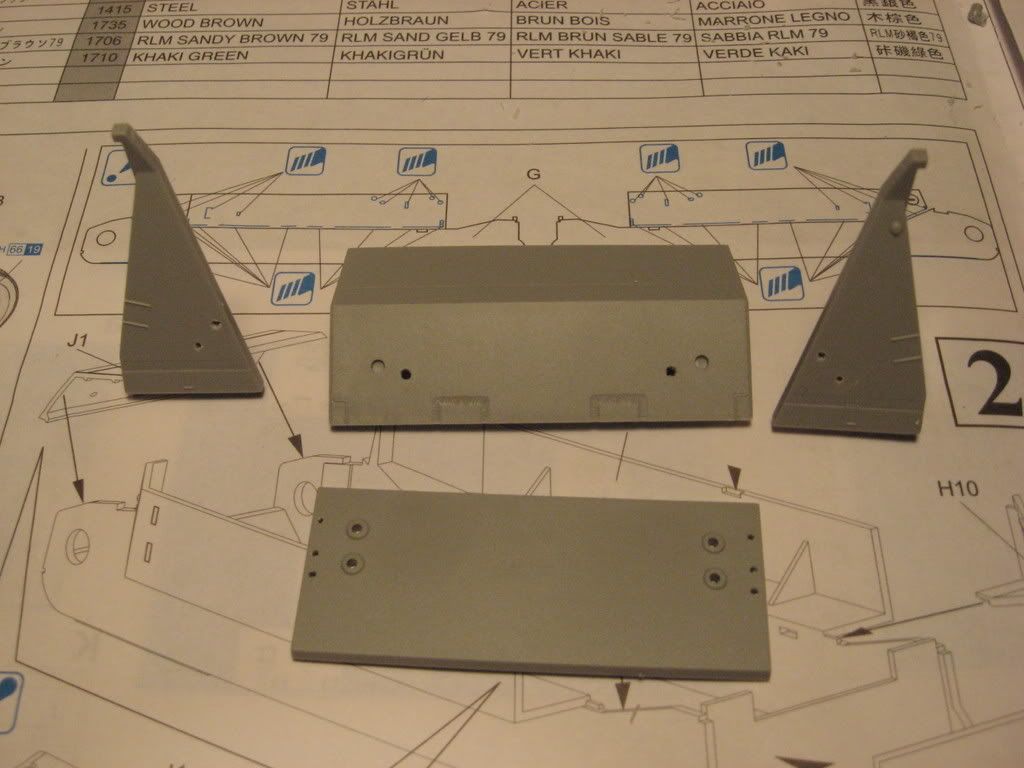
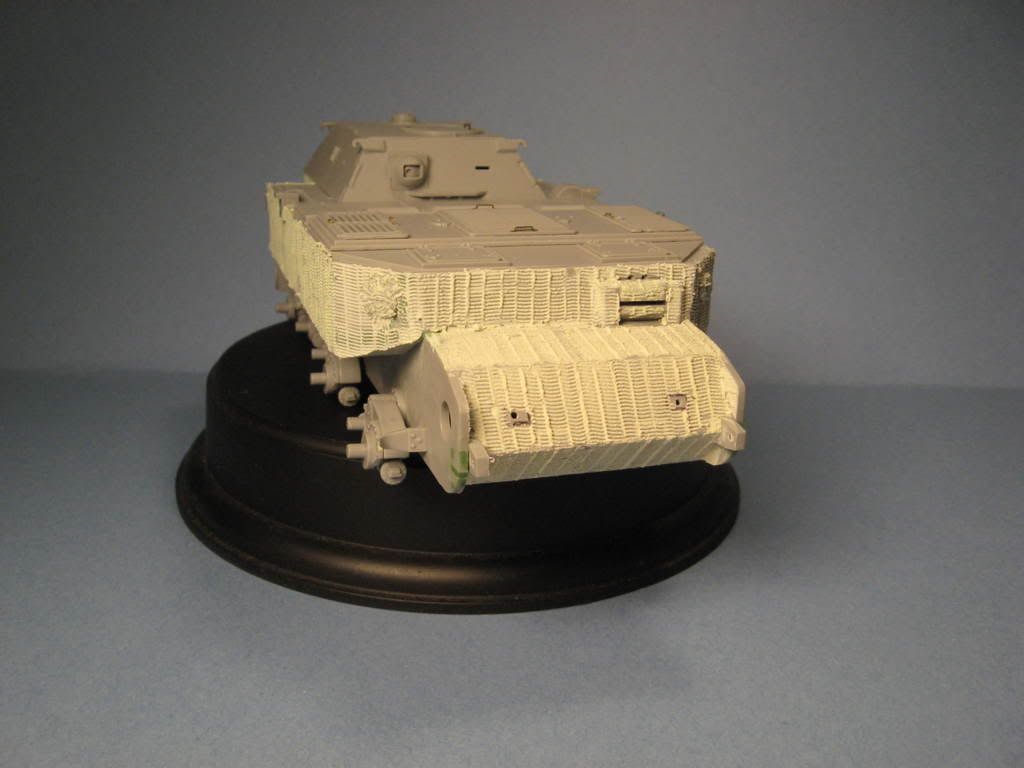
Since I’m using the Voyager PE set I had to cut the fenders like shown to keep the hull the right height.
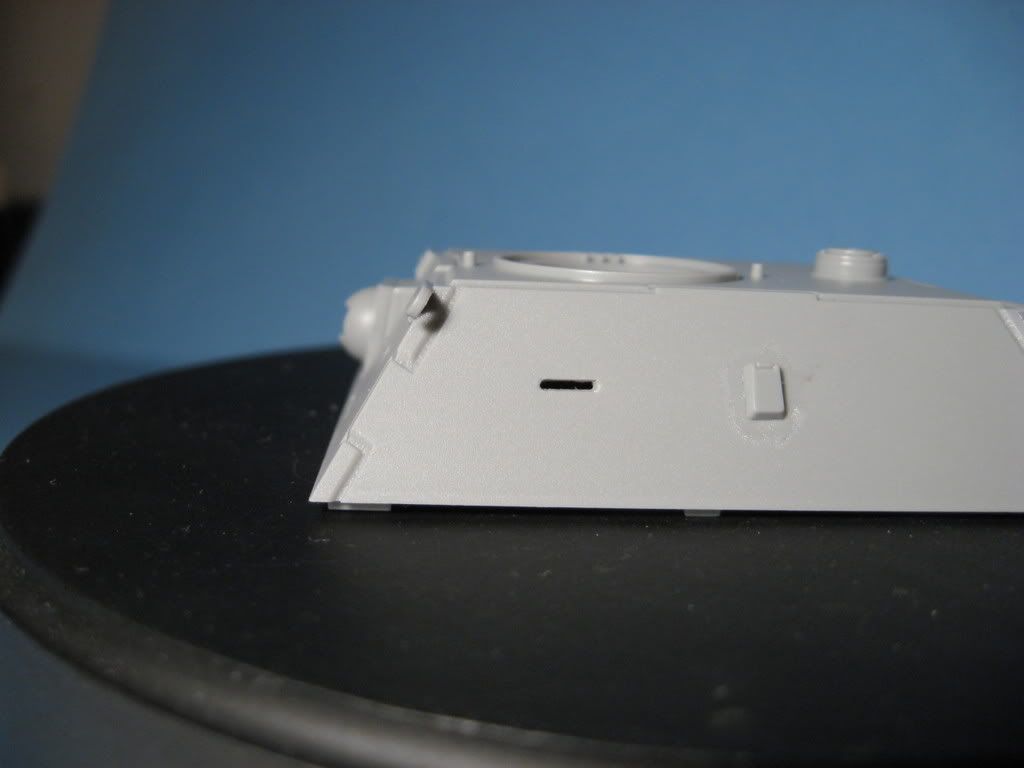
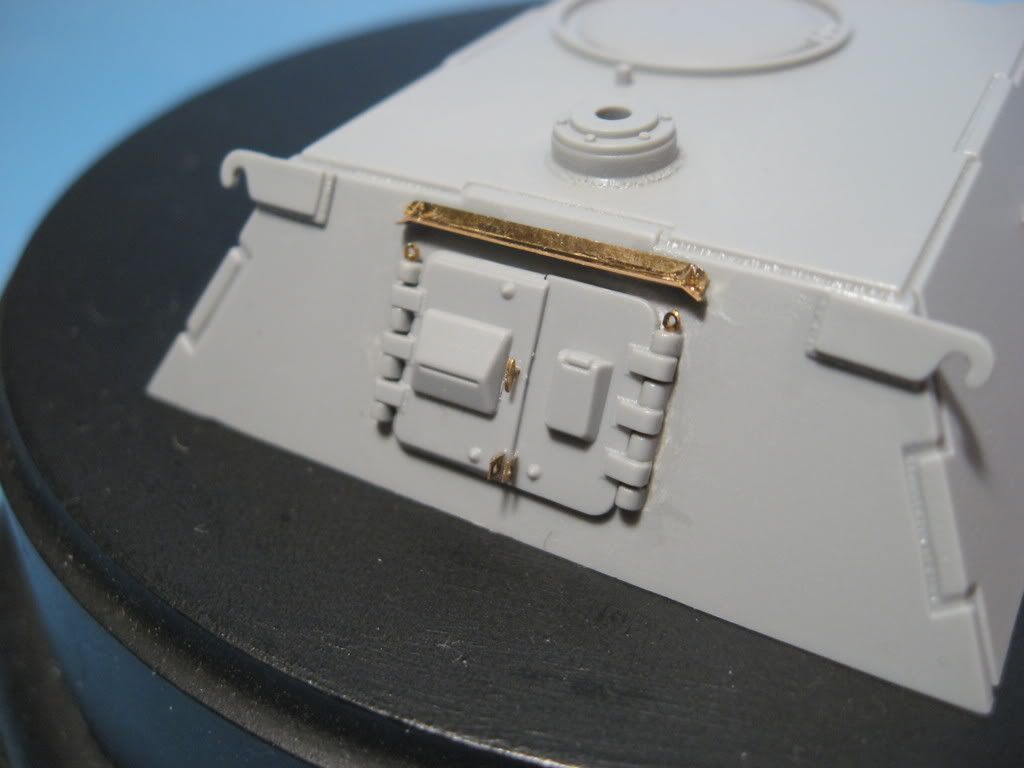
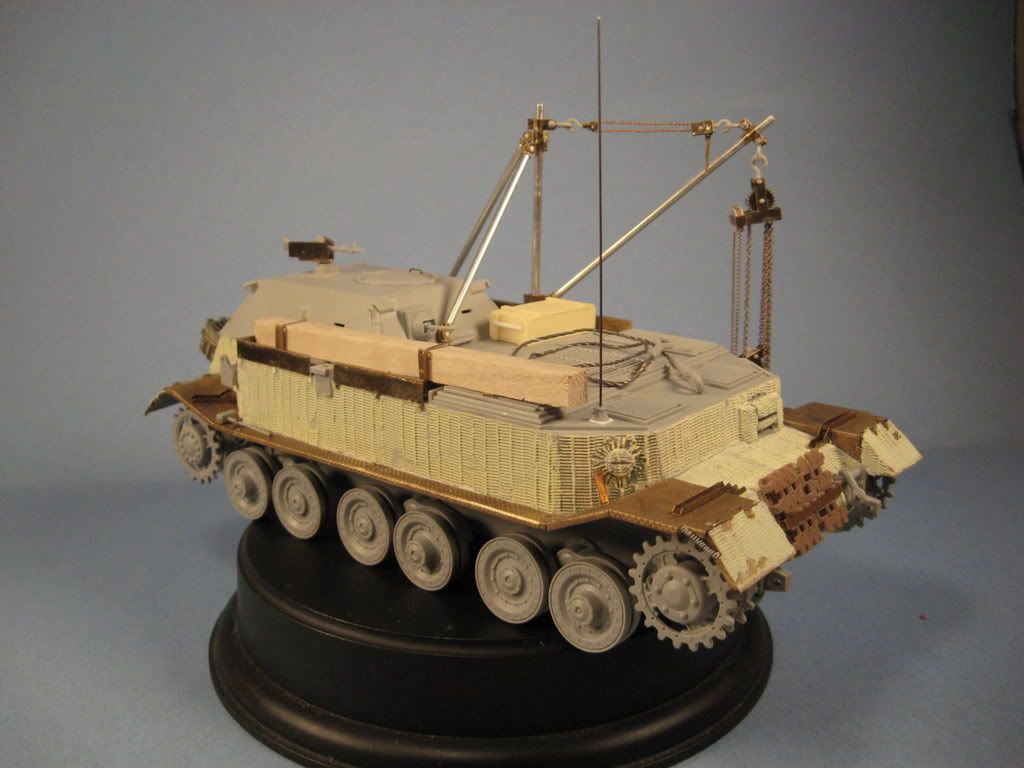
After glueing and some putty I set that aside to dry and started on the crew compartment superstuctuer. I drilled out the the vision slits and placed some plastic stock that was painted black on the inside about a 1/2 inch back .I think it helps to give it a little depth. I added the PE to the rear hatch and a new handle made of wire to the roof hatch.
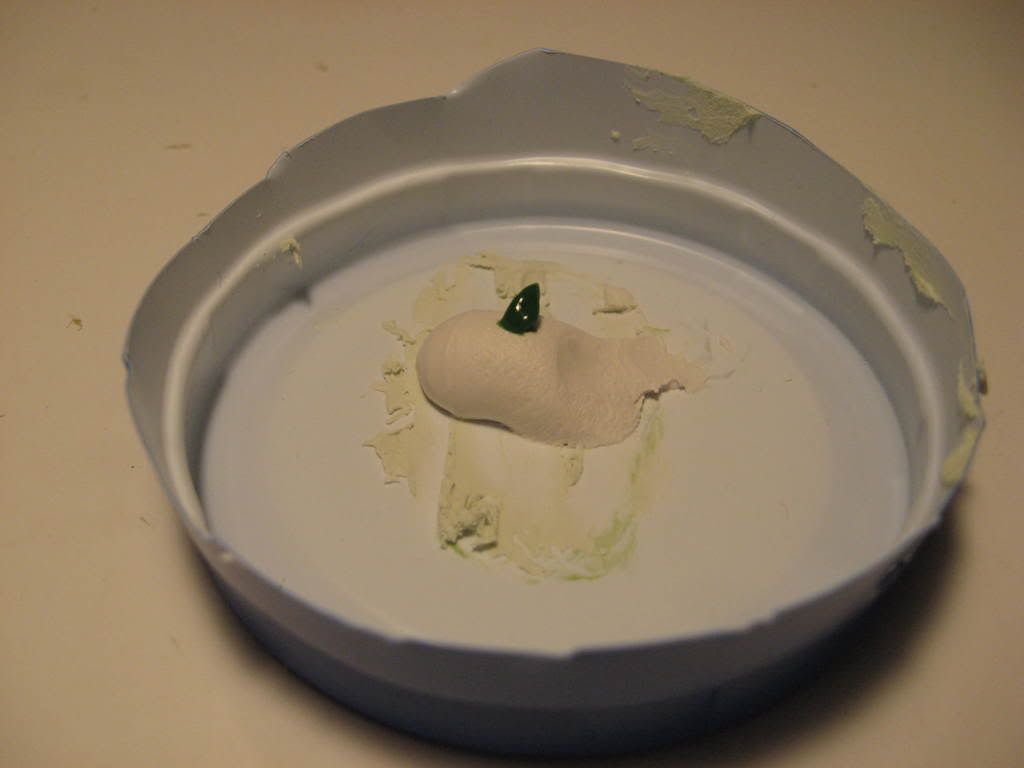
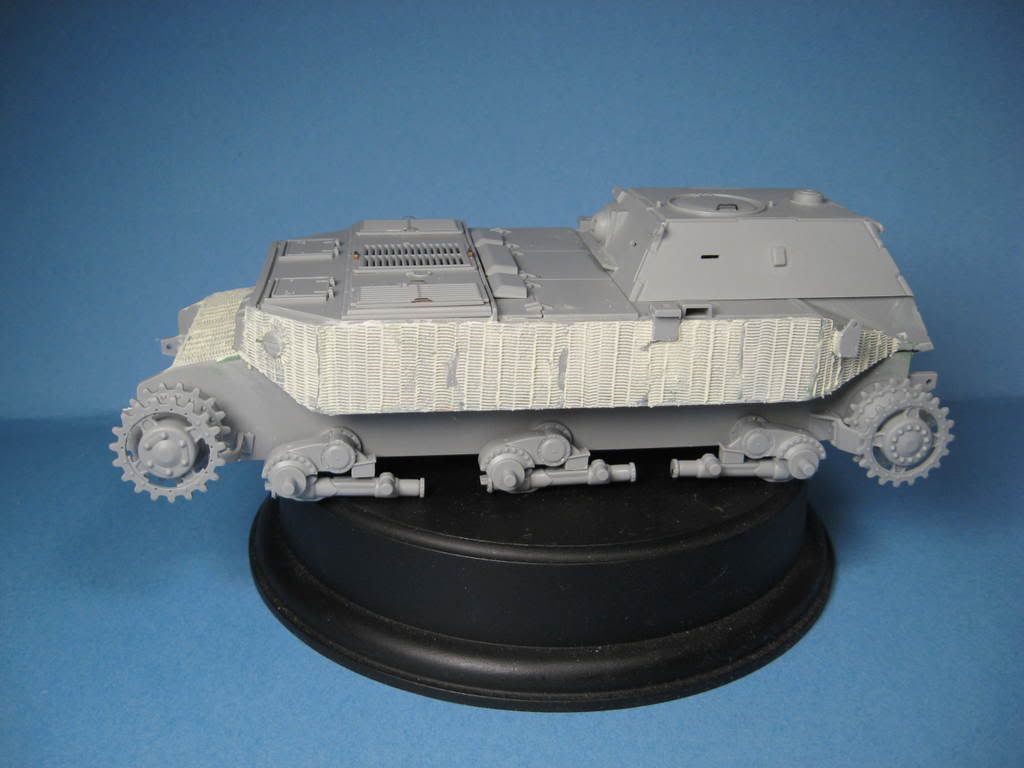
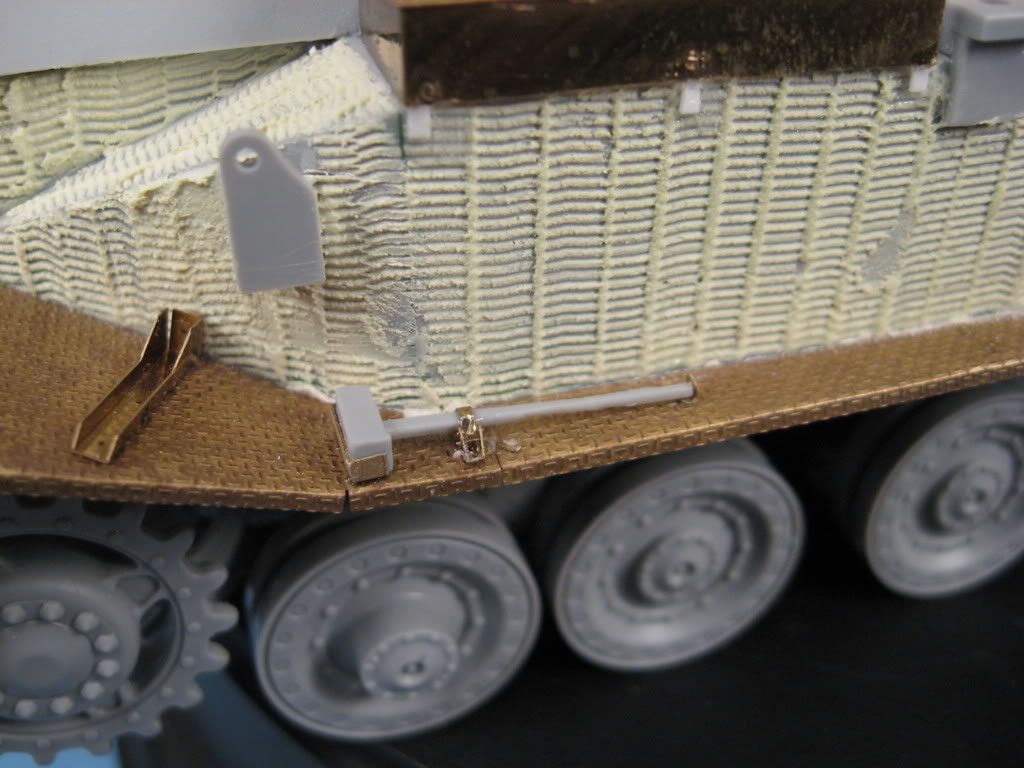
Next came the zimmerit. I used Tamiya Poly Putty and the Tamiya zimm tool to apply the pattern. The trick to using the putty is go easy on the hardener. A little dab will do ya.
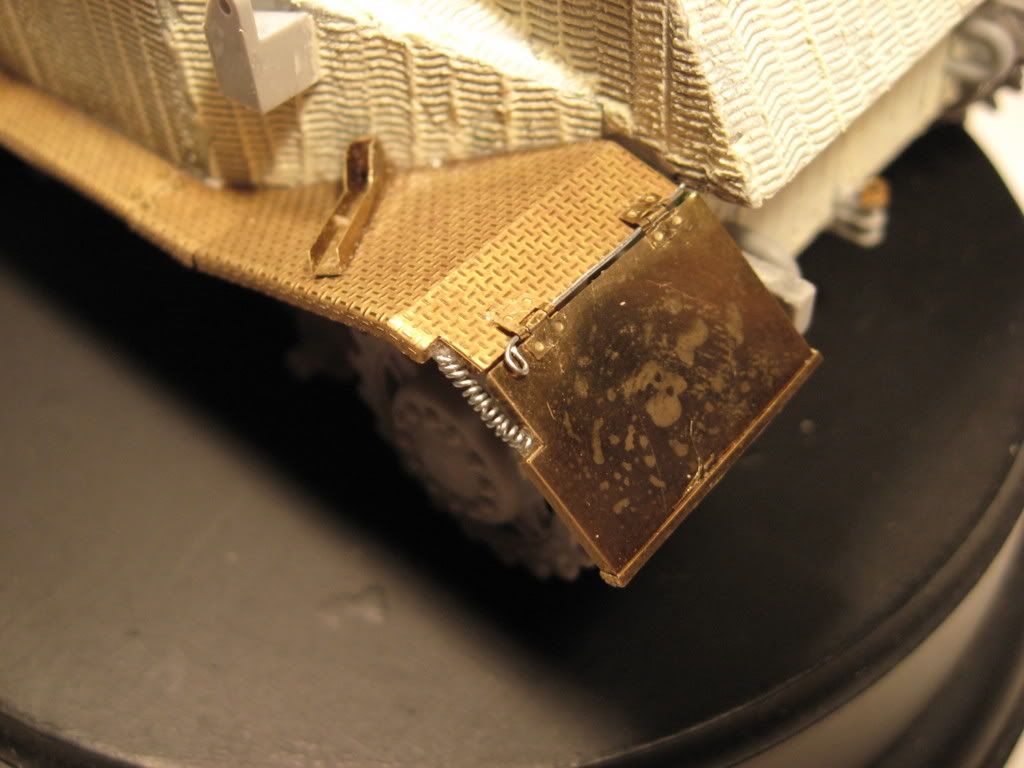
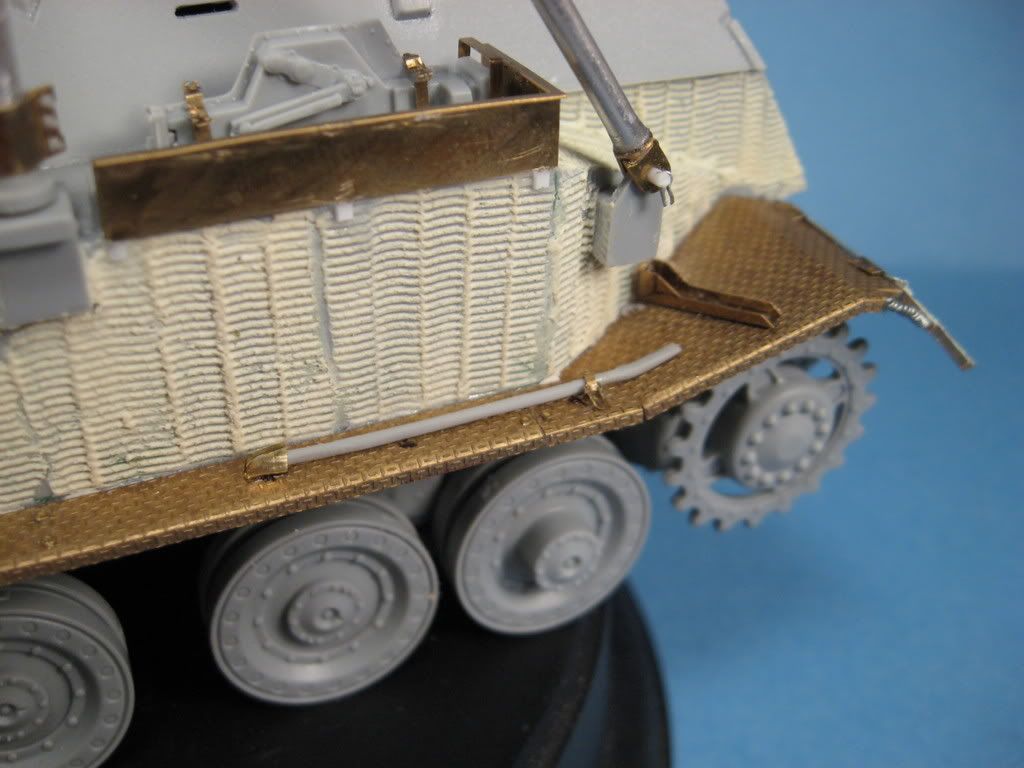
After letting the putty dry for a day I gave it a lite sanding and attatched the fenders, pretty easy till you come to the hinges. Man those things are tiny.
I’ll have more tommorow. But if you want to see were I’m at now in this build check out the Service & Supply GB.
I’m going to keep up with this build as I would like to build the Big Gun version of that tank. So with all that PE work, I will keep my eyes fixed on your build. The Zimm work came out realy well also the PE work.[tup]
That is looking great. The fenders and zimm look good too. The work on the hinges is amazing. They look like the real deal with the addition of the springs.
Looks great so far! I myself like to do maintenence and recovery dioramas now and again, and ARVs are a must-have… I gave ‘em a lot of ribbin’, but our Battery and Battalion ALOC Wrenches were first-class fixers of heavy green stuff…
Great start Steve i built this one last year but without zim or PE but still a great kit, your zim looks spot on as does the fenders you will enjoy the chains and pullys they look very nice when finished (unless you used the stowed ones heh)
Wow that zim is killer!!! I have one of these animals in my stash. I will be watching your build with interest. Any other fit or problems, please pass them on. It would help out a ton.
I know what you mean by plenty of cross over parts. Had a bunch for the elephant/ ferdinand, when I built my rammtiger out of the tiger (P). Just think though, more parts for the spares box.
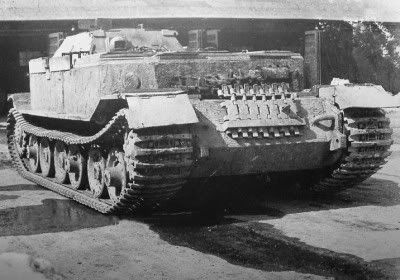
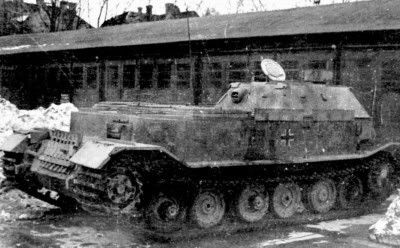
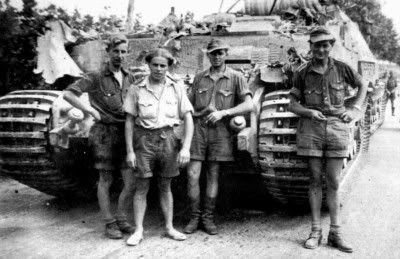
I’m going to start this update with some new pics I was able to find of BergeTigers I hope they will be of help to anyone interested in building this kit.
Gotta love the hair on the guy in the last pic lol
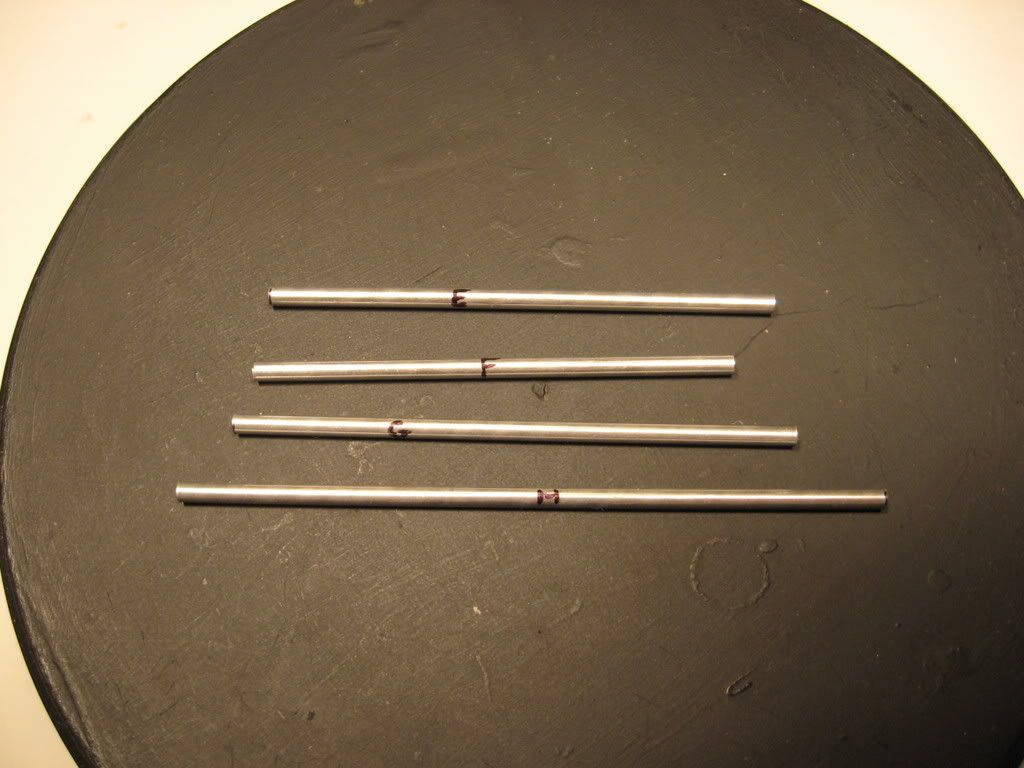
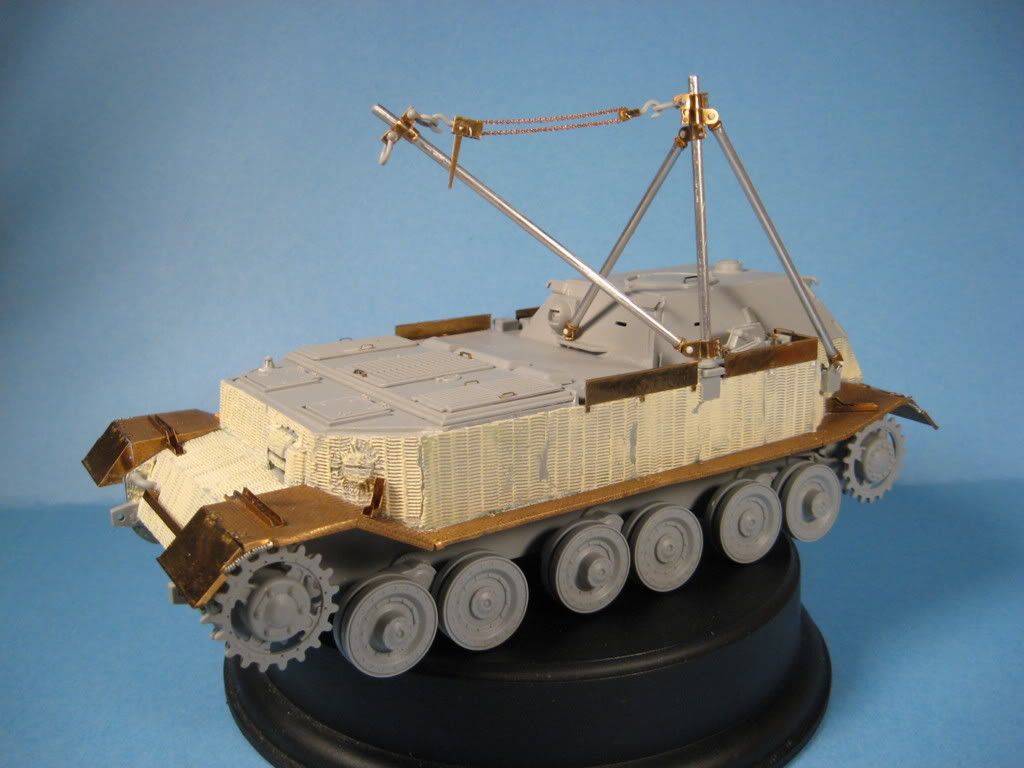
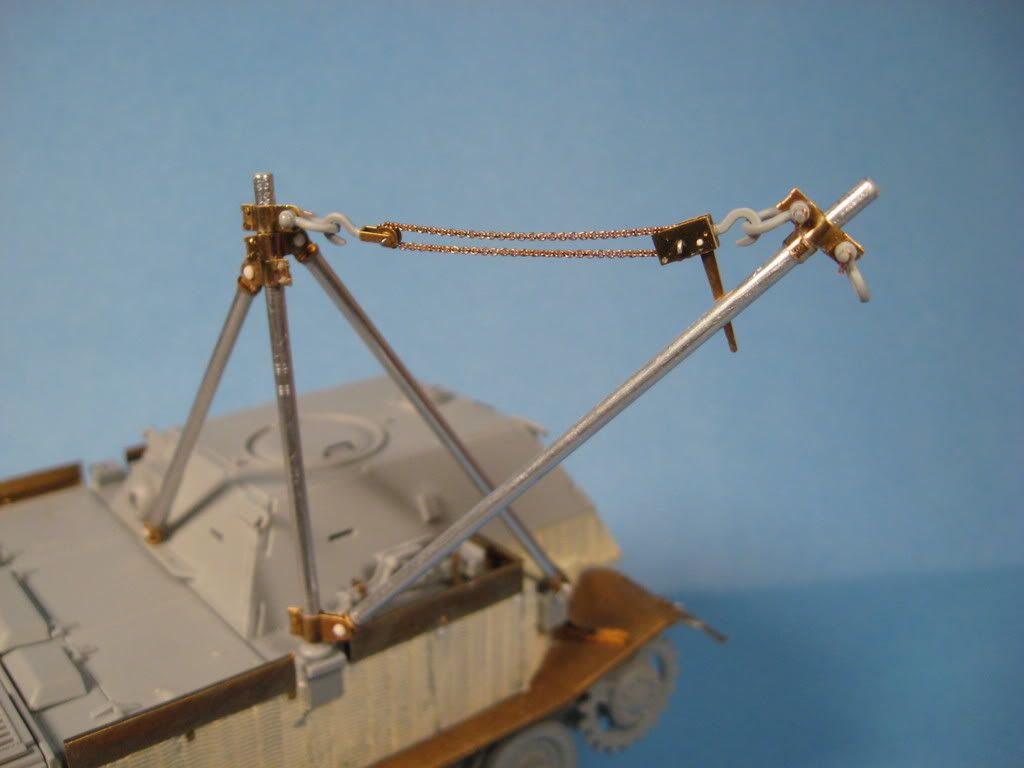
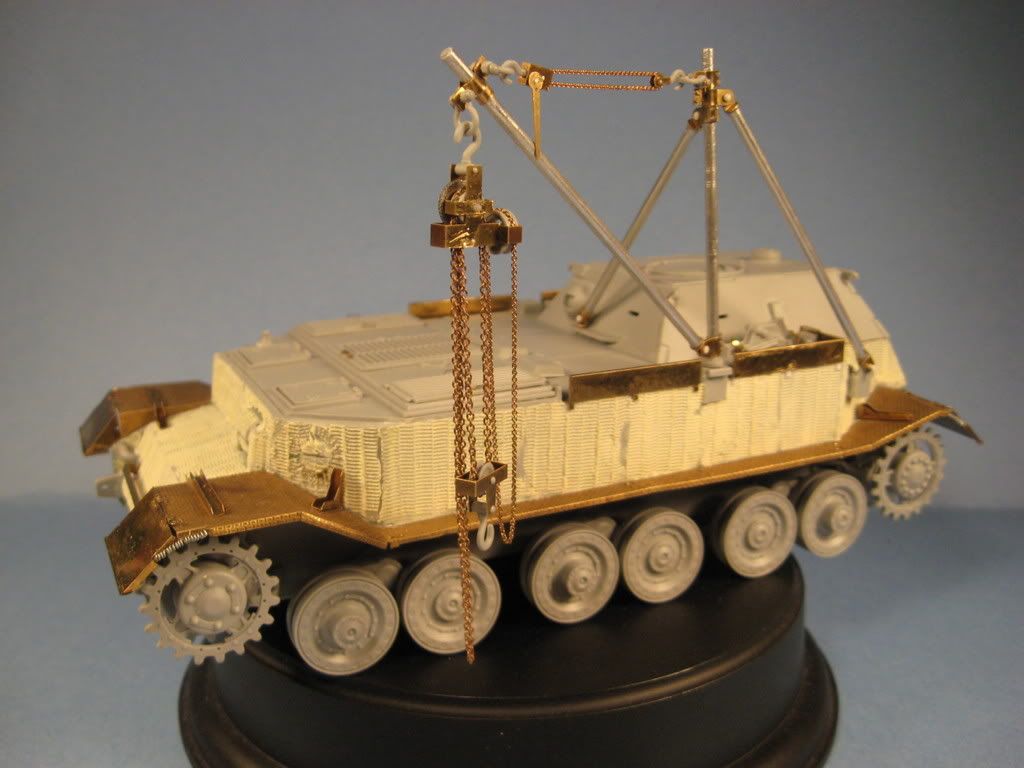
Okay so heres were I’m at …The crane
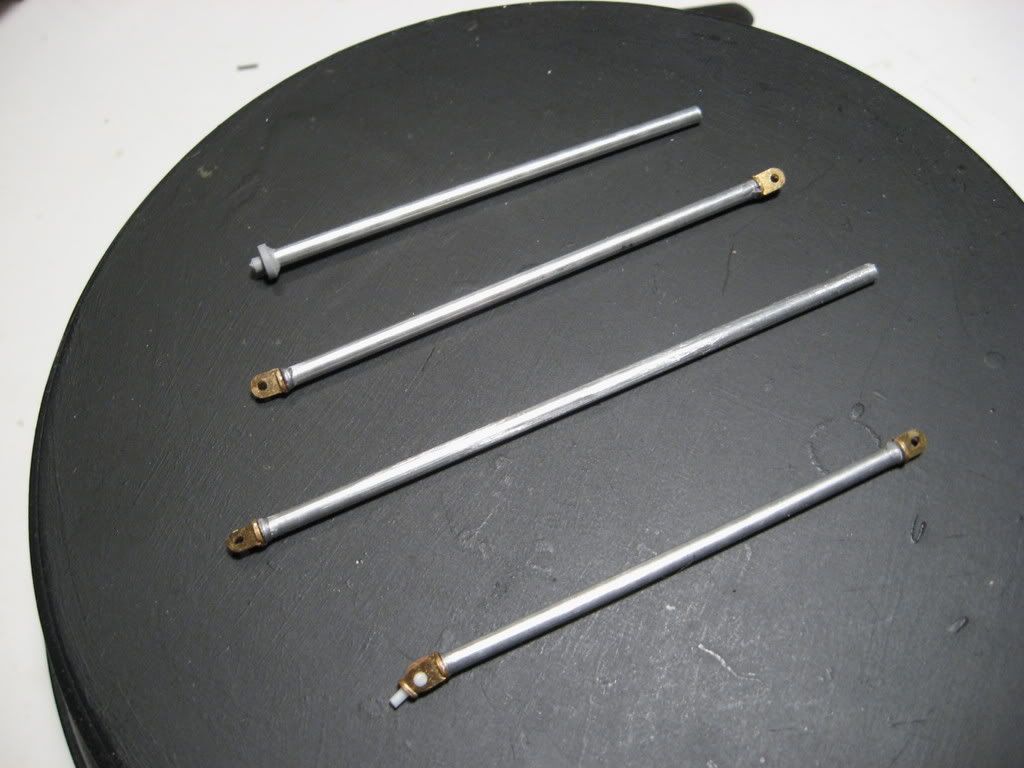
I started off by scraping the the plastic rods supplied with the Voyager set and making some new one’s from aluminum rod of the same diameter. I cut them to the correct length and lettered to match the instruction’s. The mounting were tthen attached with zap gap ca.
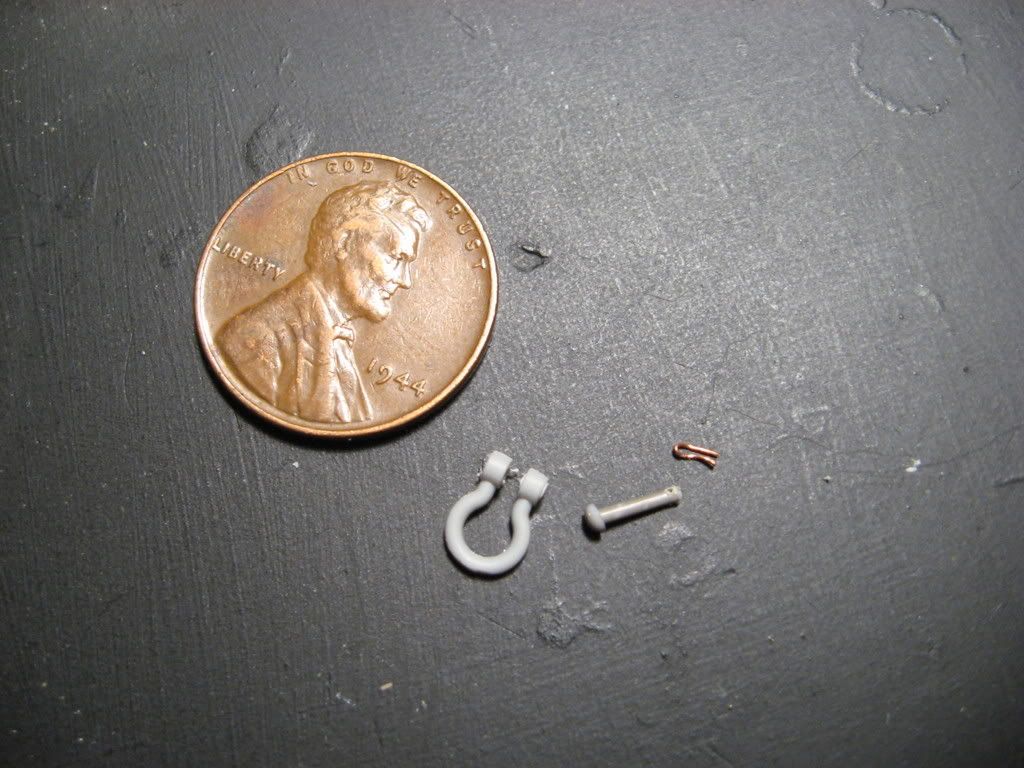
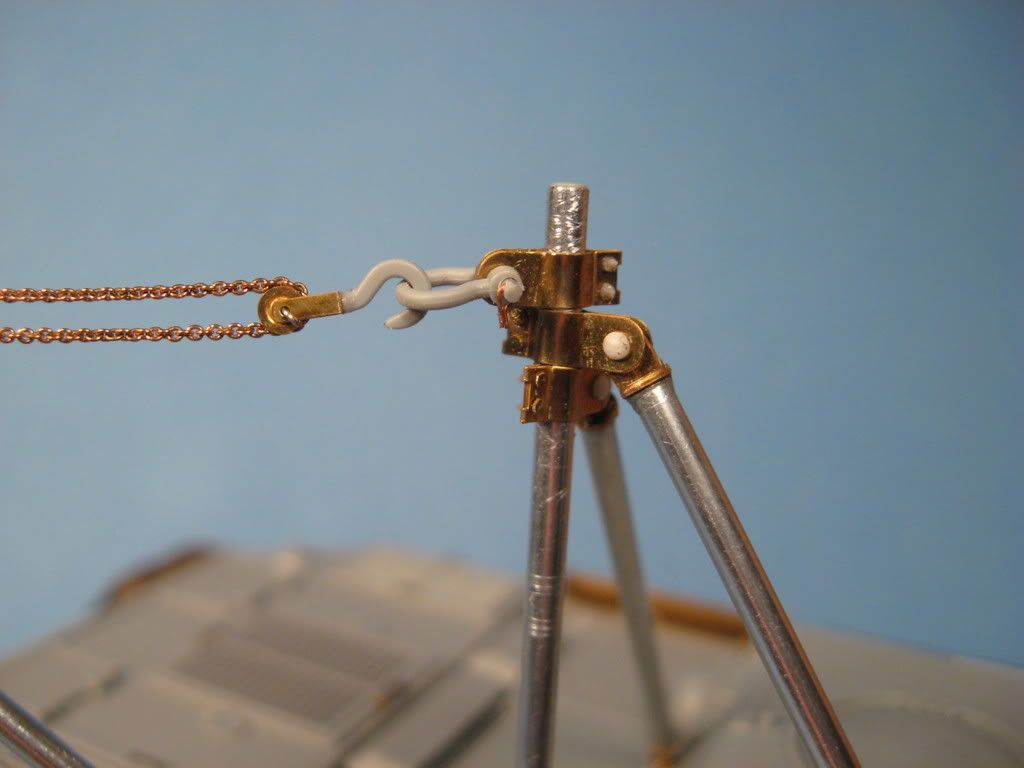
The shackels were lacking on detail so I drilled them out and made pins from stretched sprue and mushroomed the ends by applying heat. Then using the smallest drill I have I drilled holes through them for cotter pins made of copper wire.
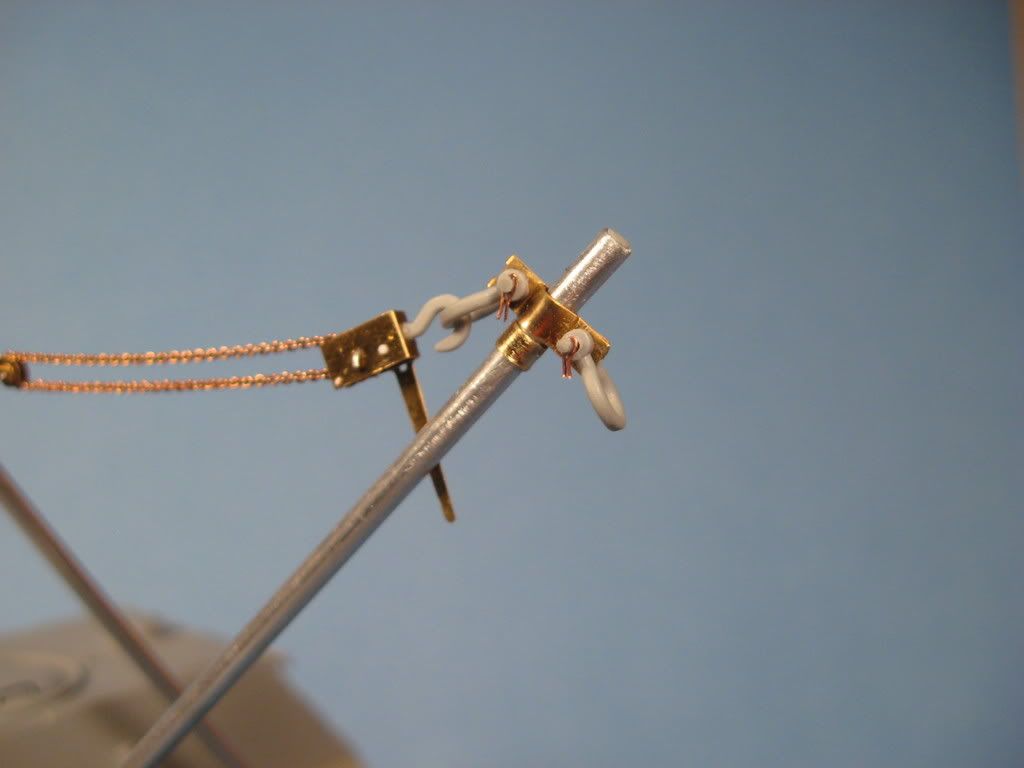
The mounting attatchments were assembled according to the Voyager instructions and grant line bolts added. I replaced the kit supplied chain ,it was to big, for one that I picked up in the model ship sec. of my lhs.
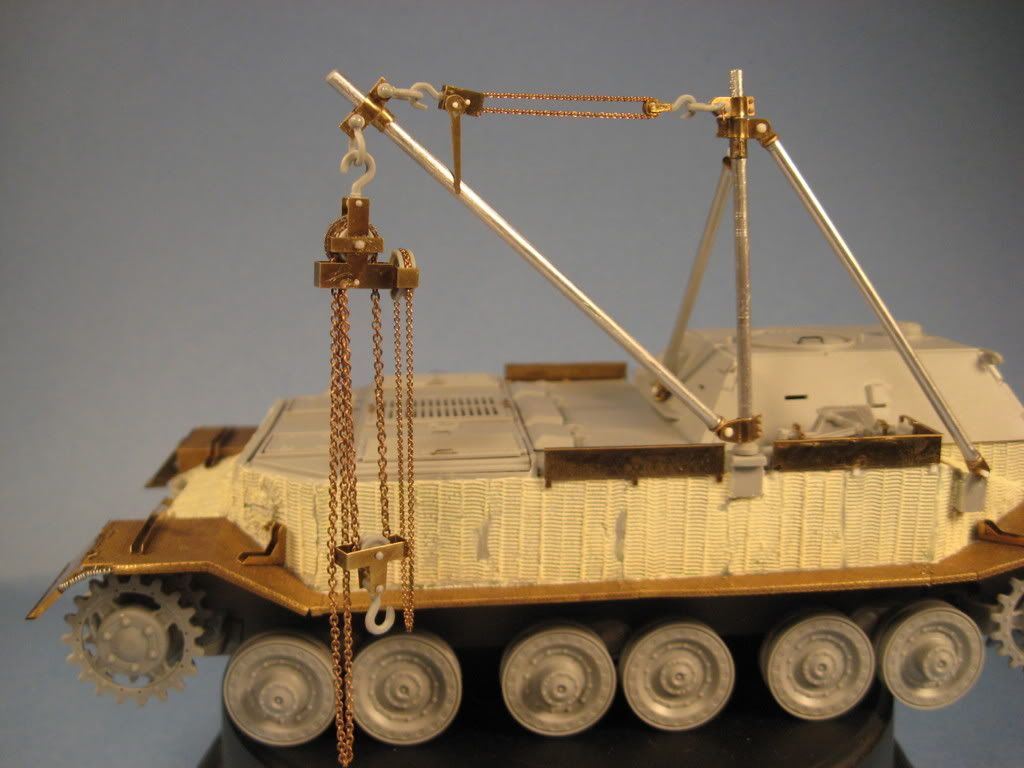
And here it is on the vehical.
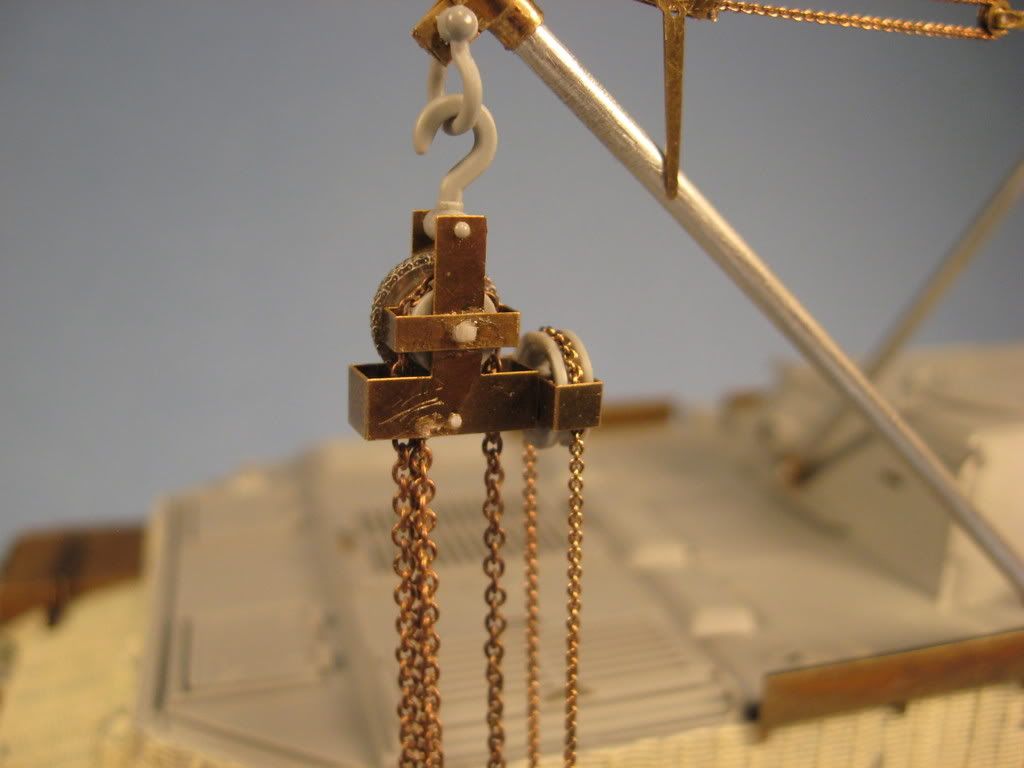
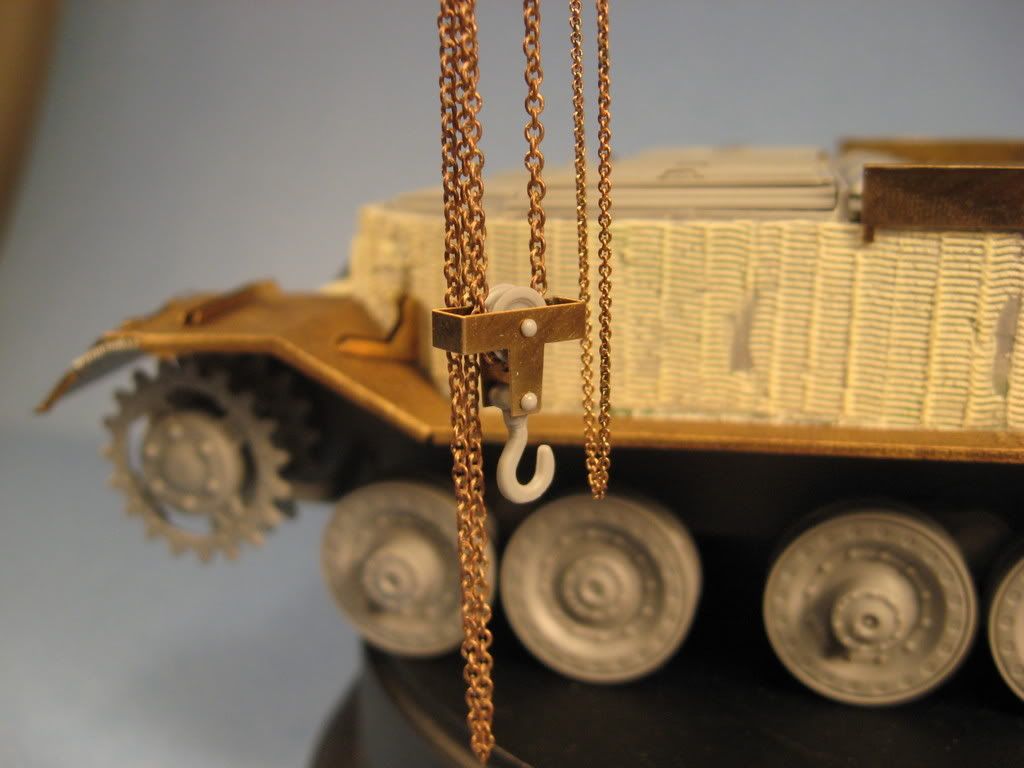
Tonight I’ll be working on the block and tackel for the crane. More updates soon.
Thanks Max I’ll tell ya had to take a break a couple of times to keep my eyes from locking up lol. Thank god for advil. As far as the penny goes… pure luck of the draw. Reached into my change jar and thats what came out.
That is amazing work. The block and tackle looks functional. The clevis pin with the cotter pins is really the extra effort. This build is gonna be cool. Keep plugging away, It’s looking great!
Stunning work!!! Beautiful job on the zimm!!! I still haven’t got the guts to try making my own yet. All that photoetch work is amazing,(all those tiny chains, tool clamps,etc…)my head is still spinning!![:D] Great job, can’t wait to see her painted up.
Sharp work! Not sure if it’s the photo angle, but the radio aerial appears a little on the tall side. The standard radio aerial used by the Germans was 2m in length or 57.14mm in 1/35 scale.