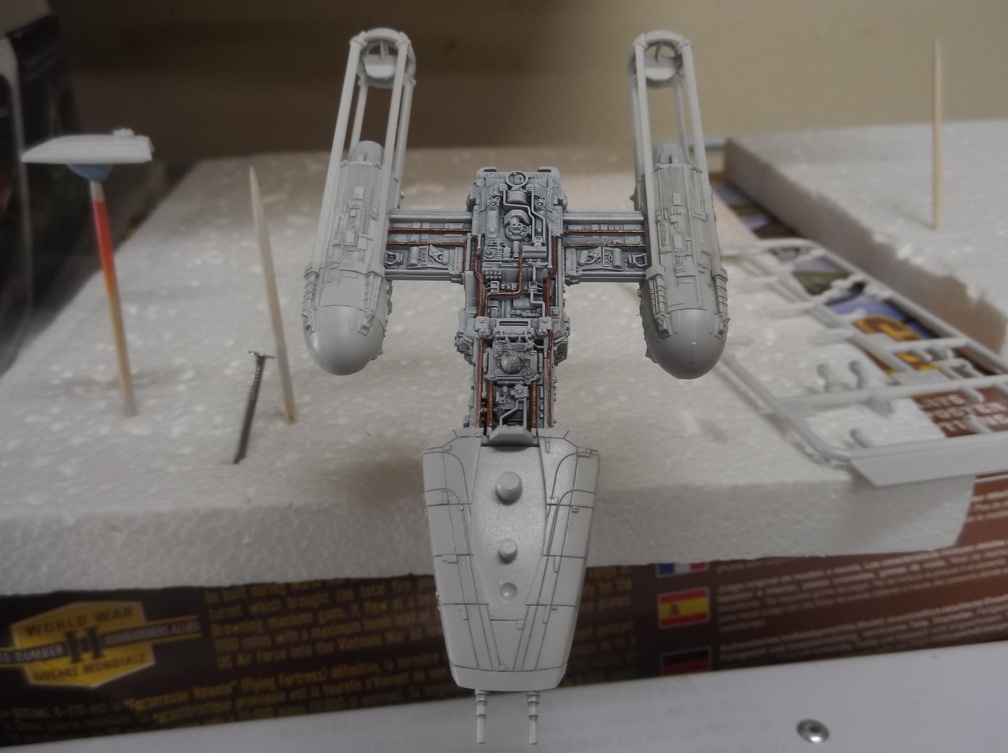
Next project on the bench.
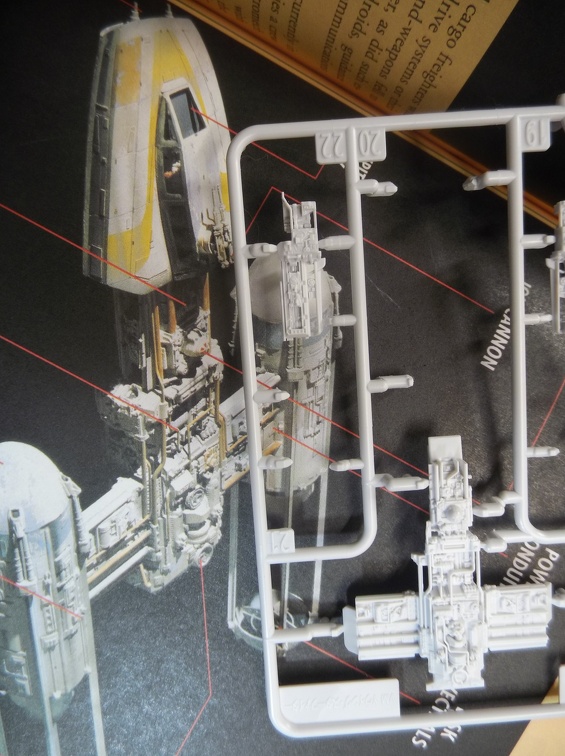
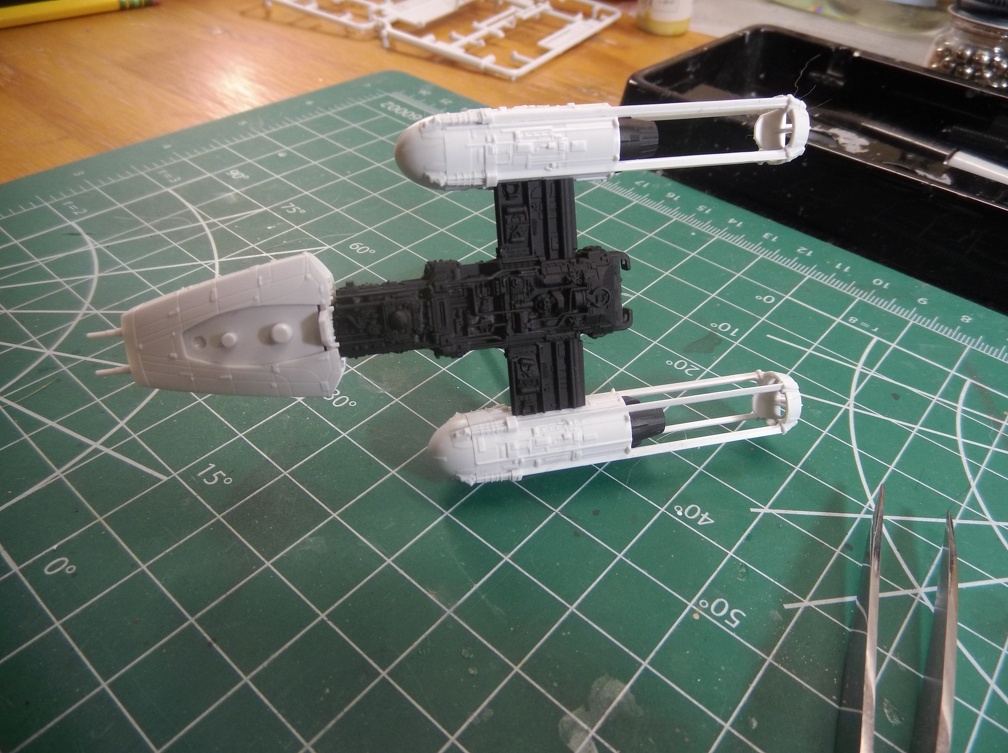
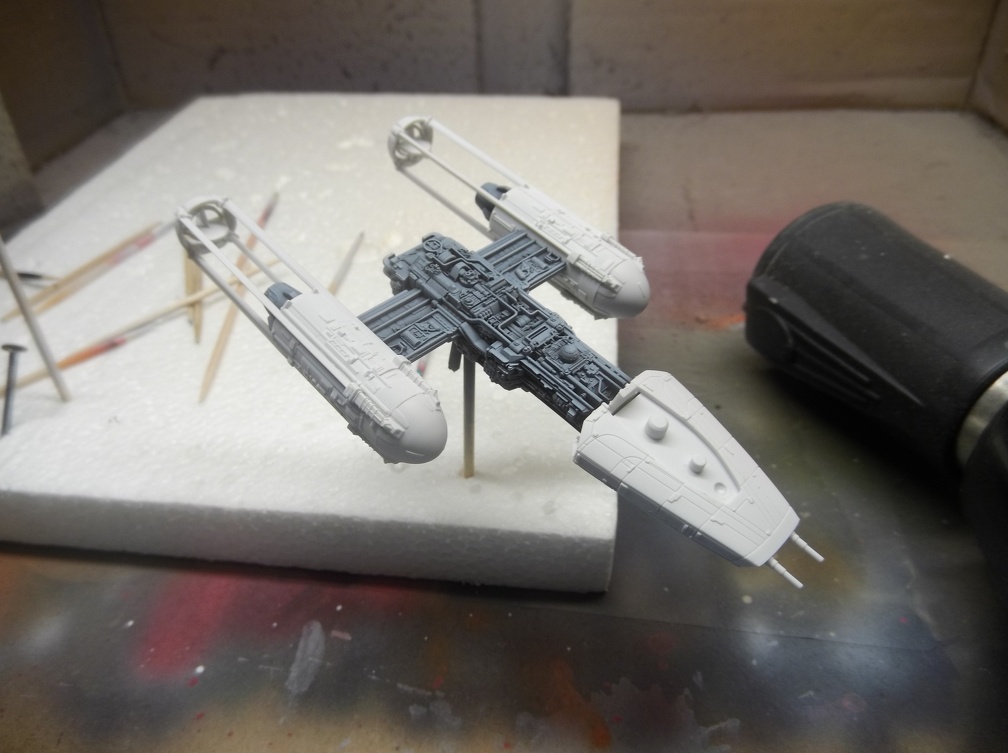
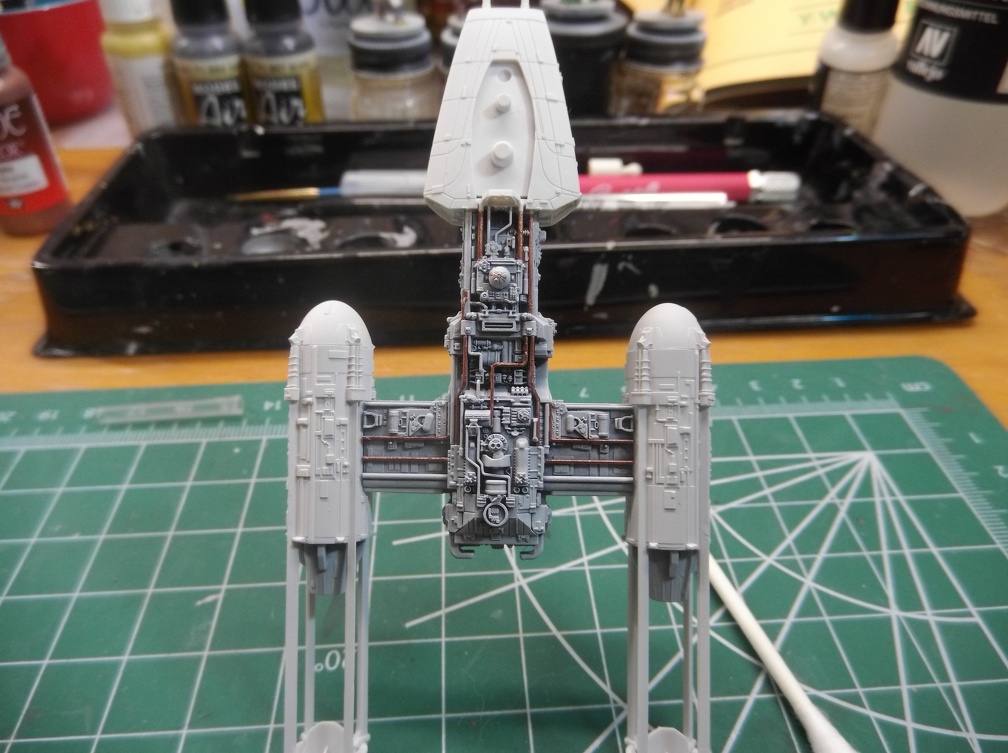
Always amazed by the level of detail they put into these.
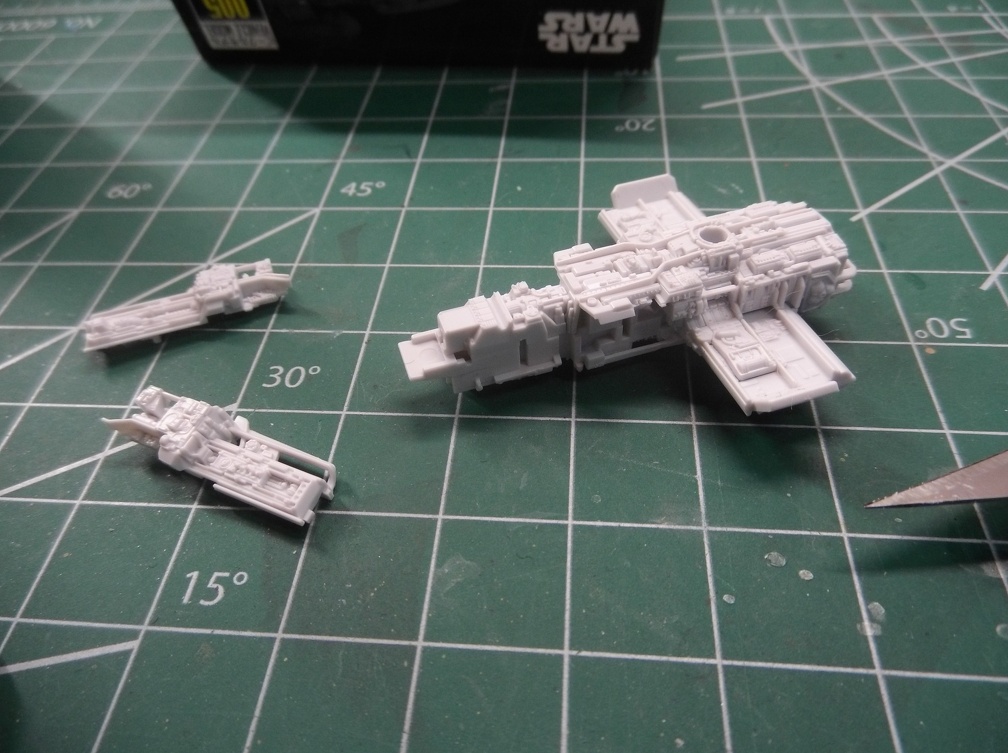
Started assembly. Will prime with black to attempt getting the deeper shadows.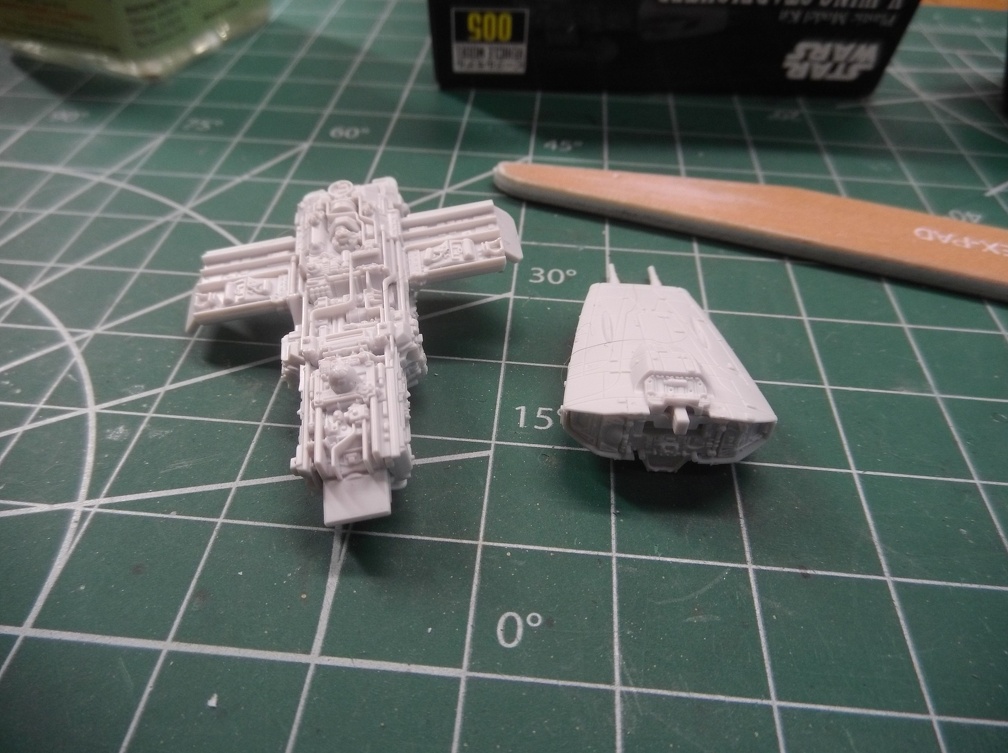
Next project on the bench.
Always amazed by the level of detail they put into these.
Started assembly. Will prime with black to attempt getting the deeper shadows.
That looks very interesting
I’m looking forward to watching your build and taking some notes.
Agreed about the detail. I wish all models were as good. Looking forward to seeingmore of you build.
Oh cool!
In the last couple days done a few things.
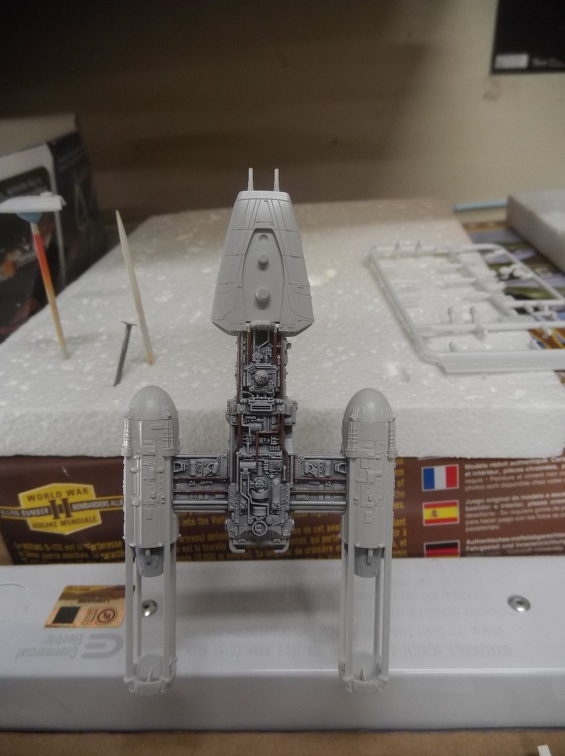
Primed the main body black as that has the deepest details. Decided to do the engines black as well, will see how that turns out. Left the rest bare to be primed with primary light grey color.
1st coat of gray. Each pass is with the airbrush at about a 45 degree angle. Alternating front to back and then 30 degrees left and right. Trying to get good even coverage all around.
2nd pass using the same methodology.m Can see some of the black hiding in the deeper recesses.
3rd pass. Decided that was good enough for now and to let it cure. I’ve not tried this method before. Debating as to whether I want to try dry brushing the final coat to further preserve the color modulation.
May try the dry brush first as it won’t really change the end goal.
It’s fun to try new things but it always leaves you wondering how it will turn out. Worst comes to worse the model takes a bath and I try again.
I think you’ll need nothing more than a light wash just to pull a few of the upper surface details back out. So far, this is brilliant.
Cool, that was my hope. I appreciate the input. Sometimes I get lost in my own head and it’s good to hear other’s take on an idea.
I’ve only worked on a couple of these tiny models but each one has been a learning experience and tons of fun to do.
Scanned the stickers and boy do they look ugly. No where near as cleanly printed as waterslide decals.
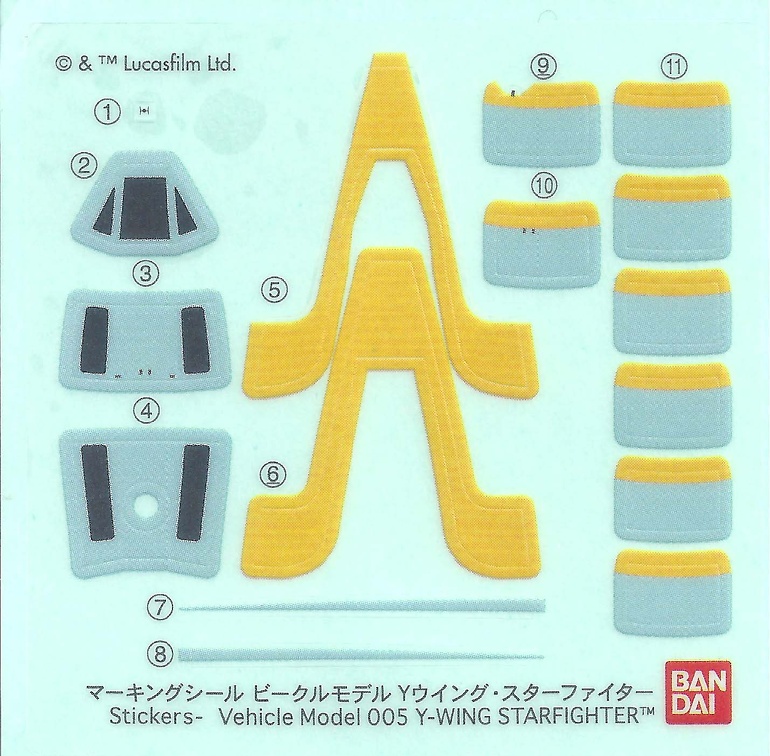
Cleaned them up some. I don’t plan to use the cockpit decals. I think it looks better when painted. These are shown much larger than how they will look when printed. I left the rough edges as they won’t be discernible to the naked eye and may help with the impression of wear.

With that done I can start picking out some of the details on the ship. I picked up the Vallejo Game Color Metallics set just for this ship. It had the range of metals I was looking for. It was a toss up between “Glorious Gold” and “Hammered Copper”. The copper won out.
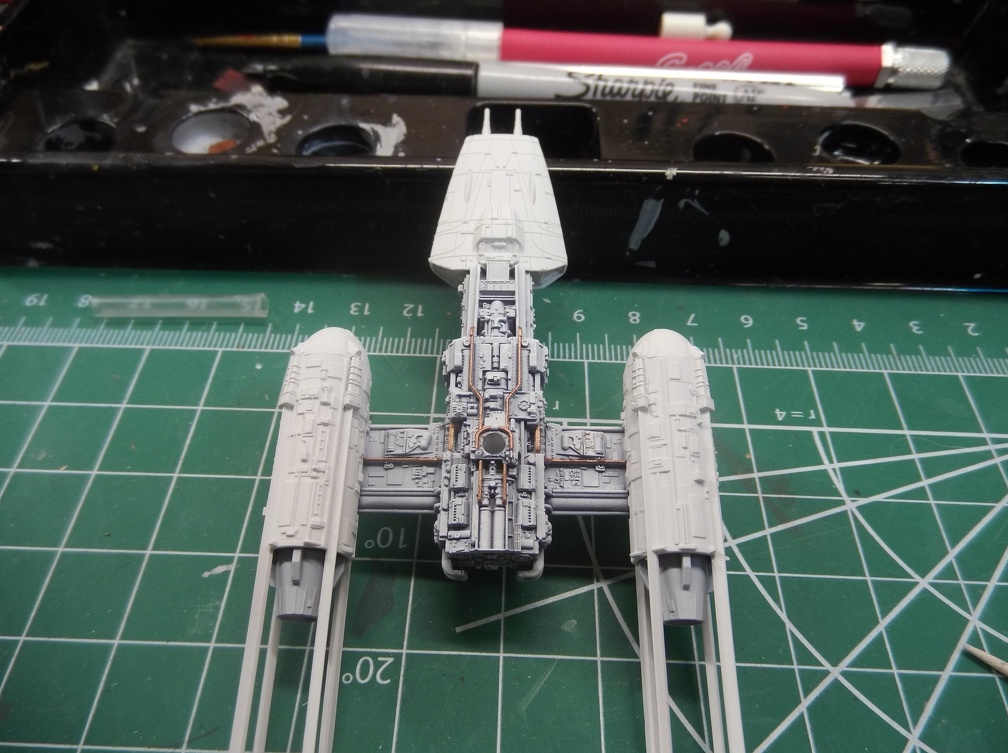
Really pleased with how those pipes came out.
Working with such small detail has it’s own special requirments. Have to remind myself to work in even smaller sections and to clean the brush regularly. Using a 4/0 brush it only takes a minute or two for accumlated paint in the bristles to dry out. Turning a smooth coat of paint into a chunky one.
The process is litteraly paint a sub-section, rinse and dry the brush, continue painting the section. Not unusual for a single pipe to take 4 or 5 cycles of this to complete. Overall it took me nearly two hours just to do what is in the photos.
After letting that cure I hit it with gloss. The models always look weird to me after a gloss coat has been applied.
Pin washes to pick out the panel lines. Trying to keep it as clean as possible to avoid the grimmy look. Going to apply the same final wash to this that I did on the X-Wing. A very diluted brown wash, but that won’t happen till after the decals have been applied.
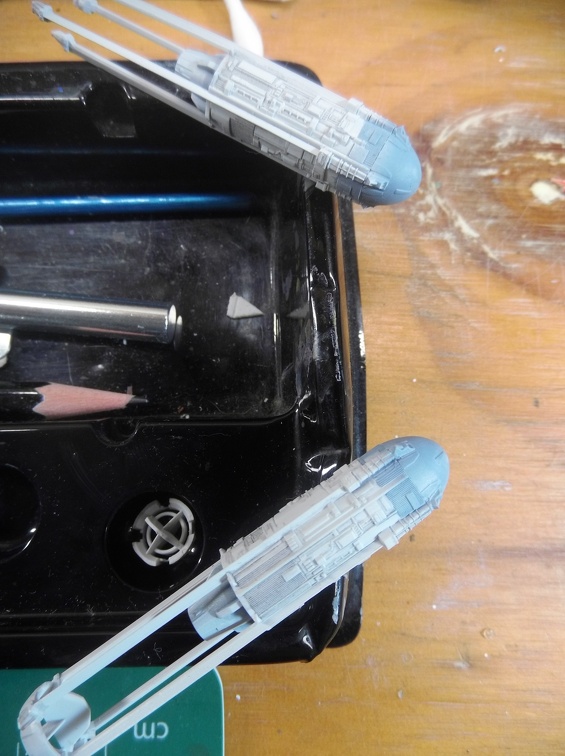
I decided not to use the decals for the nacelles and instead went with painting them. I think it will look better in the end. It’s a mix of Azure and Medium Sea Grey. This photo is after I coated the forends with AK chipping solution and then hit them with that same blue/grey mix. They’re in the process of drying now. Not sure how this will turn out but am hoping for a nice worn look.
She’s coming out great! That’s a heck of a lot of detail in such a small kit and you’re doing a fantastic job bringing it out!
Thanks! Detail like this makes me feel like I’m a kid in a candyshop. There’s an almost overwhelming urge to apply paint to everything. it’s taking a lot of restraint to just do a few of the more prominent ones. Keeping it simple for a first try and see how I like the look of it.
Since this is going to be one of a small fleet, there’s plenty of opportunity to experiment on the later ones.
It’s so hard to believe that it took us this long to get standard scale Star Wars vehicles instead of box scale. I’ve been building Star Wars kits ince the late 70s when Star Wars first came out. We didn’t get a Y-Wing until the snap kit when Return of the Jedi came out and it was well into the 2000s when a standard scale Y-Wing was released by Fine Molds and then Bandai.
Great job.
That’s looking really nice. You must have a robotic arm to get those pipes looking so clean and precise.
Unfortunately I completely missed the Fine Molds releases as my hobby was on hiatus during that era.
I consider myself fortunate to have the Bandai models available. Comparing the 1/144 Y-Wings to filming model reference photos reveals amazing levels of accuracy. MPC was pretty footloose with the details. Did a bunch of the MPC kits back in the 90’s and they always seemed a bit soft on detail.
I got lucky recently and was able to snag a Bandai 1/72 Y-Wing. It’s got a place of honor in my stash. ![]()
Way back in January 2002 (I found my old post), I bought two of the Fine Molds X-Wings from Hobby Link Japan. The total price was $44 delivered when one of the kits sold for $30+ in the US ($18 a piece plus $8 shipping) and took 20 days to arrive from Japan to Boston, Mass.
I grabbed just about every Fine Molds Star Wars kit they put out in 1/72 except for the Falcon. It was rather big, lots of parts and I figured when completed, I wouldn’t have a place to put it.
My biggest snatch was the Slave I kit from Target online. They had a bunch of “Japanese Colectibles” listed on their website. Someone in my model club alerted us and we basically wiped out their inventory. I scored both the Jengo Fett version and the Boba Fett version with white metal Han Solo frozen in Carbonite.
While the Fine Molds kits are awesome, well detailed, finely engineered and recommended, the newer Bandai kits are just a breeze to build. And most importantly, readily available.
I still have FM versions of the two Slave Is, Obi-Wan’s Jedi fighter with hyperdrive ring, the 2 X-Wings, a Y-Wing, TIE fighter and Interceptor, and in 1/48 the Snow Speeder.
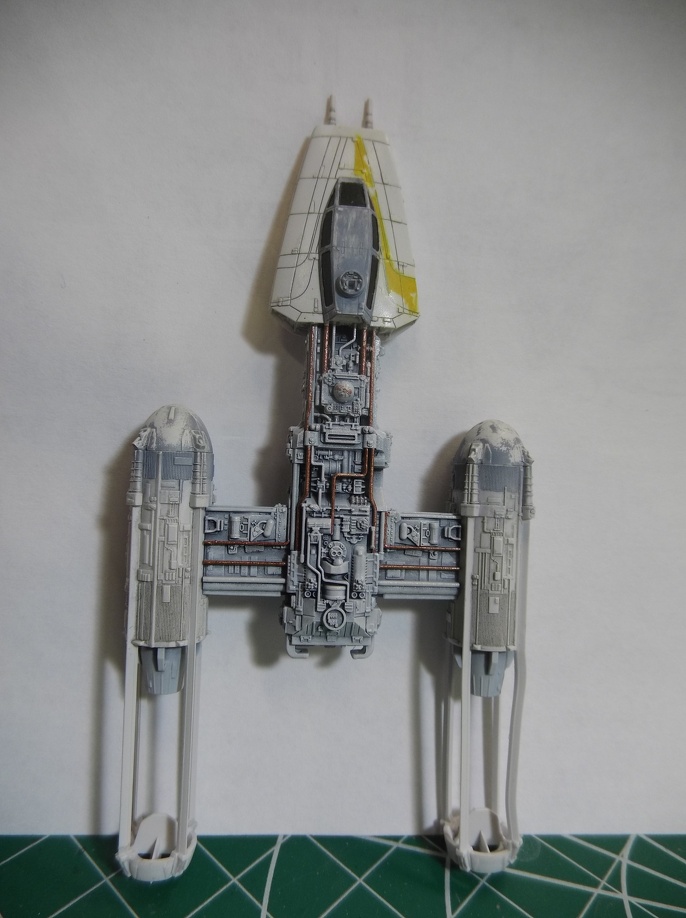
Not much has been posted on the build because of challenges with the decals has been holding up progress.
The U shape of the top stripe collapses into an unrecoverable mess when attempting to slide it off the decal paper. I’ve gone through a couple of printings with no successes.
I think I have a solution to this. I’ve bisected the stripe so it’s now in two parts. A left and right side. It’s set up to print several at once as I am pretty sure I’ll need the spares.

Looking forward to getting this decal issue resolved so I can proceed with the weathering and final details.
Thanks!
You know those little perfect moments where the brush seems to touch the model in just the right way but you can’t seem to repeat it? Well, in this instance I used up all those perfect moments in one go. I’m going to have to deal with a lot mistakes before it’s recharged. [;)]
Decals appear to be the current nemesis of my builds. I went through 3 full sets of the stripe decals before getting one that didn’t self destruct in the process.
The wavy support strut is because I hadn’t realized the model had fallen off my bench and landed on top of the space heater I keep near. I’d been doing a little clean up and hadn’t noticed I’d bumped it off the bench. First reaction was to wave fists at the sky. [:@]
Once I cooled down, realized it could be an opportunity for some unique battle damage. ![]()
Needless to say my frustration guage is heading to the red line. May step away for a bit in an attempt to get my mojo back.
Completed Project:
Splitting the stripes into halves was definitely a good choice. However, I still had to use something like 6 complete sets of stripes before they went down properly. Most of that is due to me still learning how to properly prep the waterslide paper.
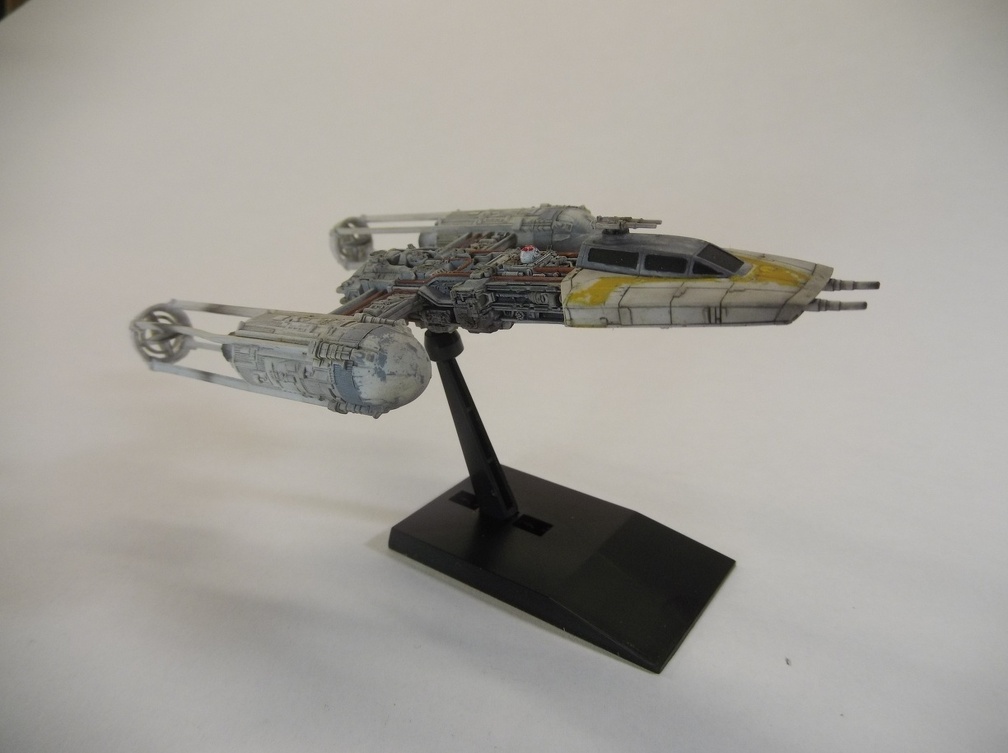
The weathering is a bit heavier than I first imagined but I like it. Made it feel like it was coming back from a rather intense dog fight.
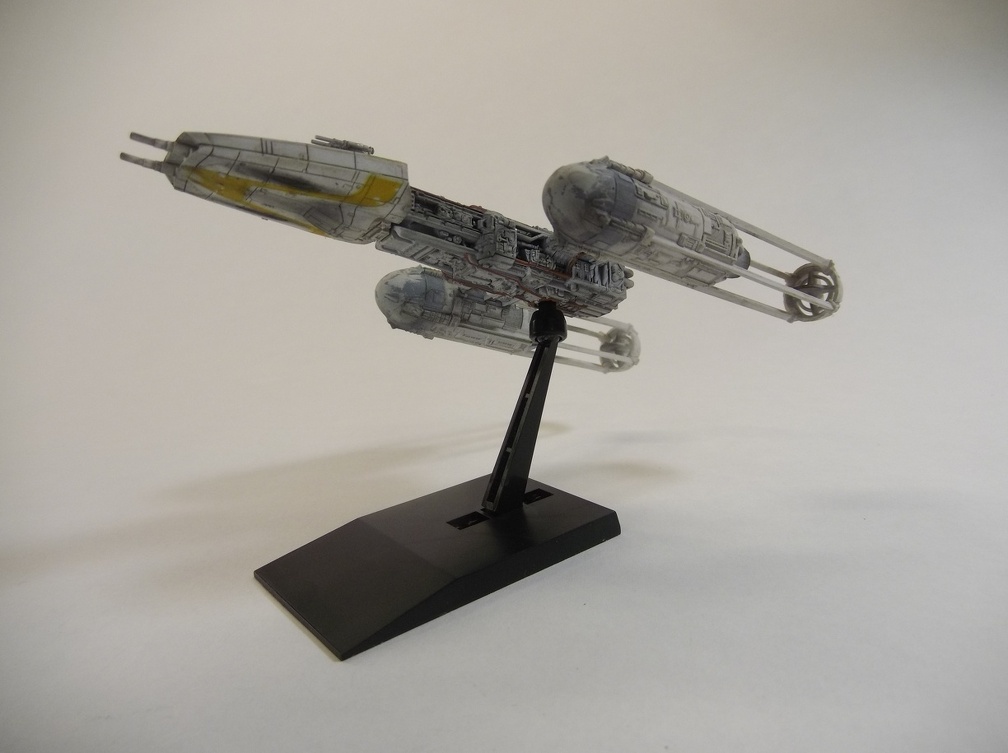
Some may remember the incident with the space heater. This is my attempt to use black pastels to indicate a shot making it through the shields and warping the strut. 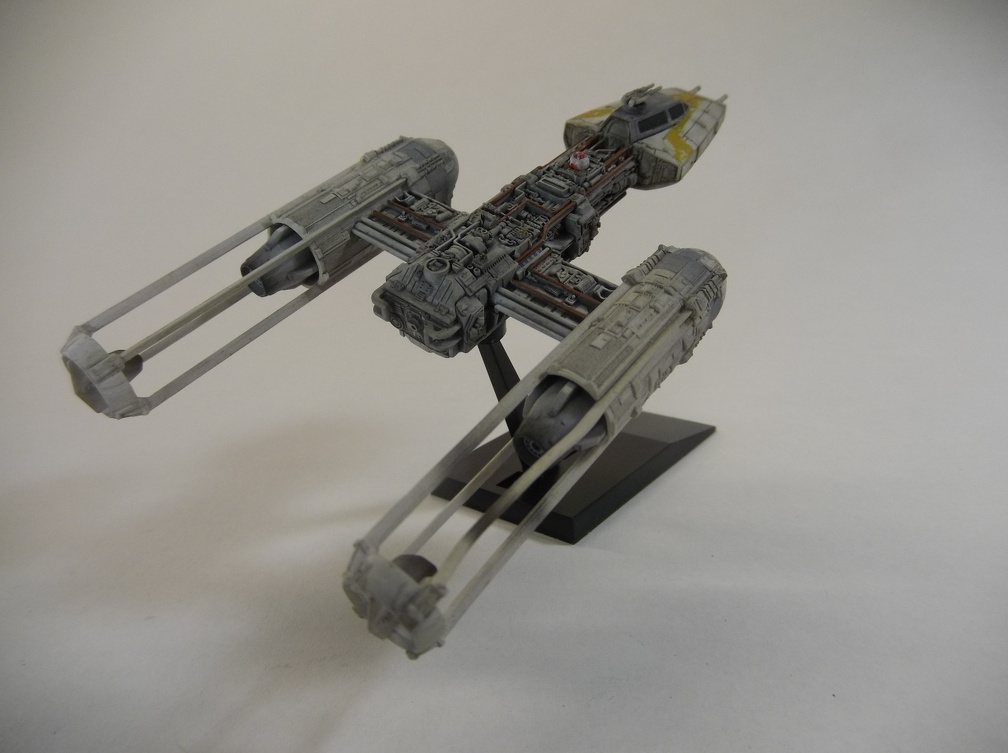
I am pretty happy with how the preshading went. When the time comes may do the next one with a wash for comparison.