I just realized I didn’t post this over here! Oops!
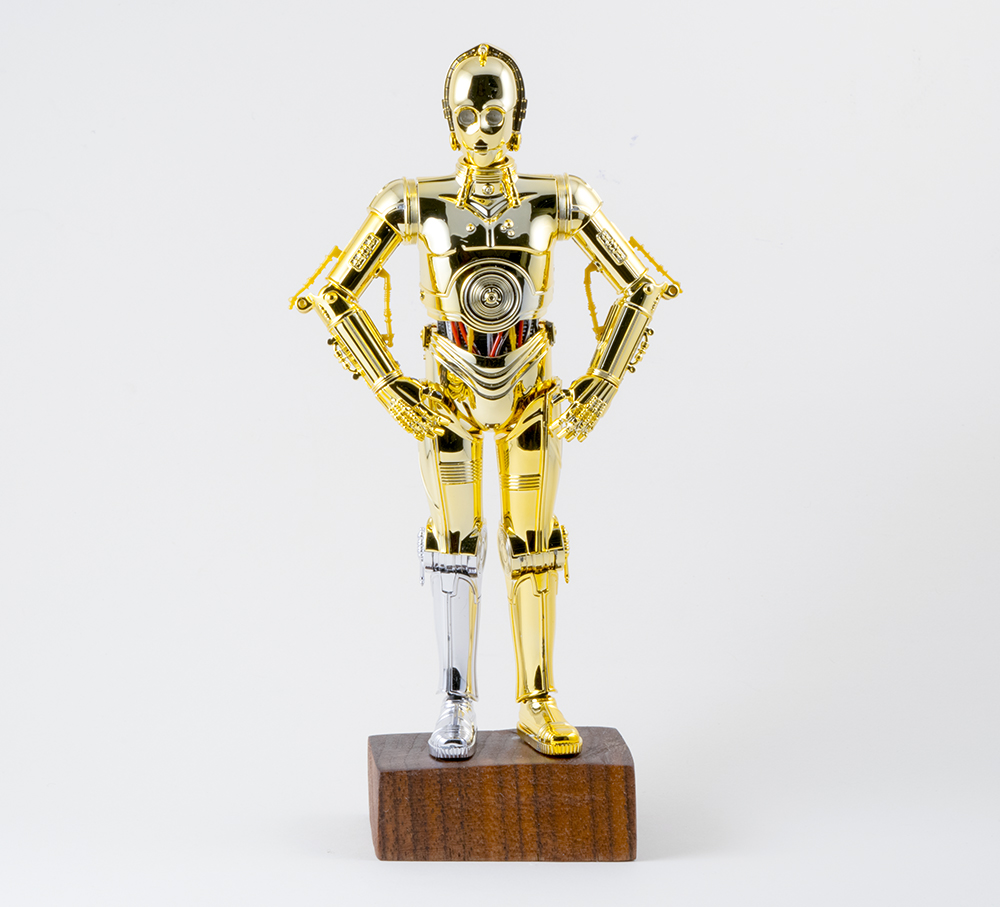
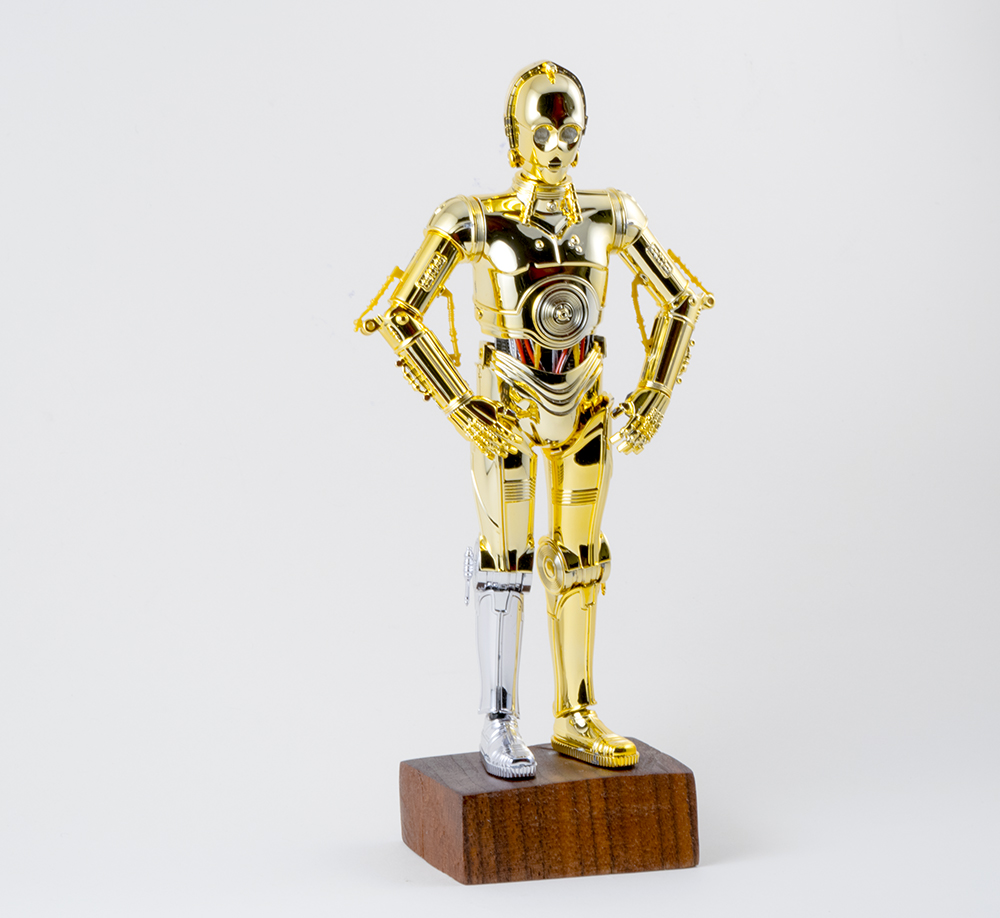
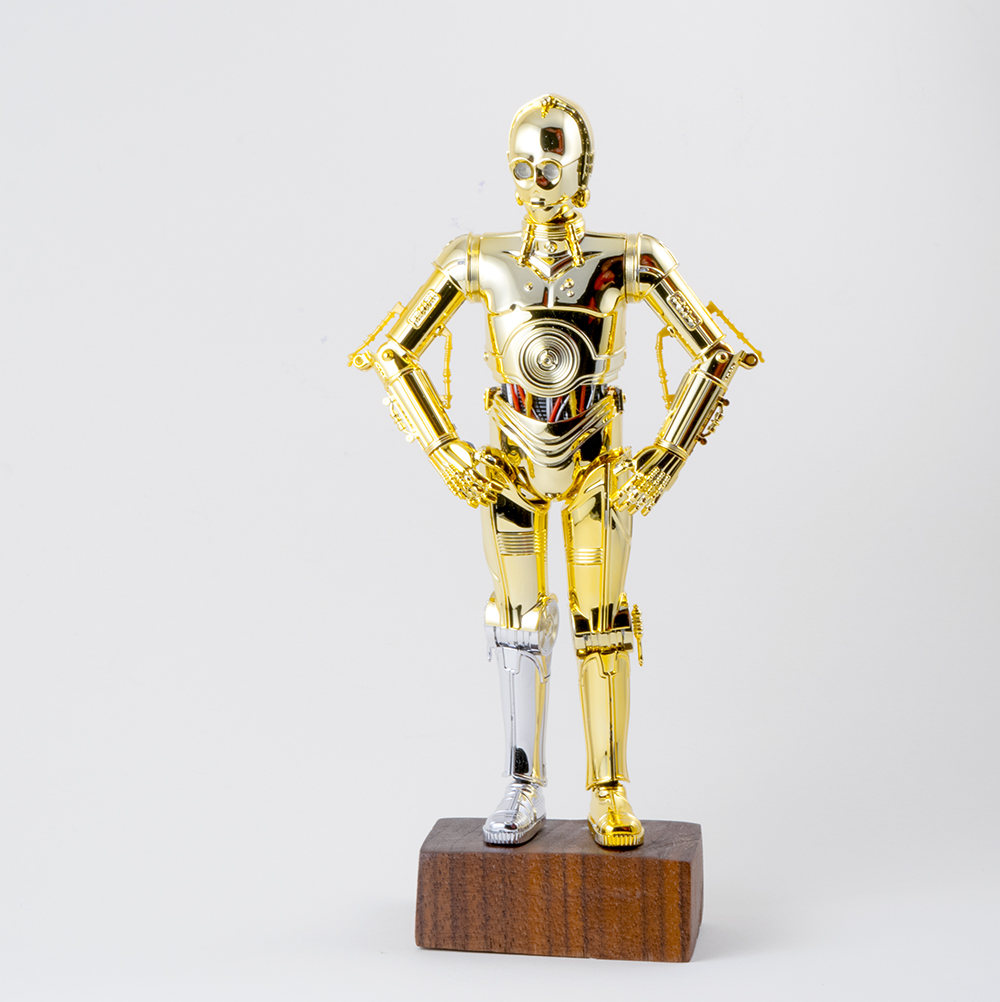
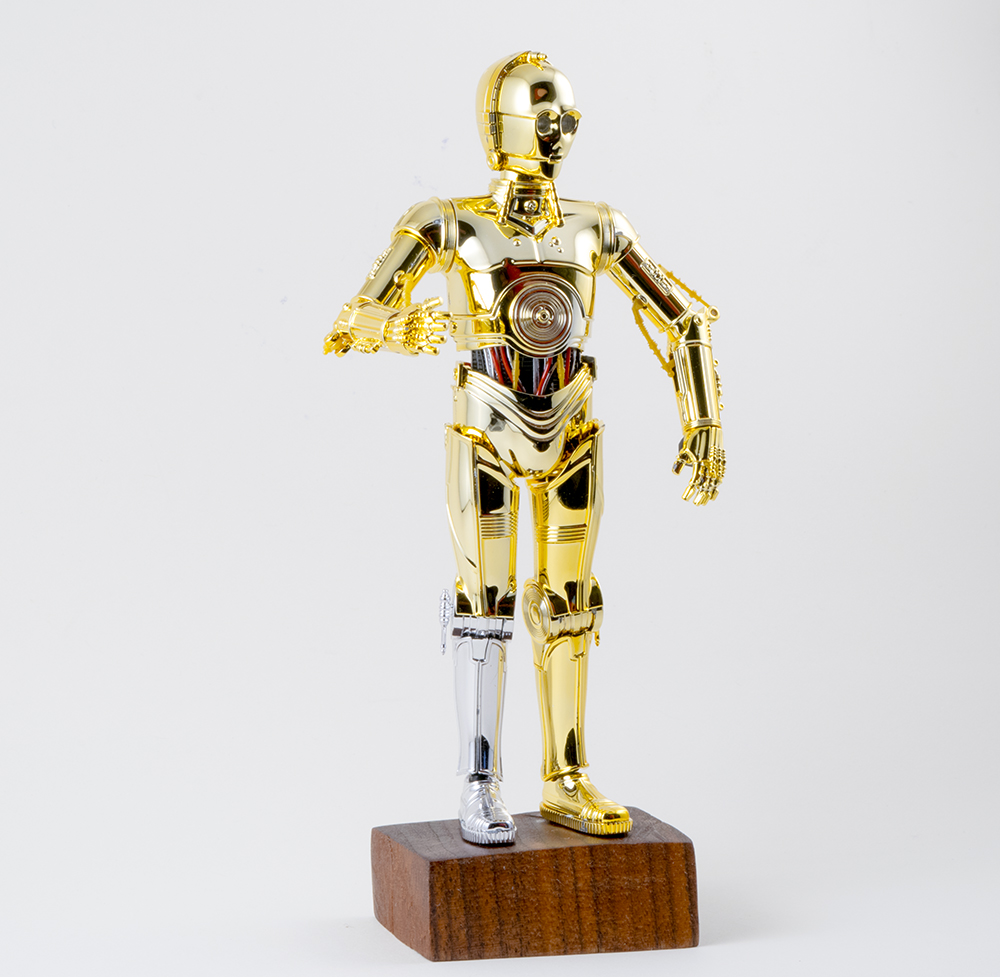
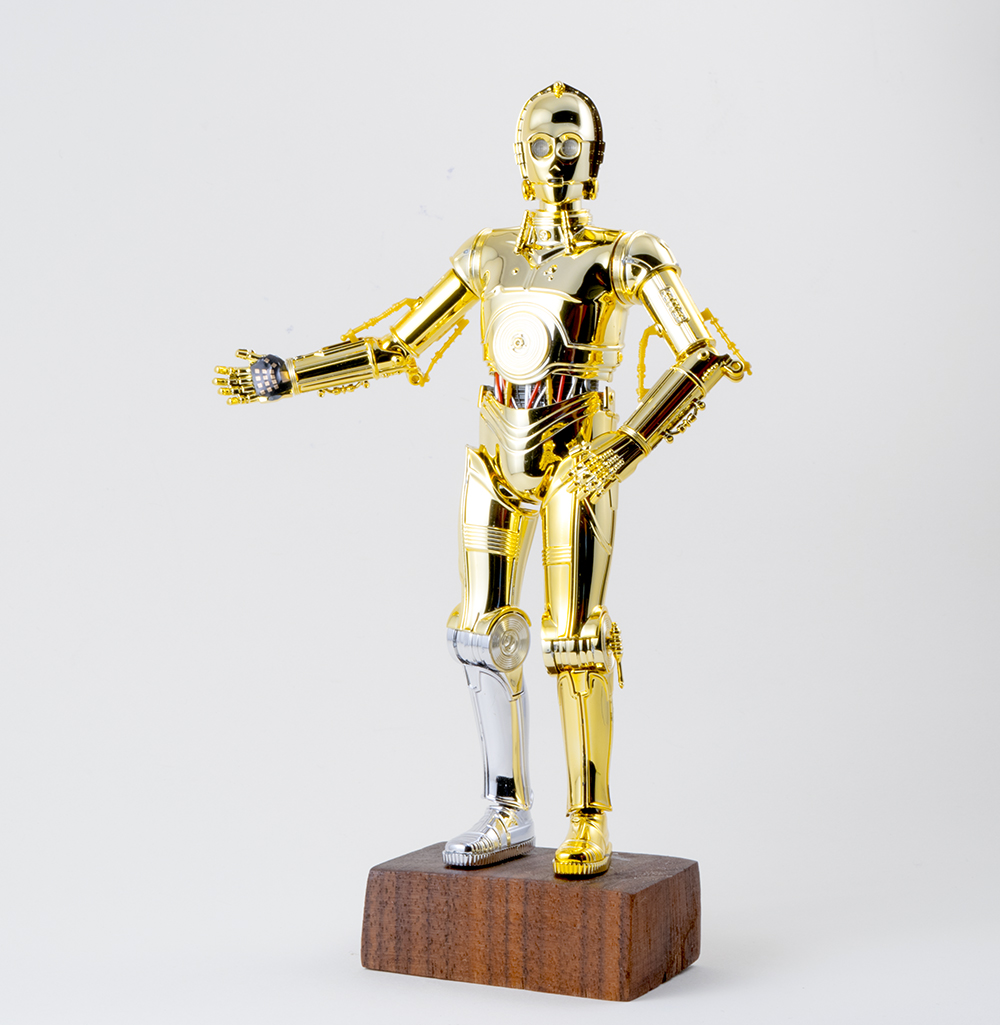
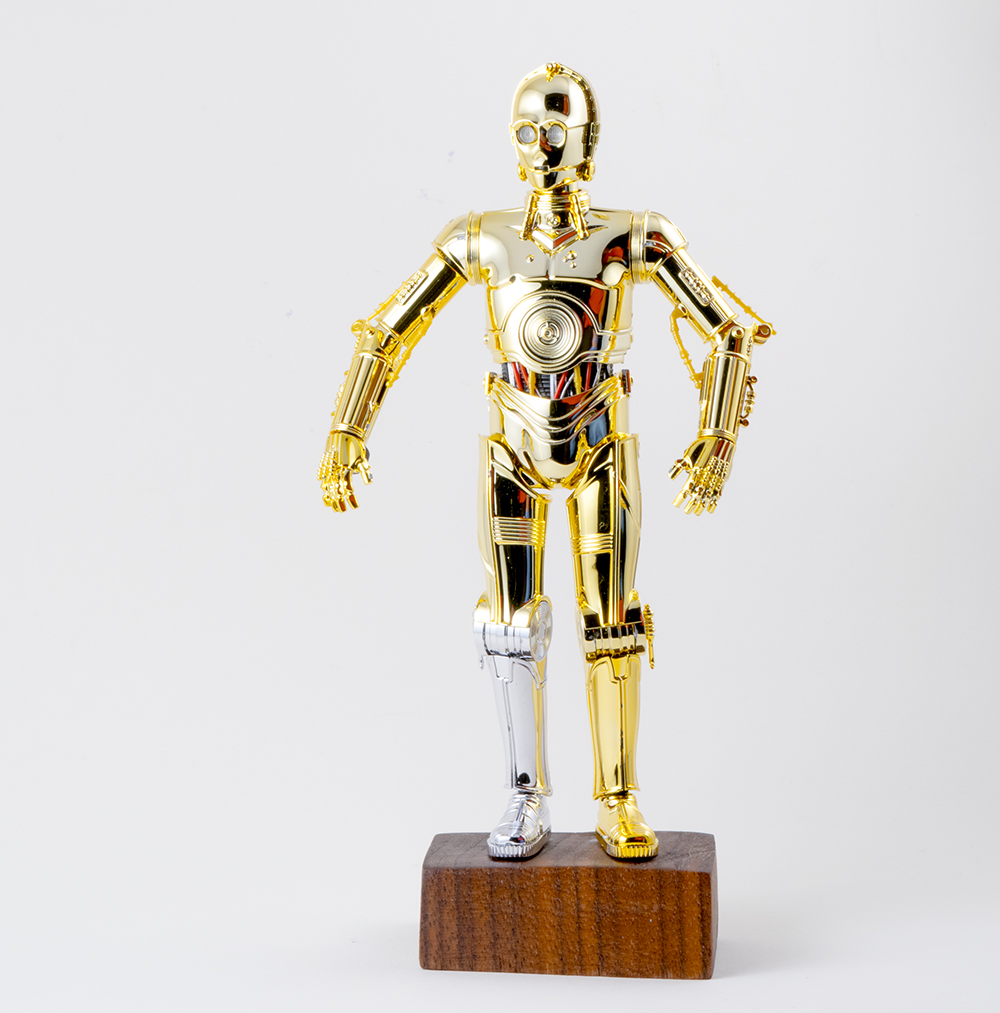
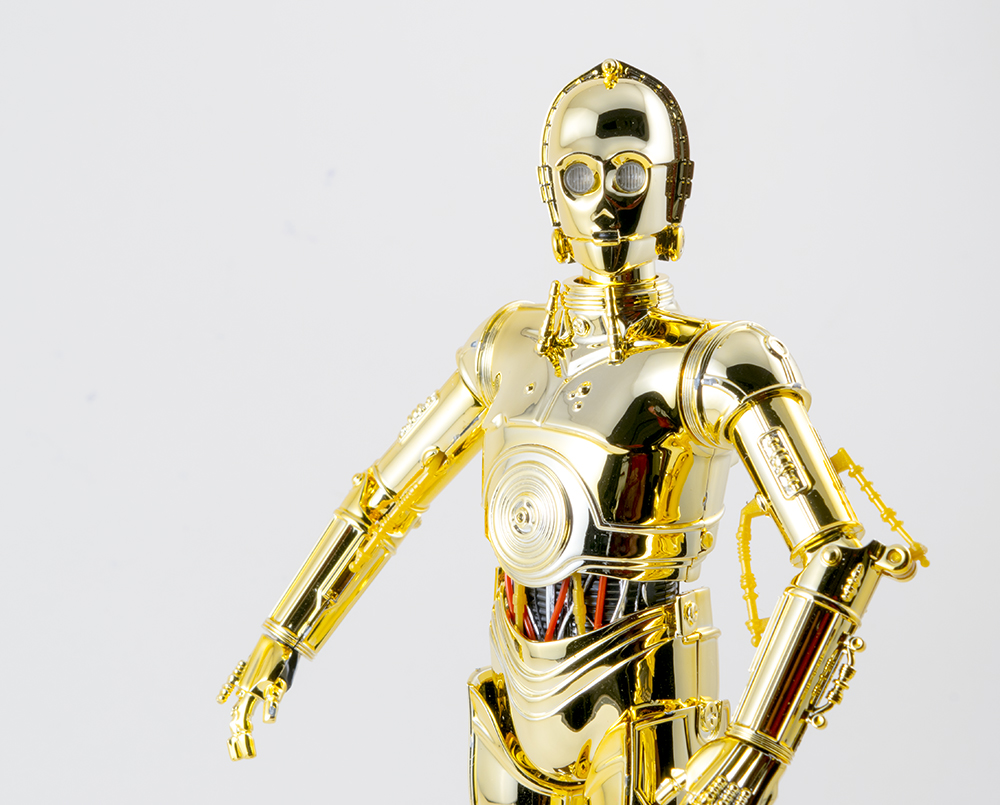
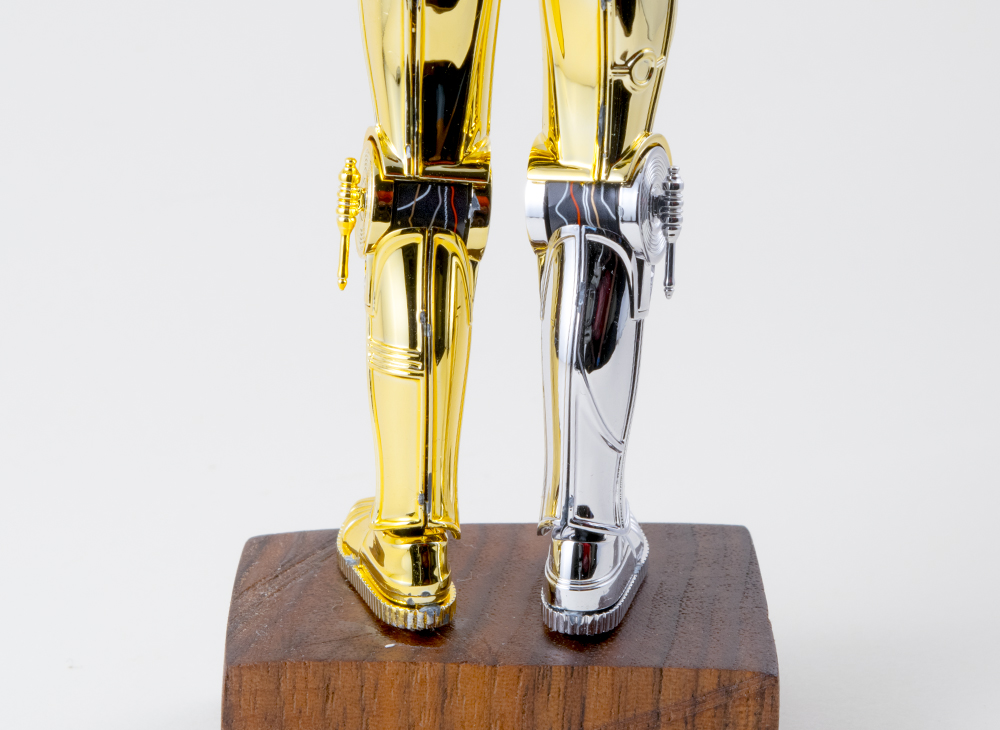
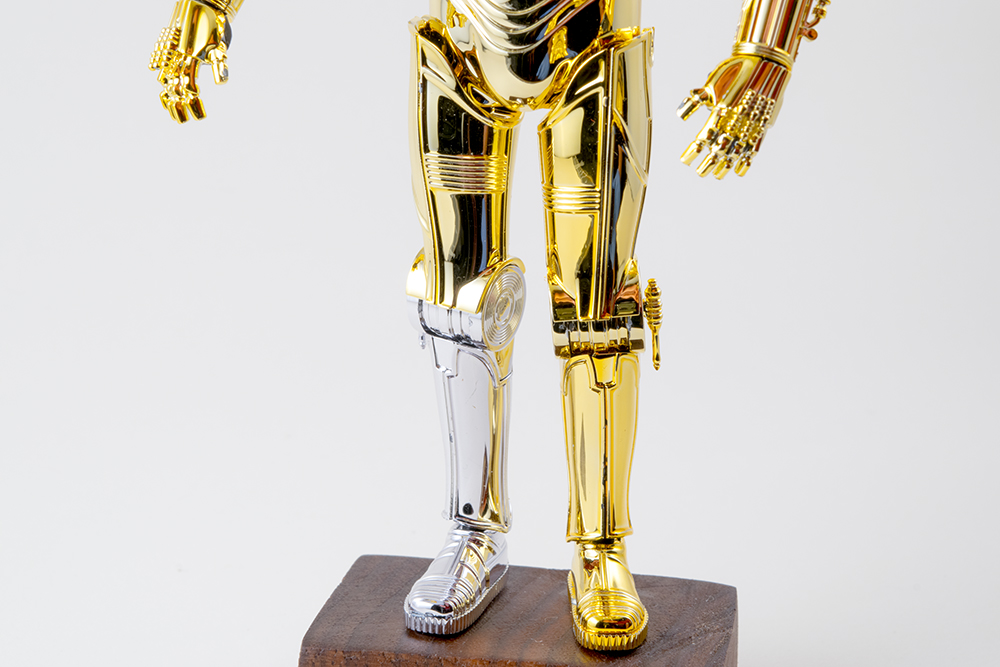
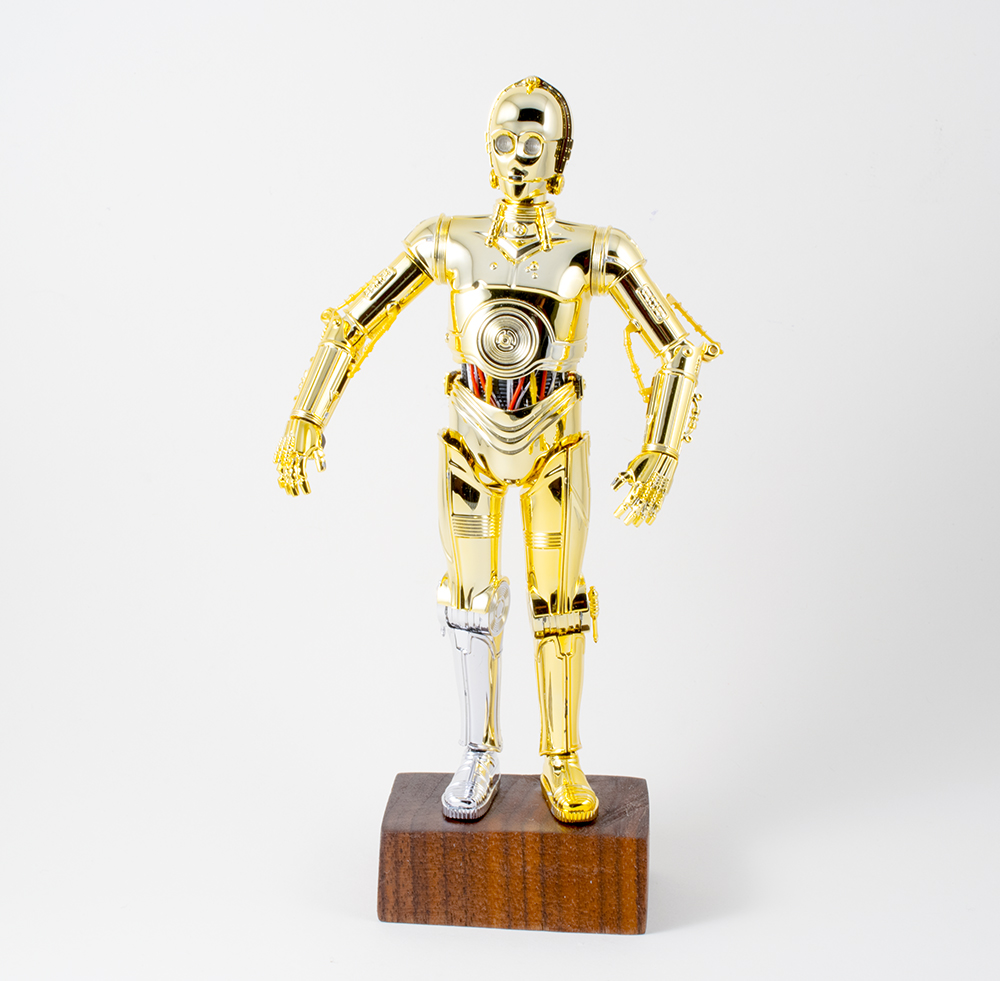
This was a super quick build for me. 1 hour 20 minutes. Not including the base or finished photos (see next post). This was more or less a ‘scouting’ build to see what I can do for the next ones. There is definitely potential for lighting, the eyes are clear and there is plenty of room for an LED. Maybe someone will make a set of photo etch parts for the eyes…they’re pretty small and it’s probably the ONLY piece of photo etch that the kit would require so it’s unlikely. Either way, here are the final pics:
Though my loyalties are towards the Empire, this is rather nice. Was this pre painted. I have been thinking about their Stormtrooper figure, but the pics I have seen so far have put me off.
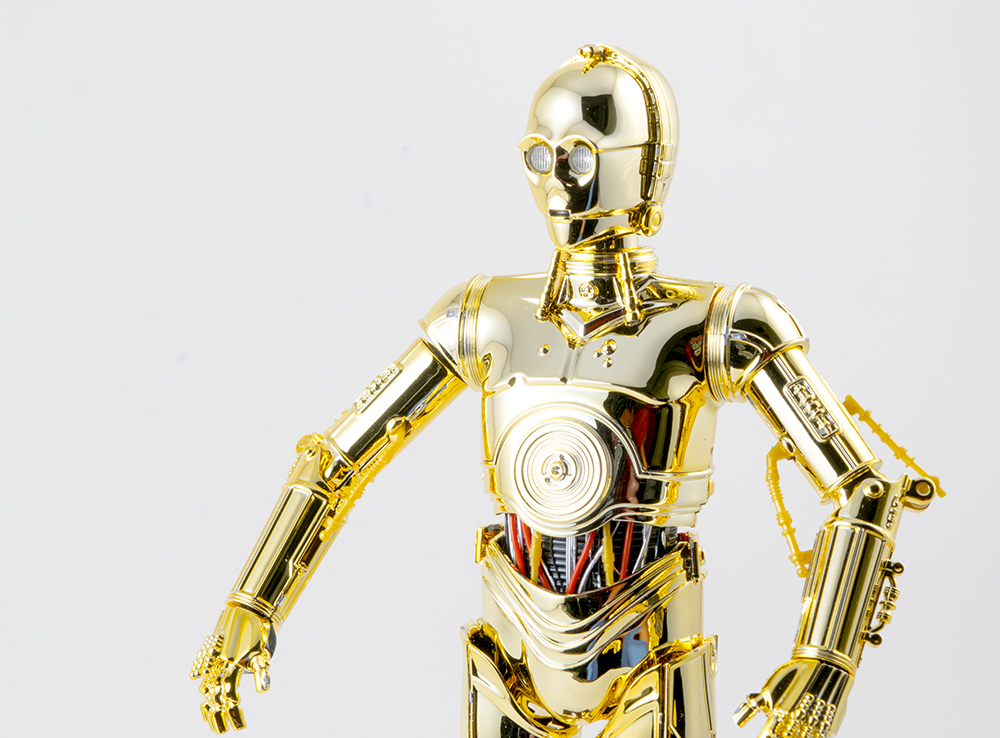
Yup, this is pretty much out of the box. I recommend going with the static arm pieces since the actuators are plated on those parts.
Agreed on the Troopers…they do look more toy-ish. This one does to a certain degree as well but can be managed with a little bit of weathering/oils, etc.
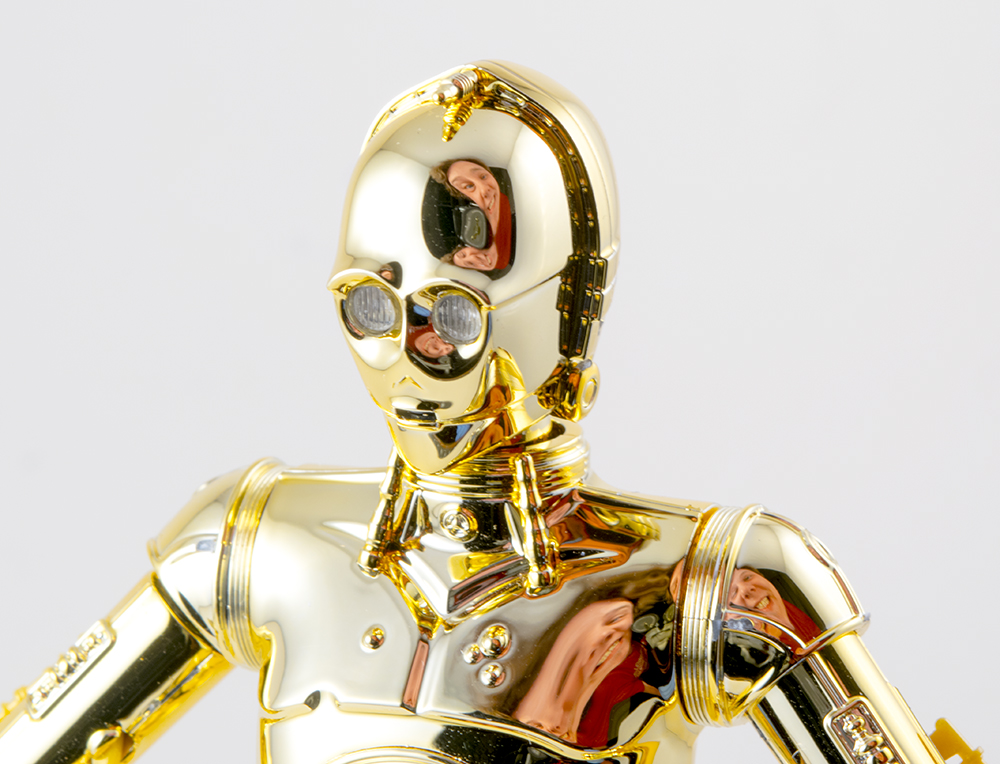
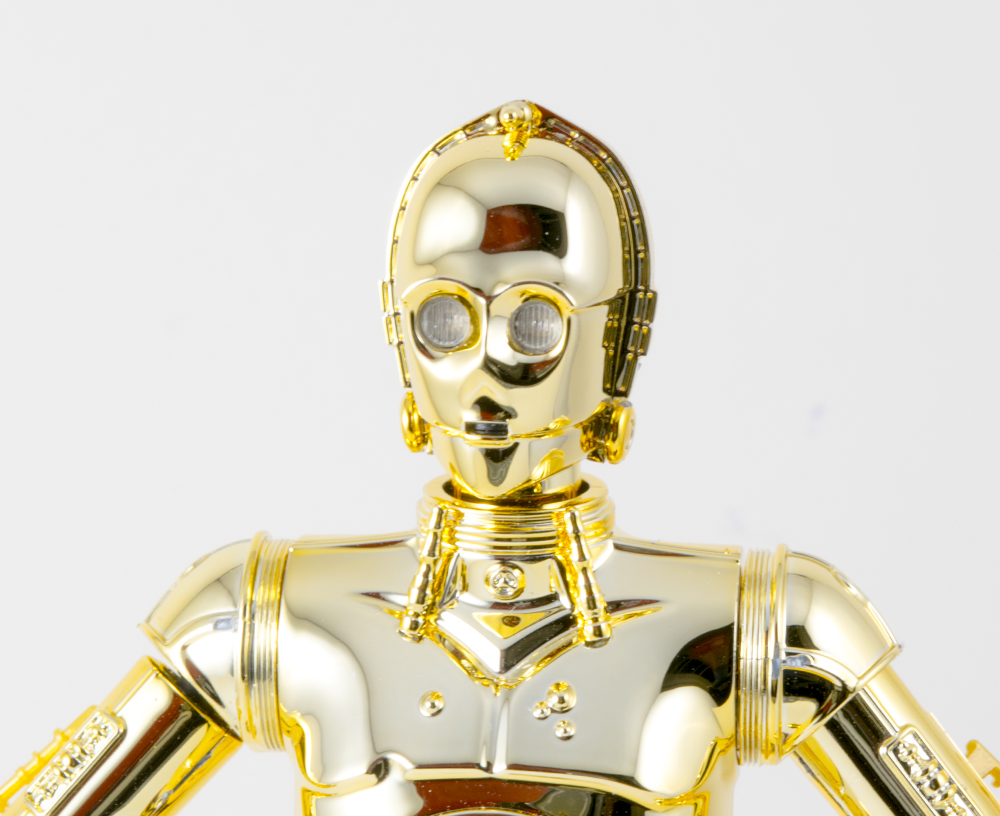
That’s a nicely polished figure of C3- PO. Gotta ask though , Did you really think you could photograph it , Without getting your smiling reflection in there too ? I like that touch , indeed !
Hey nice work on old goldenrod! I was wondering how you painted him with the metallic gold, let him dry and assembled him in less than two hours! So did they do the sprue attachment points here so you could cut him off without leaving chips in the pre-sprayed paint? I built a few of Bandai’s pre-painted Enterprise kits and they always have the little chipped area where you cut the parts off, you almost have to repaint the whole thing to get everything to blend properly.
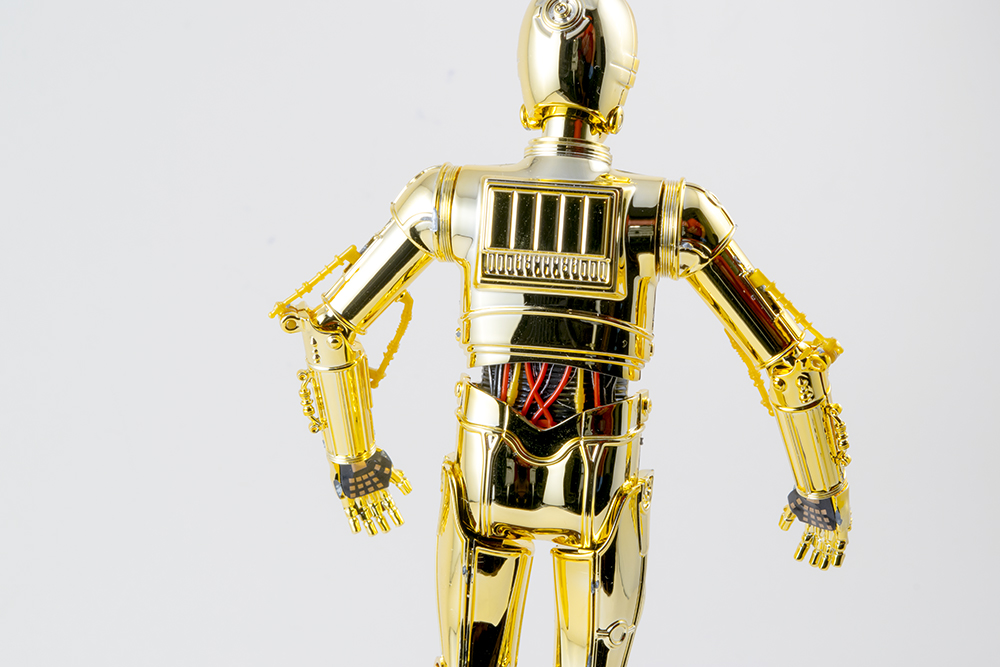
The managed the attachment points REALLY well for the most part. A lot of them are hidden by the seams. Some care is still needed to make sure they don’t chip (I chipped a couple when I was rushing).
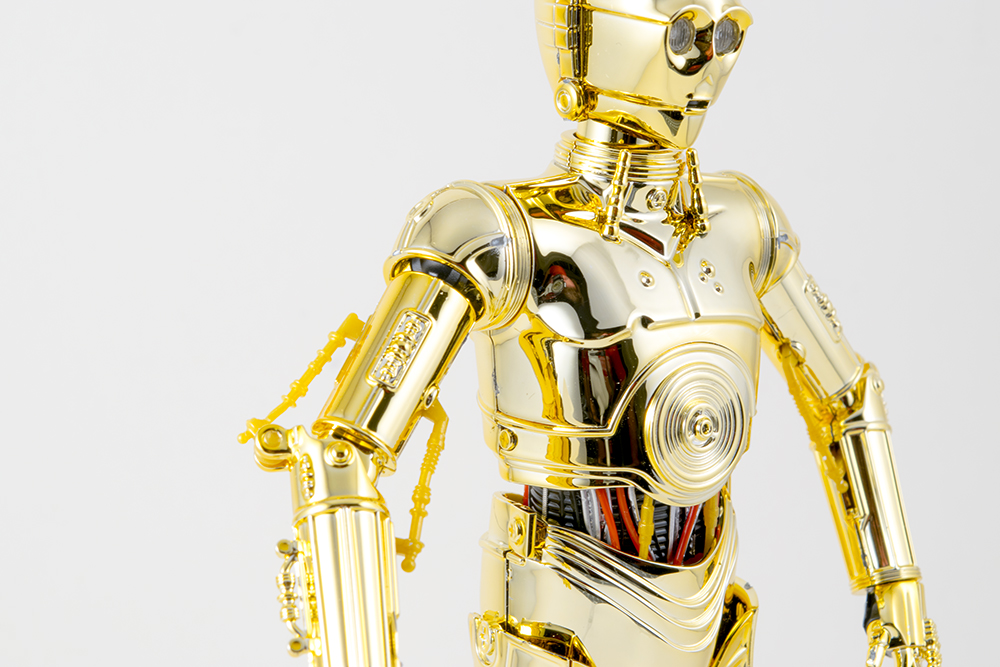
The gold finish on the parts is very thin. If you’re using any glue (mostly unnecessary), take care not to get any on the finish.
The sprue attachment is pretty clever if you know what you’re looking for. The sprue actually attaches to the back edge of the part - not the side, as is normally. Turn the sprue over so the back of the part is facing up. Place your snips flat on the edge of the part (the edge you would normally glue) and snip the sprue. Clean sprue join with a sanding stick or knife. This should leave the plated part that shows, unmarked.
The decals are a little thick and I found they don’t conform well with decal softener (MicroSol or the more agressive Walthers Solvaset). Several applications of softener may be needed or you can paint the more dimensional areas.
Don’t be afraid or embarrassed to use the stickers. They have non-bleed printing and clean (not carrier film) edges. However, they do not work on those dimensional areas mentioned above.
A note about the Bandai Stormtrooper.
This is an almost perfect kit. It goes together well. It’s beautifully articulated for posing. It comes with a selection of nicely sculpted sidearms. The gloss white armor and semi flat black parts really need no painting. When assembled it looks like a Stormtrooper. It you think it looks toyish, it can be weathered. The only trouble is that you don’t need a lot of skill to build a great model!