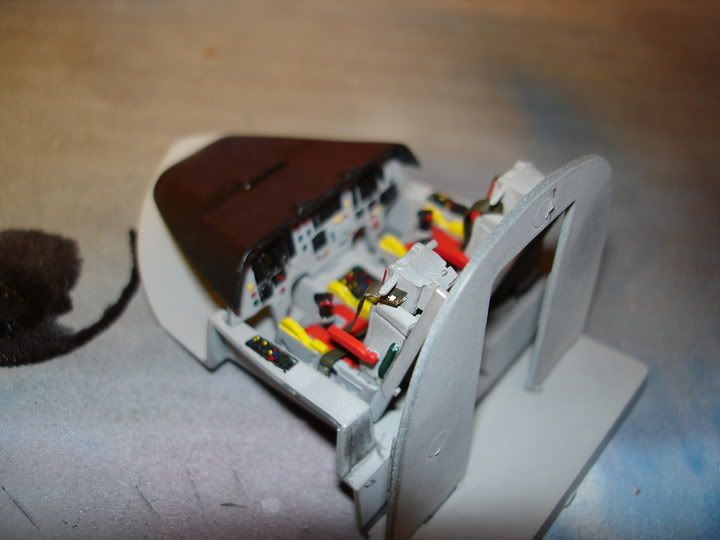
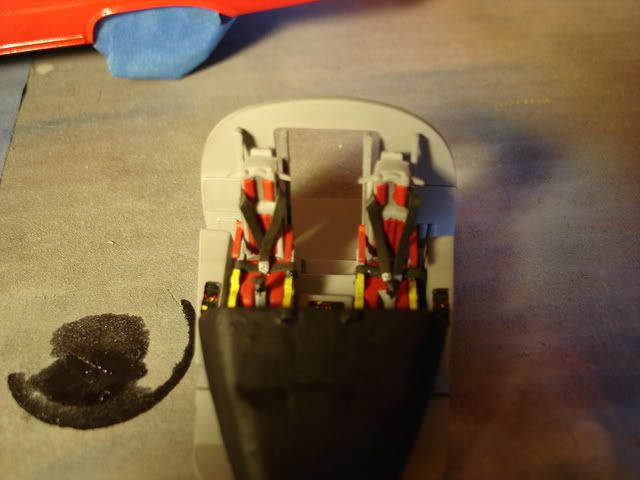
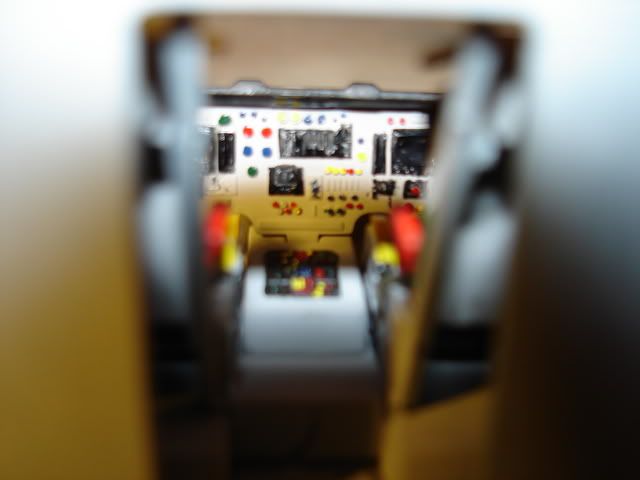
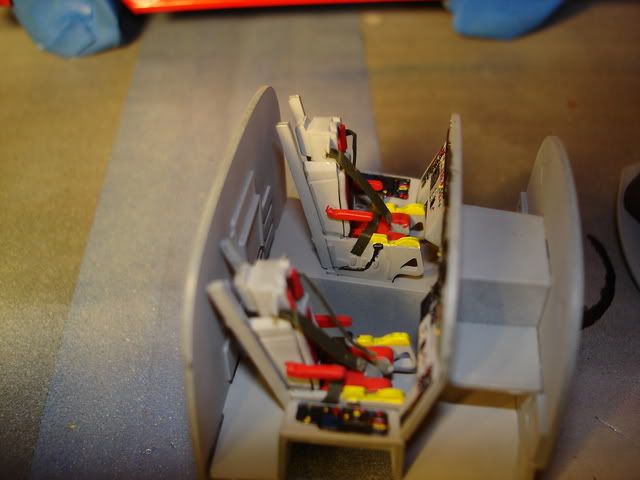
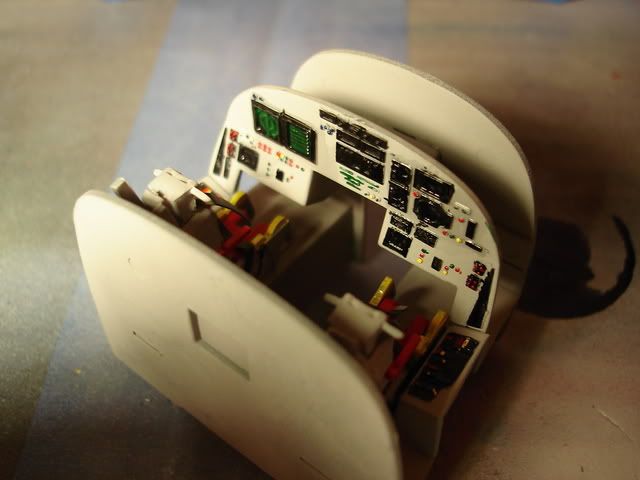
Here’s some pics of the cockpit and offensive and defensive avionics compartment. Everything is stock except for the seatbelts which I made out of 1/16th inch fuelproof trim tape with the backing still on. Enjoy! I know i am.
Flames welcome hehe
Looking good so far , I had a lot of fun building my 1/48
red x’s
Jerry
Why is it that someone always sees red x’s??!!! I’m so confused!
red x’s! ah! I bet they look great though
Now I’ve got it! Wow,… looks like you’ve spent some time in there. Nice work, very colorfull. Great job.
Jerry
wow! that looks really great!
I’m just preparing to start my 1:48 B-1B (the wife FINALLY let me back in the house with it [8]) and I sure hope mine looks even 1/2 as good as yours! Outstanding work!
Brian [bow]
Thanks for all the kind words, guys! Makes a boy feel real swell!
Some of you guys see the dreaded red Xs but I can see the pics.
I had problems also posting pics but someone suggested using Photobucket as my URL. Seems to have worked so far.
Sorry. The cockpit looks great. Looking forward to seeing the rest of your build.
Radmax , its good to see someone building this monster. I’ve been working on mine, more off than on, since 2000. Its been almost 10 months since I last touched it.
I saw your post inquiring about any replacement cockpit transparencies, & I have not heard of any for this kit.
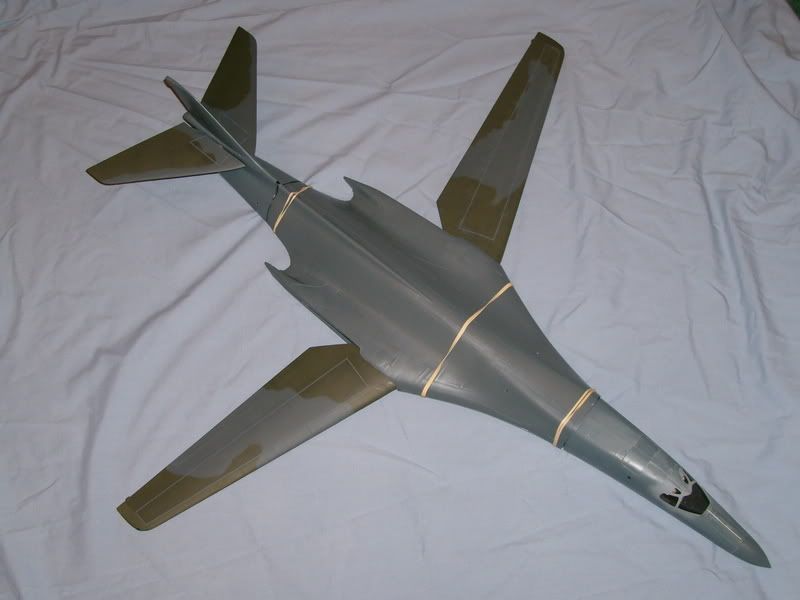
I’m curious about something. Are you using two different kits? The nose & tail look like they came from the Revell-Monogram kit, but the center fuselage looks like it came form the Revell of Germany kit. What paint scheme & decals are you going to use? Here’s mine.
Are you using any aftermarket items, like the Eduards PE set, which I recommend, or the Cutting Edge afterburner nozzles?
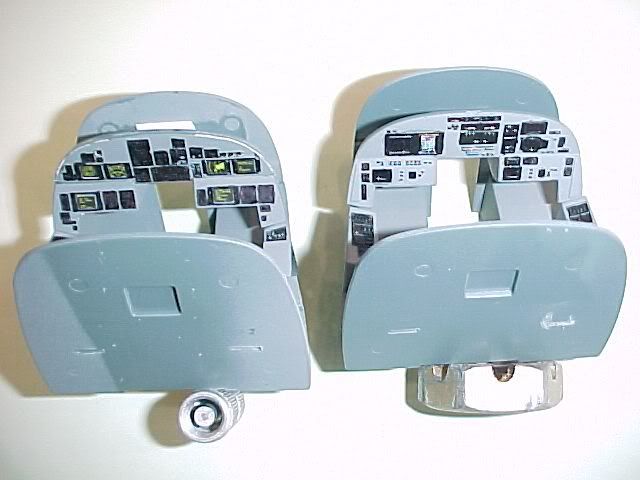
Your pits look good. I spent some time on mine, but I won’t again for the rest of the B-1 kits in my stash. I used the Eduard PE & paper inlay for the fwd inst. panel
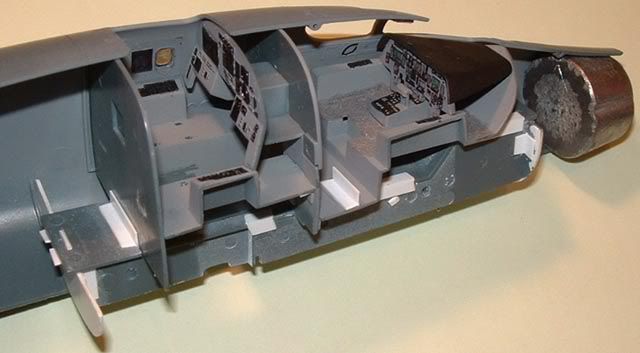
This is the aft inst panel with the Eduard PE & paper inlay.

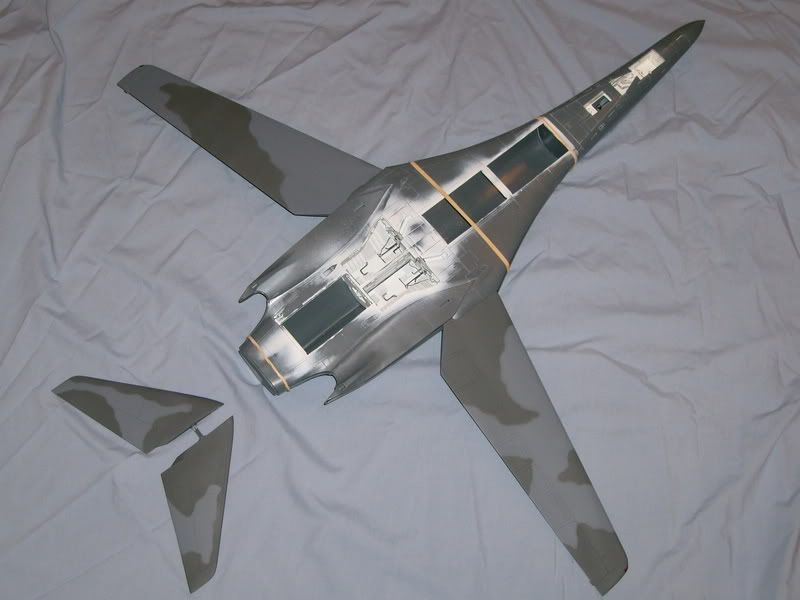
Unless you cut out the escape hatches, you can’t see anything in there once the fuselage halves are glued together. It is true though that you can see a little through the boarding ladder well. Be sure to use a decent amount of weight in the nose before you glue the halves together. Thats the Terry Dean Castings nose weight in mine.
How much detail & corrections are you going to put into the kit? There is some room for improvement. The bomb bays & exterior benefit from the Eduard set, & depending on your scratch building skills, you can make further improvements, like making the RCS vanes in the intakes.
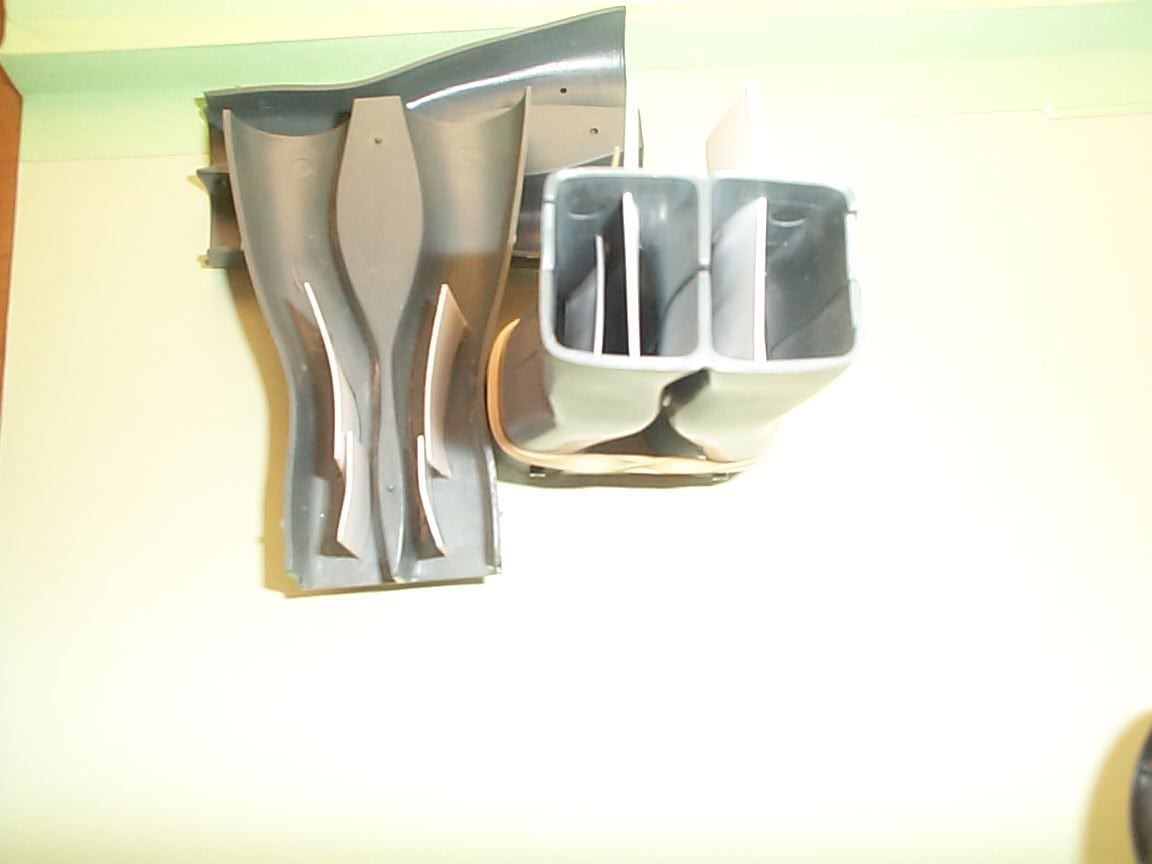
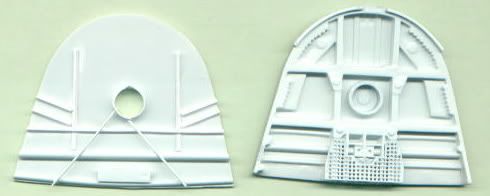
Revell got the aft bulkhead of the #1 bay wrong. They included 2 of the aft bulkhead of the #2 bay, instead of making the correct one, so I scratch built an aft #1 bay bulkhead.
Have you read Lee Kolosna’s full build review of this kit over on ModelingMadness.com? I printed it out & put it in my B-1 notebook. Also, over on the Aircraft Resource Center (www.aircraftresourcecenter.com) jet modeling forum, there is a good thread about building this kit. Do a search in the jet forum using the word “Lancer”. Good stuff there. The review section of that site has 3 decal & a resin nozzle review, & the gallery has 4 full build article on the 1/48th kit. There is also a good set of walkaround pics of the B-1 on that site.
A good site to go to is www.b1b.wpafb.af.mil.
Hope this helps.
Chris Ish
whoa! looks great!
ch47- No I’m just using one kit. It’s the 1986 release. there’s two different shades of gray plastic. Your’s looks fabulous! I must say it’s a good one. I decided not to go with the PE interior set. I’m on a tight budget as it is. I’m thinking about scratch-building conventional weapons racks. I’m going to set it on a mirrior when I’m finished so i’ve got to super detail the bomb bays. I plan on adding vehicles around it to make it look like it’s prepping for a mission. I’m painting it the monocolor plane with some decals from FOX ONE. Thanks for the info!
Looks great, looks like a real B1 cockpit to me.
Looking good, real good. I just ordered the exhaust nozzles and PE for this kit (I picked mine up for 1/2 price at Hobby Lobby). I don’t know when I’ll get to building this monster, but its good to know that there are people here that can help me.
Any tricky spots with the build that you could pass on?
Hey guys, here’s a link to a good article on building this kit.
http://www.modelingmadness.com/reviews/mod/kolb1.htm
I’m very close to finishing the nose & tail sections (filling & sanding still left to be done when I get back around to it.). Right now it looks like there is going to be a step where the nose & center fuselage meet, a common occurrence on this kit.
I was concerned with the overall size & weight of the thing, so I added 3/32nd brass rod in the hollow area of the MLG legs, & filled it with 2 part epoxy.
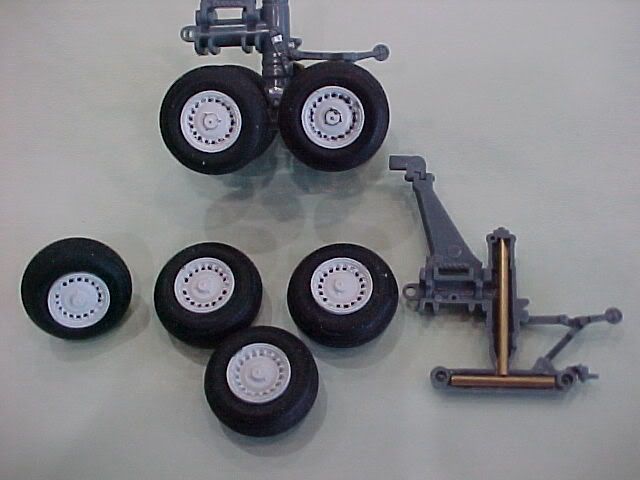
I also added a cross brace of square section aluminum, but in hindsight, I’ll use brass next time.

The Eduard PE set is definitely a worth while investment. You can see the difference between the two aft pits.
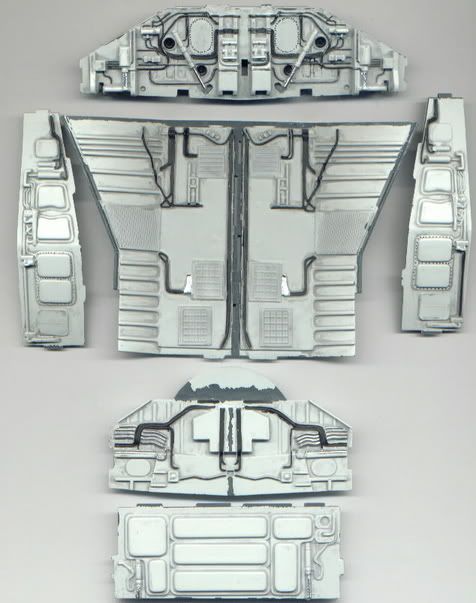
There are 10 pieces of photo-etch for the MLG bay , which are in the pic below.
If I can get some free time, I think I’ll start working on it again.
Chris Ish
Since it’s so big and old I’d say just make sure the stuff is straight! ch47, I’ll have to add the brass tubing, looks like a great idea. It’ll probably need all the support it can get since i’ll be moving it around.
What actual aircrat are you going to model? The one I’ve got going in the pics above will be from the second Fox One B-1 sheet (Early Camo Bones) from Dyess AFB, since I live in Texas & have overnighted at Dyess before.
Chris Ish
I’m prolly going with the Specter from B-1B in combat at fox one
Great looking job so far.