I have read that one convention is to use a small drop of ca. How do you apply this without ruining all the painstaking work on the canopy and fusalage? I’m about to attempt this on a 1/48 scale fw190 f8. The attachment point (on the top frame member of the canopy) is very tiny bump.
I’m toying with the idea of drilling a hole into the center of the attachment point on the canopy that will allow me to slip the stretched sprue wire into place before I attempt to deposit any form of glue. Rather than CA could I dip the end of the wire into testors tube cement then slip it into the hole?
The other attaches to the top of a small antenna on top of the rear stab. I was going to place a very small groove into its tip and carefully stretch, lay and cement in place w/ CA.
Am I headed down the right path or not?
This is my first attempt at this. It appears to be very challenging and tedious. I have done a decent job on this project up to this point. I really don’t want to booger this step up. Any suggestions would certainly help and be appreciated.
That’s what I’d do… But use CA if you want… A TINY amount
Yepper… But don’t worry about stretching it tight… Just get it close… Then apply heat to the wire with a match, soldering iron, cigarette, incense stick, something like that. But be careful… You want to get it close, but NO TOUCHING and when it gets JUST right, it’ll suddenly snap taut…
Best bet is to practice a few times on some sprue points then…
Got to thinking about the Fw 190 canopy, and its antenna wire… It has about the same deal as a P-51D, which is an antenna through canopy set-up, and the wire slides on this lttle roller-thingy…
The last D-model I did, I duplicated this. I started by stretching the sprue, and once done, I cut it at one end where it was thicker than the canopy-hole diameter. I then passed the other end through the canopy, like threading a needle, then pulled the sprue taut, finishing it off with a tiny drop of CA from a wire applicator.
Then I glued the canopy into place, letting it set up good. I then glued the loose end to the tail mast and when it was set, tightened it with heat…
I like this idea very much. I have one question for you Hans. Can you describe the wire applicator you use to apply the tiny drop of CA with as well as if it is applied to the outside vs. inside of the canopy for me?
Everything Hans said. Personally, I’d drill a hole in the canopy, then use white glue (I just picked up a bottle of Gator Glue at Modelfiesta this weekend, and it seems perfect for the task) to fix it in place. As long as it’s got time to set up it should work fine.
Also, the heat snap taut thing really works. Just tried it for myself the first time this weekend. I’m happy with the results.
Happy enough that I’m not longer completely terrified of rigging a WWI biplane. Only mostly terrified.
I do have a bottle of this stuff. It makes sense to use it on the canopy. If I attach the other end to the rudder antenna with the gator grip will the glue joint be strong enough to hold when I take the slack out of the sprue by carefully heating it?
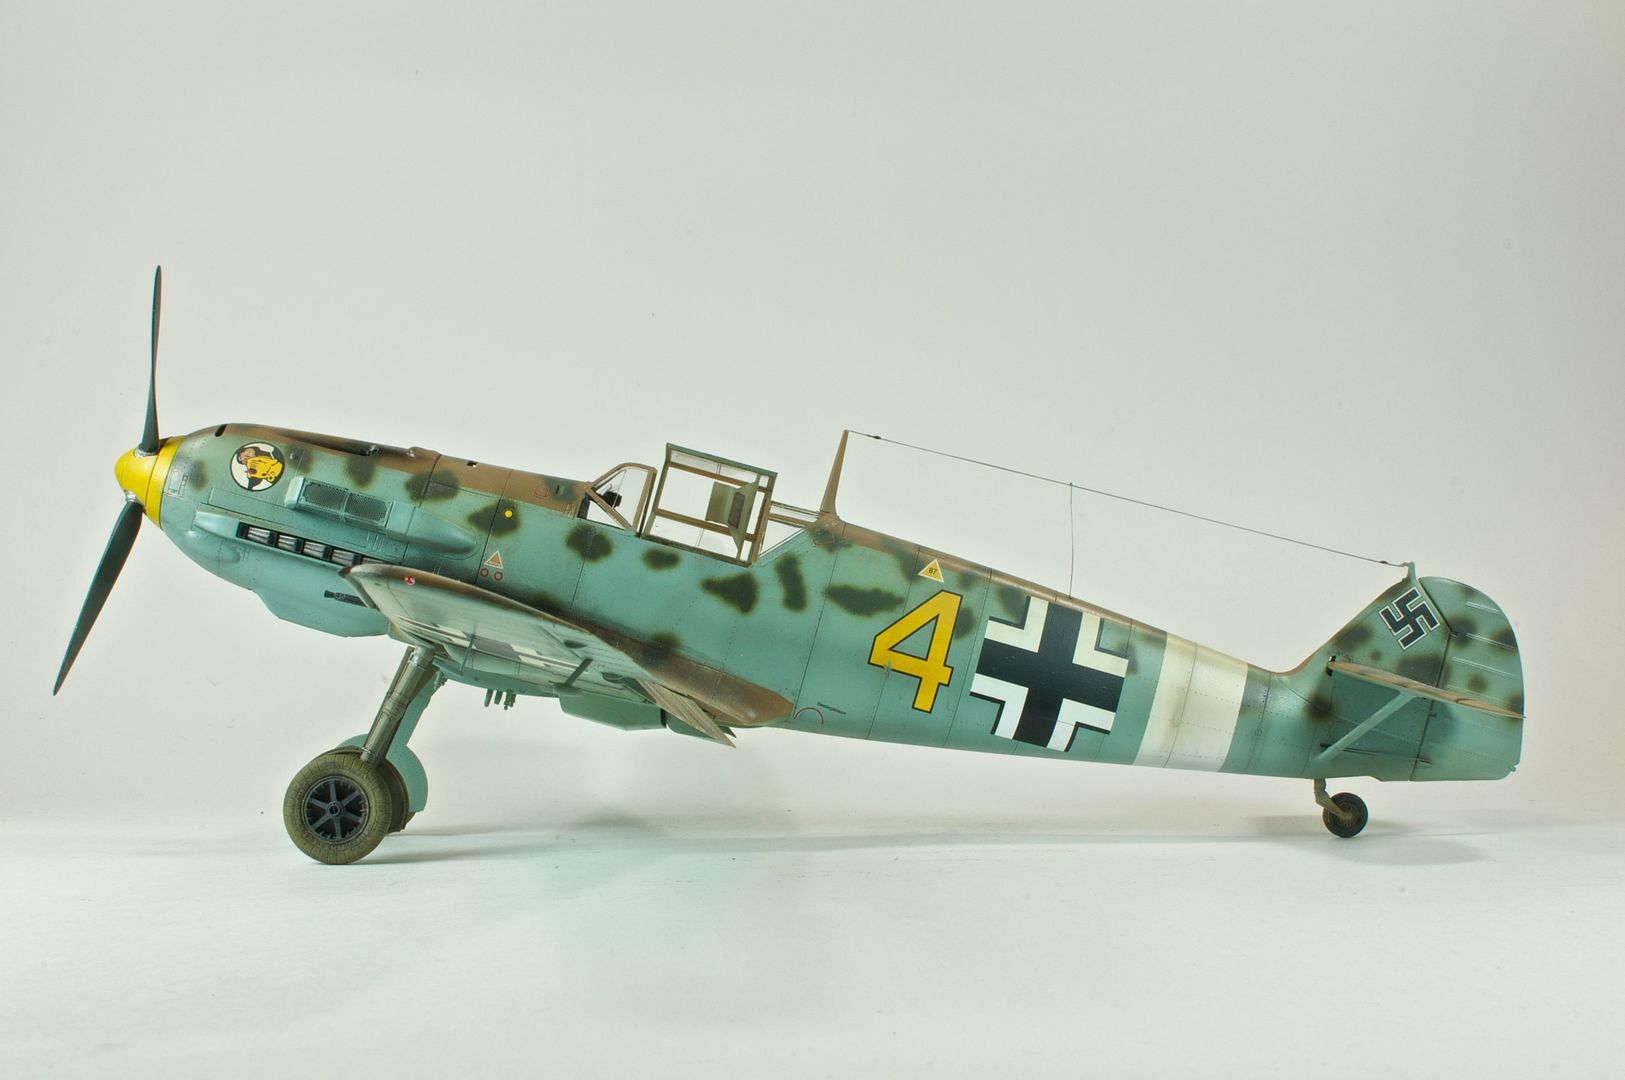
I think so…the stuff’s got really good shear strength from what little I’ve played with it. Of course, the rudder’s not as big a concern, and you could easily attach it with CA. If you have a touch-n-flow, you can load it up with accelerator and place just a drop where the wire mounts to the tail. That’s how I did the 109.
Depending on the subject, you can plan at the beginning of construction, and make things easier down the road.
For example, I built a P-47D razorback (Monogram’s 1/48 kit, of course). On the 1:1 bird, the aerial ran from the base of a small mast mounted just behind the cockpit, to a small flange attached to the leading edge of the vertical stabilizer. The flange had a hole in it, and the aerial ended in a spring and hook that fit through the hole in that flange.
So, on the kit, before assembling the fuselage, I made a small notch on the vertical stab and inserted a small piece of sprue to represent the flange. And since the mast behind the cockpit had gotten knocked off the fuselage half, after assembling the fuselage halves, I drilled a hole where the mast goes. After finishing assembly, painting and decaling, I stretched a piece of sprue, and glued one end to the flange on the vertical stab. When this cured, I trimmed the piece and threaded the other end into the hole where the radio mast went. I glued the mast back in place, anchoring the aerial. The whole operation was very simple, given the info I had up front.
Please take some pics of your Fw-190 and let us see how you did!
The applicator is simply a piece of fine-wire, doubled in half, then twisted tight. Then I cut off the very tip where the loop is, leaving a small “U-Shape” to hold the glue… On the P-51, I just put the drop on the outside, right at the base of the wire…
Georgeous '109. How did you create the insulators on the antenna wire as well as the attachment ends? They’re really sharp looking. I did drill the hole in my canopy last night. Used a #80 drill bit. Harrowing experience but it came out perfect. The stretched sprue slips through to the point of where it begins to thicken just as advertized. I’ve created a tiny notch on the top of the rudder antenna mast in preparation for the antenna attachment.
One more question. Could you share your technique for attaching the short vertical antenna wire?
The insulators were just dabs of white glue run along the wire. I think moving forward I’ll be using this new Gator’s Grip glue that I just picked up. But any whiteish glue will work fine.
For the vertical wire…
First, I drilled a small hole in the fuselage (the Eduard kit helpfully has the “mounting cup” molded into the fuselage detail).
Next, I cut the stretched sprue a little bit long. Dipped one end in CA and attached it to the main wire. I loaded some CA accelerator into my touch-n-flow, and used this to put a drop of accelerator on the main wire (holding the model vertically so the accelerator flowed to the join).
Once that join cured, I put the other end into the hole in the fuselage. Another drop of CA and a drop of accelerator and it was done.
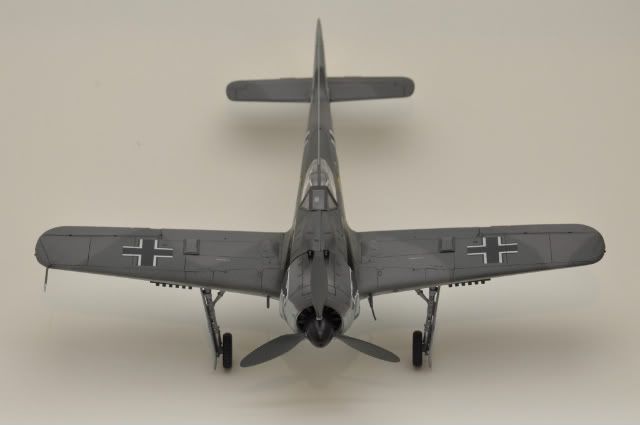
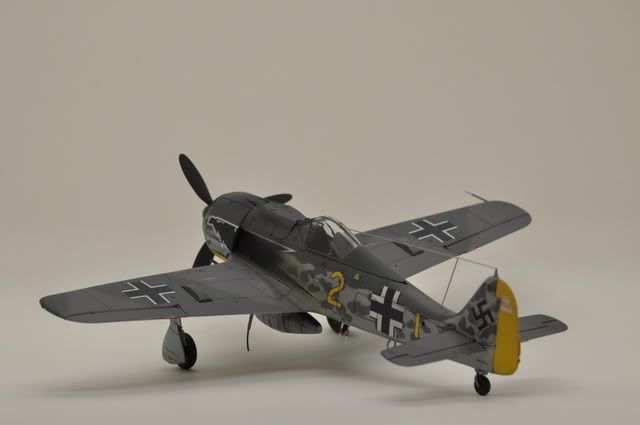
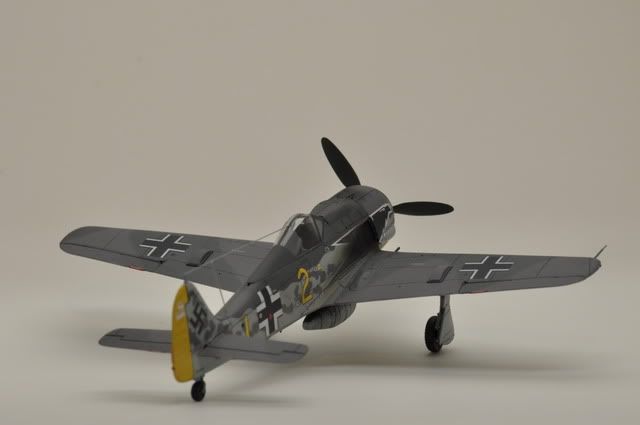
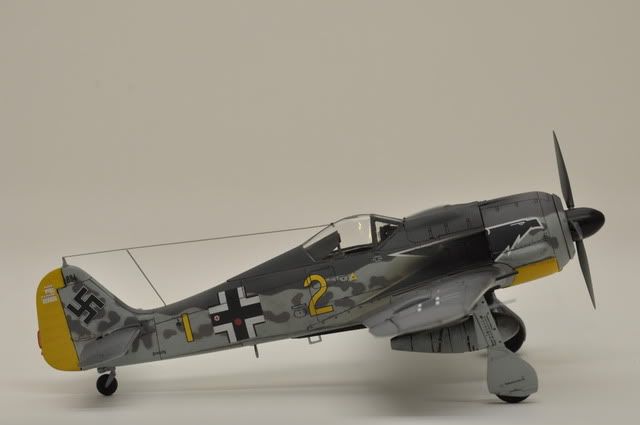
As requested. Here’s some photos of my FW190-F8. Thanks to you and everyone else for all the good info on attaching the antenna wires. I’m pretty happy with the results considering it was my first attempt.
Speaking of heat sources, I always crack up when I hear the suggestions for how to stretch the wire taut: soldering iron, cigarette, heated screwdriver, etc. They are all such “macho” methods[H]. Heck, I just steal my wife’s hairdryer (set on high heat) for a few seconds and it works great!!