First up, hi all from a noob here
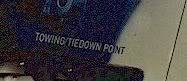
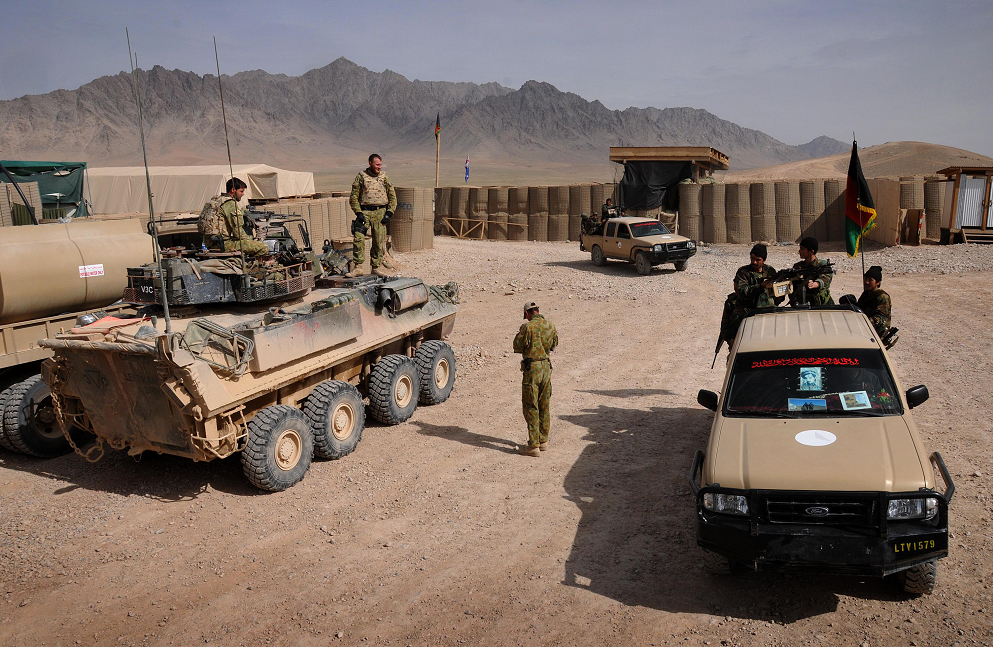
After being given an ASLAV from my better 1/2 for a recent anniversery I have now orded another so I can have the pleasure of building 2 (LAV’s are my fave AFV and it looks like something the oz defence forces havnt screwed up on, unlike some subs for example LOL). It will be my first time working with PE so learning curve there. I plan on builing one in a diarama (have an excellent shot of one in afganistan I want to do), the other I want to super detail, inside and out. Two things I’m after at the moment are after market interior kits for lavs, while I have some excellent interior hi res images I’d prefer not to scratch build the interior (but will if I have to). Second whats the best way to do 1/35 scale custom lettering for doing small things like “tiedown point” warnings etc
KW
I’m sorry to say that as far as I am aware, there are no interior kits (AM or kit-included) for the LAV series of vehicles.
In addition to the Eduard set linked above, LionRoar and Voyager do PE sets for the “standard” LAV, of which some parts can be used for the ASLAV-25. The Voyager set includes parts which allow you to pose the front two pairs of wheels to a “turned” position.
If I recall correctly (I may be wrong here) the Trumpeter ASLAV kit already includes the Michelin XML pattern tyres
I’m not altogether familiar with what’s included in the Trumpeter ASLAV kit, but you may find some additional AM parts here: http://www.mheaust.com.au/MHE/Catalogue.htm though many of these detail/conversion parts were designed for the original LAV-25 kit and pre-date the release of the ASLAV kit, so some may not be required.
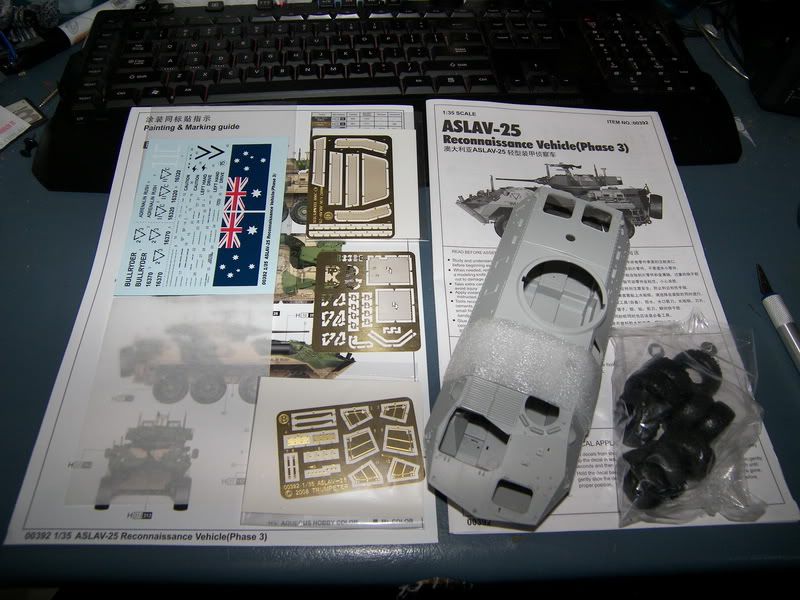
Thanks for the replys. I already have the mousehouse bookmarked (been doing lots of searches). The new trumpeter kit already has most of the stuff integreted in it, the biggest issue externally will be doing the small writing details. The aftermarket decals (us/aussie) may help there but many of the things are not written in pure black. Where there is a change of cammo tones (with black involved) and writing in the same place the text mirrors the paint tone
see here
As for the internal, well sounds like my first big go at scratch building, yay! (is that sarcasm, joy or both?)
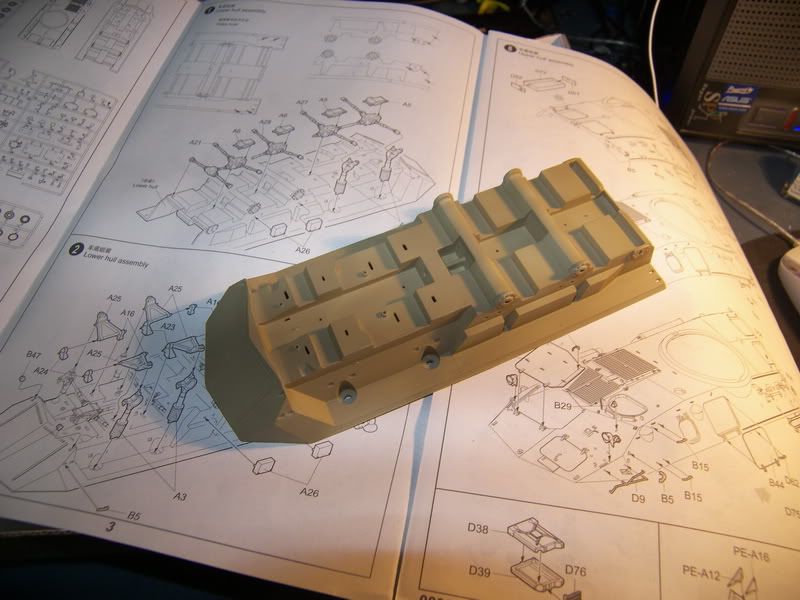
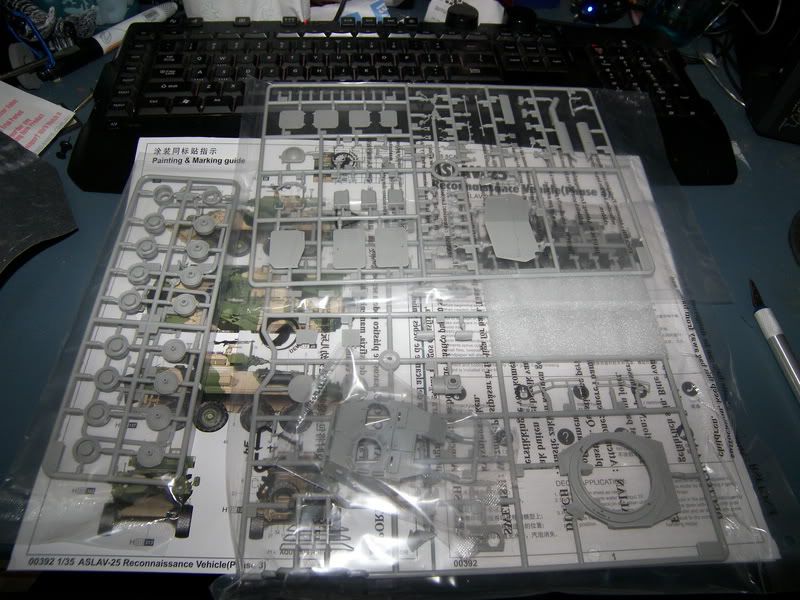
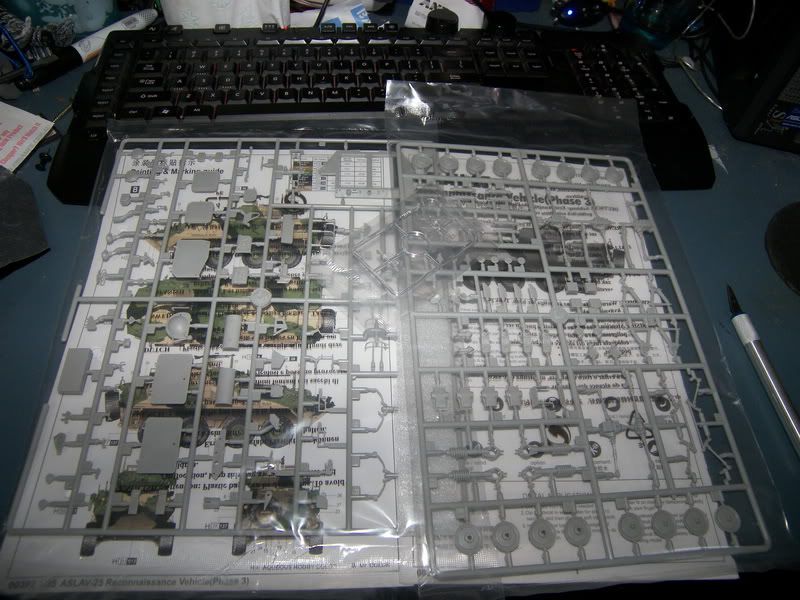
Well hopefully picking up my second aslav-25 on friday (all going well) plus some styrene sheet to get started on the interior for her so I figured might as well make this into a wip thread as well, below are some pics of the frames and PE parts etc. Will get a base coat on the hull tonight or tomorrow, this one being the one I use for the diarama (pic included at below of intended scene) so I can start.
An old esci or italeri kit (cant remember) had sitting round for yonks, so might do this at the same time either us marines or or phase one aslav, havnt decieded yet
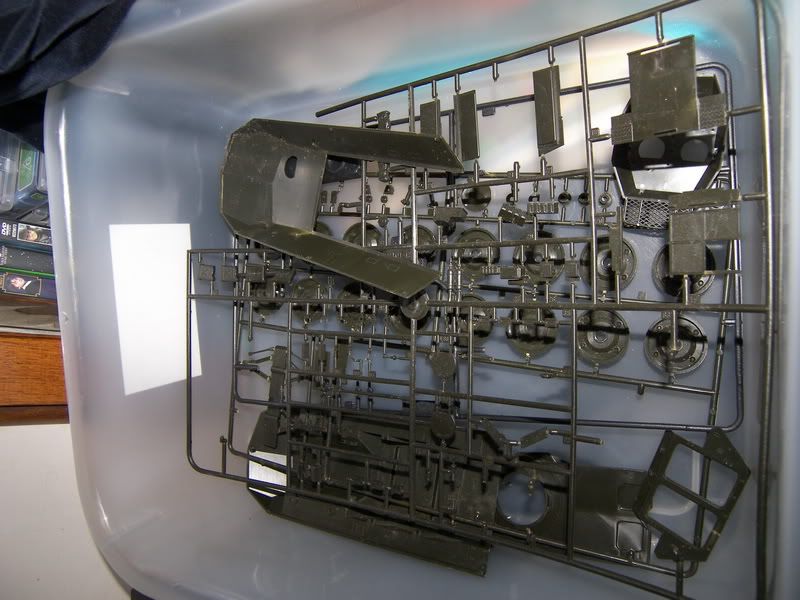
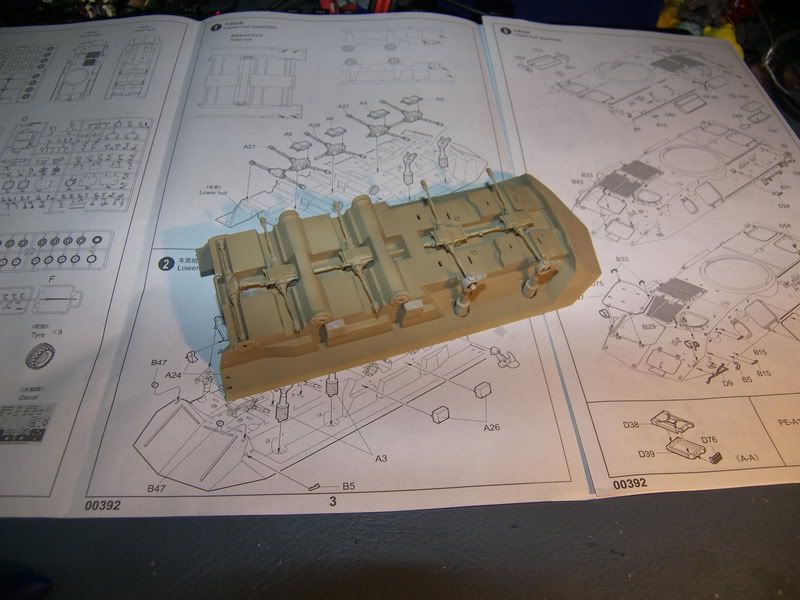
Did a base coat on all the frames cept the PE (ran out of paint and time) a few days ago, got to do a little tonight, all of step one (well at least its a start). Came up a against a slight quandary though, I didnt have the exact colour required as the overall base so I used the closest I had, which was a shade or two darker, no biggy I thought, since its as much a primer as a base anyways, problem will be rectified next coat. But since checking a few of my reference images It looks like the old australian army doesnt have much of a standard colour, between the images I have I have some the look like the paint guide colouring, I’ve seen some with a redder tinge and the images I’ve seen of the ones currentley in afganistan are about spot on for the colour I actually used. Far be it for the australian military to be consistant, “nahhhh, this colours close enough mate, she’ll do” [#wstupid]
Anyhow, first pic is before starting with construction with just the bottom hull painted the basecoat. Second pic is the result of step, no probs, great snug easy fit.