Oh wao…that was the first airbrush I had ever seen, a friend of mine had one and at time I stuck with brush painting because the feather edge was too wide for even 1/48, then he bought a Pasche and I had to get an airbrush then !
1 Like
I usually put a lot of micro set down and float decals into place using a tooth pick, then roll them out with a q-tip.
I had to relearn decaling techniques because of the super thin decals available now.
The larger decals (covering a whole tail) give me fits STILL !
1 Like
I hear you. I do airliners here and there and like to use Draw decals. Super nice, great selection of aircraft and liveries but insanely thin. There are some long decals on airliners. Super results though.
That’s pretty close to the way I do it too. I put down enough Micro Set that I can actually float the decal around until I get it exactly where I want it, then carefully work the excess out from underneath.
After the seemingly endless number of tiny stencils I’ve been putting on my F-4 lately, I’ve gotten pretty comfortable with the little ones. 
The big ones are another story. I actually started a thread a month or two ago called “I Hate Large Decals,” so you can probably guess where I stand on those. Give me 20 tiny stencils over one giant tail decal any day.
I have a Paasche H myself but haven’t used it plus a couple Badger 150’s. But I picked up a GoCheer airbrush set with compressor and that one I use all the time. Though my first time with double action was the cheaper Aztek’s and I did pick up a Aztek with the wood case that was complete except for the hose at a estate sale.
1 Like
Funny thing about all those tiny stencils… on F-4’s I worked on that were in service long enough for a re-paint on base, the myriad of tiny stencils are NOT present.
The millions of tiny stencils are applied after depot maintenance where major airframe inspections and I.R.A.N. are accomplished.
All the removable panels are…removed including the fuselage spine (which is a huge P.I.T.A).
N.D.I. is accomplished on all stress points and cleaned
2 Likes
Every panel is renstalled, the aircraft is repainted and every panel and adjacent surface gets the panel # and/or name silk screened .
Usually this happens once every major airframe hour accumulation increment like 3,000 / 5,000 / 10,000 or airframe upgrade like an F-4E re-built into an F-4G.
2 Likes
I wondered about that! I have reference photos of the exact aircraft I’m building, and I can see most of the stencils on it, though either because I can’t zoom in enough, or they have been painted over, I can’t see them all.
That is a very helpful piece of info for the next Phantom I build and explains why the diamond jubilee aircraft doesn’t have them, it was painted differently.
Samphoto, 6 actual…
Fundekals has two sets of F-4 “stencils”; one for Mac factory another for depot stencils.
Fundekals’ web site has comprehensive instructions for each set of stencils showing where they go and where they do not go. The instructions are free to download and are a valuable reference for Phantom builders. I bought both sets of decals plus another factory stencil set having used a bunch on my Tamiya F-4B built as an early F4H-1.
The instructions make interesting reading - even the section about fonts.
1 Like
I’ve been using an airbrush since the late 80’s, 99% of the time it’s been the single action Badger 250-1 model (Basic). This airbrush has painted on models that have been sold for thousands and model I’ve given away. I have a top-cup single action made by some far away Chinese company, that works well, but I’m comfortable and like the control of the basic single action by Badger.
Because I work mainly with Testors and Floquil enamels and with the stock is getting low, I’ve modified another badger single action to accept the Testor bottles, so I don’t get paint loss in the transfer.
I measured and glued a testors paint cap inside the head of the Badger Single Action so their bottles would screw onto the head. I also have the older Testor single Airbrush that I use as well.
1 Like
Oh that would have been very useful during this build because there were several I wasn’t sure about, and I had no good reference pictures of it from some angles and it looked to me like the manual was wrong.
I’ll be saving this for future builds for sure.
That’s pretty cool. I especially like the modification to let the Testors bottles screw directly onto the Badger. That’s a clever way to avoid wasting paint in the transfer.
It’s also interesting how different people’s airbrush preferences can be. I actually started with a Badger or Paasche single-action brush—I honestly can’t remember which anymore—and eventually moved to that old Testors plastic dual-action brush. Skip ahead 30 years, and I had to buy it all over again. I worked my way through several different airbrushes until I found the combination I liked. Now I have three set up with different needle sizes because I like having a different tool for different jobs.
Meanwhile, you’ve been using essentially the same basic single-action setup since the late '80s and producing models good enough to sell for thousands of dollars. That’s a pretty good reminder that knowing your tool is probably more important than how sophisticated the tool is.
These are the 3 I use most, original Badger, Modified Badger to take the smaller Testor bottles (no lost of paint in transfer or cleanings) and the Testors Corp airbrush. The modified airbrush is made by using JBWeld to glue a testors cap in that has been drilled for the siphon straw and vent hole.

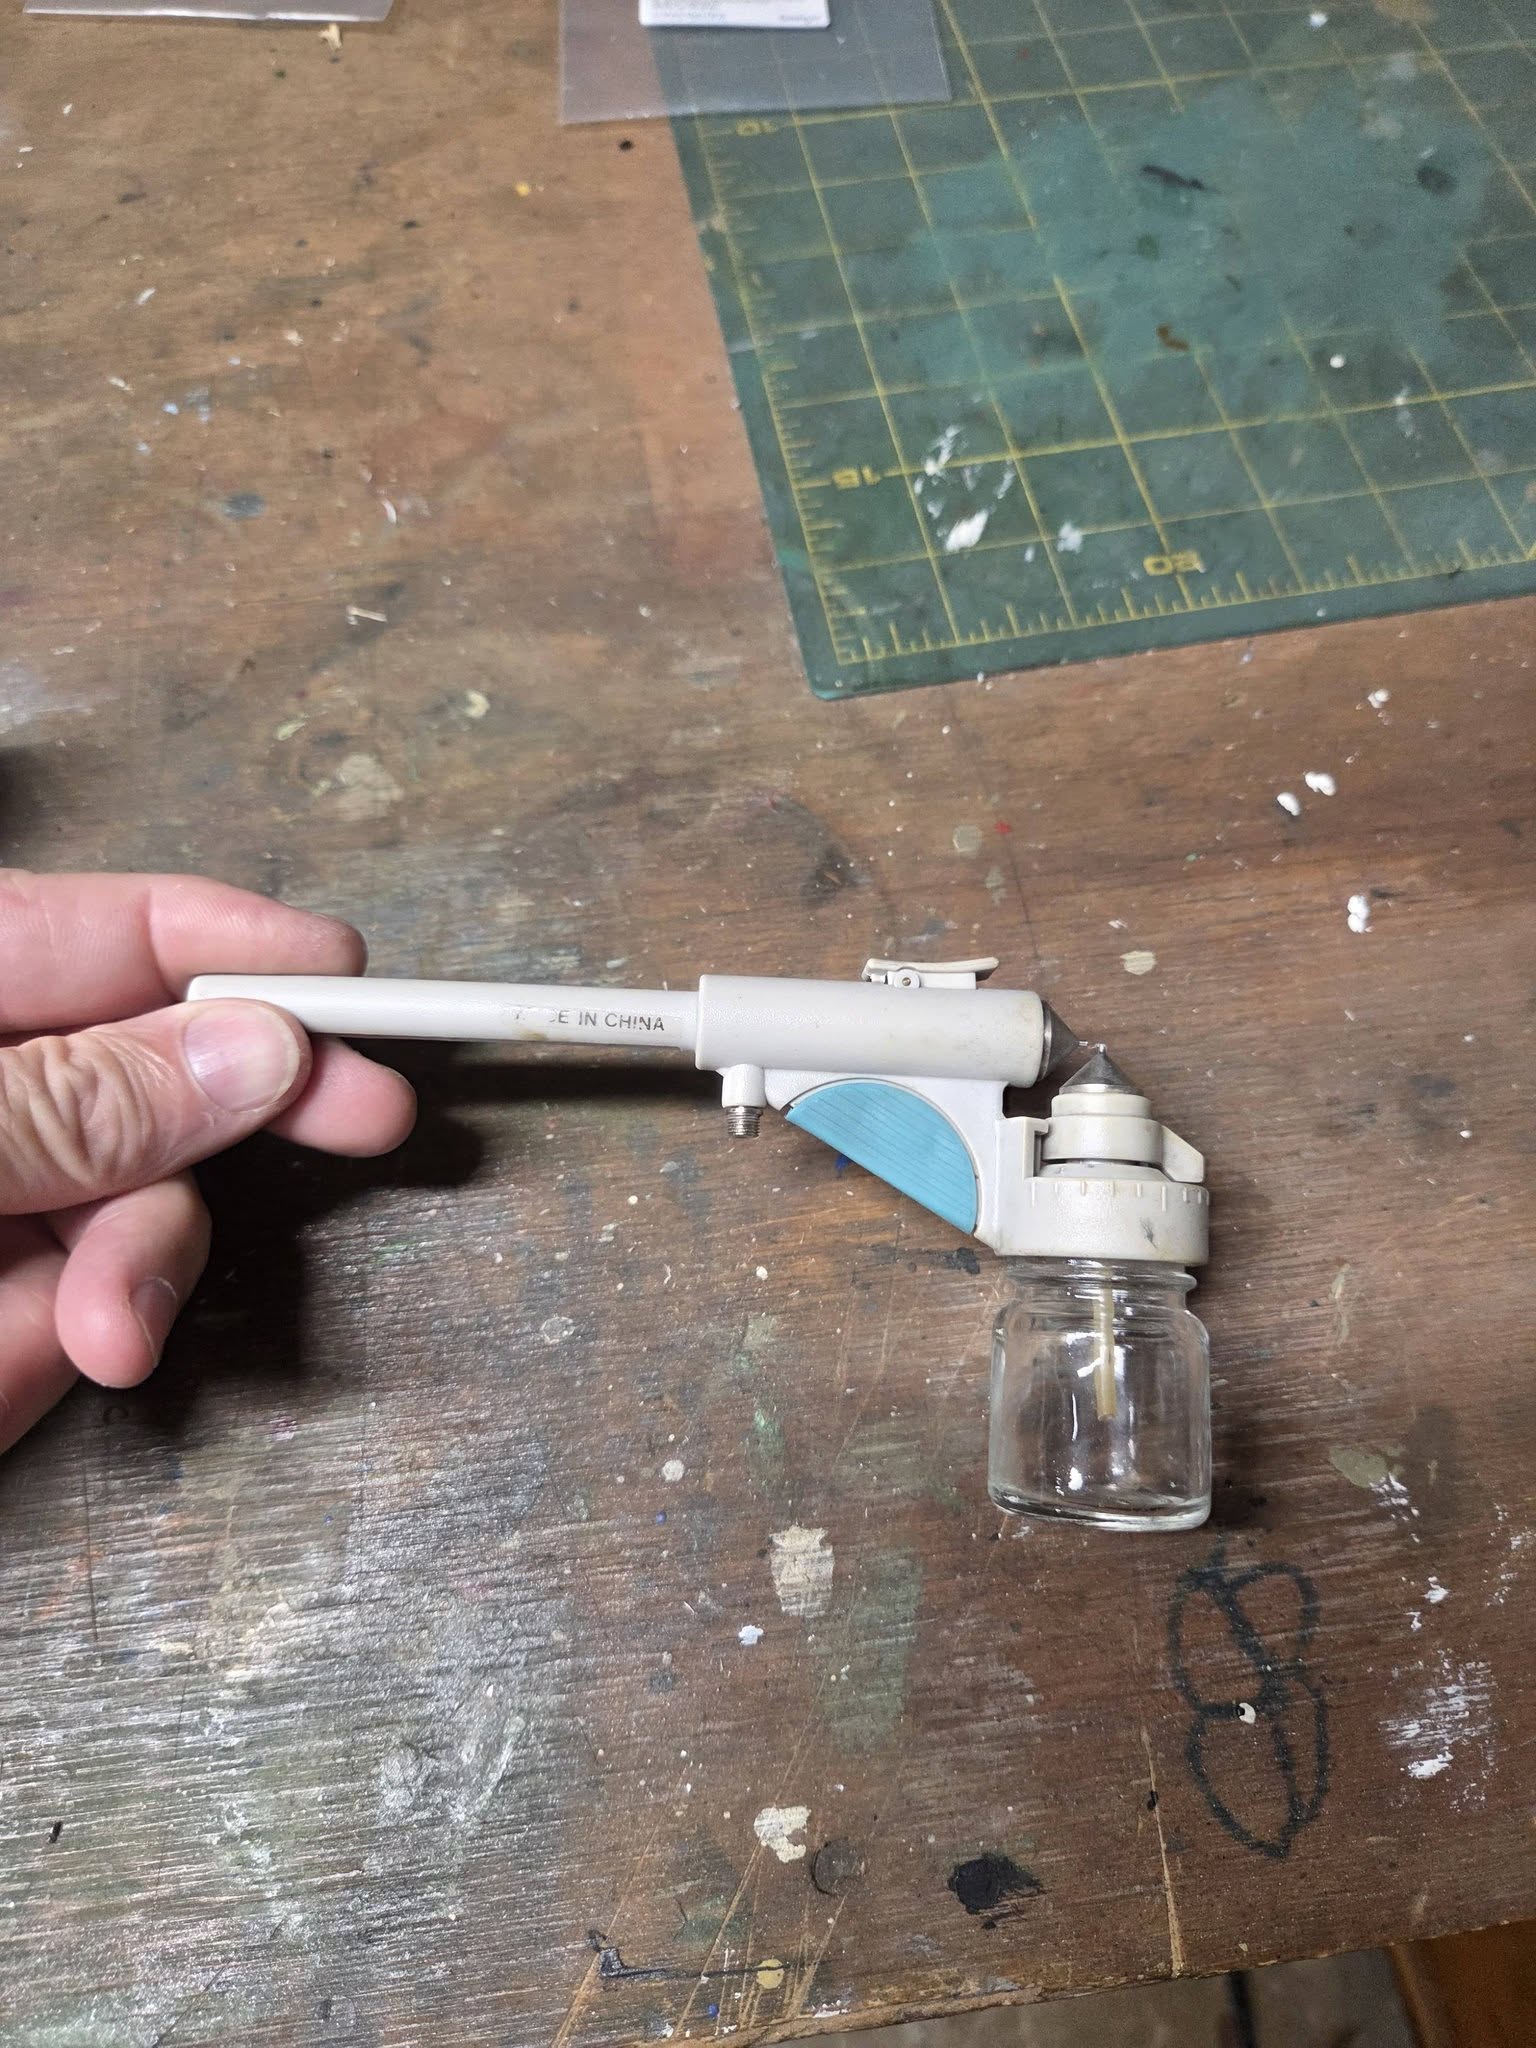
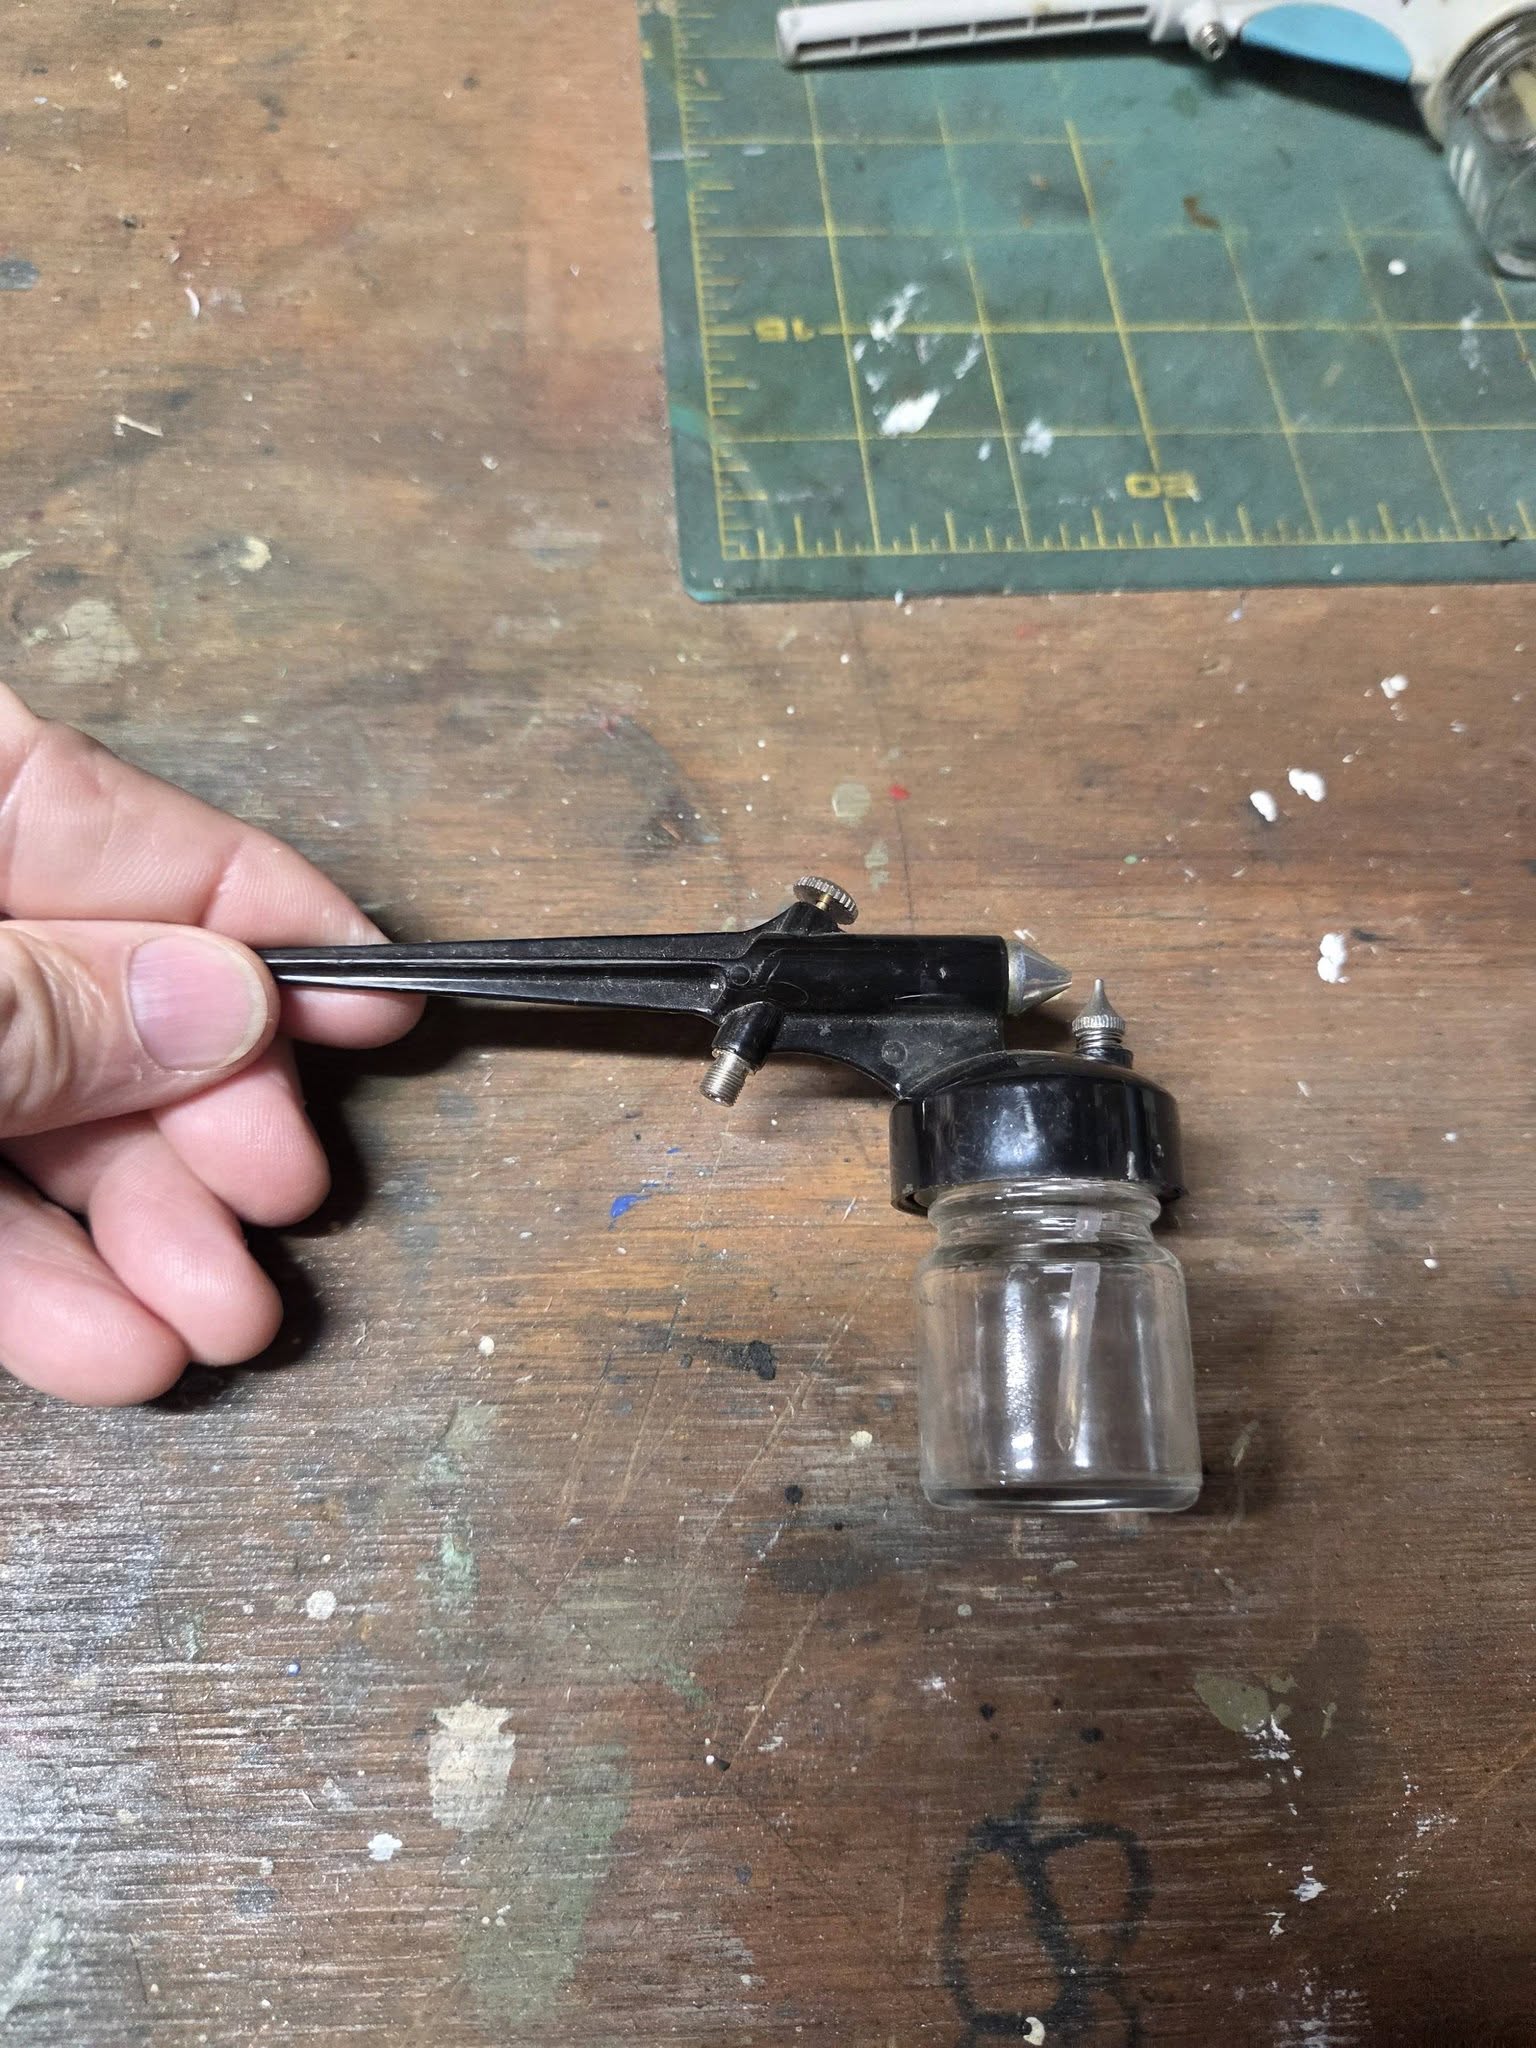
2 Likes
That’s a clever modification to the Badger. I especially like the idea of being able to use the Testors bottles directly without transferring the paint. JB Weld and a drilled-out bottle cap—sometimes the simplest solutions are the best ones.
And I love that the Testors airbrush is still in the rotation. Mine disappeared somewhere during my 30-year break from the hobby, but apparently those things really were built to last.
Do a search on eBay, they are there and on the cheaper side.
1 Like
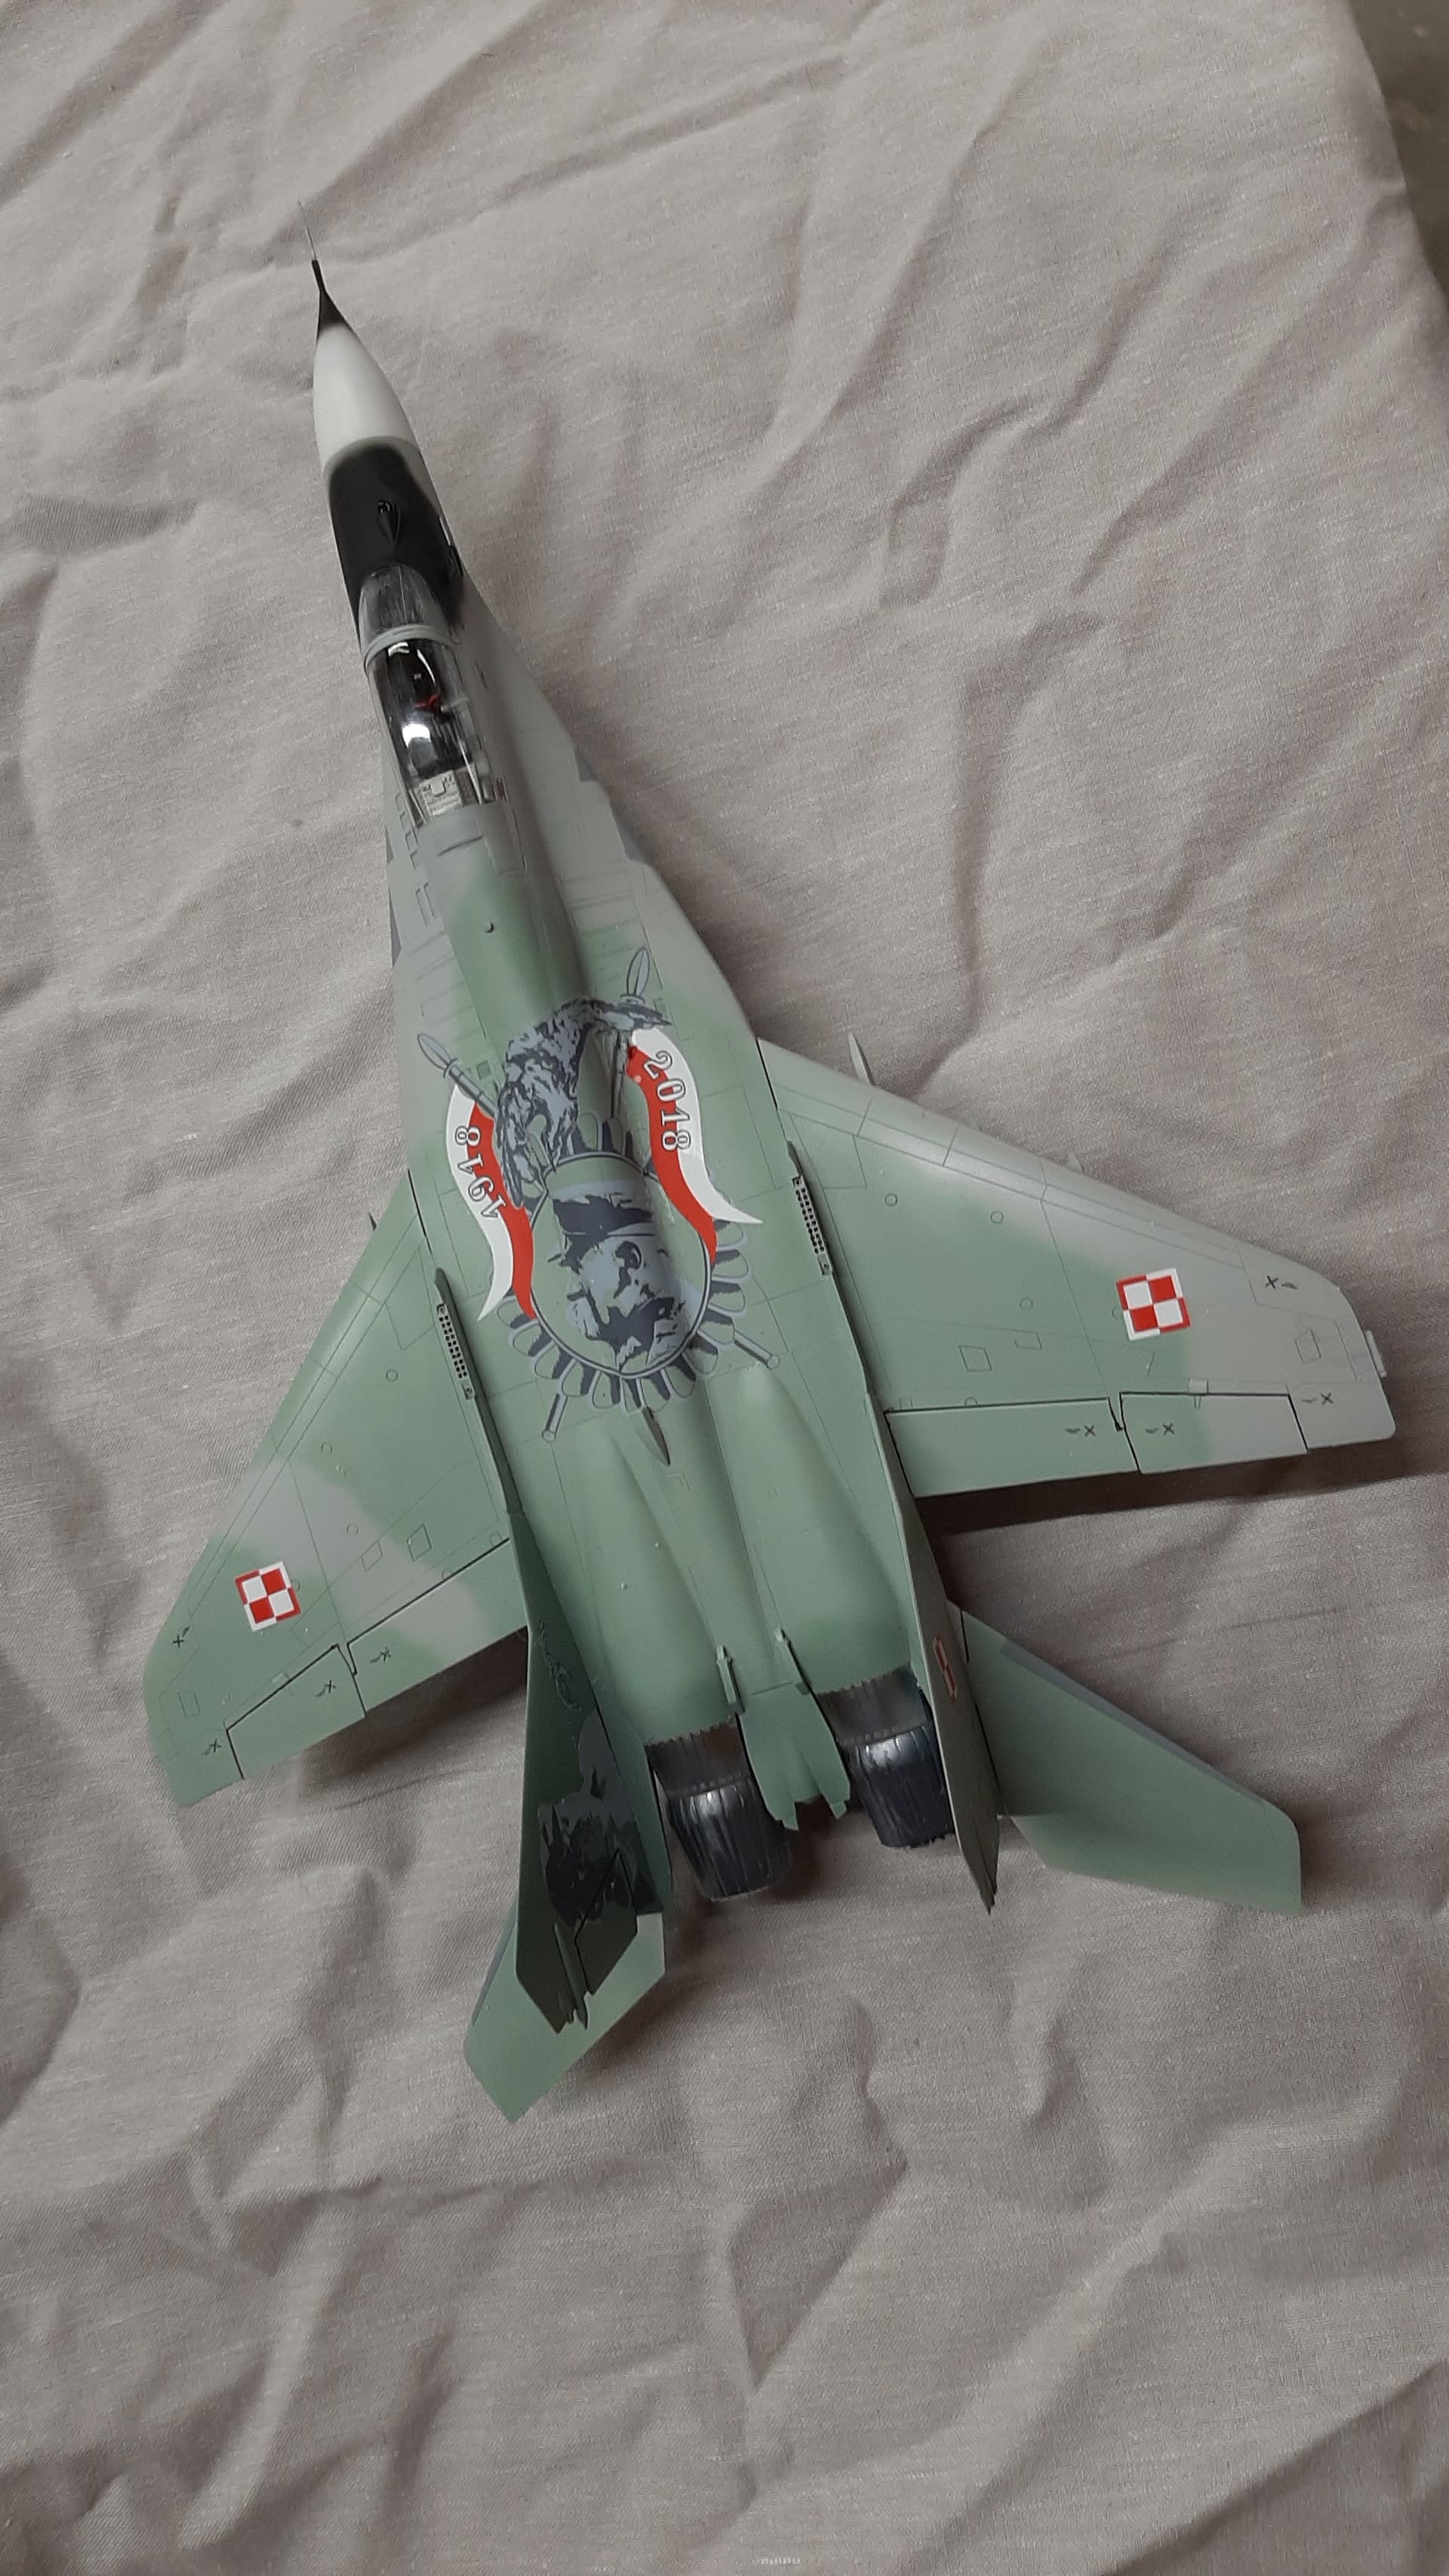
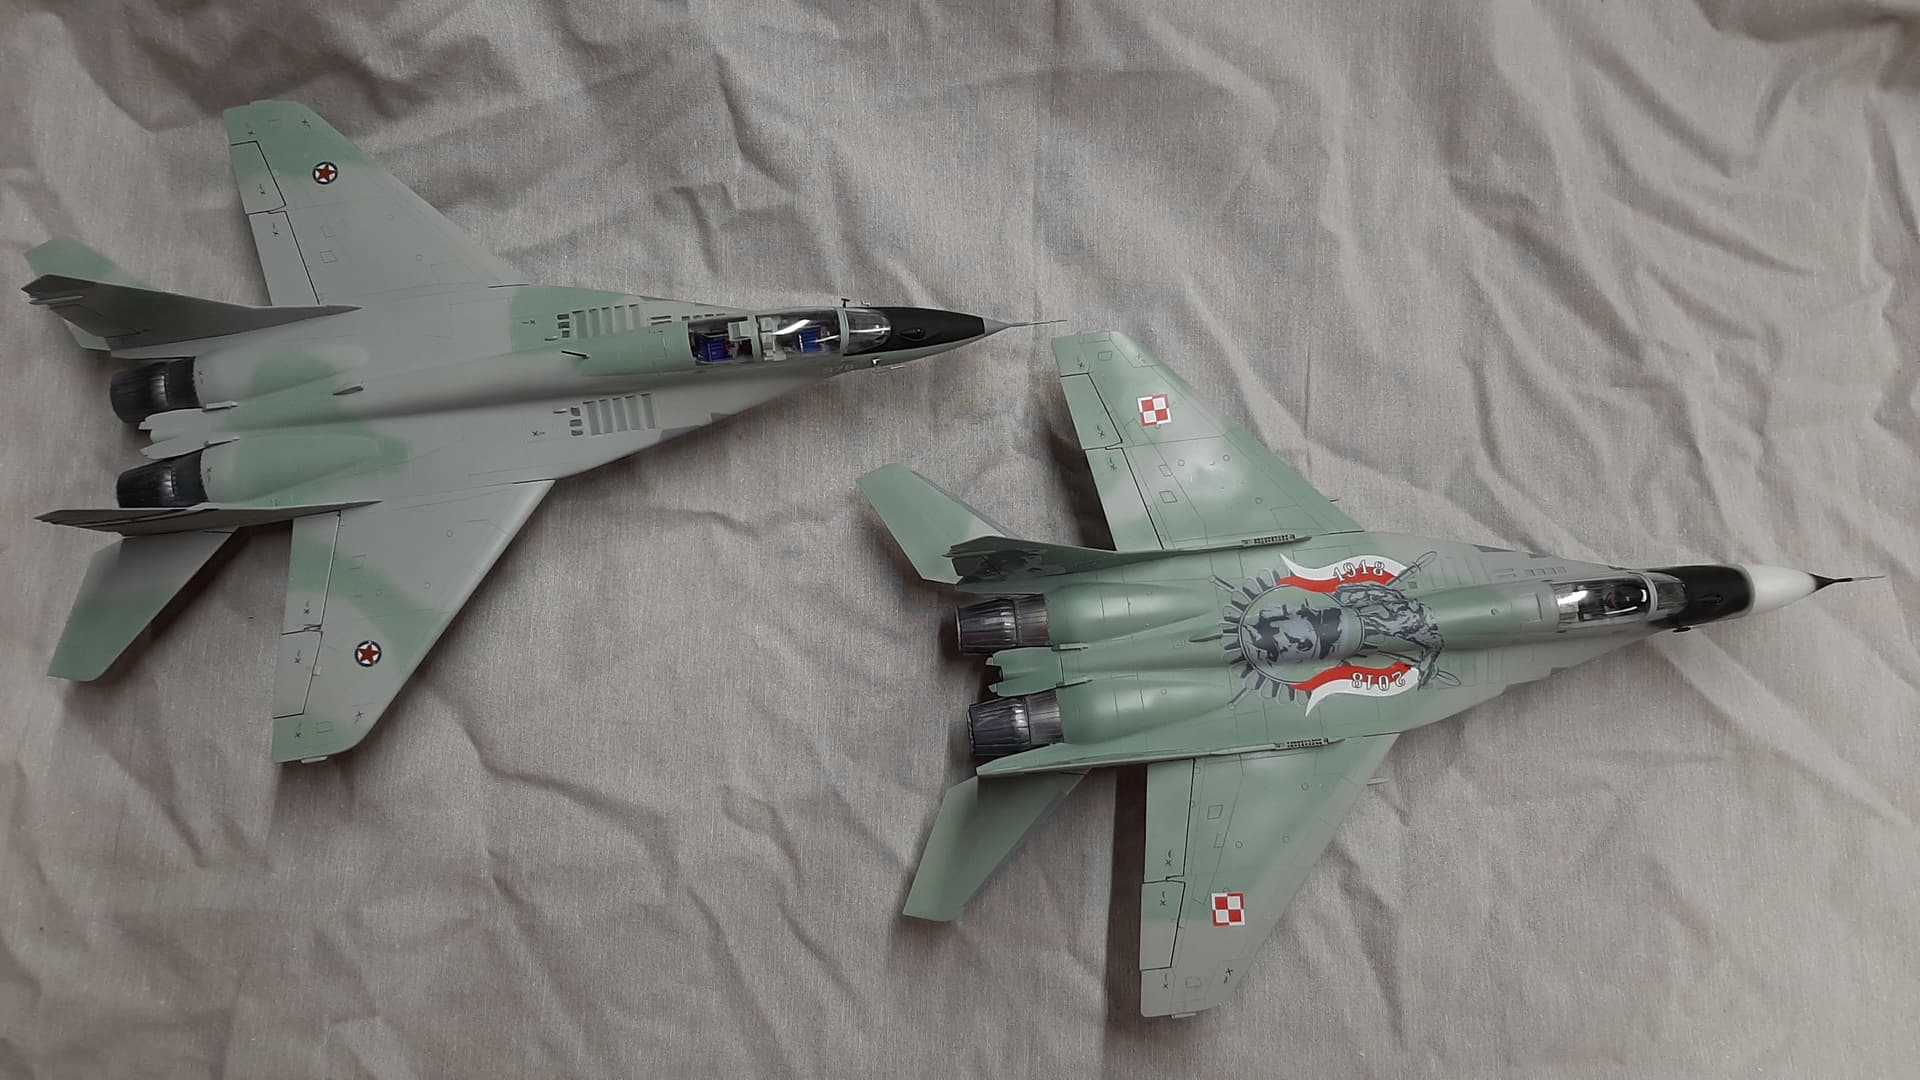
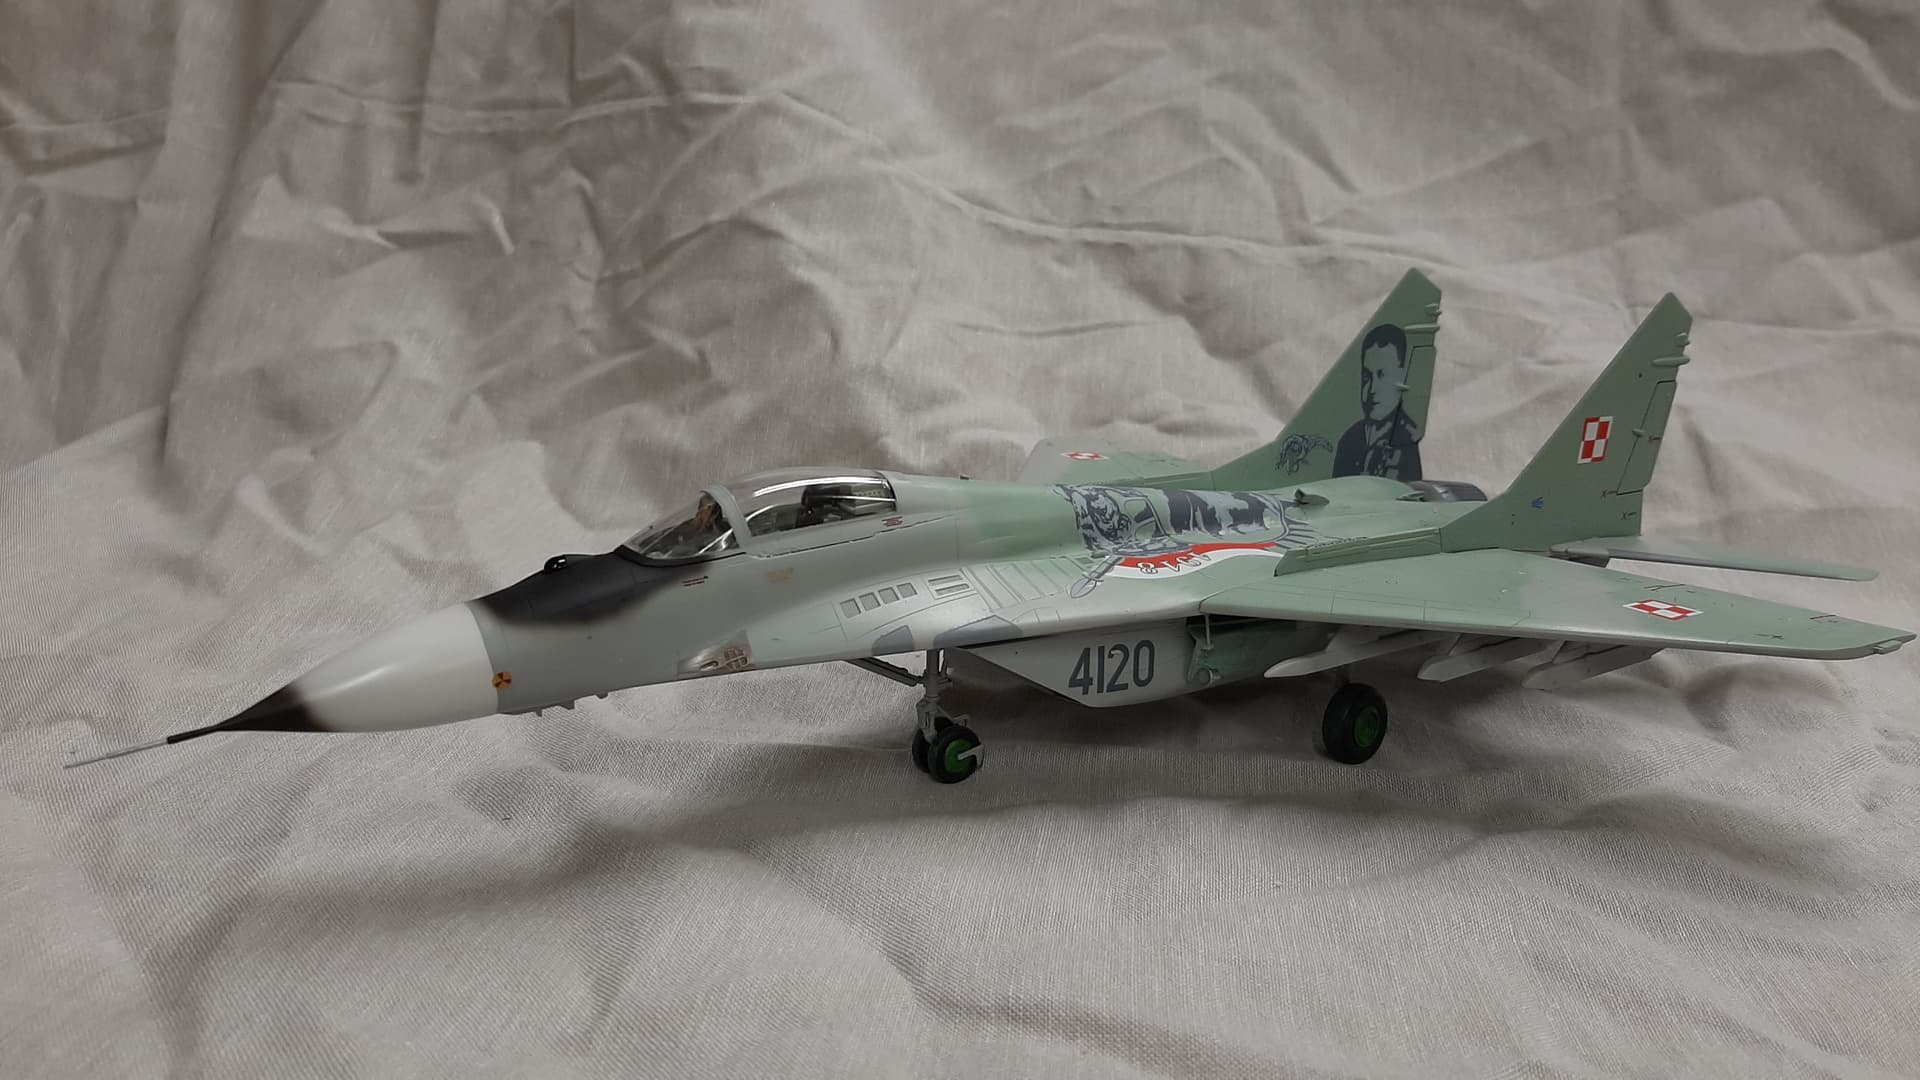
Yeah, I can understand how those could be a challenge.  There are some seriously large decals on that airplane!
Whatever trouble they gave you, though, you got them down really well. Looking at the finished model, I’d never know they fought you.
That’s exactly the kind of thing I was talking about when I said I’d take 20 tiny stencils over one giant decal. That’s an awful lot of decal to get positioned, settled down and wrapped around everything without something going wrong.
I worked the Christmas sale, earning and redeeming points and waiting for specific sale events to end up with 4 air brushes and a bottle of every color they had at the time.
I have the Mobius TG, .2 and .3 and the GHAD-39. Then I flitted off to another hobby! I’ll circle back after I get the bathroom I tore apart in March of 2025 put back together. At least that’s what I tell the wife…
While I may get a bottle here or there, I don’t think I will get full sets of their new brushable paint line. I have a 30+ year old collection of Testor’s enamels and some Tamiya for that.
1 Like
Four airbrushes and a bottle of every color, and then you wandered off to another hobby? That’s impressive!
I’ve somehow ended up with a collection myself. The three I use regularly now are all Gaahleri—the Mobius 0.2, Mobius TG, and Aventus. They each have a different purpose, so apparently three airbrushes is completely reasonable.
Sounds like you’ve already got everything you need waiting for you whenever that bathroom finally gets finished!
I started using the sewing machines I inherited from my dad way back in 2018. 6 pickle ball bags, a pair of overalls for my wife and two pairs of shorts for myself later, it’s time to drift on to another hobby. Or finish the Tamiya Nissan 2000 GT-R I started 6 months ago.
2 Likes