Another Jeep Project - M38

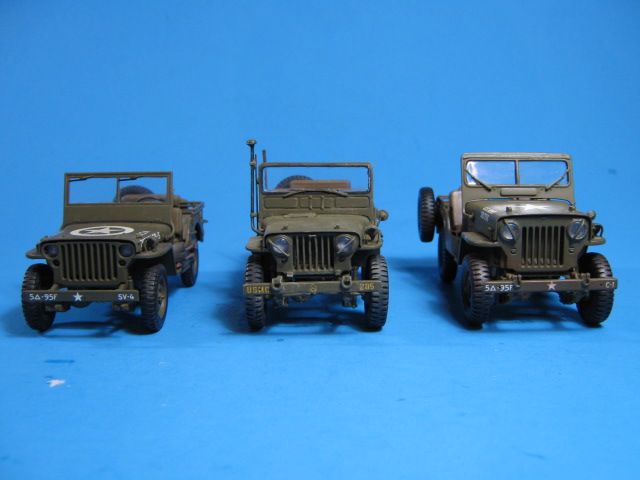
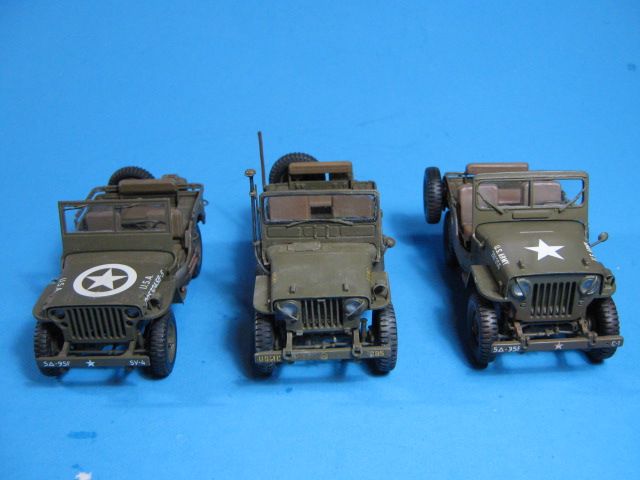
Looks like I am on another Jeep kick. This time I am adding another rare jeep to my collection, an M38, which was an interim jeep used after WWII and in the Korean war.

A little history on it:
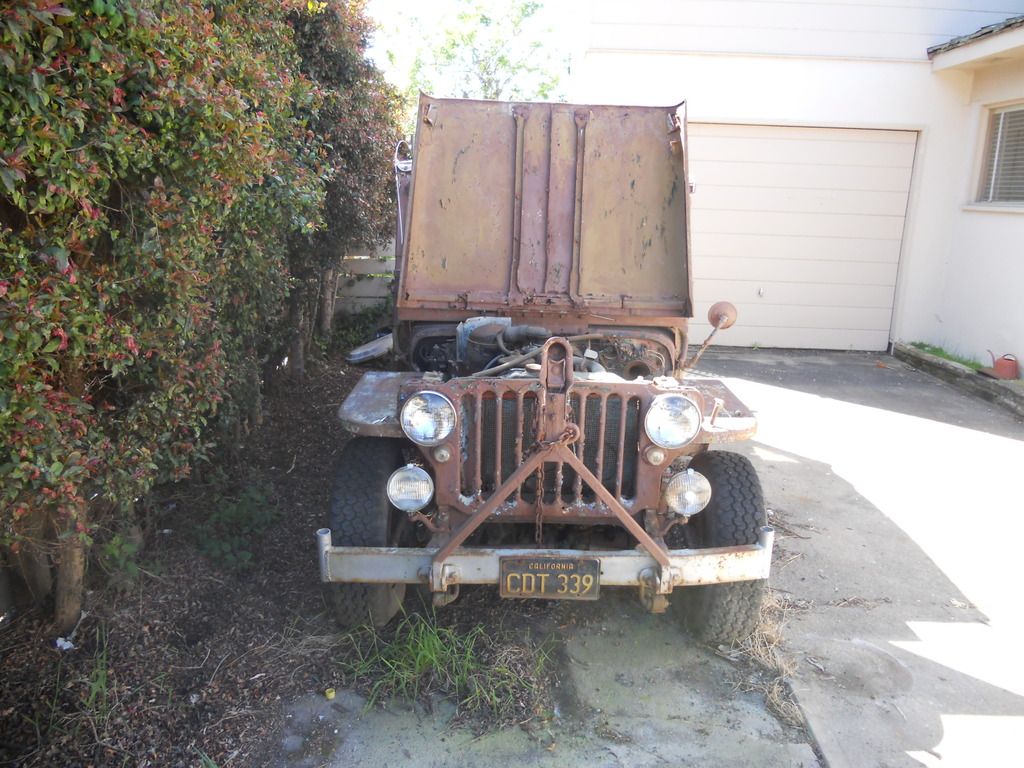
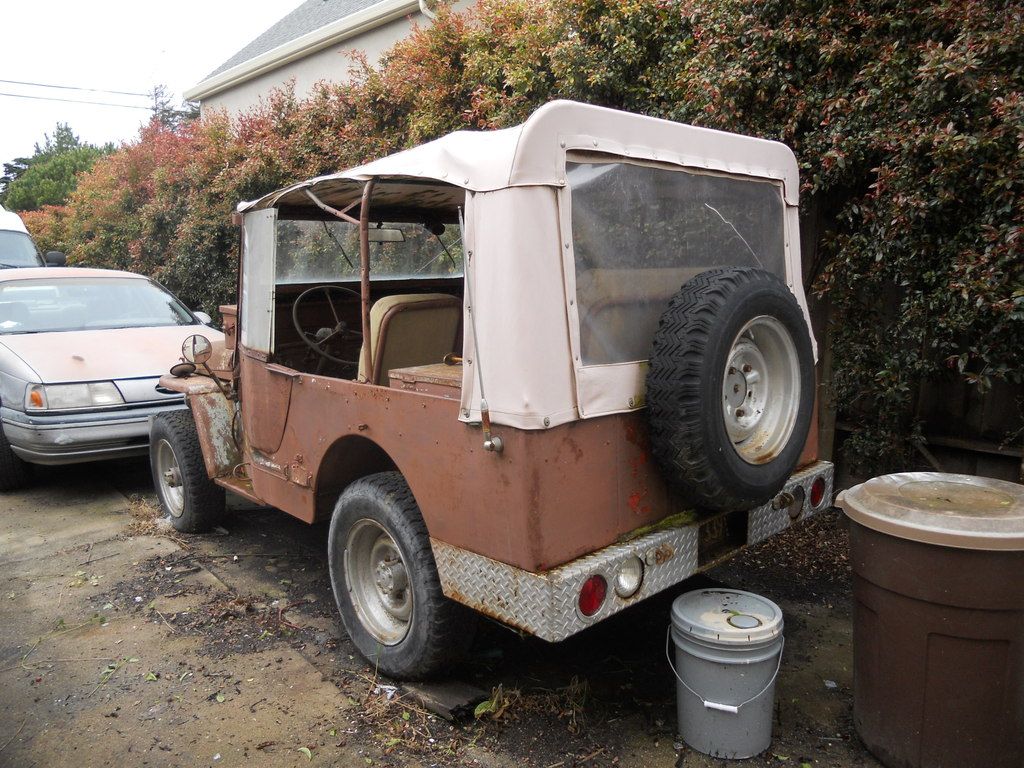
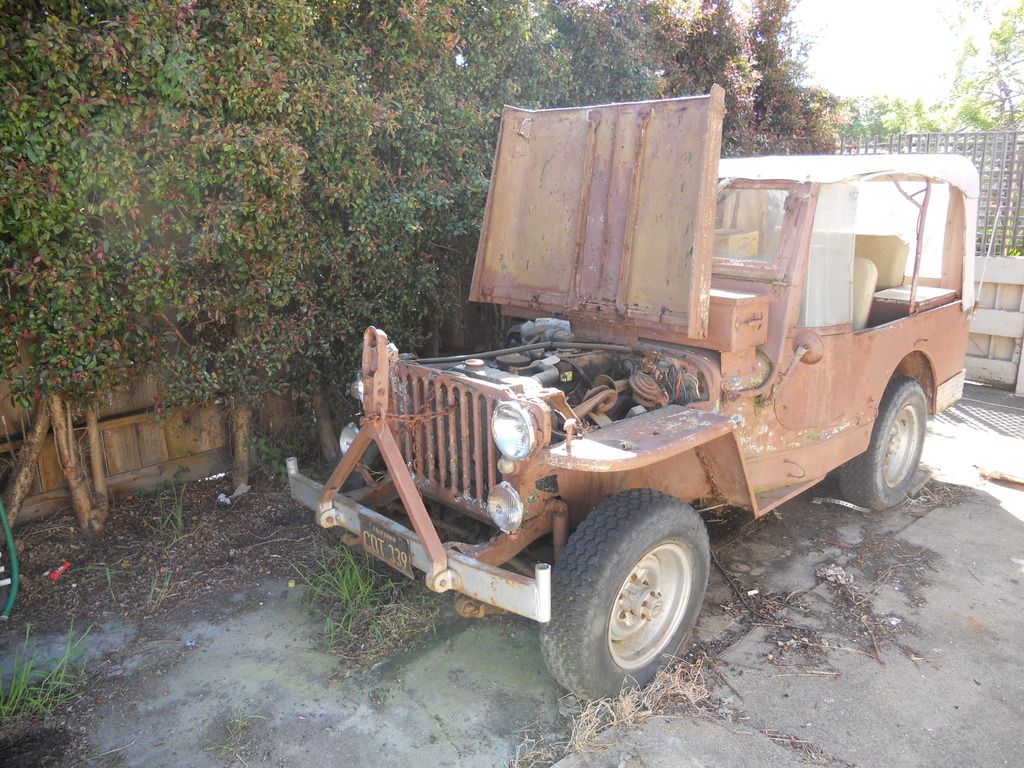
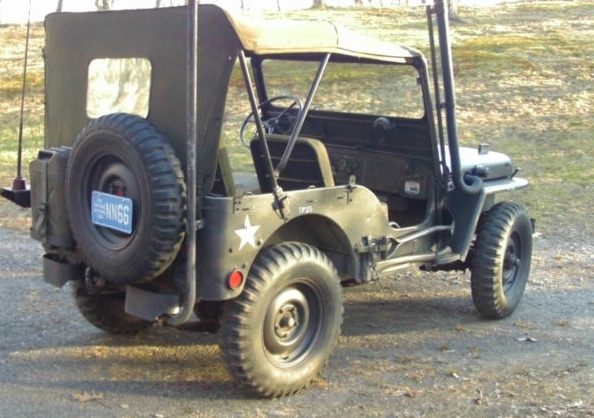
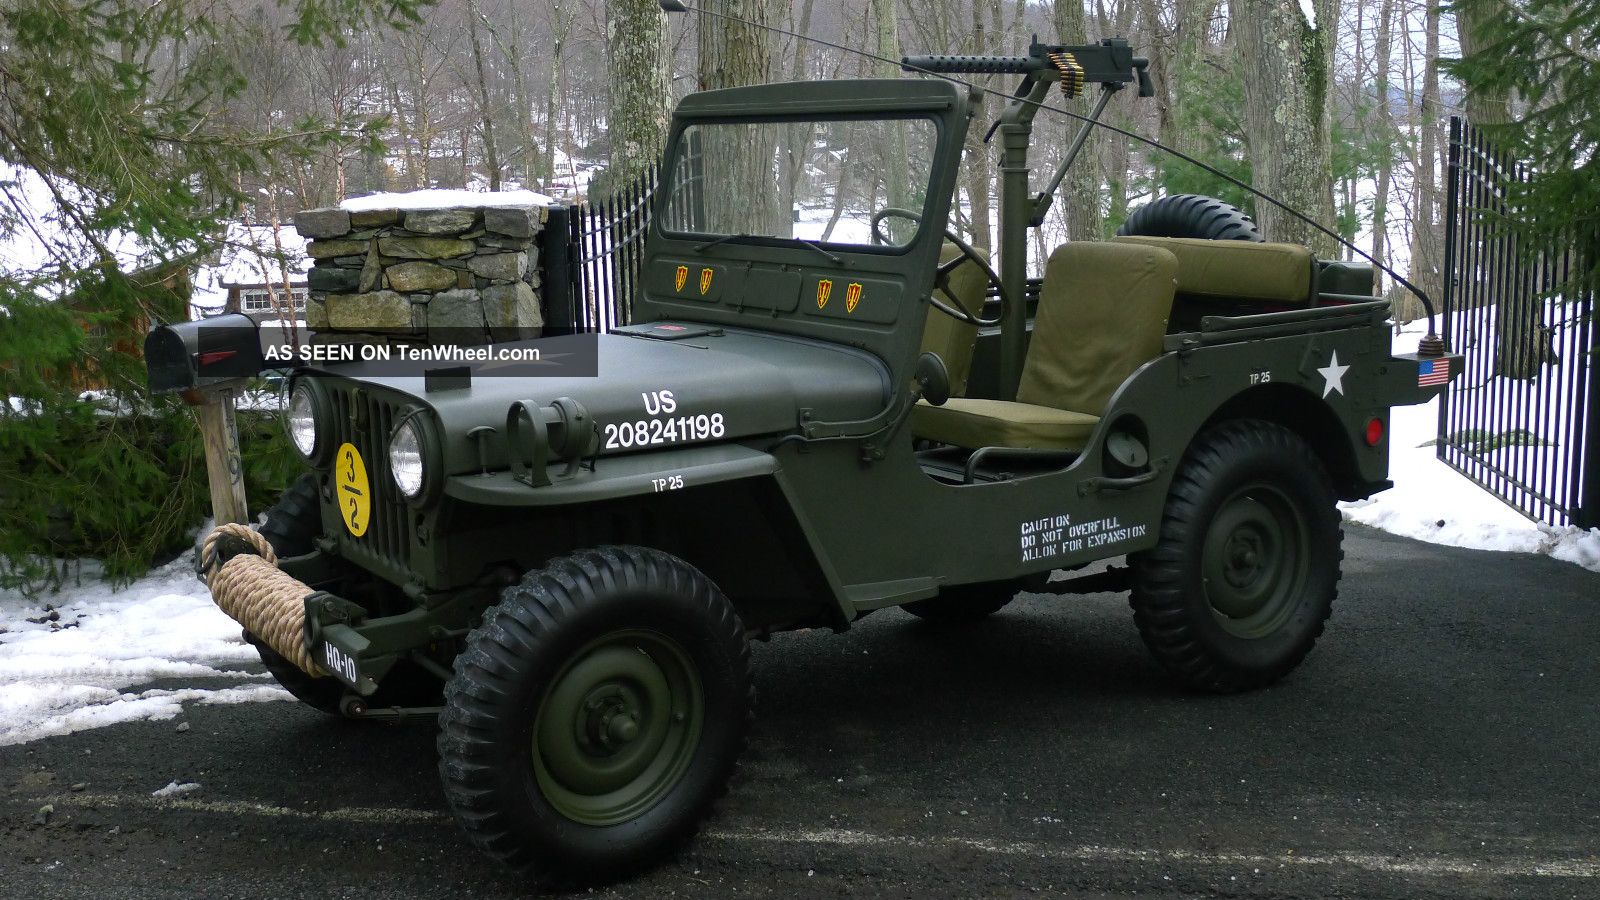
In 1950, Willys introduced the M38 (identified as an “MC” by Willys), a post-WWII Jeep based on the CJ-3A and fitted will military-specific features, including a one-piece foldable windshield, bottom-mounted wipers, a pintle hook for towing, lifting shackles, and a fuel filler on the driver’s side. Pioneer tools (axe and shovel) were mounted on the passenger side, and larger tires were used (7:00 x 16) along with a waterproof electrical system, requiring a second battery mounted in the engine cowling on the right side, with a door on top.

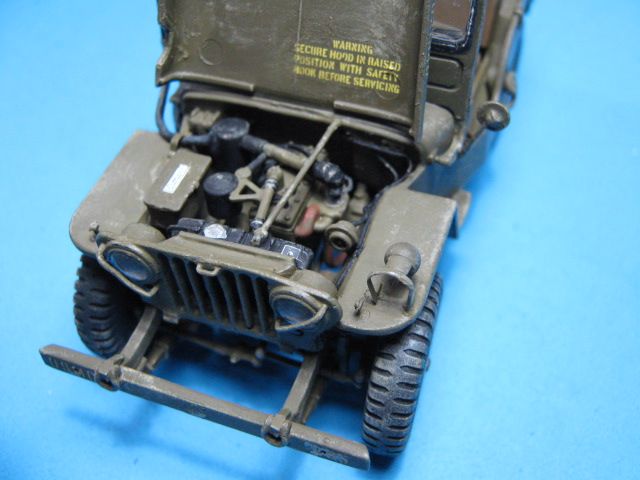
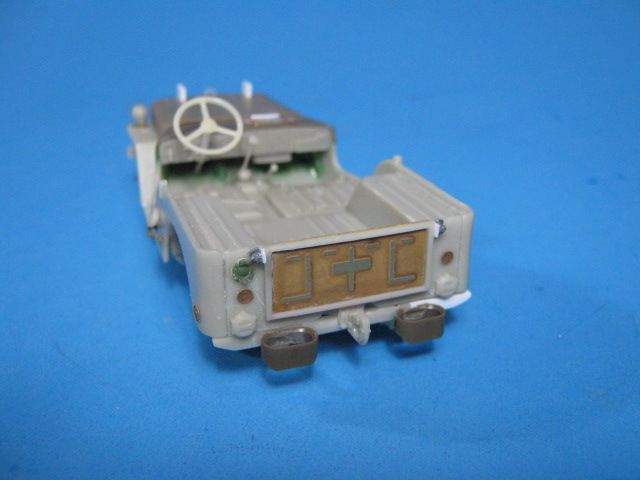
Other distinctive features of the M38 include protruding headlights (with guard wires in front), an air vent in the base of the windshield, blackout lights and notches for various tools. The M-38 used a slightly modified standard tailgate, and as is normal with military Jeeps, it was not stamped with “WILLYS”. It was also bolted shut since the spare tire and gas can would do damage to the tailgate if it were allowed to swing down. The M38 continued in production until 1952, when the M38A1 became the “standard” model of military service.

For the conversion, I am using parts of three kits; Tamiya’s Willys MB, MK Models’ M606, and Plus Models’ M38 Conversion set.


Most of the parts are coming from the MK Moldels M606 since the M606 was built on the same MC model frame and body as the M38. Both were based on civilian jeeps (CJ-3A for the M38 and CJ-3B for the M606). The difference between the two was the engine, with the M606/CJ-3B having the later, taller F-head engine, which required the higher hood, grill, and engine cowl.

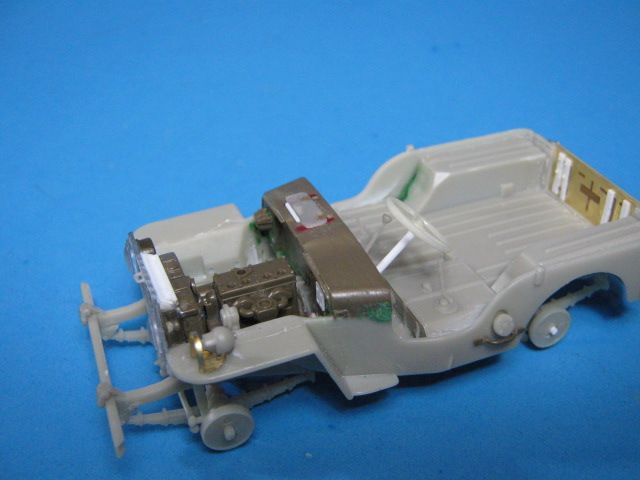
For the conversion, I used the low engine cowl from the Tamiya Willys MB and low hood from the Bronco Ford GPW British Airborne jeep (it has a new one for the British version). Oddly enough, the Tamiya cowl was about 1mm too wide for the MK body, but the hood from the Bronco Ford GPW (same vehicle as the Willys MB) fit the MK body perfectly. Which is the correct width, I don’t know? I suspect the Bronco and MK Models ones are right. Either way, it was a minor pain making the Tamiya cowl fit. Tamiya also donated the flat-head “Go Devil” engine as well.

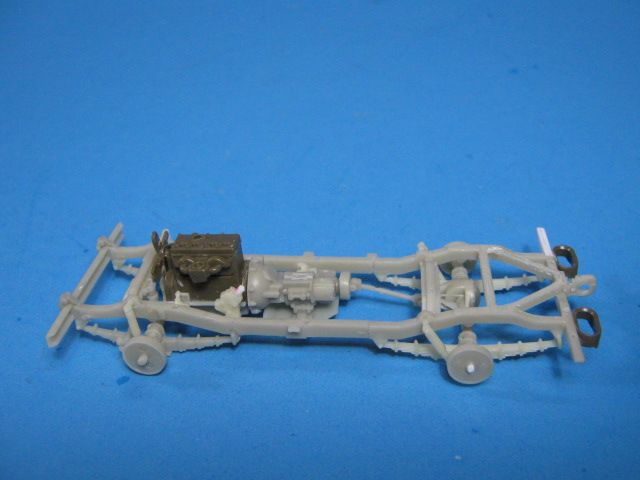
I also had to shorten the MK frame by about 2mm so it would fit the body. It may have been my assembly, but I think that the frame parts are a copy of AFV Club’s M38A1, which is slightly longer than an M38, but otherwise the same.

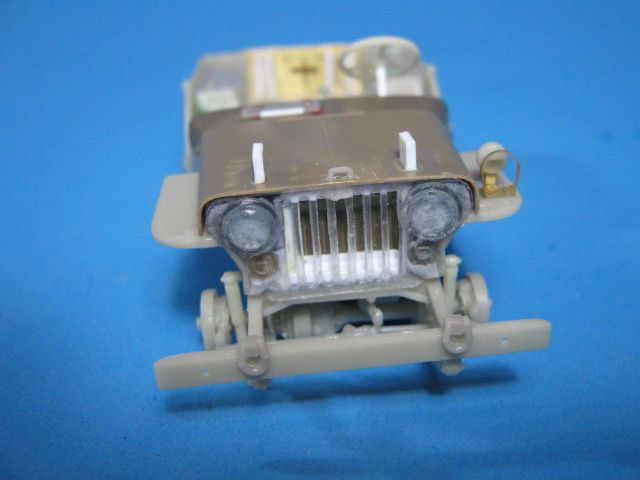
I am also using the grill, tires, instrument panel, windshield, and a few other pieces from the Plus Model Conversion.

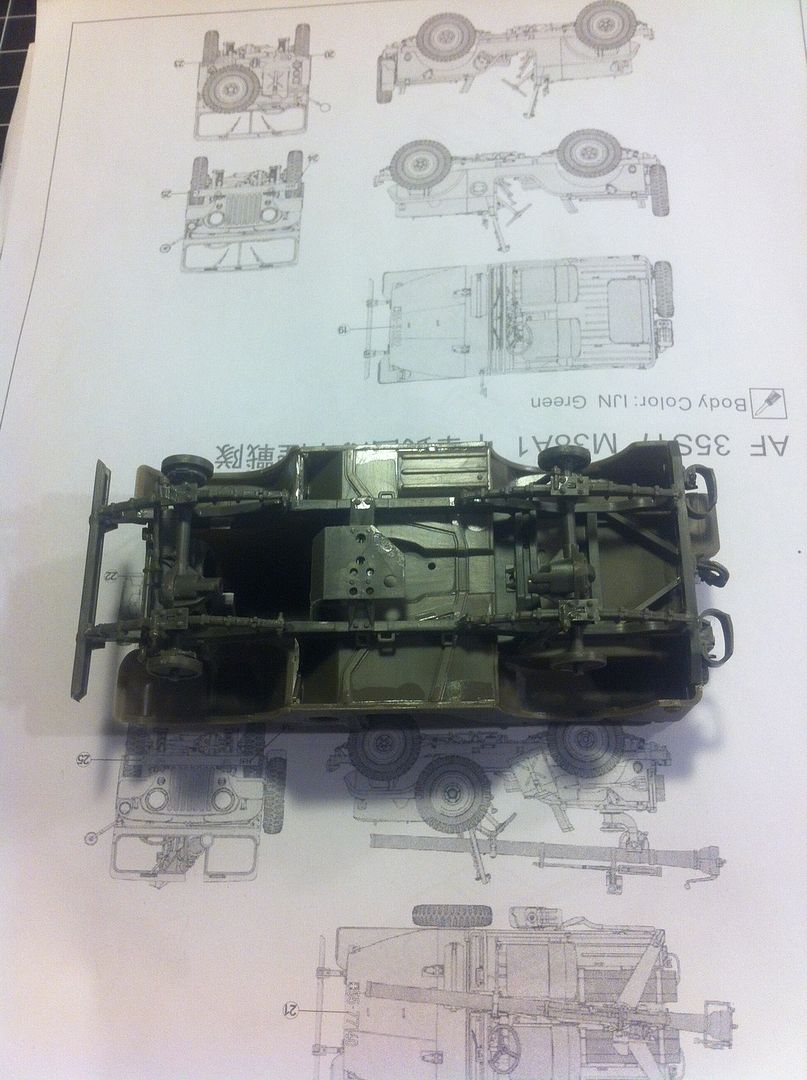
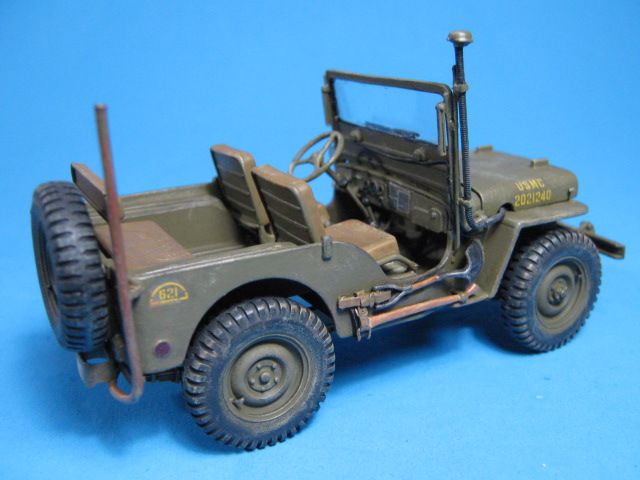
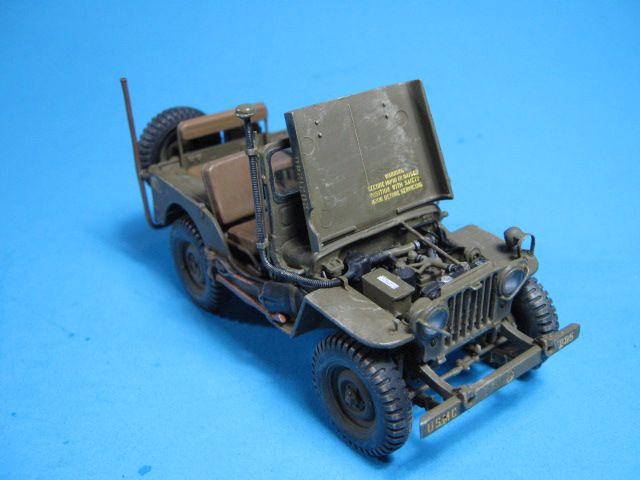
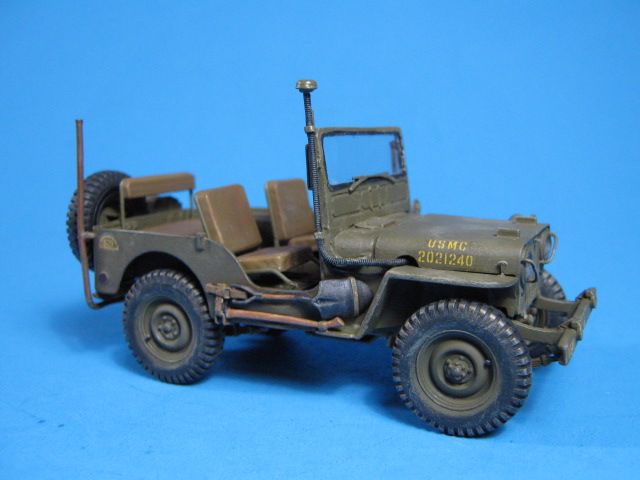
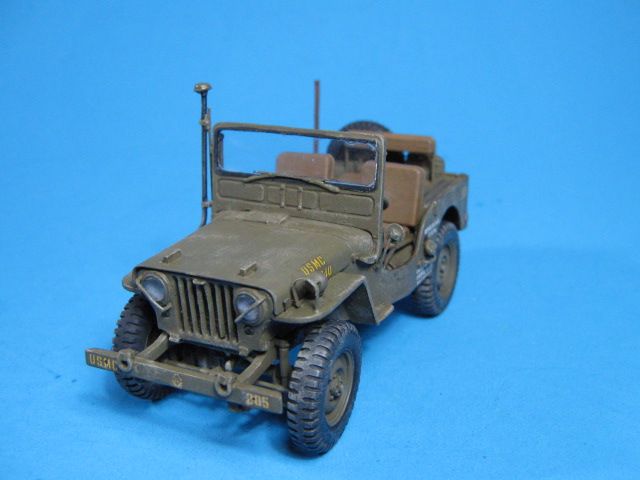
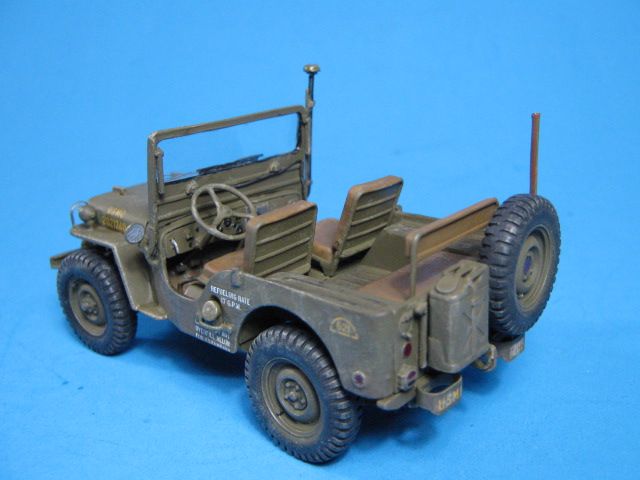
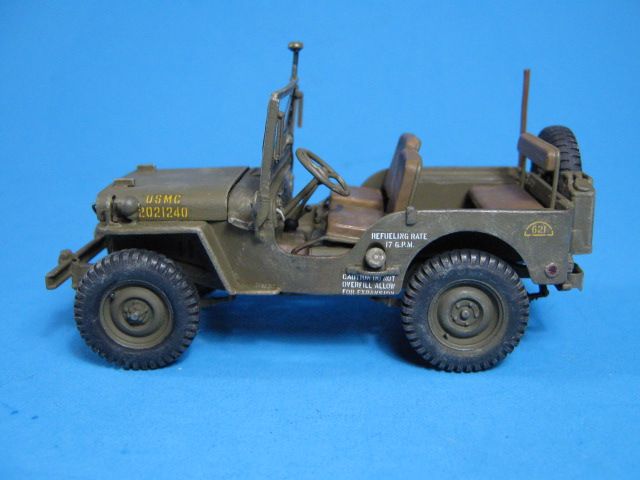
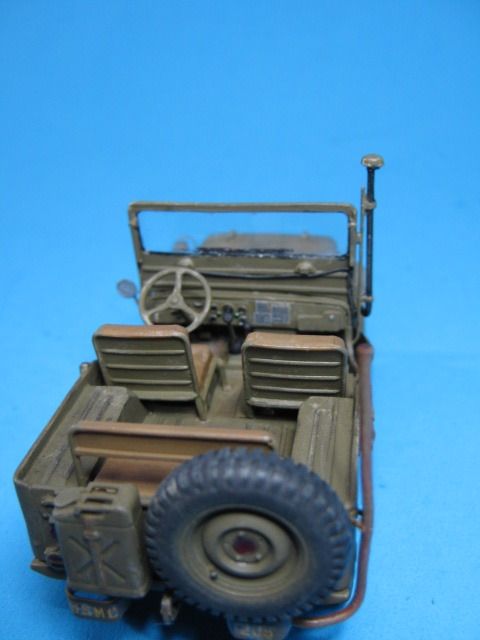
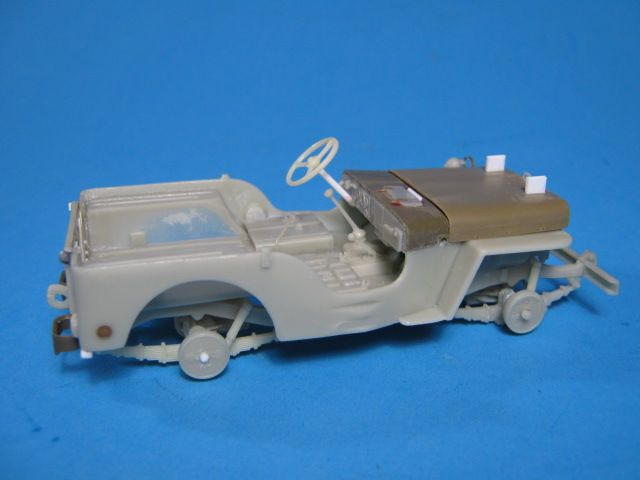
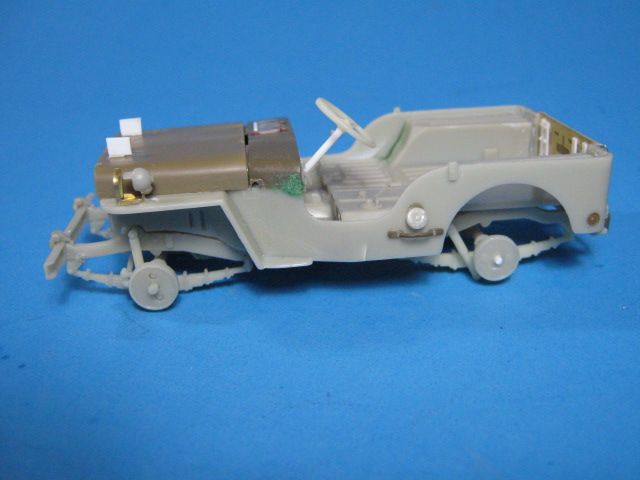
Here it is so far. The light cream parts are from the MK kit. The darker grey resin is from the Plus models Conversion. The dark green parts are from the Tamiya MB. The lighter olive green hood is from the Bronco GPW kit.


As always, all comments are welcomed.

I’ll be watching this one…

Thanks Stik. I hope to have another update in a day or so. It has been fun so far, and a little challenging getting all the parts from different kits to fit together.

Another educational and excellent build Gino. The only things that stick out to me are the two “blocks” of styrene on the hood look a little tall in scale compared to the photo of the real thing but it could just be my eyes, looking forward to seeing the rest!

Good eye Josiah. The windshield rests on the hood have not been sanded down and shaped yet. They were just glued on when I took the pictures. Their final versions will be lower. Thanks for checking in on it.

Hello Gino!

Nice kitbash here! I’ll be watching with interest here - the M38 is one of the few american vehicles that I could actually lay my hands on - I helped a friend here in Poland rebuild one. It was ex-Greek army. He got himself a 1952 machine and rebuilt it nicely. I helped to design a paint scheme for it - it got the markings of the Berlin Command. What will be the paint scheme on your machine? Good luck with your build and have a nice day

Paweł

Yes, watching this one!

Pawel - Thanks for looking in on it. I’m not sure what the markings will be yet, still deciding. That is cool that you got to help your friend restore a 1:1 model. That is my retirement plan/dream - restoring an M606/CJ-3B.

GMorrison - Thanks for watching, it should come out nicely.

Excellent job, Gino, on this build. I did notice one thing though. Is the rear differential centered or is it offset to the right? It looks like it is centered from the photo of the frame. Jeeps from MB’s to up to 71 CJ-5’s had offset differentials.

Here’s the frame of the AFV Club M38A1 thrown up.

If you look at Gino’s first two pics, you can’t see the diff from the left side, but you can from the right.

The AFV M38A1, nice kit but dear me and my mother, lots of really winky little parts.

A more detailed kit than that Tamiya MB, for sure. However, and I say this with respect; that Tamiya MB is a depression and/or slump buster. Short of shake-the -box, a pleasure.

Be careful what you wish for. We inherited this:

When Ms. Morrison, her brother and I all decided that we didn’t need the project, we tried to sell it.

“Ford engine, USPS frame, home made body, missing the builders plates”- ad naseum from the Jeep experts.

Very cool Gino, I love these Frankenstein builds. Looking forward to seeing how you bring all these parts together.

GM: Ok a Frankenstein build in 1:1 scale is a little much!

richs26 - Thanks for looking in on it. As GMorrison’s pics show and he explains, yes, the rear diff is correctly offset, it just doesn’t look like it from the angle of the frame pic.

GMorrison - Thanks for the assist. Yes, the AFV Club/Skybow kit is really nice and well detailed. It isn’t as hard to build as it looks though. It comes out really nice when finished. The Tamiya MB is really nice, goes together really easily, and looks good when done as well. With some extra PE and some TLC, it can come out really great looking. Yeah, your Frankenjeep would be a bit much for me to rebuild. Cool project, but too basterdized for me as well. Good luck with it.

Gamera - Thanks for the comments. I should have some paint on it soon and will show more progress pics.

Sure, no worries. Everything I know about Jeeps I’ve learned here.

Frankenjeep went to the scrap yard. I did save the TM.

Gino

You are becoming Mr. Jeep! Nice kitbash, will be interesting to see your outcome. Will be keeping an eye on this one.

Rounds Complete!!

Hi Mike - Thanks for checking in on it. Yeah, I needed a low-stress, quick project after finishing a 3-month long build of the 1/35 Academy MH-60S Sea Hawk super-detail which will be an article at Aeroscale soon. I figured another jeep was just what I needed. I have a few other jeep ideas in the wings that I may start on as well. I’ll keep you all posted on them when I do.

I have completed the M38 conversion. I decided to make it a USMC jeep with Deep Water Fording Kit (DWFK) for something a little different. The DWFK includes an extended air intake tube and an extended exhaust tube that allows the vehicle to ford up to a depth of 72 inches.

Here is the setup:

I made the intake tube out of a guitar string (the biggest, G string?), capped with the intake cover off the air cleaner. The exhaust extension is a piece of solder with the end drilled out. The fittings and clamps are left over PE bits and a length of 0.20 brass rod.

The intake is routed into the engine compartment through the hood and into the air cleaner.

Here it is overall:


I used Archer instruments and placards left over from a Tamiya Willy’s MB kit.

The engine is fully plumbed with spark plug wires, wires for the lights and horn, fuel lines, and a few other lines for good measure.

Here it is with its brothers to see the progression. On the left is a WWII Willys MB, center is the Willys M38/CJ3A, and on the right is the later Willys M606/CJ3B.

Thanks for looking and as always, all comments are welcomed.

Really great stuff. They went back to a divided windshield?

I really like the CJ-3A.

You should add radio antennas when you get a chance.

That’s what I like most about conversions is when you’re finished you have a very unique model representing a real life subject.

Are the decals wet/slip or dry transfers? Or did you describe that already and I missed that text? They layed down perfectly.

The only thing(s) I see are the ejector pin marks on the inside of the hood. You did an incredible amount of detailing in the engine compartment so I assume you’re going to show it with the hood open. Unless those are on the 1/1, actually I don’t know.

Overall, a sweet gem to add to your jeep collection