This is turning into a magnificent build!
And, yeh, your wife’s a keeper. [:D]
This is turning into a magnificent build!
And, yeh, your wife’s a keeper. [:D]
Hi all,
I’ve been working on the model off and on for the last month, time permitting. The post by Crackers showing the two fine models of the HMS Pandora, as well as the McNarry Constitution builds have spurred me on, and I have decided to add as many crewmen as possible. I am also turning around the idea of turning this into a water diorama with the ship under sail. Since I will be depicting the ship under normal sail, and not at battle stations, I have decided to complete the captain’s cabin, including the captain’s quarters as well as the great cabin.
To that end, i created furniture from scratch, and built up the temporary dividers. It took a few tries to get the scale correct, hence the two tables and the initial attempt at a chair - see the tiny one, what looks like a child’s stool with brass rod legs, as well as the oversized table. The final versions are the ones painted brown.
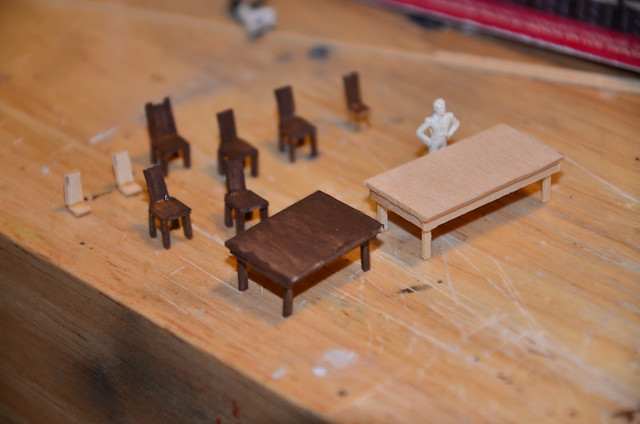 DSD_2244 by Jose Gonzales, on Flickr
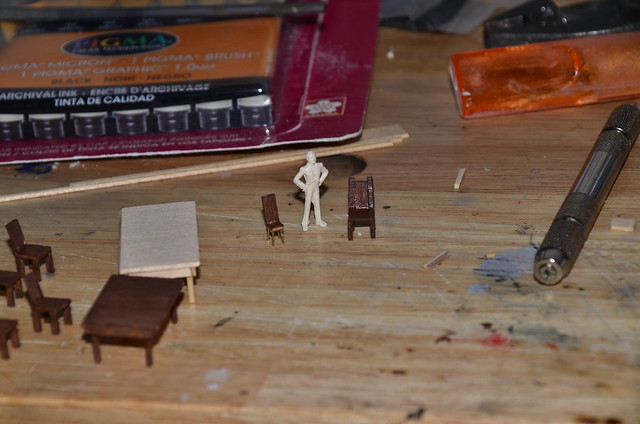 DSD_2248 by Jose Gonzales, on Flickr
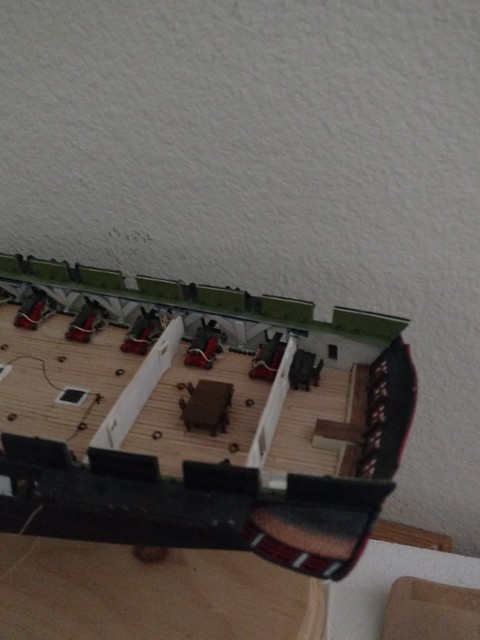 2018-04-01_08-31-40 by Jose Gonzales, on Flickr
See the desk in the captain’s private quarters
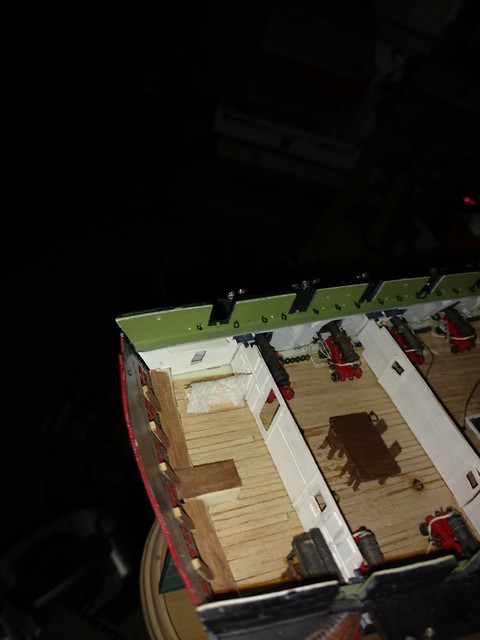 2018-04-01_08-33-35 by Jose Gonzales, on Flickr
and the sleeping cot covered with a veil.
I assembled the lower masts and bowsprit, and sanded down the seams. I also tried to fix the warpage of the spar deck pieces by gluing wood dowels to the undersides, but u fortunately, the tactic ended up stiffening the decks in a too-straight state, countering against the sheer of the deck (the upward curve of the deck at the bow and stern). I ended up cutting notches into these dowels at regular intervals to try to restore some flexibility to the deck.
I also started adding some crew to the gun deck. I also had a handful of leftover barrels I obtained for my last build, and installed elm pumps that came from the BlueJacket kit.
 2018-04-01_08-34-23 by Jose Gonzales, on Flickr.
More pics to come shortly.
Jose
really enjoying your build jose ,
steve5
Hi all,
Work on the model has been slow; life as usual gets in the way. I completed my work on the gun deck and prepared for laying down the spar deck. A few things got in the way.
I decided to remove the eye bolts from the Bluejacket kit thati had originally mounted on the spar deck bulwarks and replace them with photoetch eyebolts from Dafi that i had purchased for the Heller Victory, so I purchased extra photoetch eyebolts and hooks. Unfortunately I broke a few of the bluejacket eyebolts while removing them, leaving the straight stems stuck in the bulwarks, I ended up removing them by drilling from the outside to push them out. I installed Dafi’s eyebolts and they look pretty good.
I had intended on buying planking from BlueJacket to plank over the plastic spar deck, and lower the plastic deck by sanding down the nubs on the bottom of the plastic. However, instead of buying the intended 9/32 x 1/32 planking, I accidently purchased the 9/32 x 0.020 inch thick planking. This planking was intended to be used as the external planking for the solid wood hull, and was much thinner than 1/32. I had to adjust my plans, and tried to shave down the nubs accordingly.
Here are pics of the nearly finished spar deck planking.
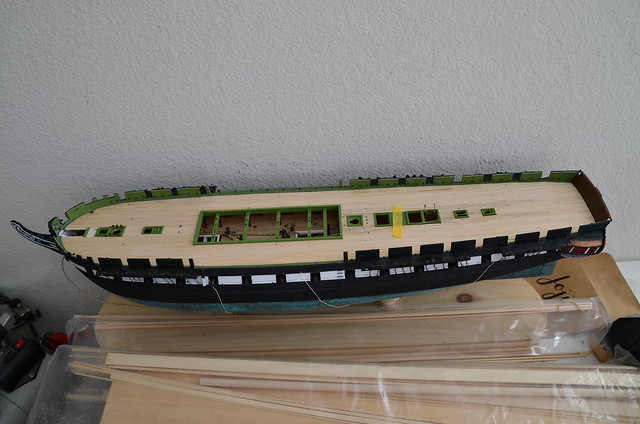 DSD_2442 by Jose Gonzales, on Flickr
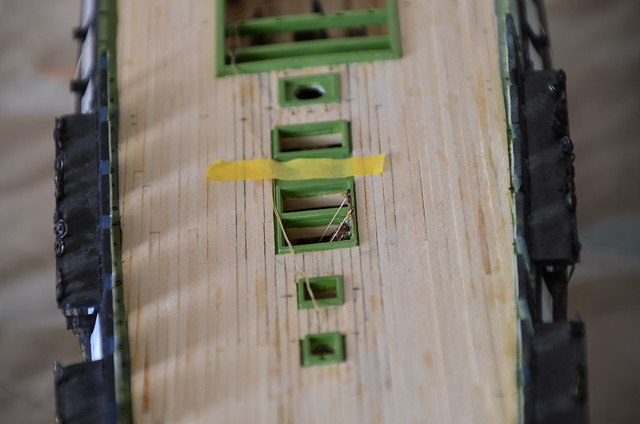 DSD_2453 by Jose Gonzales, on Flickr
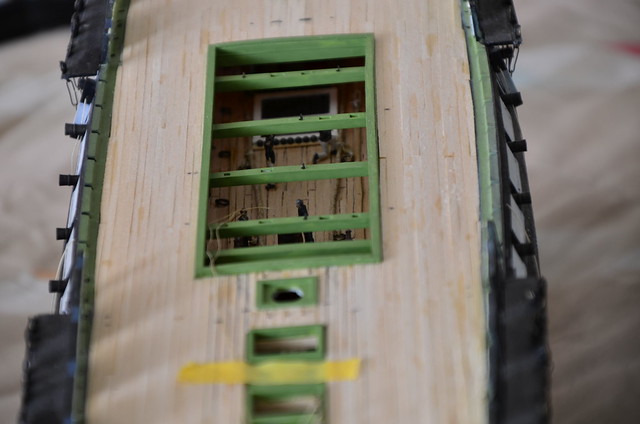 DSD_2451 by Jose Gonzales, on Flickr
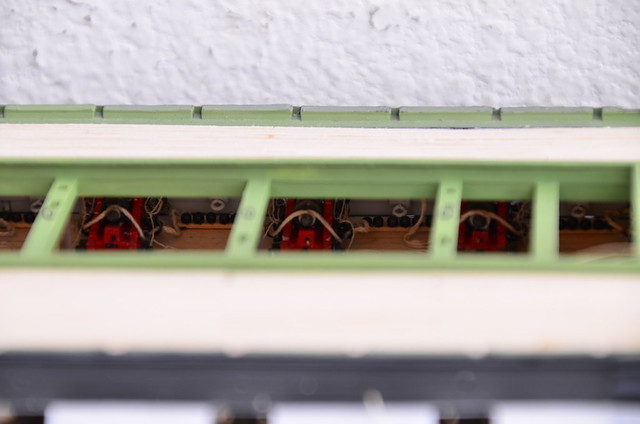 DSD_2446 by Jose Gonzales, on Flickr
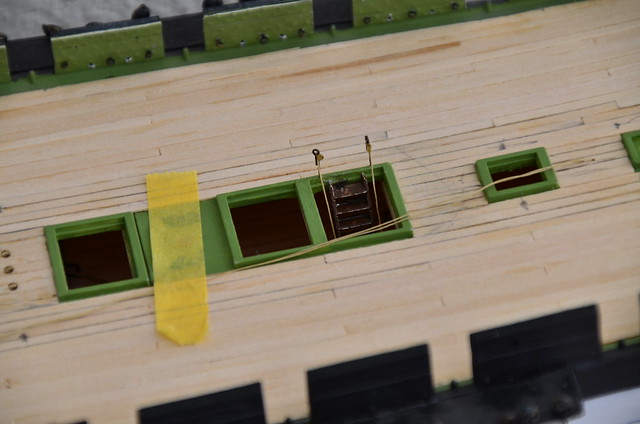 DSD_2441 by Jose Gonzales, on Flickr
Hello all,
I’ve created a new account to continue this build log. It has been 10 months since my last entry, and not much has happened since then, but a few posts from some other build logs of Old Ironsides has stoked my fires, and I am proceeding full sail ahead!
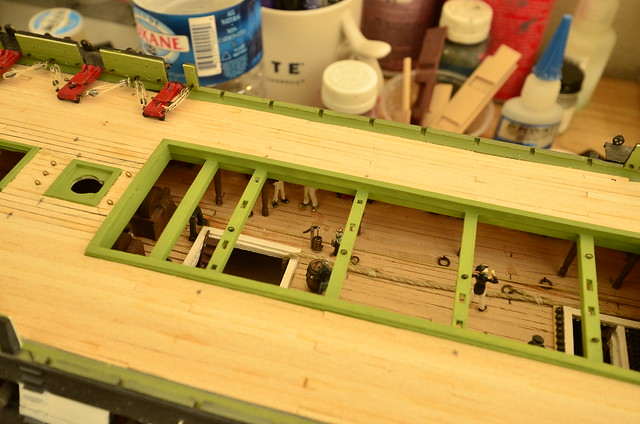 _DSD5647 by Jose Gonzales, on Flickr
 _DSD5639 by Jose Gonzales, on Flickr
carronade carriages mounted and rigged
Looks good, Jose! Will you add the breach lines once you install the carronades? Are those the original Revell carriages, or are they custom? They look like they are made of wood when I zoom in (and not plastic).
Bob
Hi Bob! The breech lines will go in with the carronade barrels. These are the guns from the BlueJacket Shipcrafters Constitution kit that I’m mashing with the Revell kit. The gun deck guns also come from the BlueJacket kit. The guns and carriages are made of Britannia Metal. I painted the carriages with a ModelMaster red. The barrels have been blackened using a Pewter Black solution from Bluejacket.
Hi all
Here is a link to a primary source. It is a hi res pic of a watercolor of the uss president by antoine roux, in the digital collection of the new York public library:
https://digitalcollections.nypl.org/items/510d47d9-7b45-a3d9-e040-e00a18064a99
I would paste the pic itself but it is a high res tiff and too large to post.
And another of the same ship by the same artist, from the website of the USS Constitution Museum:
There are a lot of very interesting things to be minded from these two amazingly detailed paintings.
2 in stormy weather, gunport covers were in place with the guns run out, through the covers. This means the covers were half covers, top and bottom, with semicircles cut out to accommodate the guns running between them.
Look very closely at the quarter galleries, you will see that there appear to be dead lights in place of windows with only a small actual window.
In preparation for the storm, all spars were lowered, presumably to lower the center of gravity and stabilize the ship.
I cannot take credit for these observations as I saw discussions about these topics I n other forums, but I do love these paintings. Review Roux’s work online , you’ll find other amazing art. Note that his work was made during the time his subjects were in their prime.
Cheers
 _DSD6763 by Jose Gonzales, on Flickr
 _DSD6762 by Jose Gonzales, on Flickr
Carronades completed, starting on pinrails. I was planning on using the Revell provided pinrails, but when I pulled out the sprue, nearly all belaying pins were bent or broken.
Glad to see you back at it! Love your build and will use it when I get around to building my ‘Connie’.
nice work on the carronades jose . enjoying your build .
This update is long overdue. Carronades are complete, as are the pinrails.
 _DSD7423 by Jose Gonzales, on Flickr
The BlueJacket kit came with a pair of cathead carvings. I trimmed them to fit the Revell catheads and glued them on. I also added a cleat on each cathead for the stopper cable, and drilled holes through the end for rigging the cathead blocks:
 _DSD7420 by Jose Gonzales, on Flickr
I chose to use the BlueJacket Fore and Main bitts and fiferails, as the ones from the Revell kit were damaged beyond repair. Here are the fore fiferail and bitts:
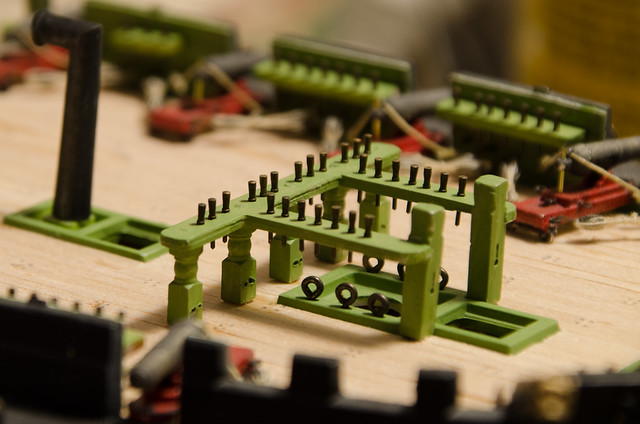 _DSD7419 by Jose Gonzales, on Flickr.
The BlueJacket main fiferails seemed too large and out of scale. I chose to exclude the bottom stanchion sections and just glue the bottom rail directly to the deck. I also chose to use the BlueJacket capstain, visible behind the fiferail:
 _DSD7418 by Jose Gonzales, on Flickr
I chose to use the Revell wheel, with the supports modified a la Force9 (Evan) though I did not do nearly as good a job. I’ve pictured the installed wheel along with the pieces from the BlueJacket wheel assembly for comparison:
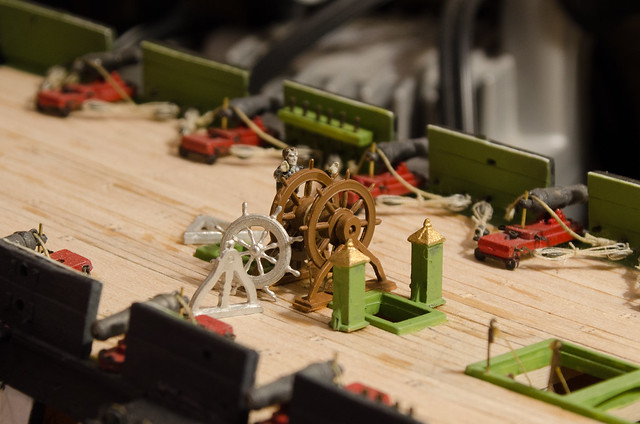 _DSD7417 by Jose Gonzales, on Flickr
I found the BlueJacket wheel too small relative to the crewmen’s size, and perhaps too stocky. Compare these to the real thing:
 kdk_0493-1024x768 by Jose Gonzales, on Flickr
Note that the original has 10 spokes, but both Revell and BlueJacket offer only 8 spokes.
fabulous work as always, Jose.
I am also struggling with the wheel, as many of my pins are broken. Tried to get one from ModelMonkey, but again, many of the pins were broken. I am modifying the one from ModelMonkey by removing the remaining pins and replacint with the top portion of 8mm brass belaying pins. Slow work - can only do one per day and need to add 20 pins. About half way home, but will look much better and be much sturdier.
Bob
Hi Bob,
Thanks for the complement (still can’t get which one, compliment or complement, to use straight [:)] ). Your solution sounds brilliant, can’t wait to see how the wheel turns out. I love your work too - a lot of what we do is slow work - between waiting for paint to dry, waiting for glue to dry, and the modifications, it took me 3 days to complete and mount my wheel. Eagerly awaiting your next update!
Jose
Hi all,
I’m nearly finished with the spar deck fittings, but I need to plan how im going to rig the ship, so I started working on a belaying pin diagram, in case I need to add cleats or pin rails.
I want to base my rigging on the famous Isaac Hull model in the Peabody Essex Museum in Salem, MA so I’m keeping the steps to the bowsprit, and not running a pin rail across the front of the bow on the spar deck.
I traced the belaying diagram at the bottom of the Revell rigging plan minus the number assignments and made several photocopies. I then wrote in the names of the lines being belated. I did this for the original revell diagram, and then did an “adapted” version based on the Bluejacket plans. Here are the original belaying diagrams
 20200127_213125 by Jose Gonzales, on Flickr
 20200127_213155 by Jose Gonzales, on Flickr
 20200127_213205 by Jose Gonzales, on Flickr
Here are my written out diagrams
 20200127_213956 by Jose Gonzales, on Flickr
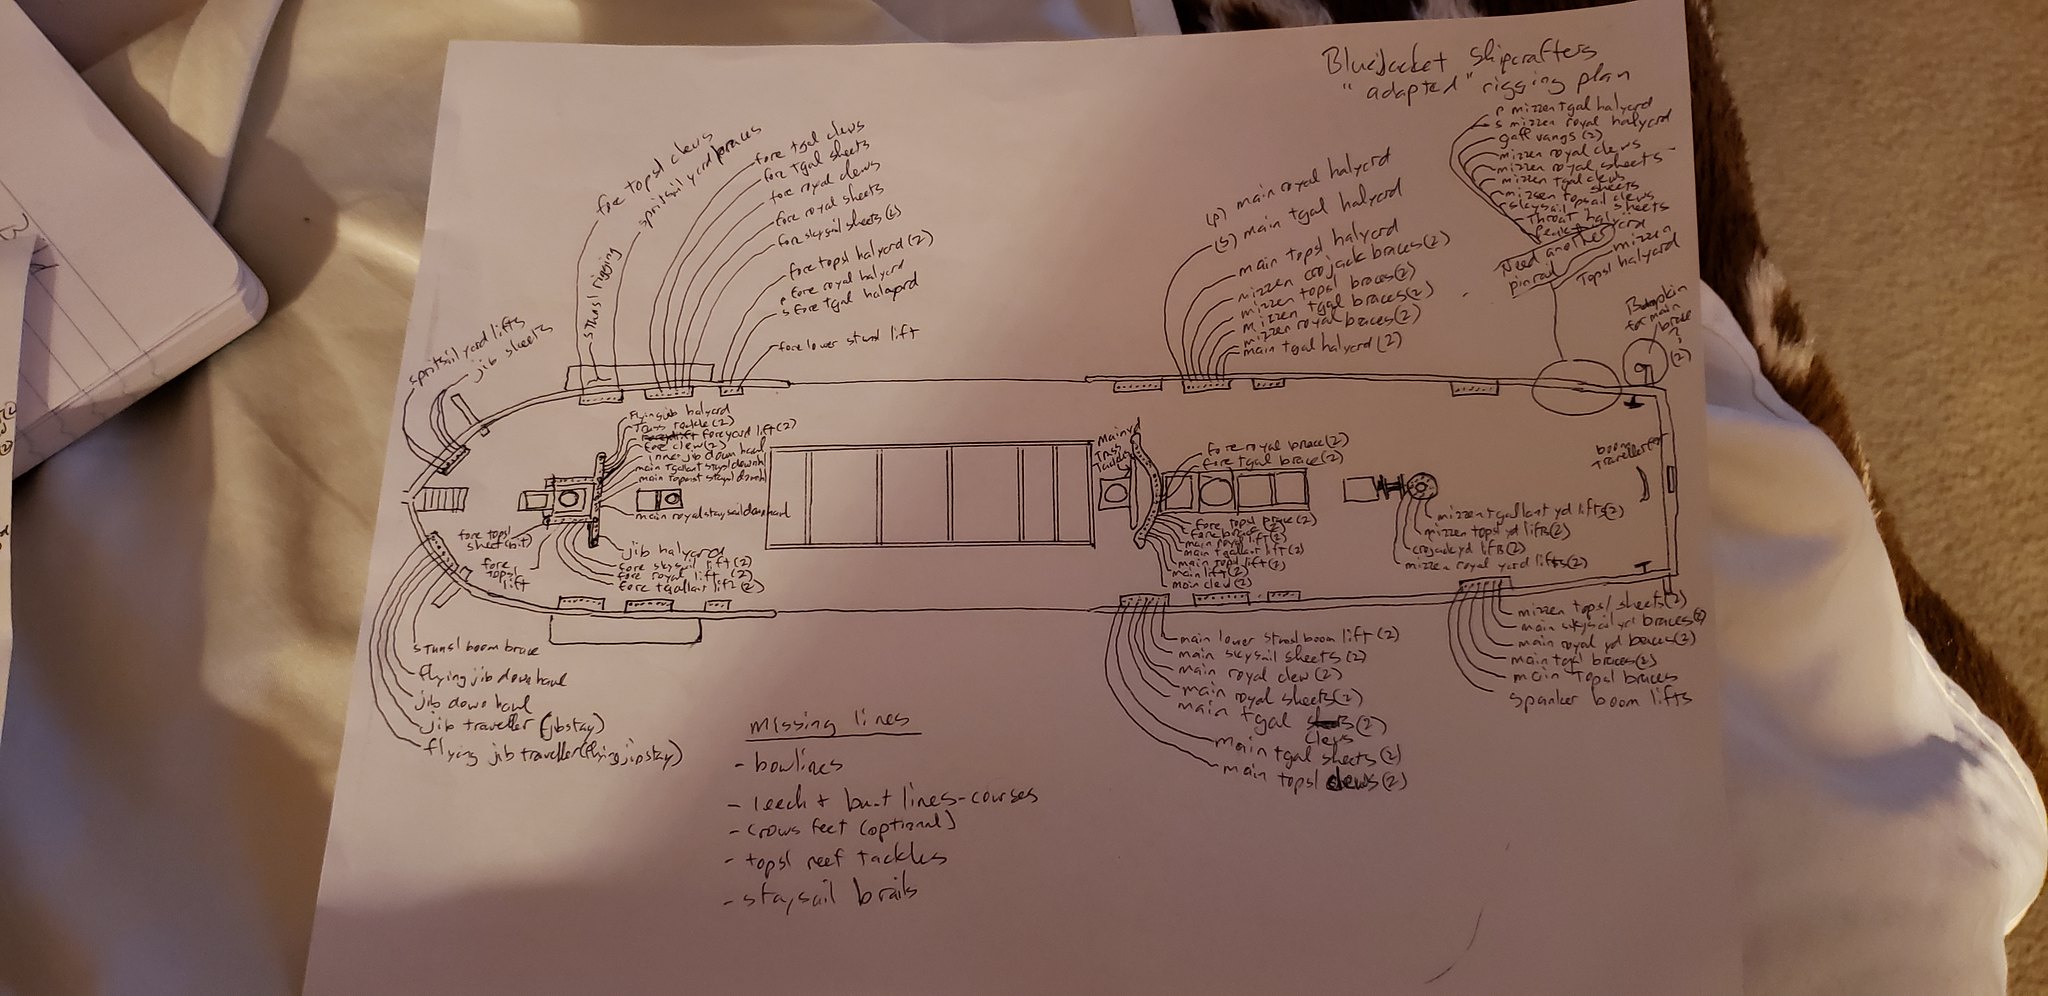 20200127_214004 by Jose Gonzales, on Flickr
I then started making comparison tables, separated by mast:
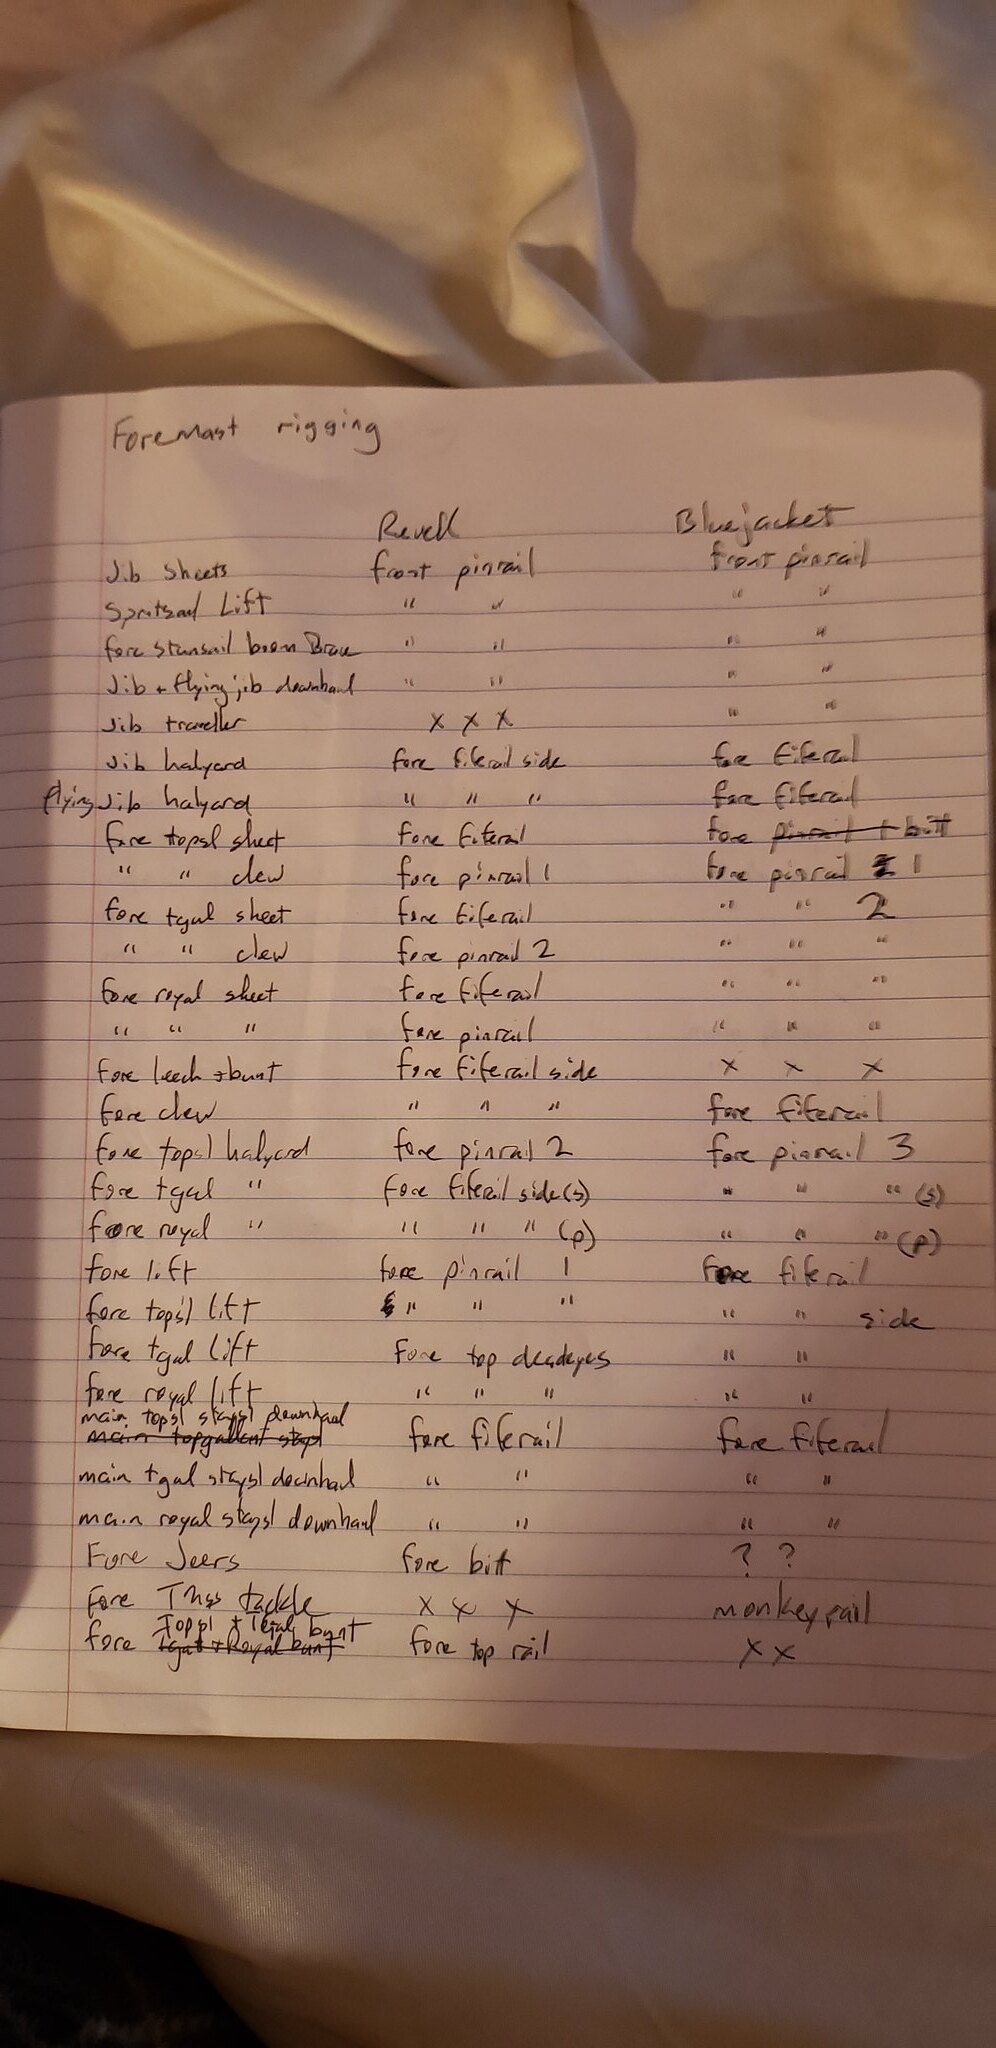 20200127_213231 by Jose Gonzales, on Flickr
I am making comparisons. A lot of the lines belay to similar places but there are some glaring differences. I will need to make decisions for each line as to which ones make best sense, make some choices, and generate a final diagram. I will use as my additional sources the Lennarth Peterson’s “Rigging Period Ship Models”, the much maligned Marquardt AOTS Constitution book, and the fantastic photos of the Hull model that Force 9 (Evan) shared with us.
I have a problem.
 20200208_062640 by Jose Gonzales, on Flickr
Can you see what’s missing from this picture?
Yes the ladders for the main hatch from the gun deck to the spar deck are missing! I completely forgot about them. Normally, per both BlueJacket and Revell instructions, there would be 2 ladders, one on each side, at the forward end of the hatch. Unfortunately, the space normally occupied by those ladders is now occupied by the anchor cables and messenger cable on either side.
If I had noticed this earlier, I would have tried to accomodate this somehow. I probably would have put the ladders leading up from the berth deck to the gun deck on the forward half of the hatch on the gun deck, then built a platform of some sort over the rear half of the hatch on the gun deck to accomodate the ladders leading up to the spar deck. Or I might have shrunk the hatch to a smaller size to give more space for the ladders. Revell did not plan on having the cables depicted, so they made the forward hatch too wide.
As it is, I have a few options.
Put the ladders in, the feet straddling the cables; alternatively, perhaps add a platform over the cables, then install the ladder
Push the cables away from the hatch, then put in the ladders. I would have to put some sort of barricade or guide to keep the cable spread - the force on the ladders while the anchors were being raised or lowered would be too much without the spreaders.
Place the ladders somewhere else around the main hatch.
Number 1 - not a good idea. The cables would lift under the tension when manipulating the anchors - the ladders would never be placed over the cables. Number 2 - I don’t like the idea of adding spreaders when I have never seen any evidence of them. Number 3 seems most feasible, but where should they go?
Any suggestions?
Cheers,
Jose
No.s 1 and 2- no bueno.
No. 3- sure why not?
No. 4- put the cable over the top of the forward hatch on the gun deck. During raising, it’s going to be off the deck by a distance roughly equal to the height of the midpoint of the capstan.
Bill