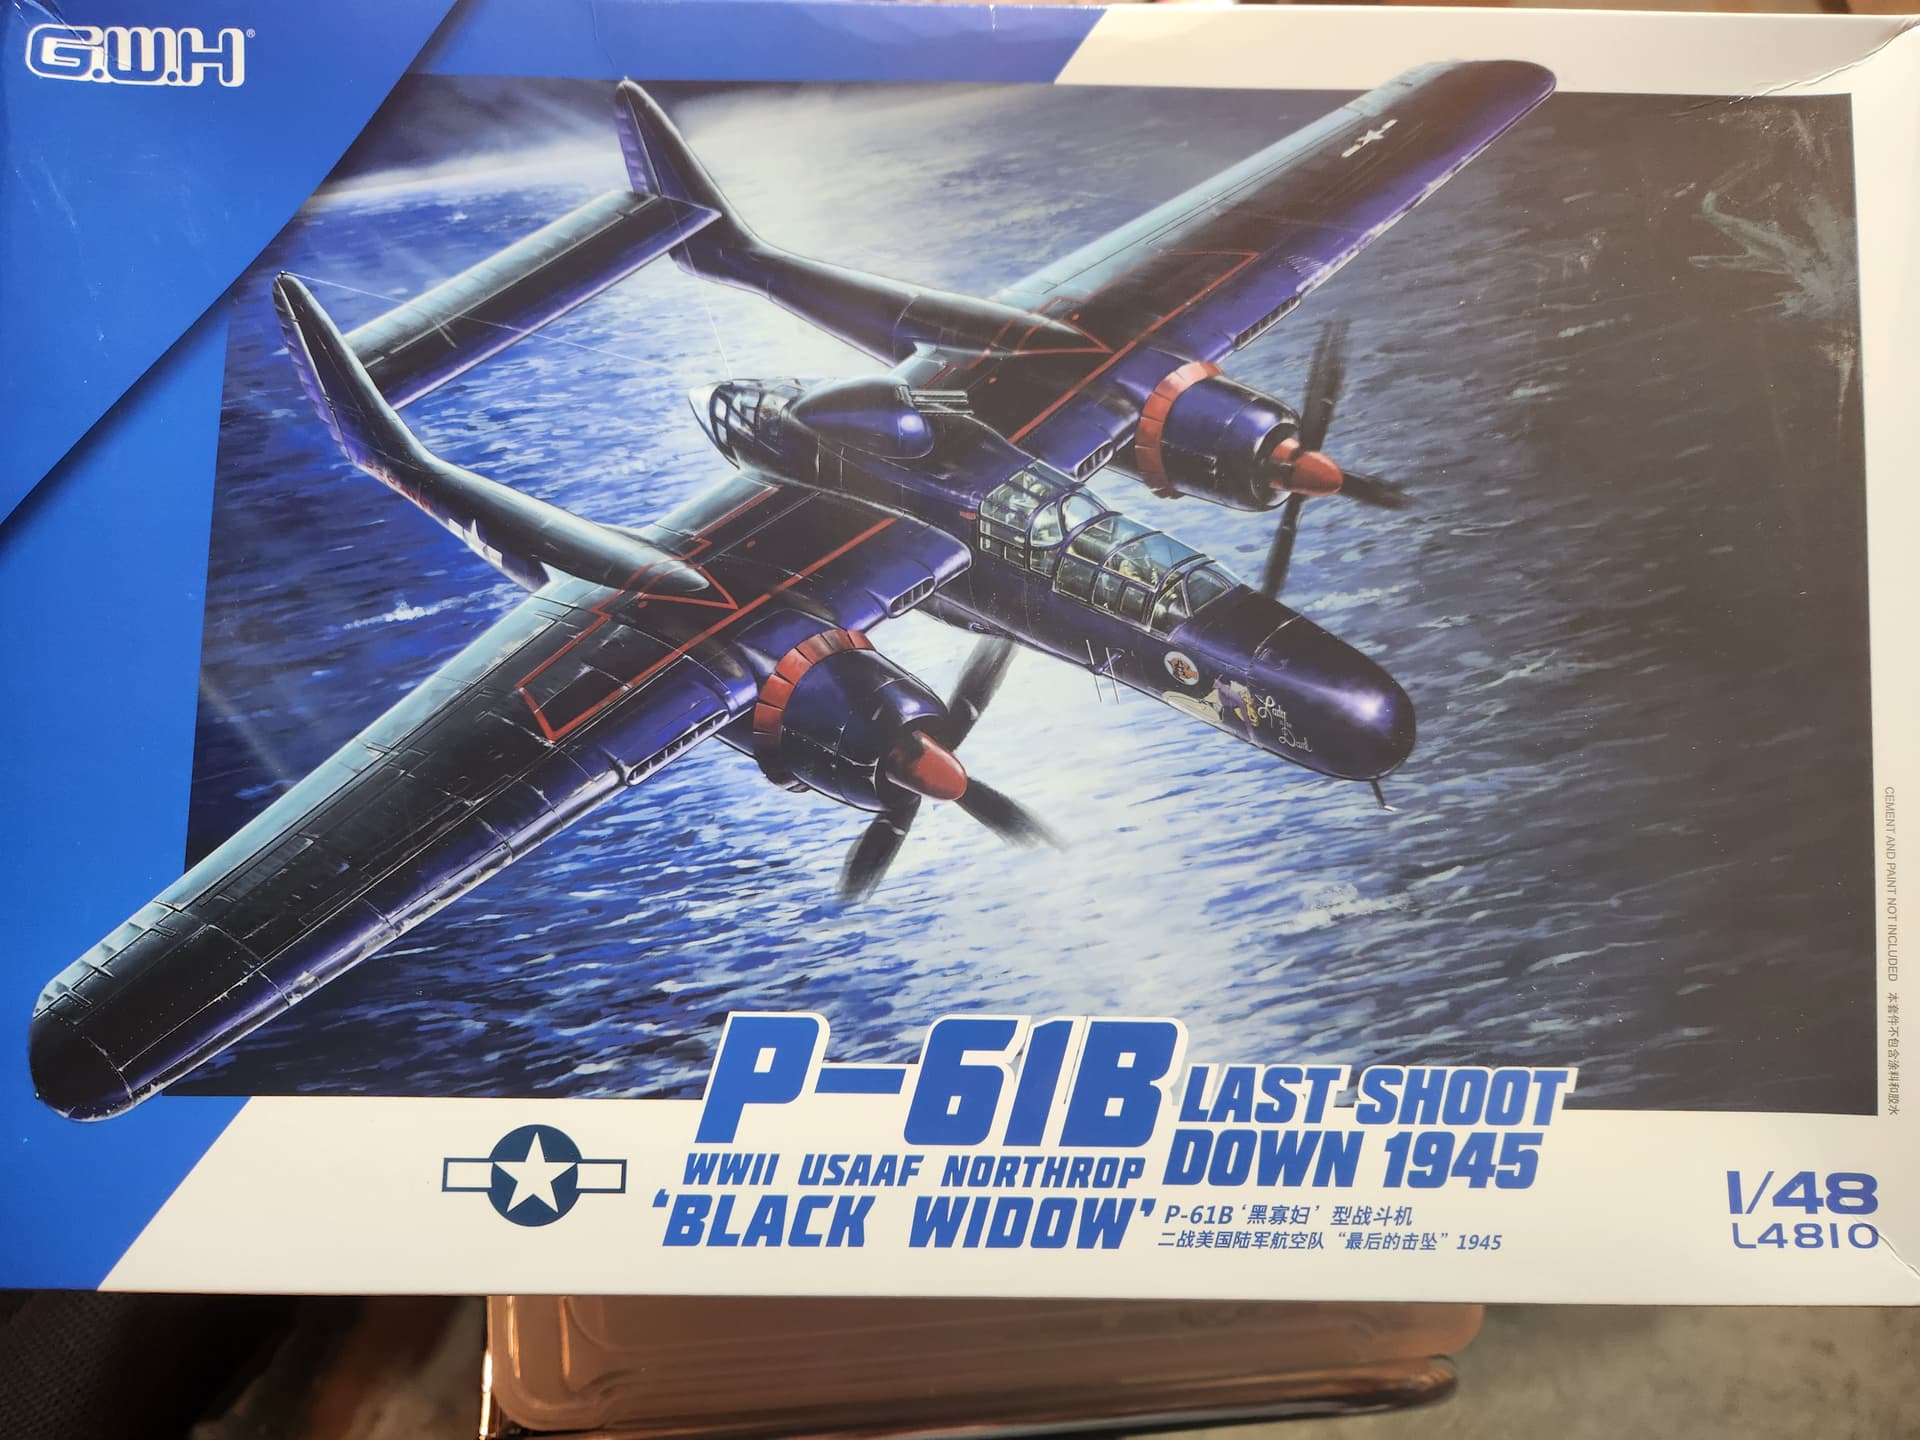
My first “modern” model kit after my Revell/Monogram B-17F/G is one my daughter bought me for Christmas, a 1/48Great Wall Hobbies P-61B.
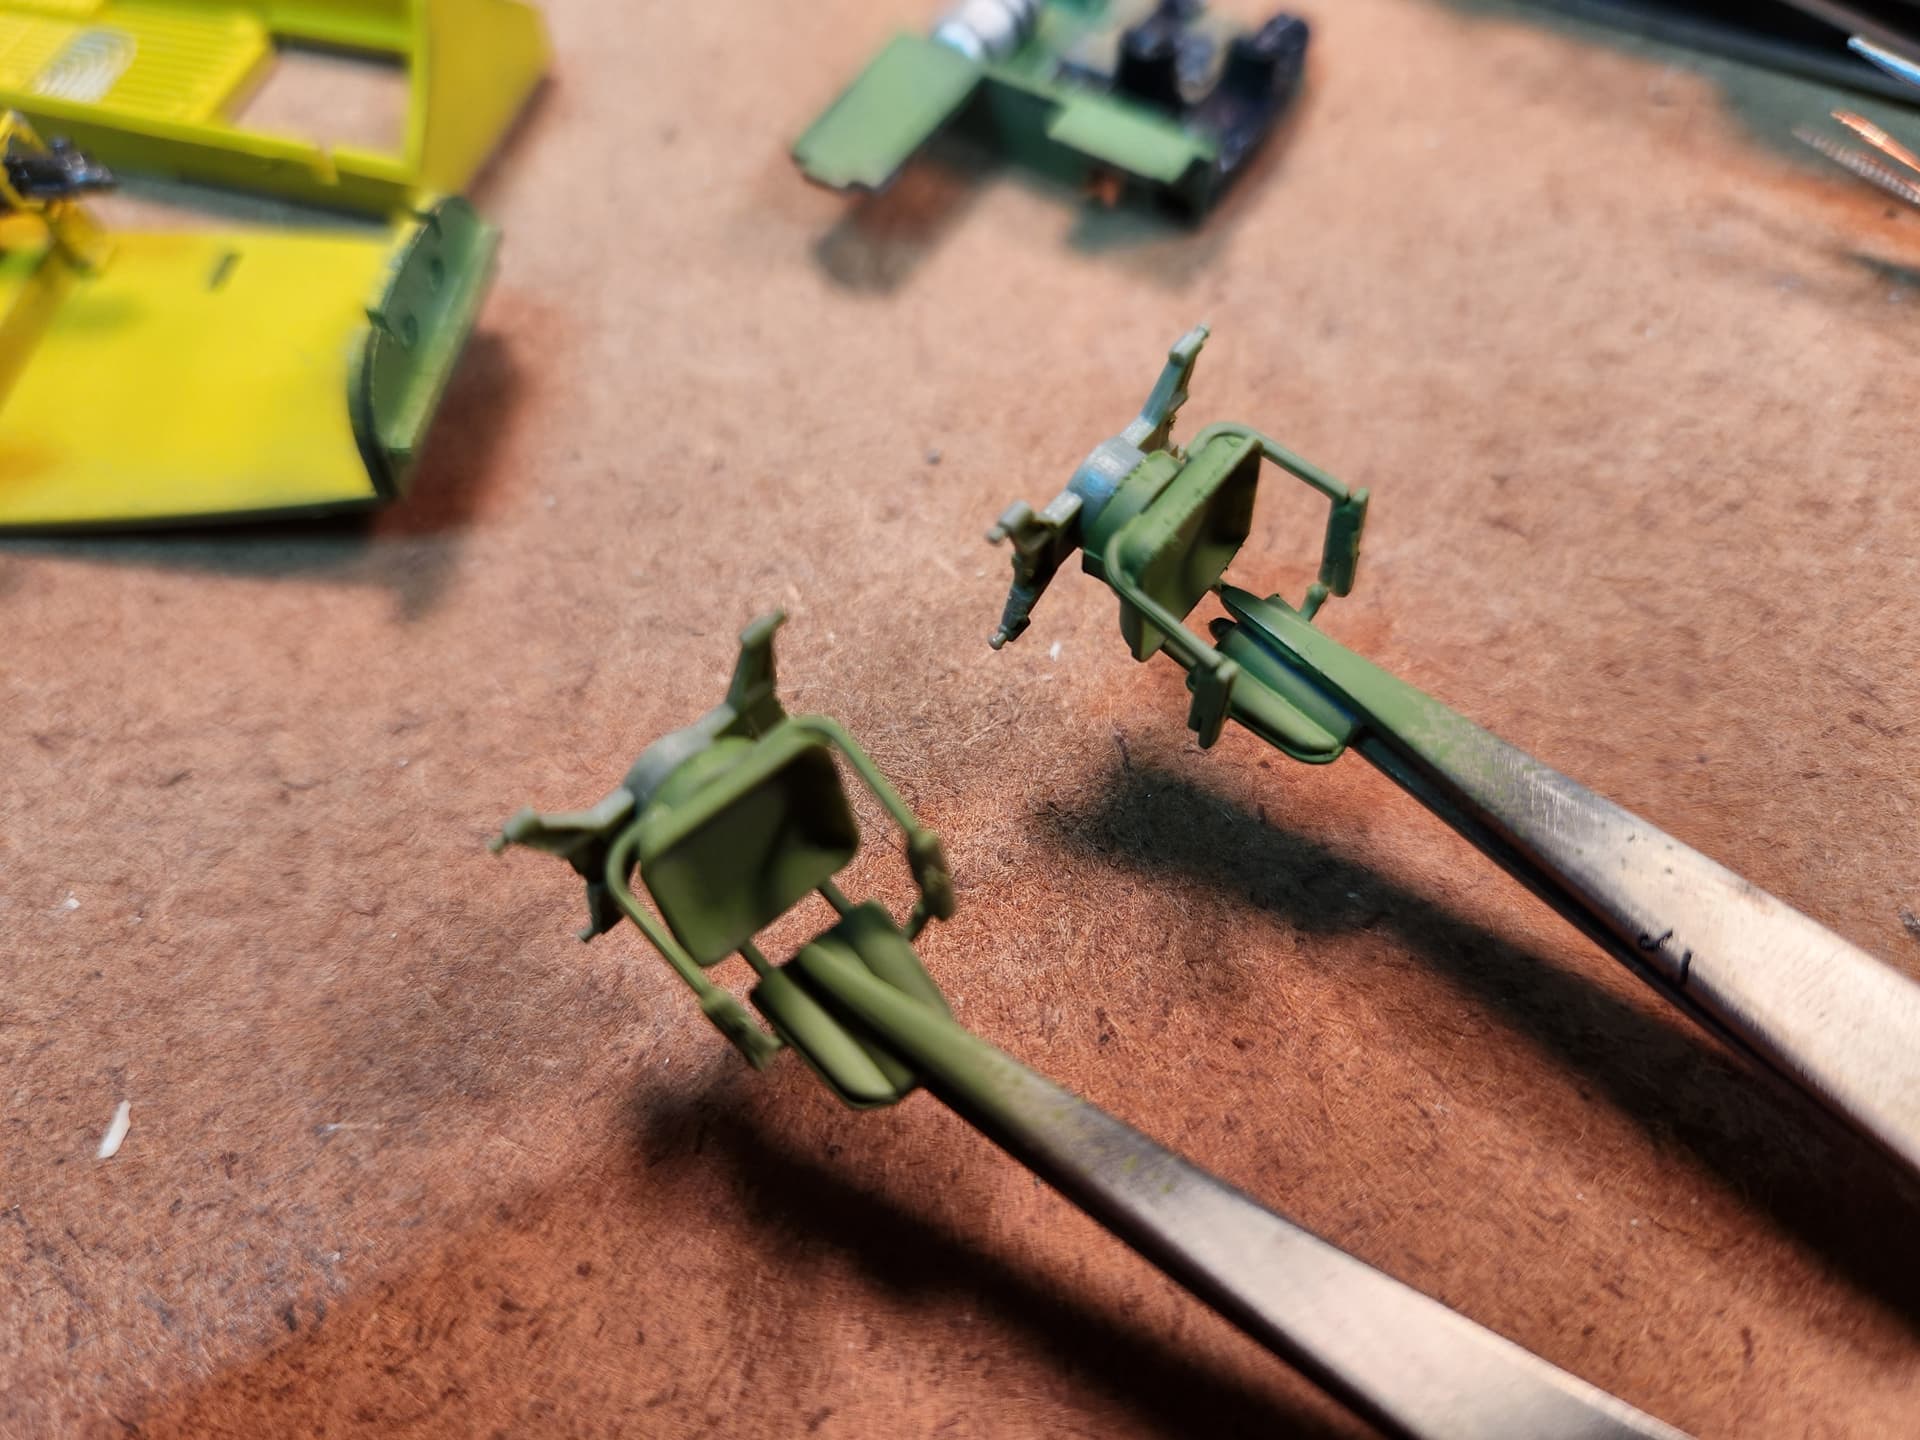
I had several problems with this kit. First of all many of the kit parts were so thin that I broke half a dozen or so getting them off the sprue. It seems like side cutter split the sprue in two directions spreading the sprue before it cuts. The stress was enough to bust the part. Such pieces were the side supports and rungs for the ladders, the rudder pedals, the parts of the seat frames and especially the fire extinguisher which I broke just picking the pieces up from the workbench.
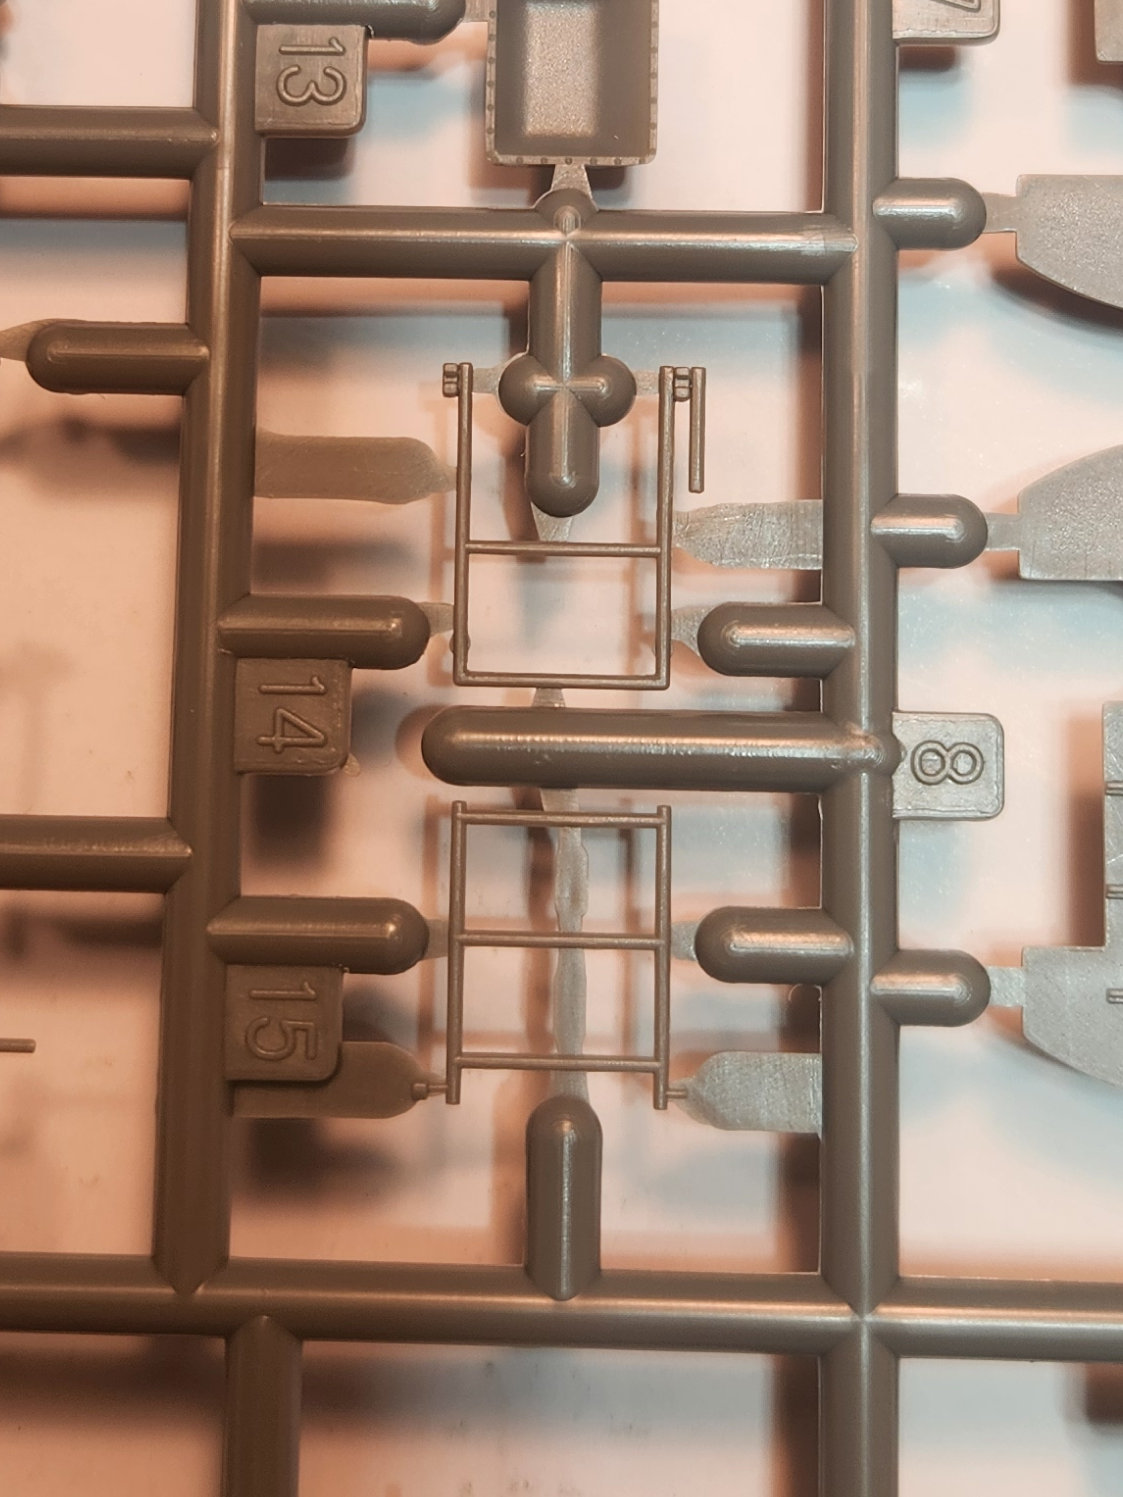
I had to buy a 2nd cheap kit on e-bay just for parts. I got the thinnest bladed side cutter I could find (Tamiya) and used my razor saw to start the cut and had much better results.
The Tamiya cutter is on the left.

Another thing I think could have been handled differently is that some of the parts have no connection points, like the open clear windows open on the cockpit and REO compartment as well as a couple of doors on the bottom of the plane. I really don’t like the idea of parts precariously dangling from a model.
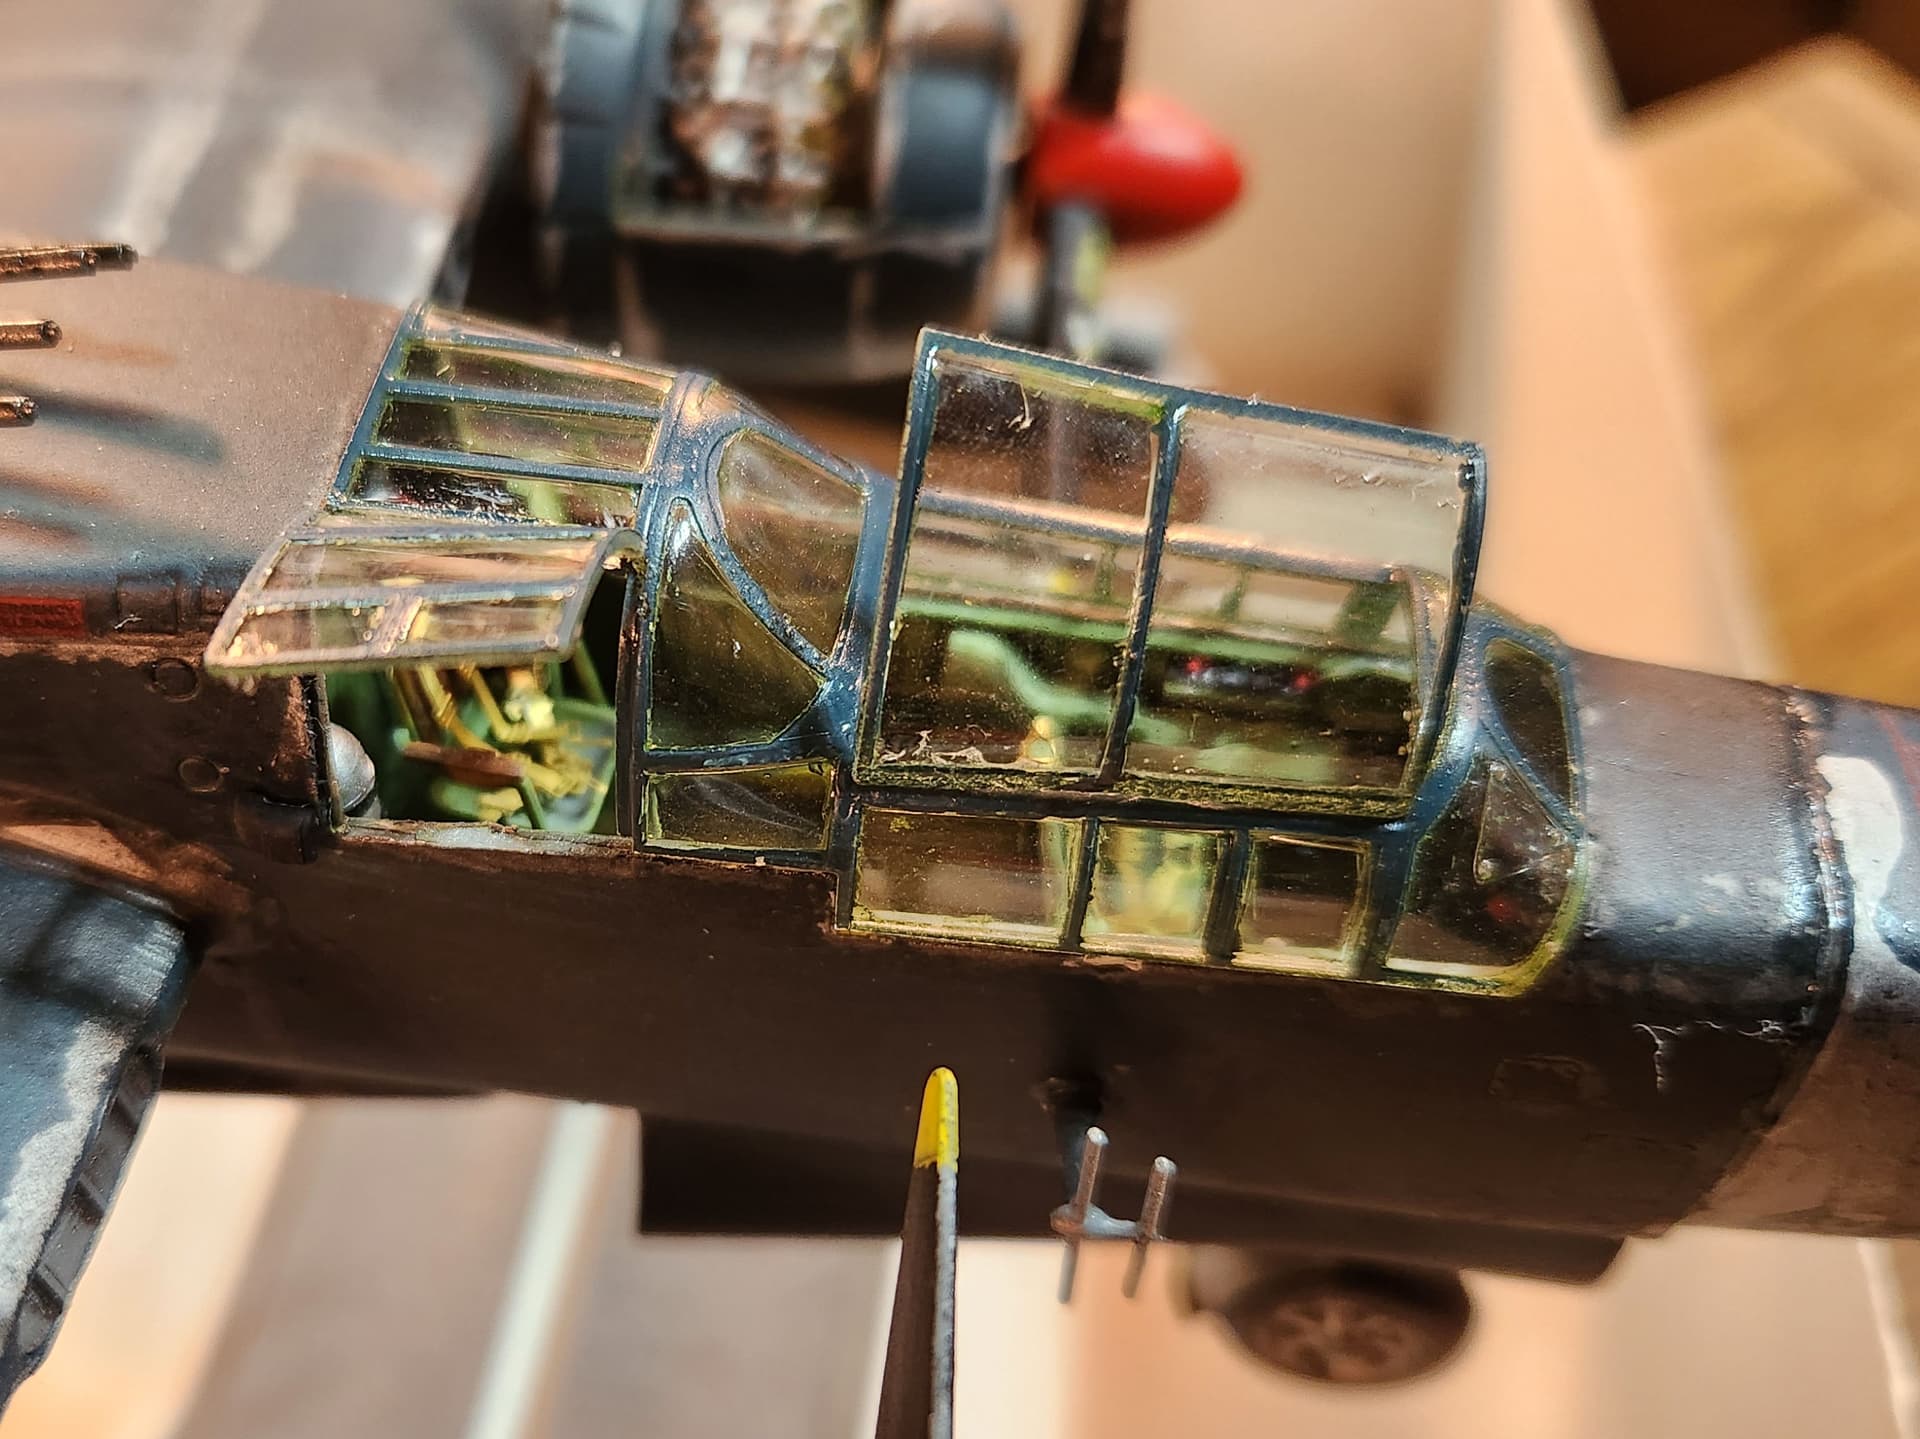
I knocked these off several times which led to much regluing.
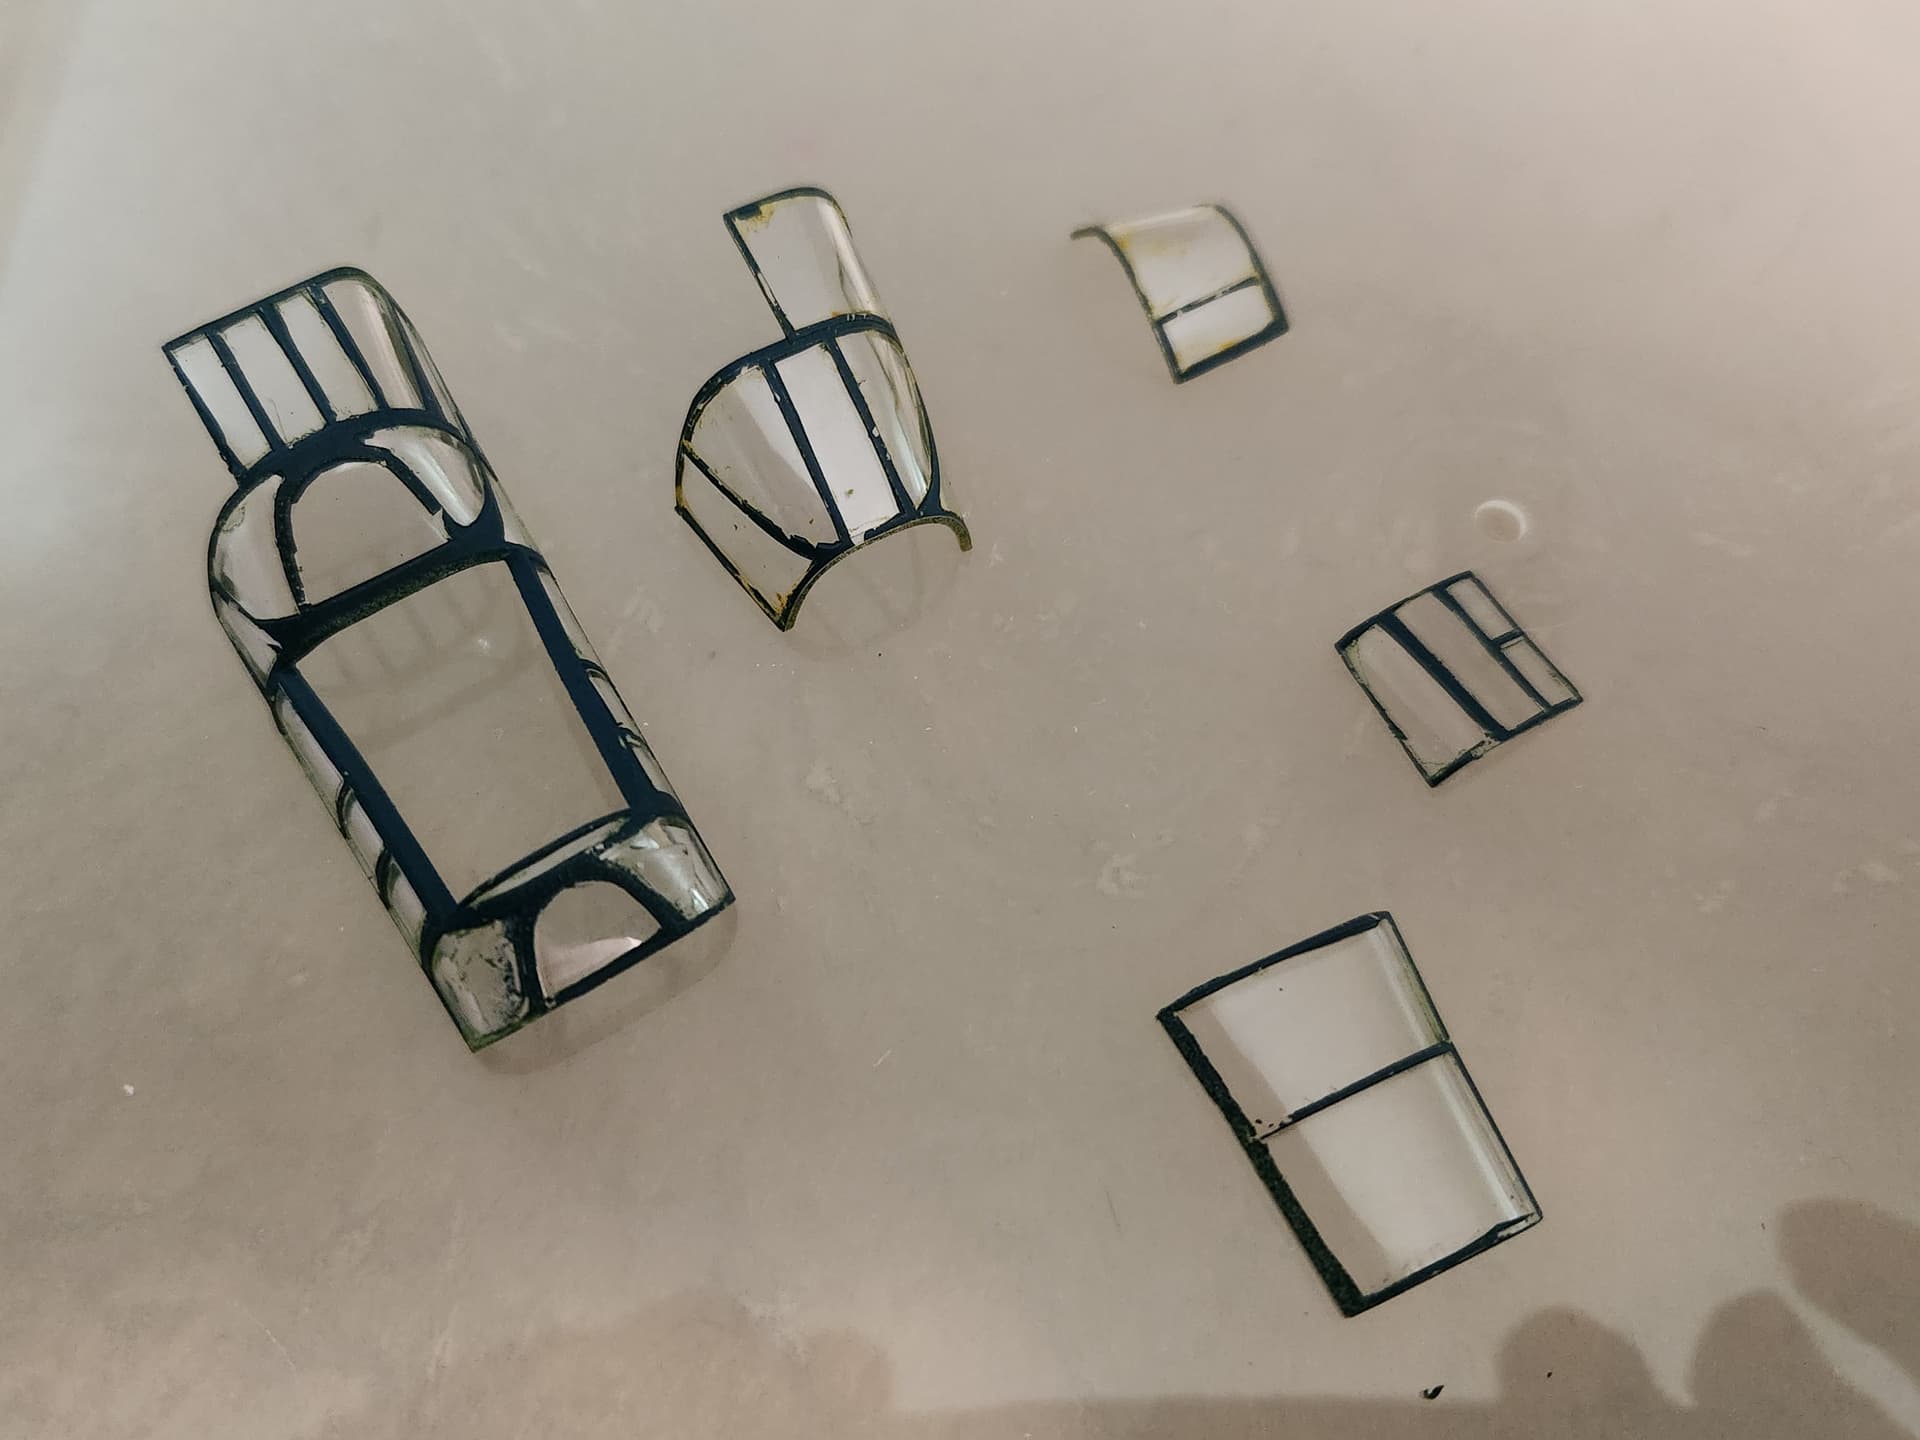
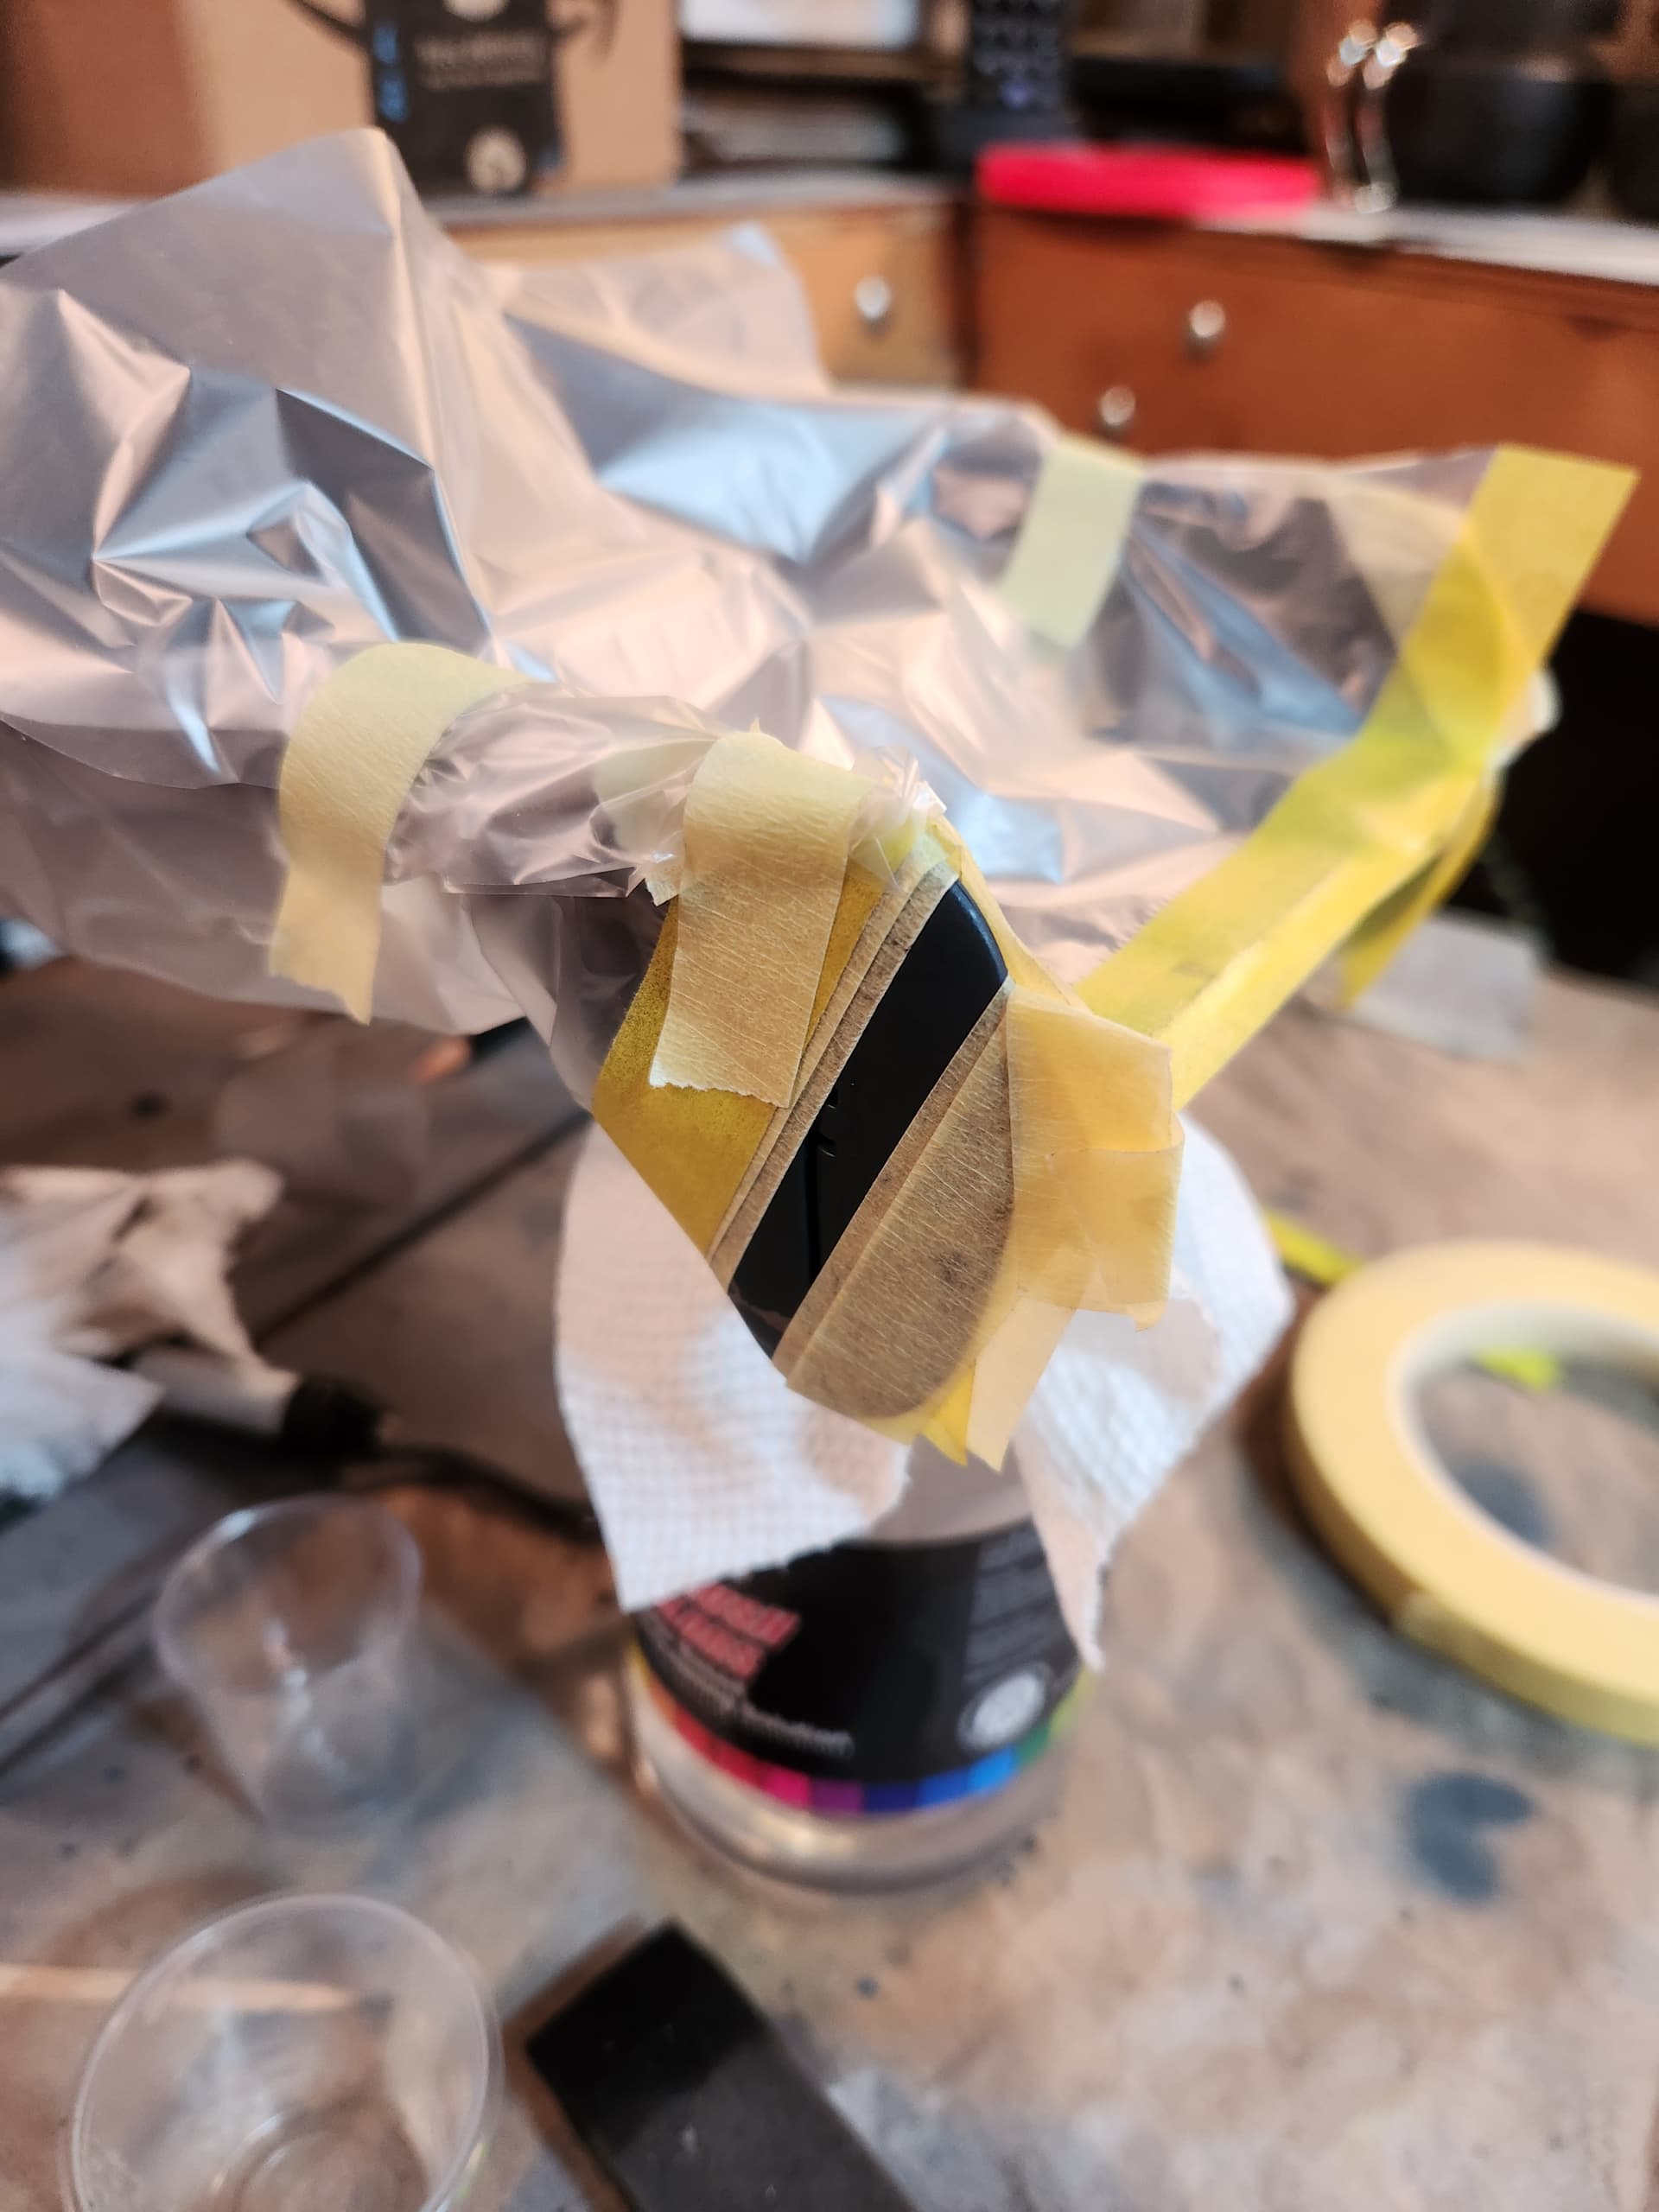
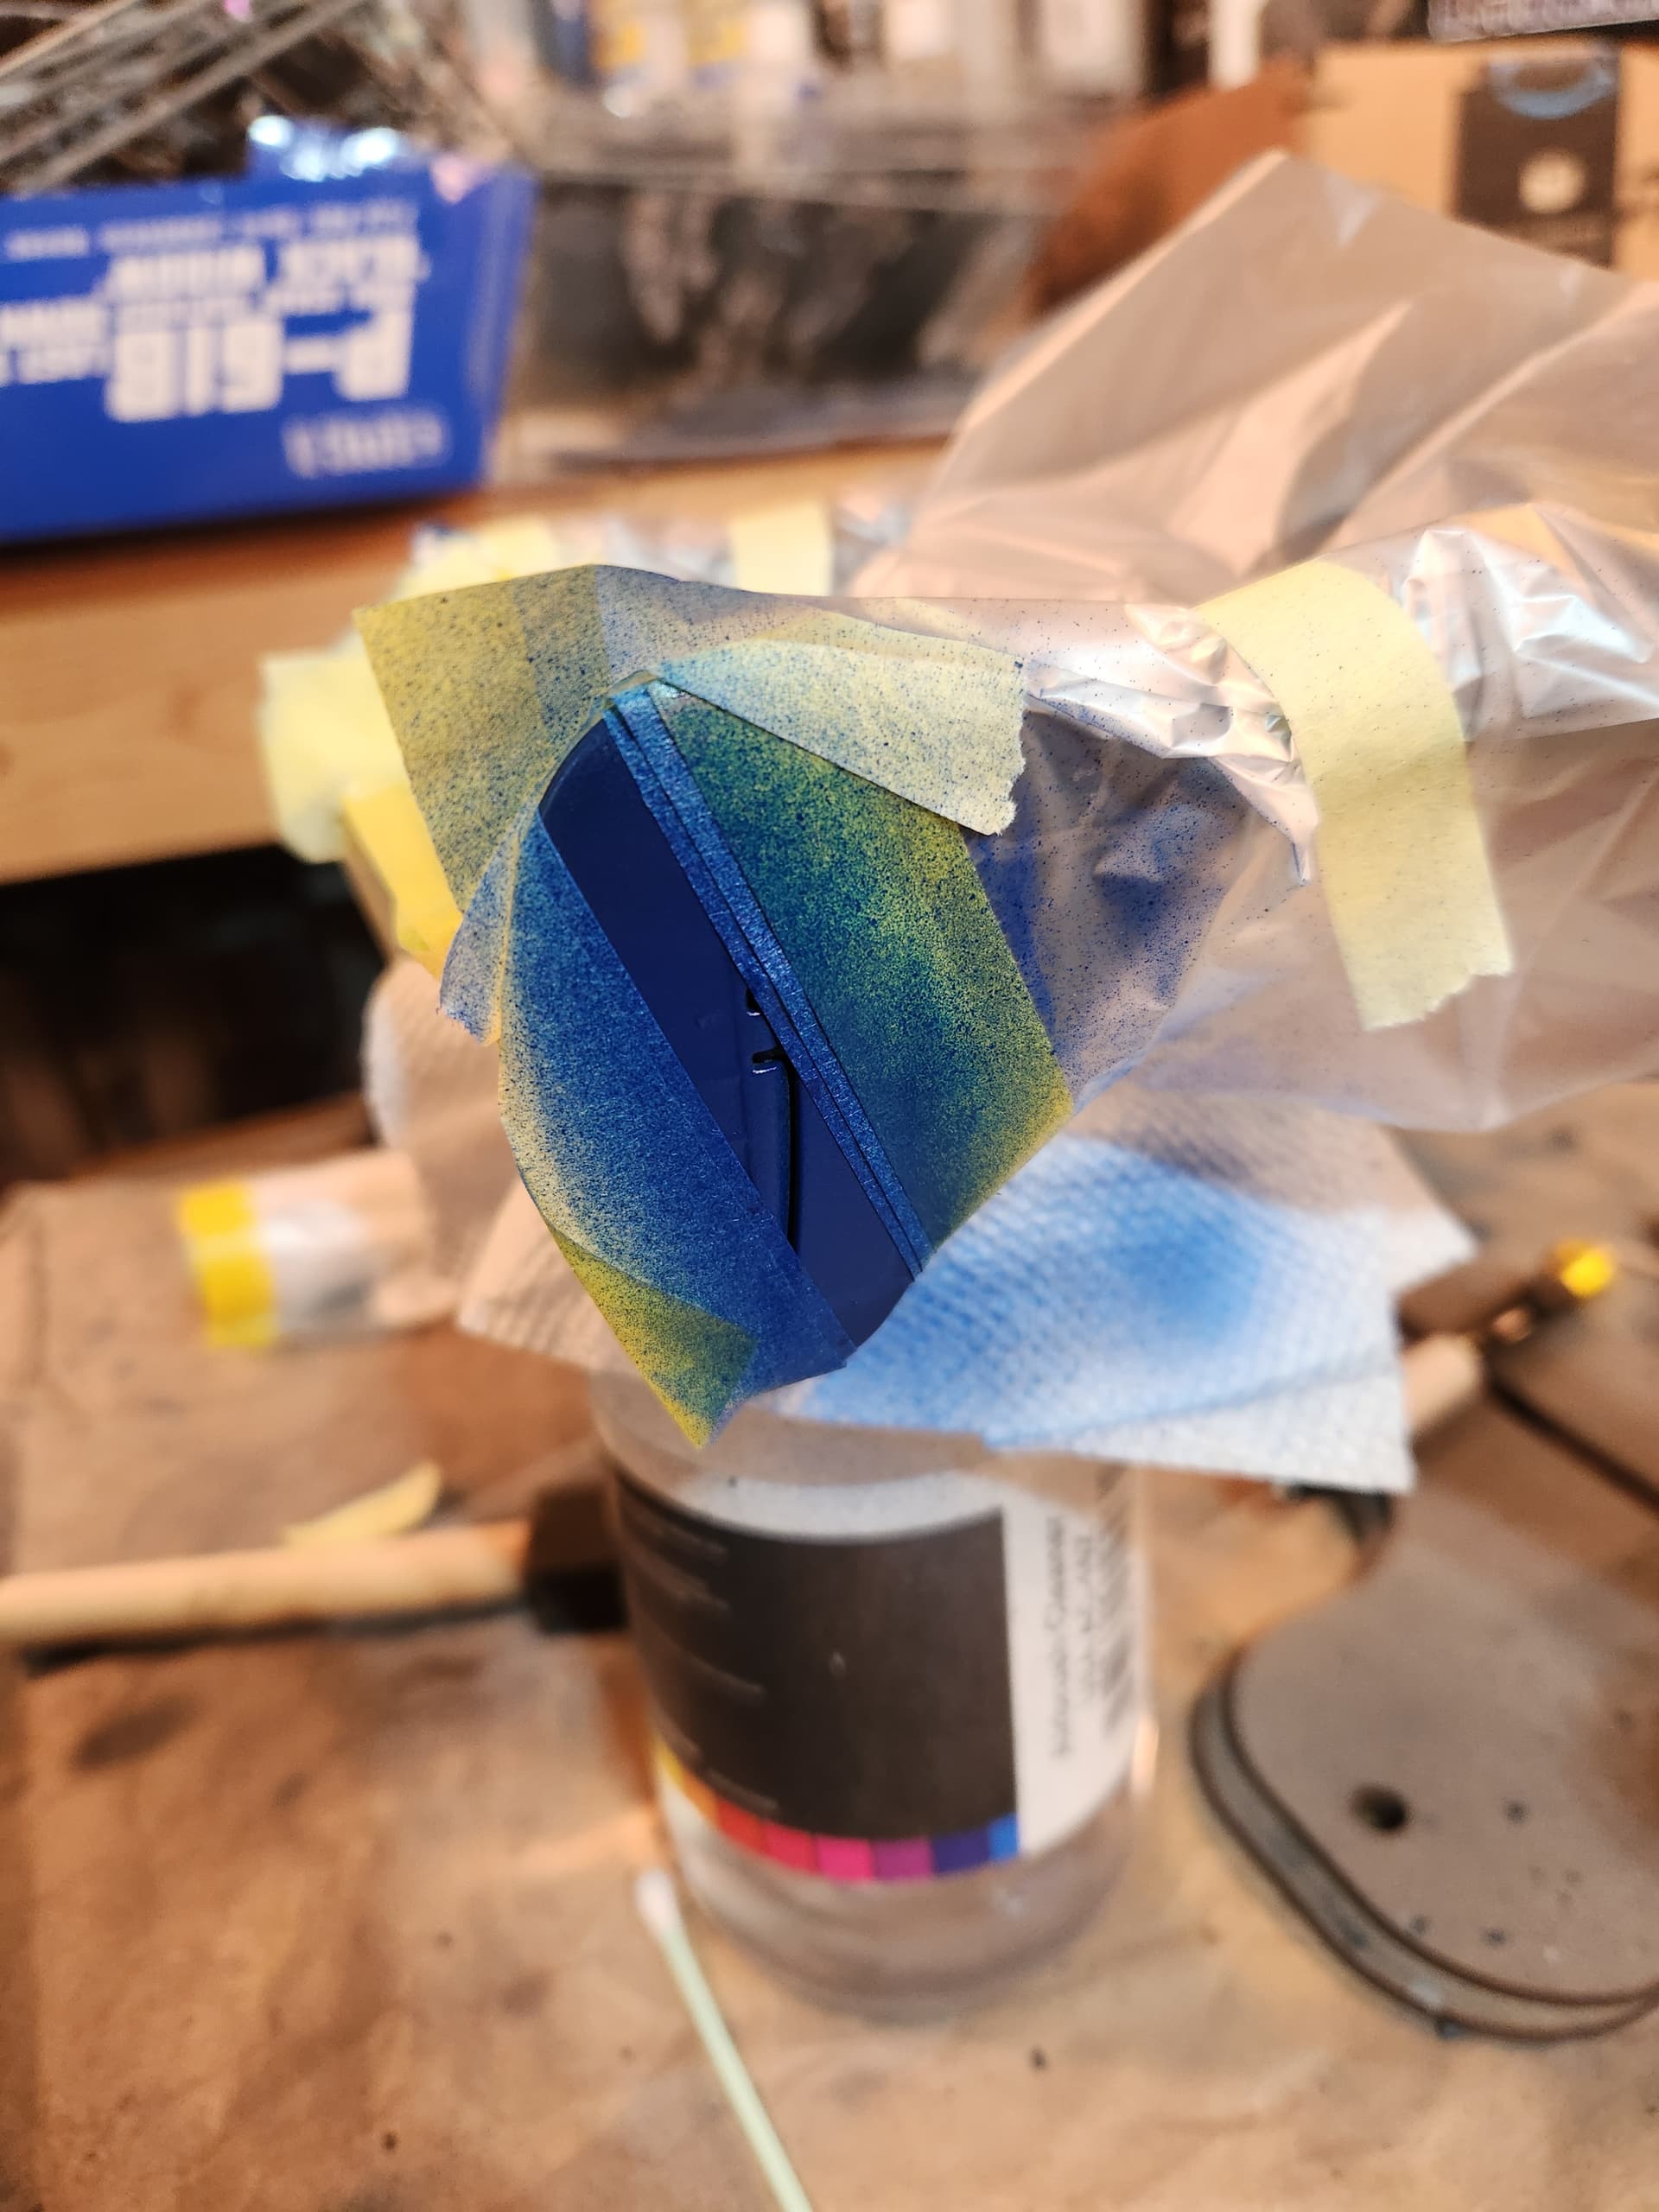
The vinyl canopy masks weren’t correctly cut and some were too small and some the wrong shape.
I pulled them off and tried the old masking tape. When I took them off there was a lot of bleed over and a lot of scum left from the masking tape. A lot of people have no problem with masking tape by that was not my experience here.

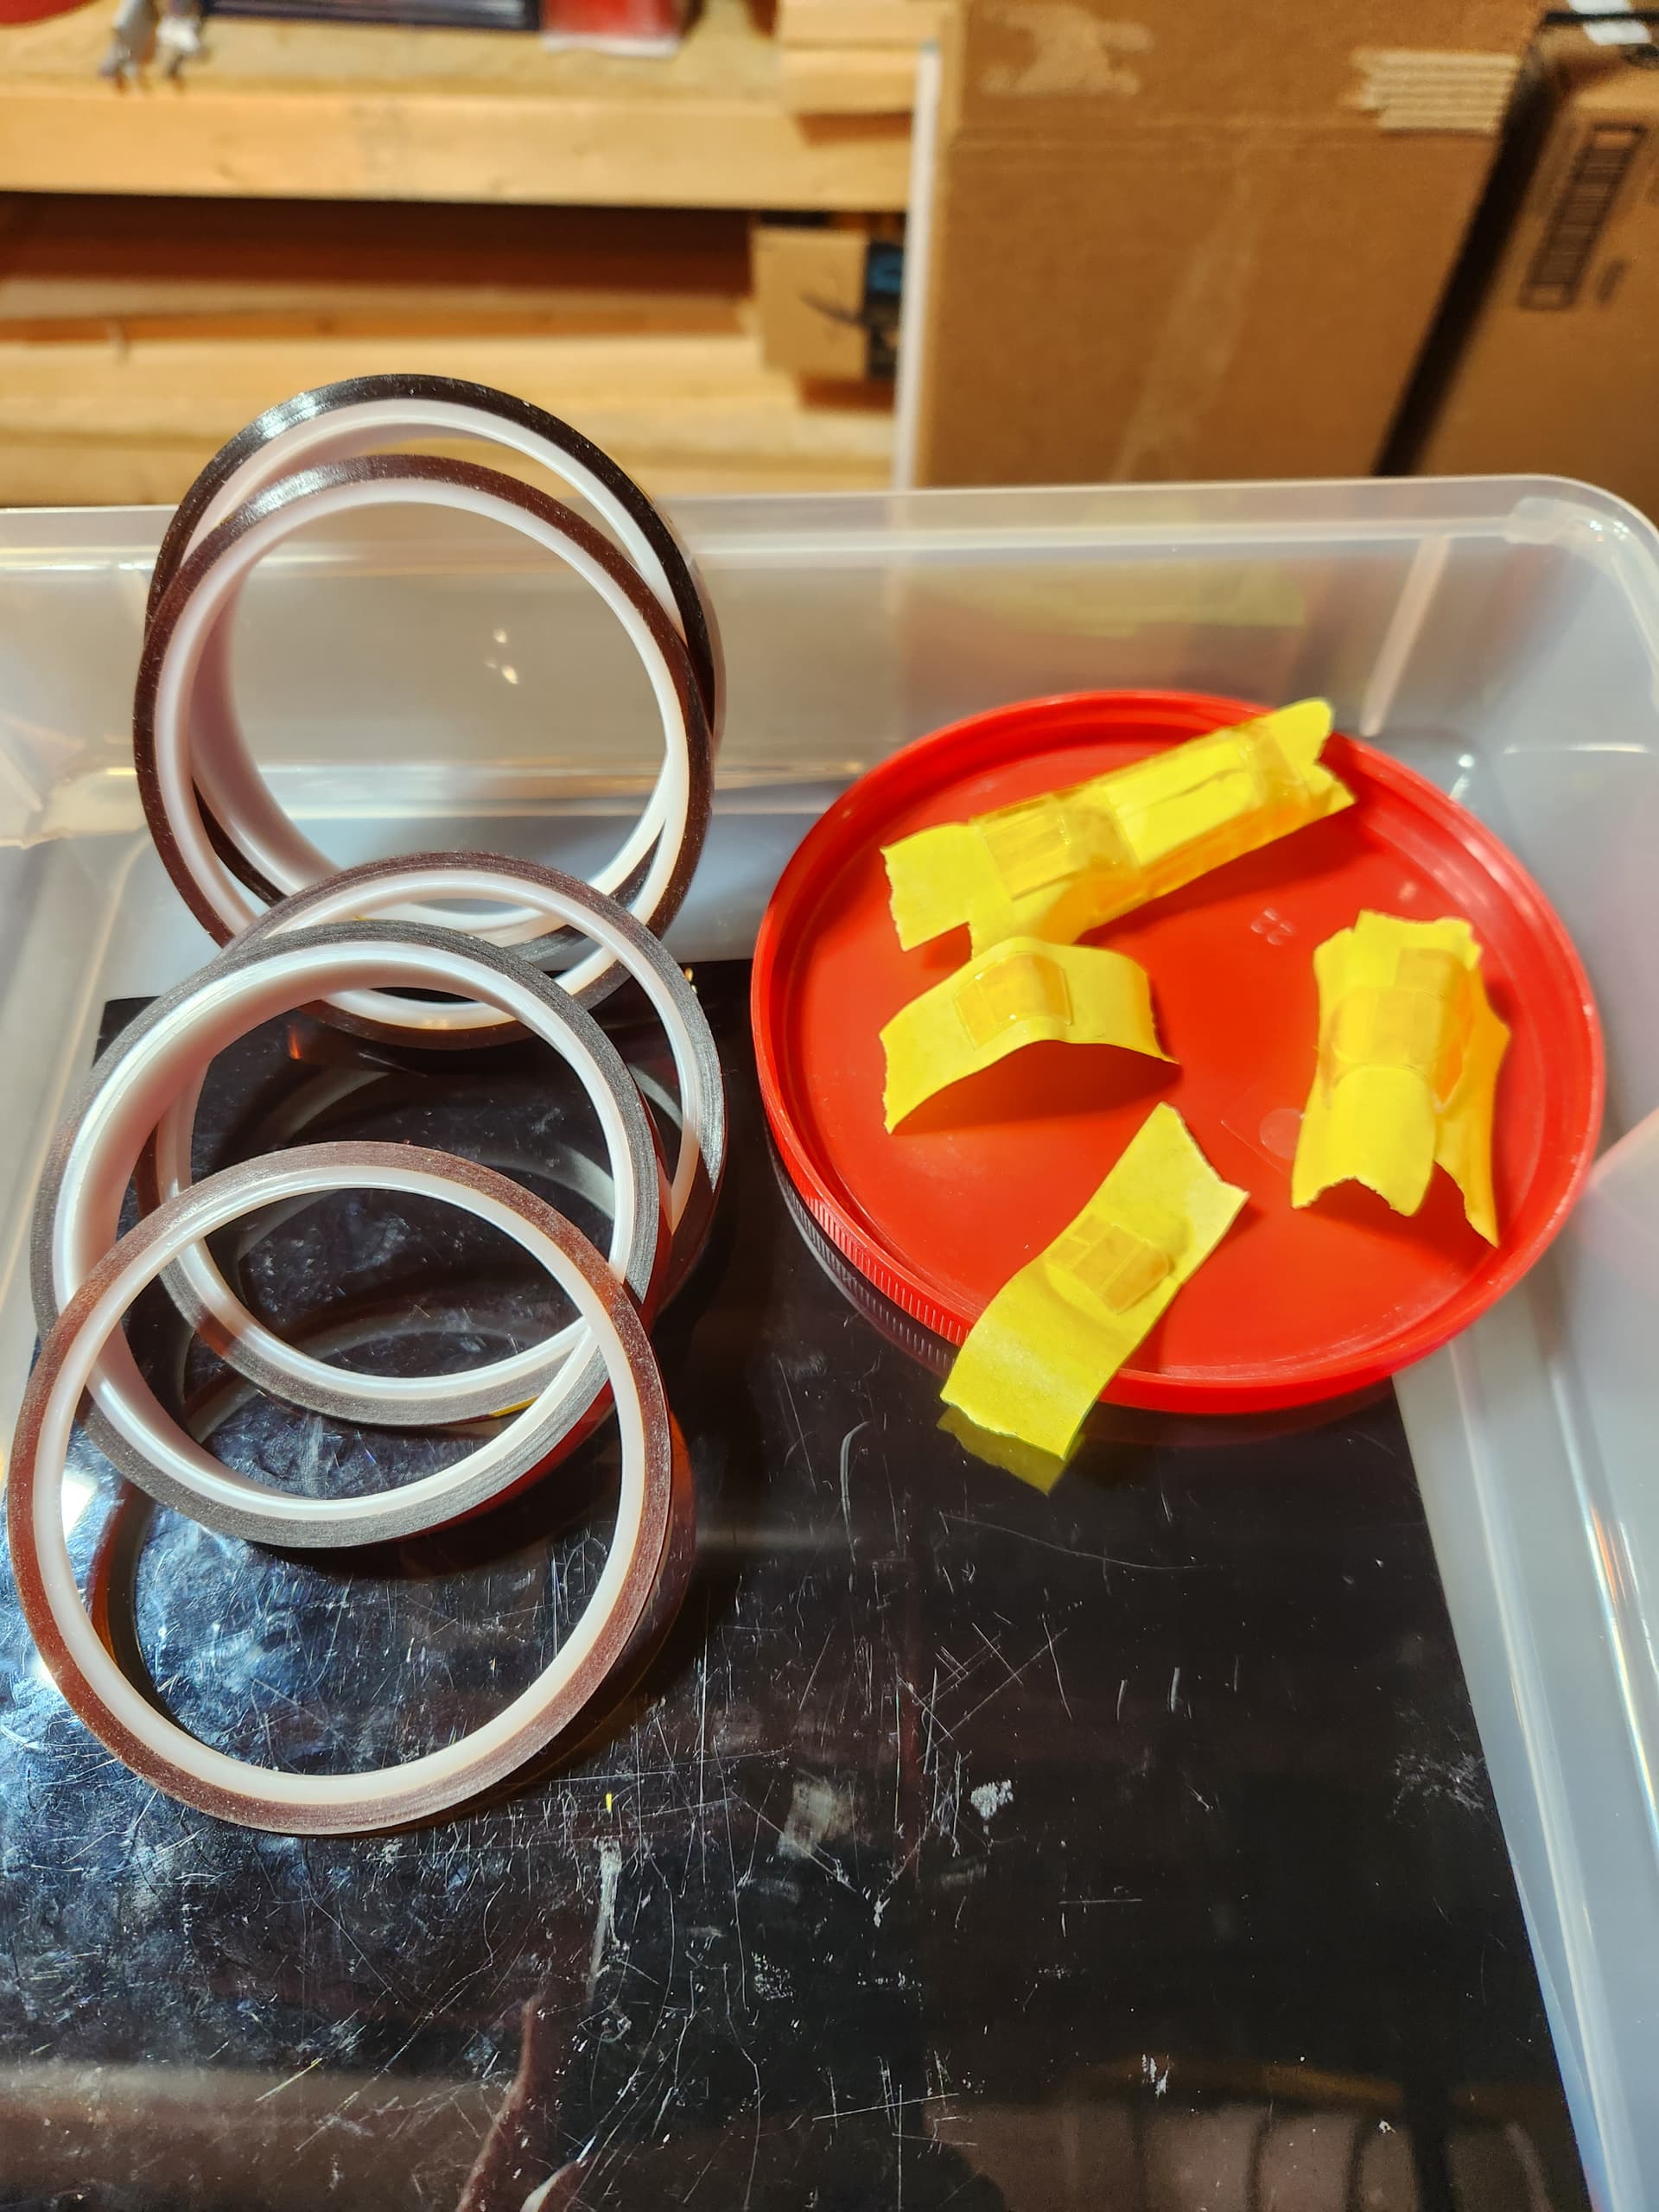
So, thanks to someone on YouTube I found this stuff: selizo High Temp Tape, 5 Pack Multi – Sized 1/8”, 15/64”, 15/64”, 15/32”, 5/64.” It’s clear with a gold tinge, you put it on the canopy, cut along the canopy frame with a sharp Xacto blade, it pulls off clean and there was no bleedover.

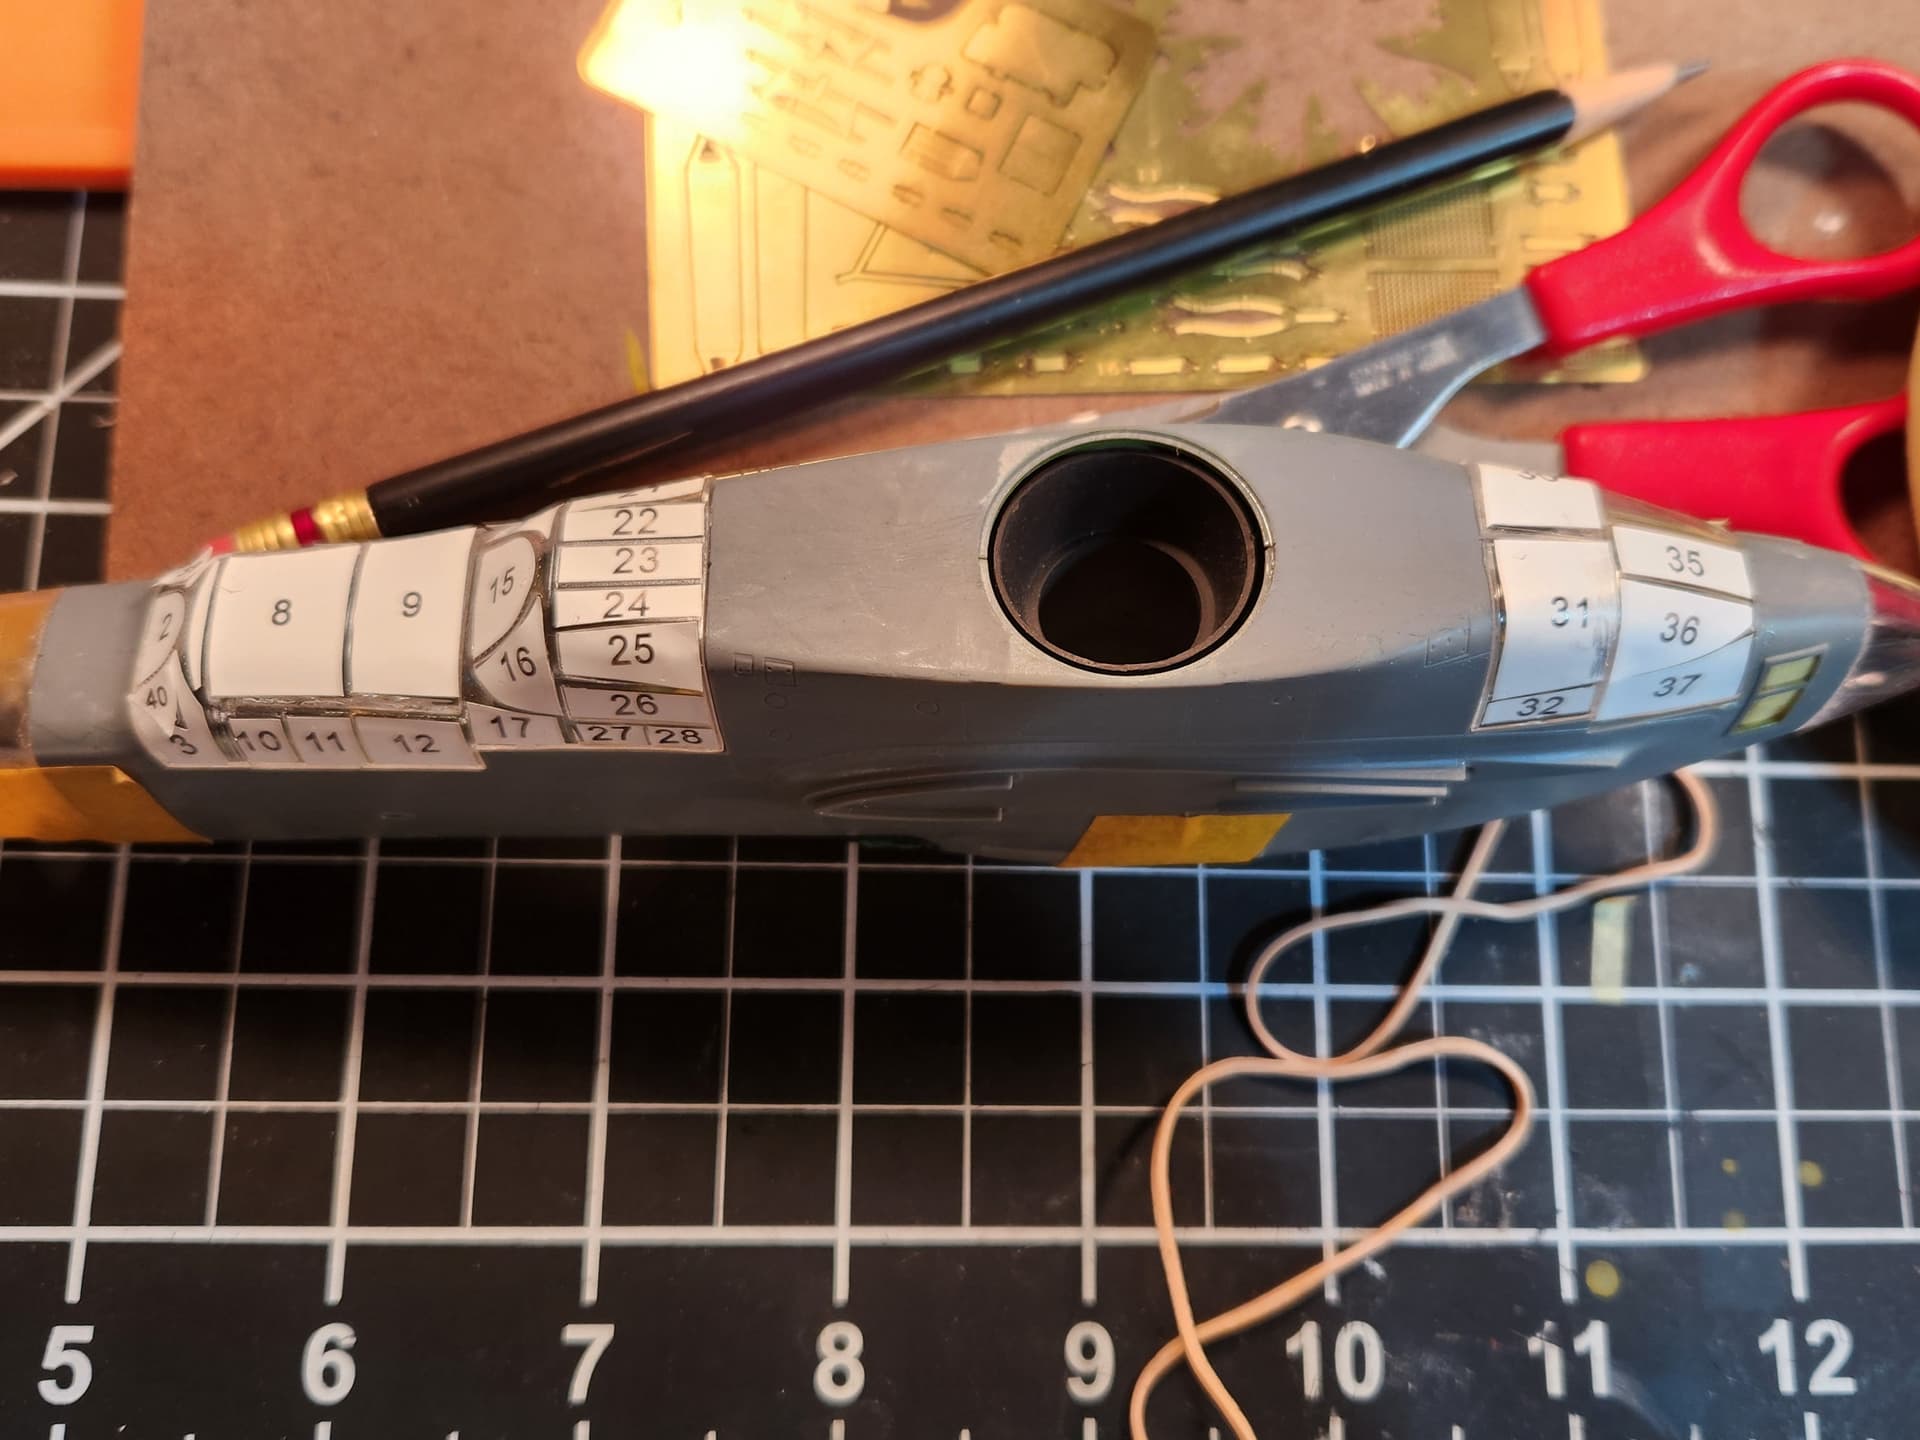
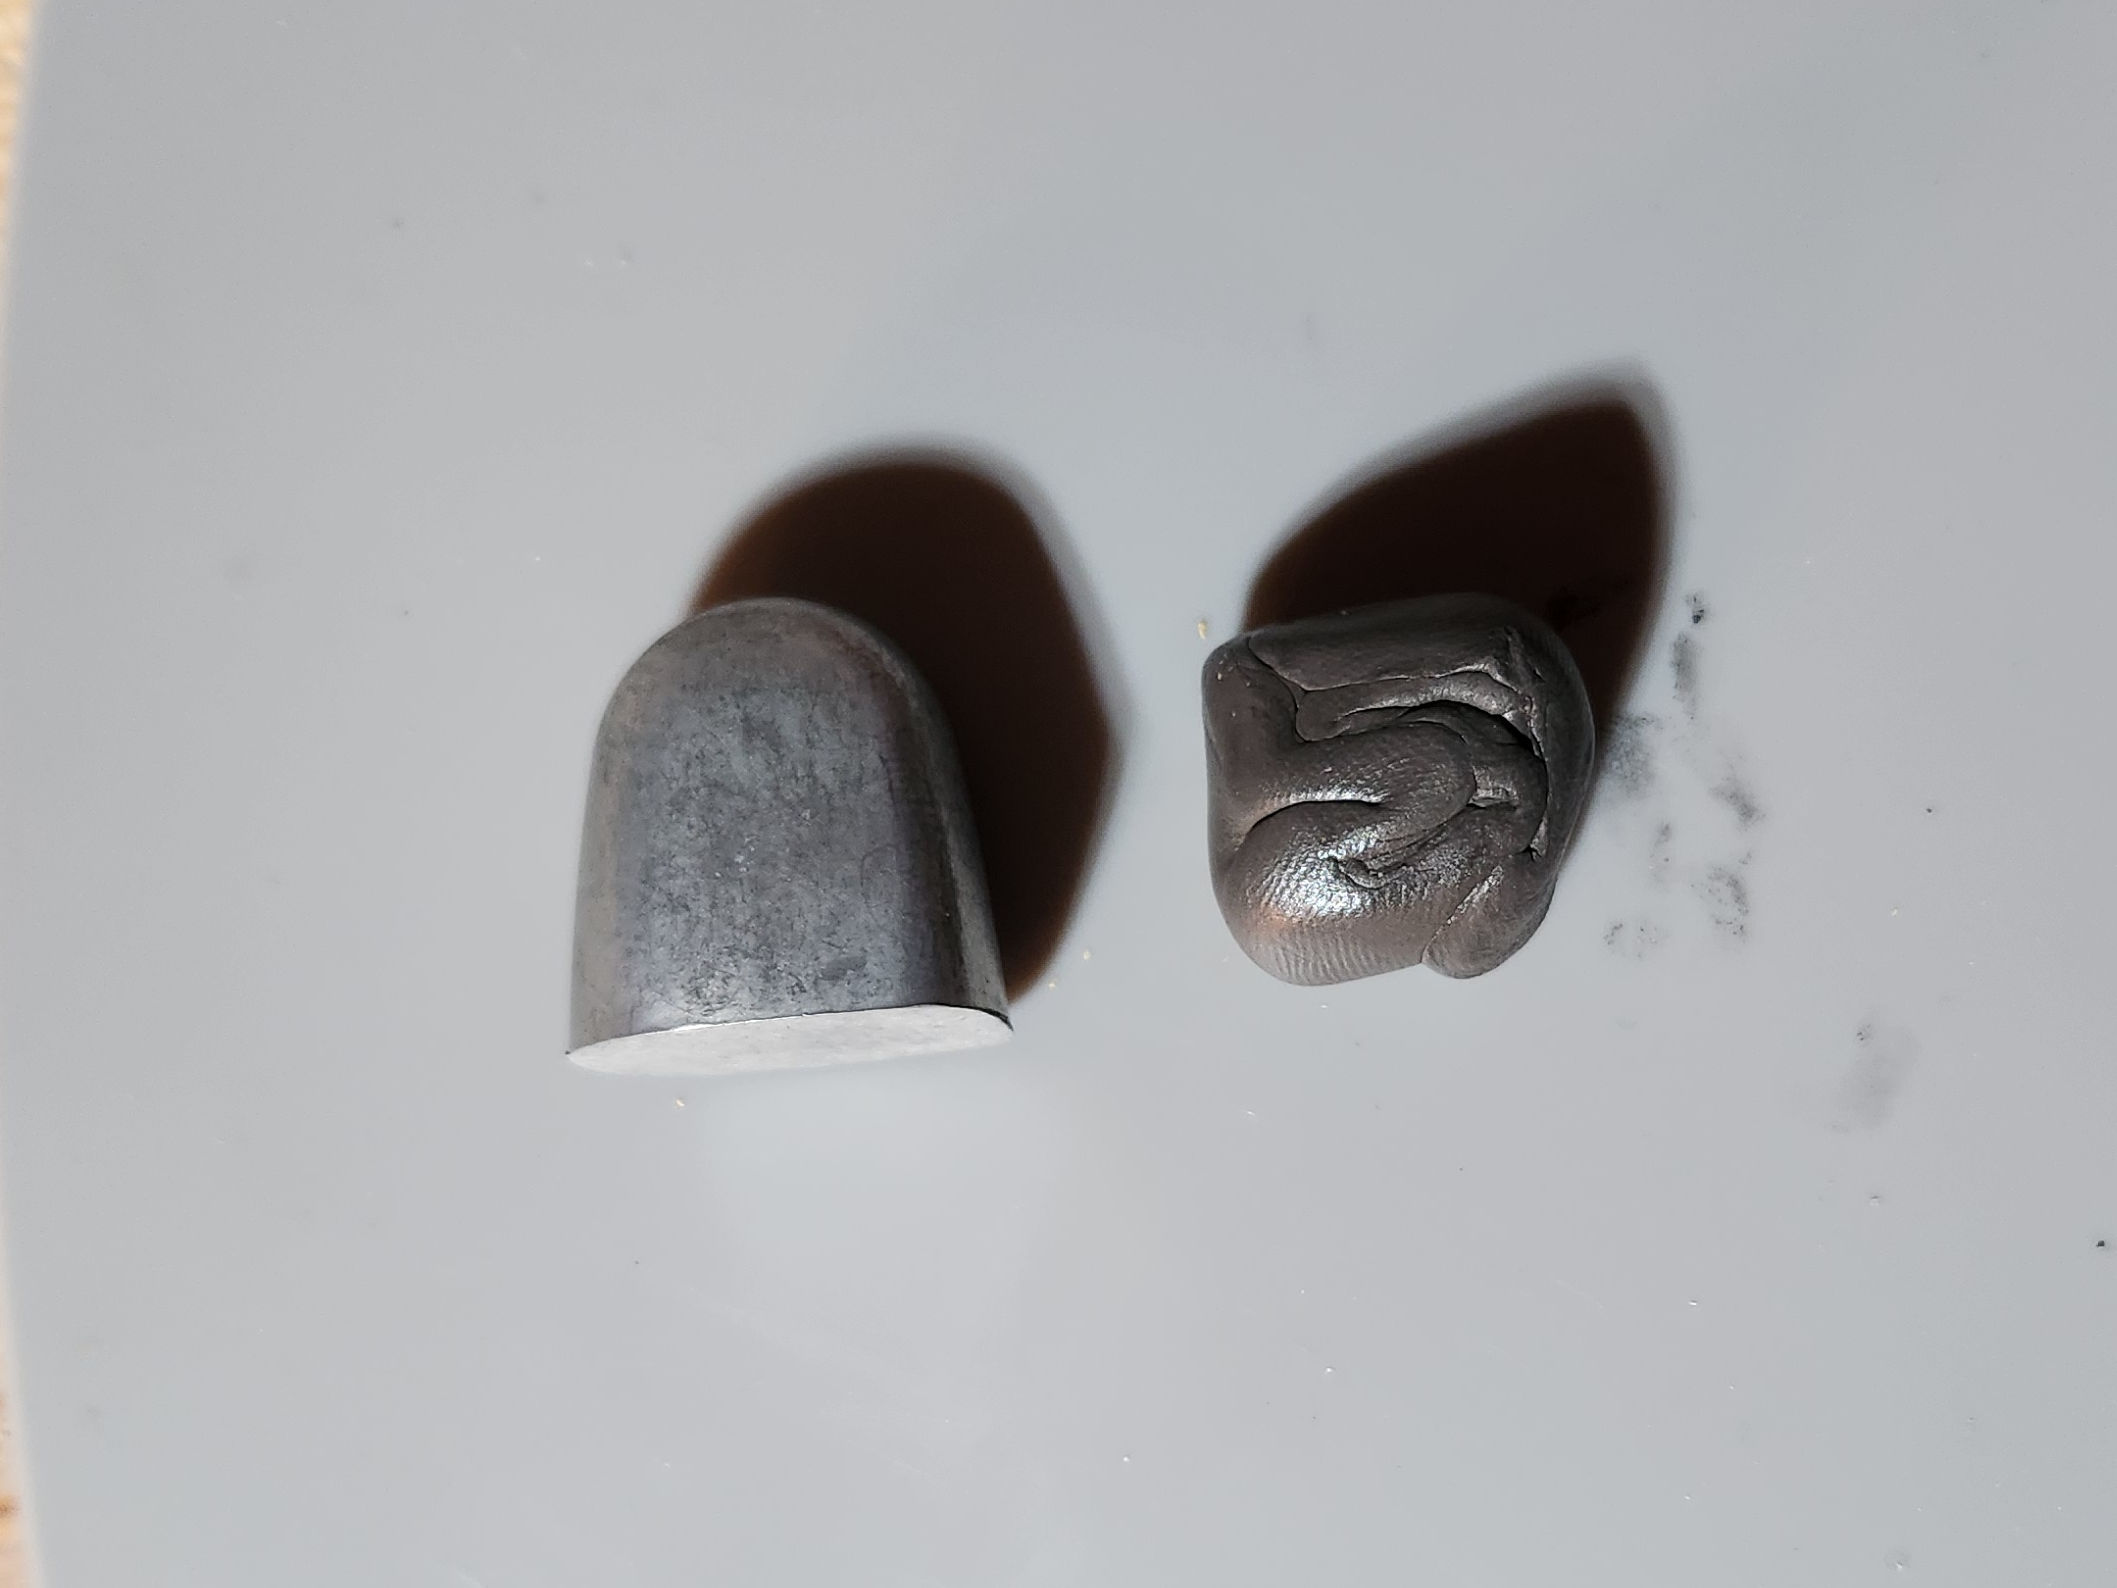
My version of kit came with a metal slug shaped to fit forward of the control panel but behind the nose radar. It was supposed to hold the weight the plane down so that it rested on its nose wheel. I used it planning to leave the nose come off so the radar would show. As it turned out it was not heavy enough to do the job so I ended up have to close up the nose. I didn’t have the heart to rip out my radar dish I had spent time putting in so I got some Tungsten Paste (it is used for weighting down those Pinewood Derby racers cub scouts build). It’s moldable and 1.7 times more dense than lead which means more weight for less space. I line my radar nosecone with it in such a way that the radar dish is still in there undisturbed and my plane sits on it’s nose. Here is lead and tungsten, both the same weight:
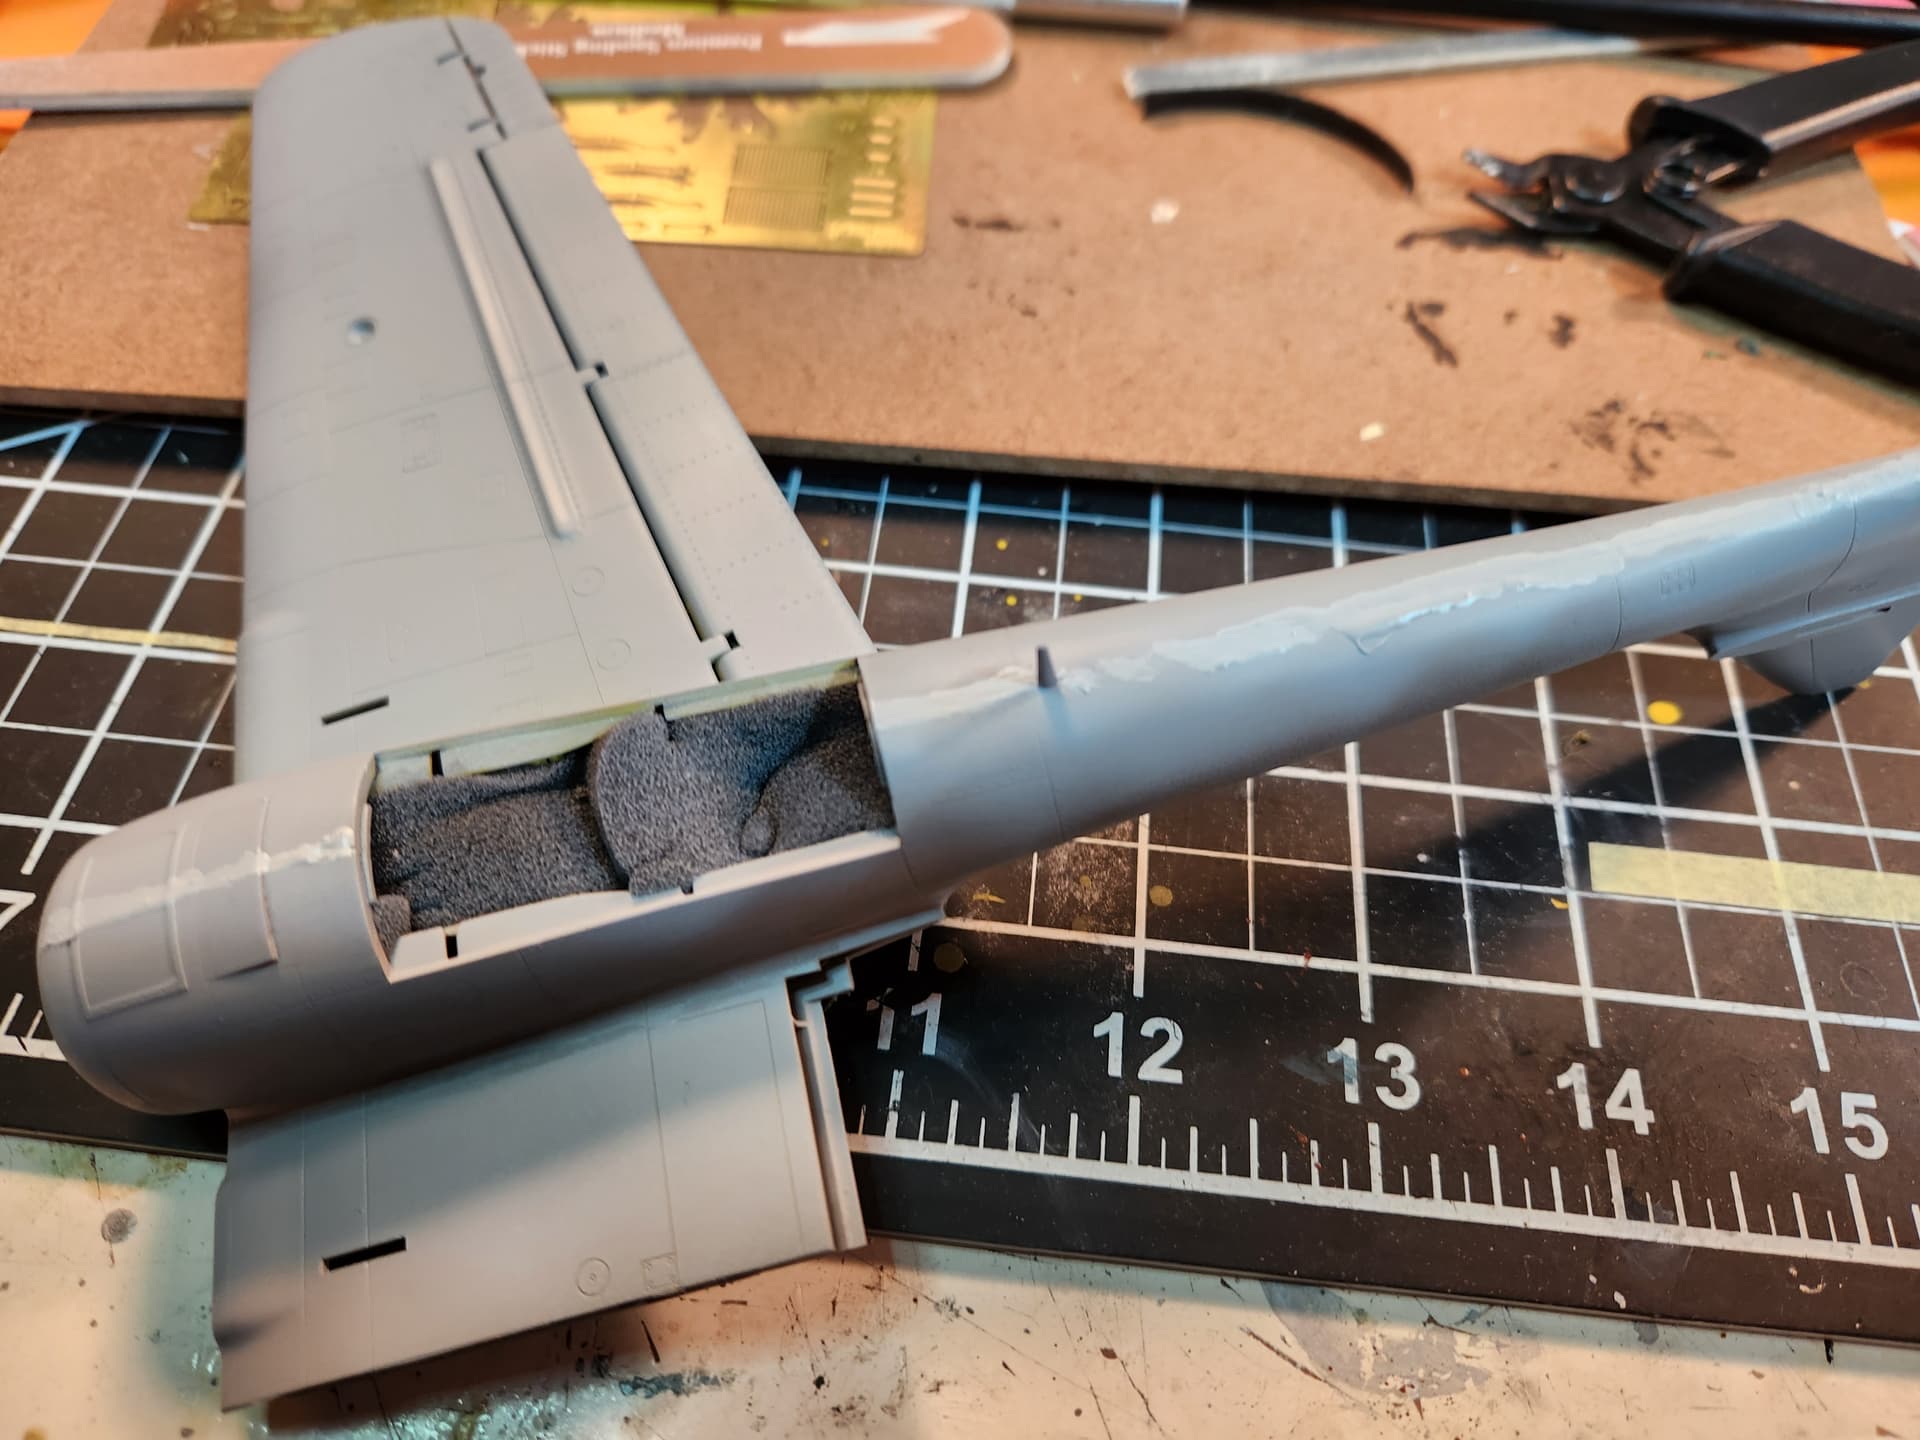
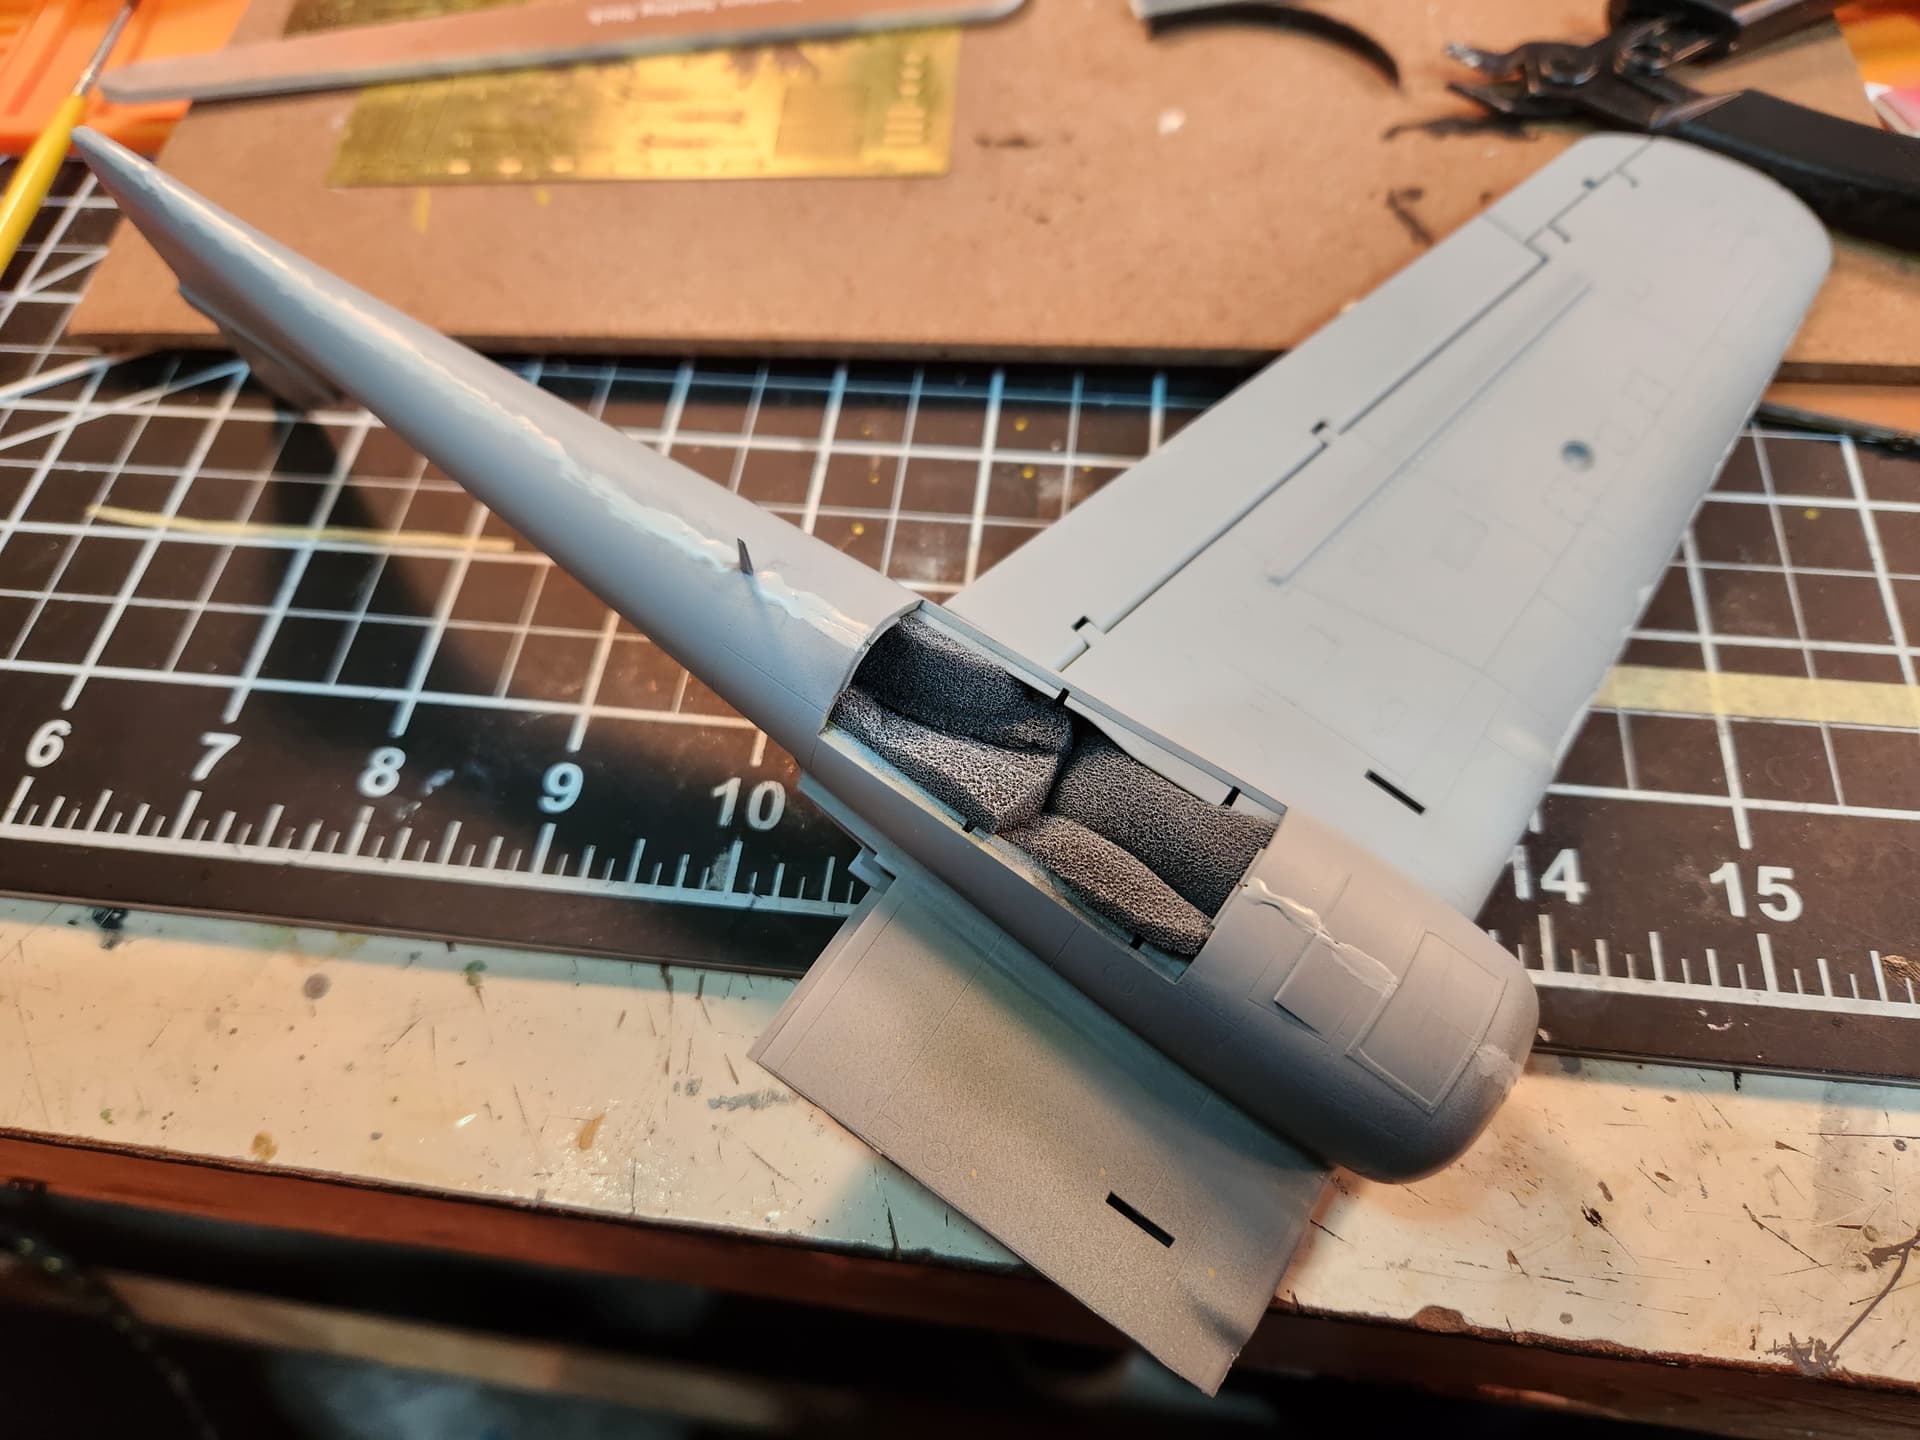
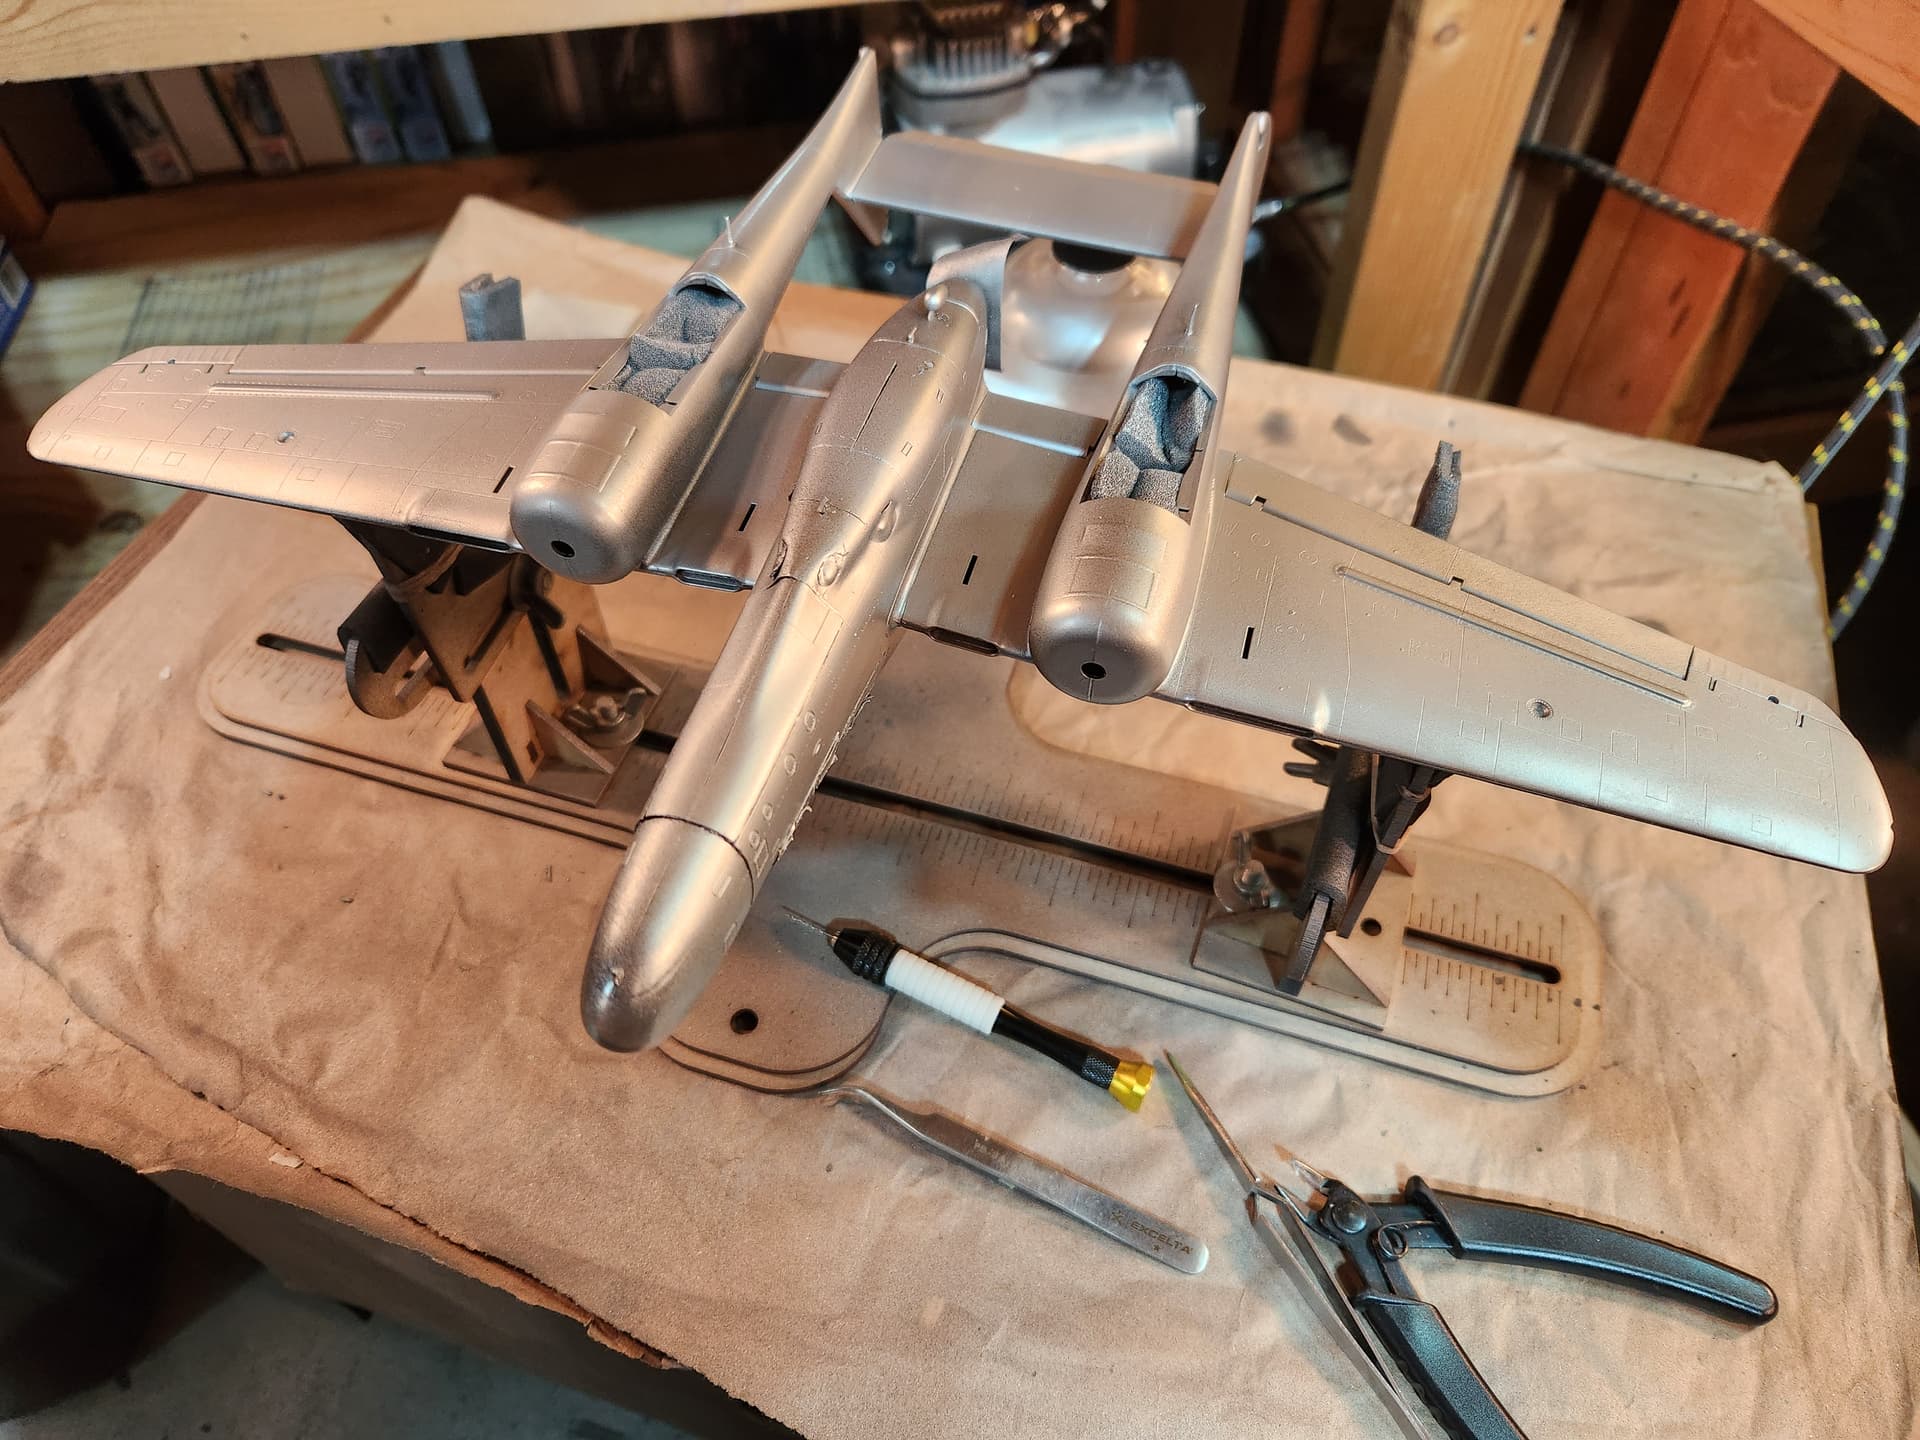
another problem I had was that the wing attachment points at the fuselage are not deep enough. So you have to juggle the tail plane while gluing the wings on. You need at least five hands to do the job. Just a quarter of an inch more would have been great. Here’s the wing attachment:
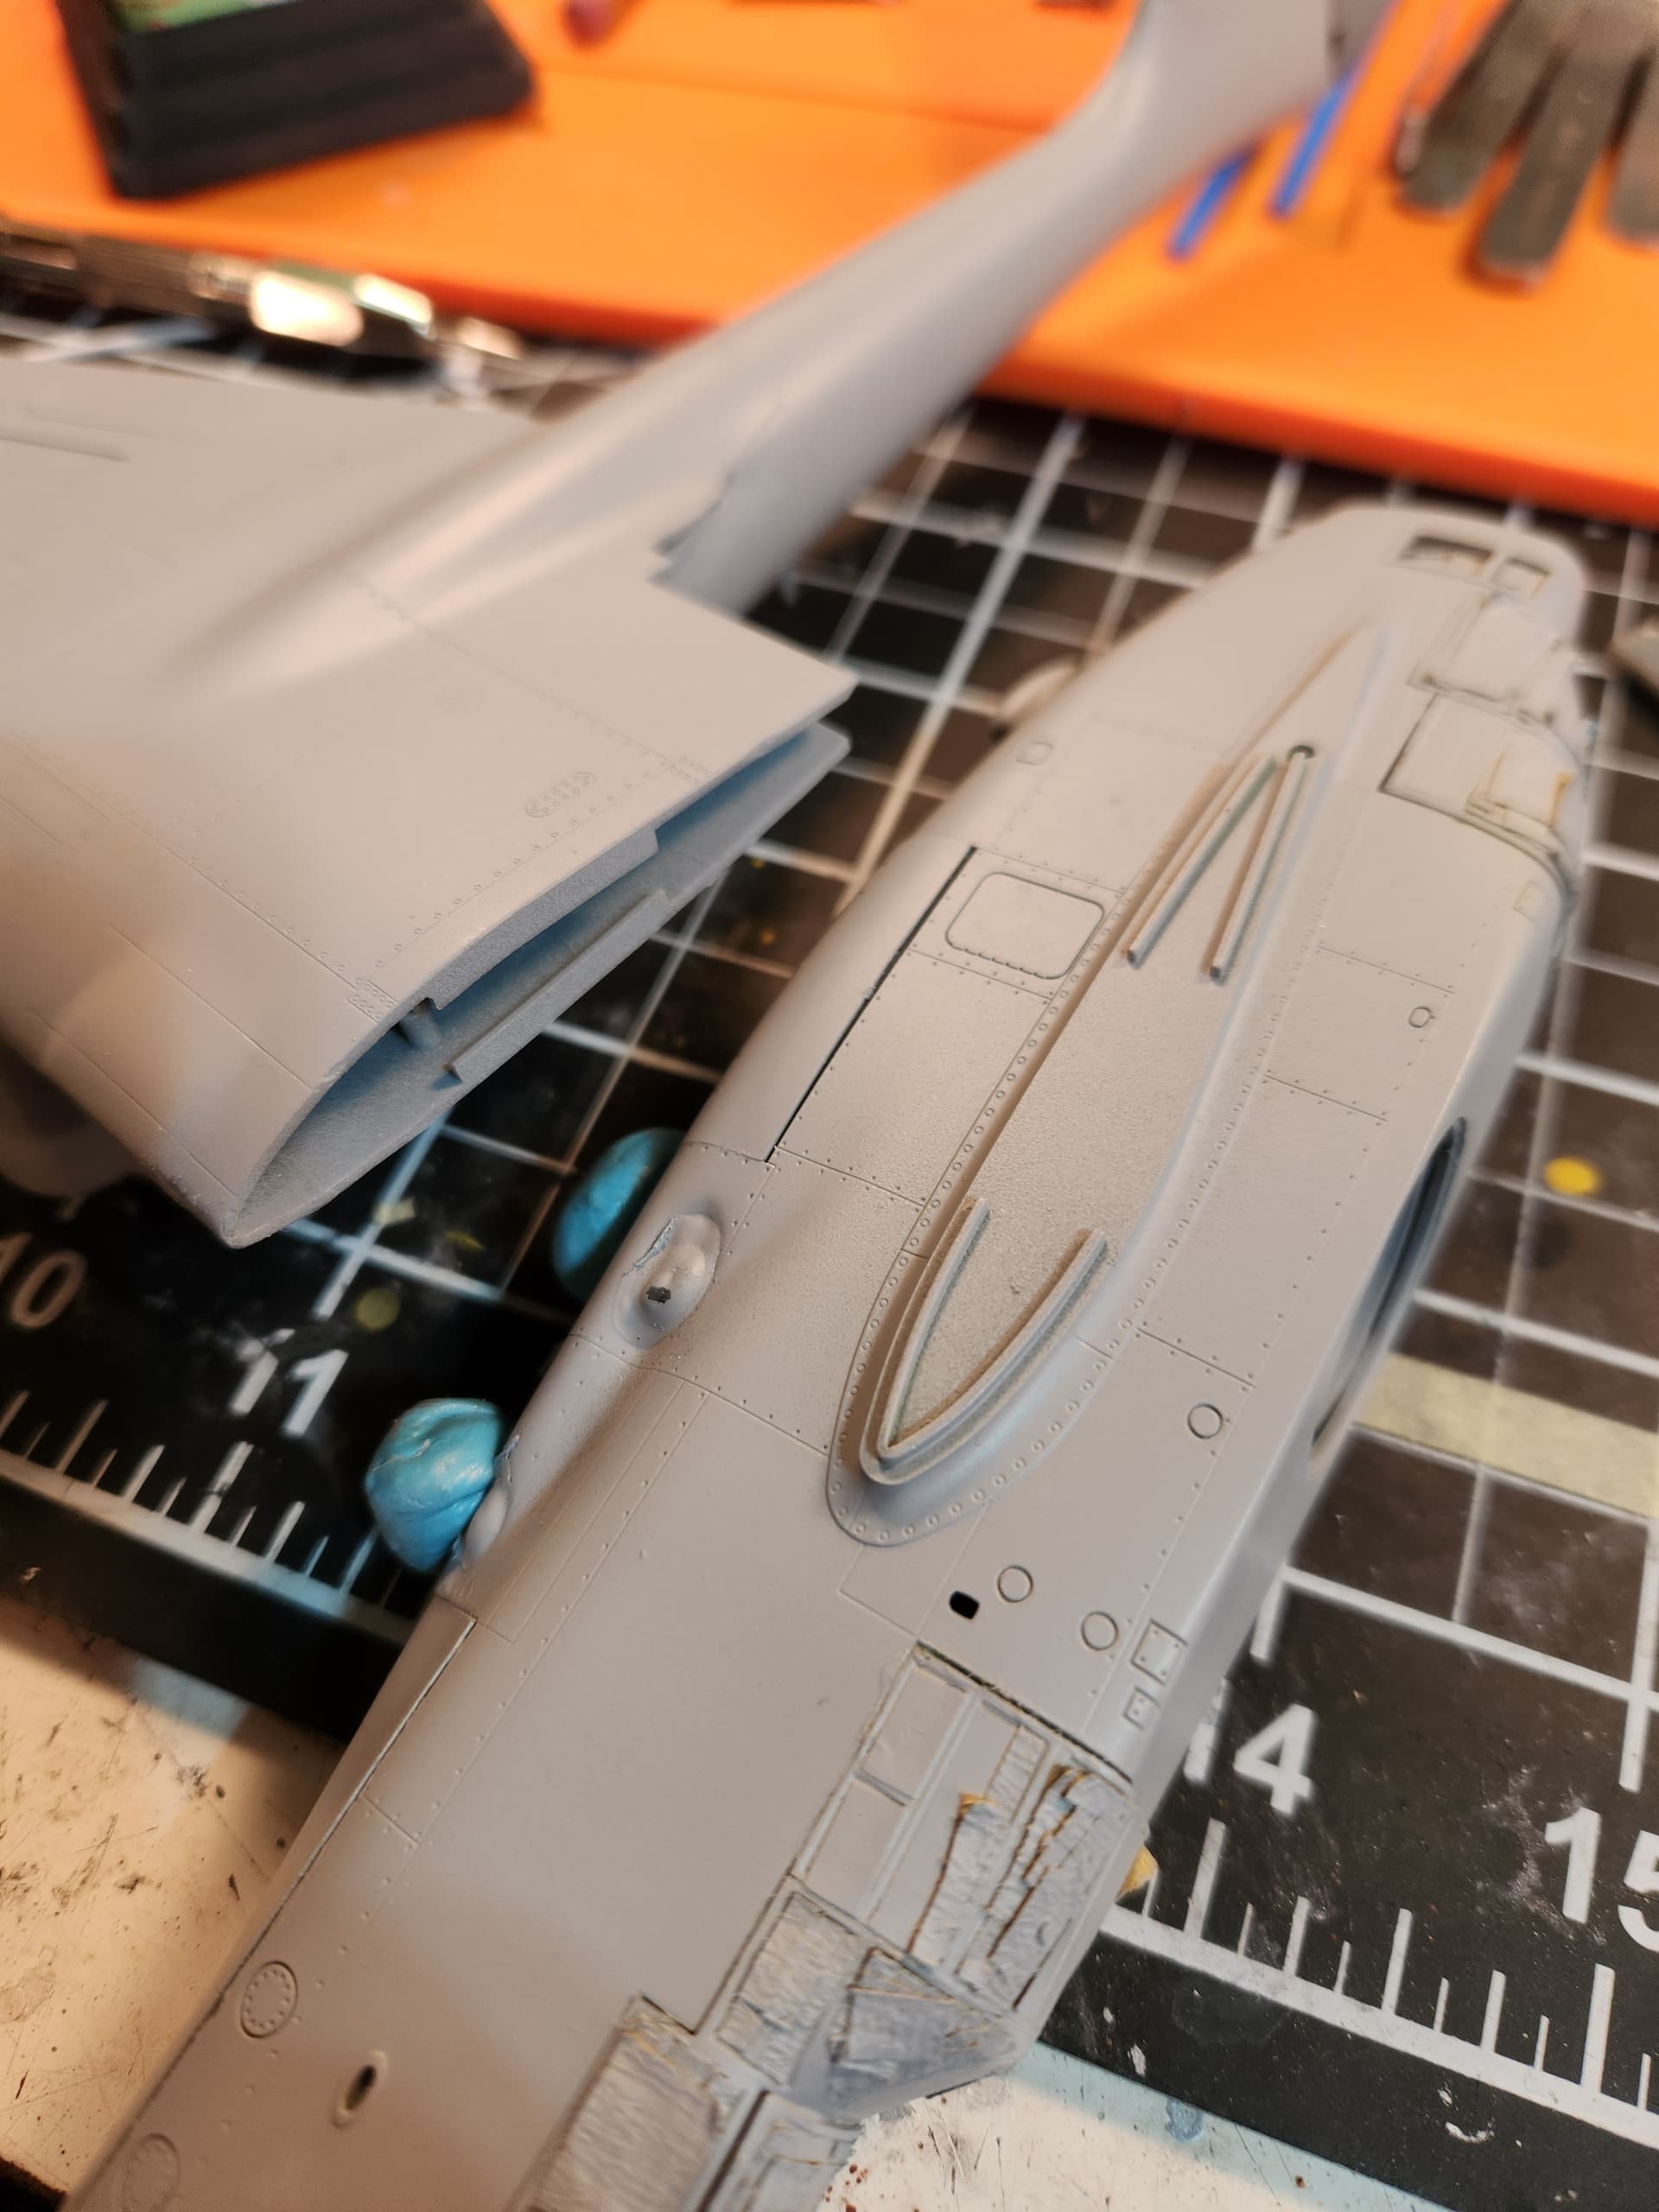
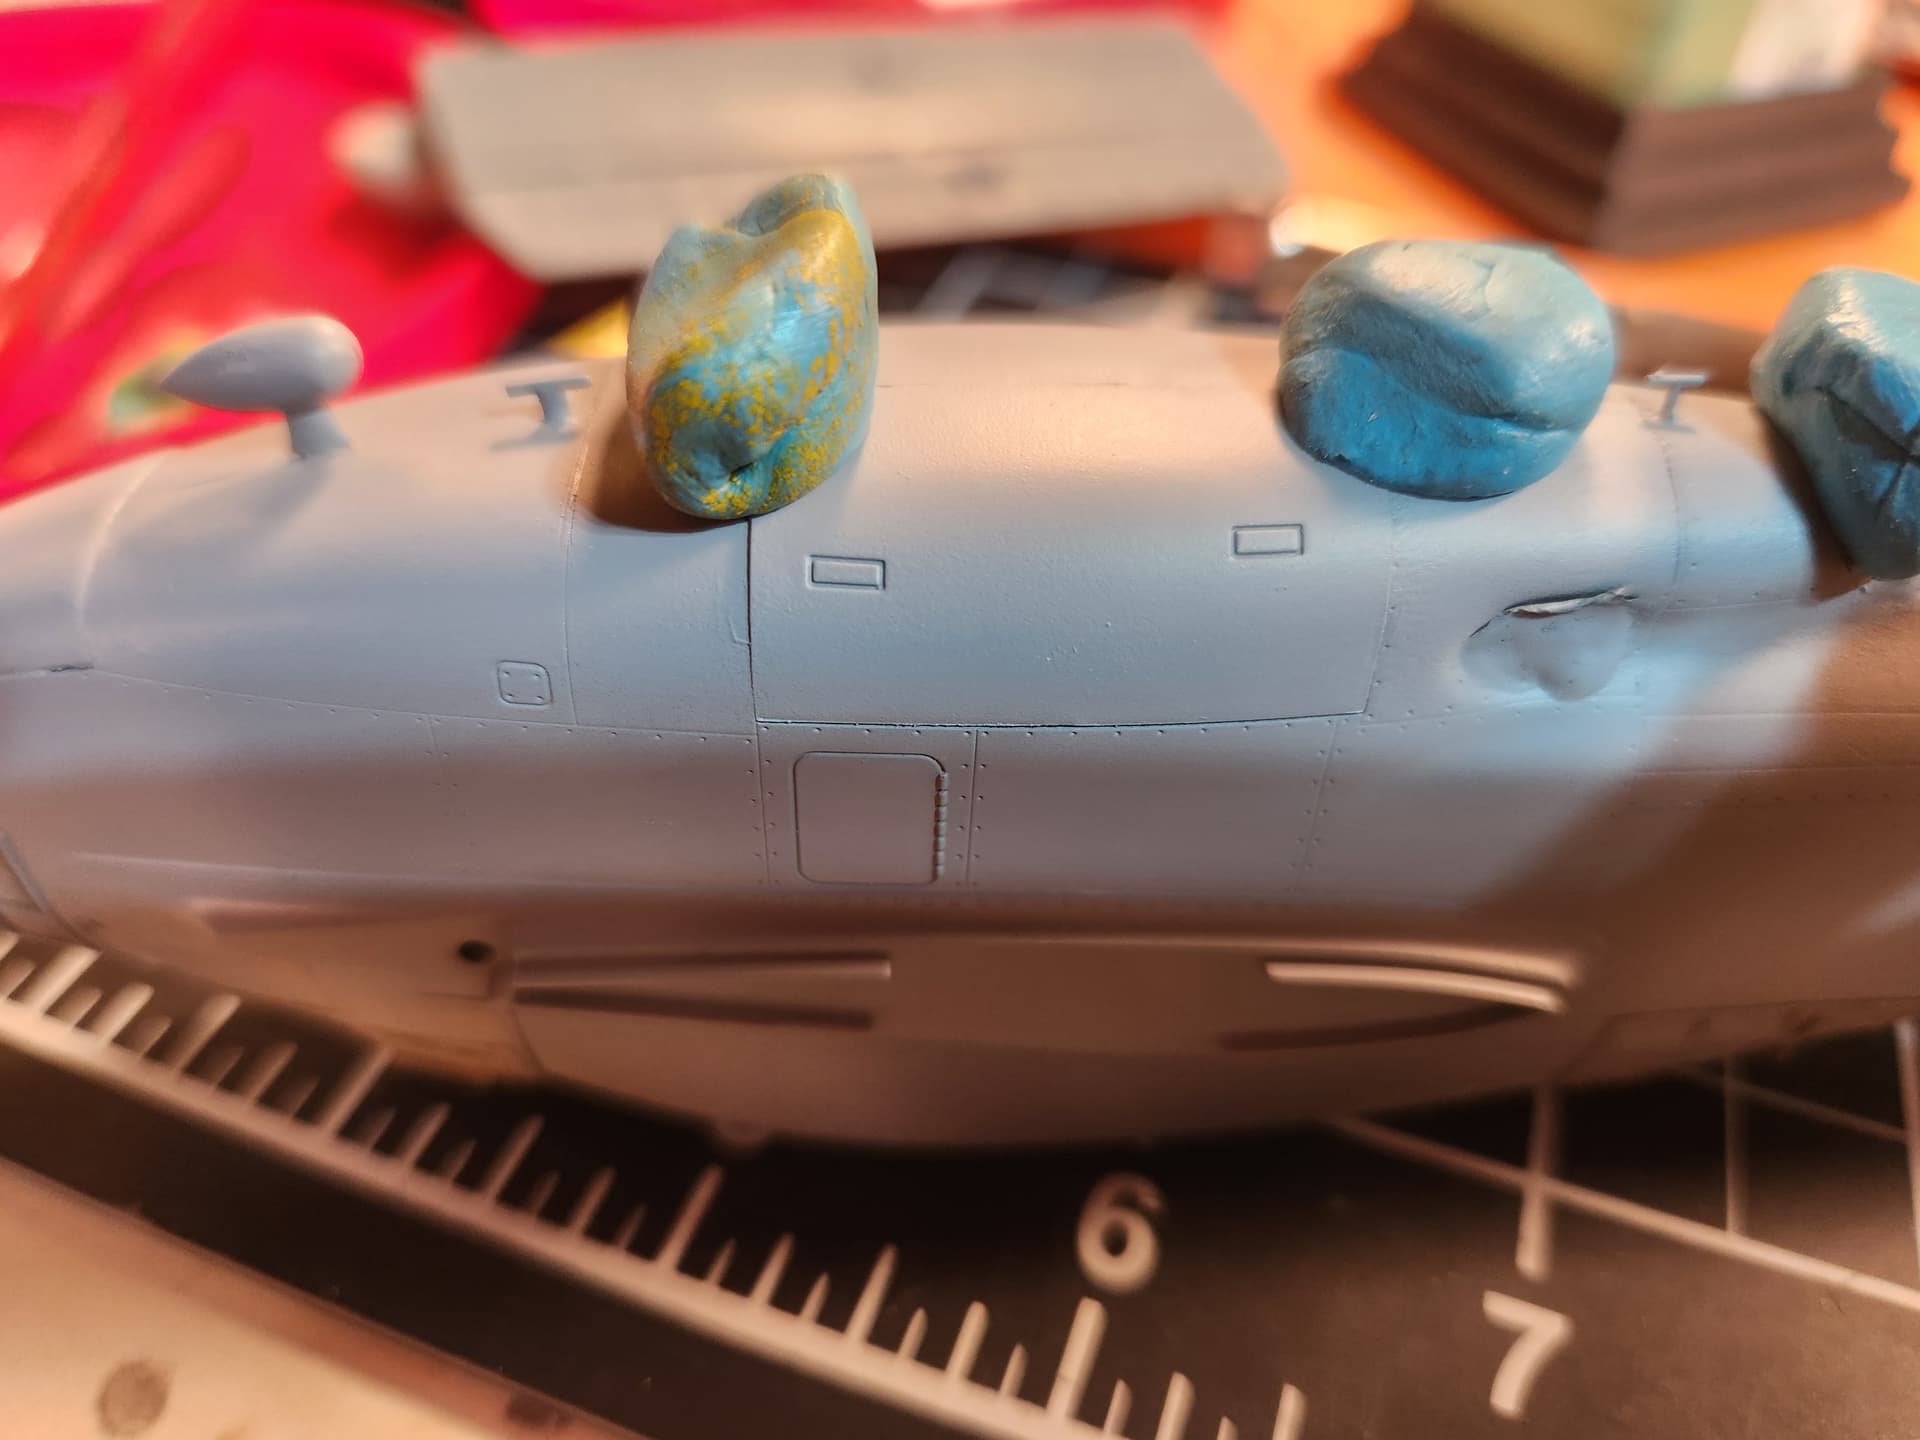
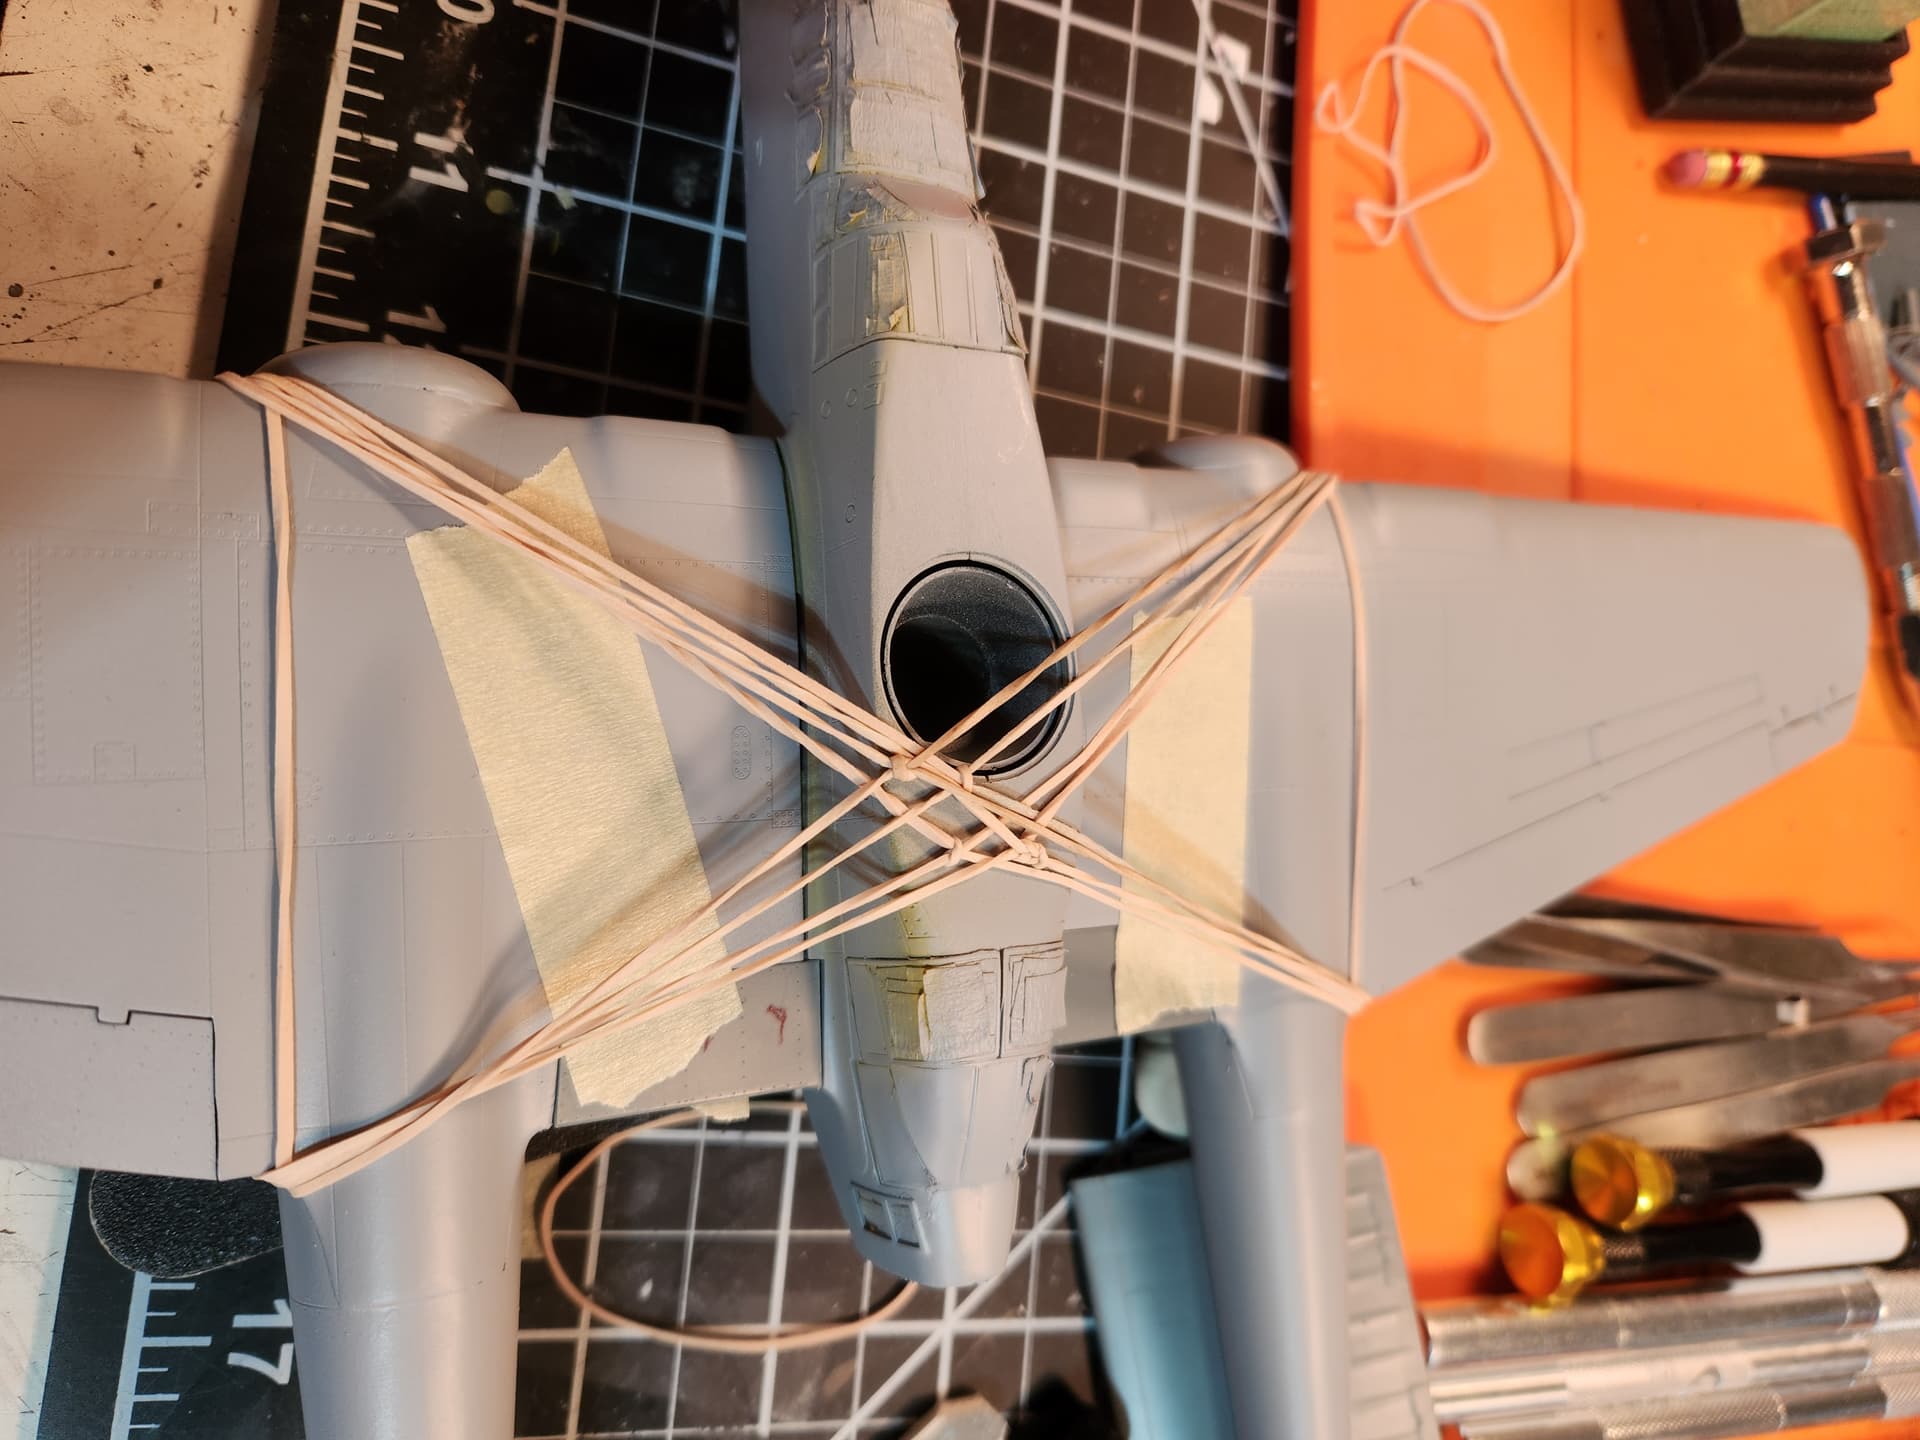
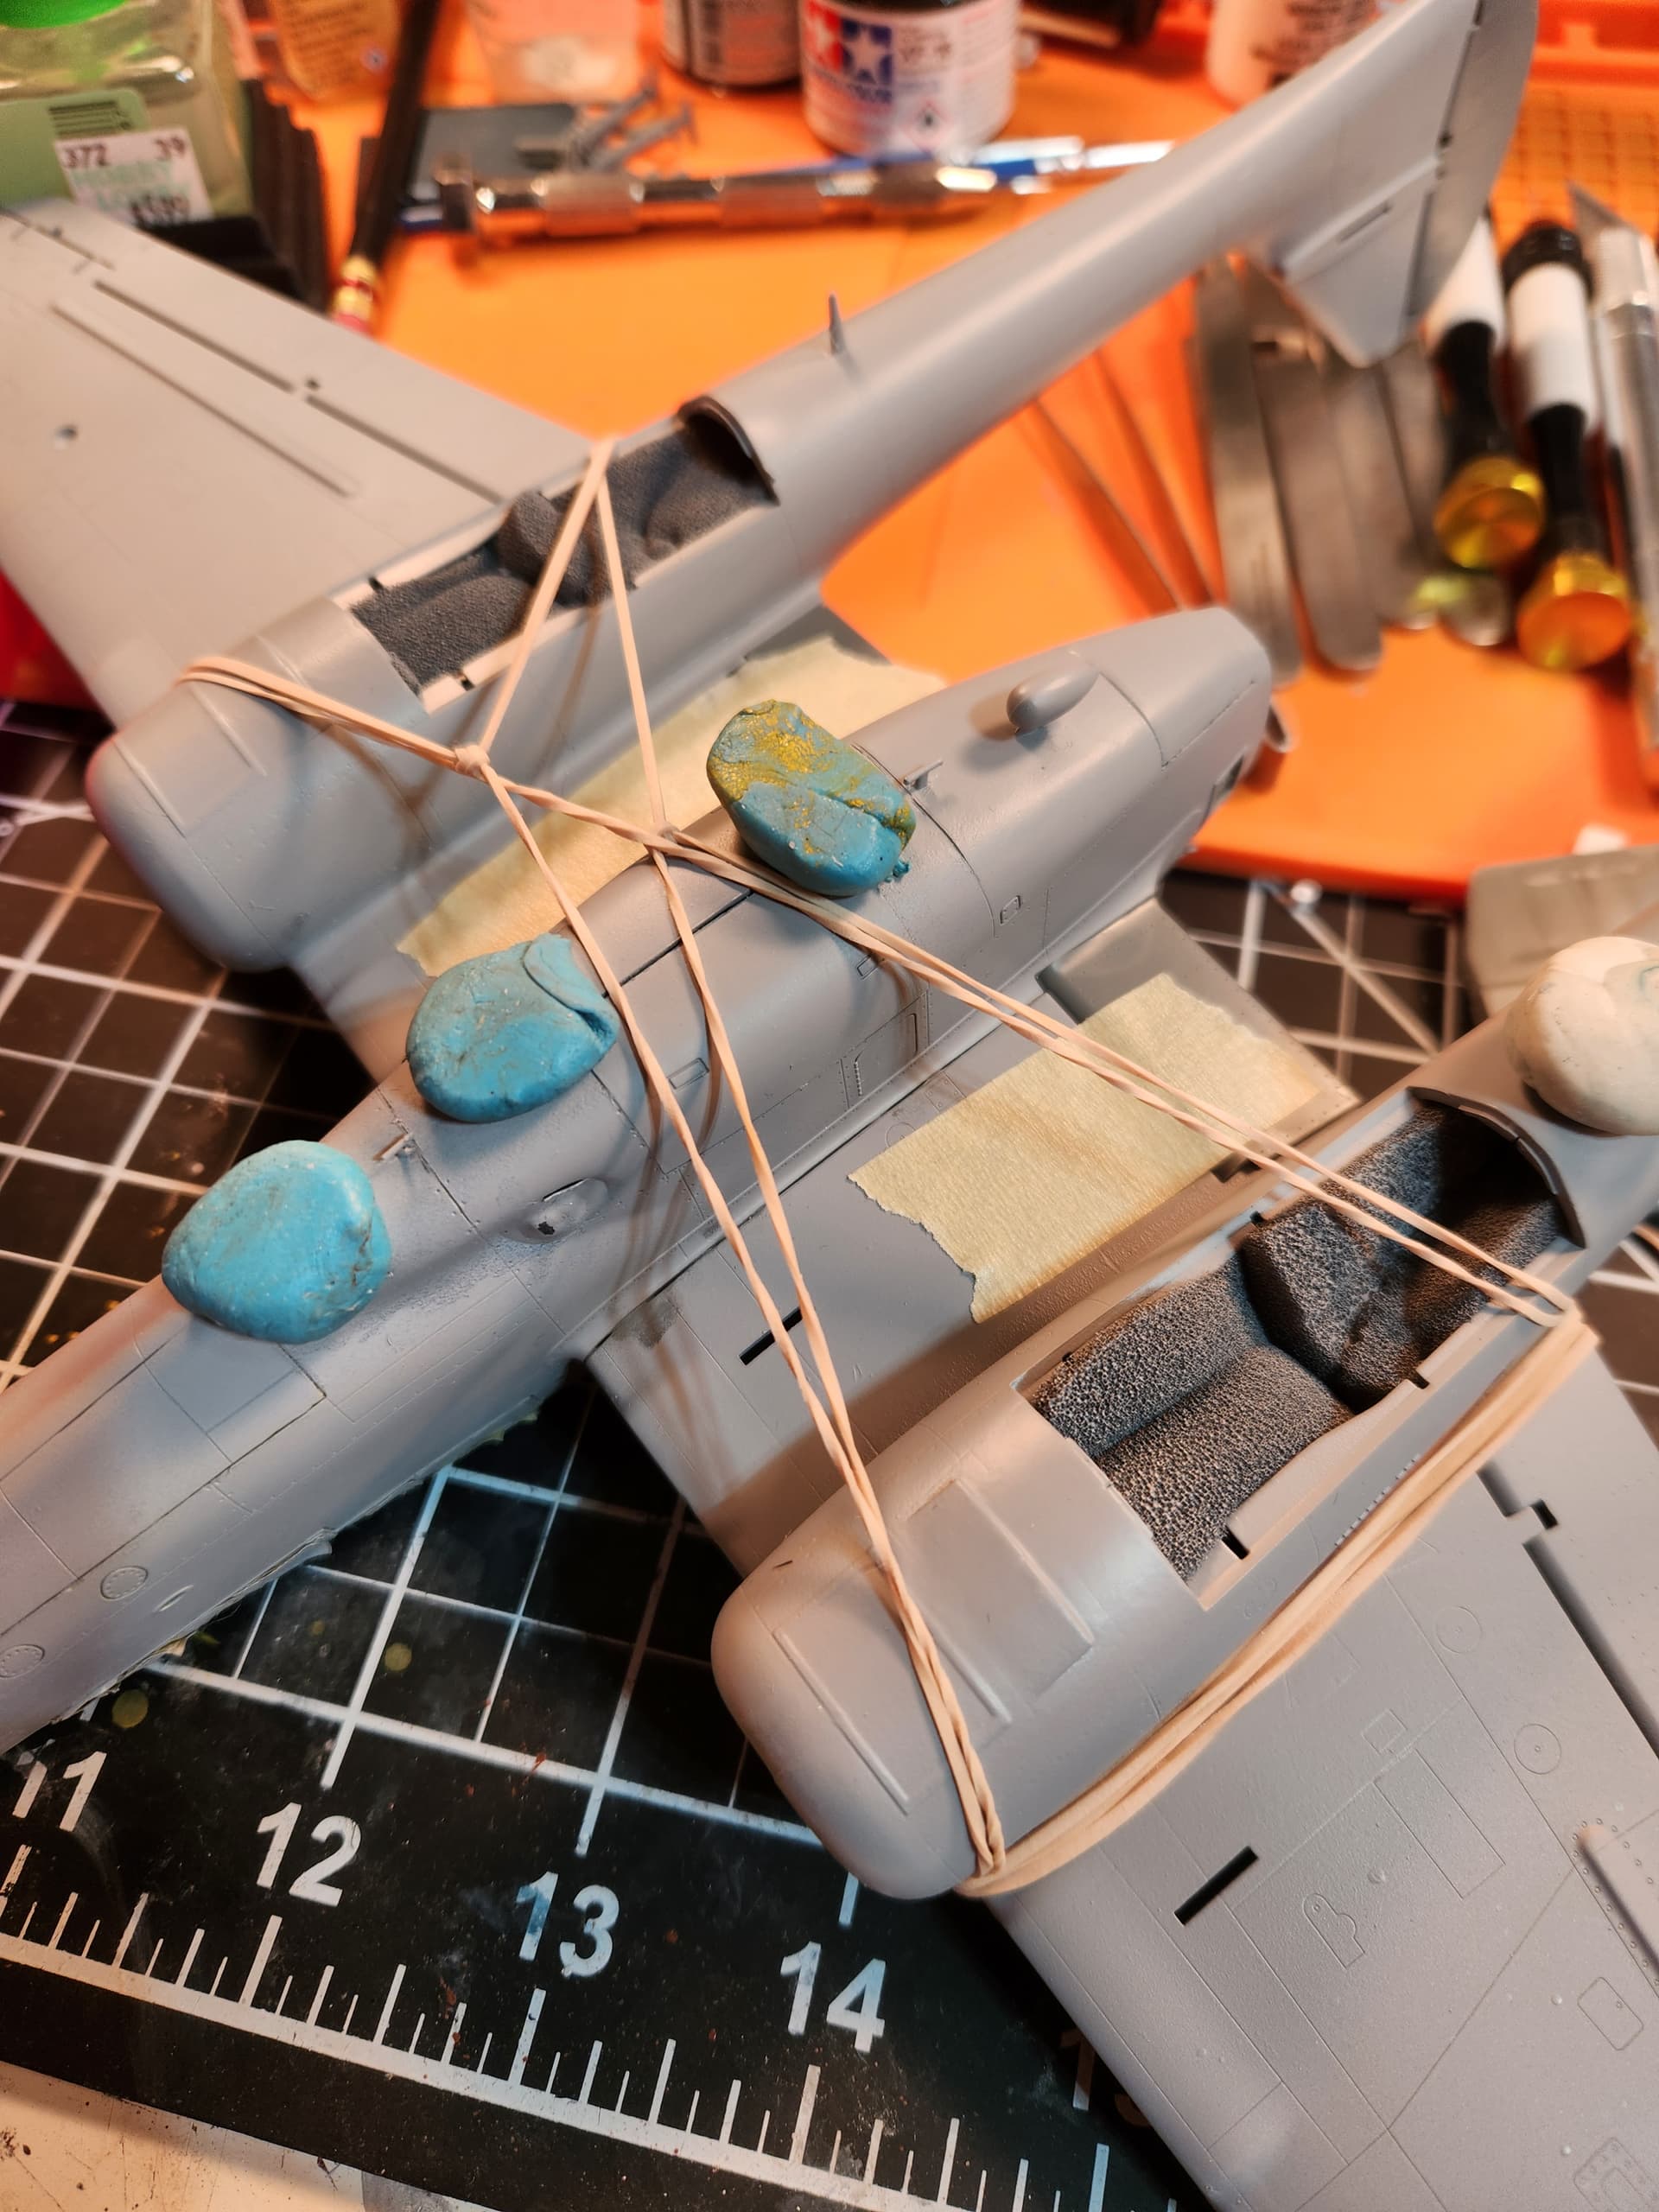
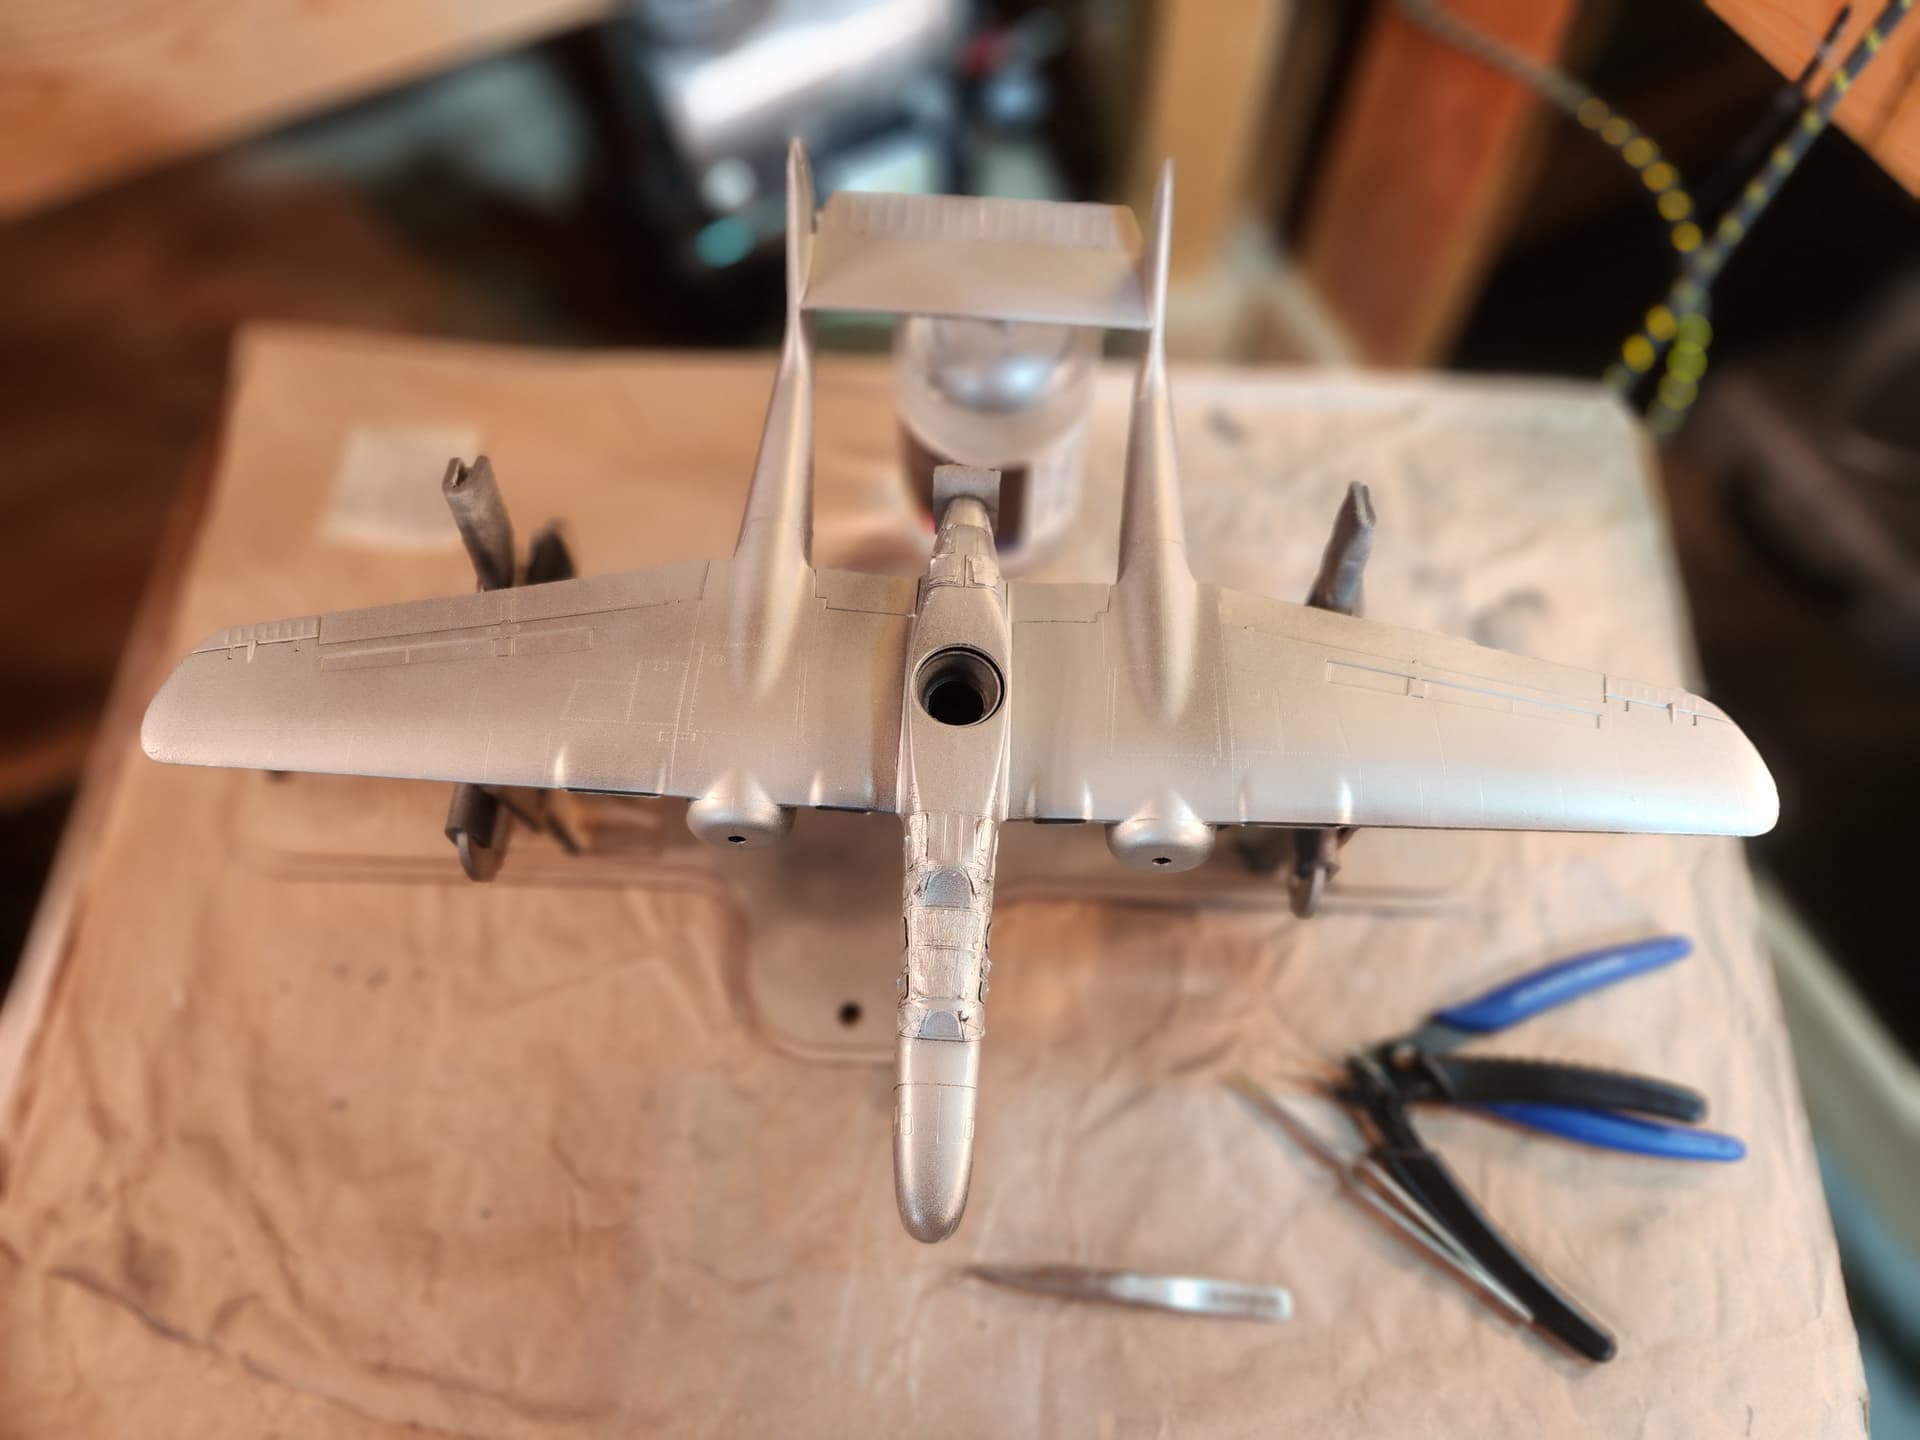
Yet another problem was the little T antennae on the bottom of the plane. They are extremely thin and I broke them off so many times that I had pieced made up ahead of time for replacements. These should have been separate pieces. Here you see where I tried to protect them using gobs of blue tack.
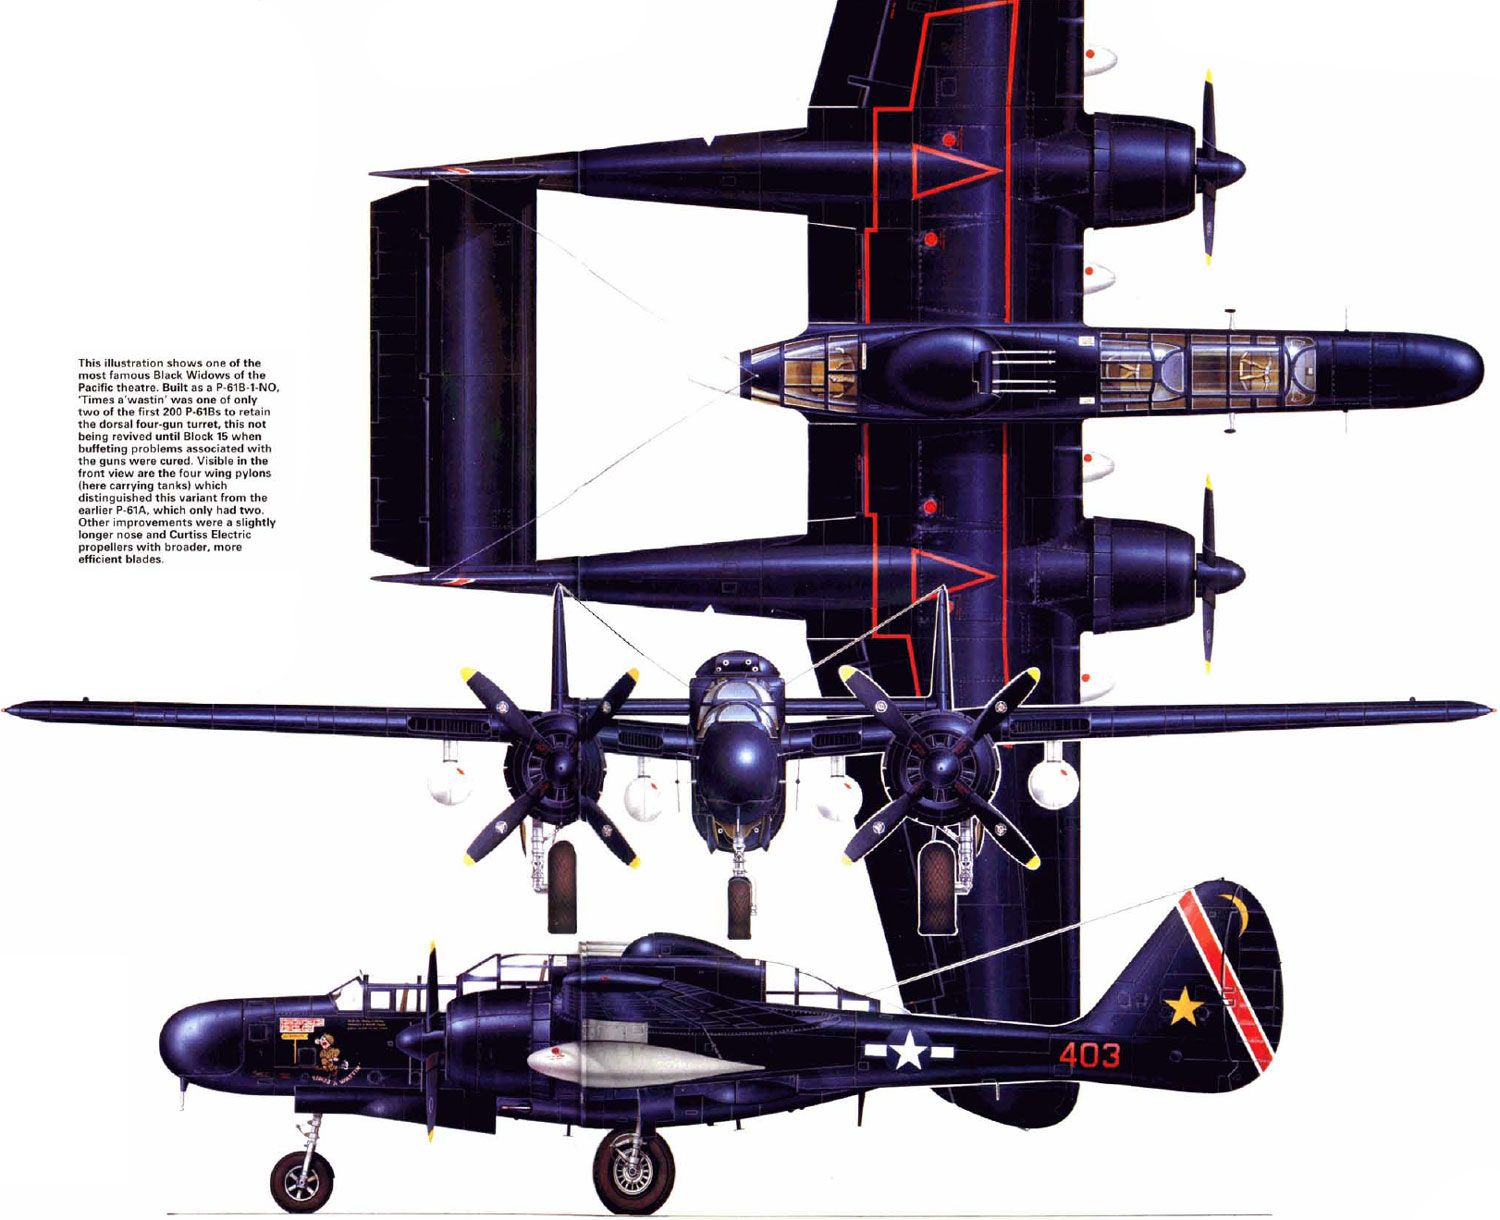
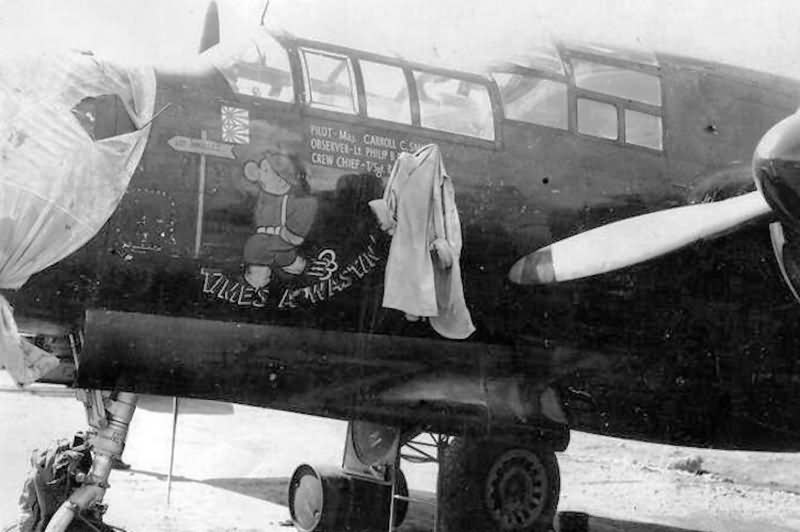
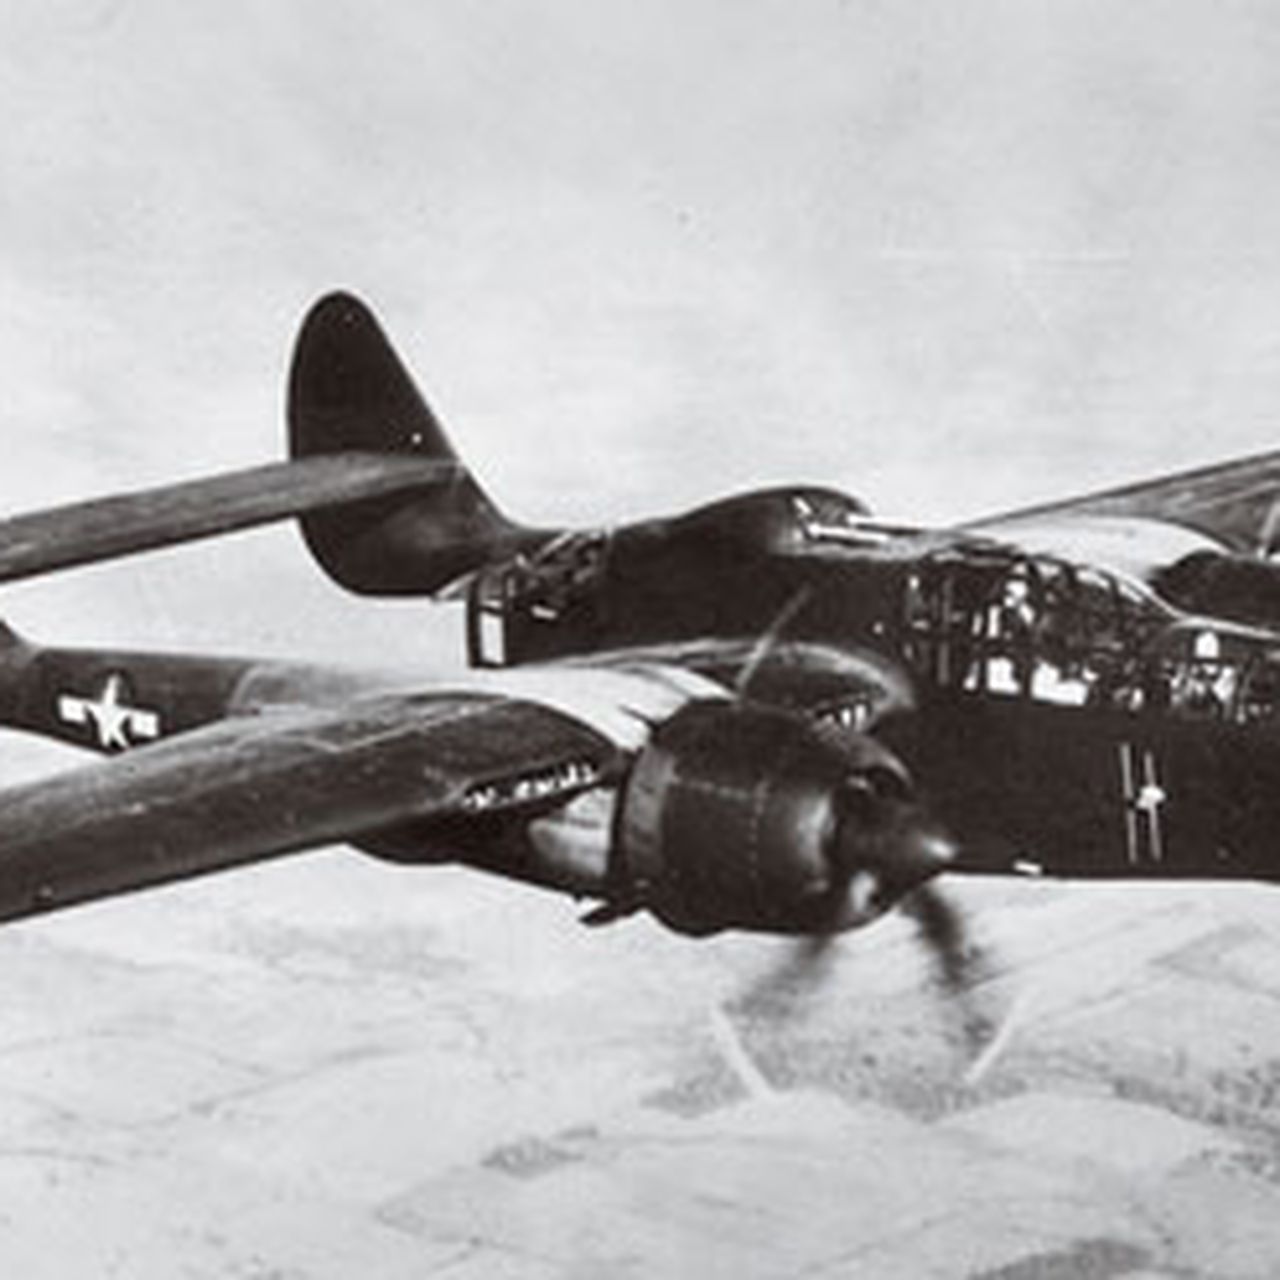
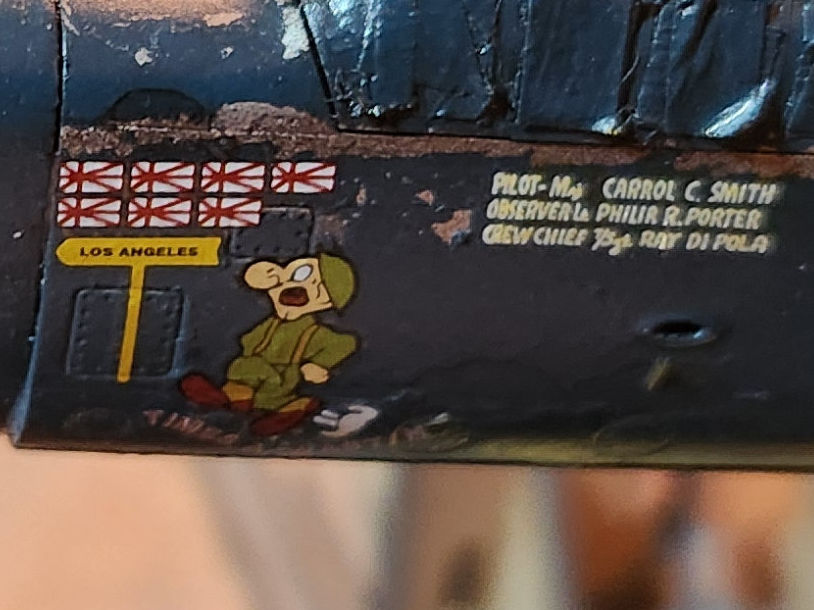
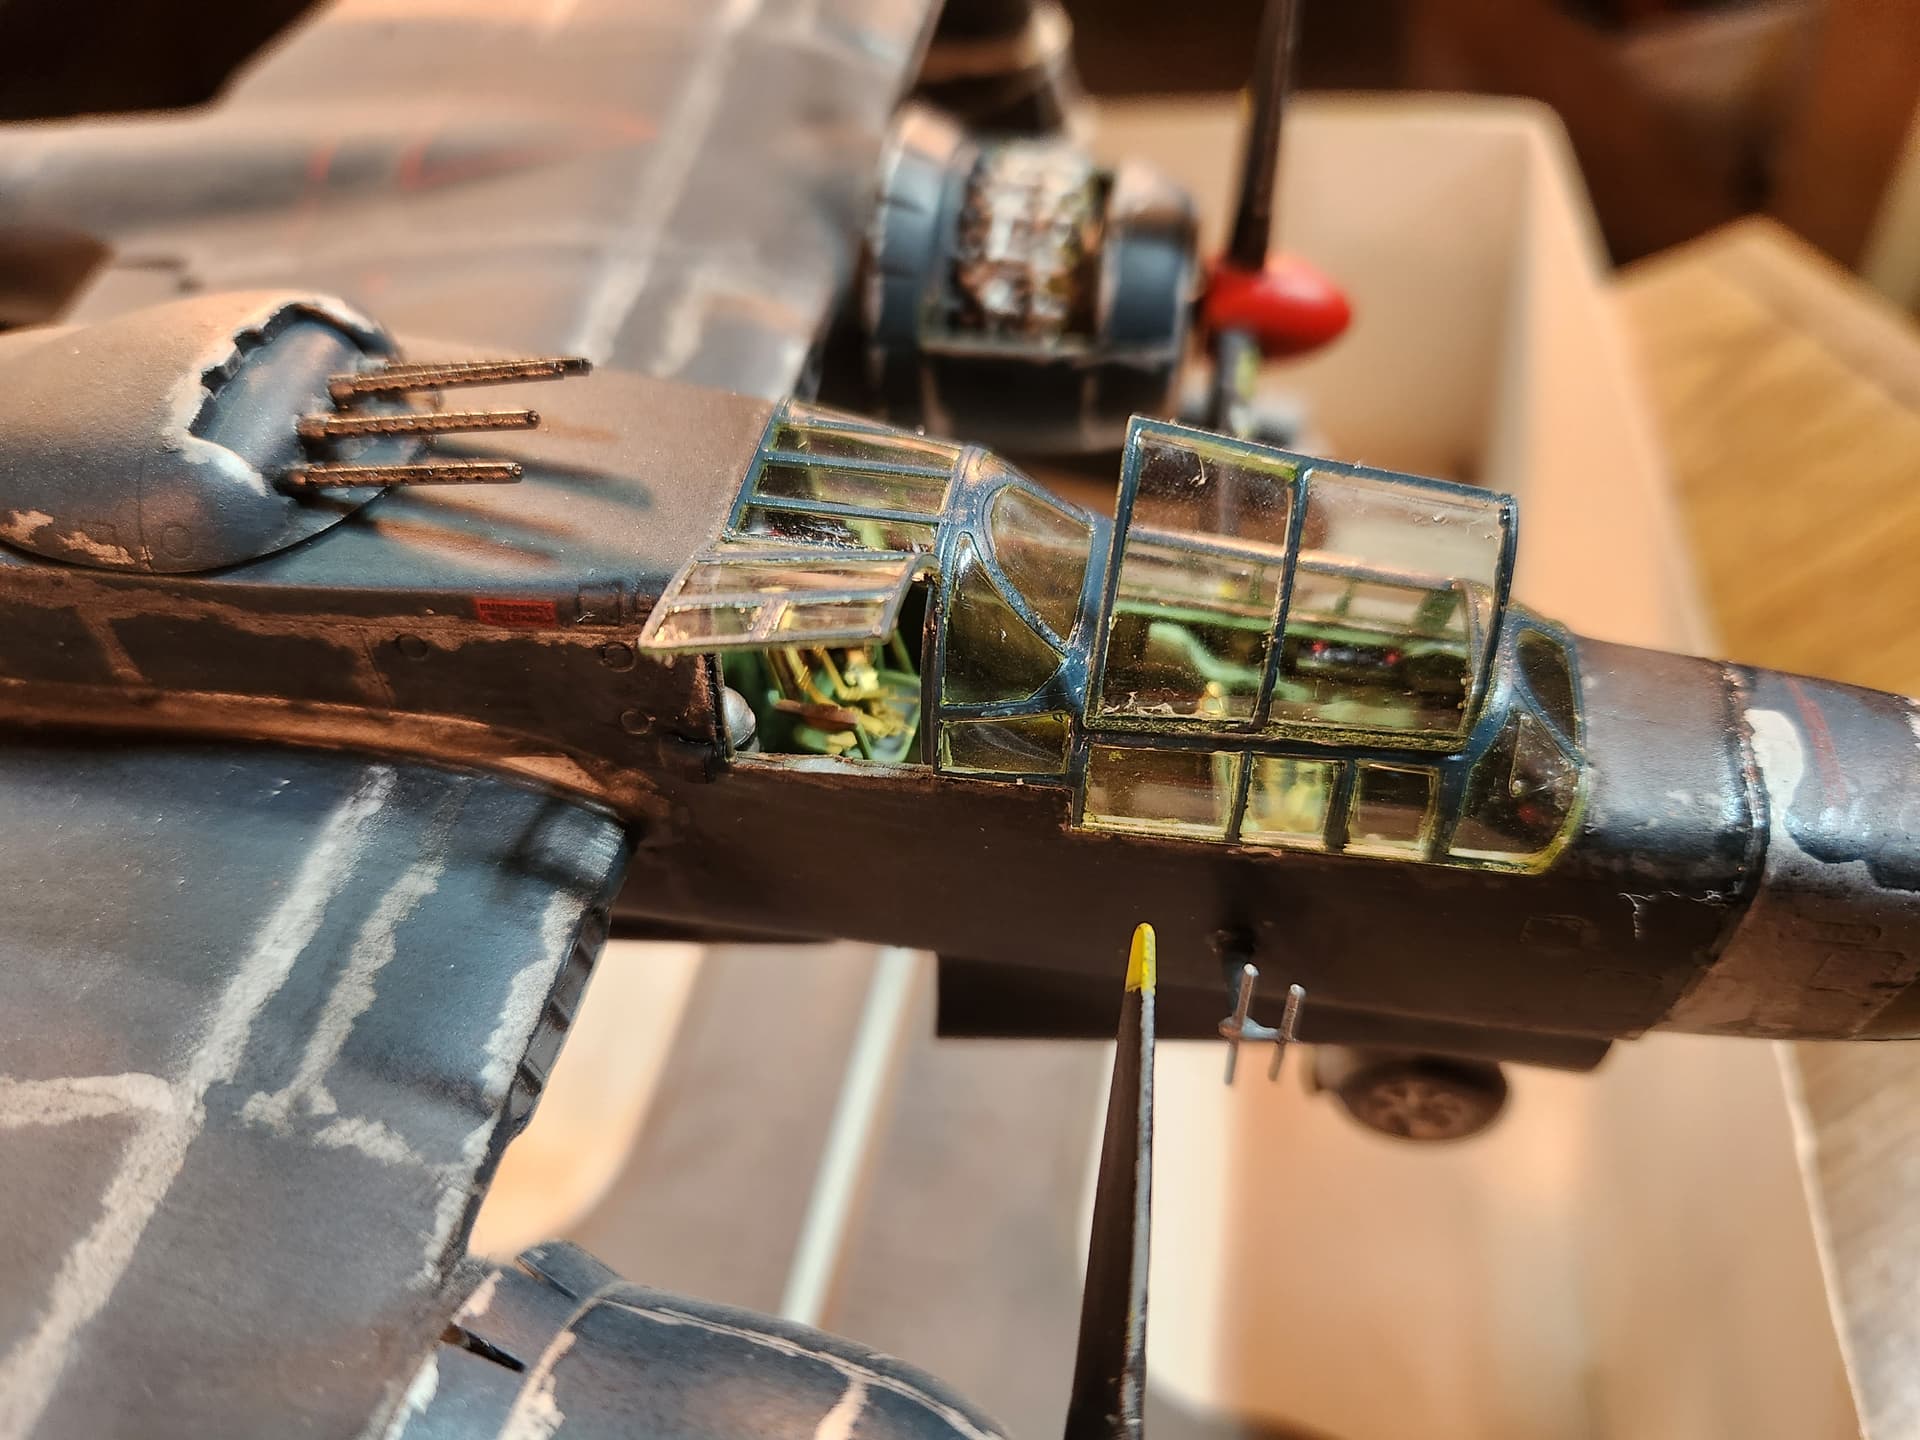
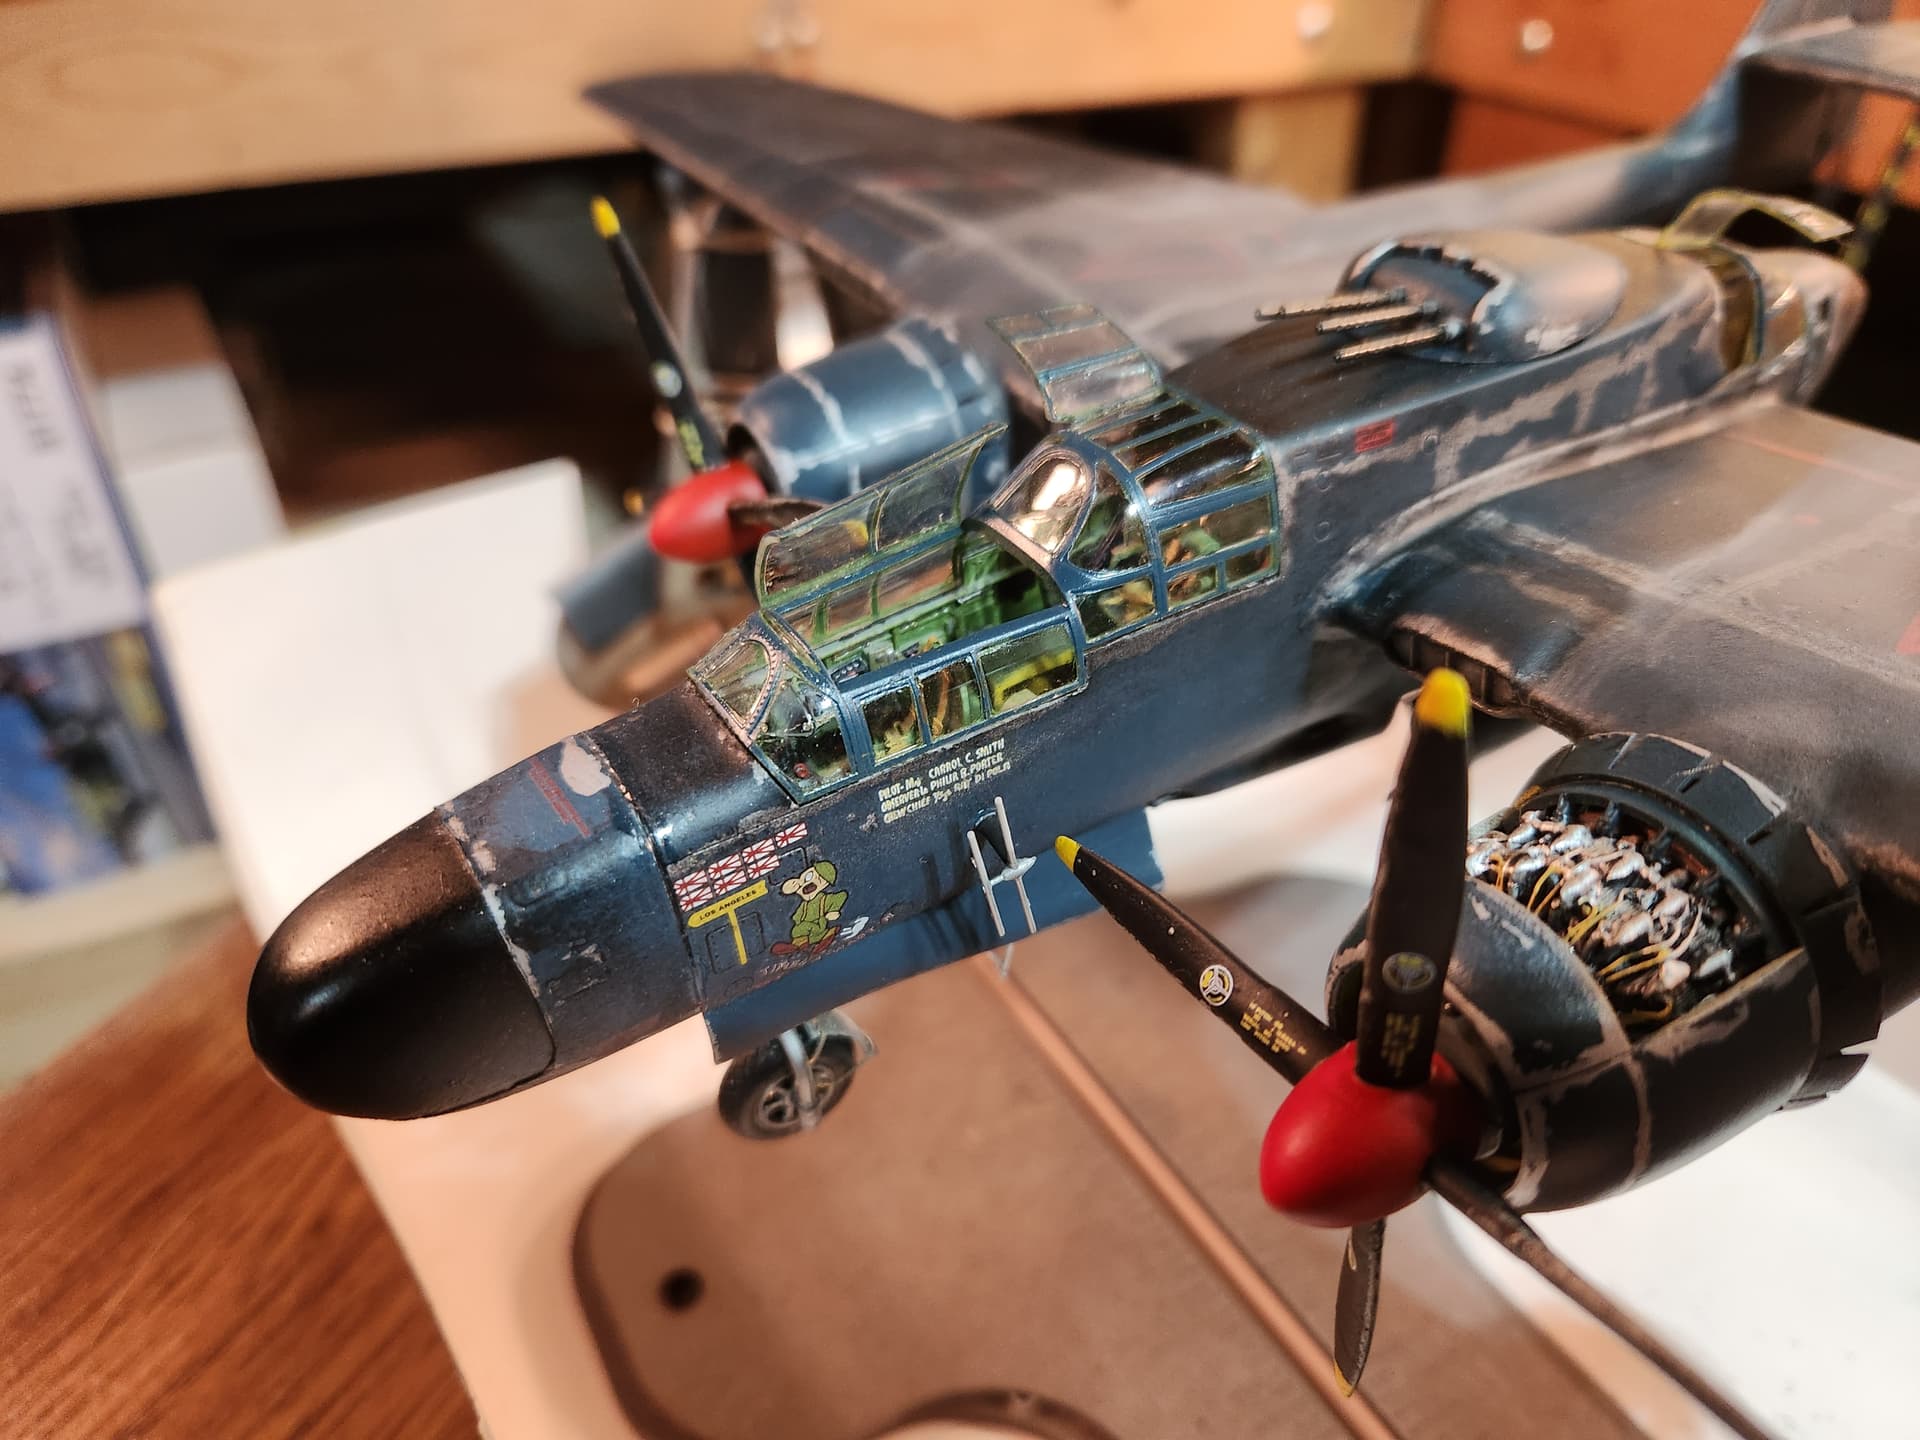
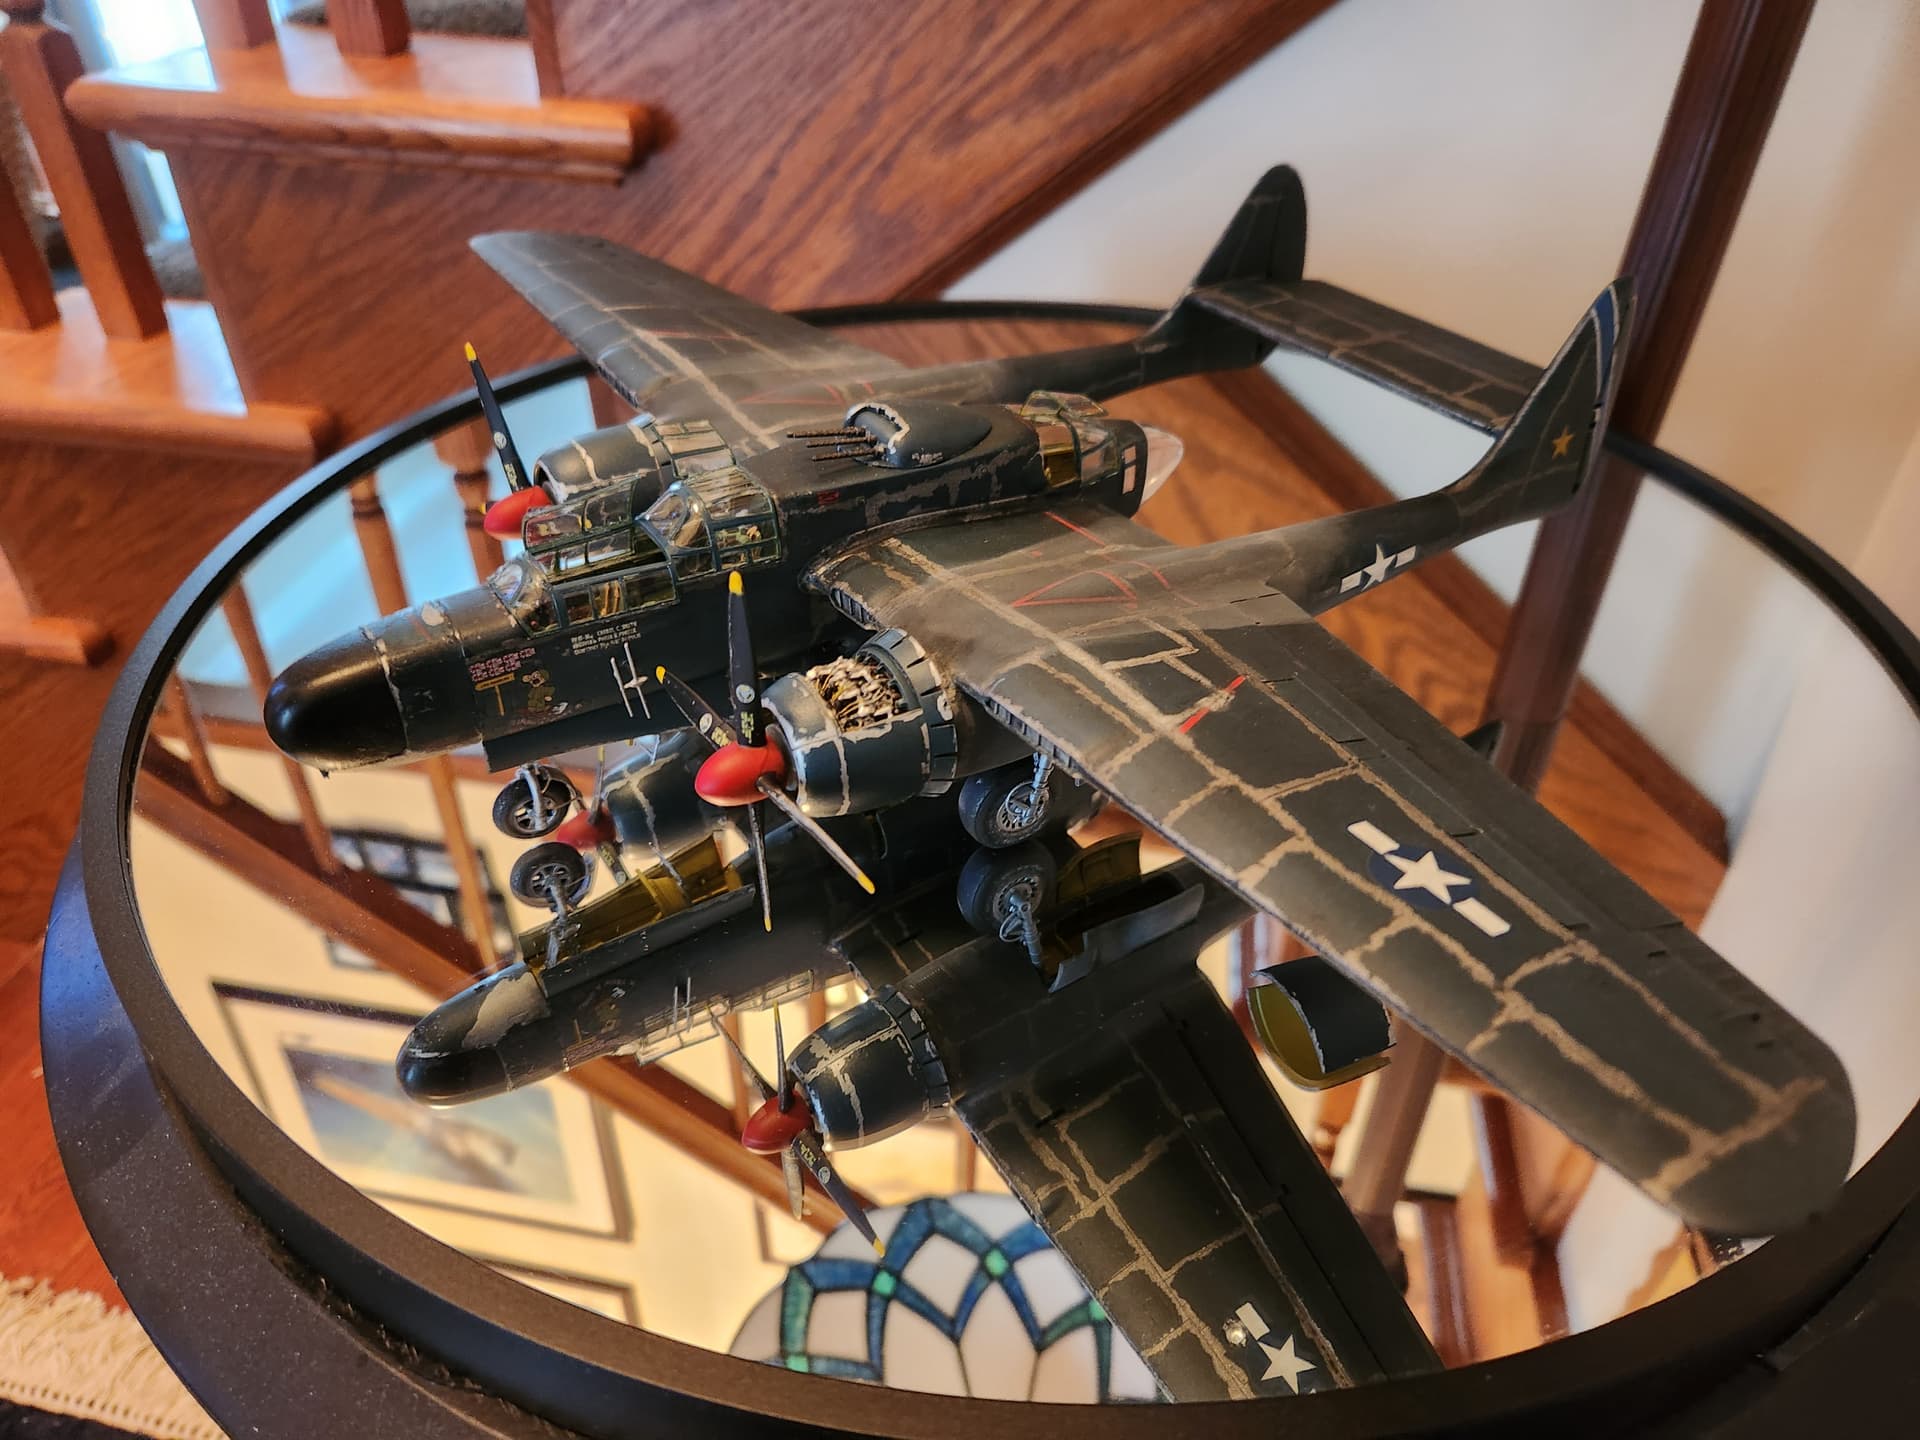
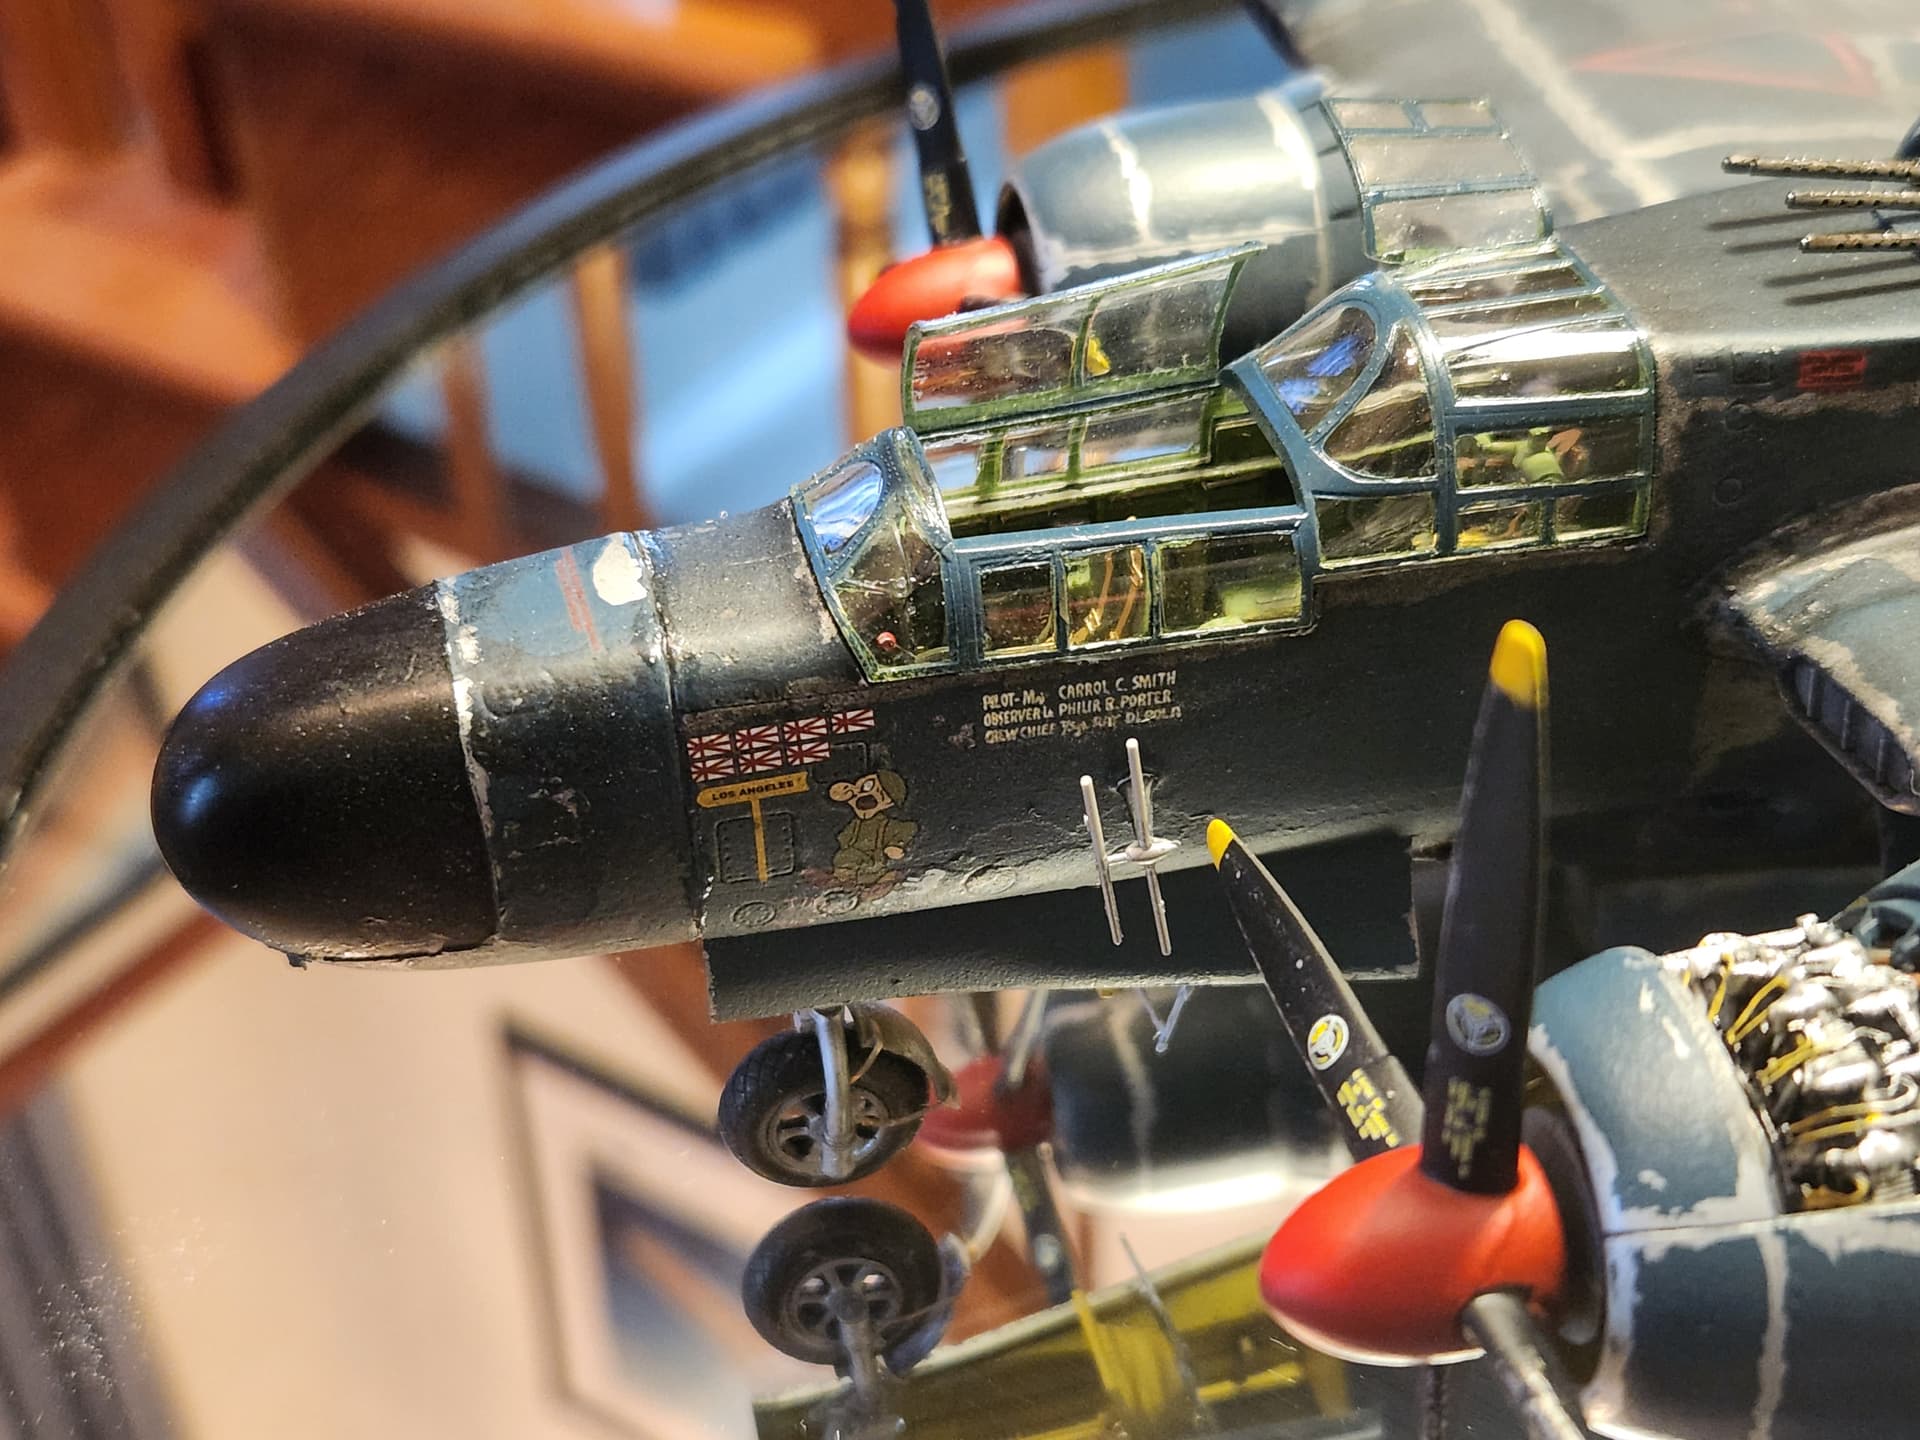
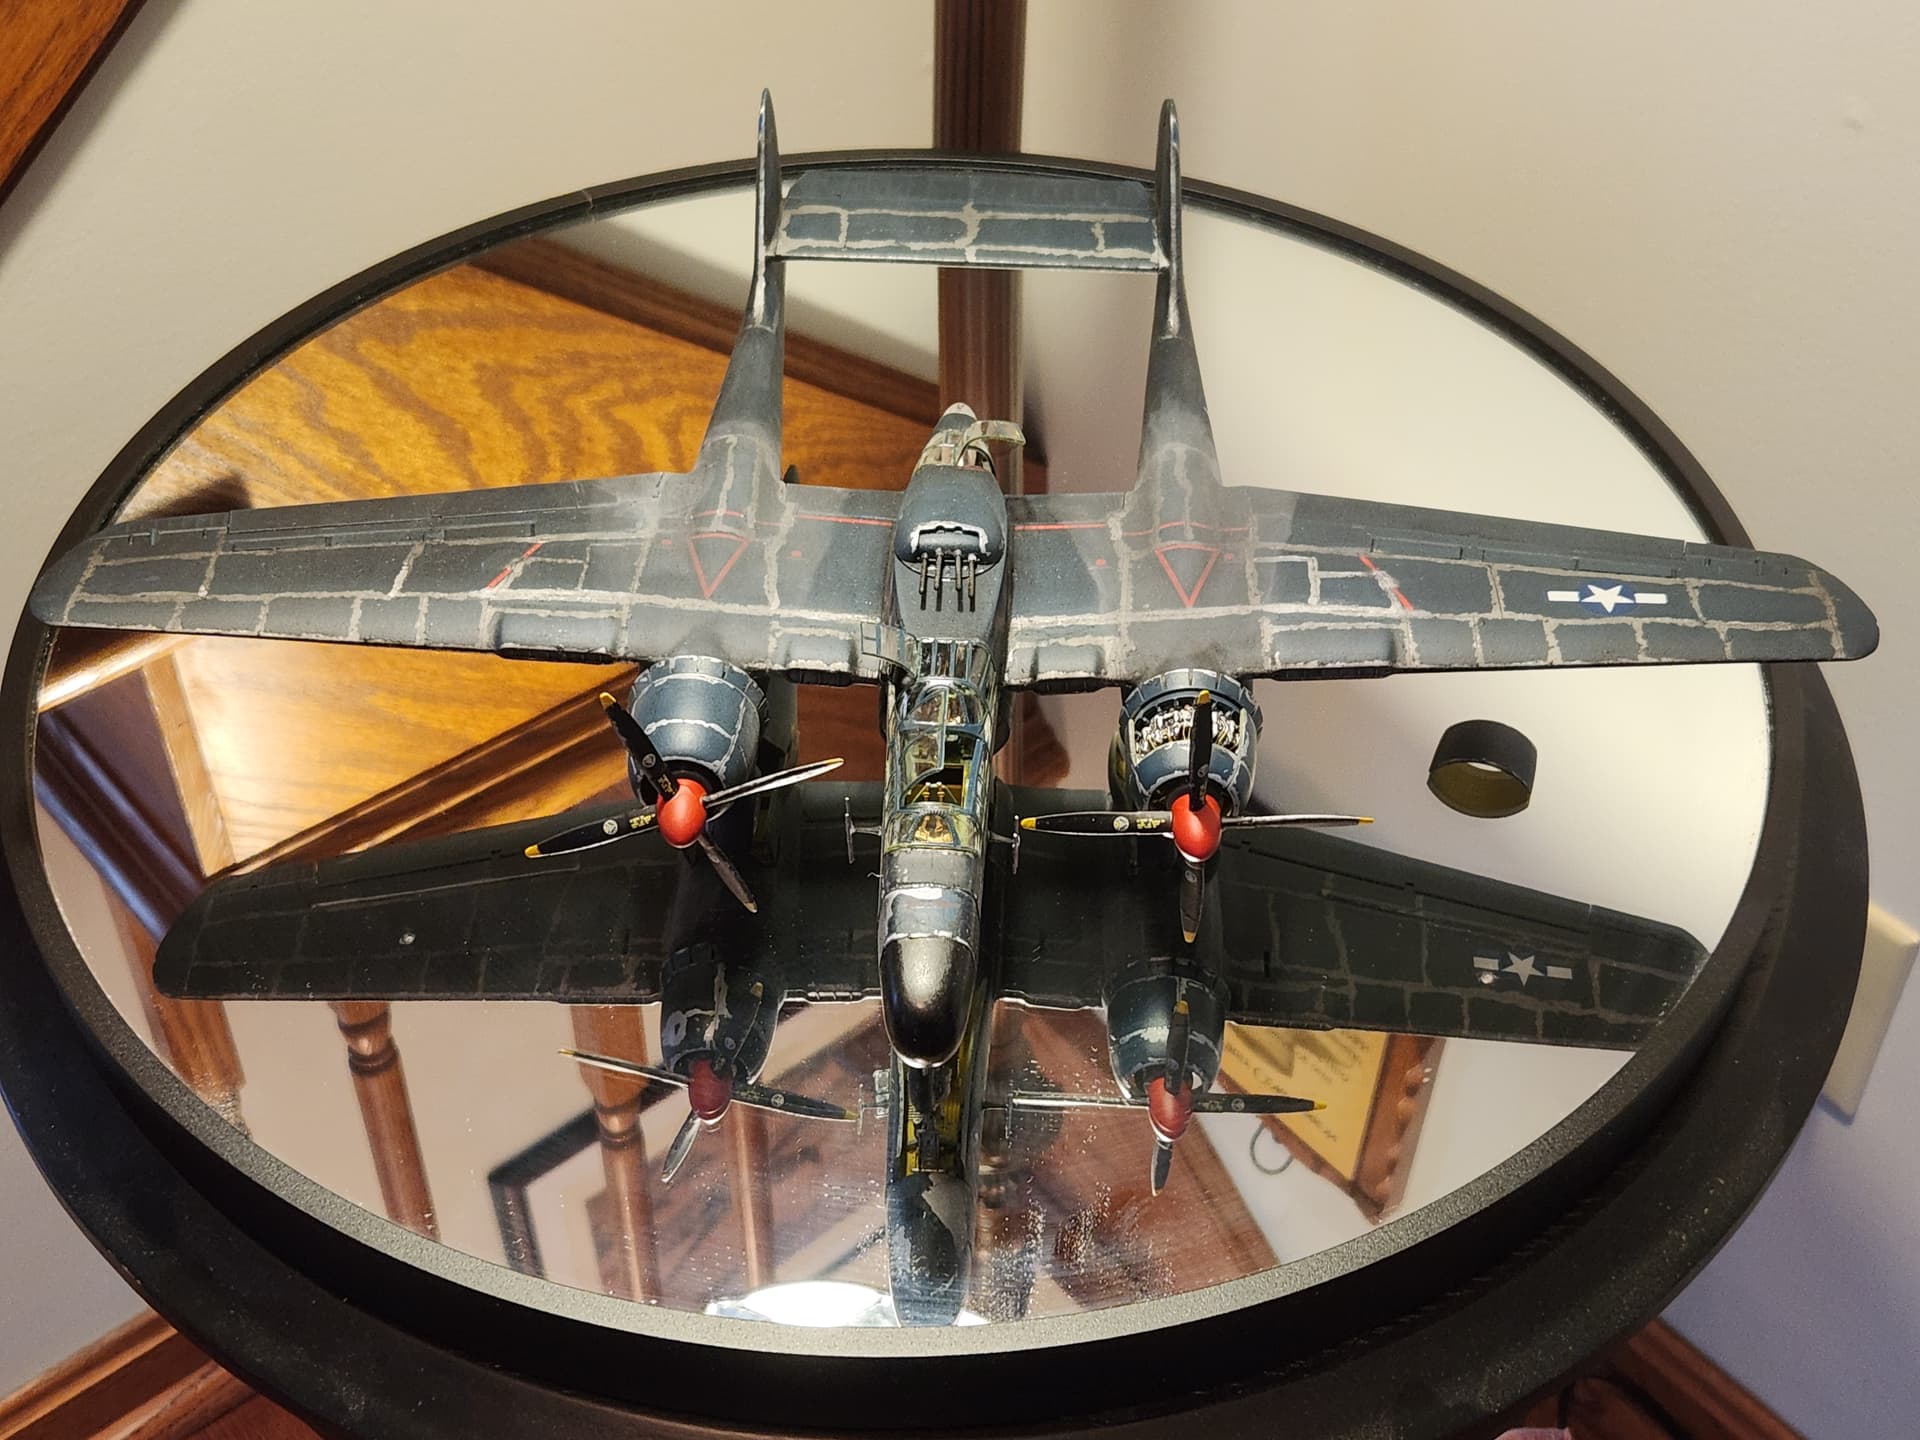
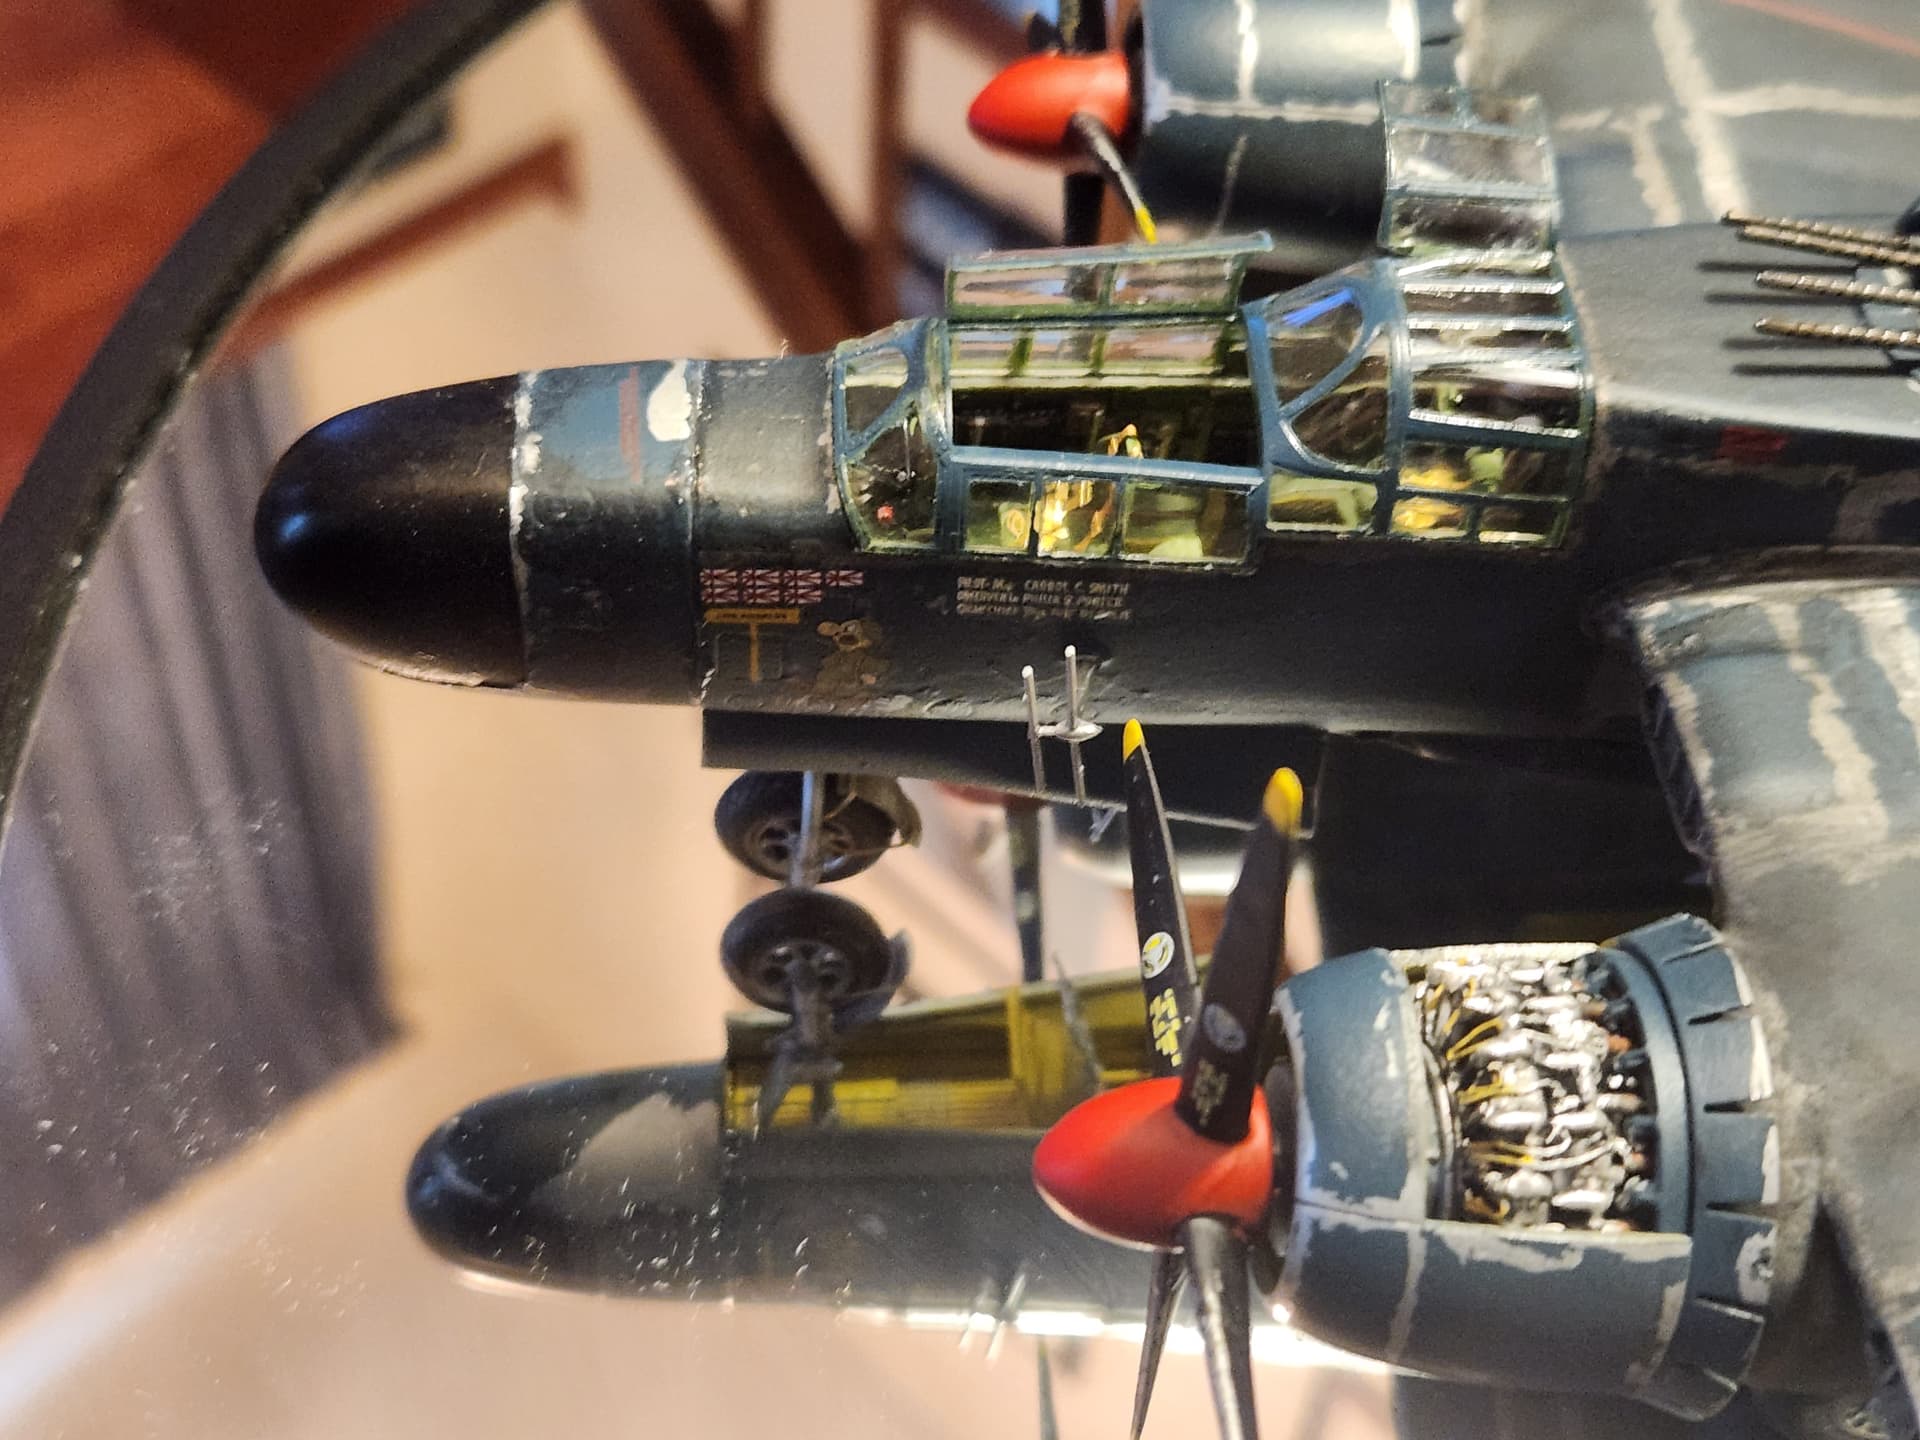
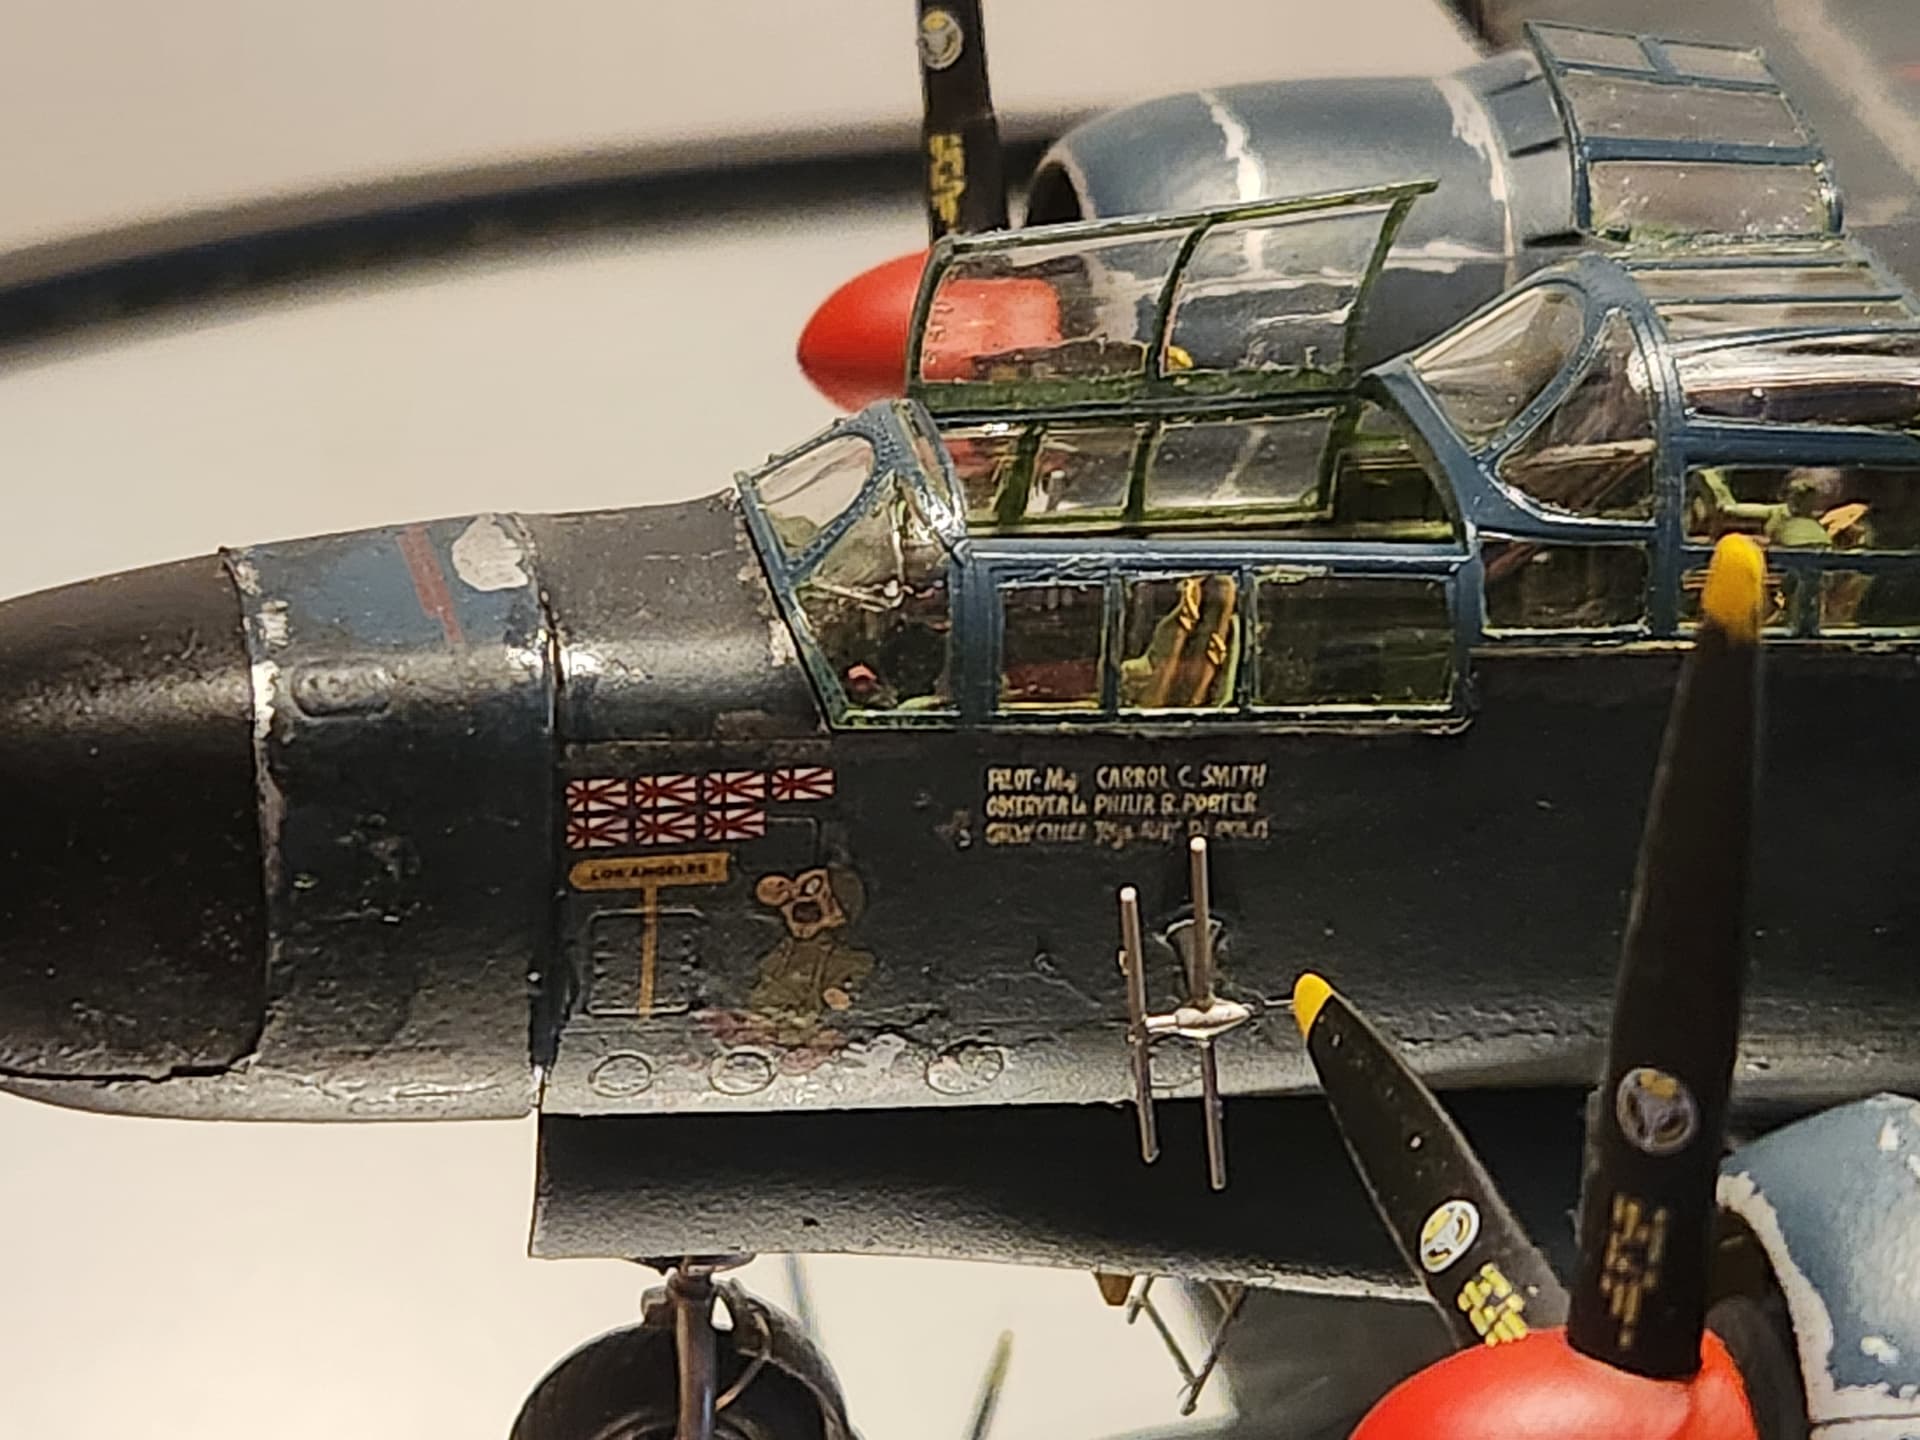
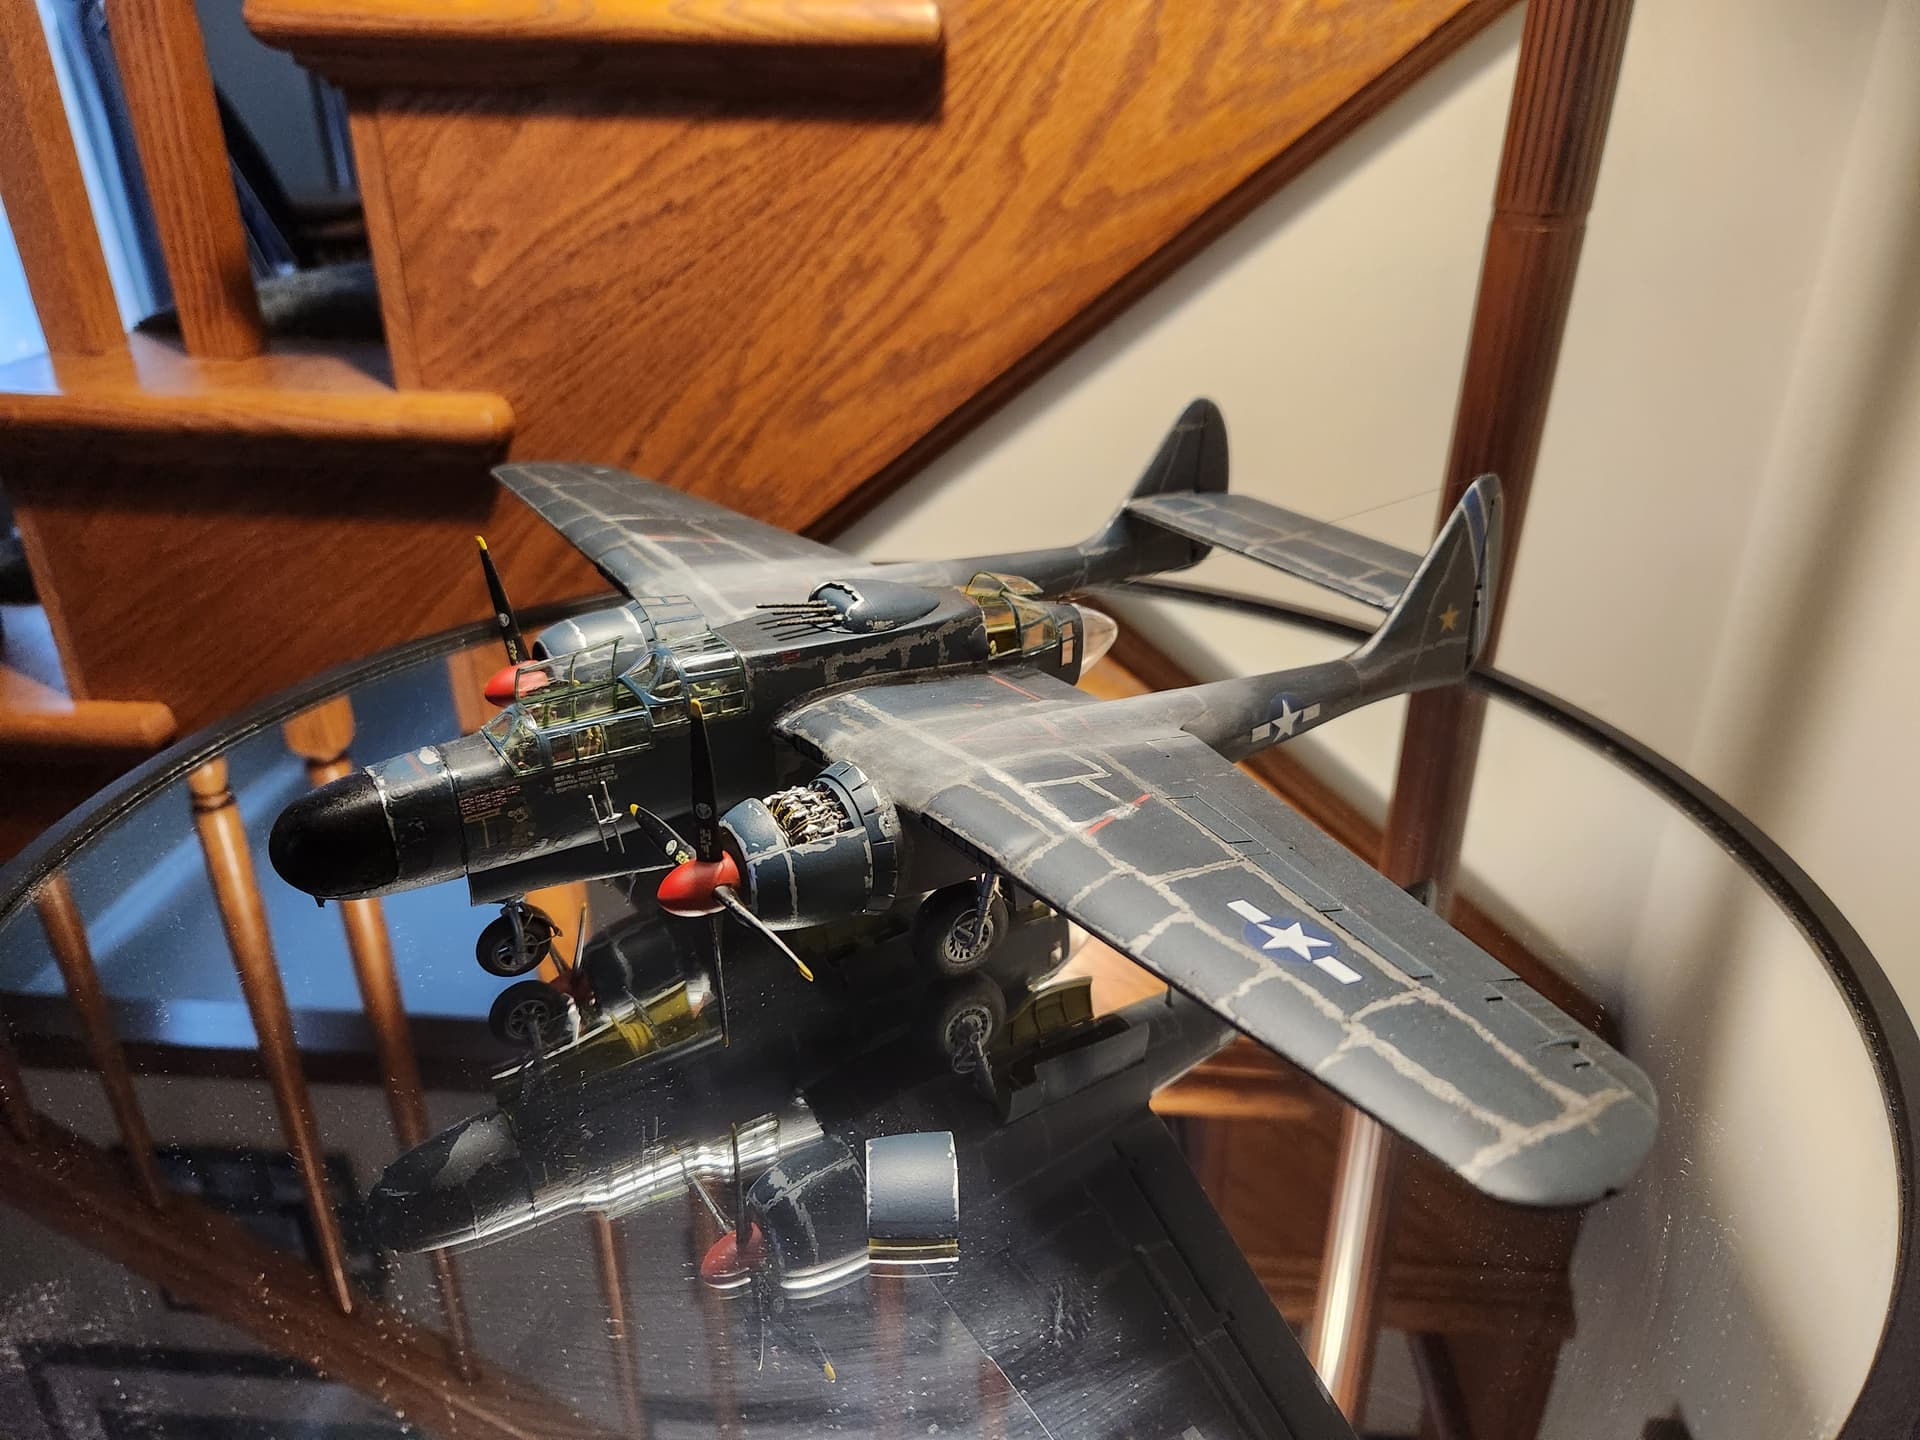
Now that my whiny complaints are done, I decided to do “Times a Wastin” the plane in which Carrol C. Smith shot down four Japanese A/C in one night and in which he totaled seven victories total. This is the old Monogram go to and I went there for my decals which in spite of their age worked perfectly. Here is my plane:
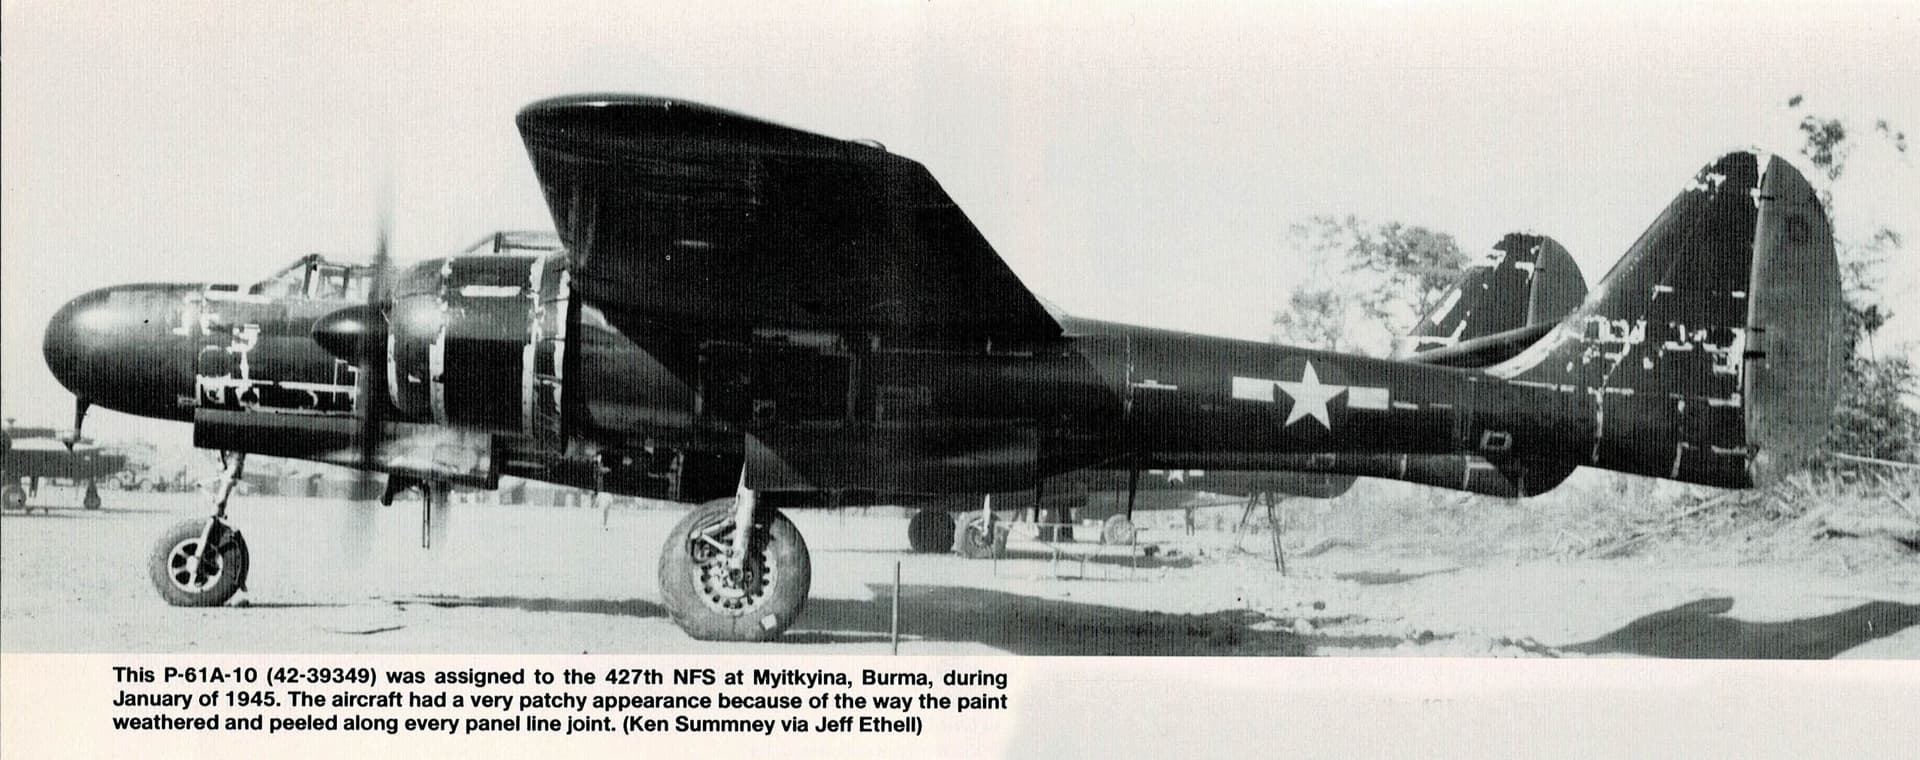
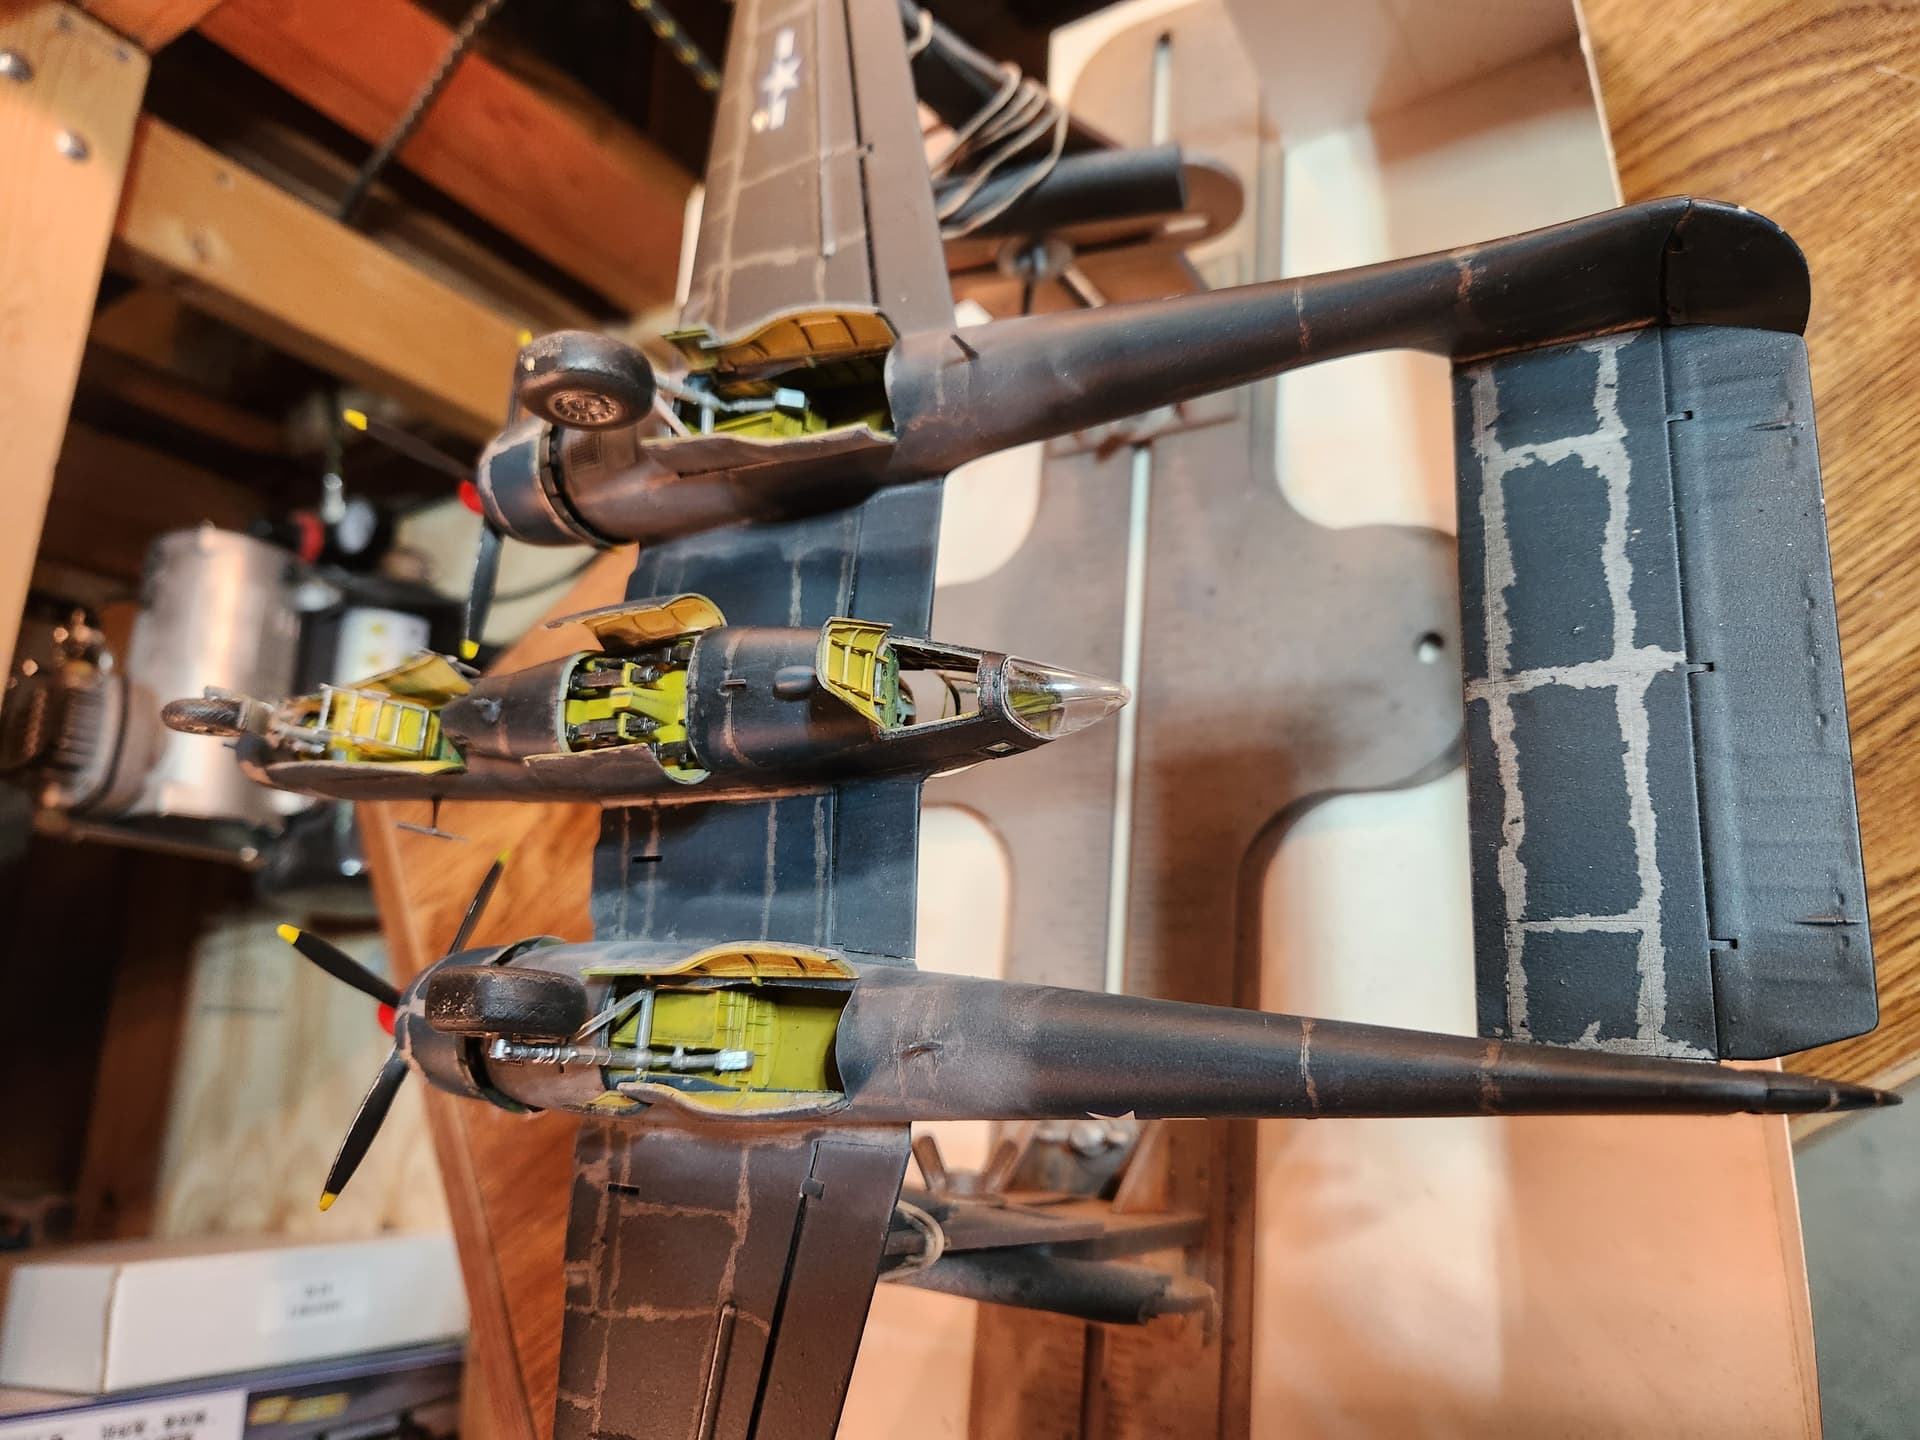
There seemed to be no factory fresh P-61B’s in the Pacific; they were all beat up, weathered, sun bleached and worn.
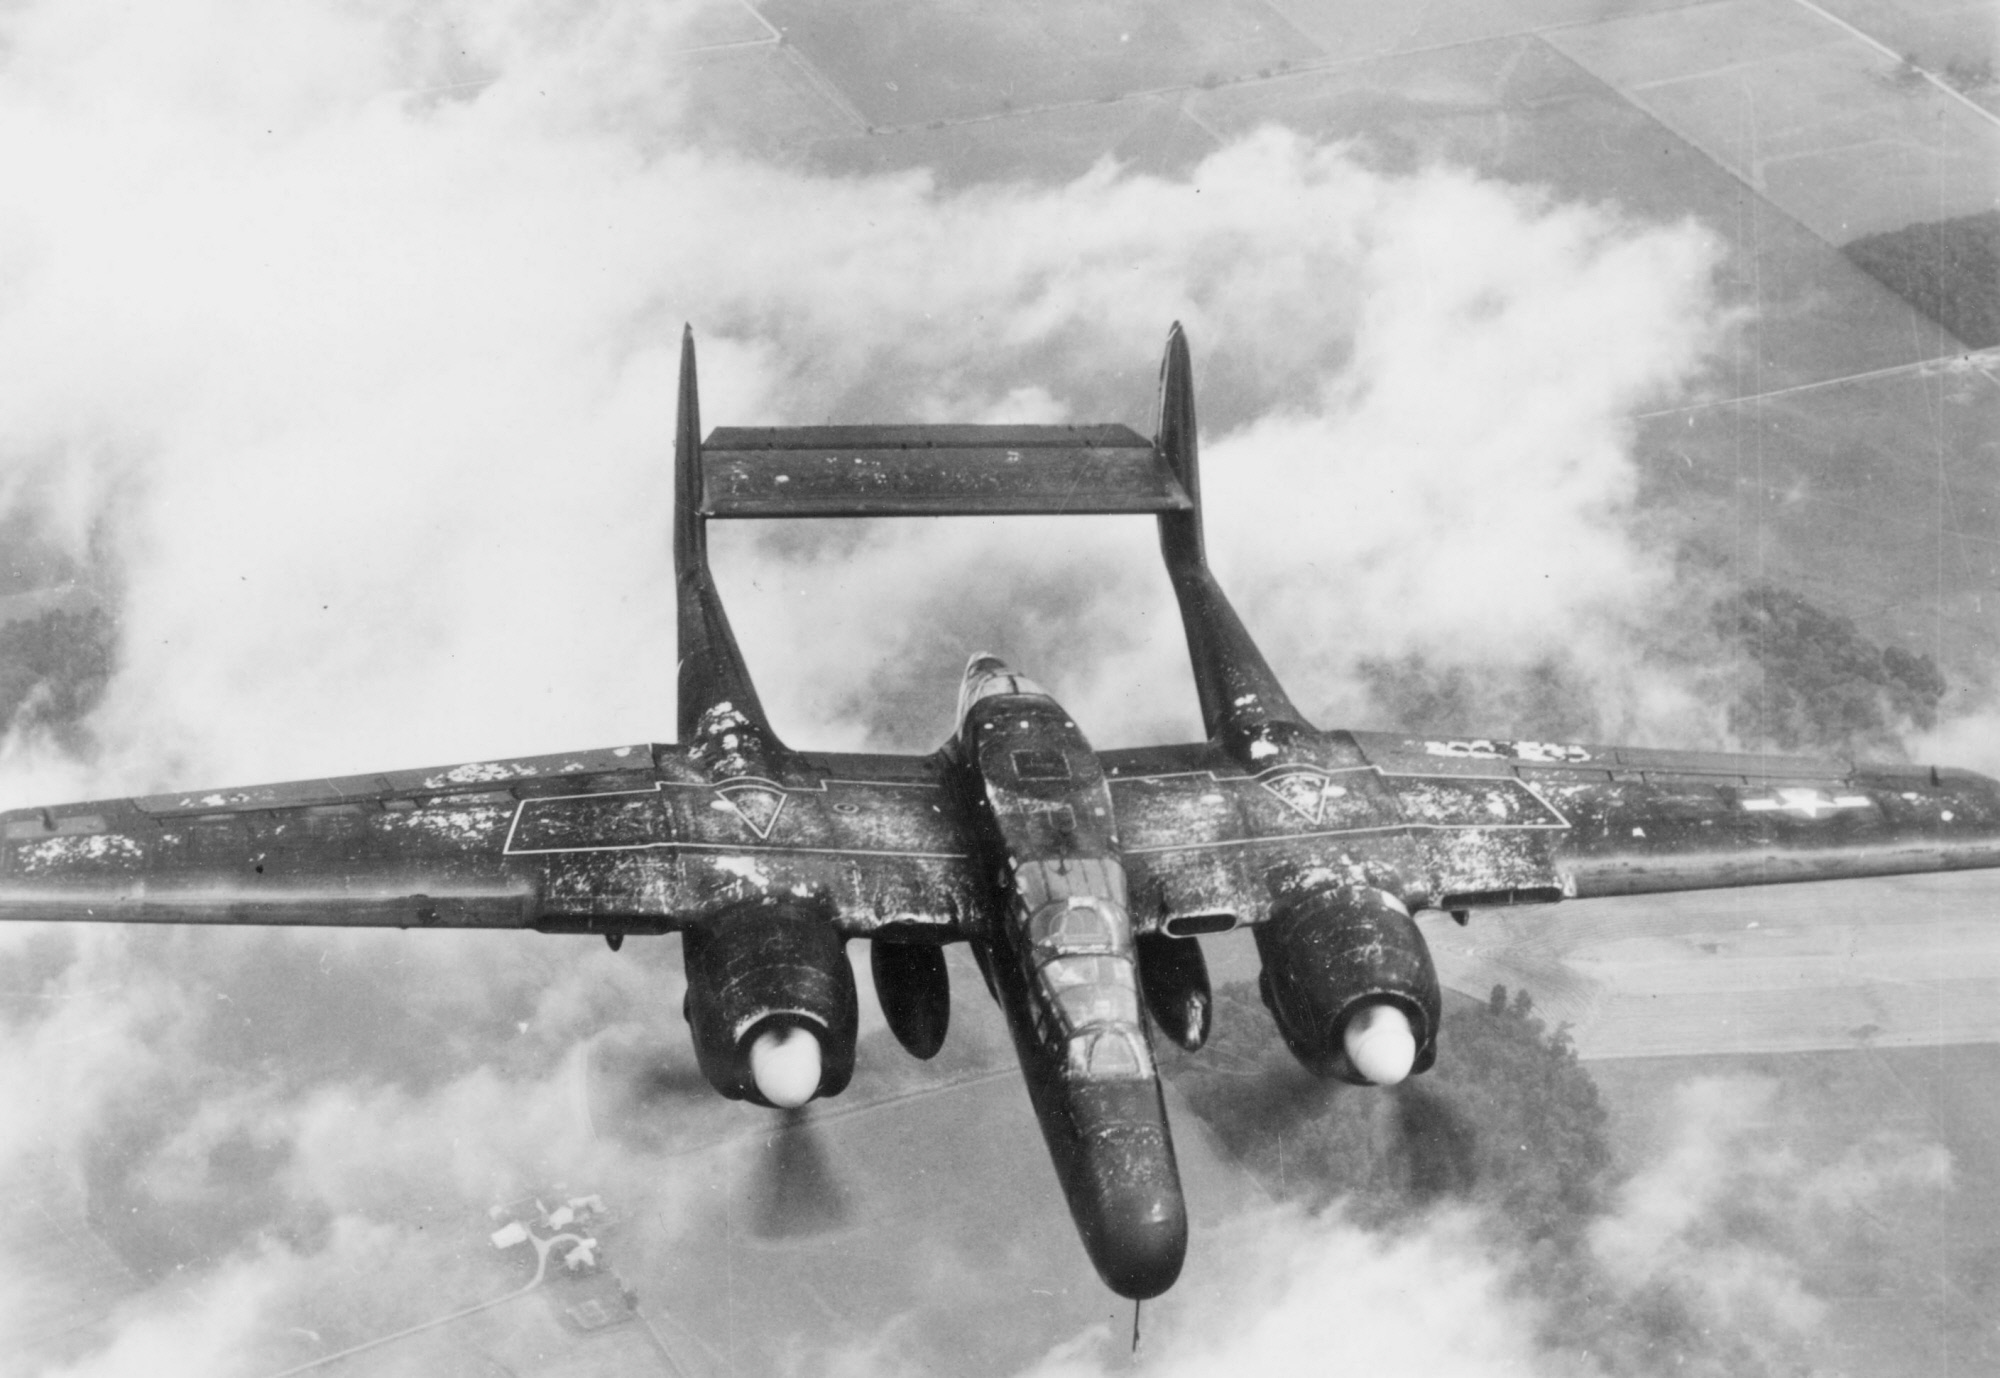
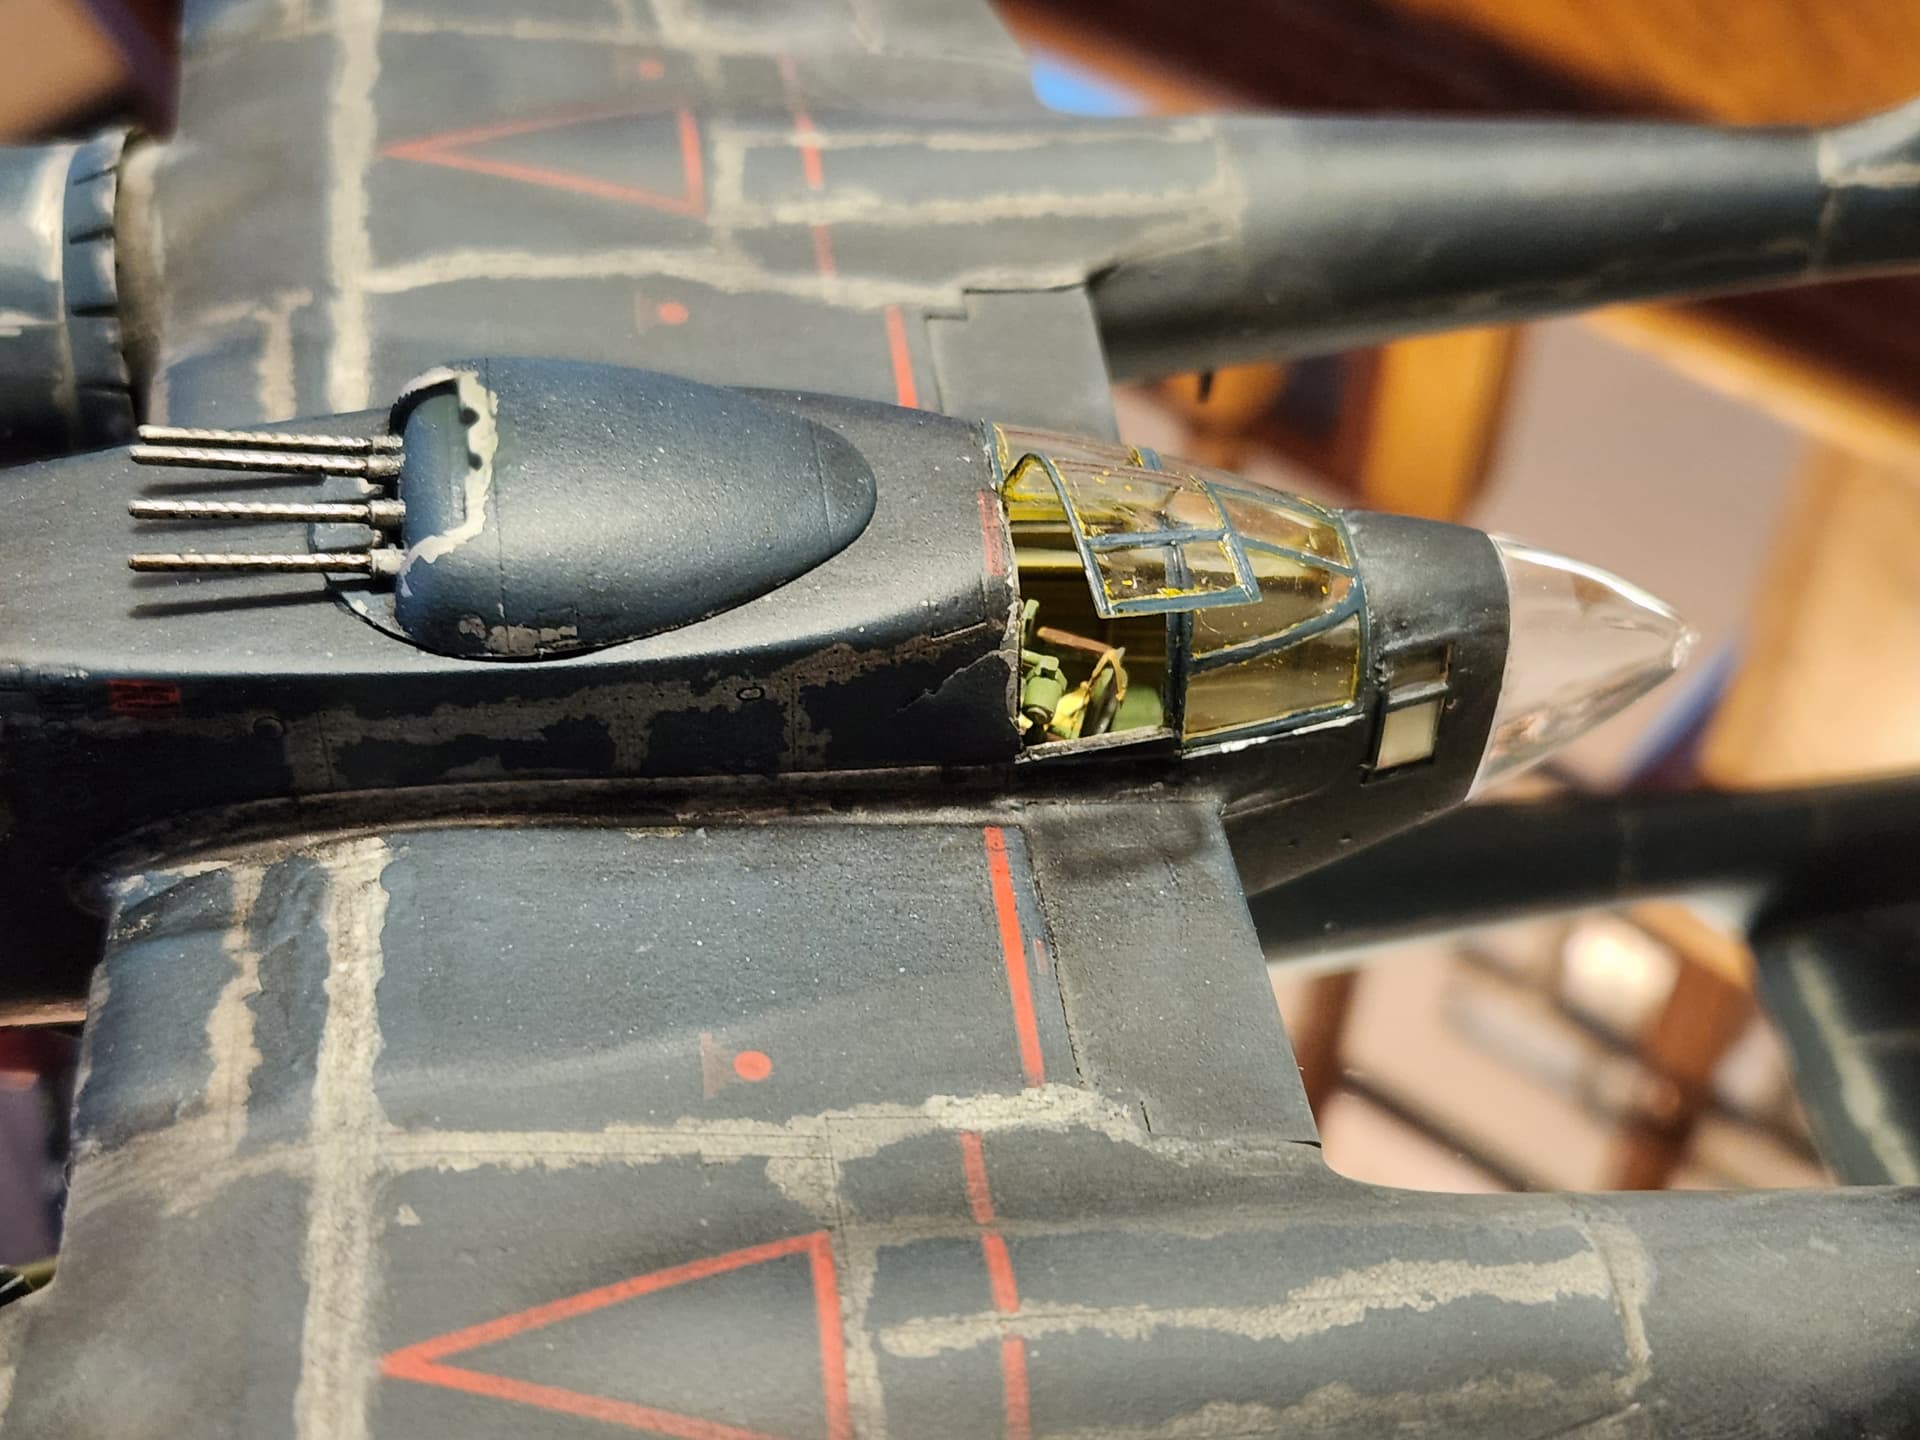
Then there was the problem with the gloss black paint they decided to use. They found out that flat black paint concentrated search light beams on the body of the aircraft at night but that gloss black diffused the light away from the A/C. The replaced the paint with gloss black paint that was not fit for field use and it started pealing off almost immediately. Here is what that looked like:
So I planned on using A/K chipping fluid for that effect.
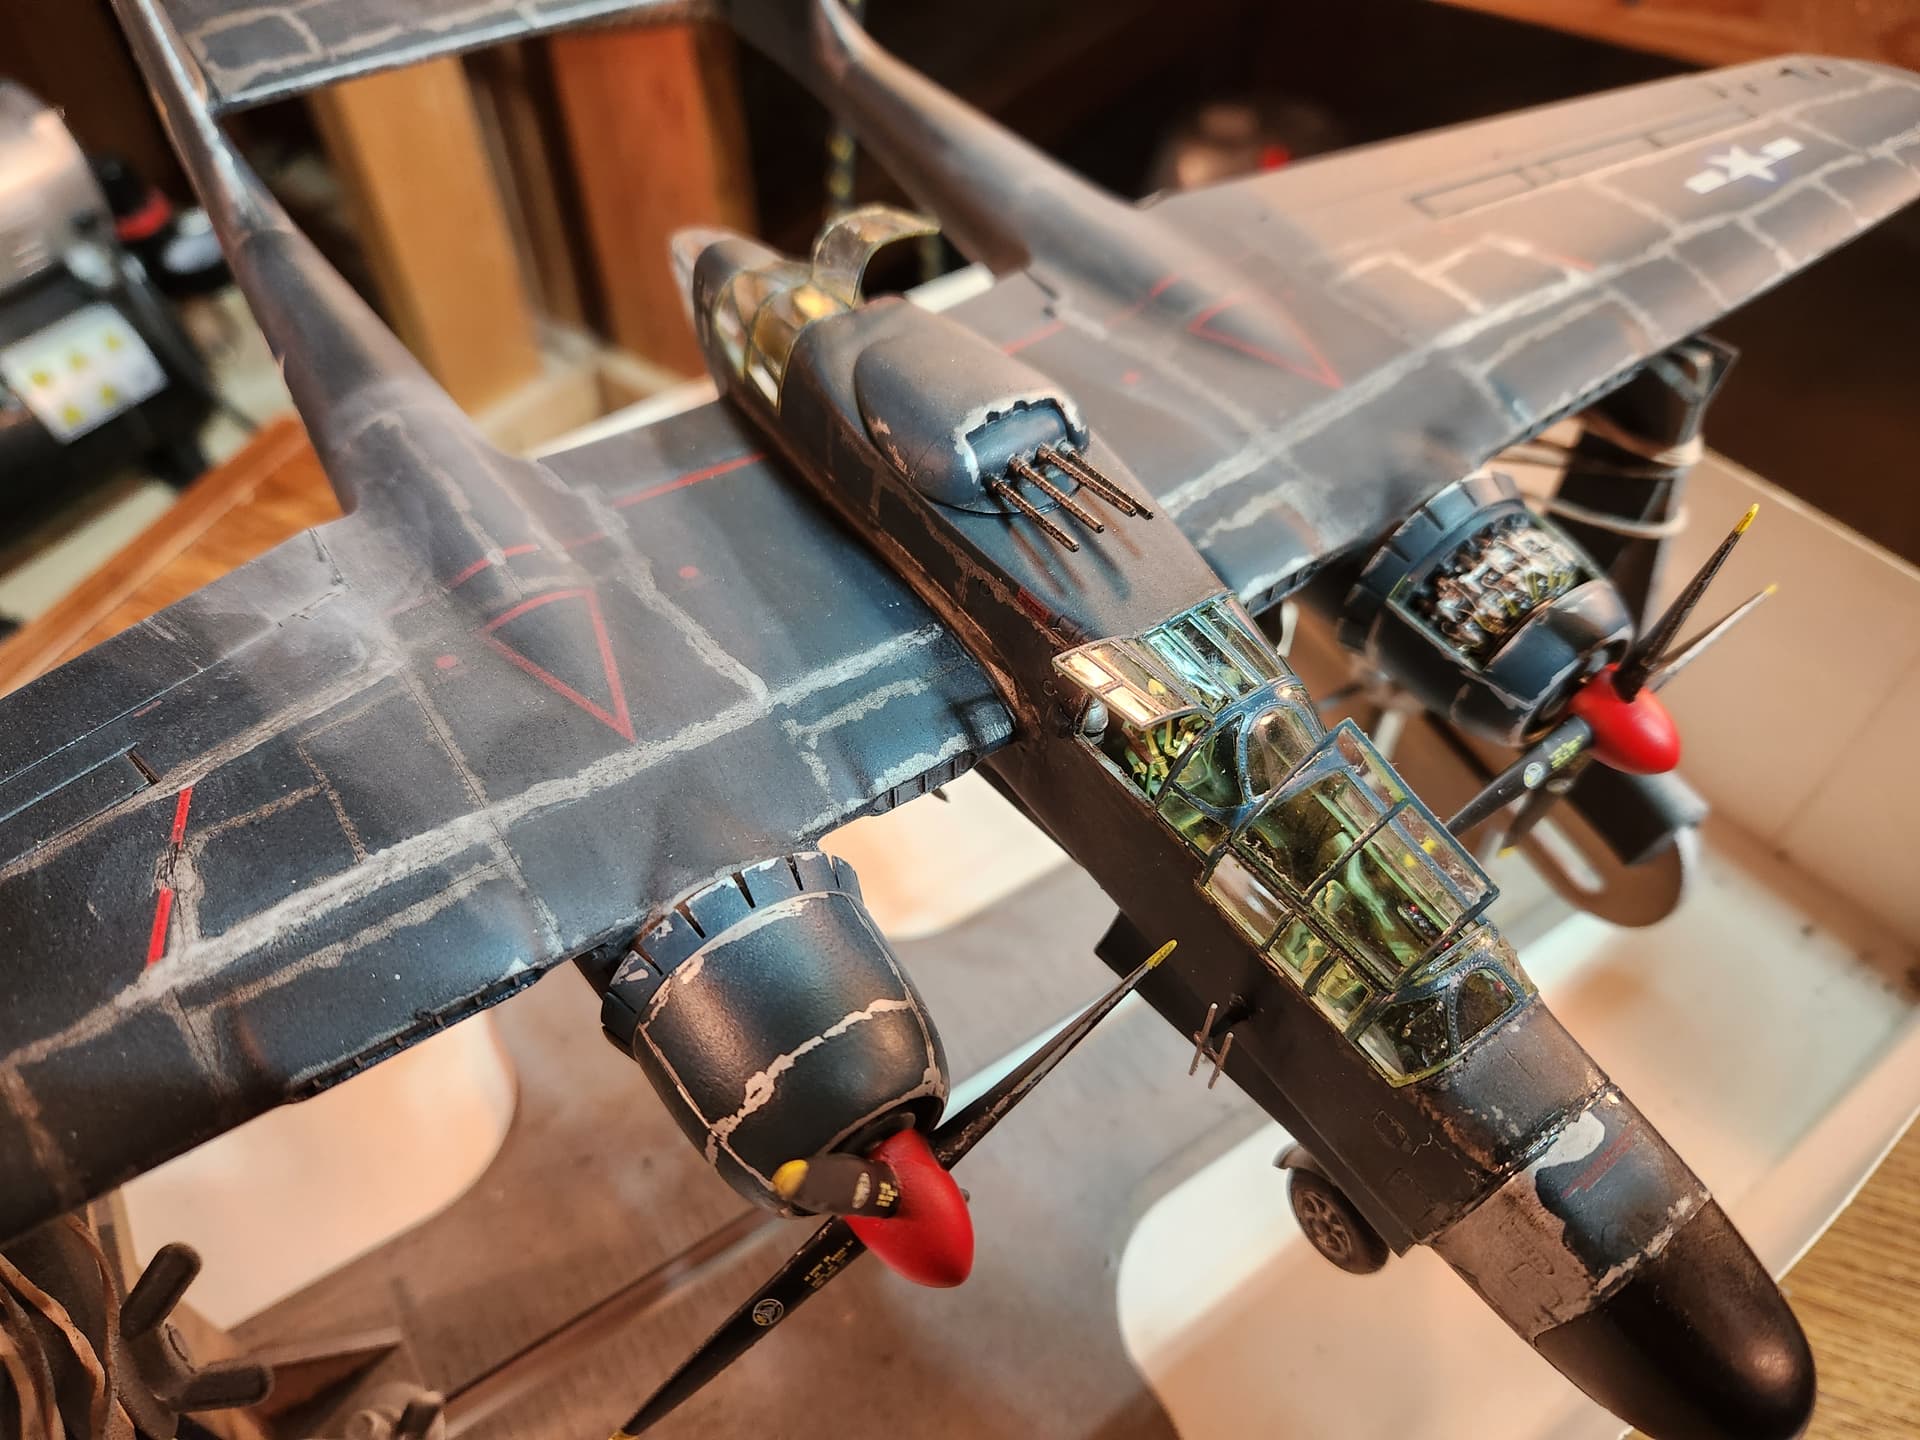
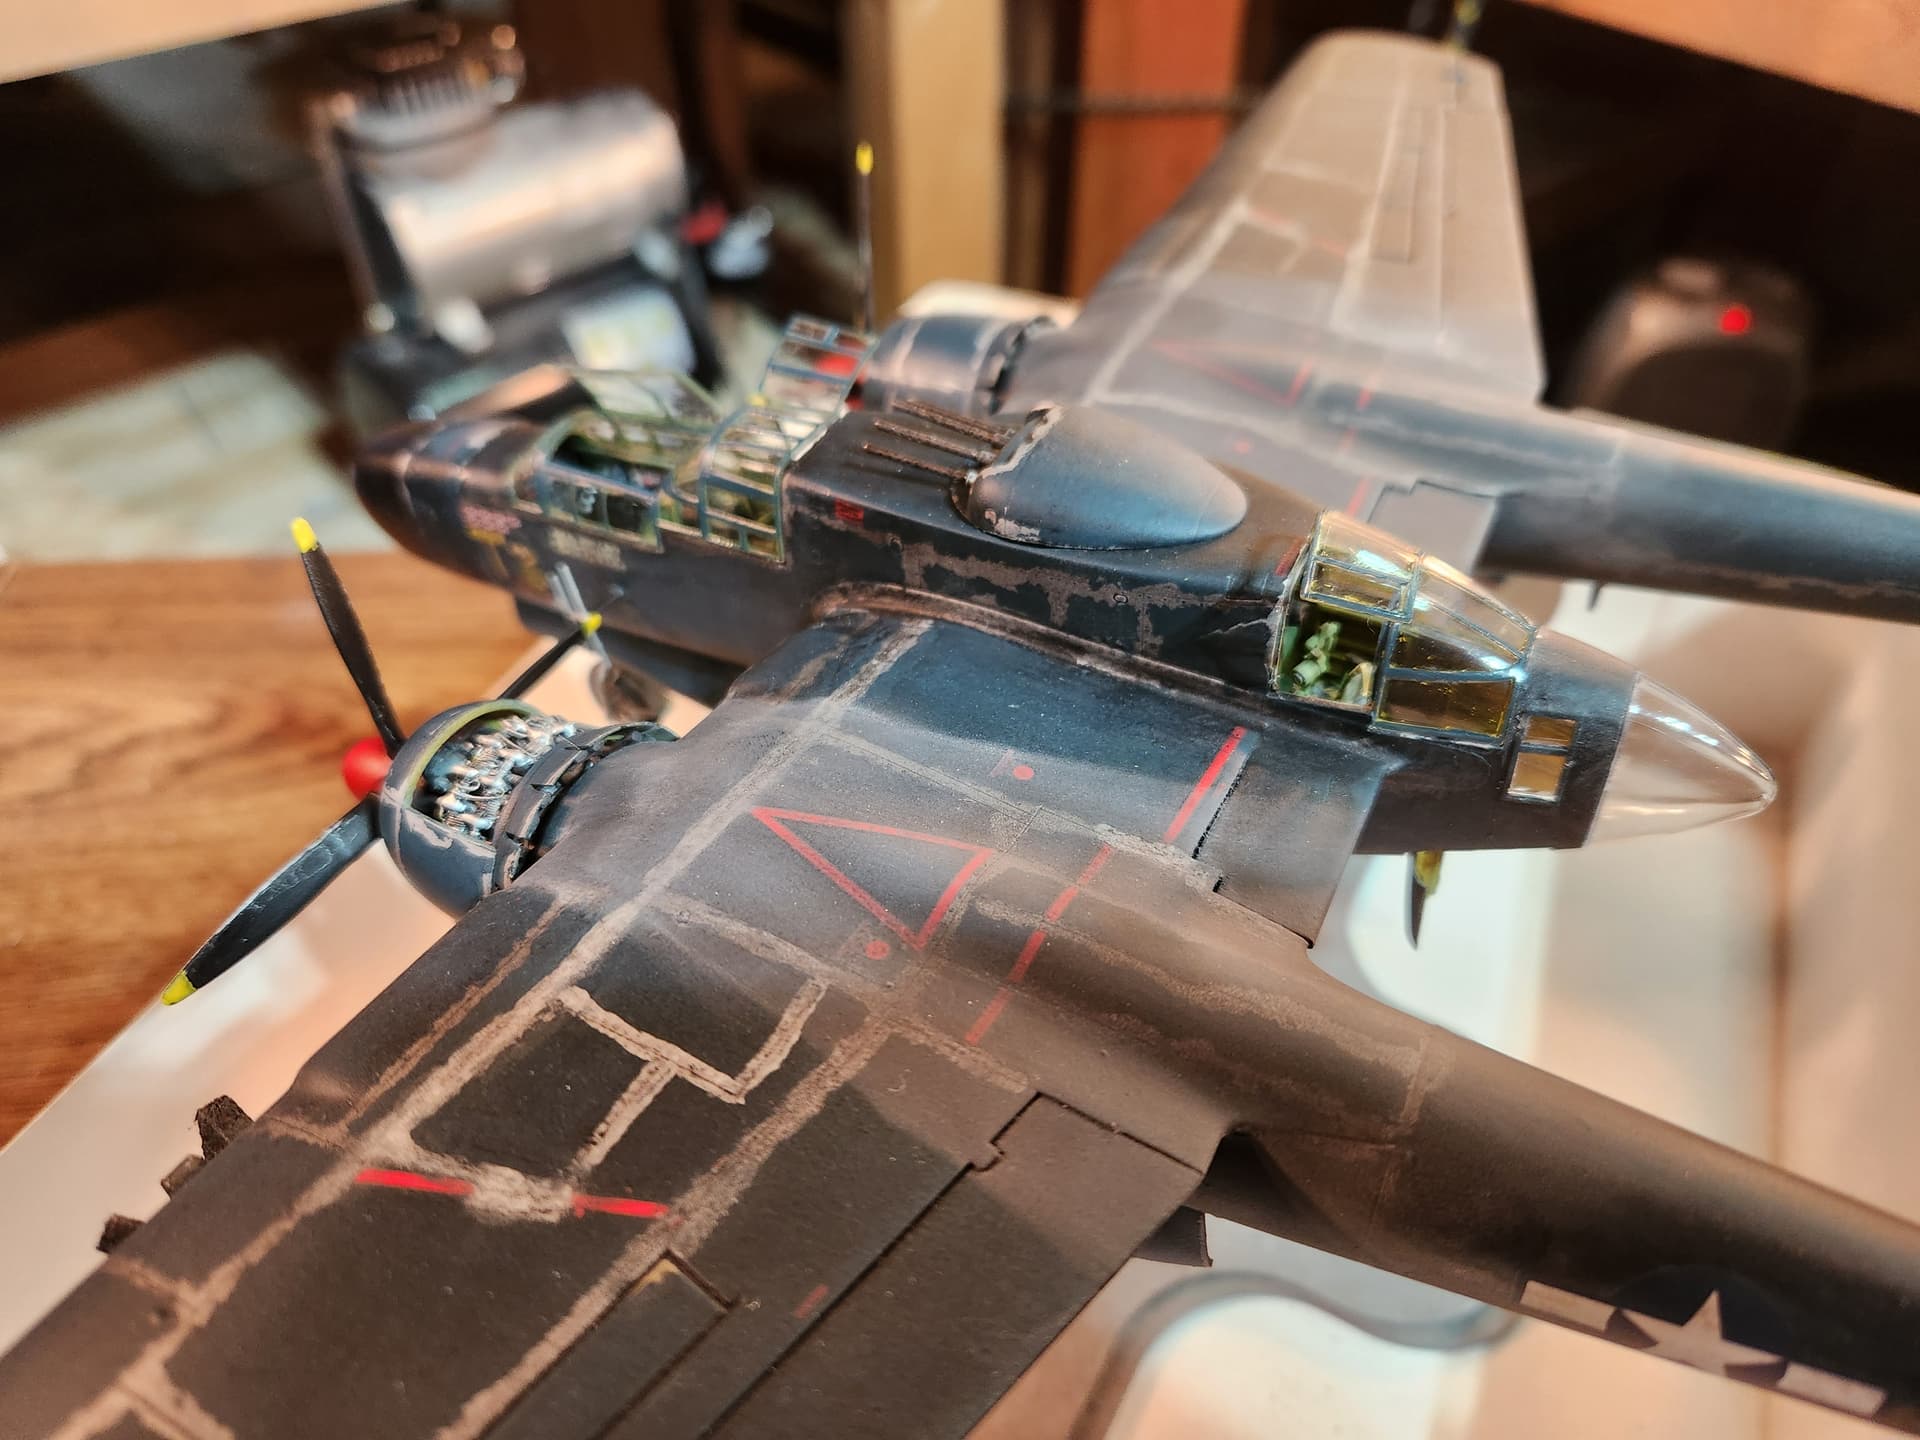
The other thing I was going for was the signature white/grey exhaust marks on the booms. I planned on using pastels for this.
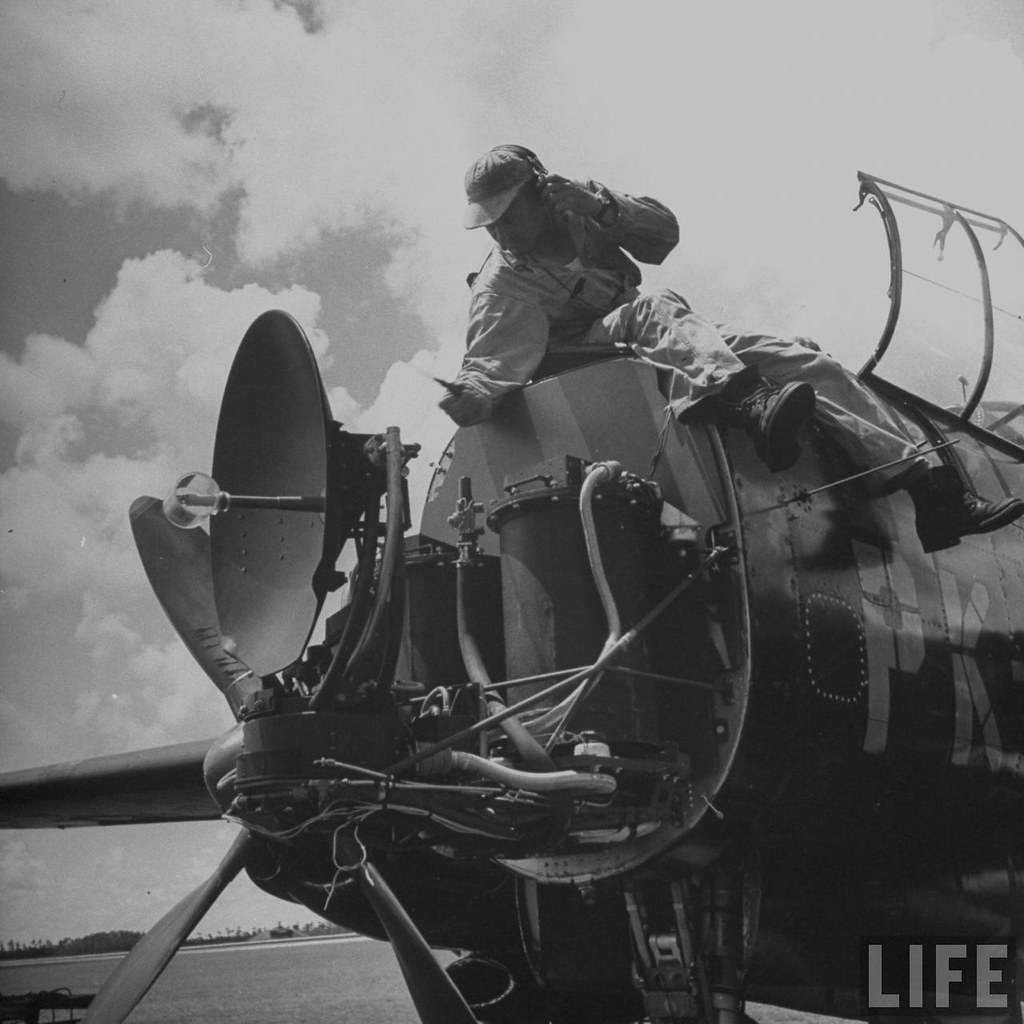
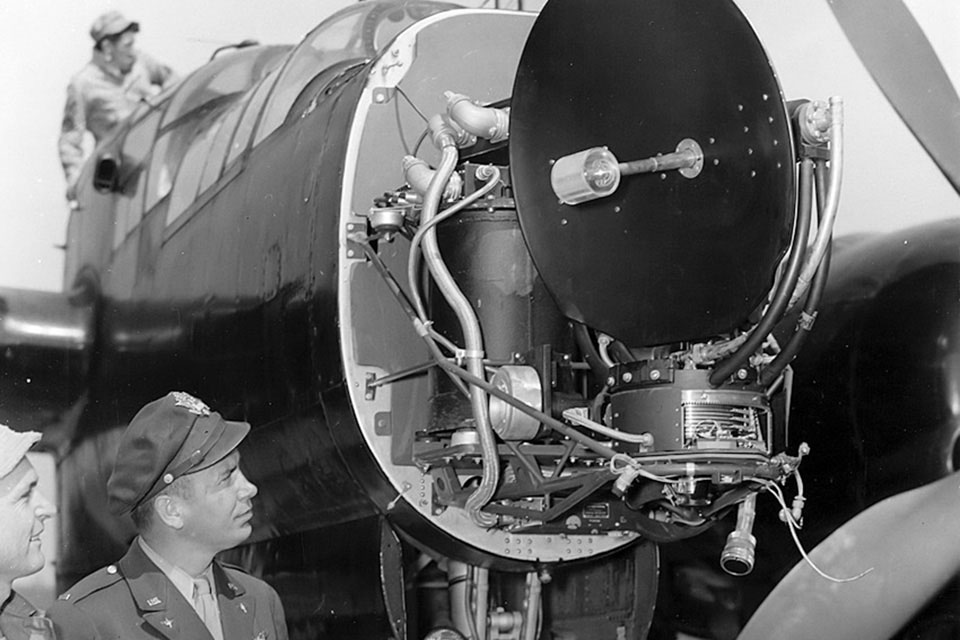
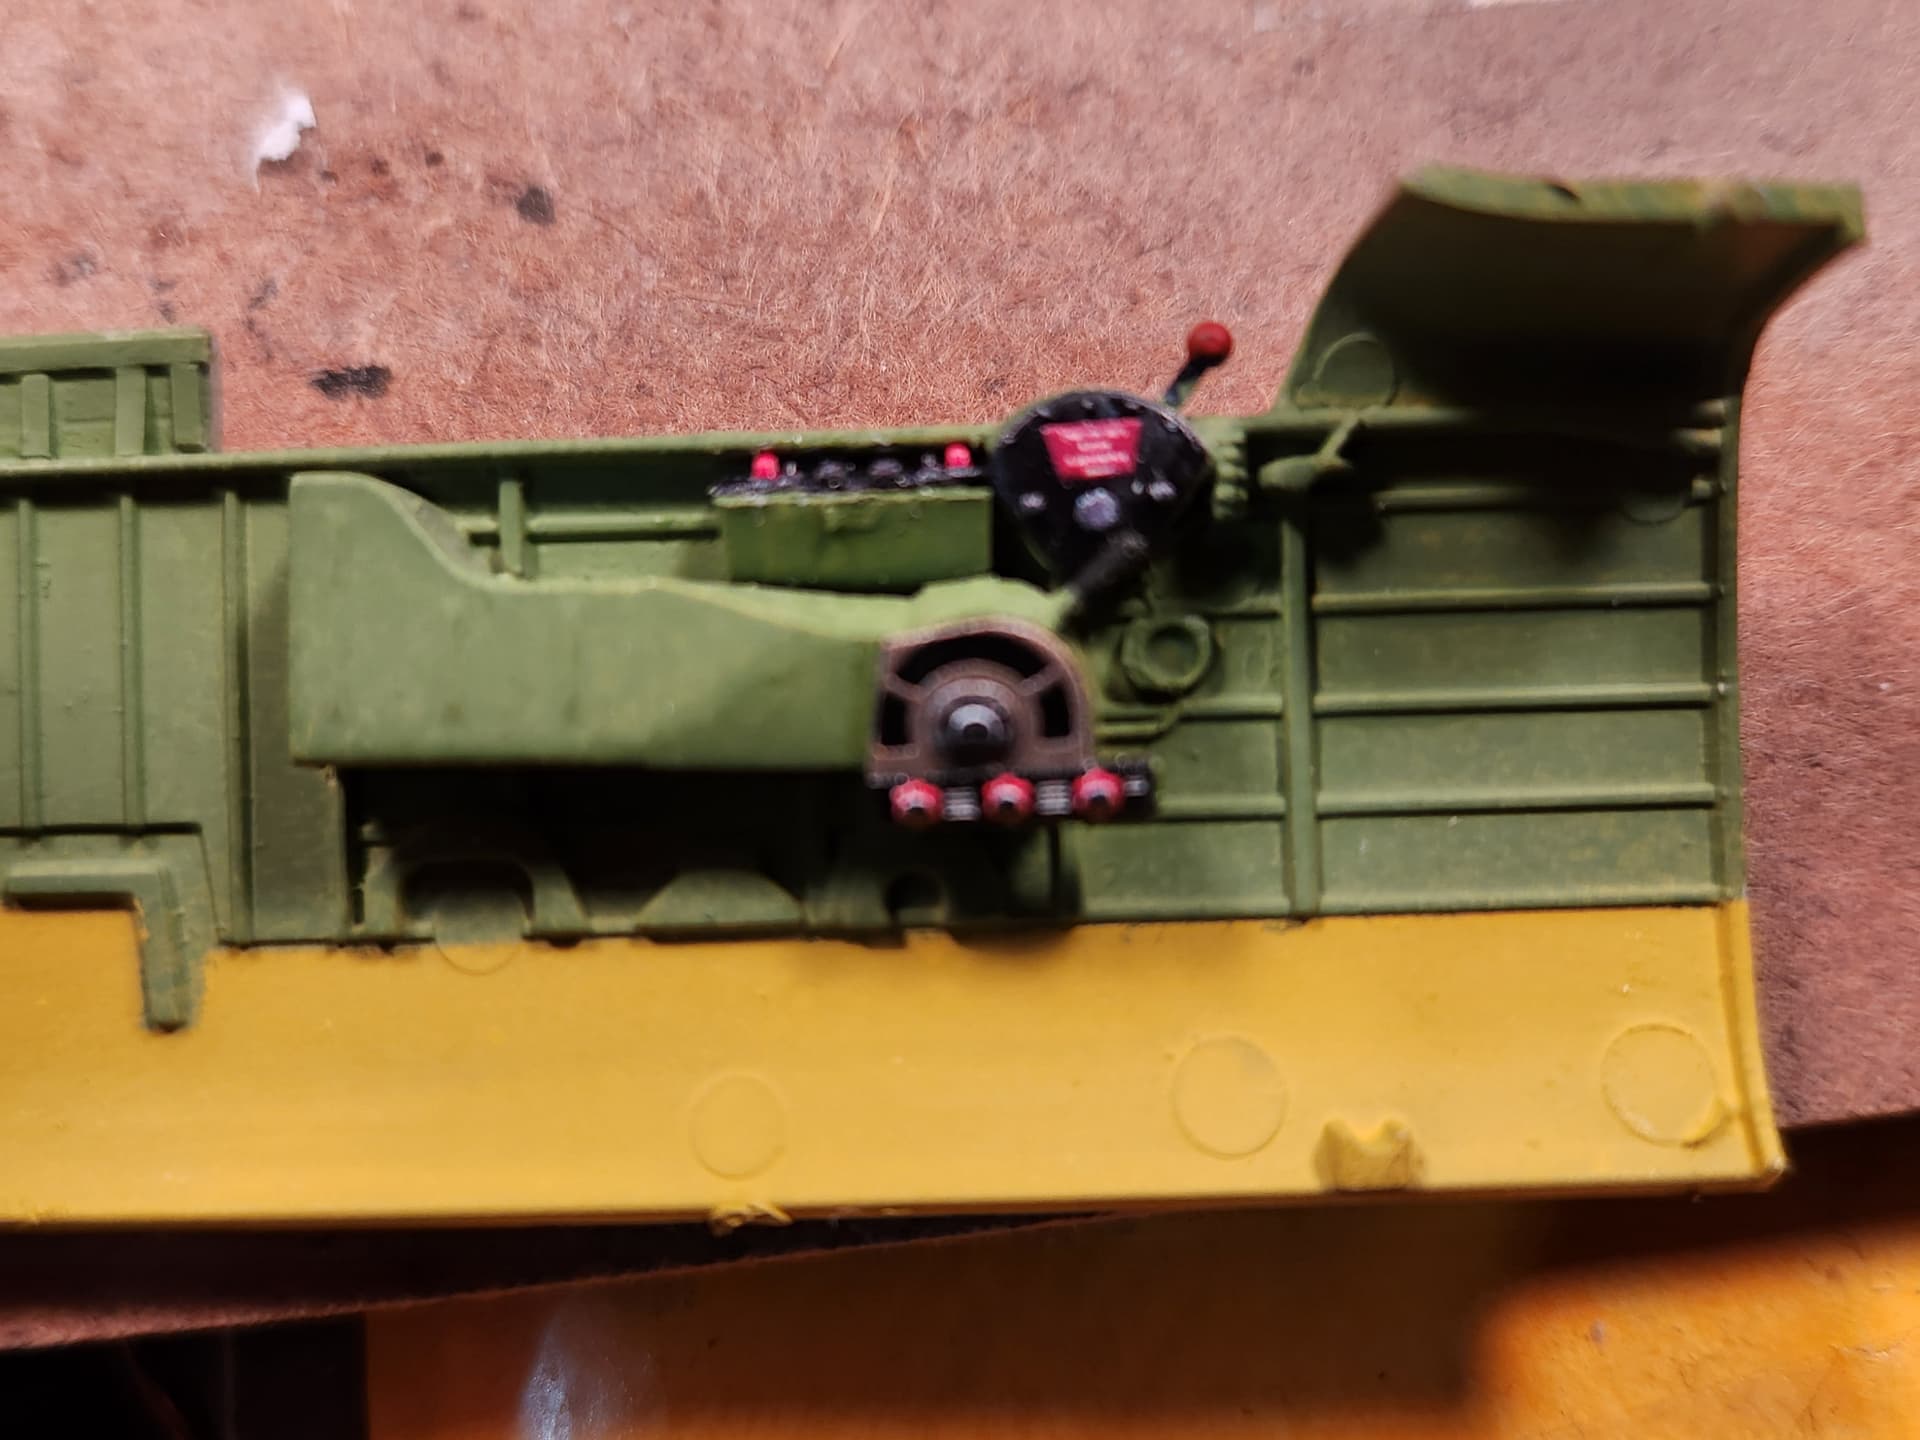
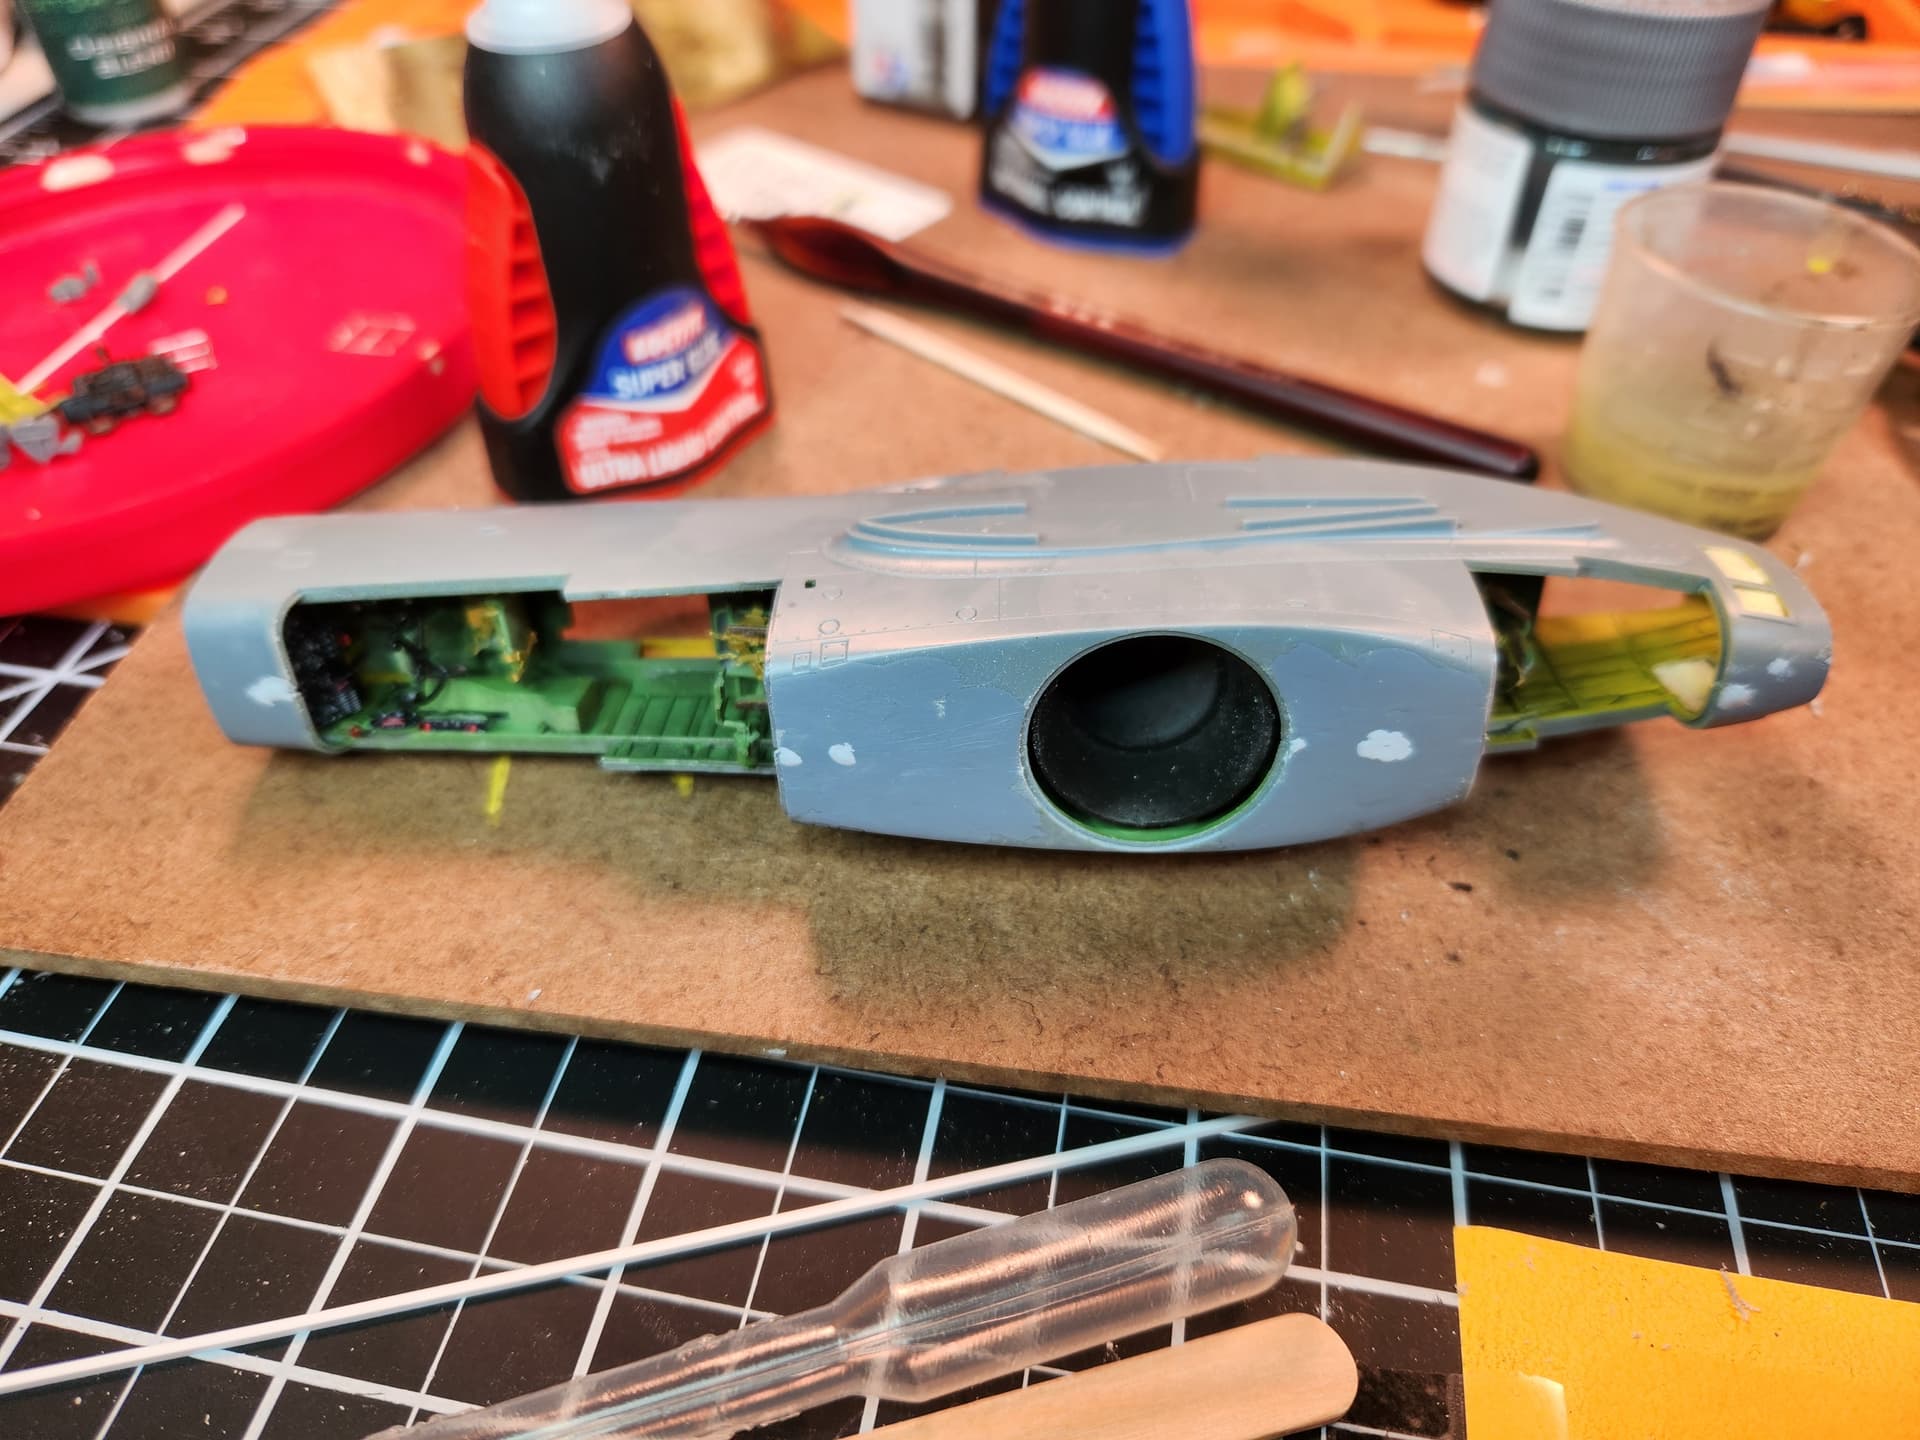
In case anyone need it, here is the radar.
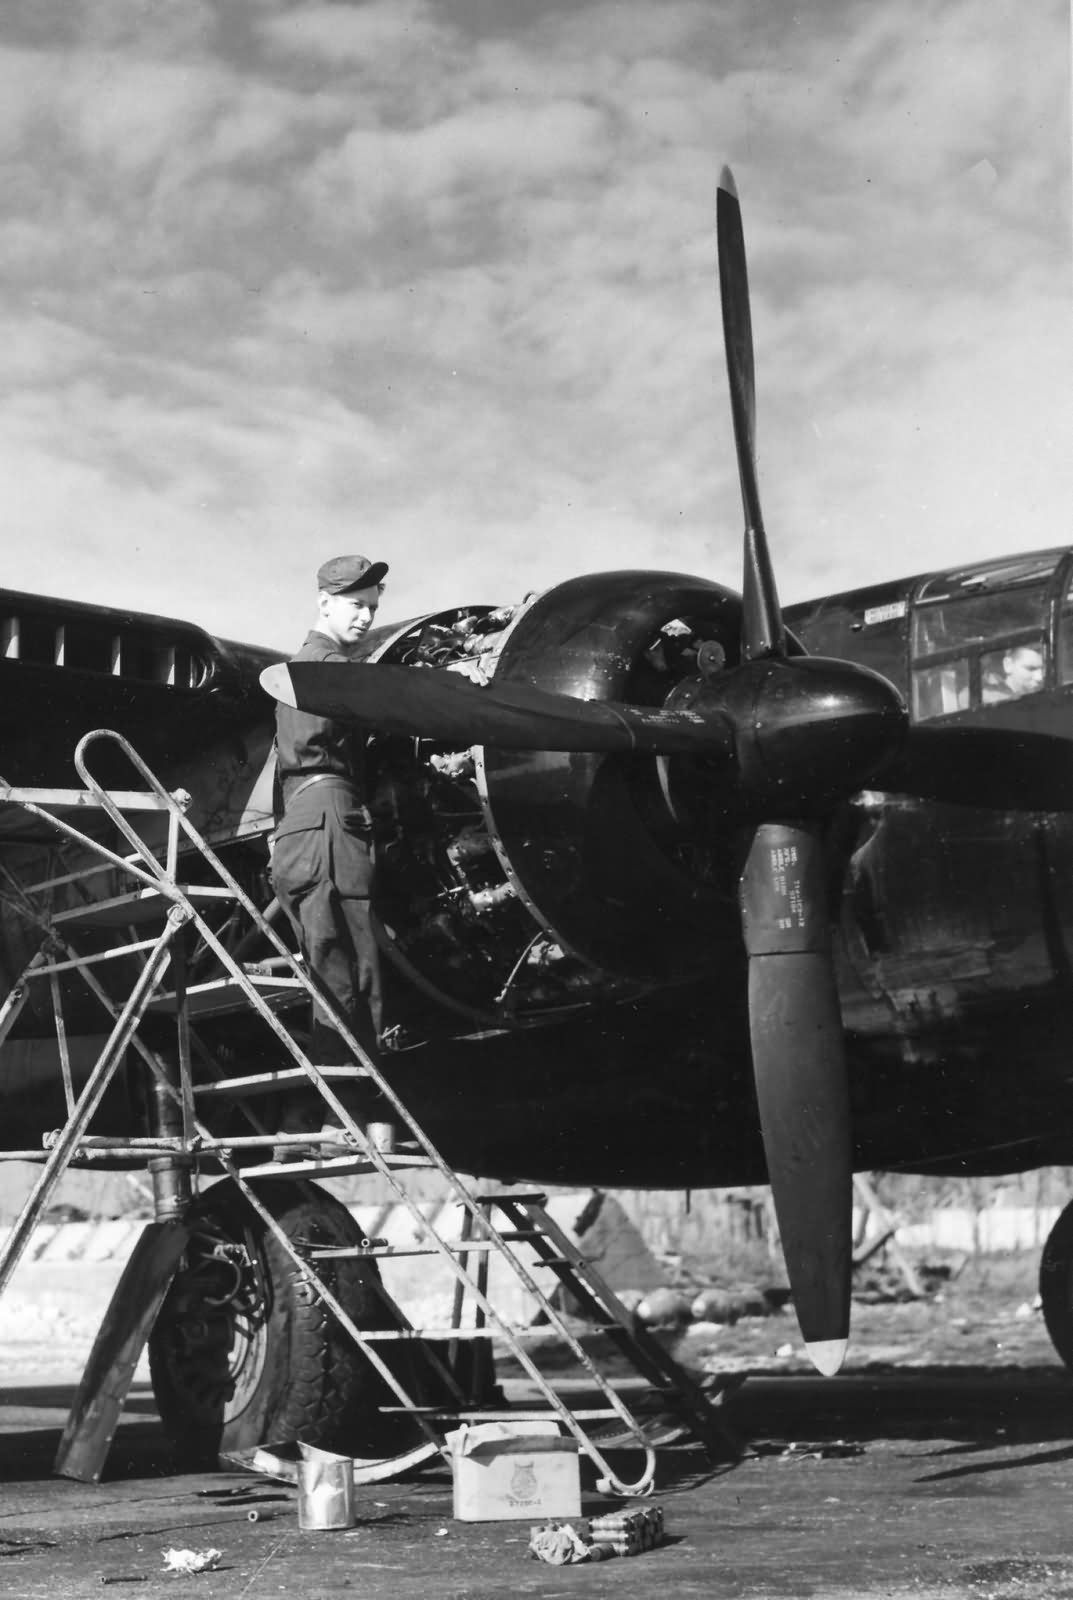
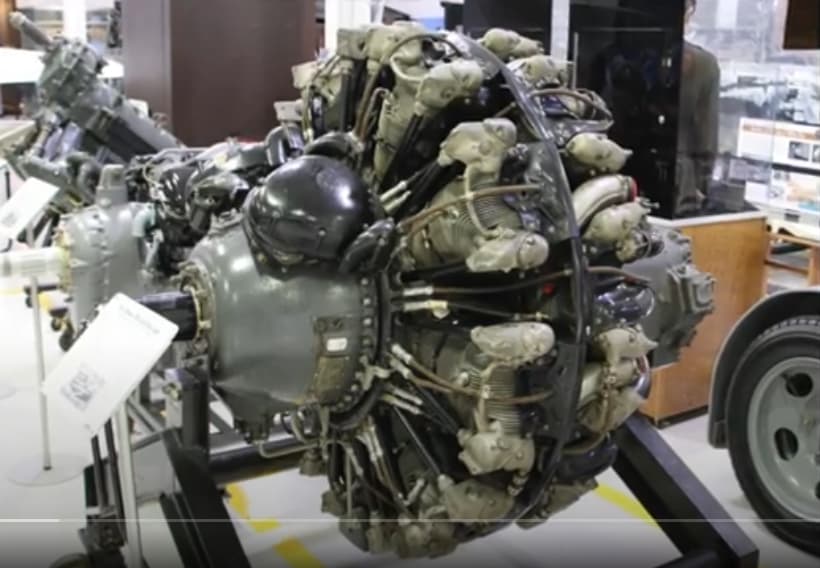
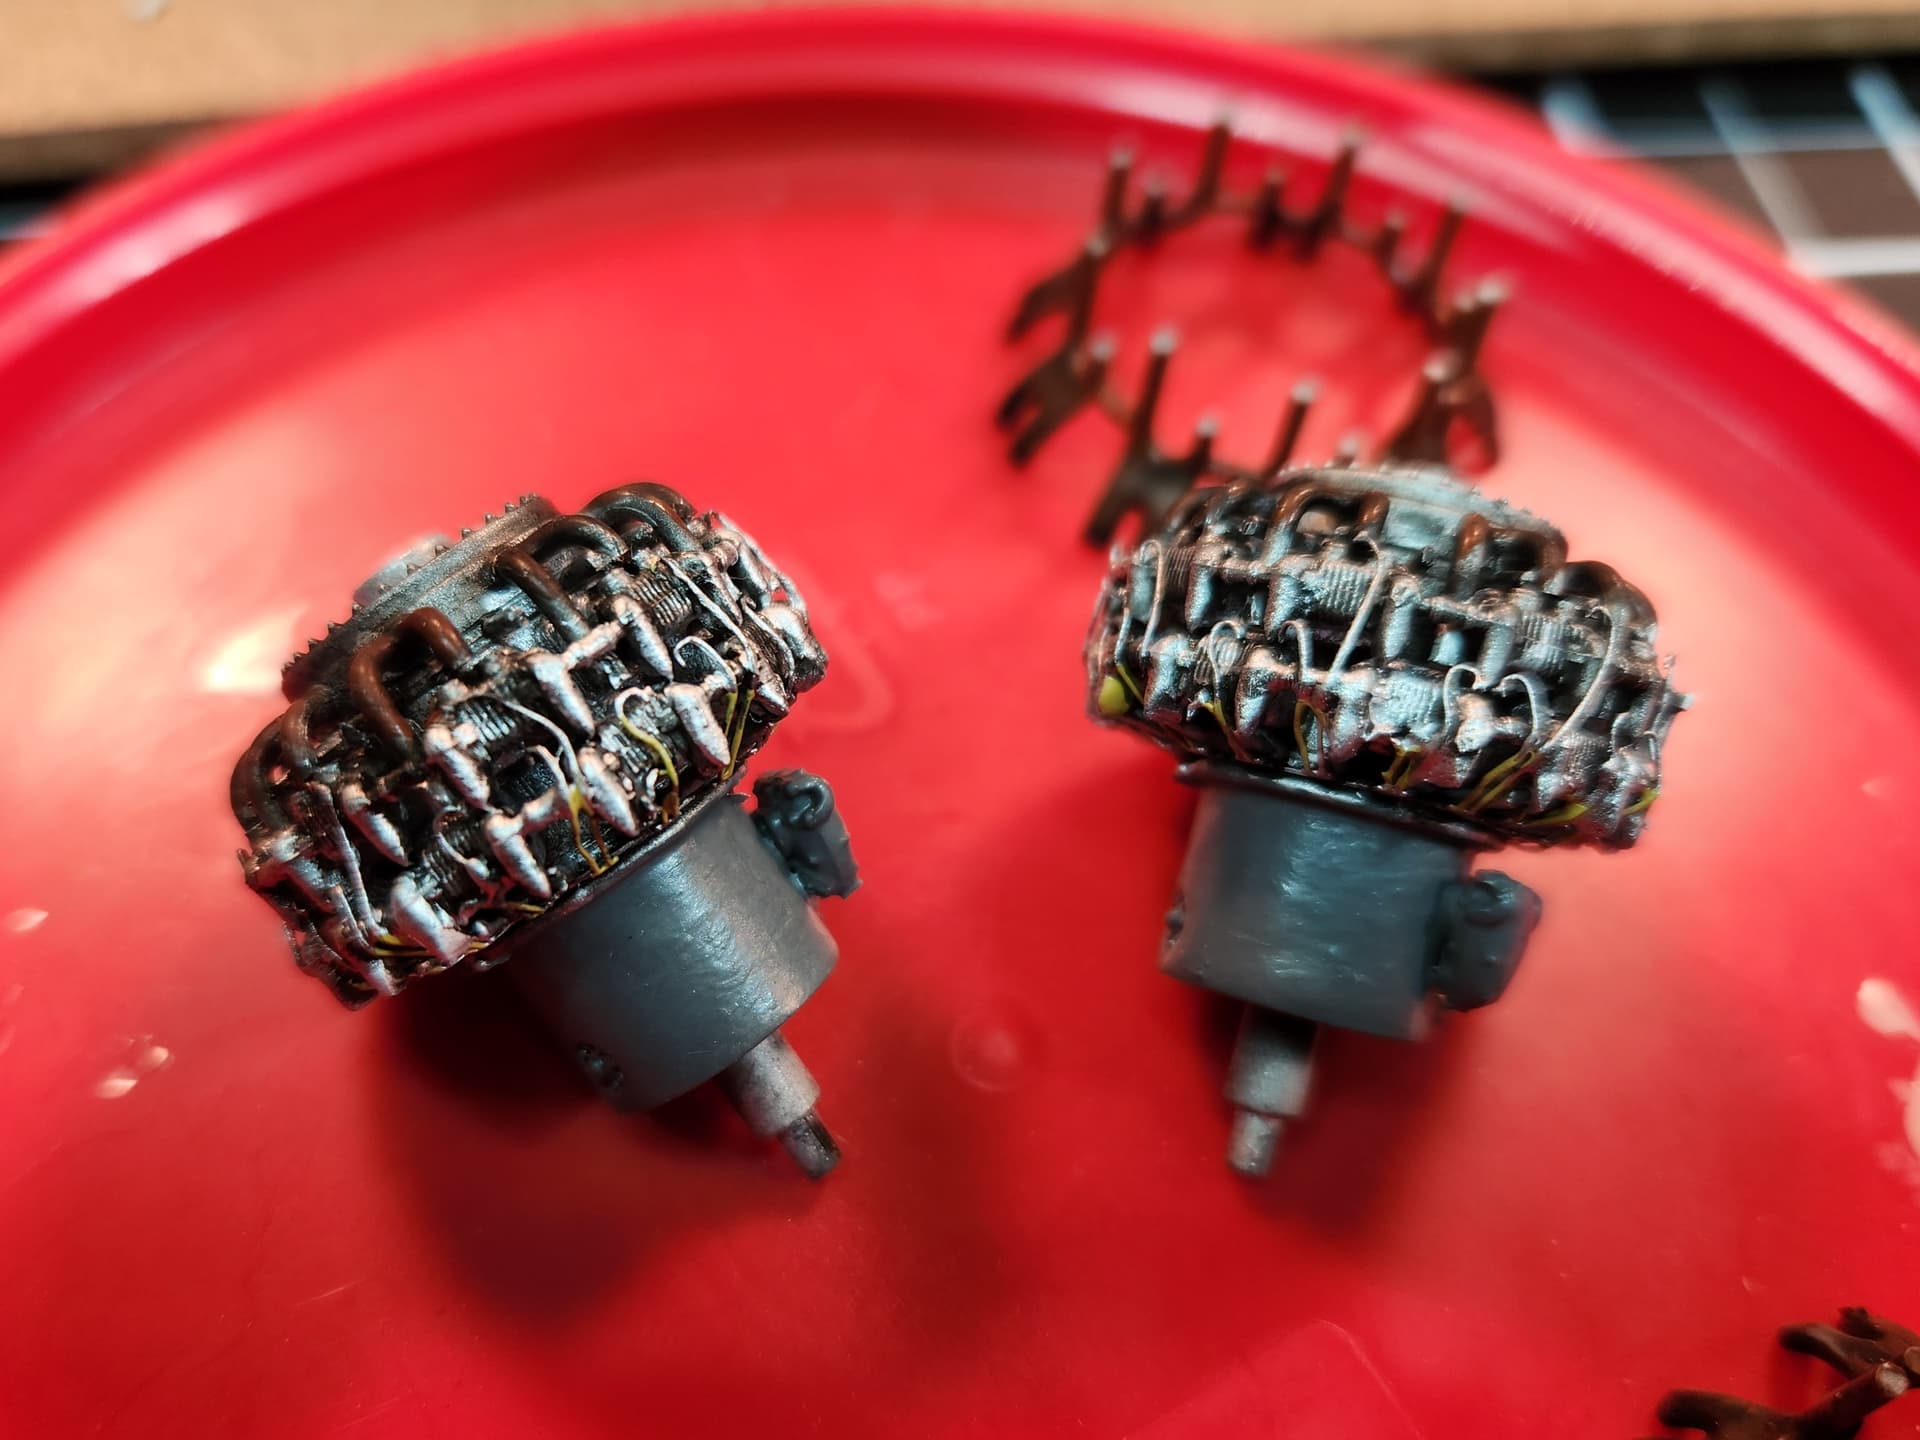
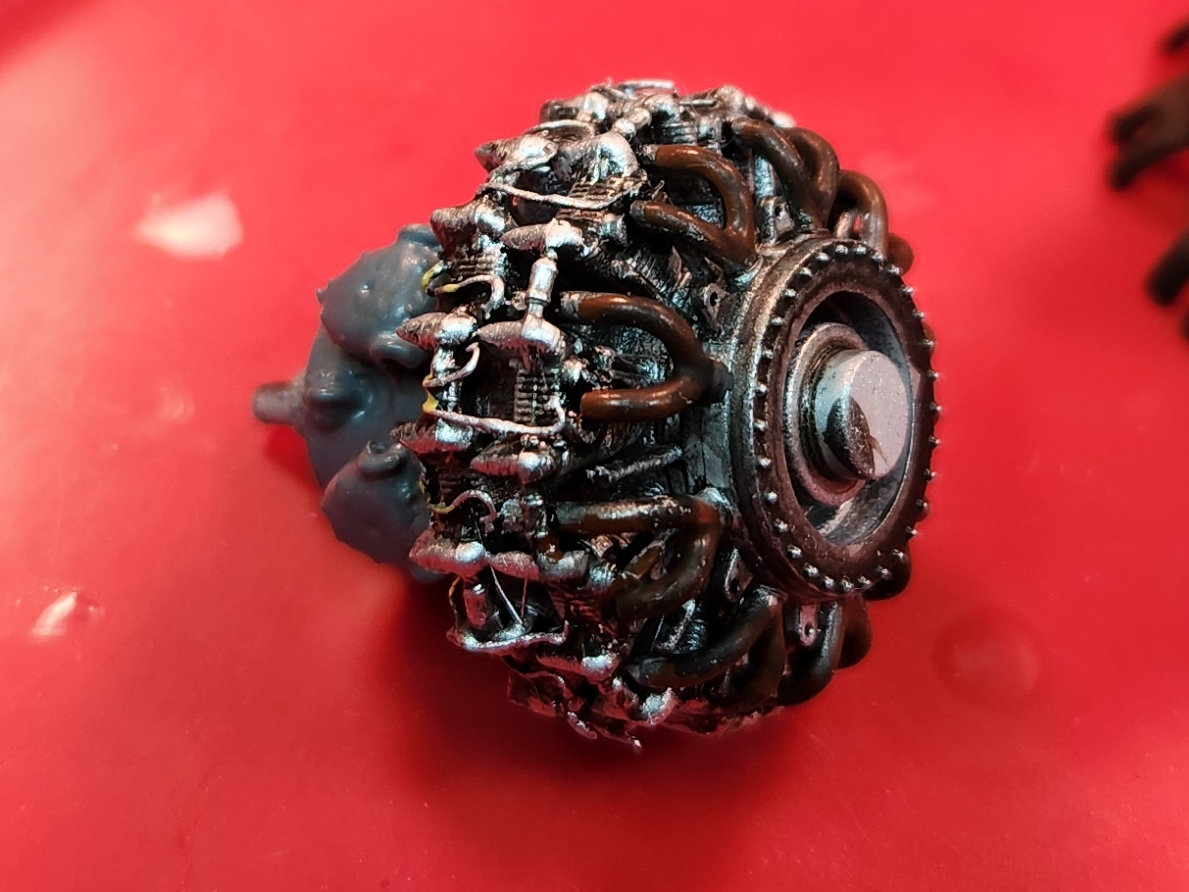
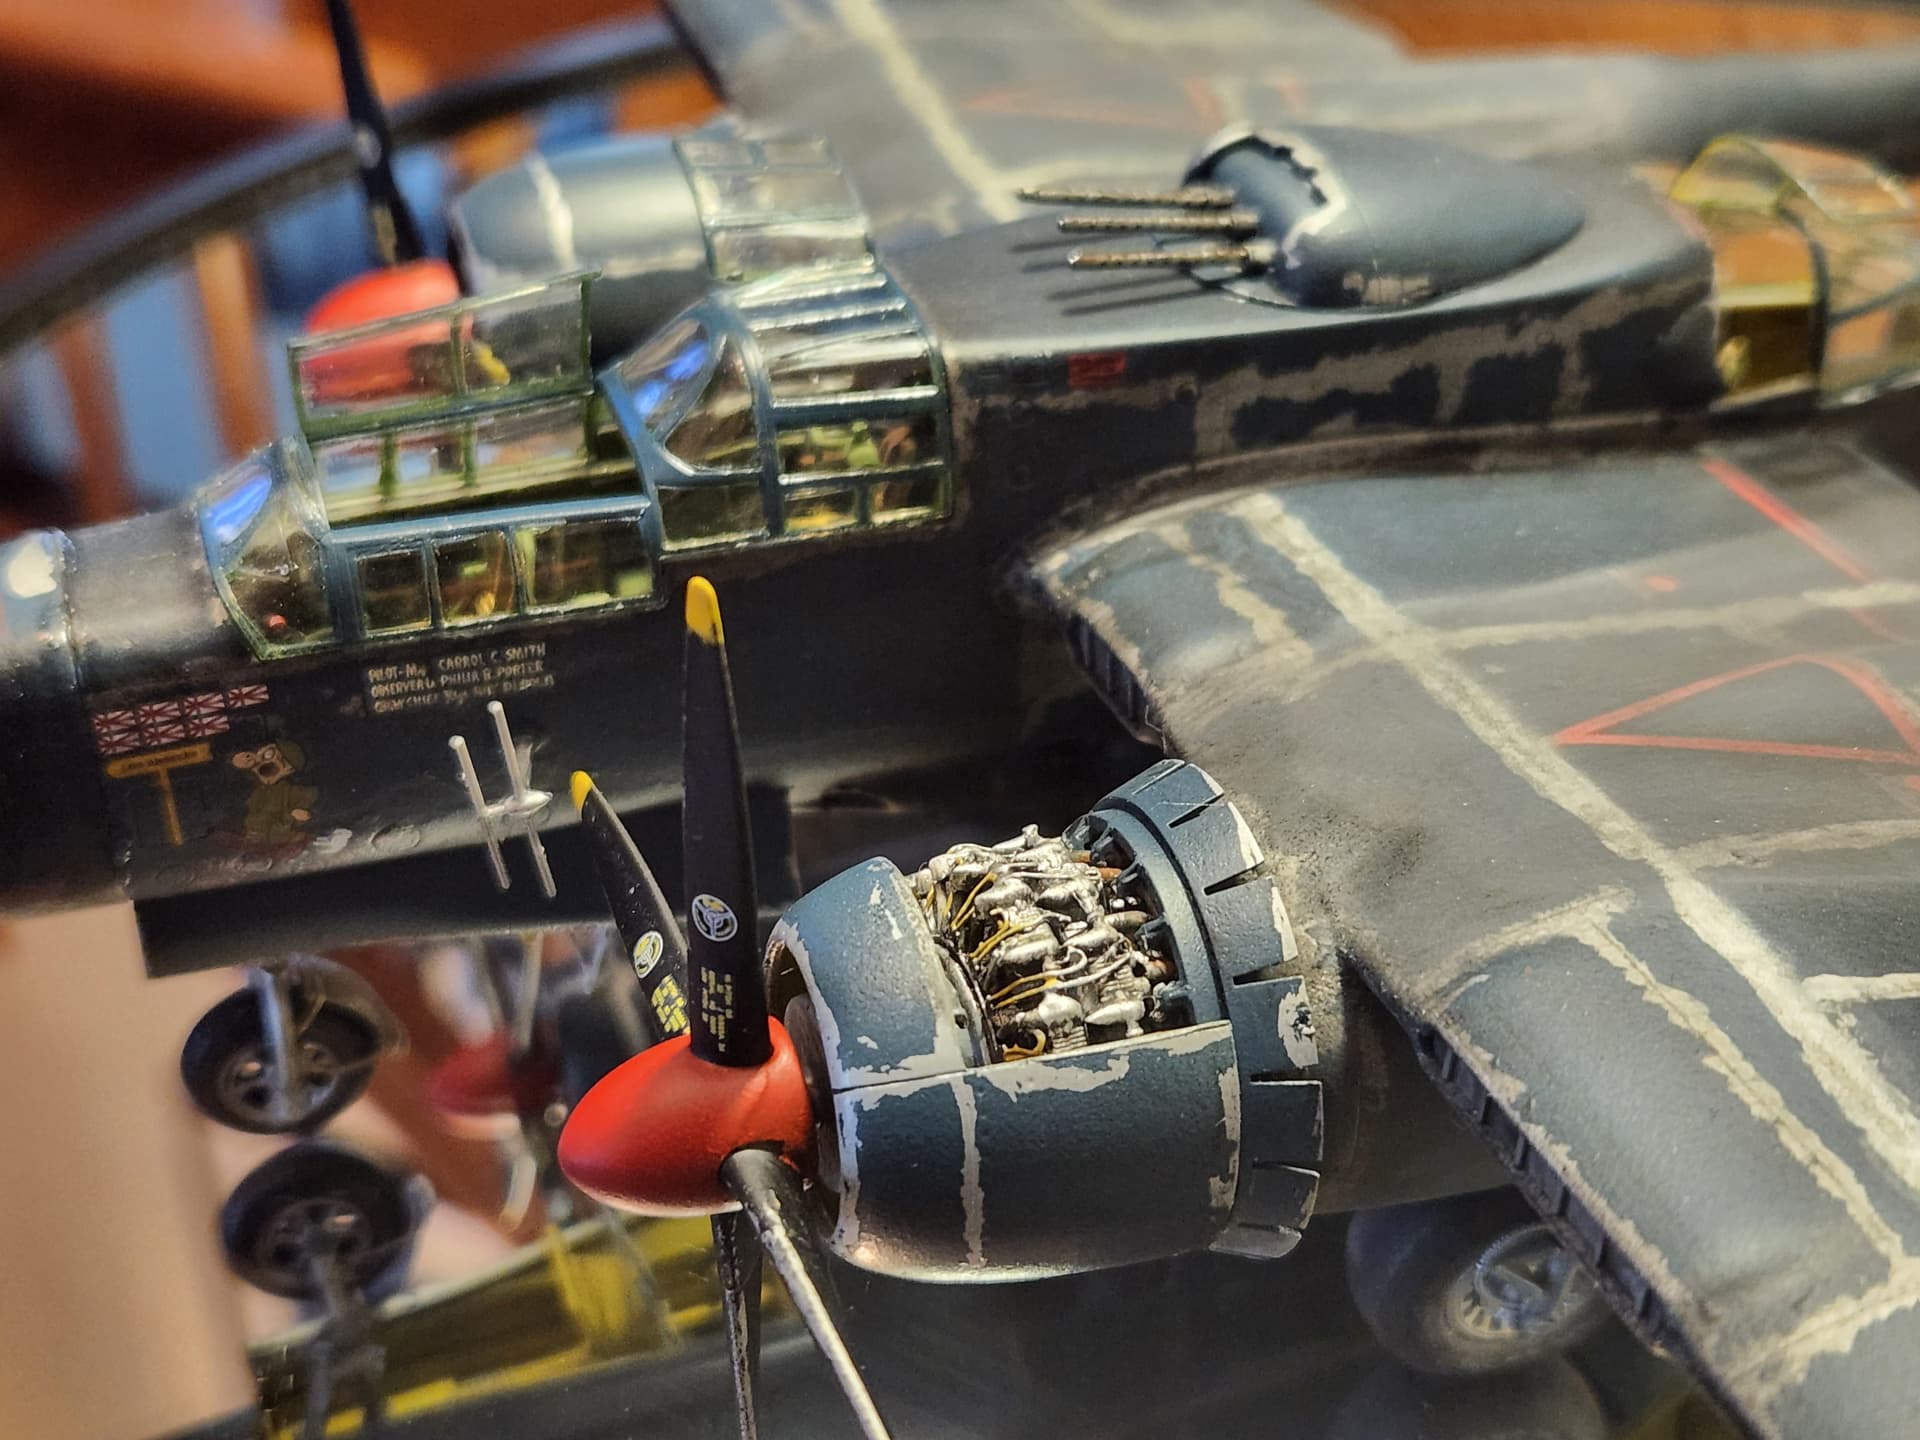
Here is the engine:
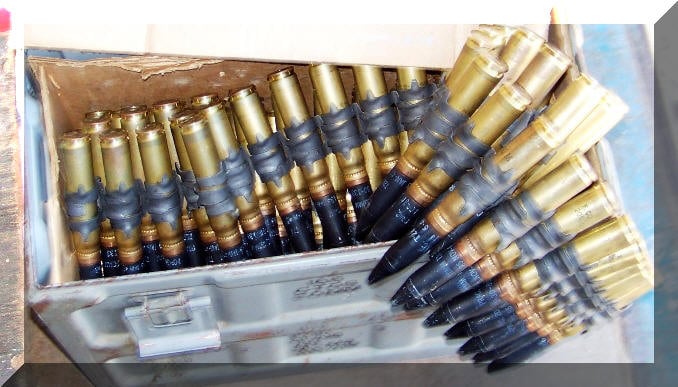
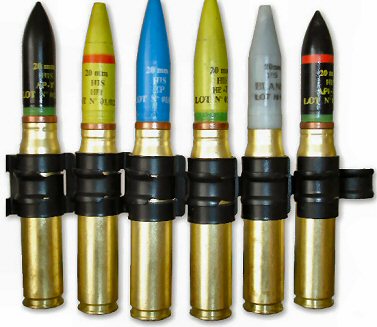
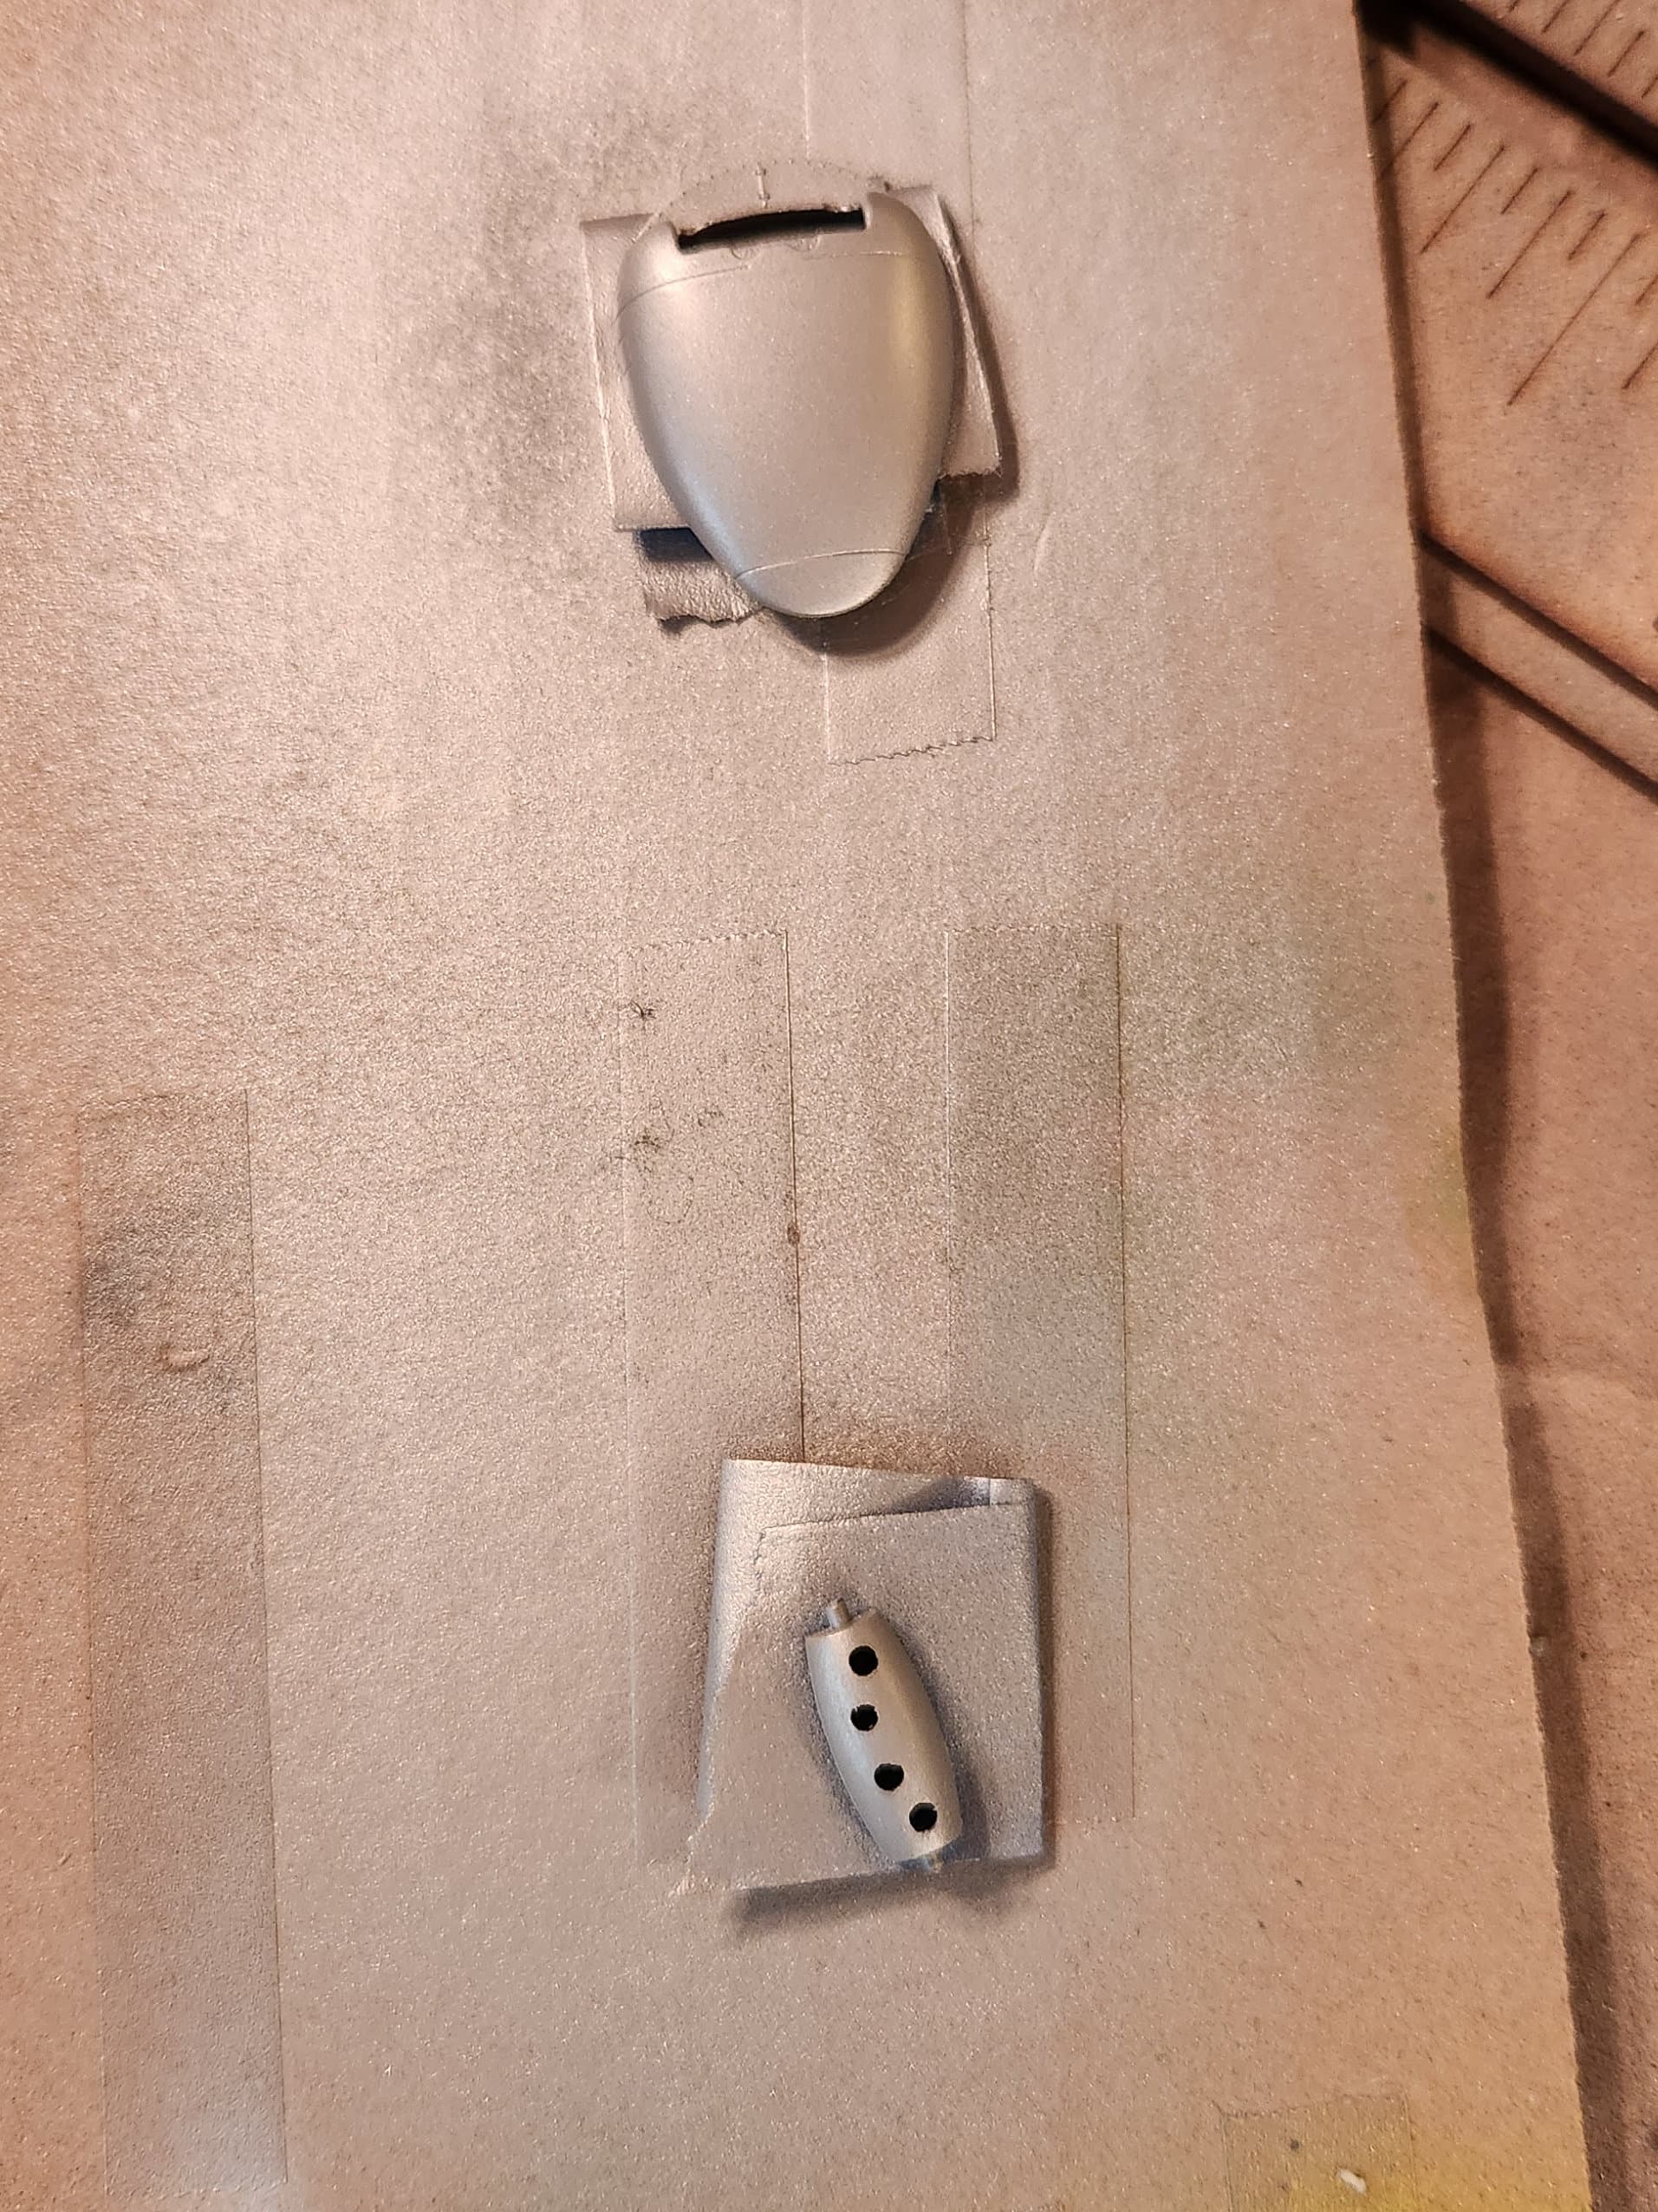
Those four 20mm cannons in the belly of the plane shot this ammo:
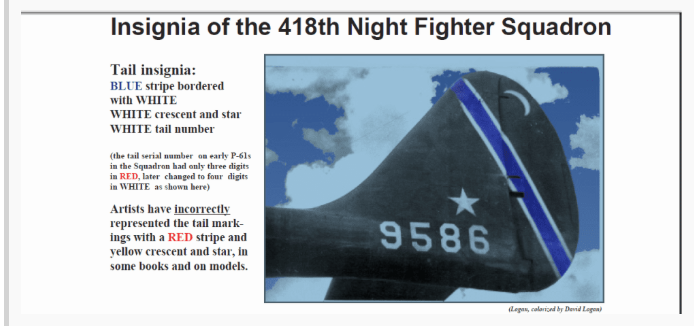
According to this post by another person, “Times a Wastin” had a blue tail stripe instead of the red stripe which is the commonly reported color so I thought I would do that.
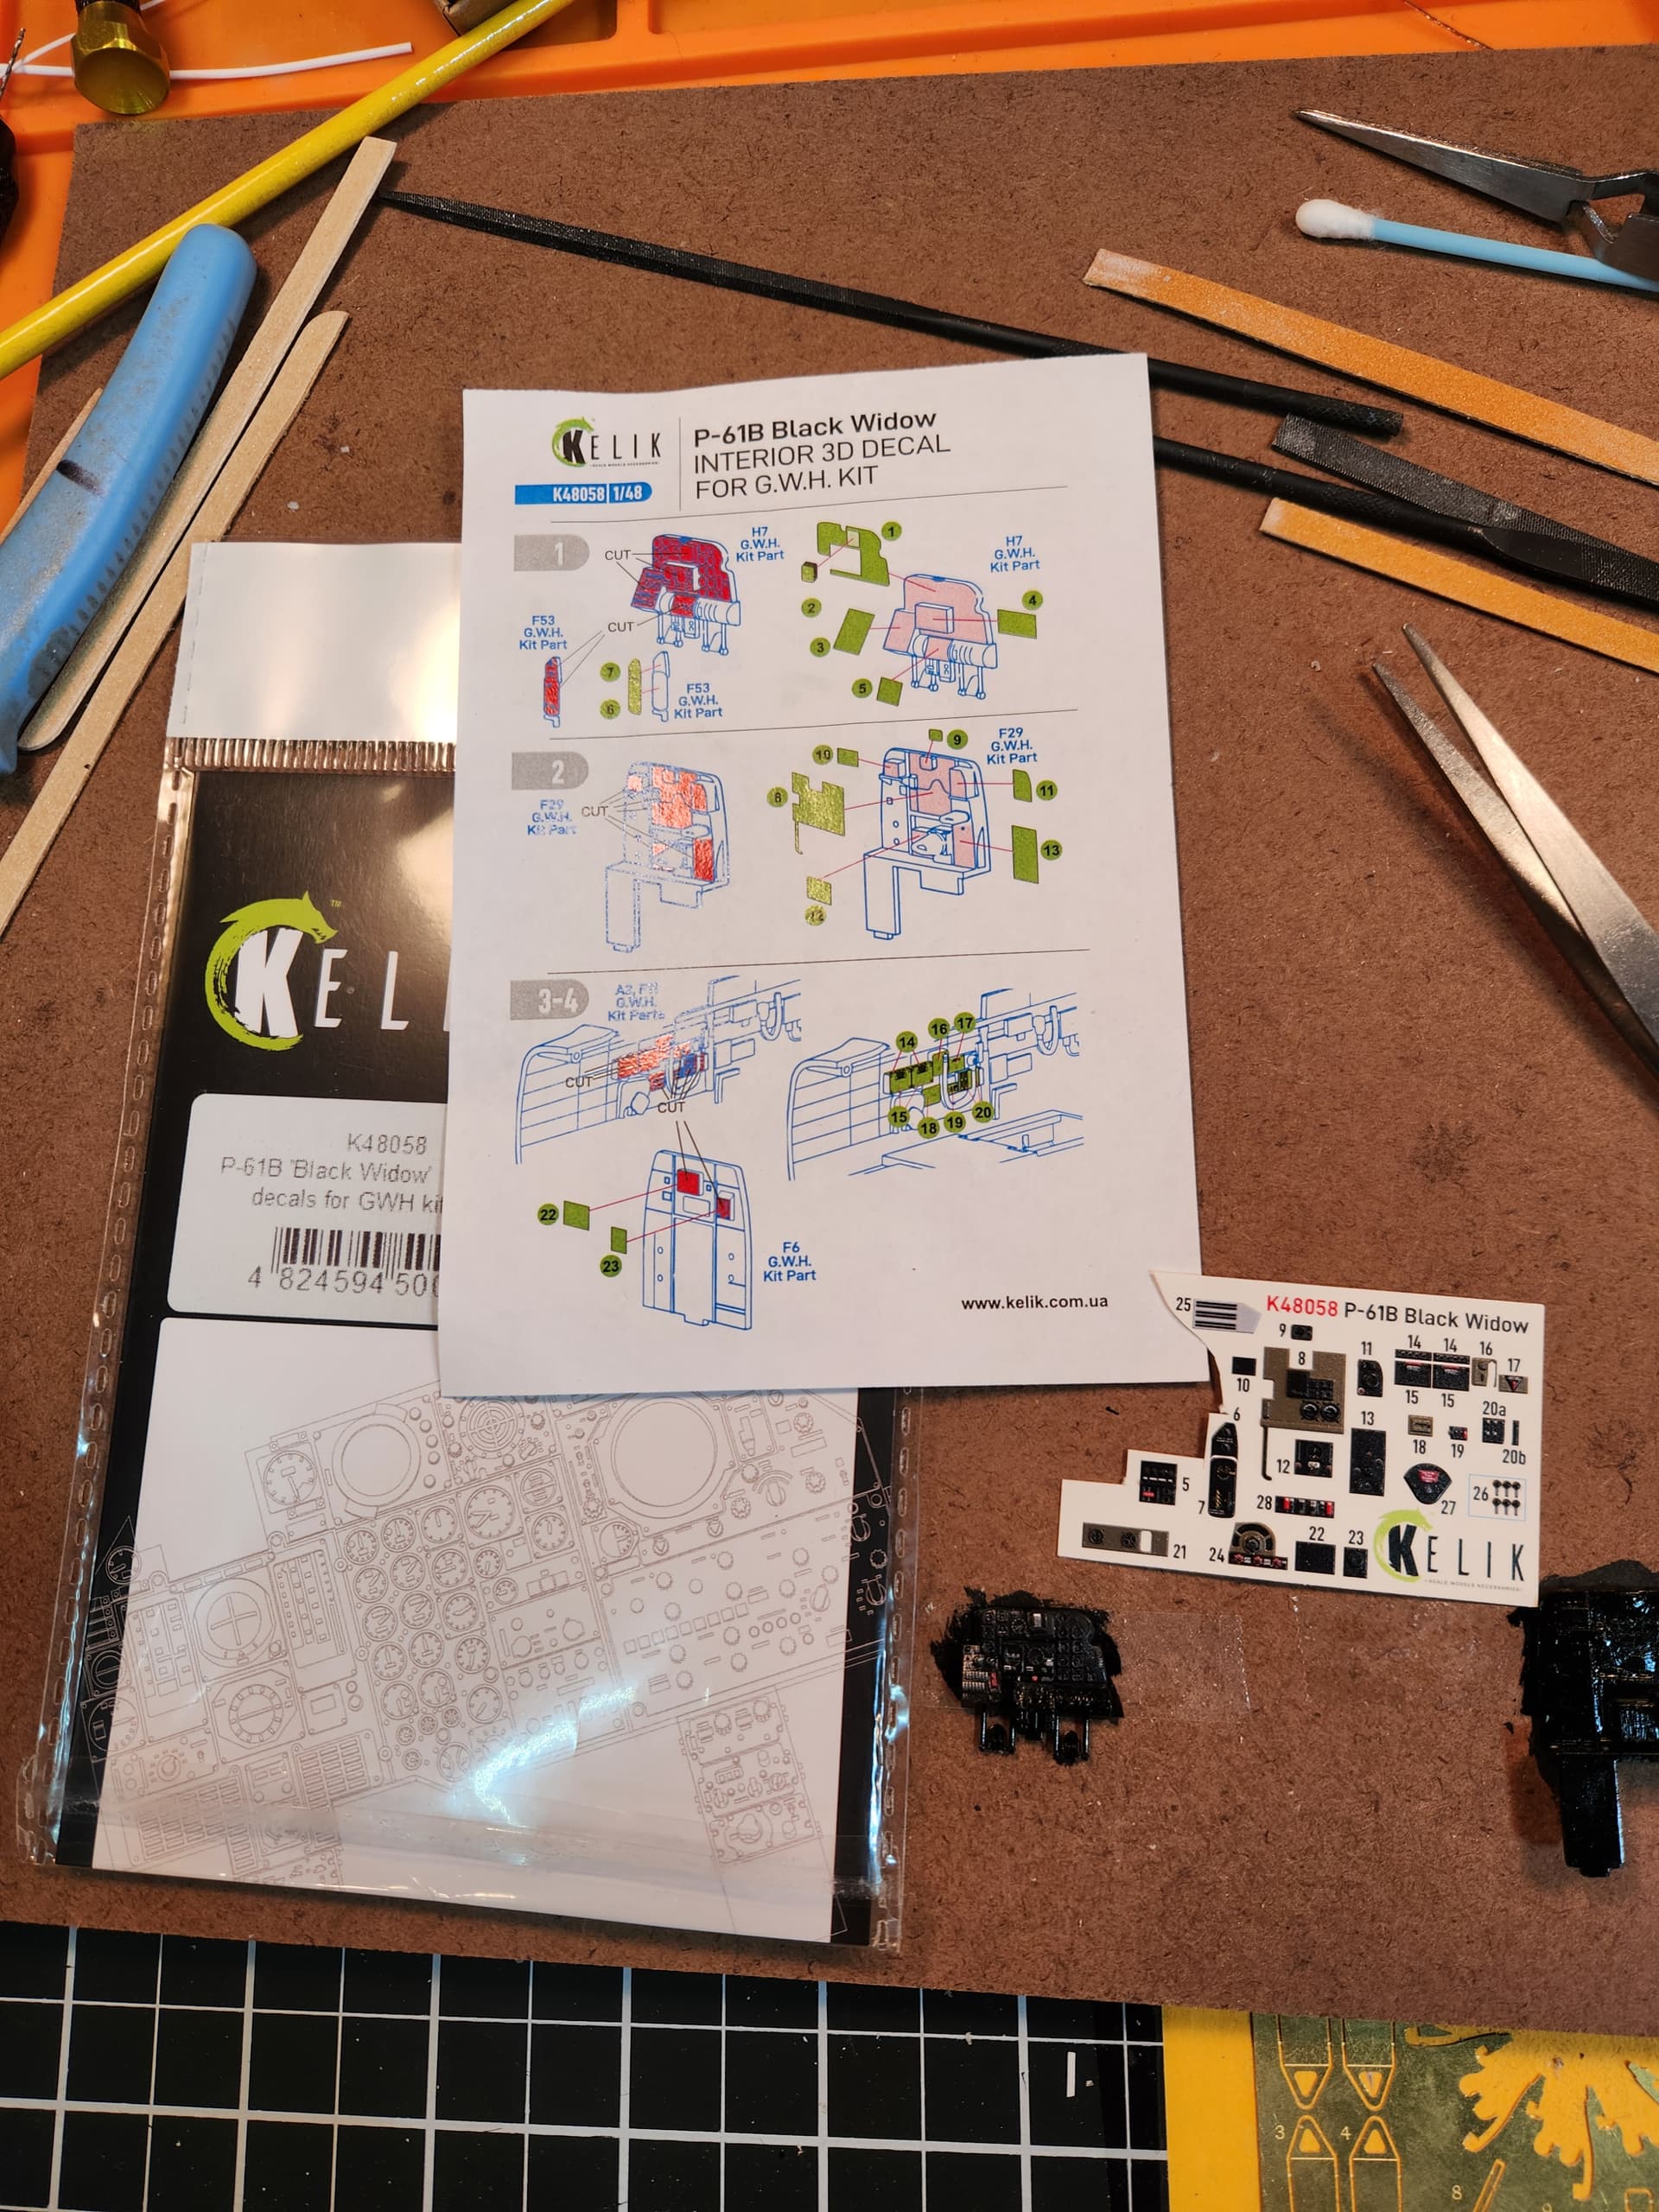
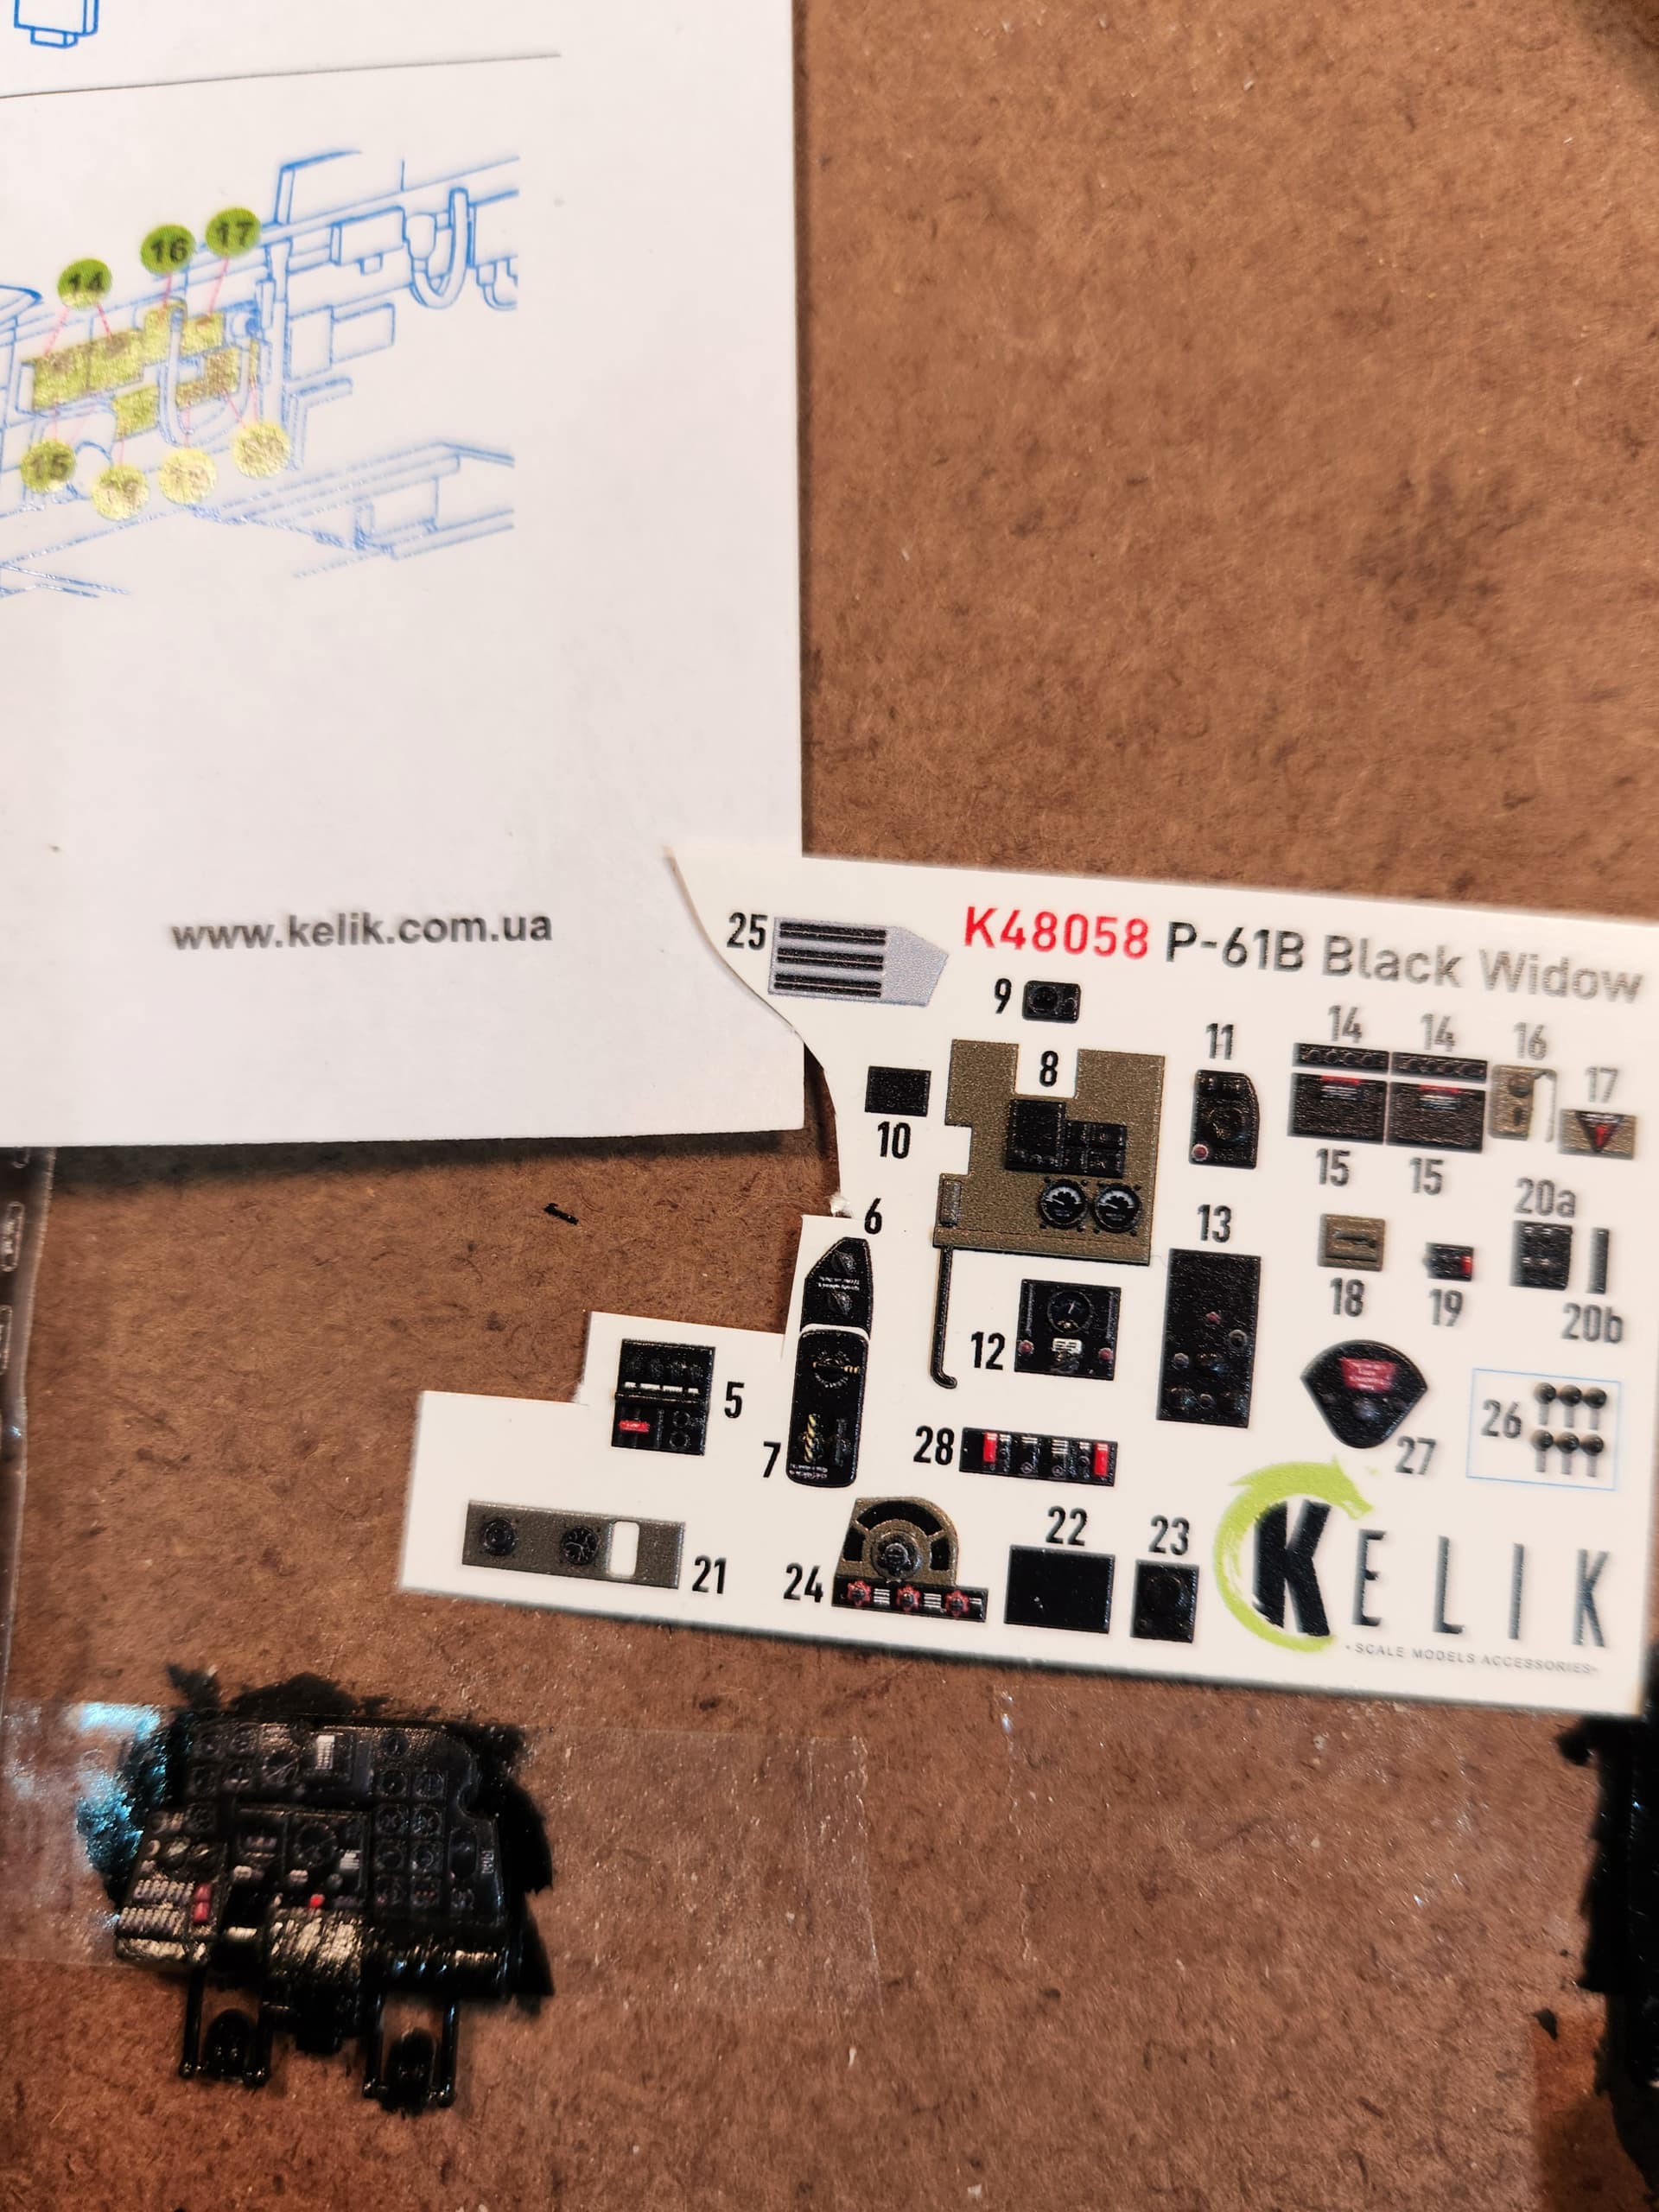
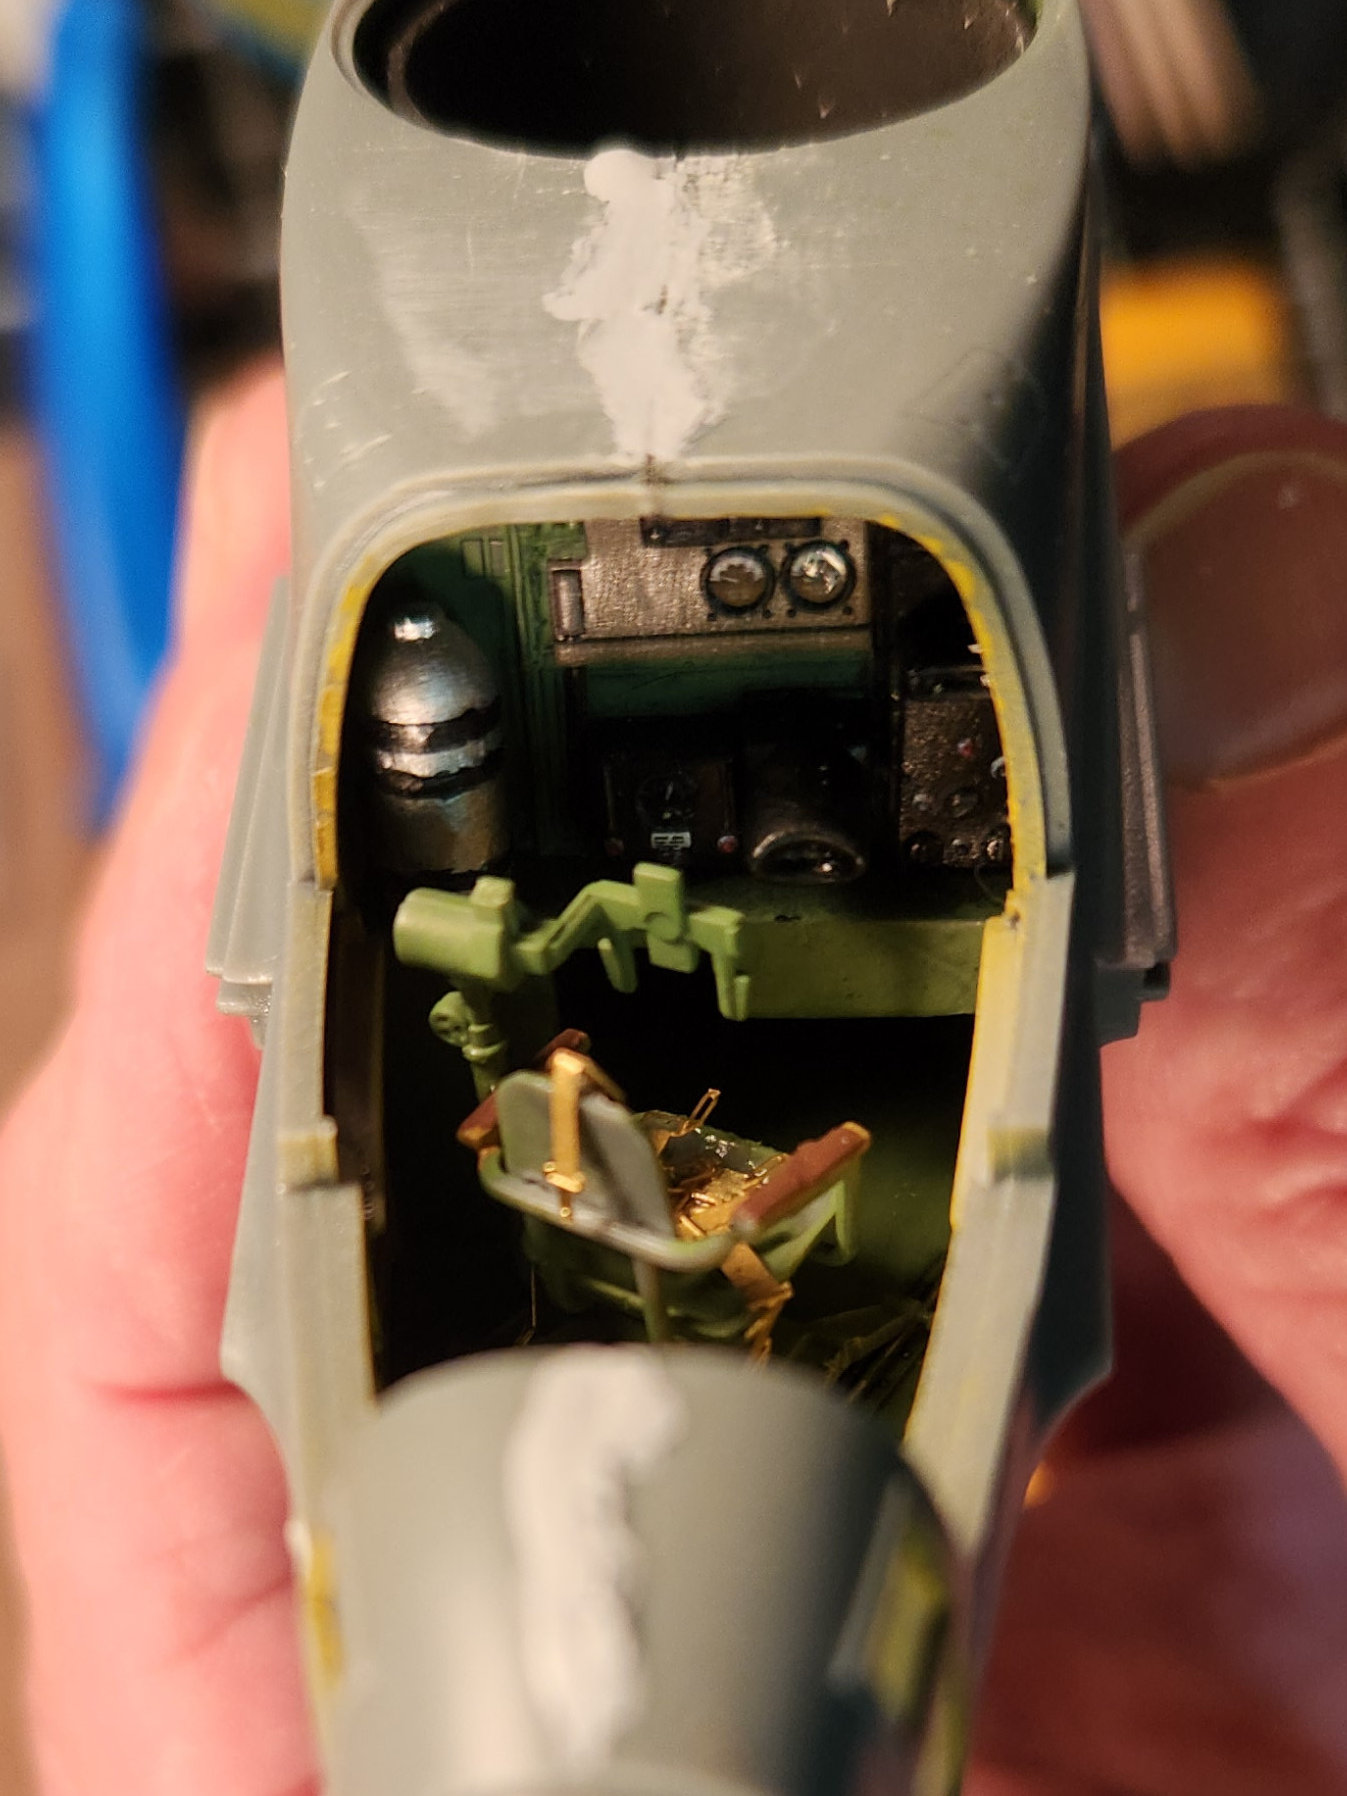
I started with the control panel in the cockpit. I took two days and used the decals for the 30 odd individual instruments. Since I had a 2nd kit I took the extra control panel and tied try some Kilik 3d decals. It is necessary to sand off the detail to give a flat surface on which the 3d decals lie. The didn’t stay on by themselves so I used the recommended white glue and they peeled right up. So then, I coated the surface with gel superglue, scraped off the excess with a toothpick and applied the 3d decal. It was easy, worked great and I’ll do it again. Here is those 3d decals:
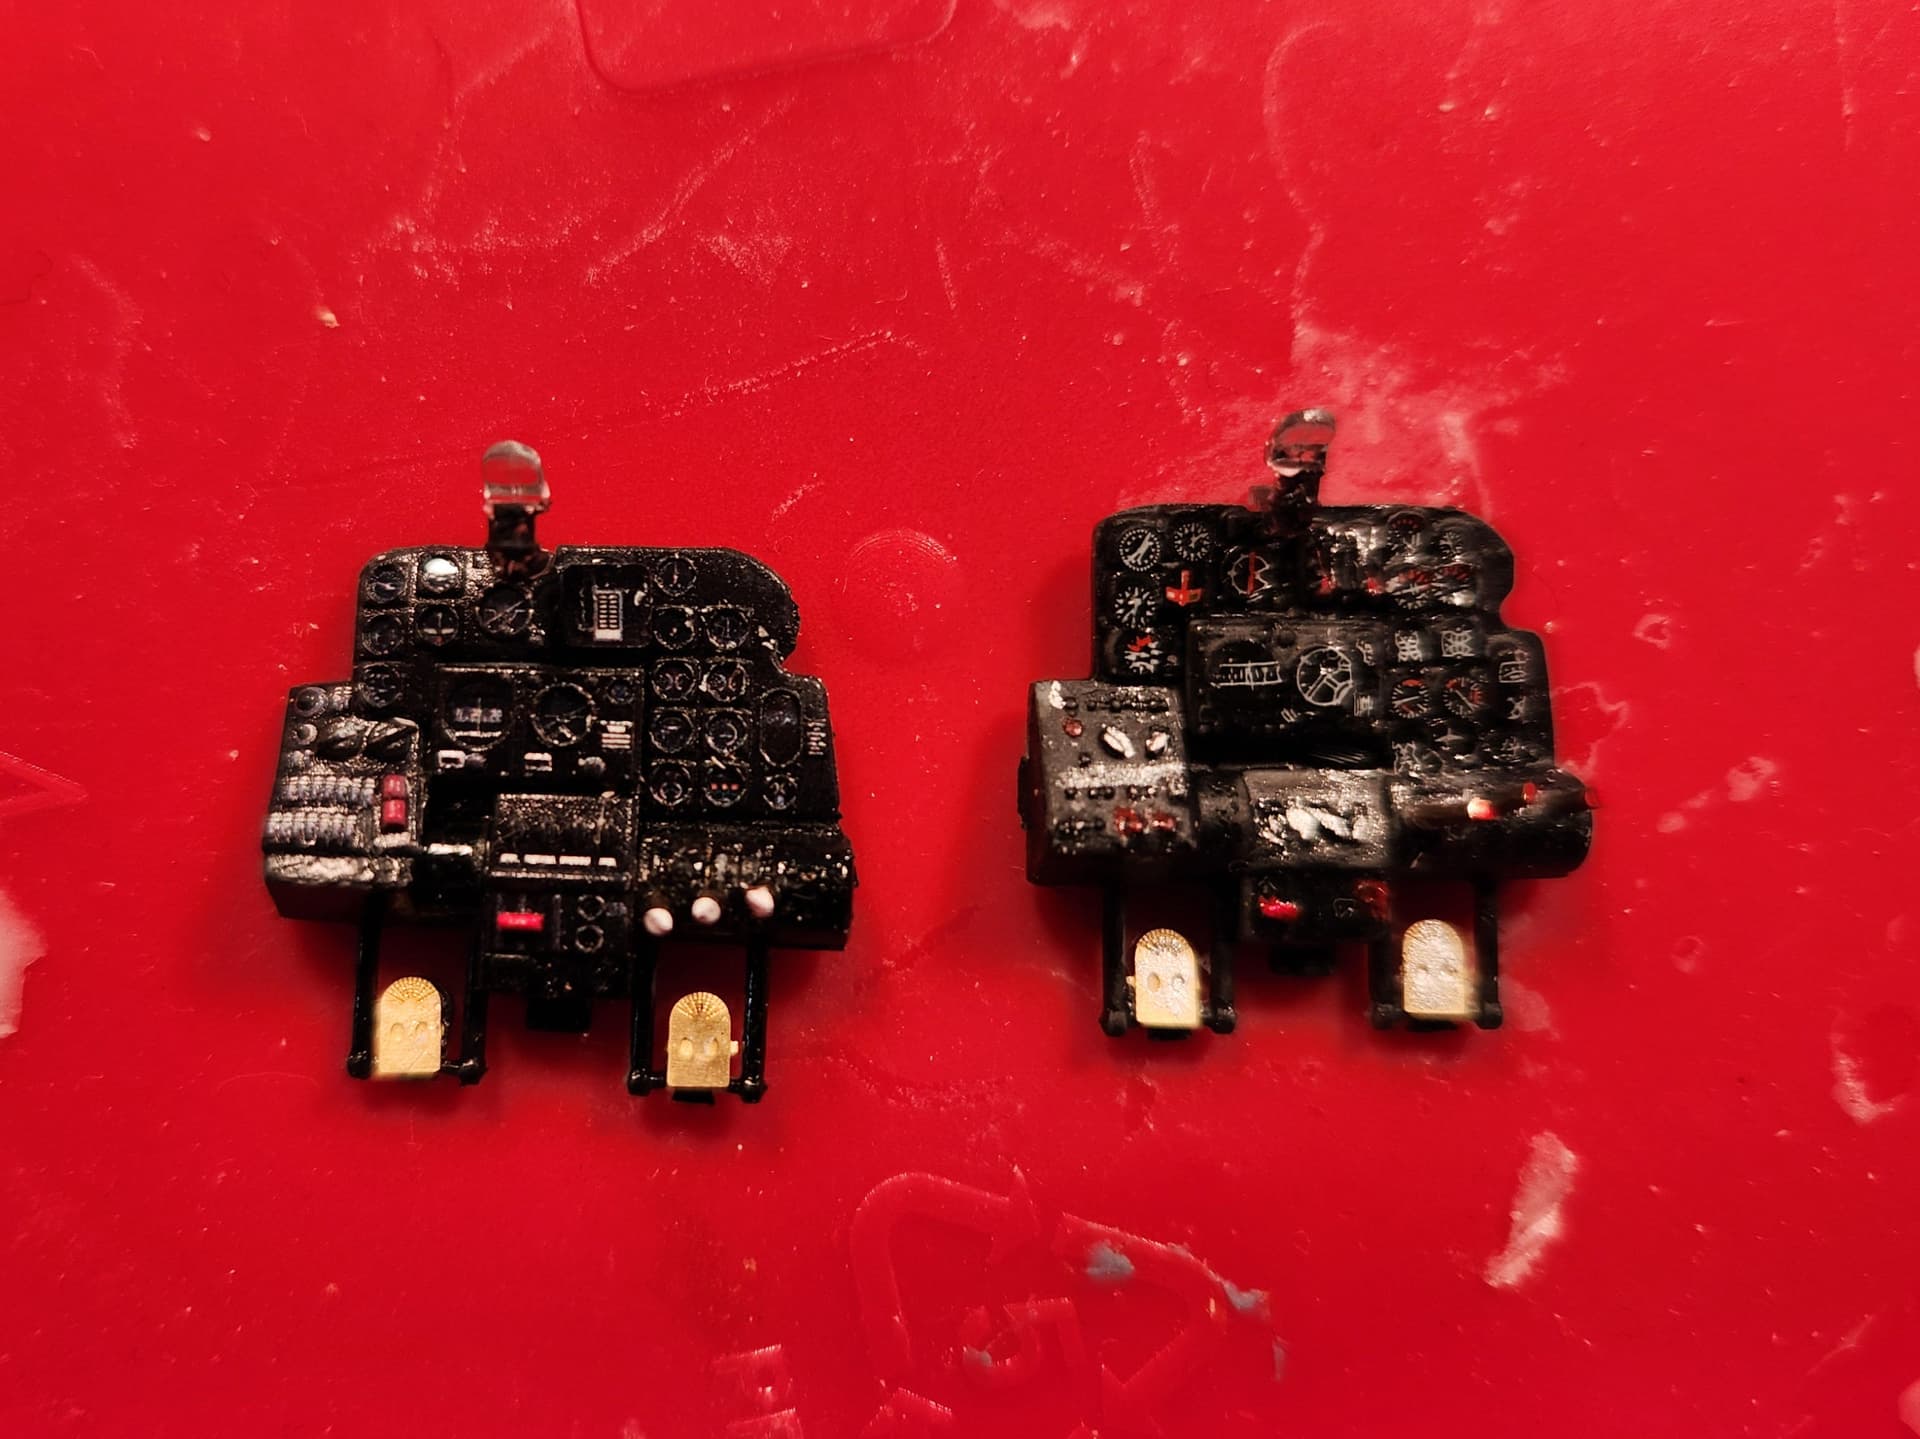
Here is a comparison of the 30 decal version next to the 3d version and it is difficult to tell the difference:
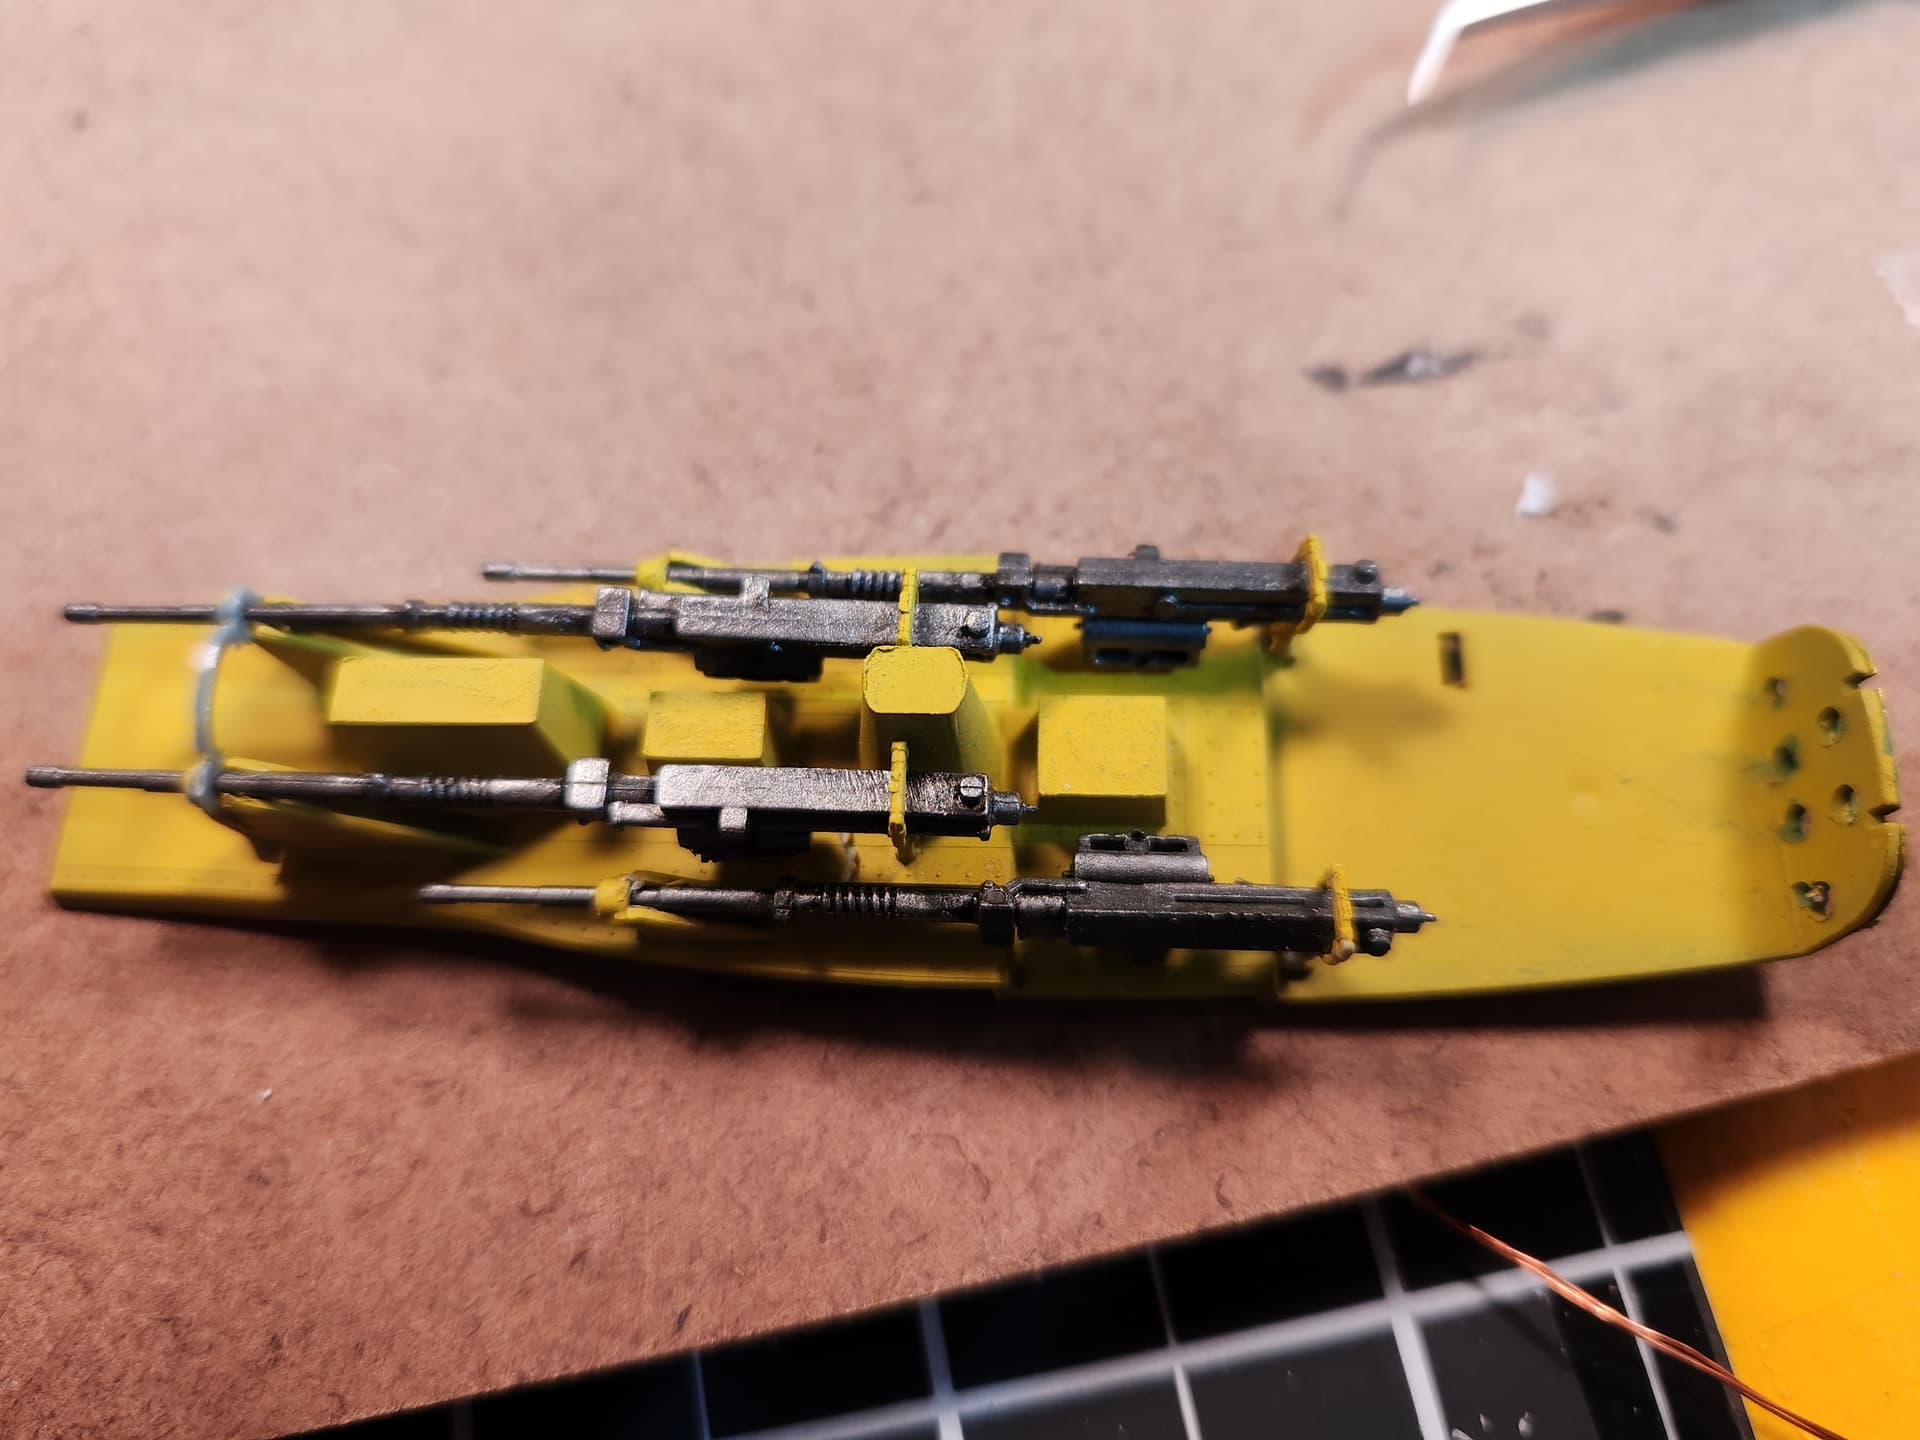
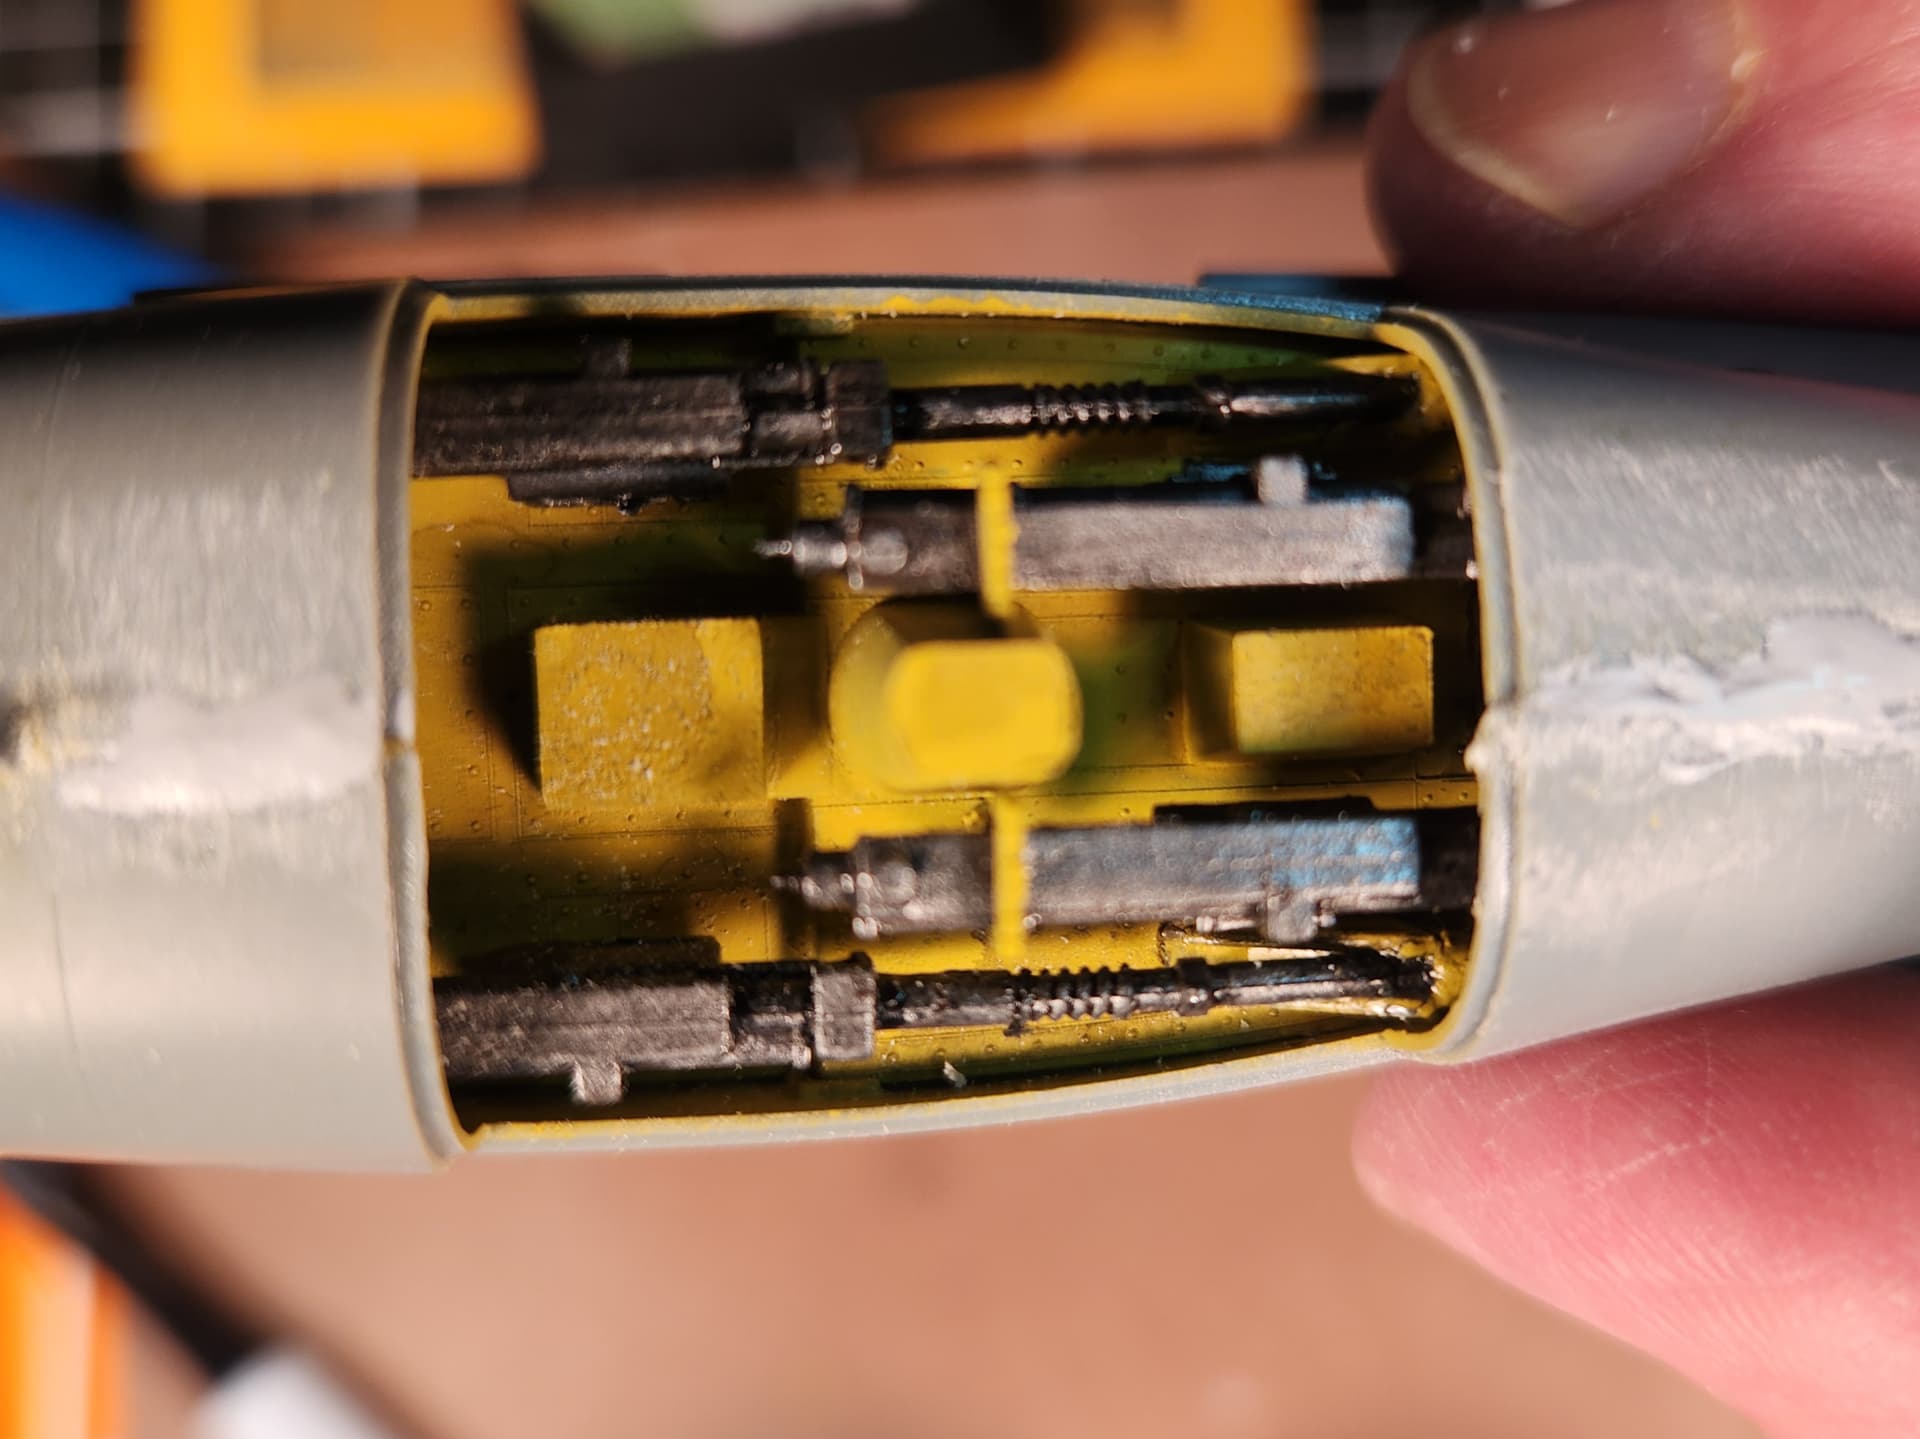
I did the gun bays next. Be careful putting in the very thin rear gun braces. If there is ANY stress on these from the gun not being properly seated they will break in a heartbeat. Here is the offending part:

Here is the completed gun bay:
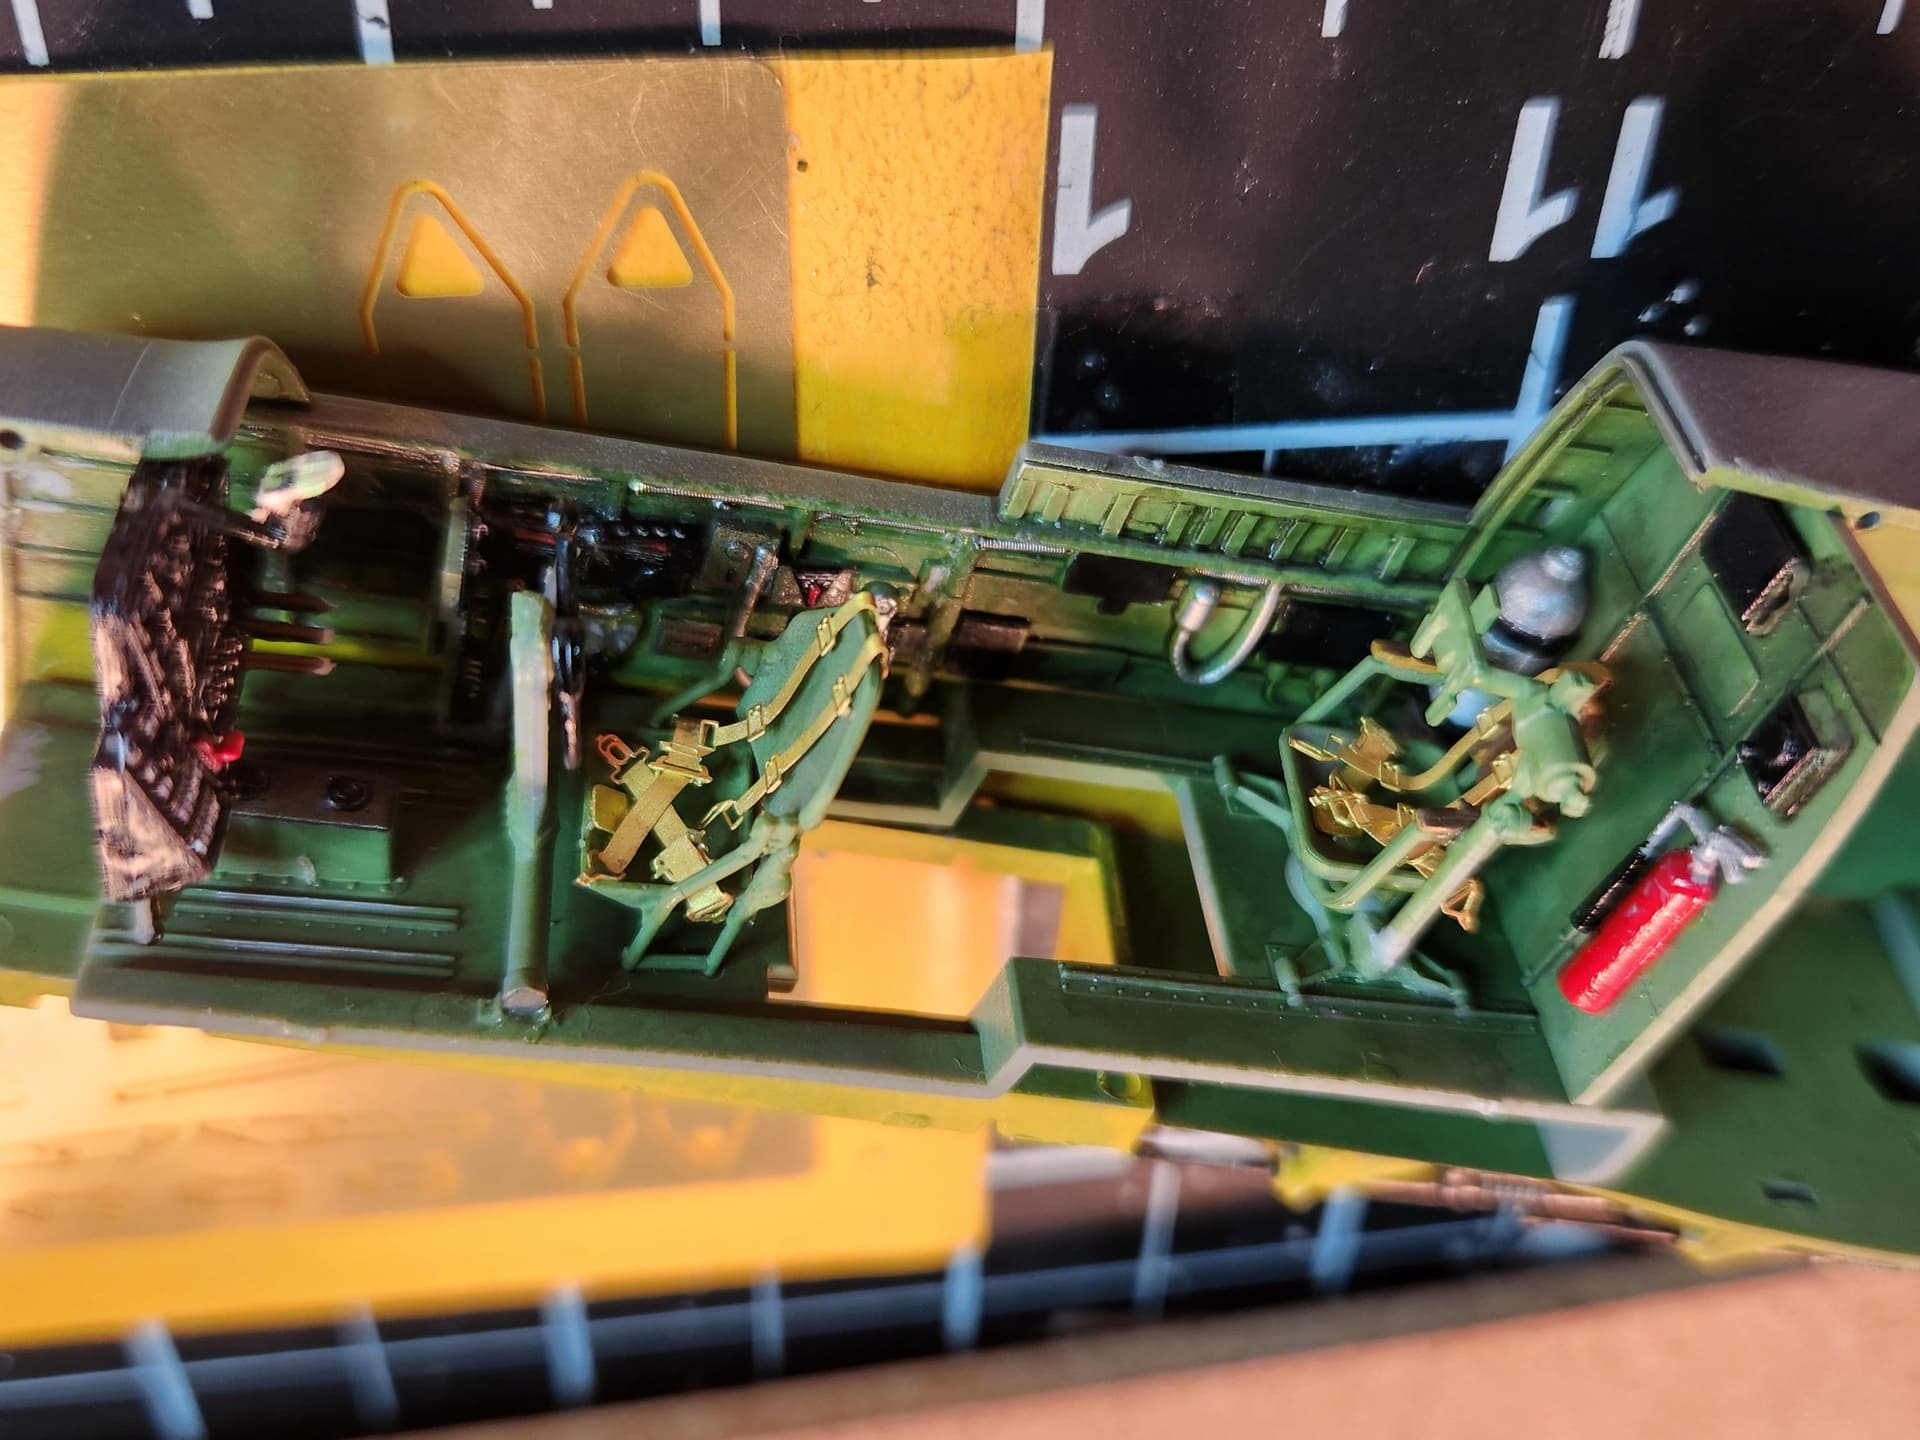
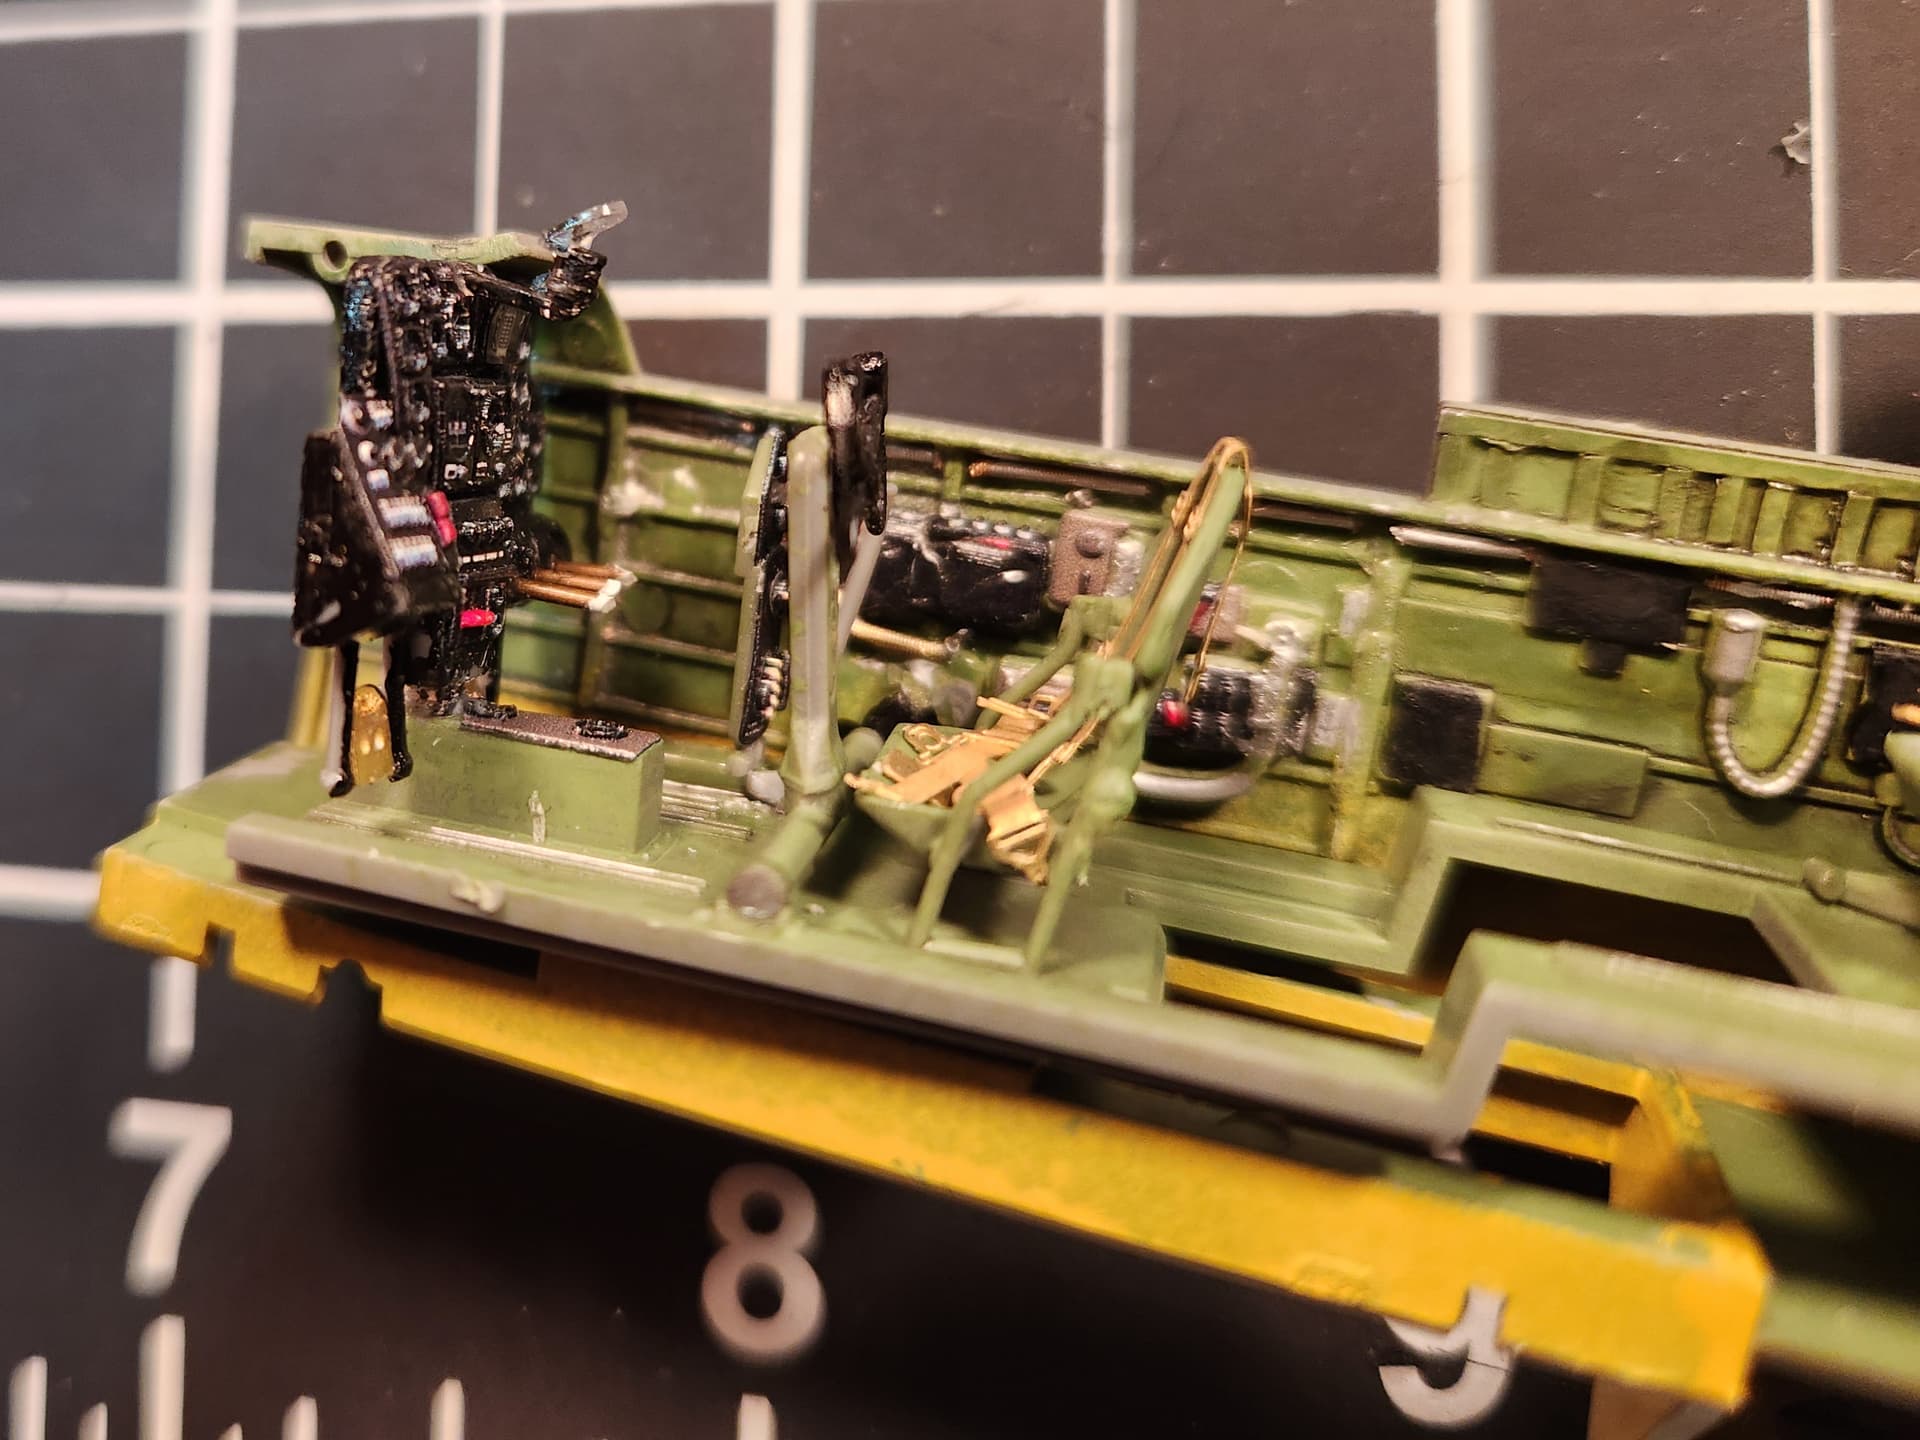
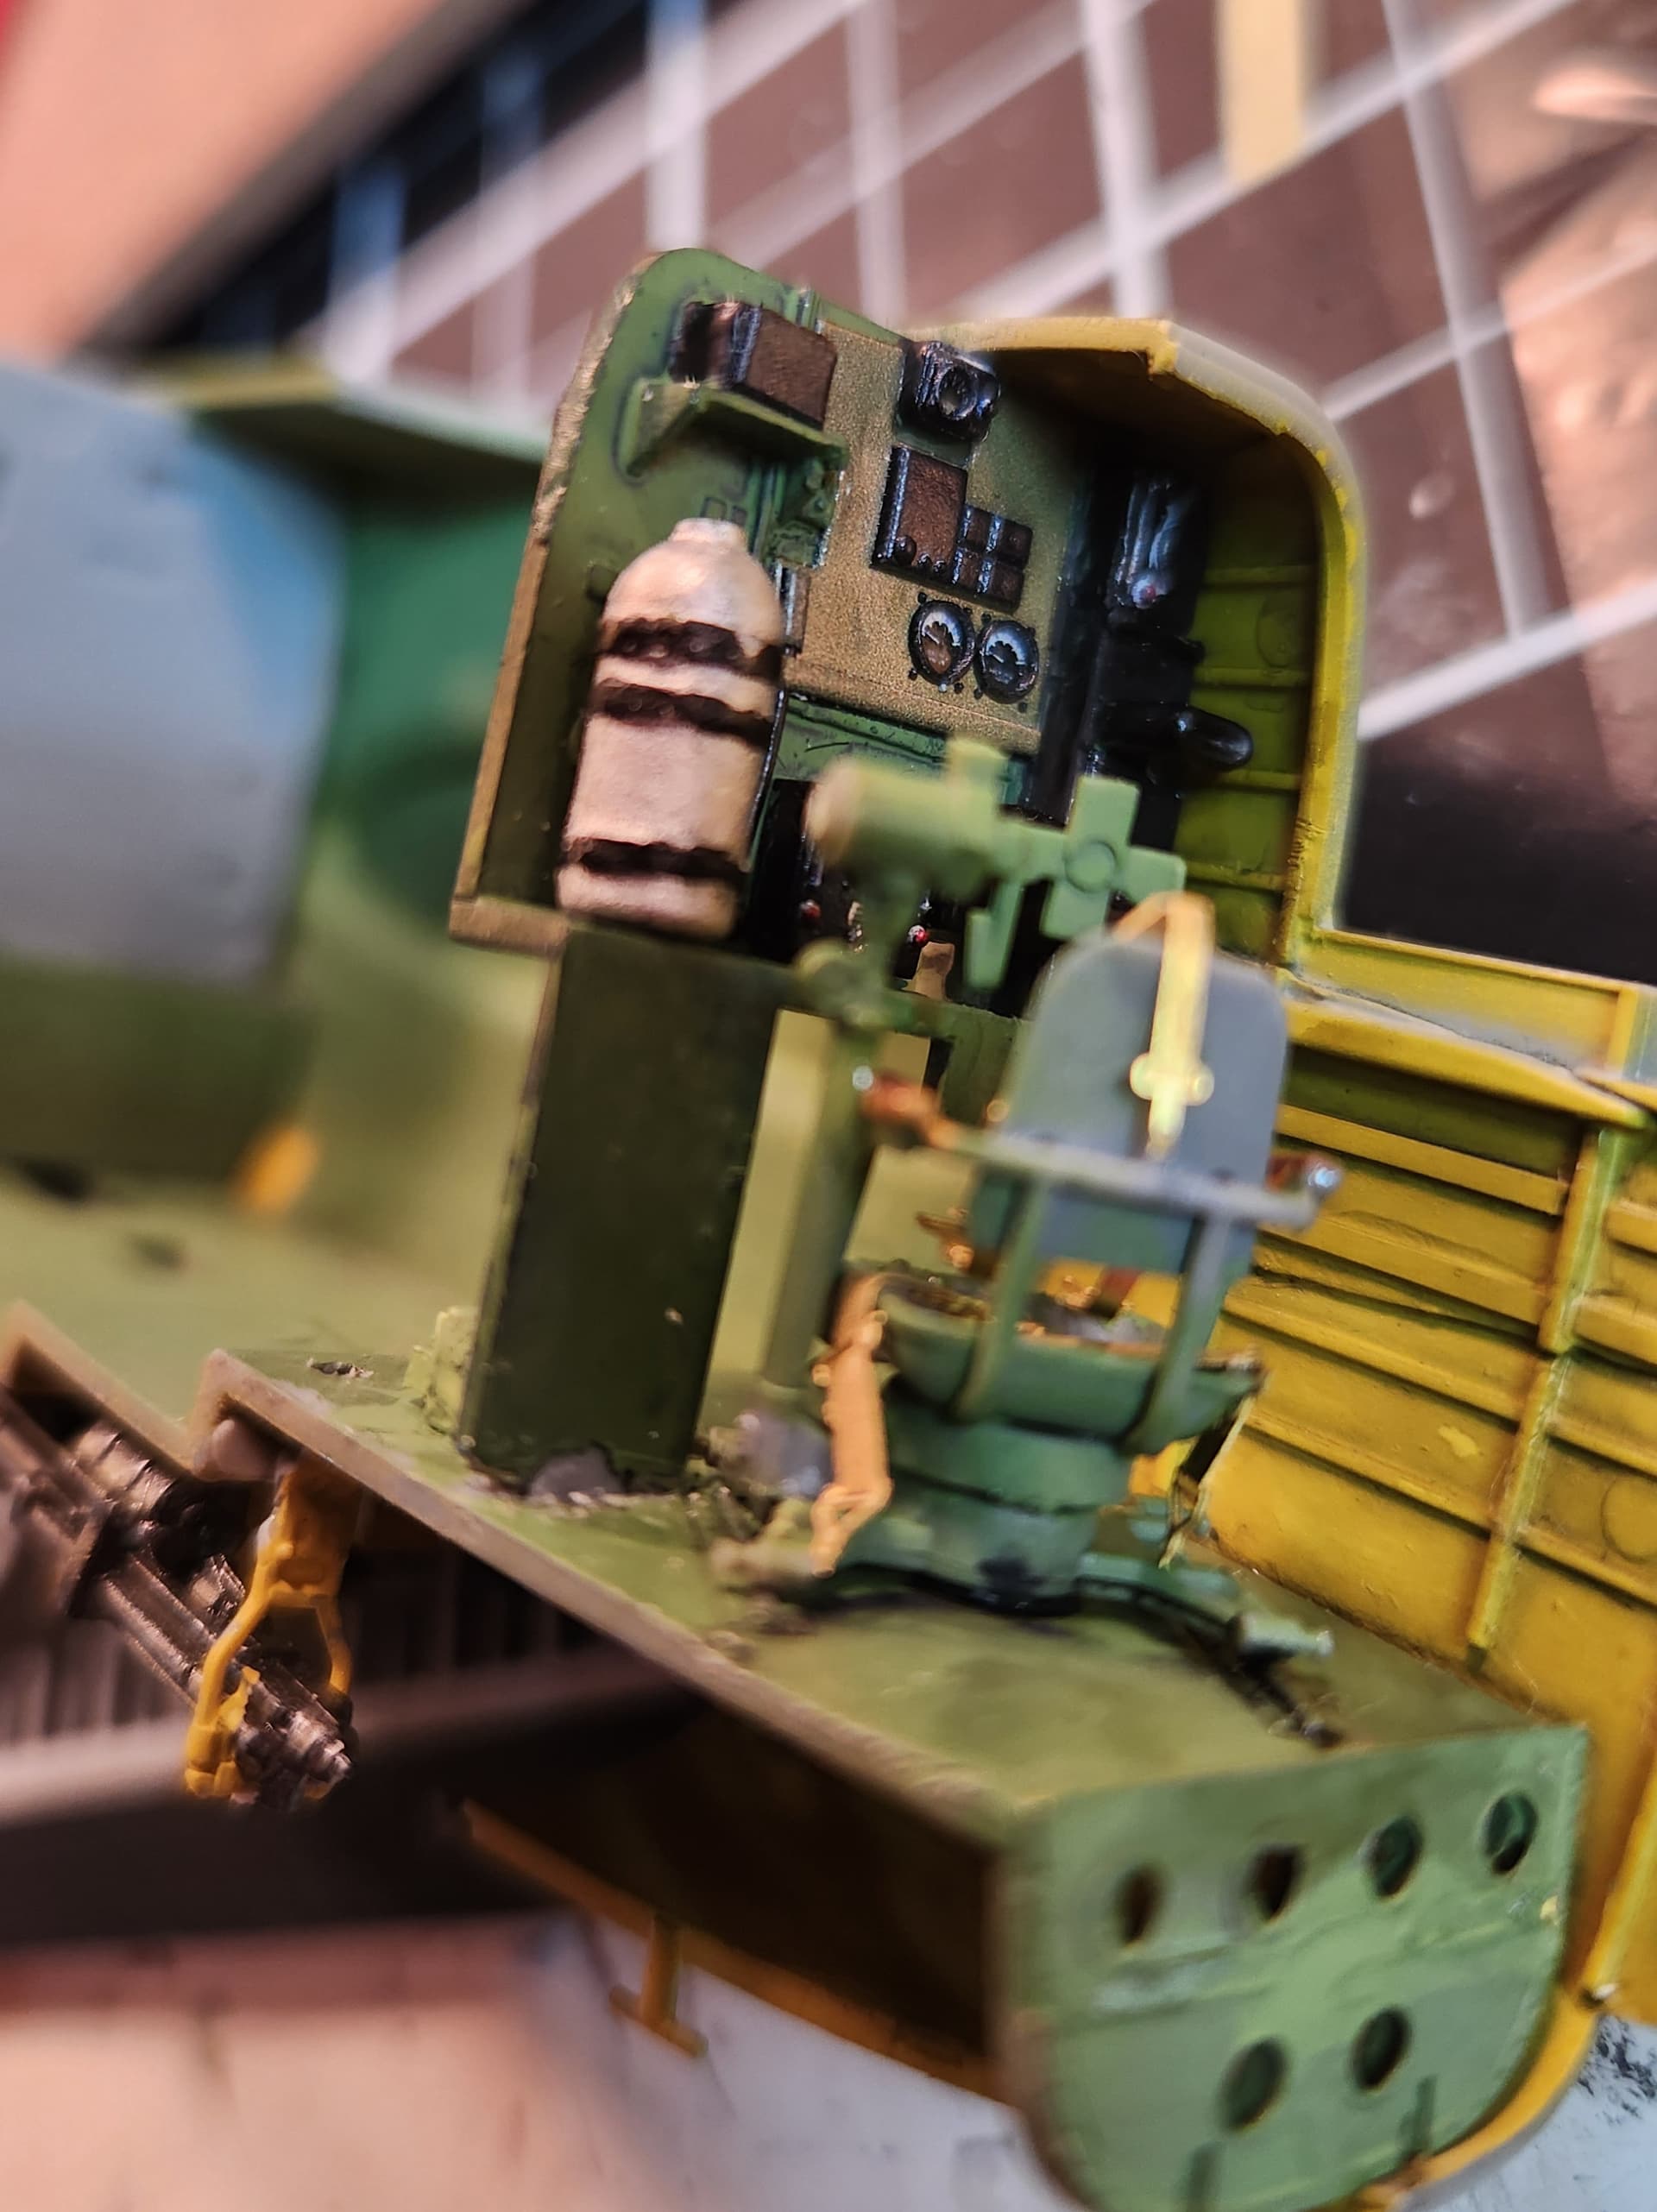
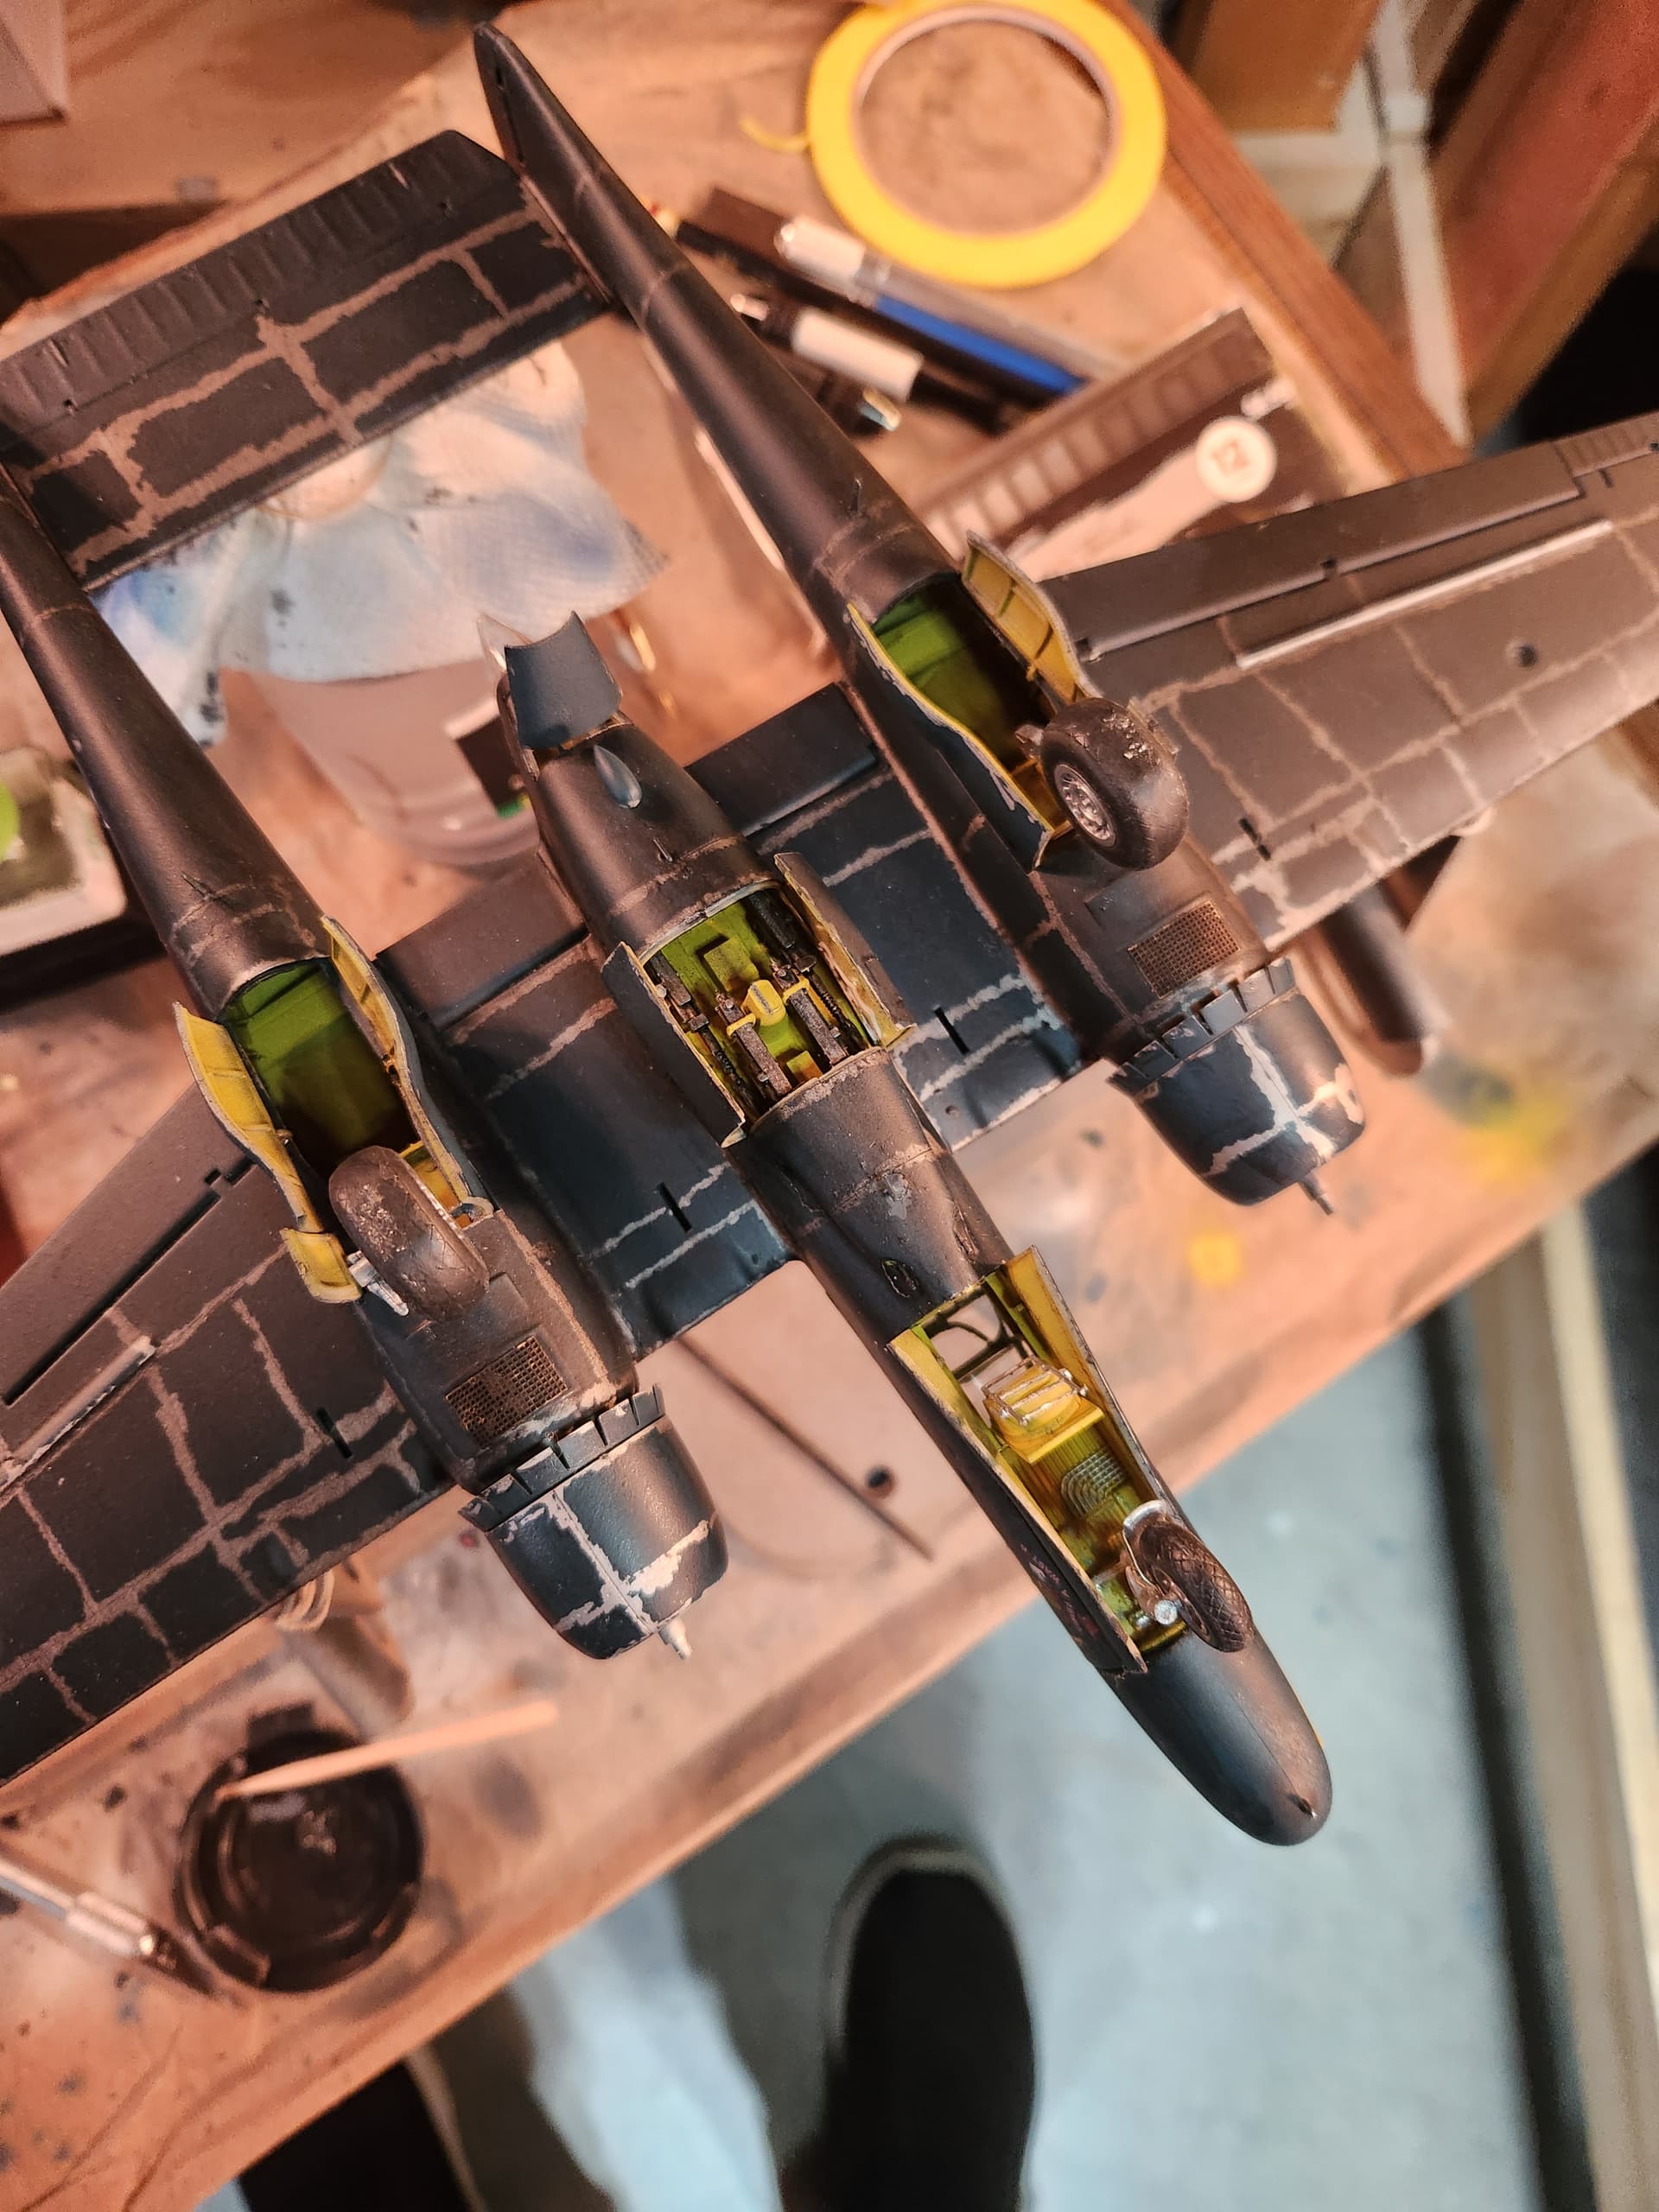
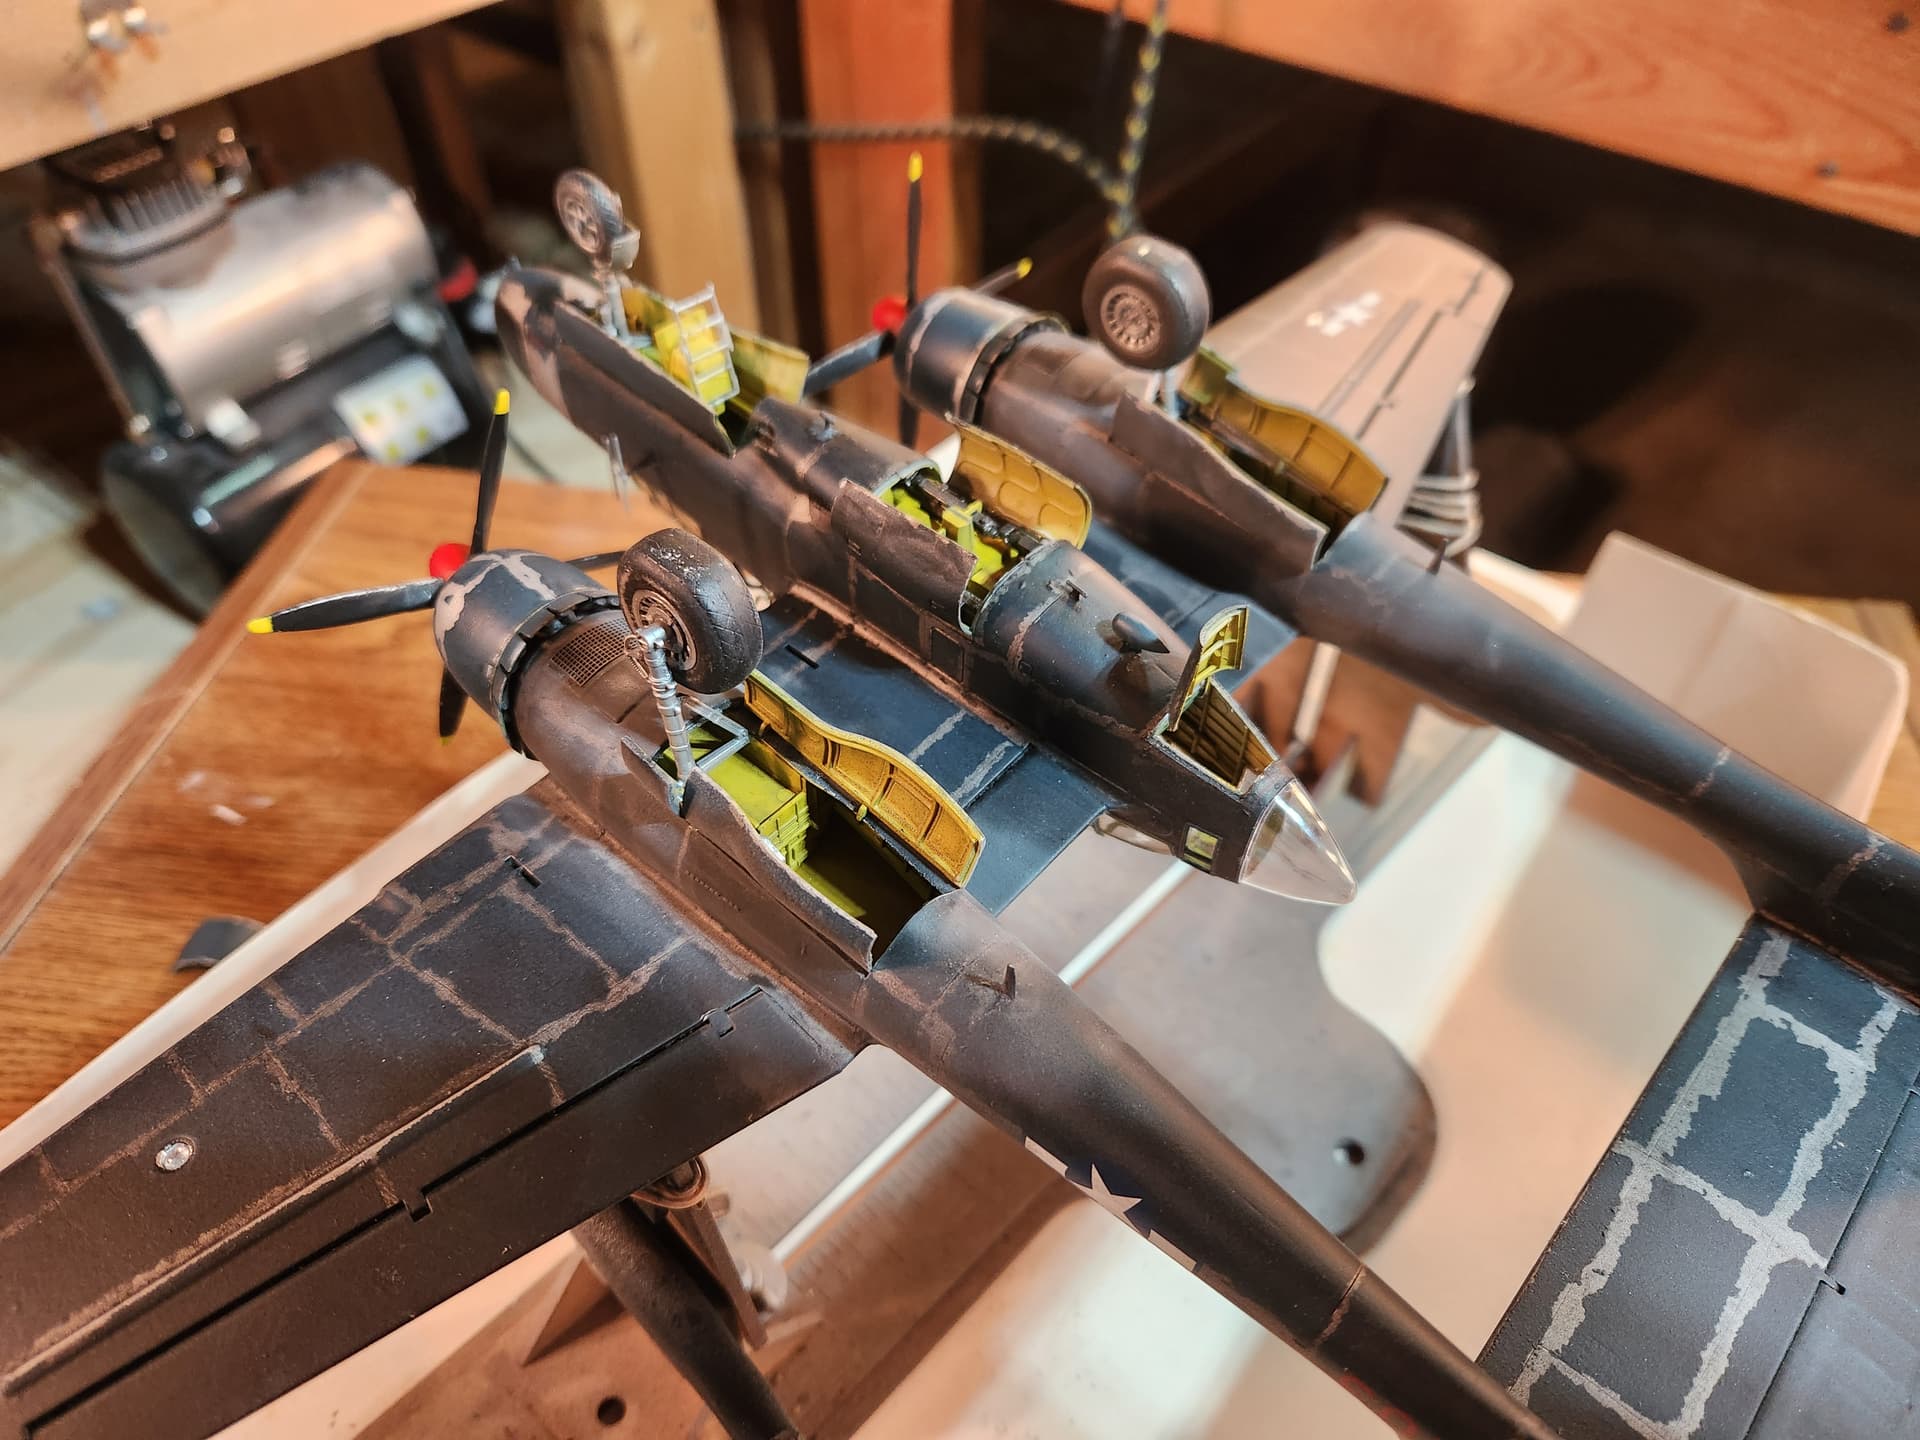
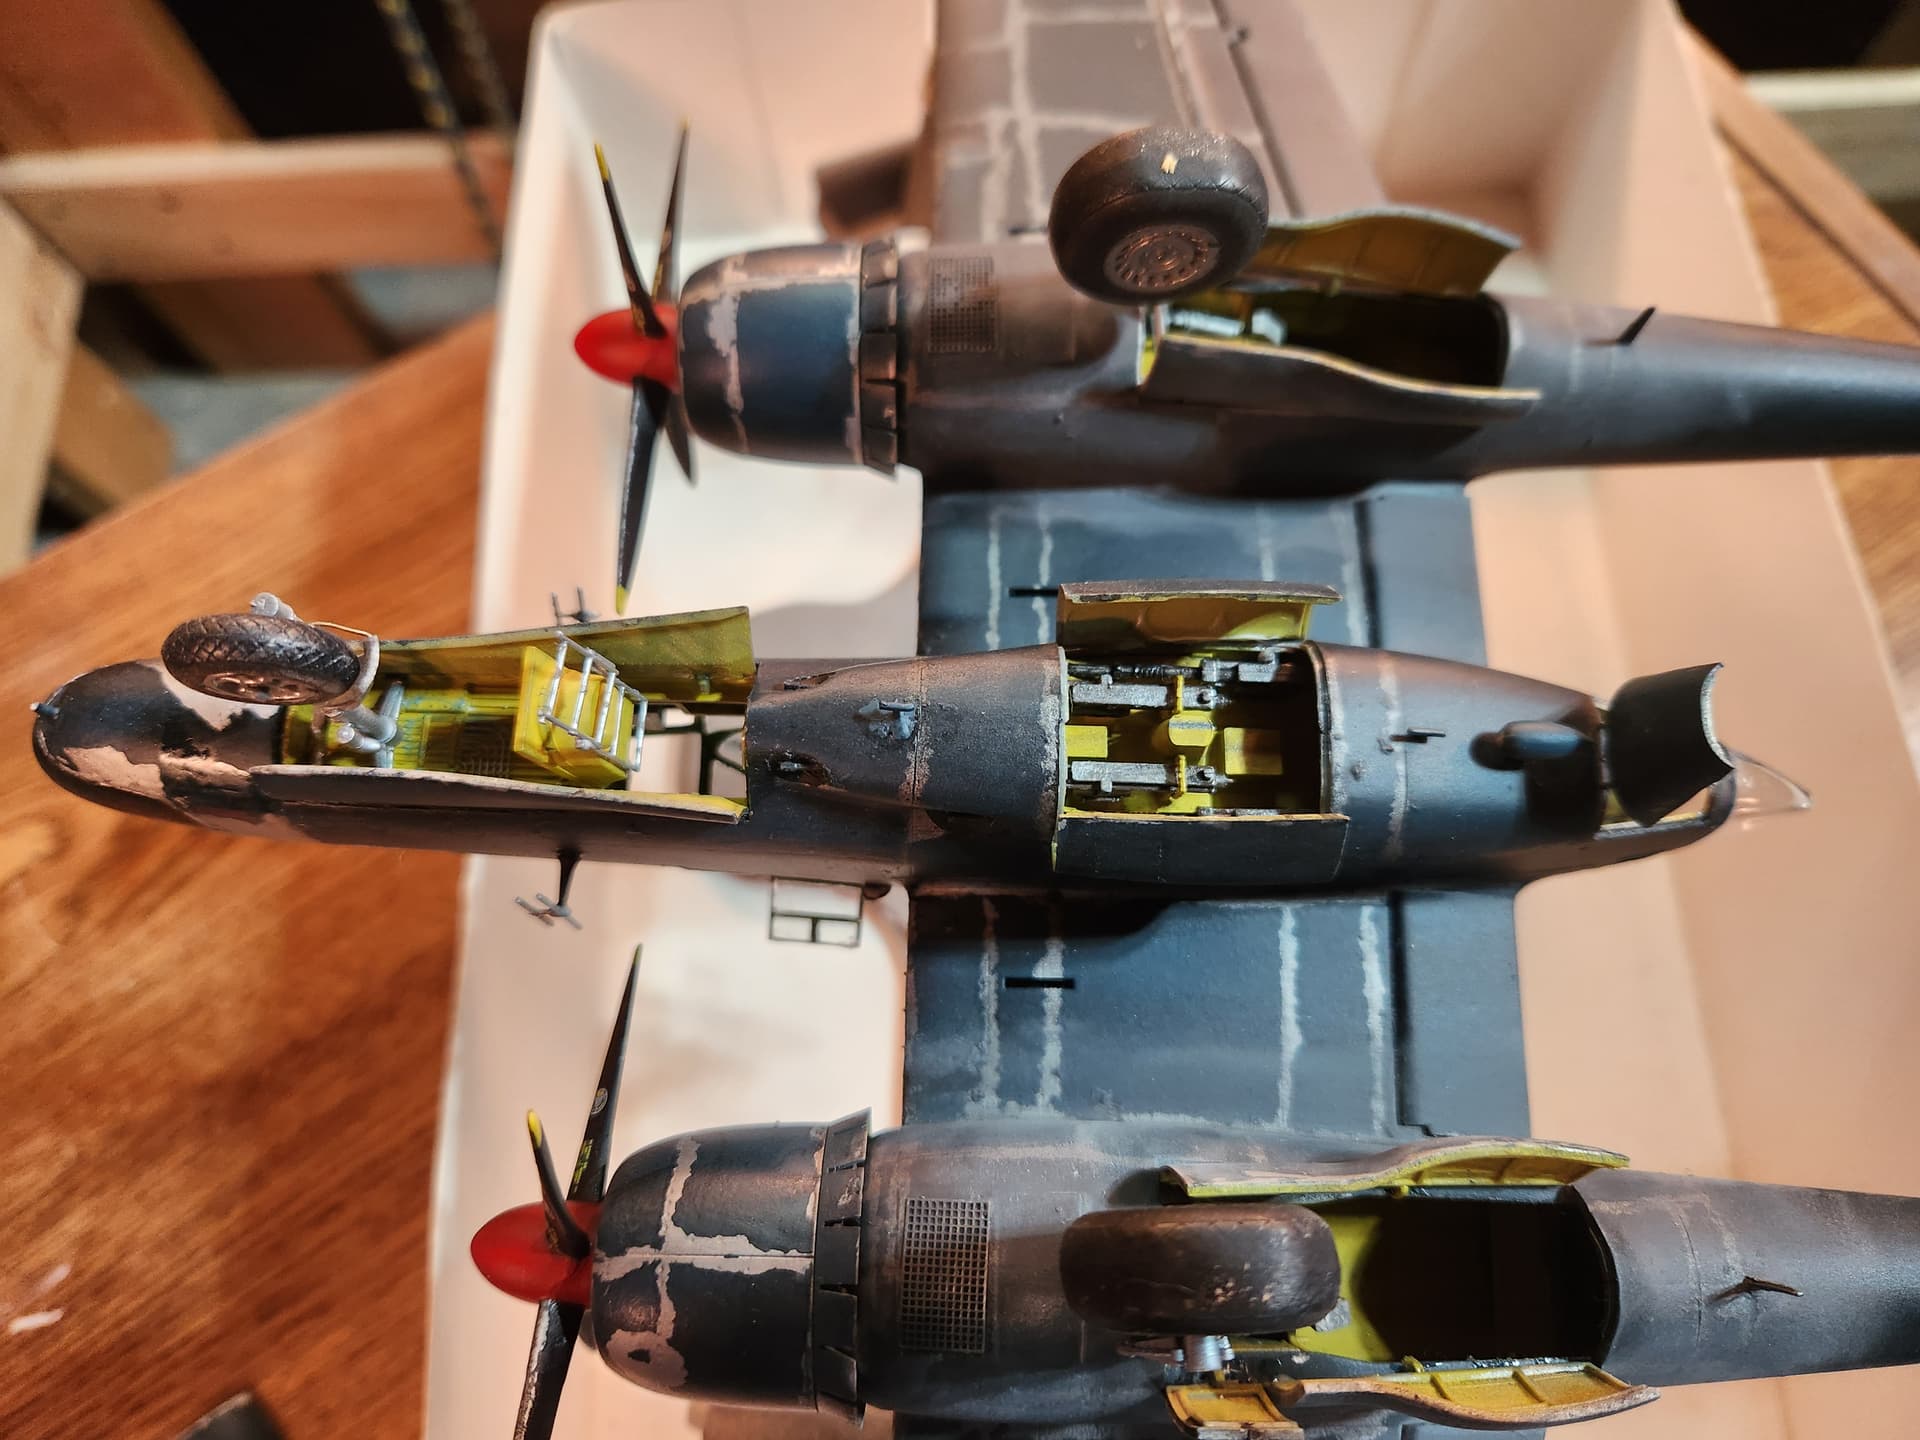
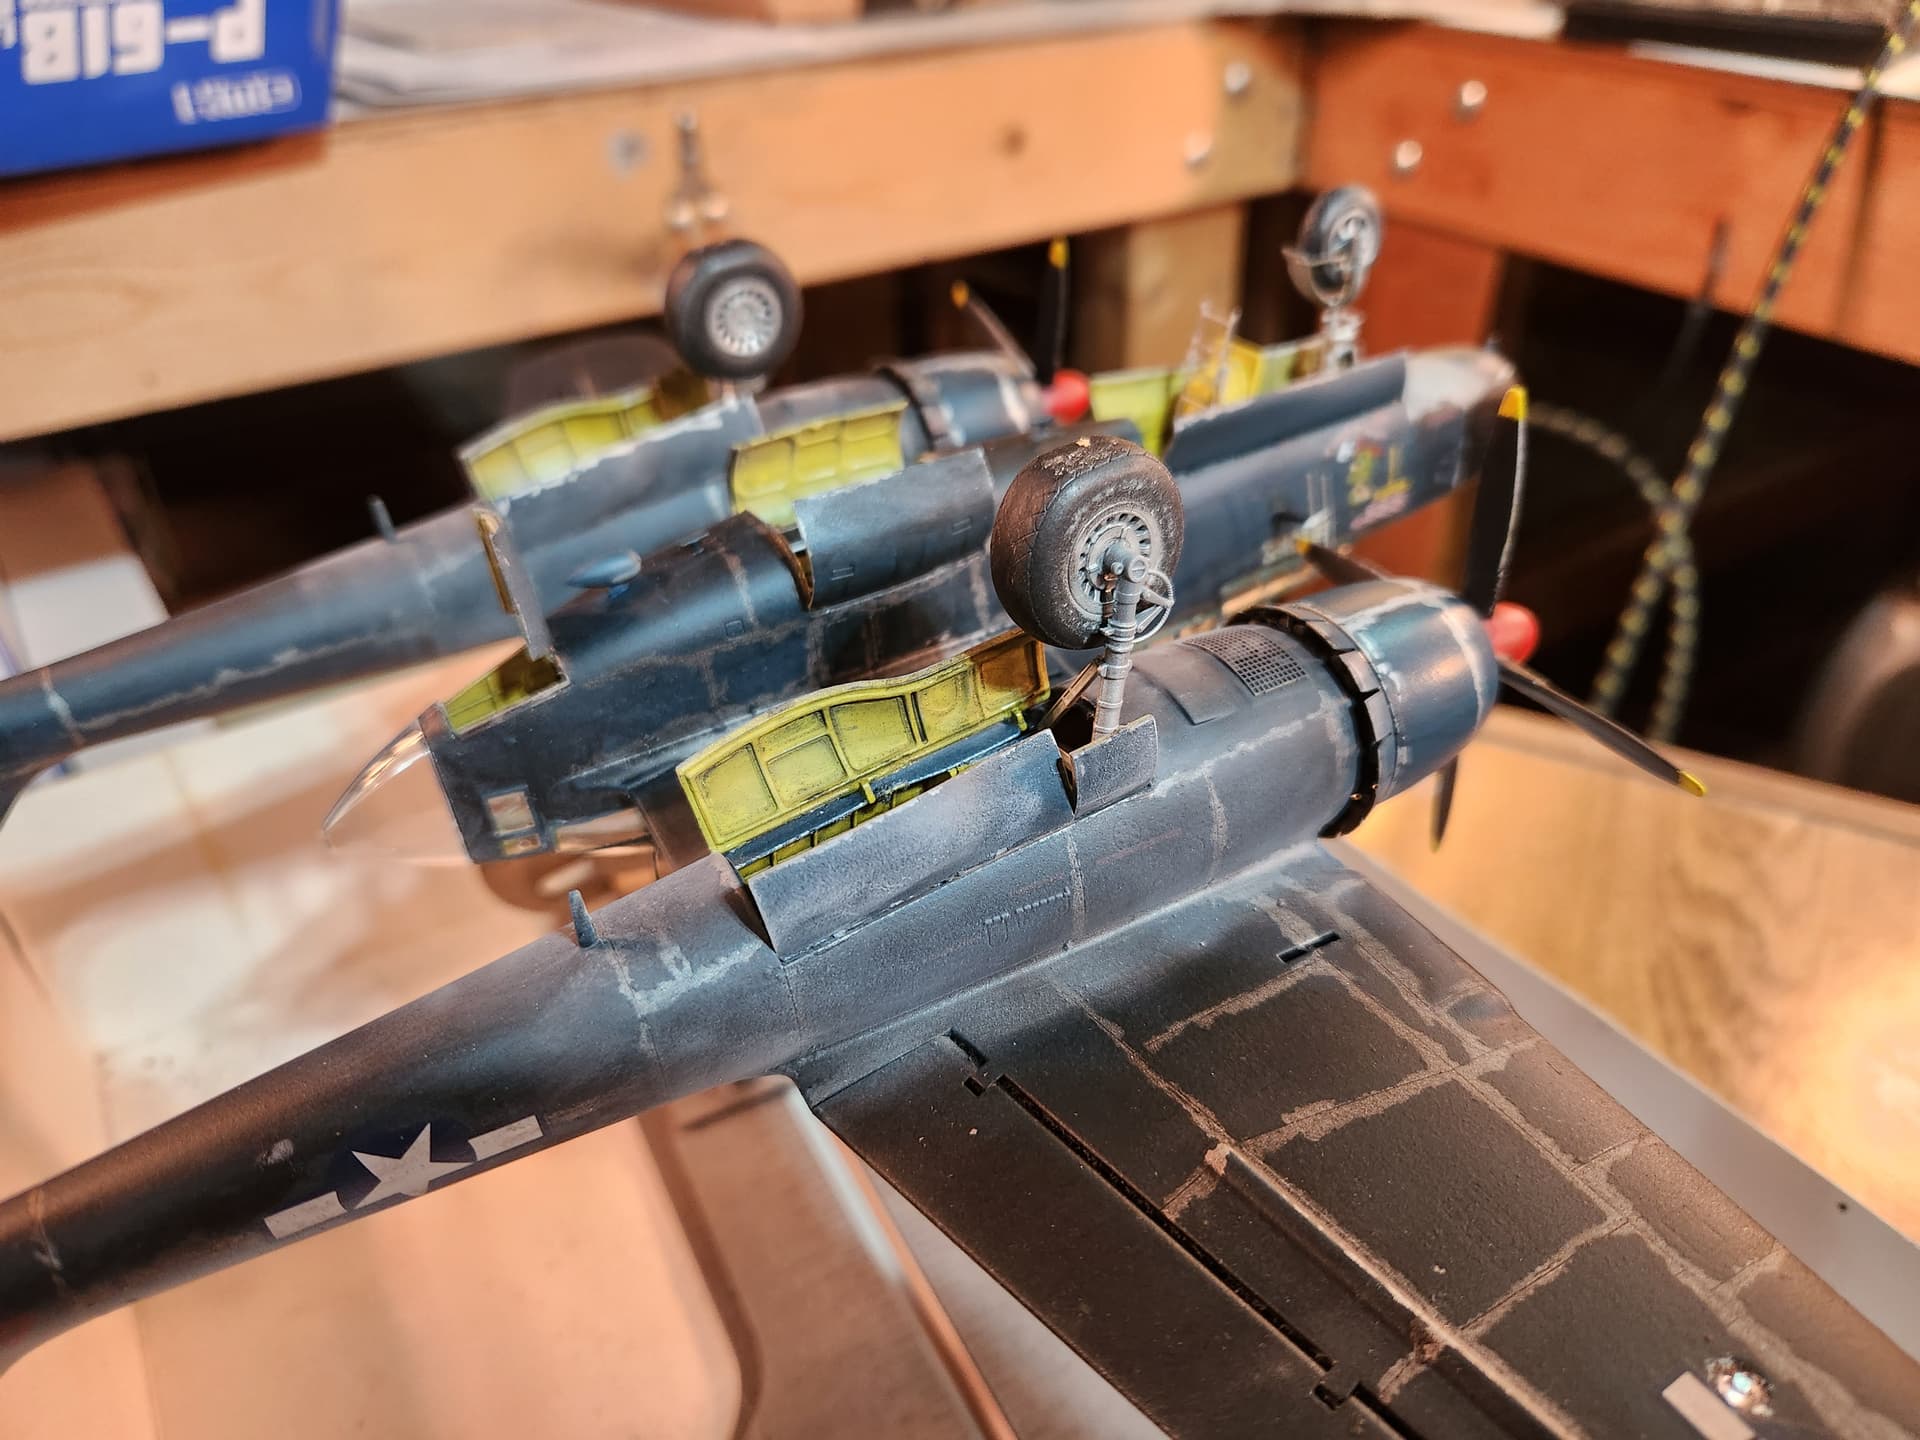
All the crew areas are interior green and all of the bays and wheel wells are zinc chromate yellow.
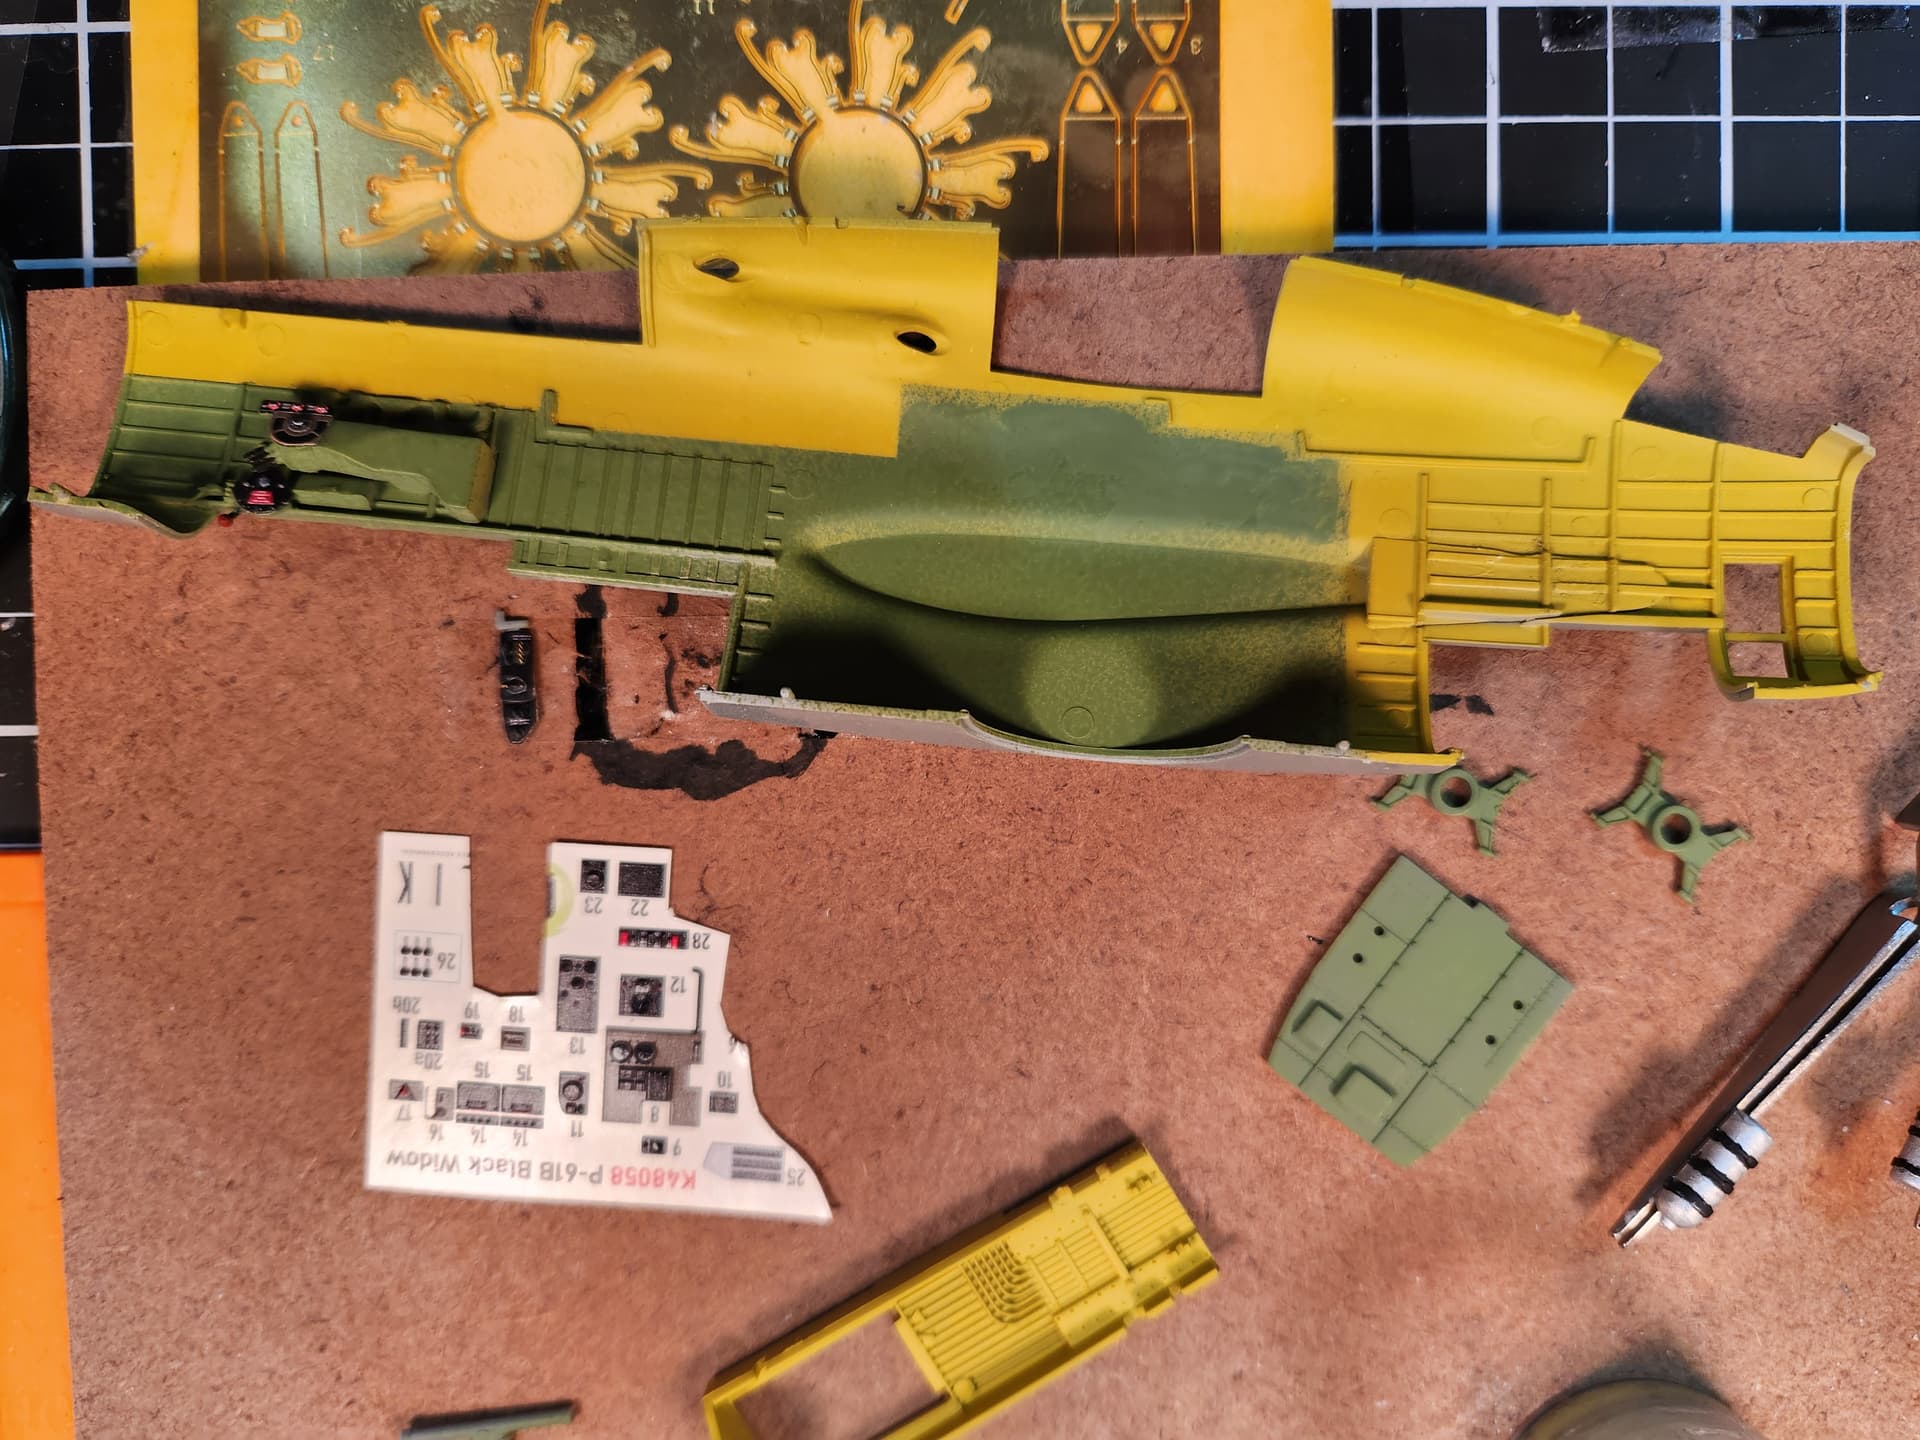
Here is the interior:

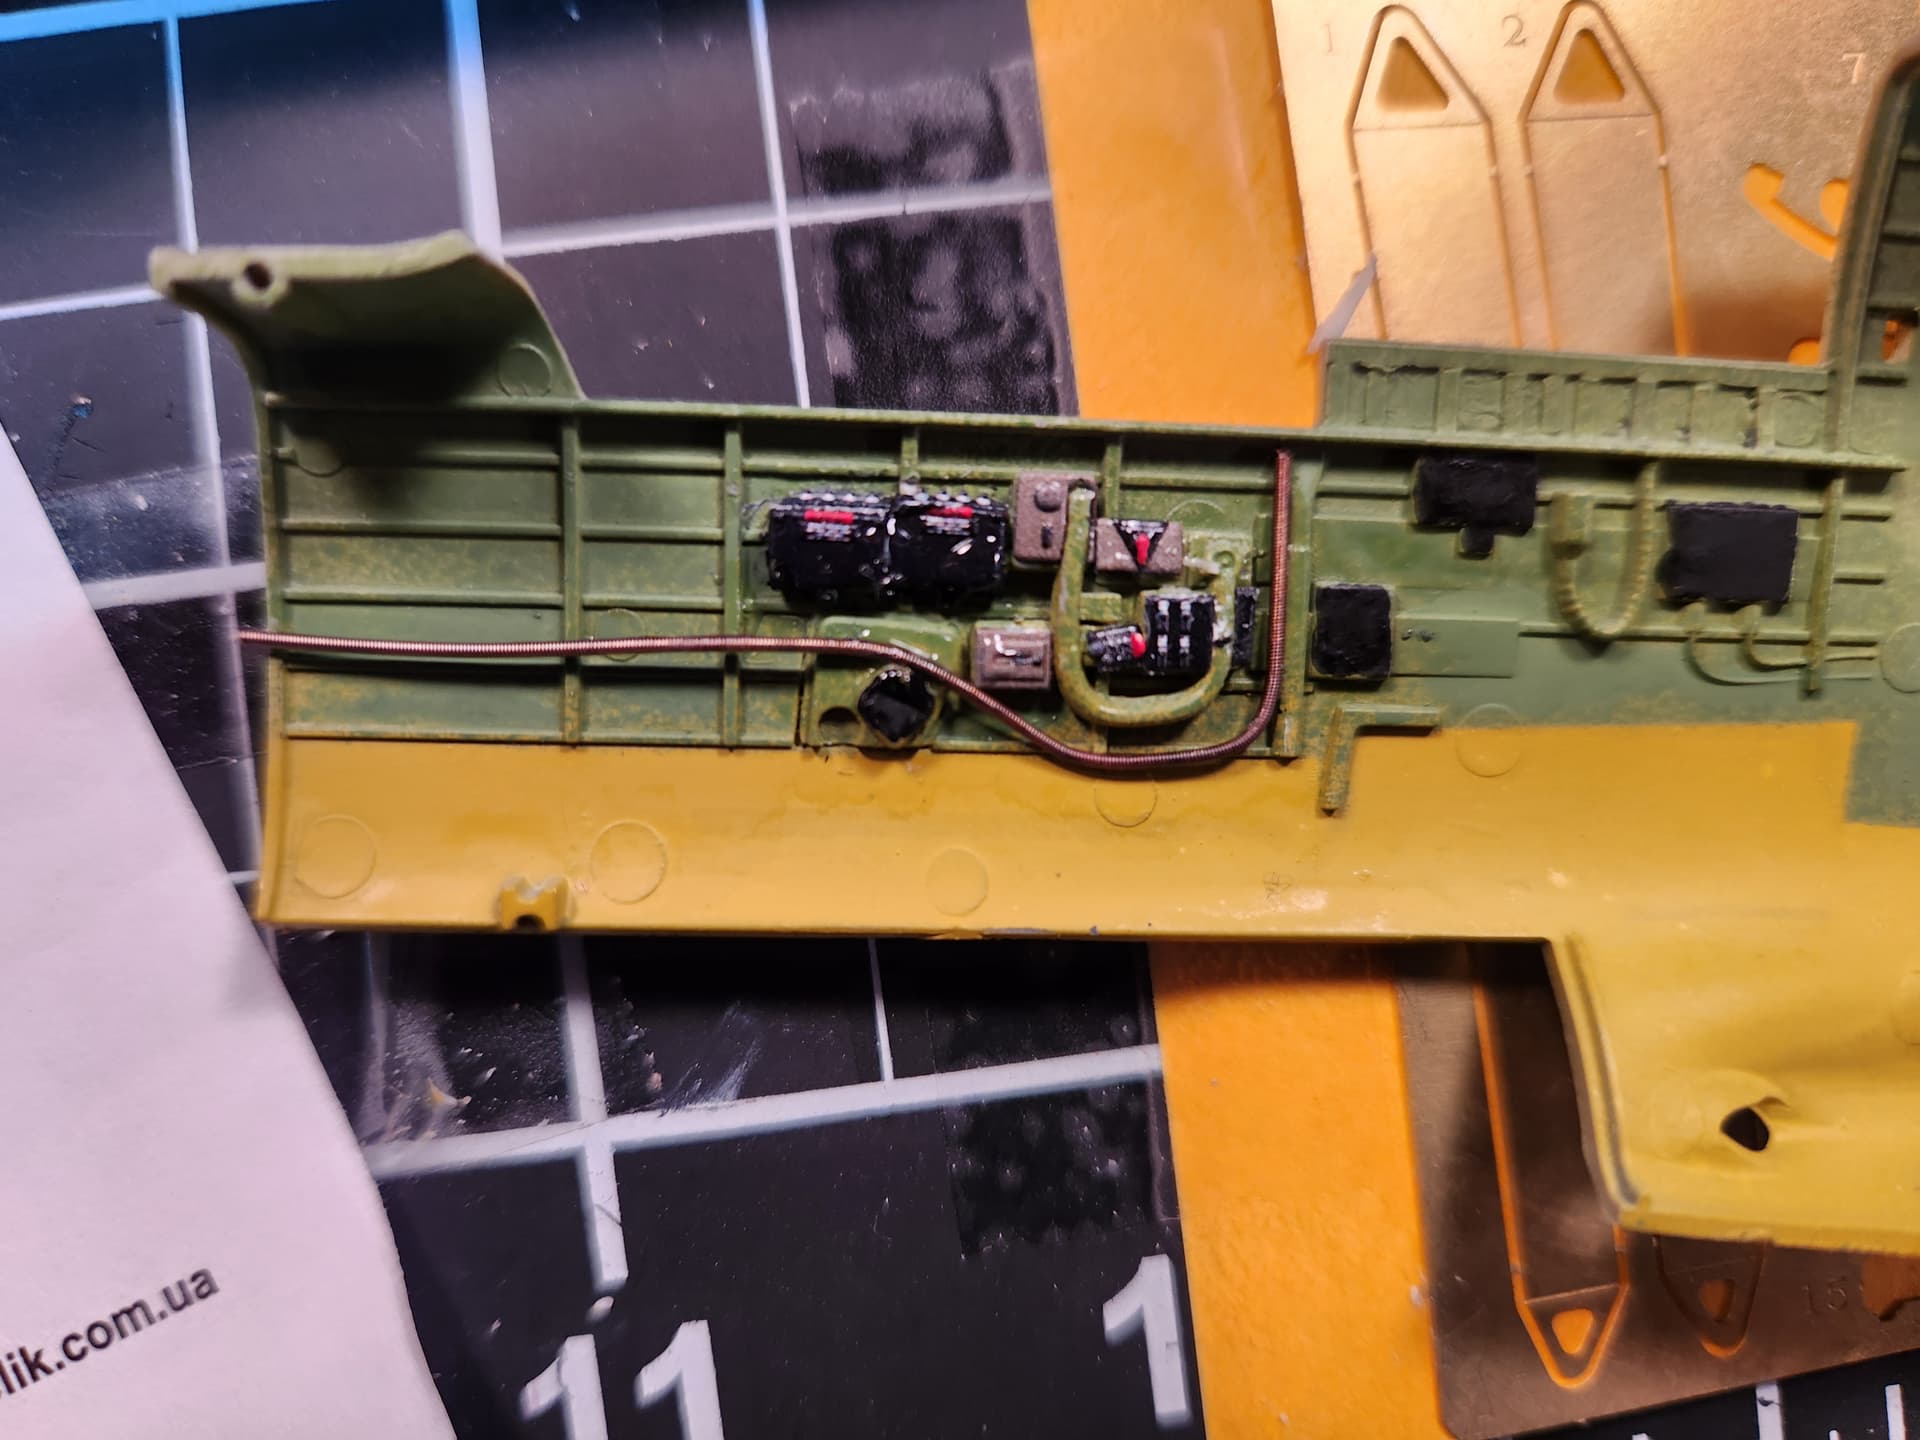
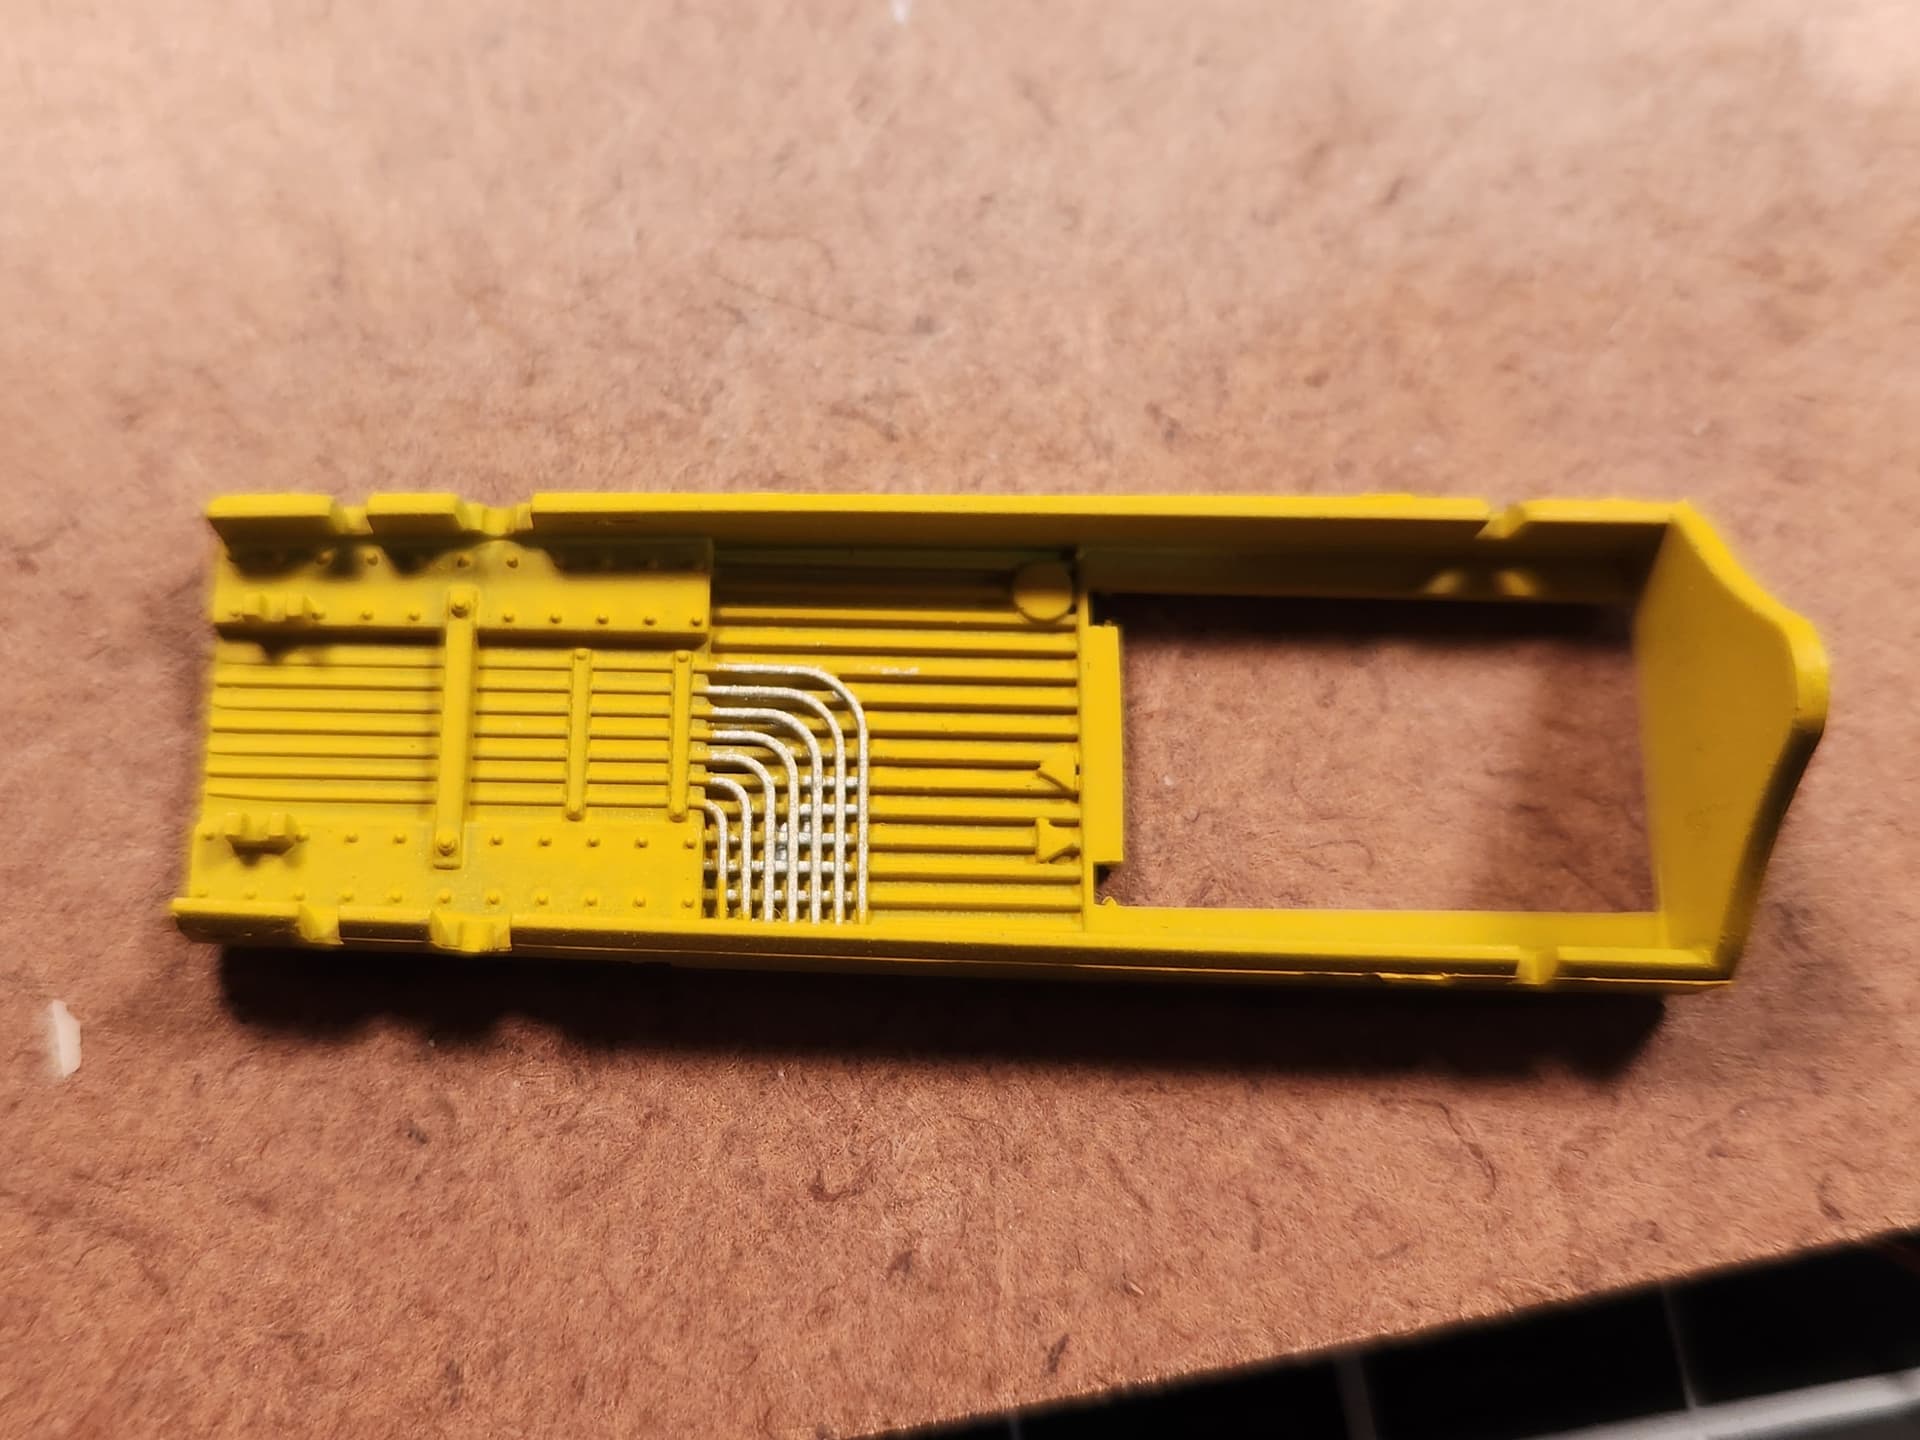
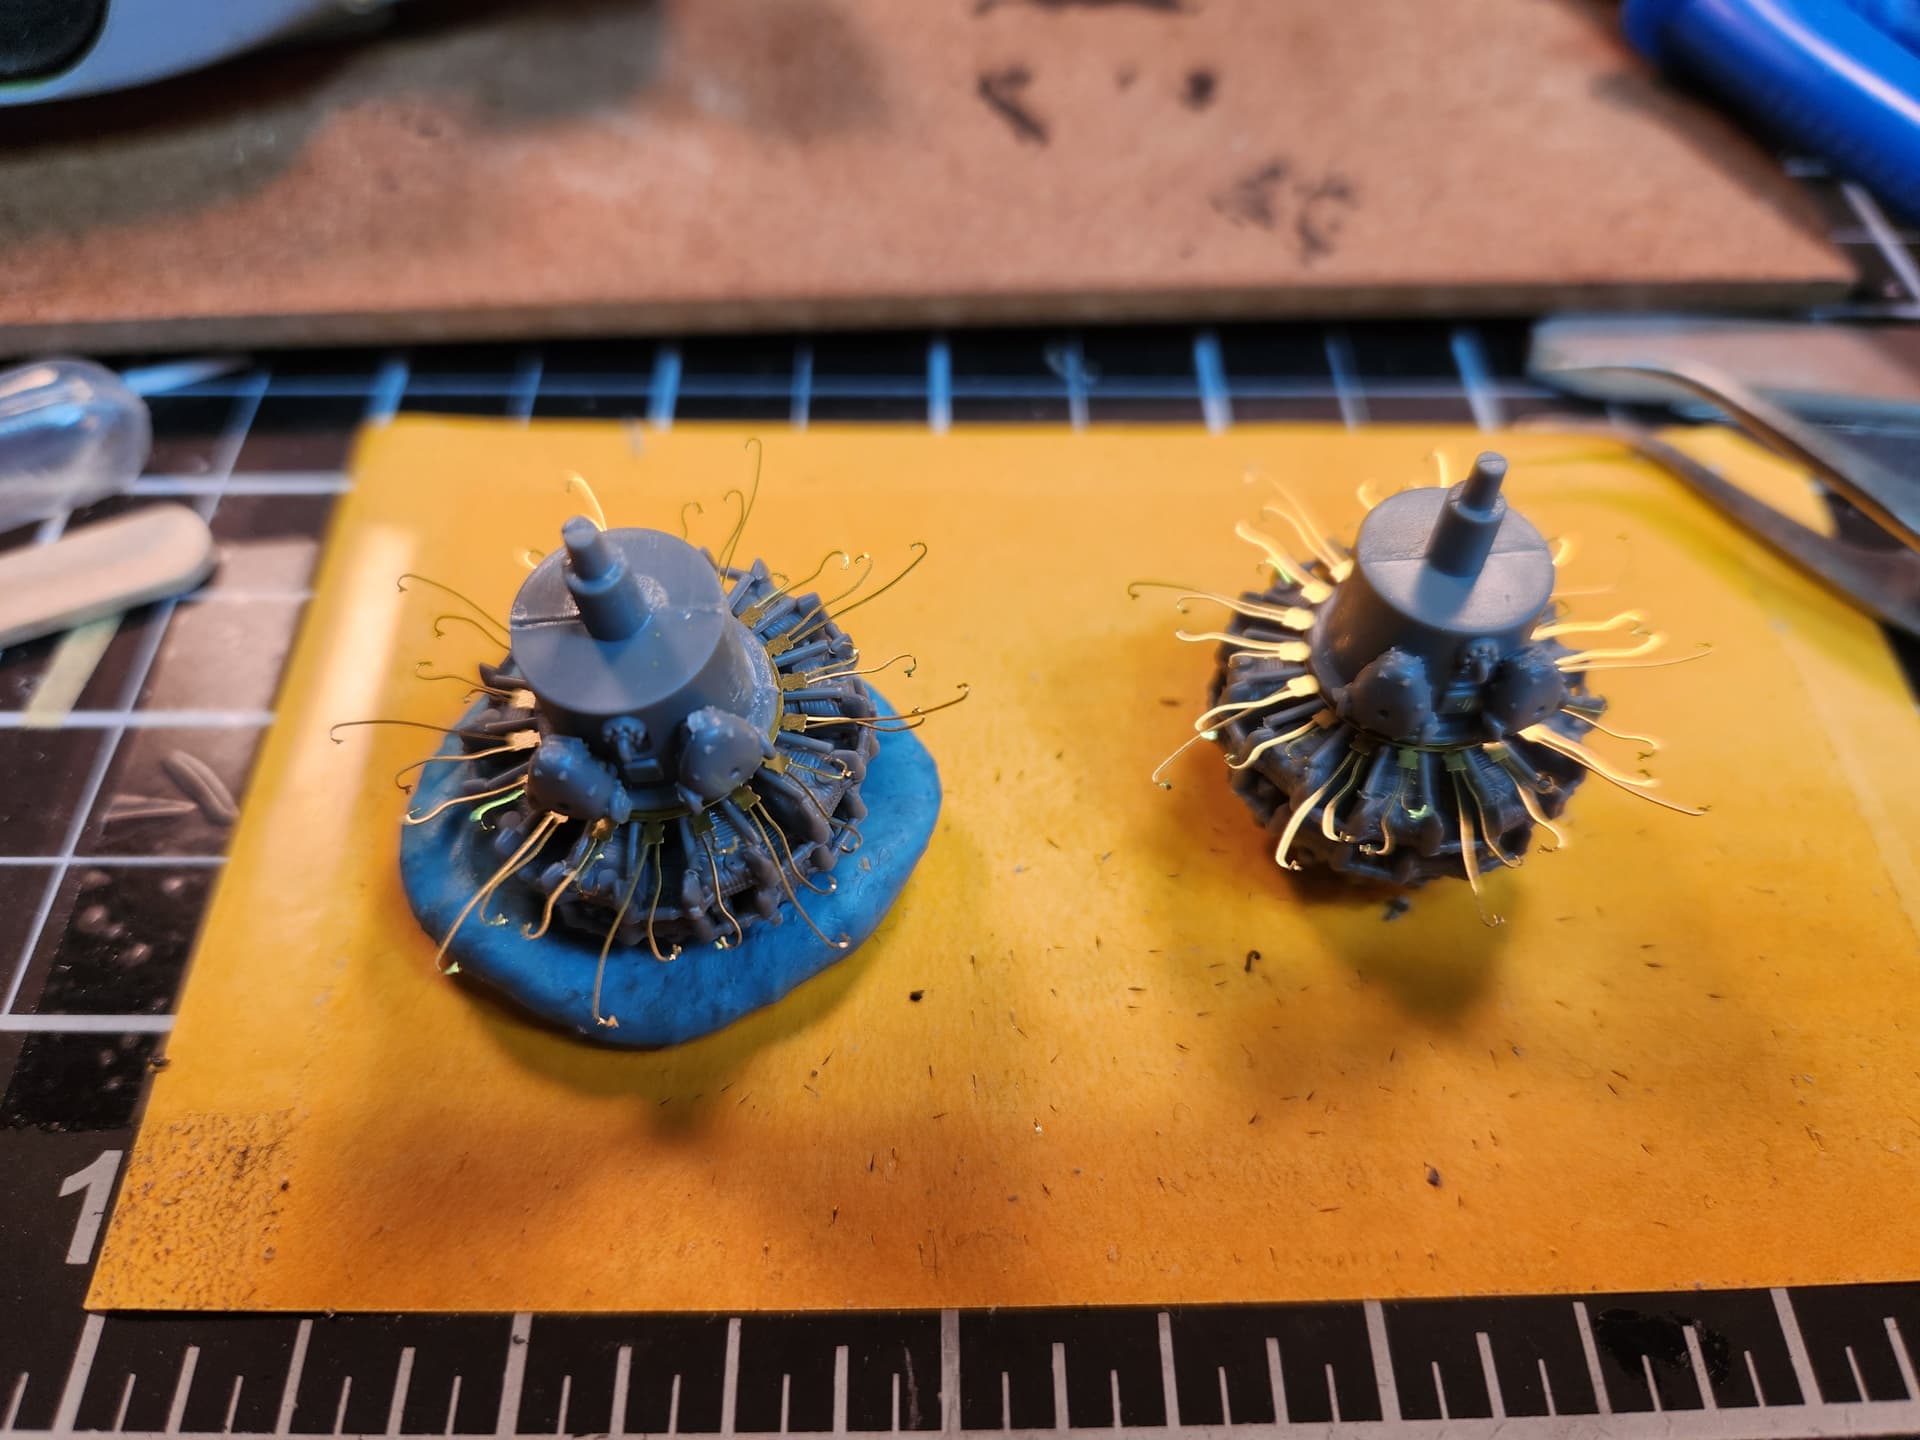
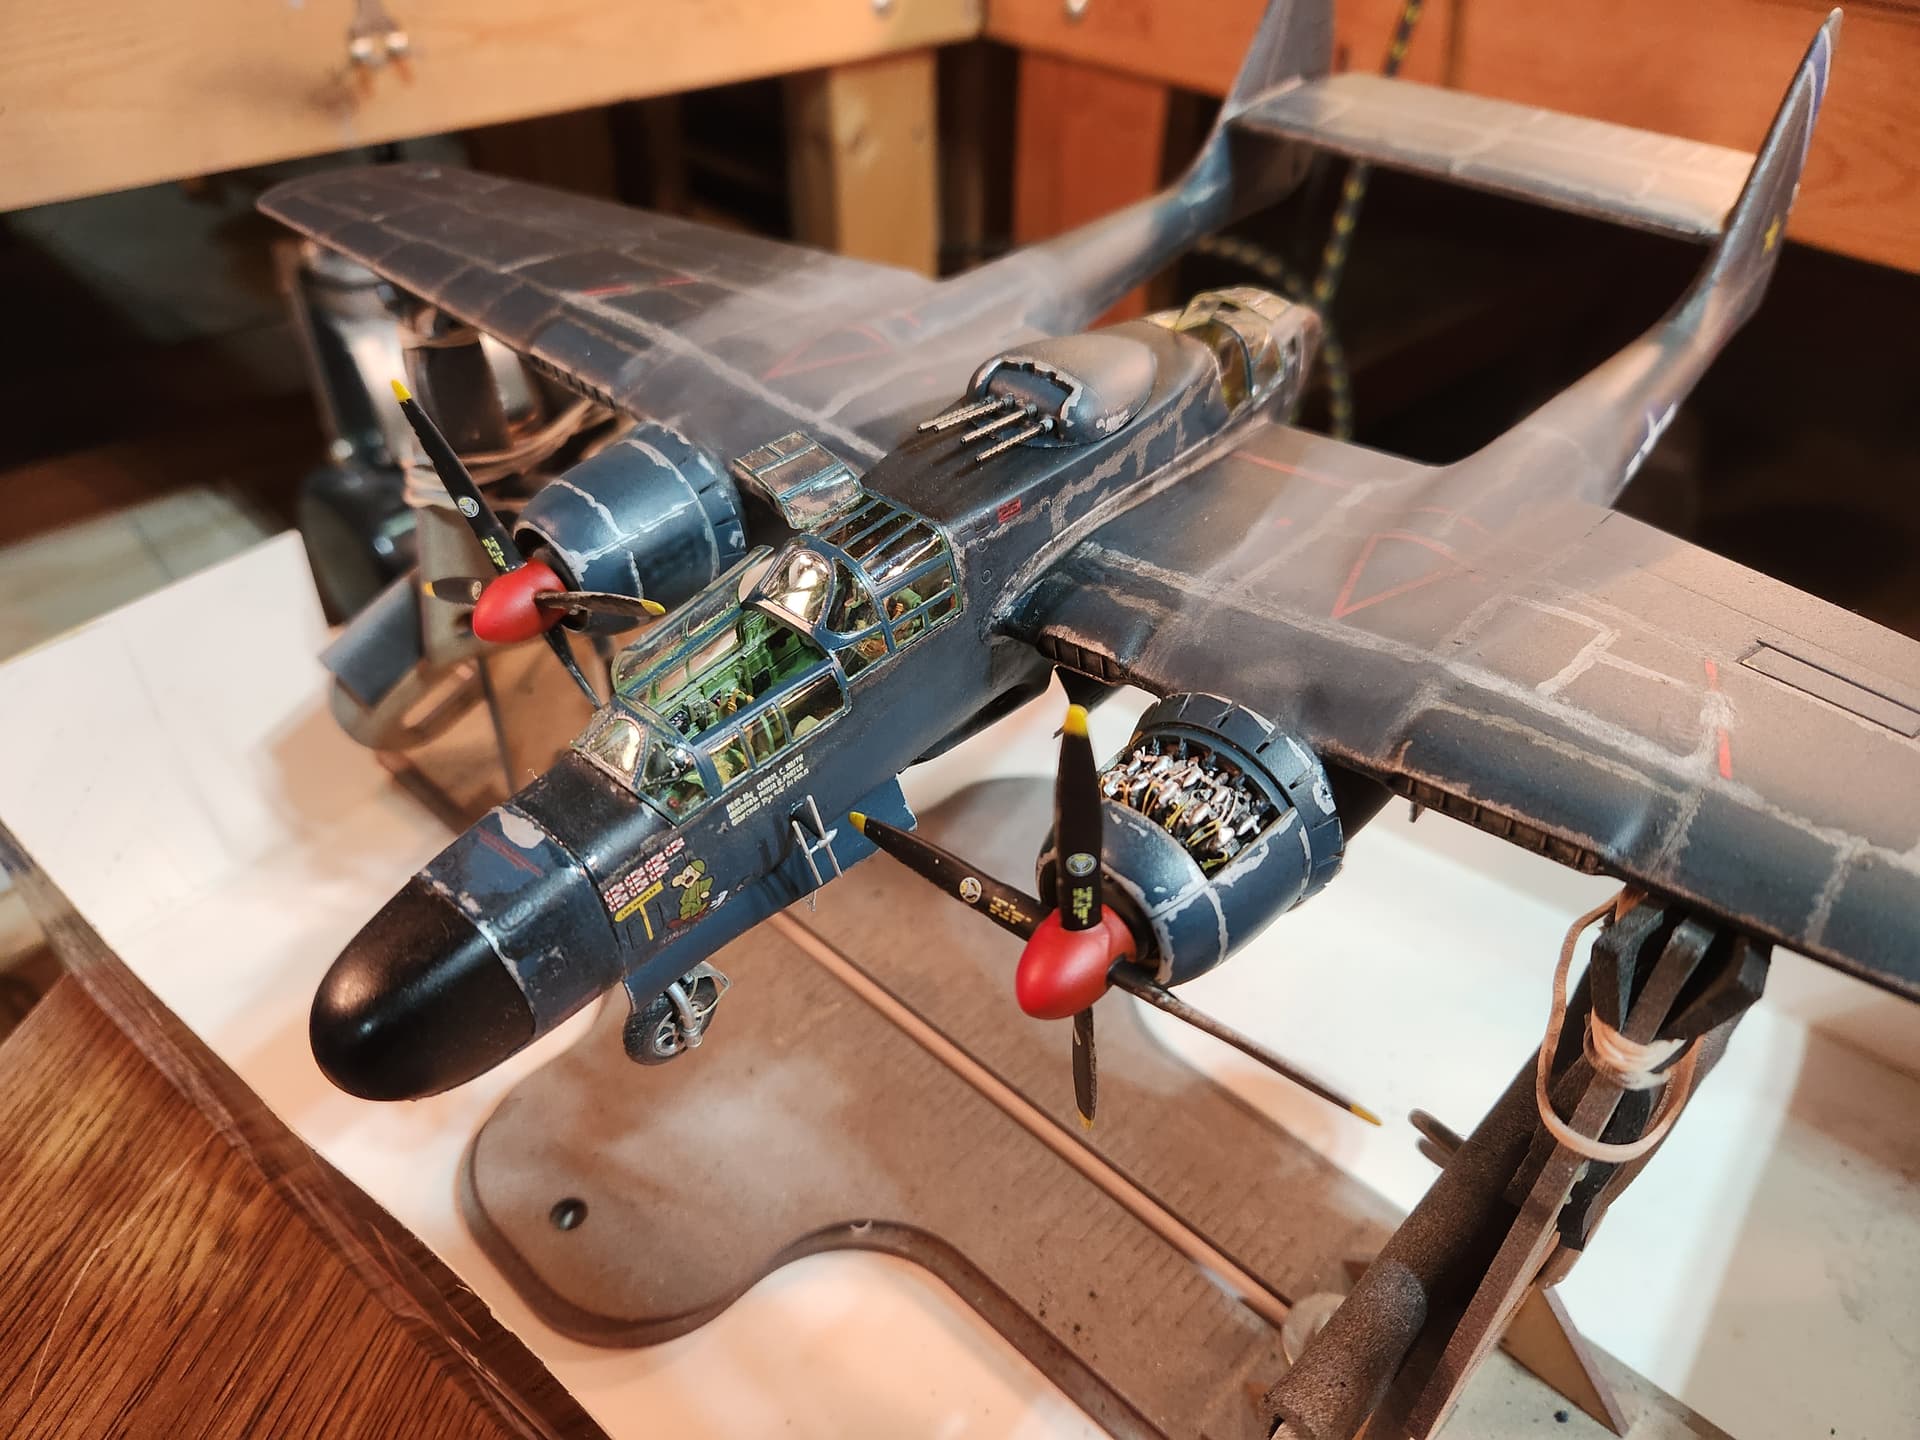
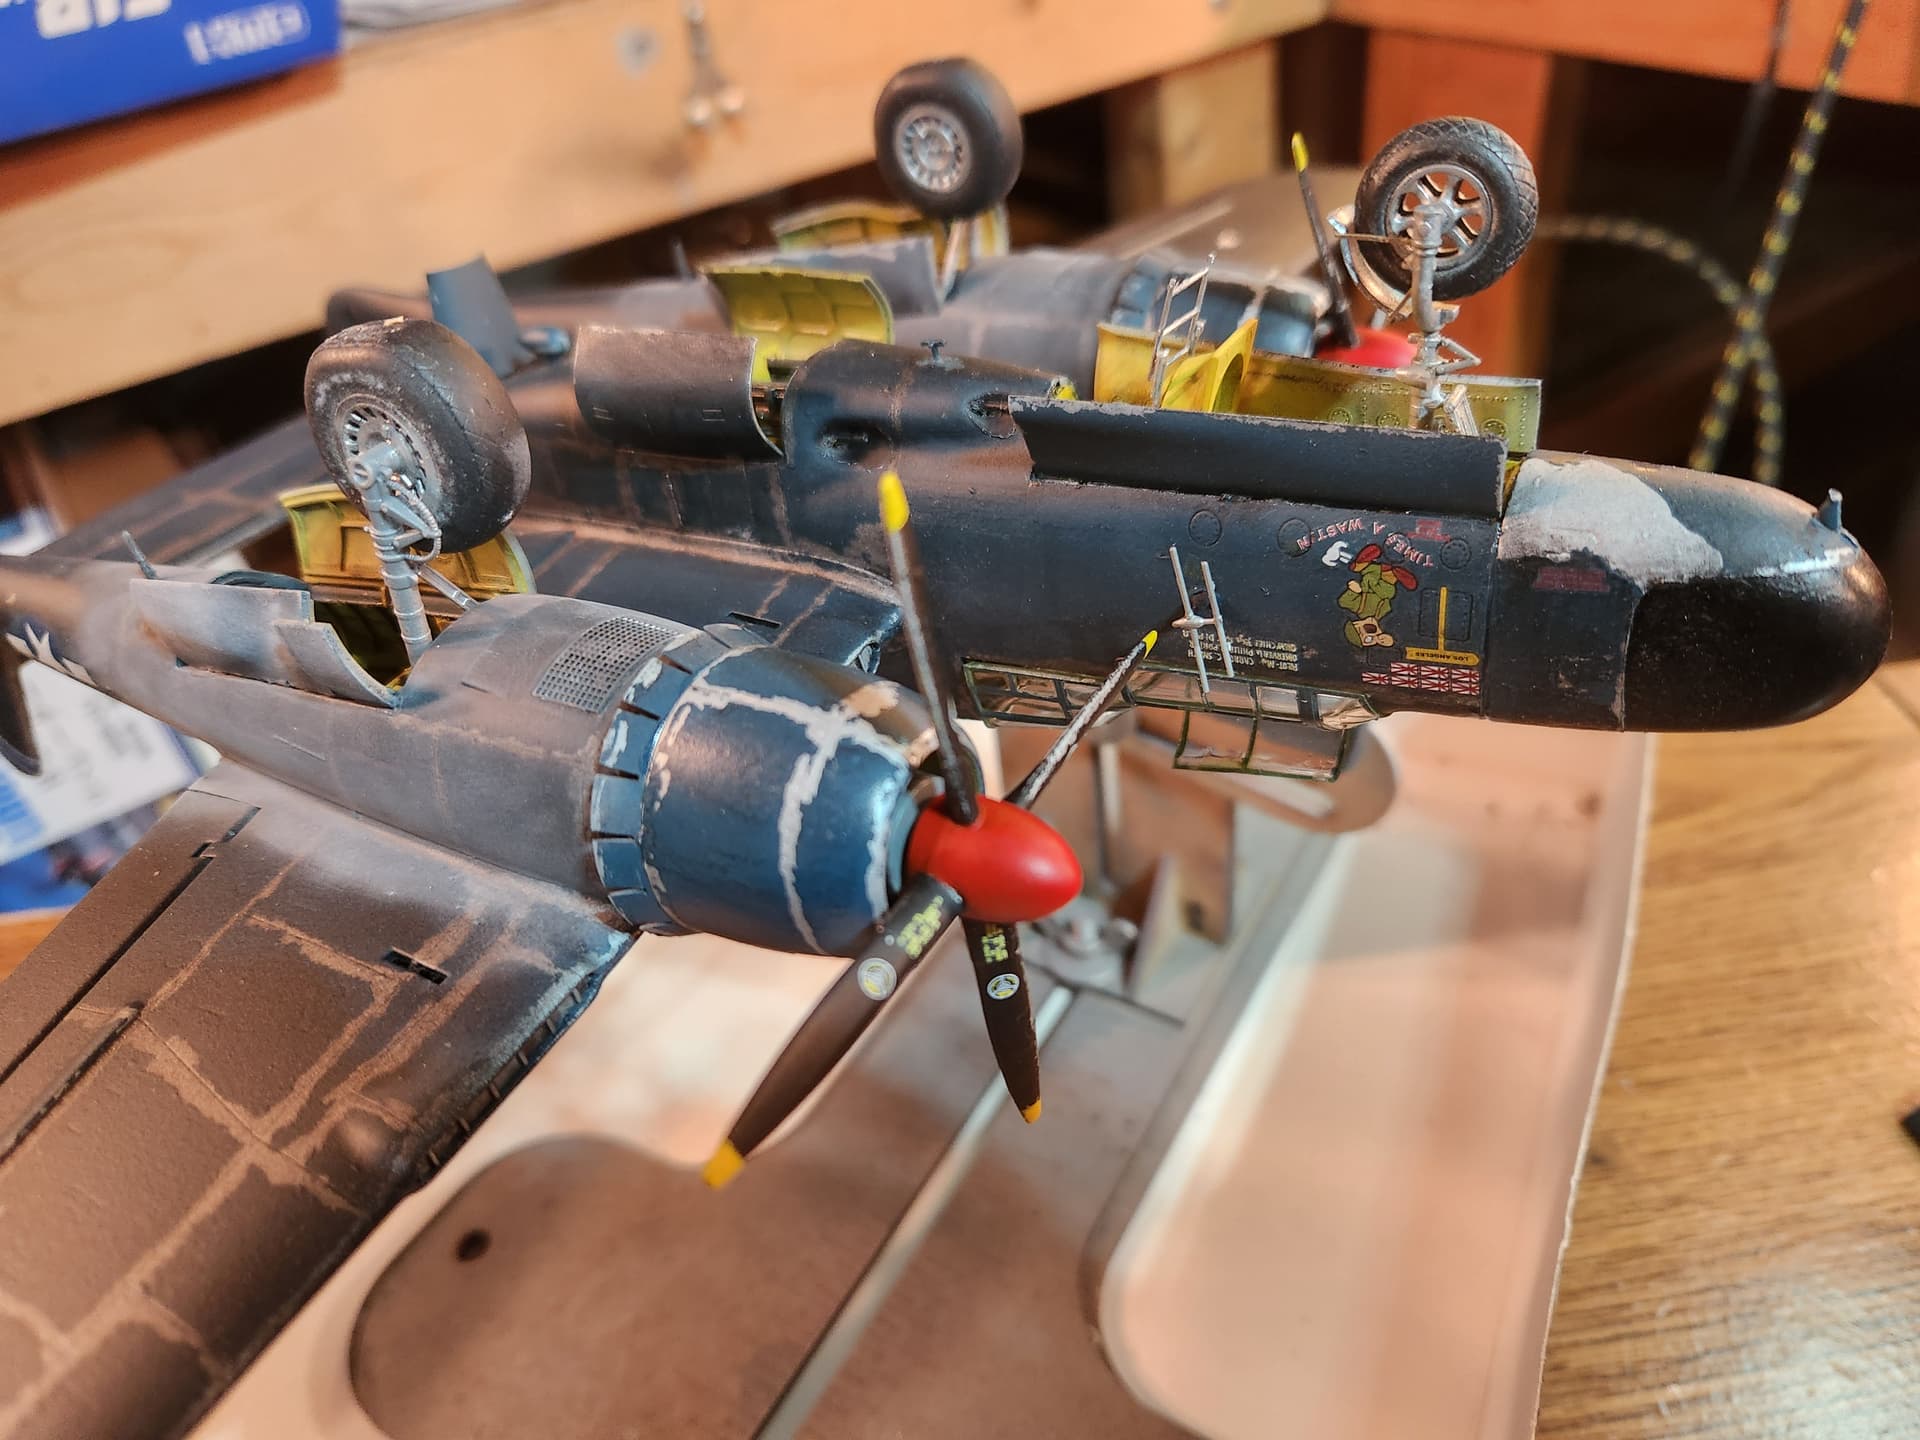
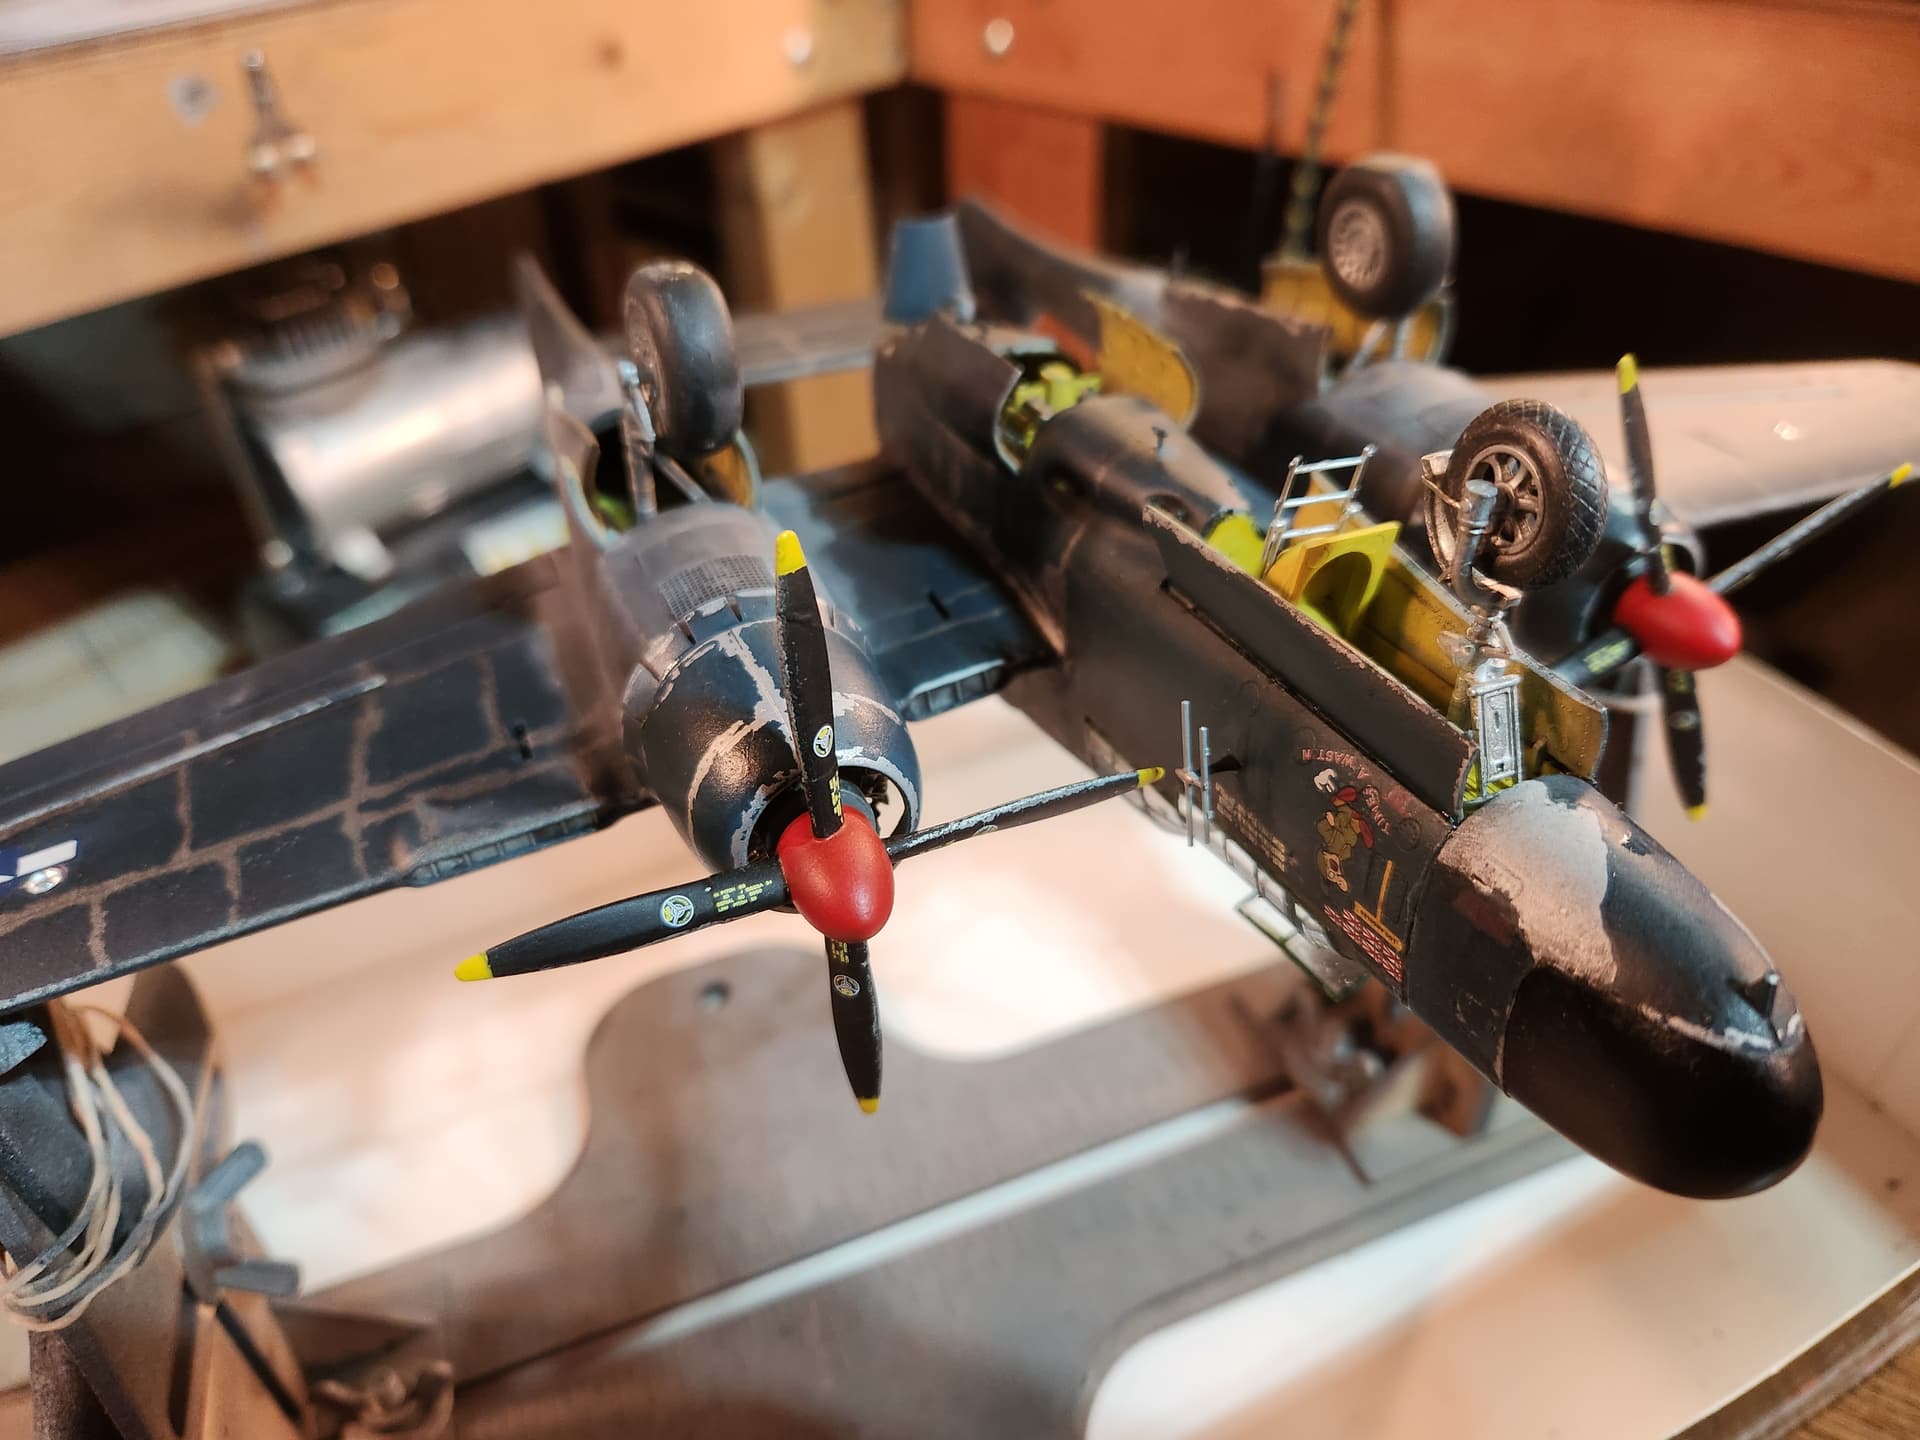
Now the engines! The kit engines were really good so I used those along with the photo-etch wiring harness included with the kit.
Then I sealed up the fuselage halves.

I built the wings and booms (the various moveable surfaces on the wings kept popping out so I glued them in place) and the primed with Mr. Surfacer 500 (spray can) and sanded the seams on everything. I put the booms together with the tail plane and the fuselage and that was a bear.
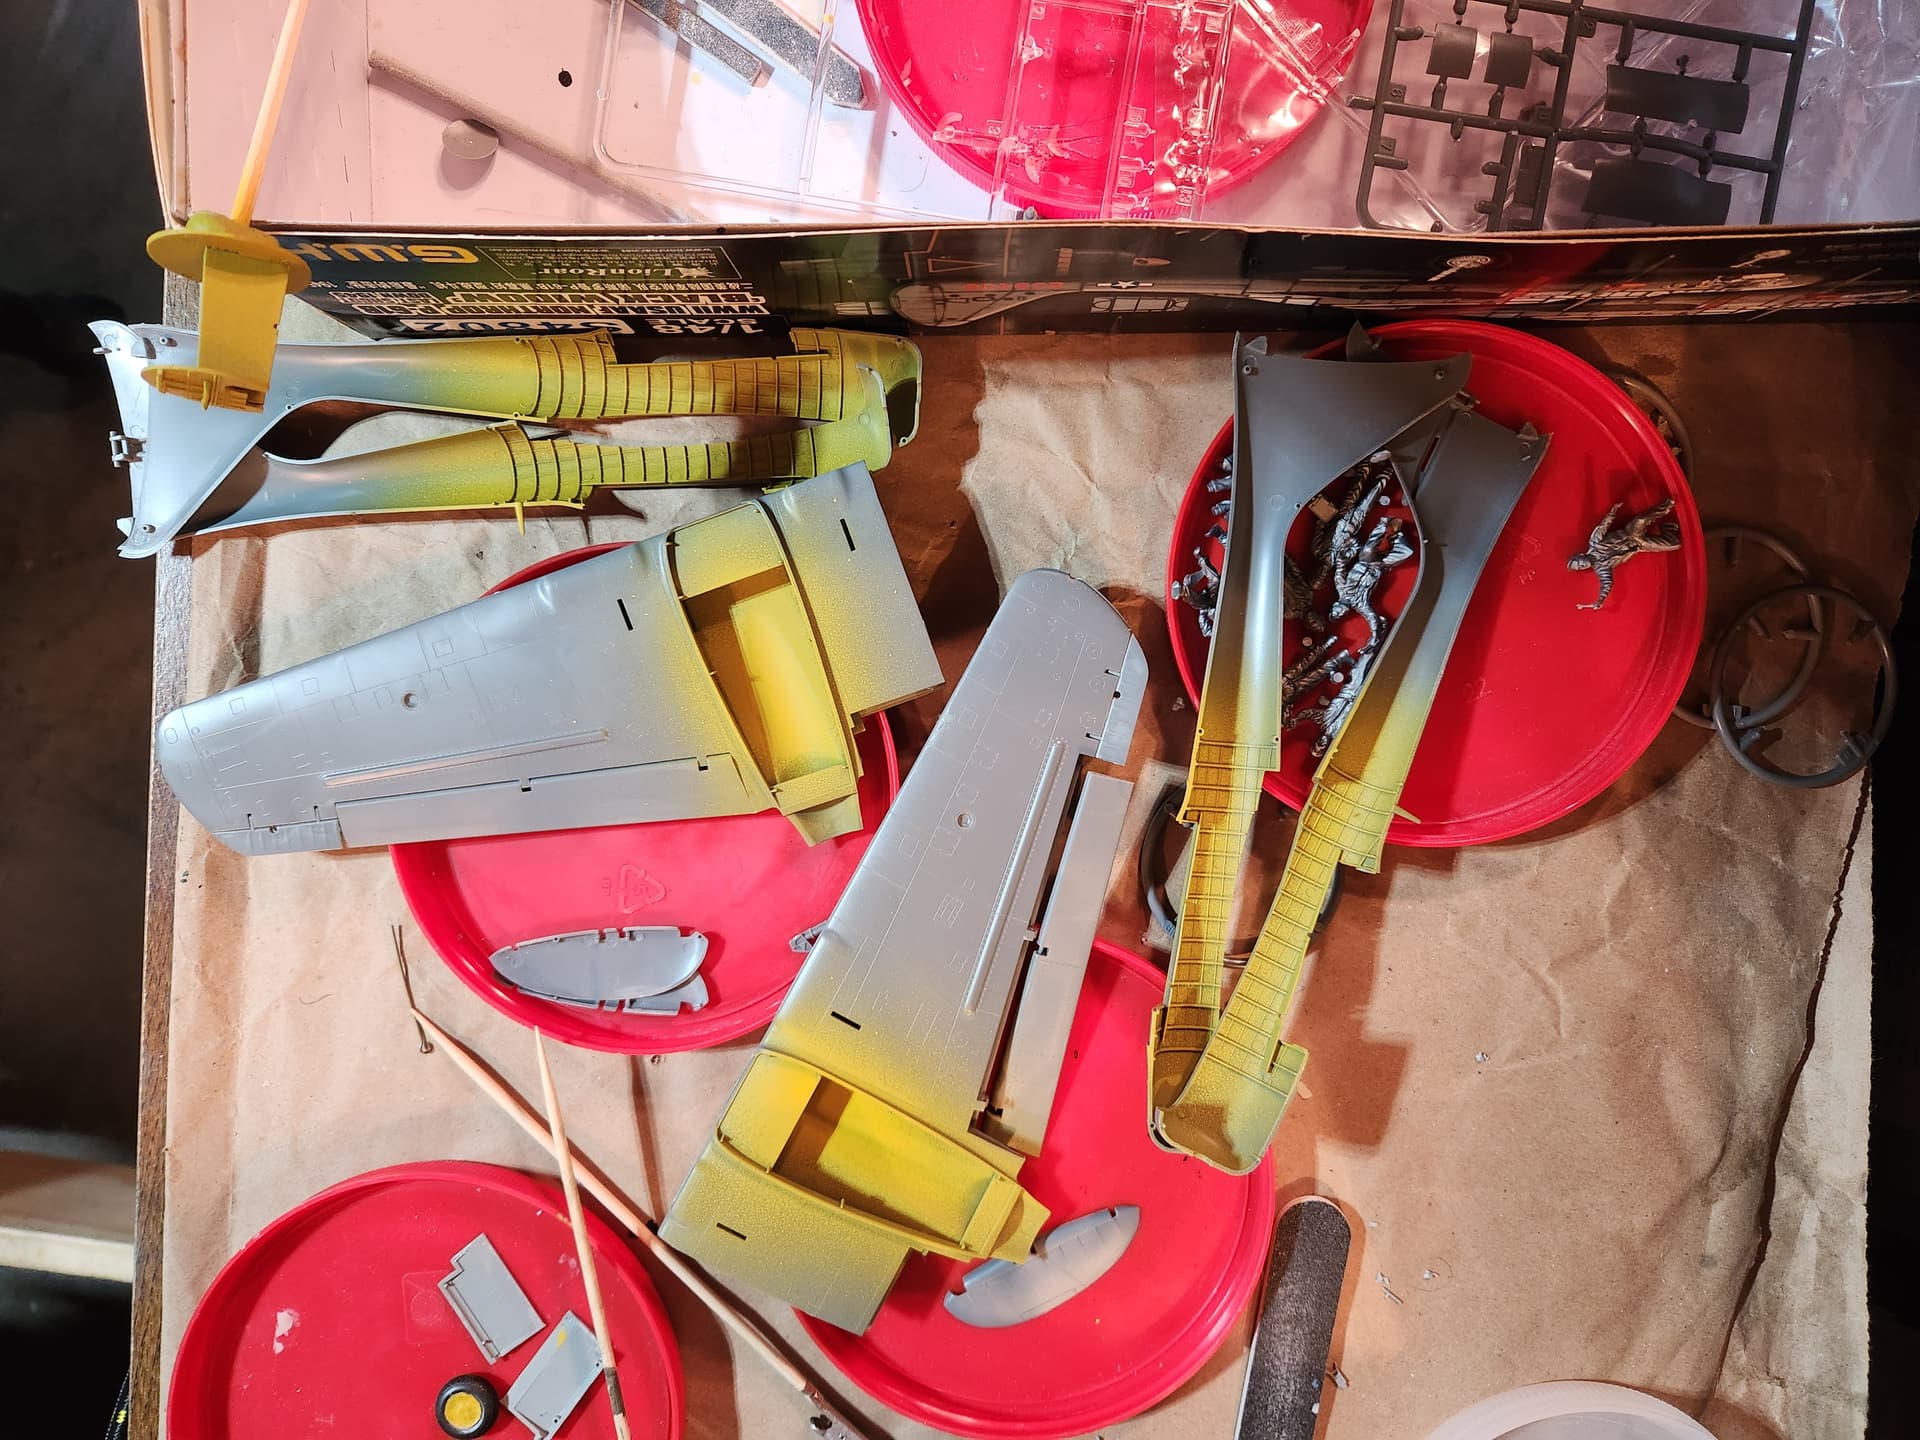
Next, I sprayed painted a base coat of Tamiya’s new Natural Metal paint in a spray can and I was pleased with it.
I sprayed the entire thing with Testor’s dullcoat and the sprayed it with AK Heavy Chipping fluid. Since there is no such thing as black once you get to the field I decided on a really dark blue. I test sprayed four colors and chose AK’s Anthracite Gray which has a blue tinge to it and painted the plane with that. I then used a cotton swab wet with water and activated the chipping medium. I took off about twice what I wanted but you couldn’t stop the stuff. If I was going to do it again, I would just apply it with a brush exactly as I wanted it to turn out.
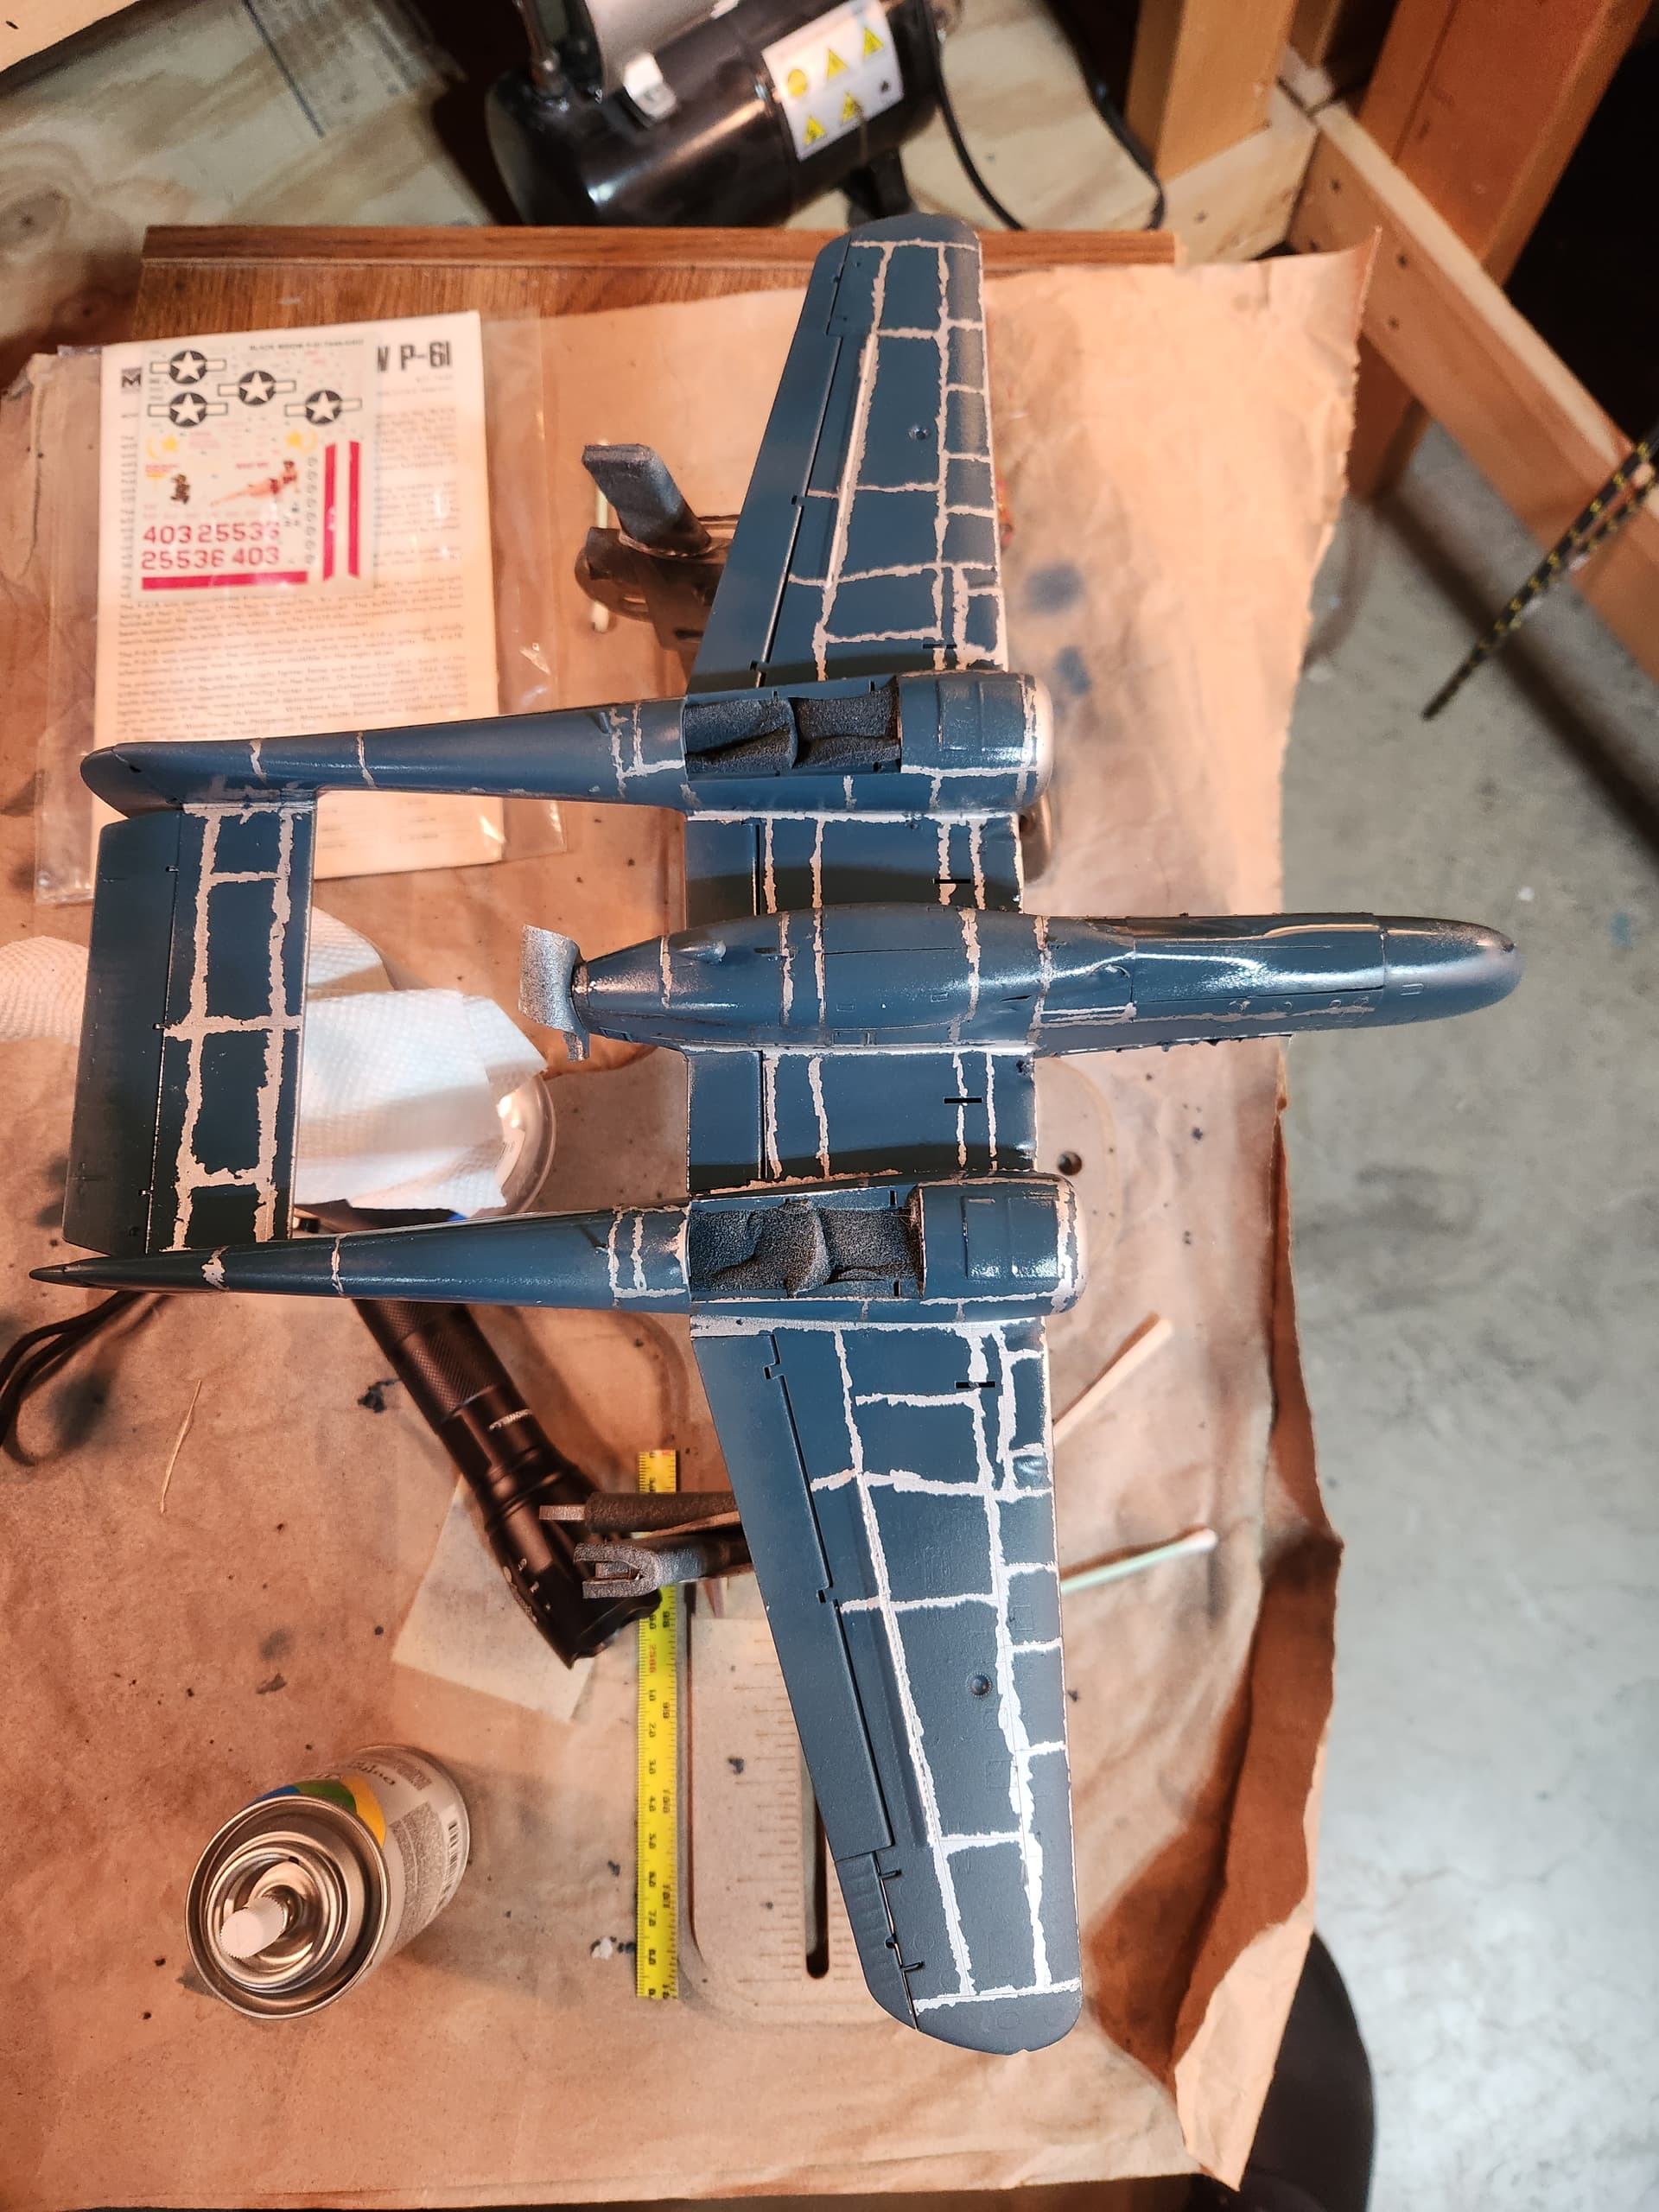

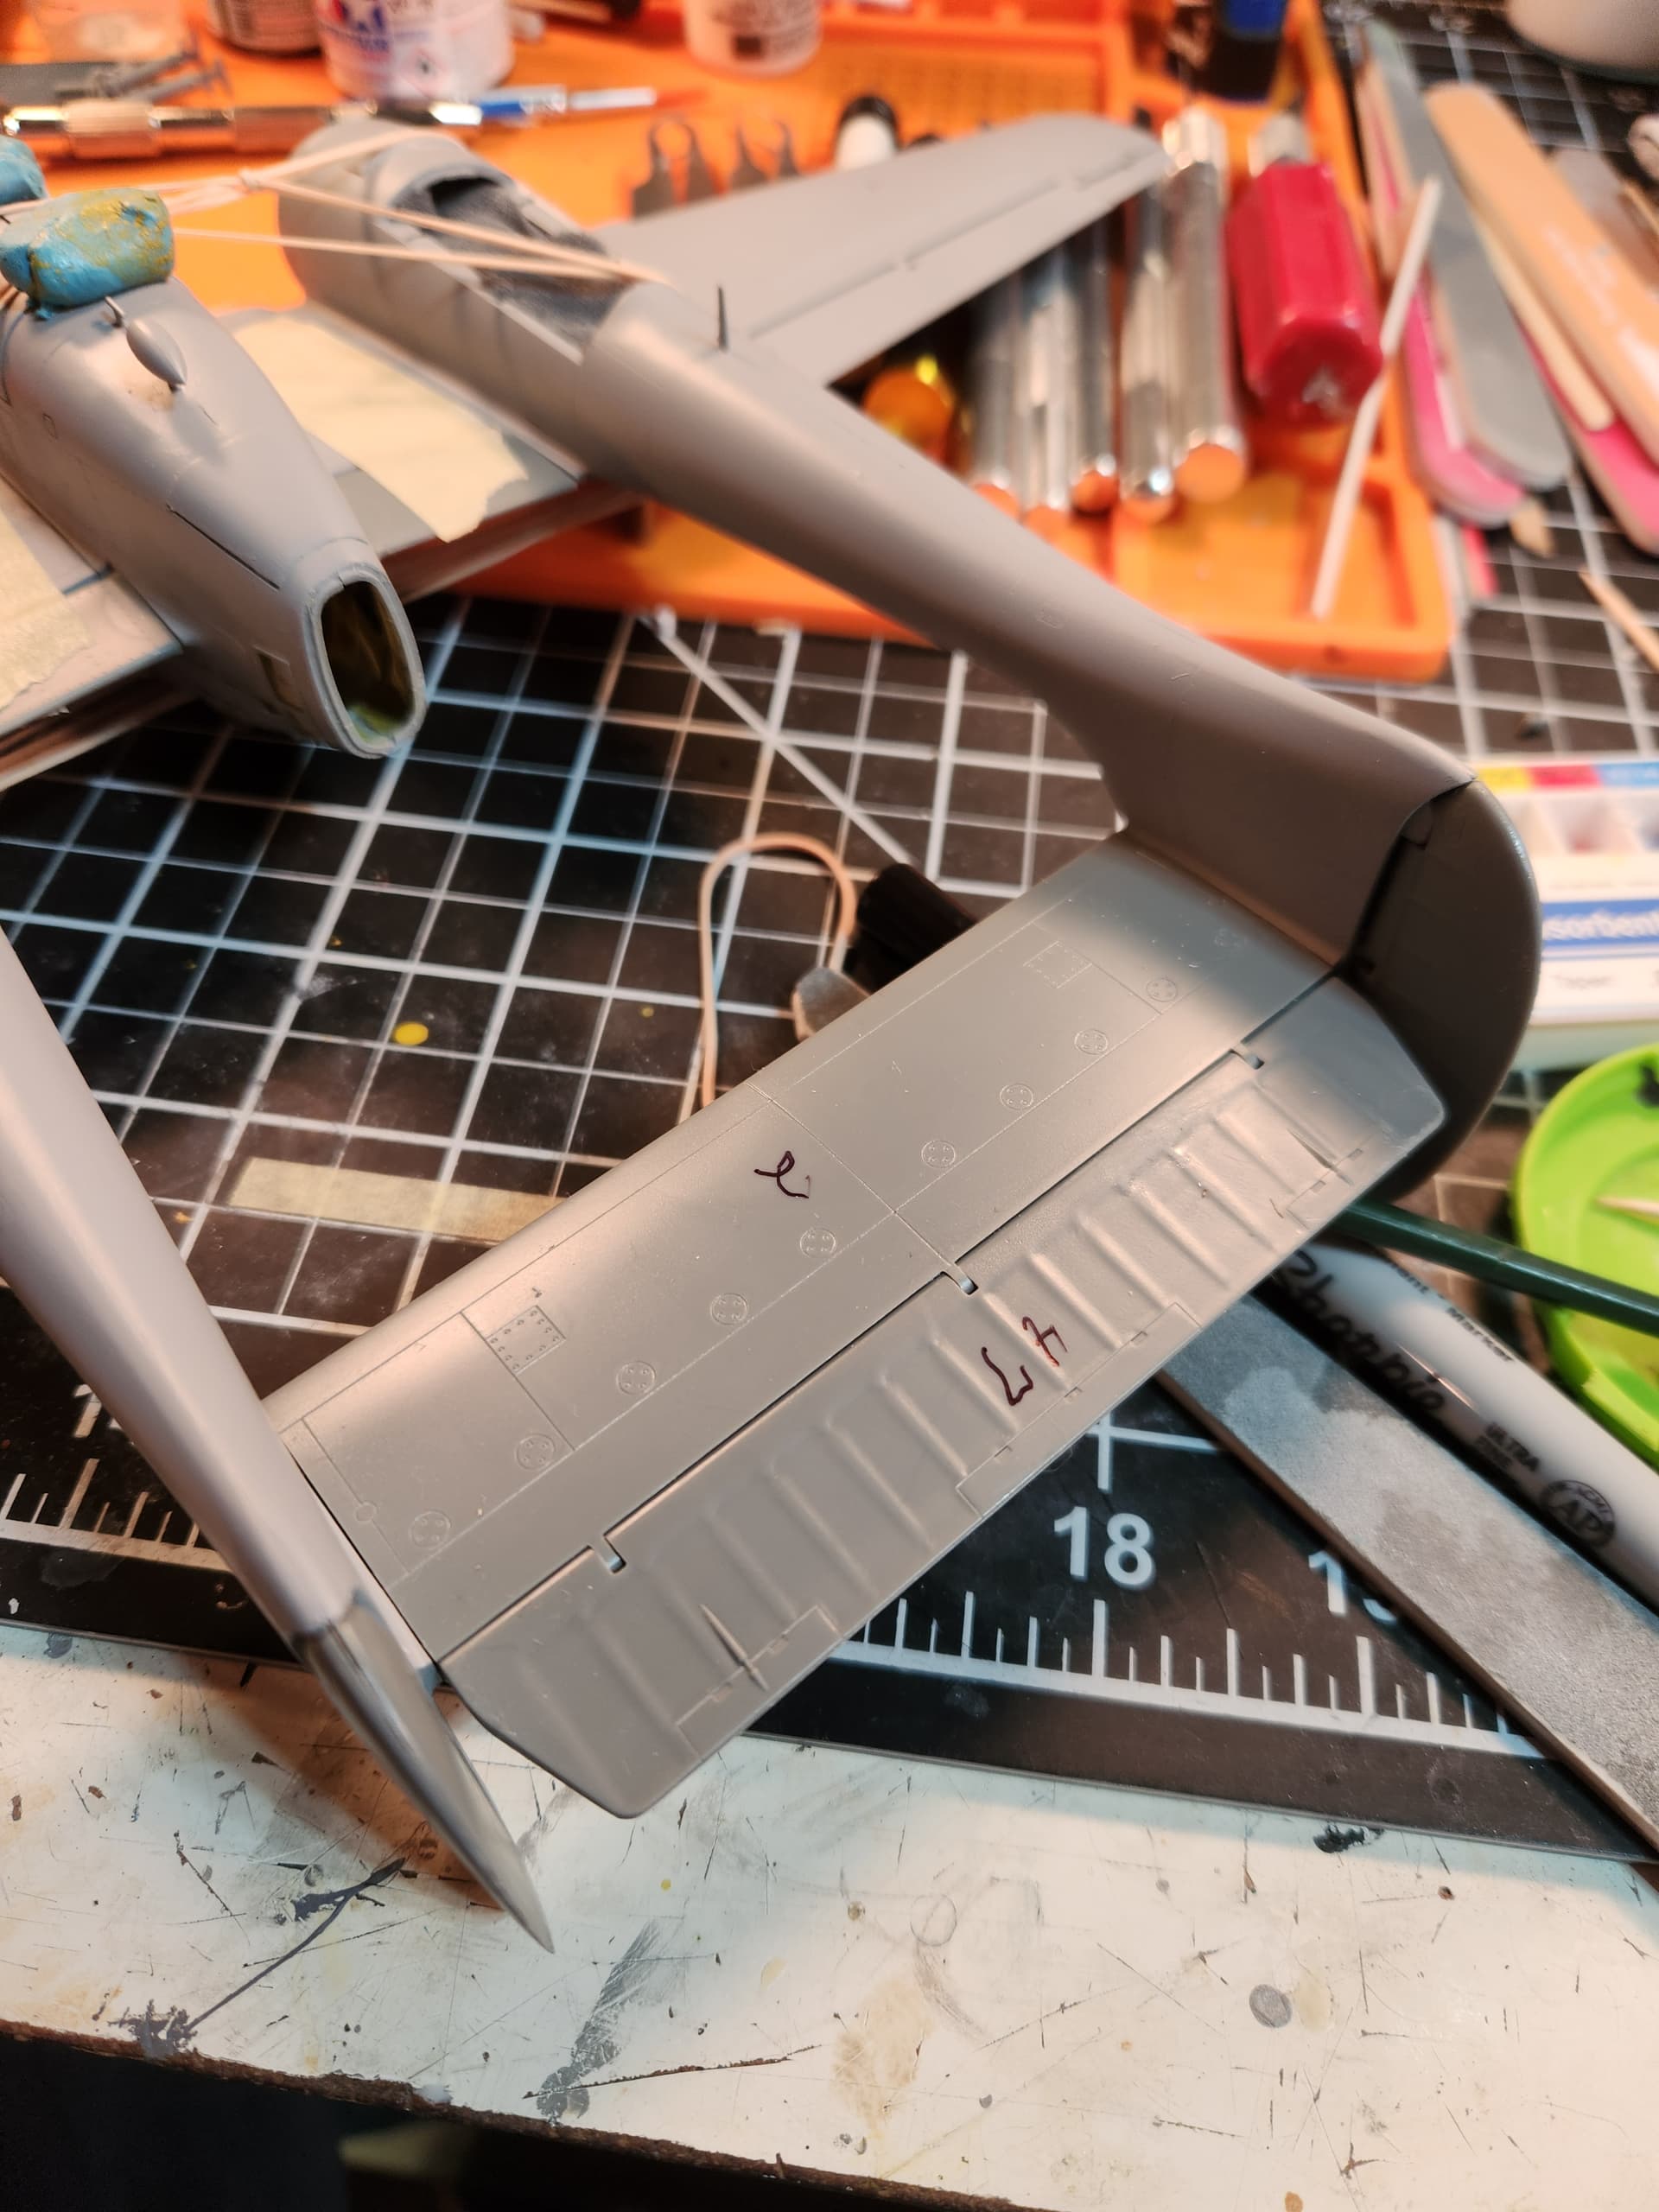
I now put the red line decals on the tops of the wings. I put them on intact and let them dry, planning to use alcohol to peel up the parts of the red lines that were over the paint peel lines (that’s what we did back in the day) but it was a huge fail. I almost need a hammer and chisel to get them up. These are great decals. So I got that done and touched up the natural metal I screwed up then sprayed the whole thing with Testors Glosscoat. I put the rest of the decals in place and the nose art from Monogram, old though it was, workout nicely:
I got all the subassemblies in, as well as the doors to the various compartments plus the engines and nacelles.
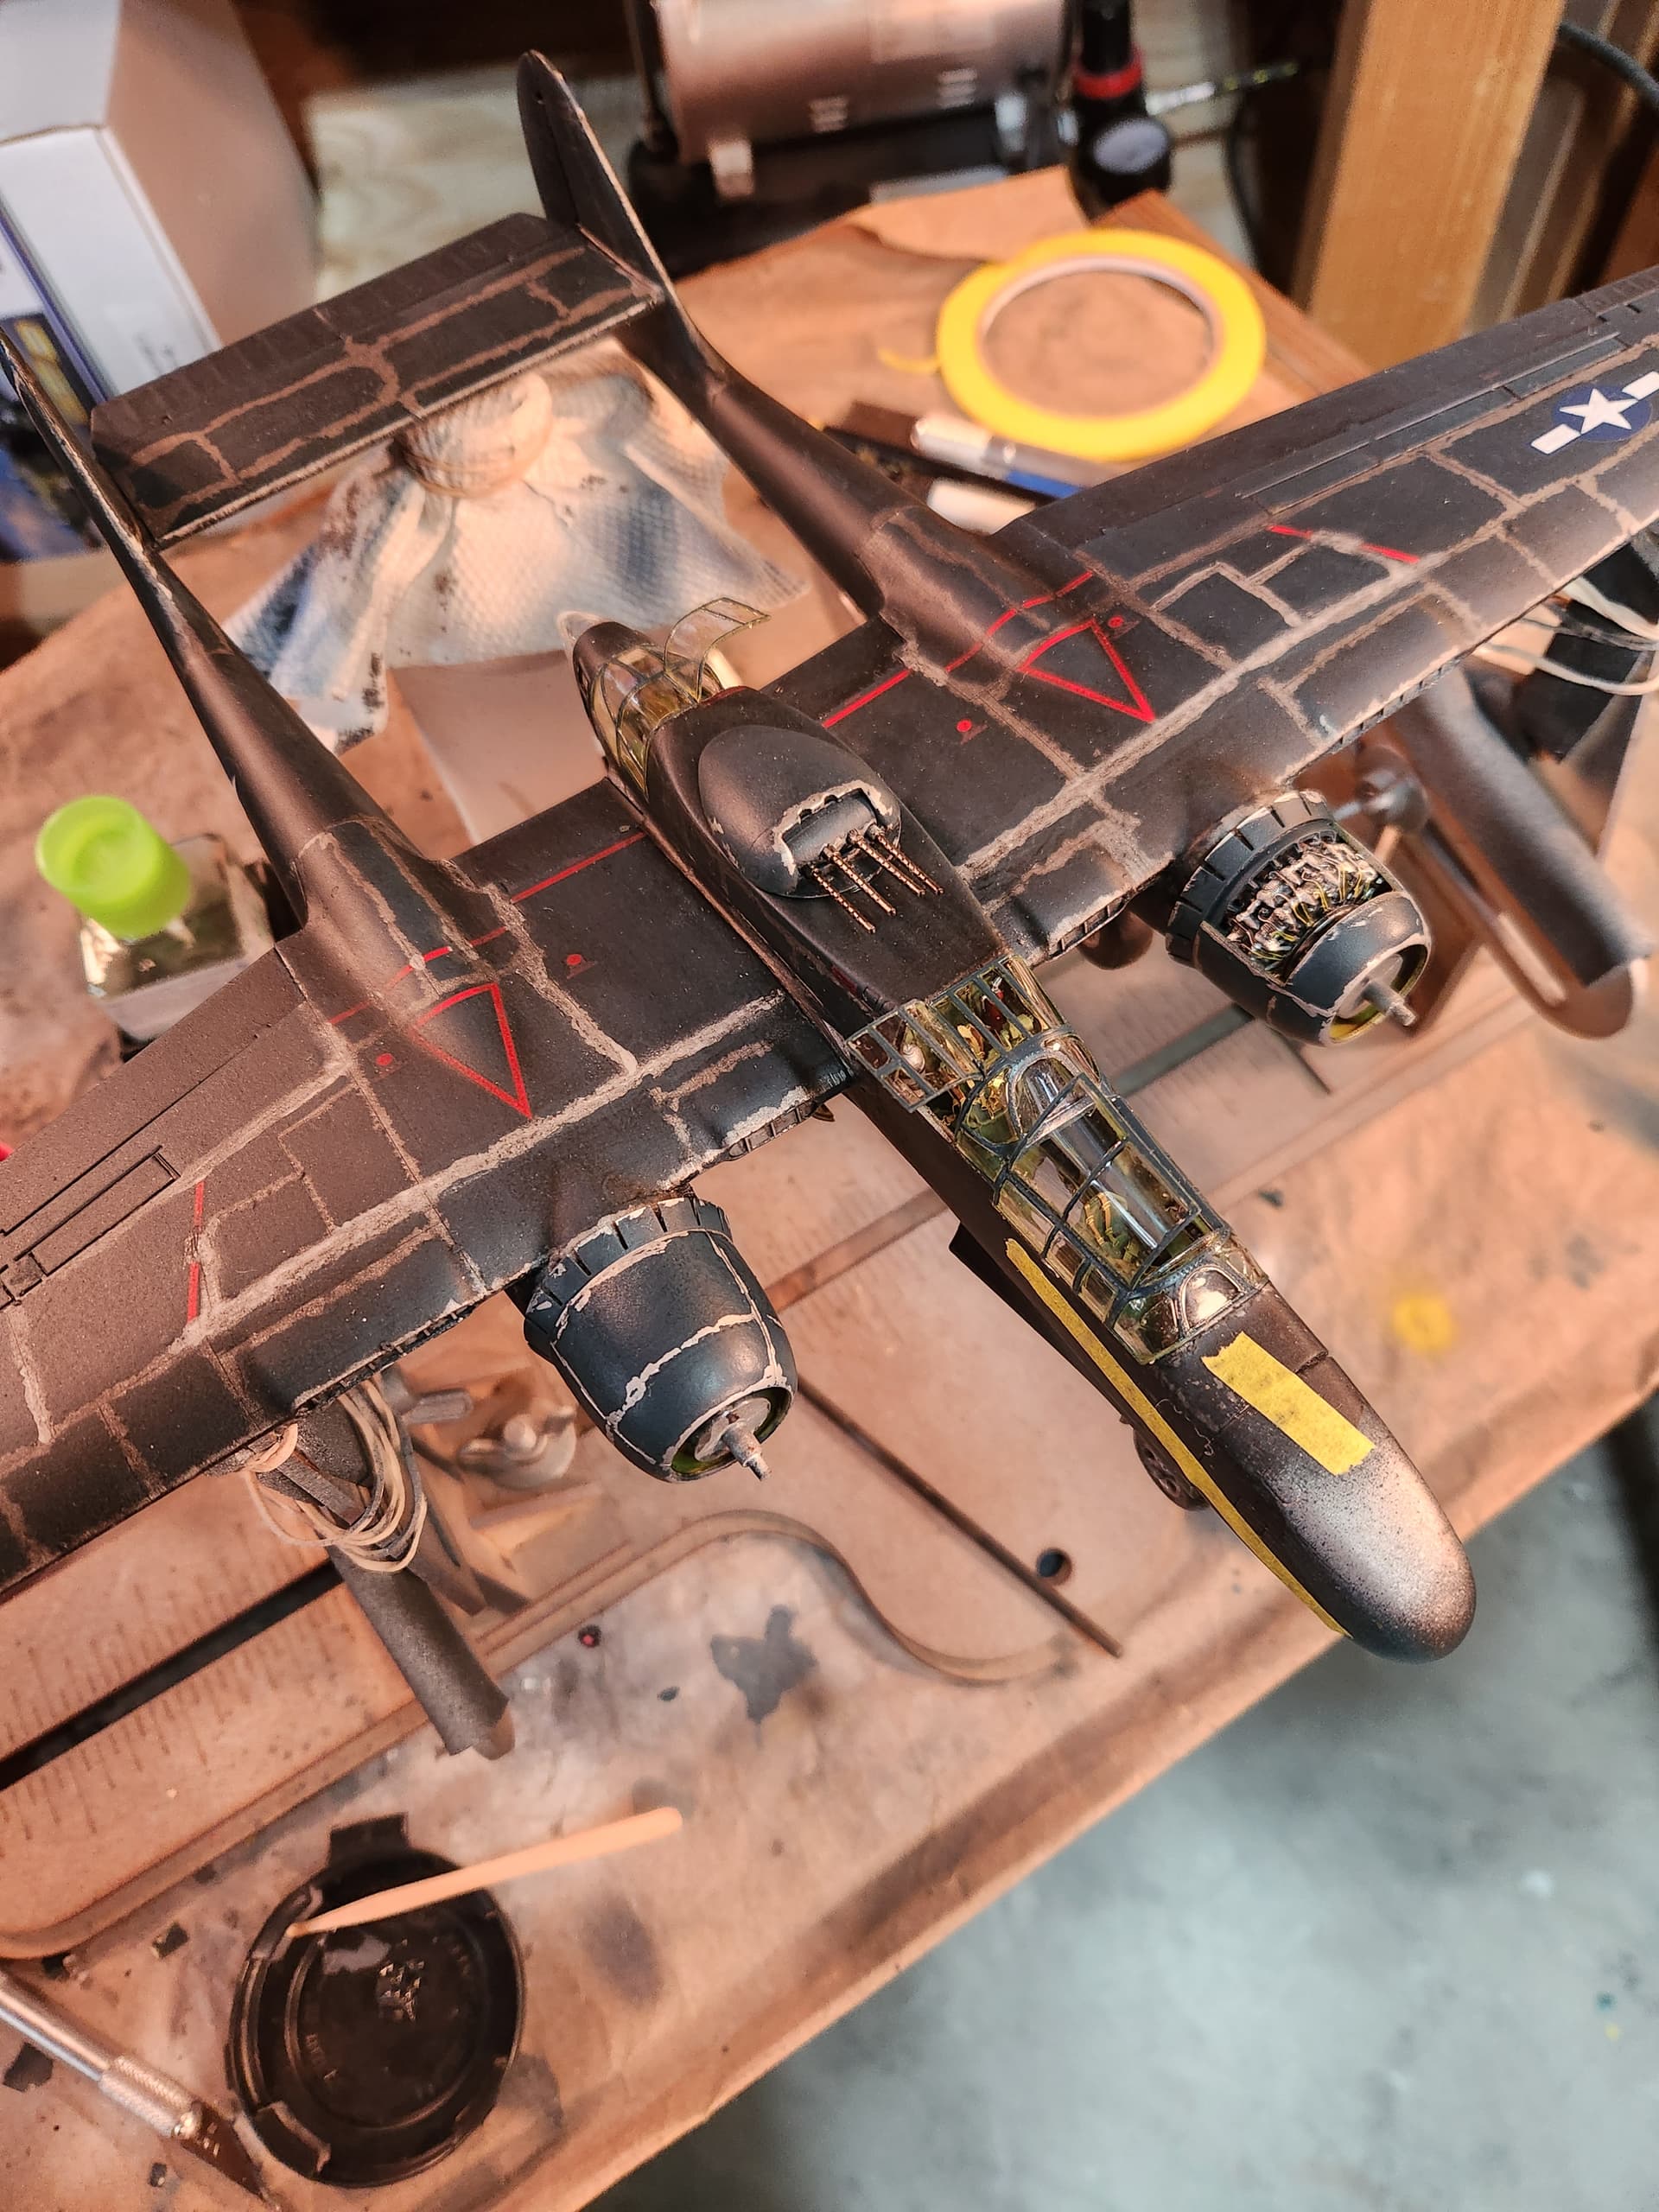
I taped off the stripe on the tail, sprayed the white first and then the blue.
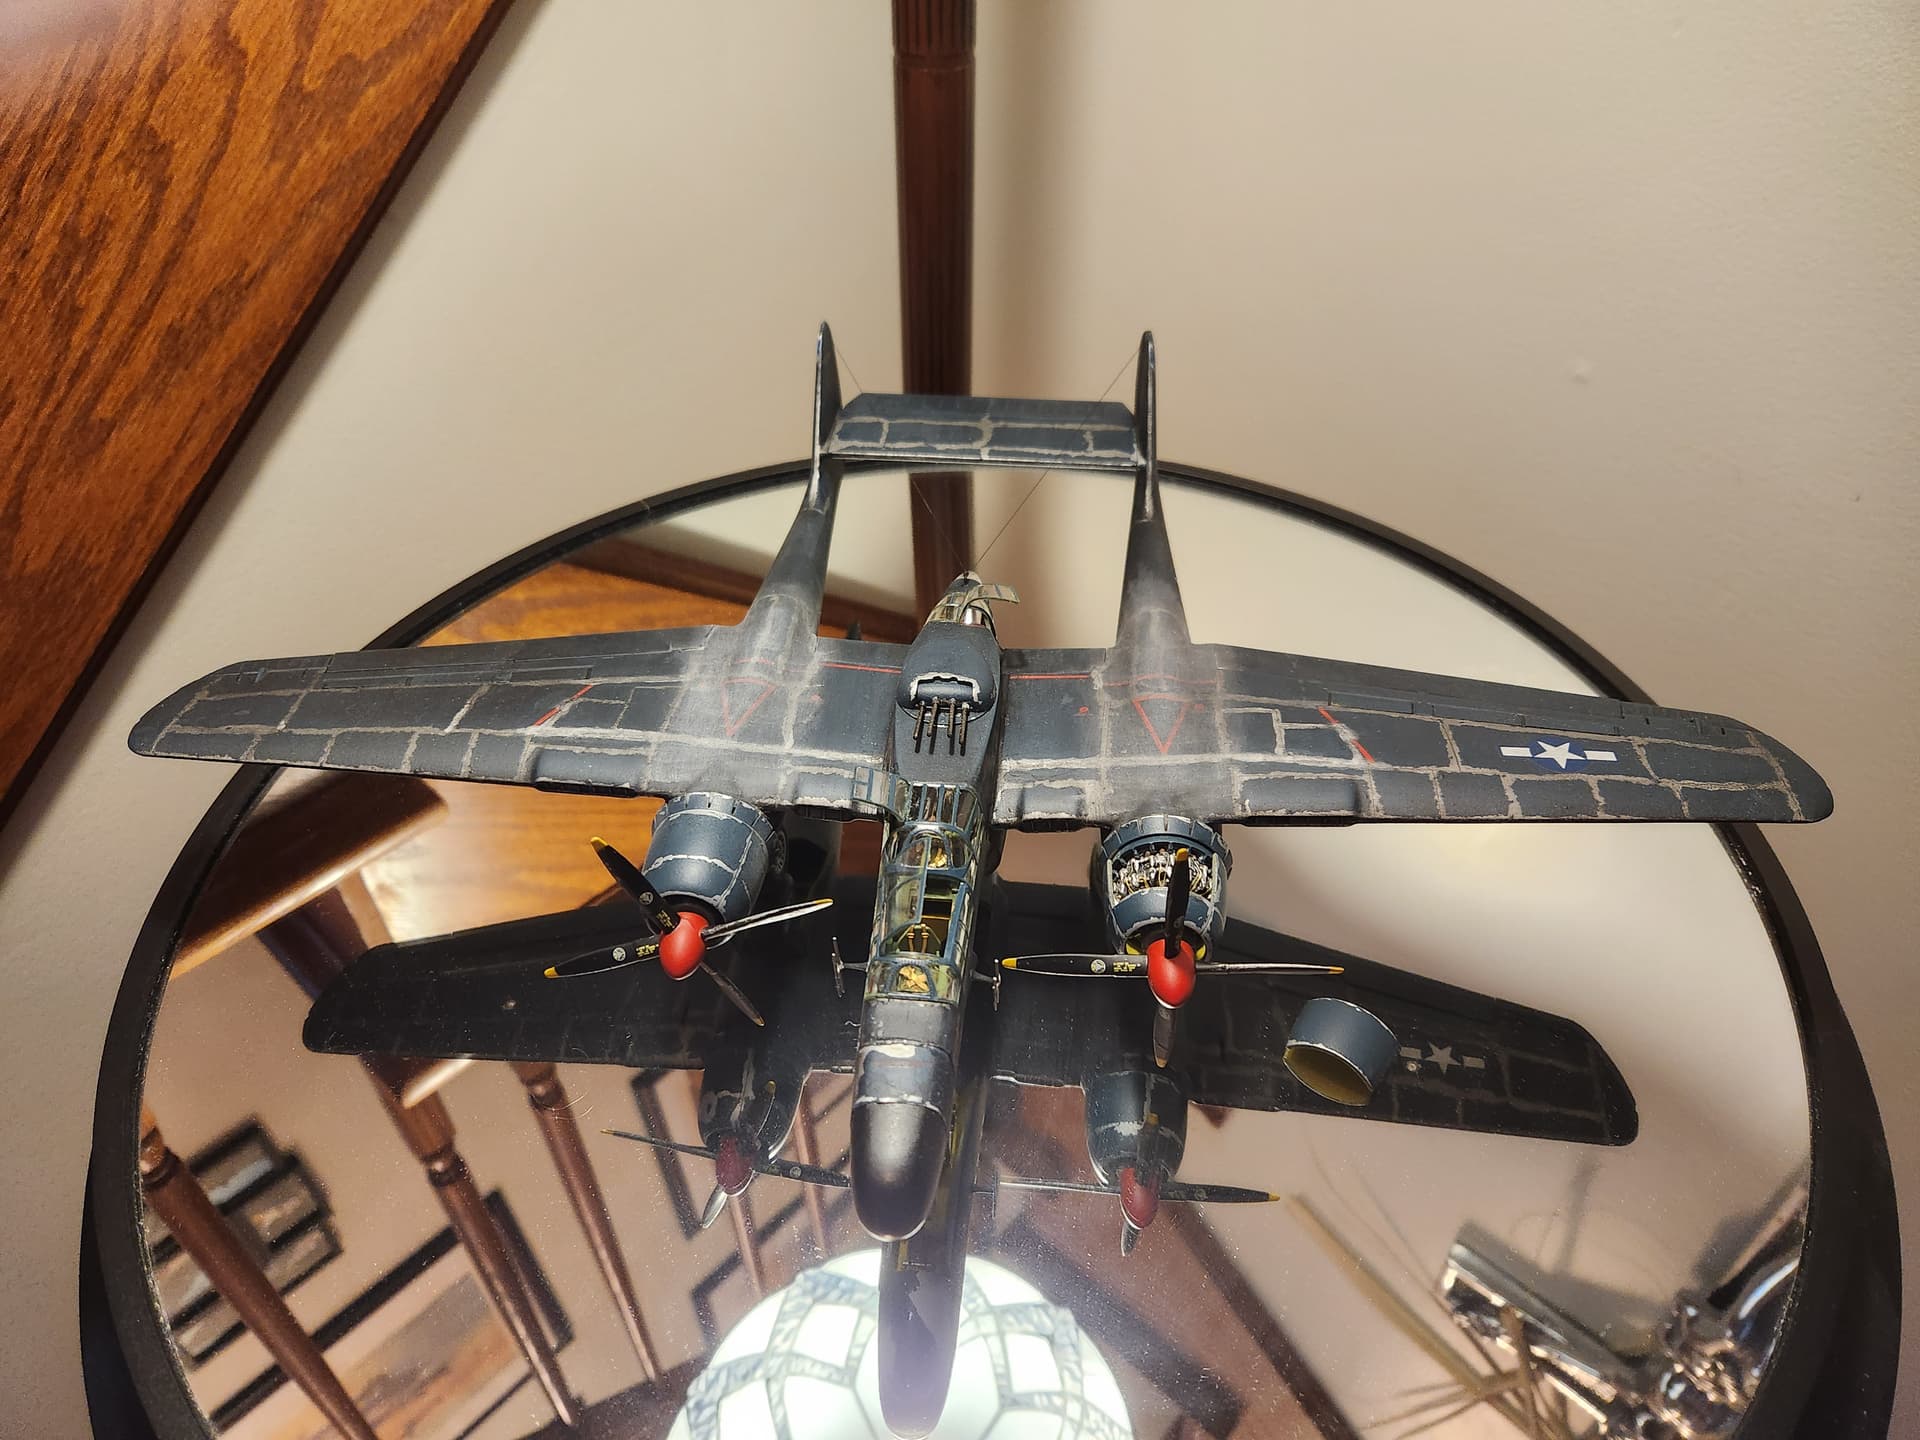
I felt like the color was a little too blue so I covered the plane with a diluted black wash which toned it down. Now came the signature exhaust streaks I needed. With all the stuff, doors and whatever, hanging off the plane I thought airbrushing them would be problematic on the bottom of the plane. So, I went with pastels which I had never done. I used a combination of black, gray and white brushed on as I tried to get the right concentration on the tops to wings to make the three stripes. I got them somewhat the way I wanted but more on that later. I did cut open one nacelle so that the engine could be seen.
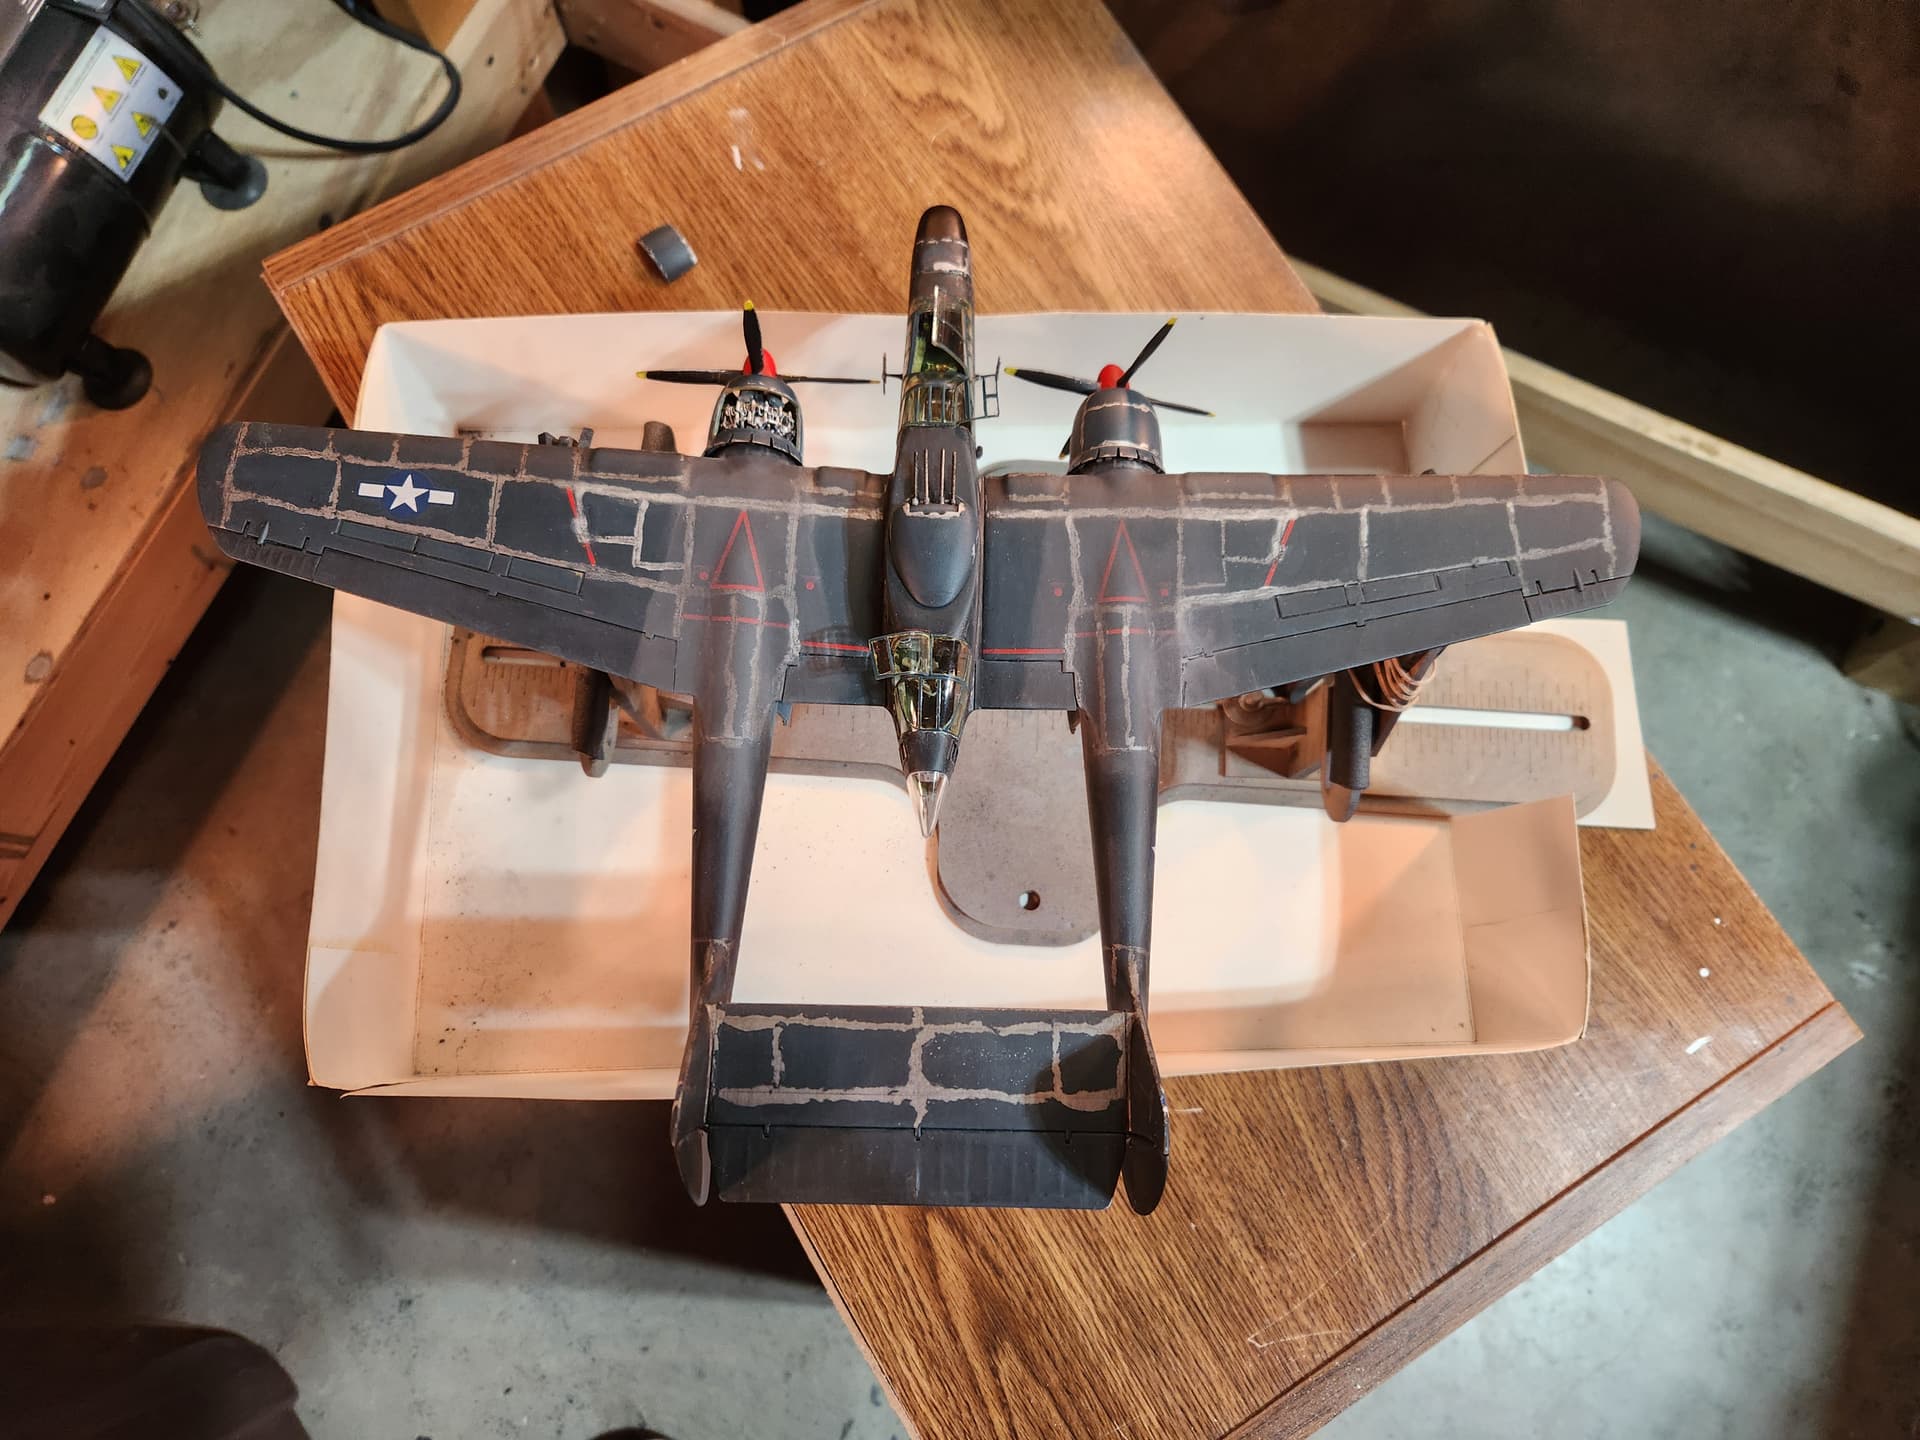
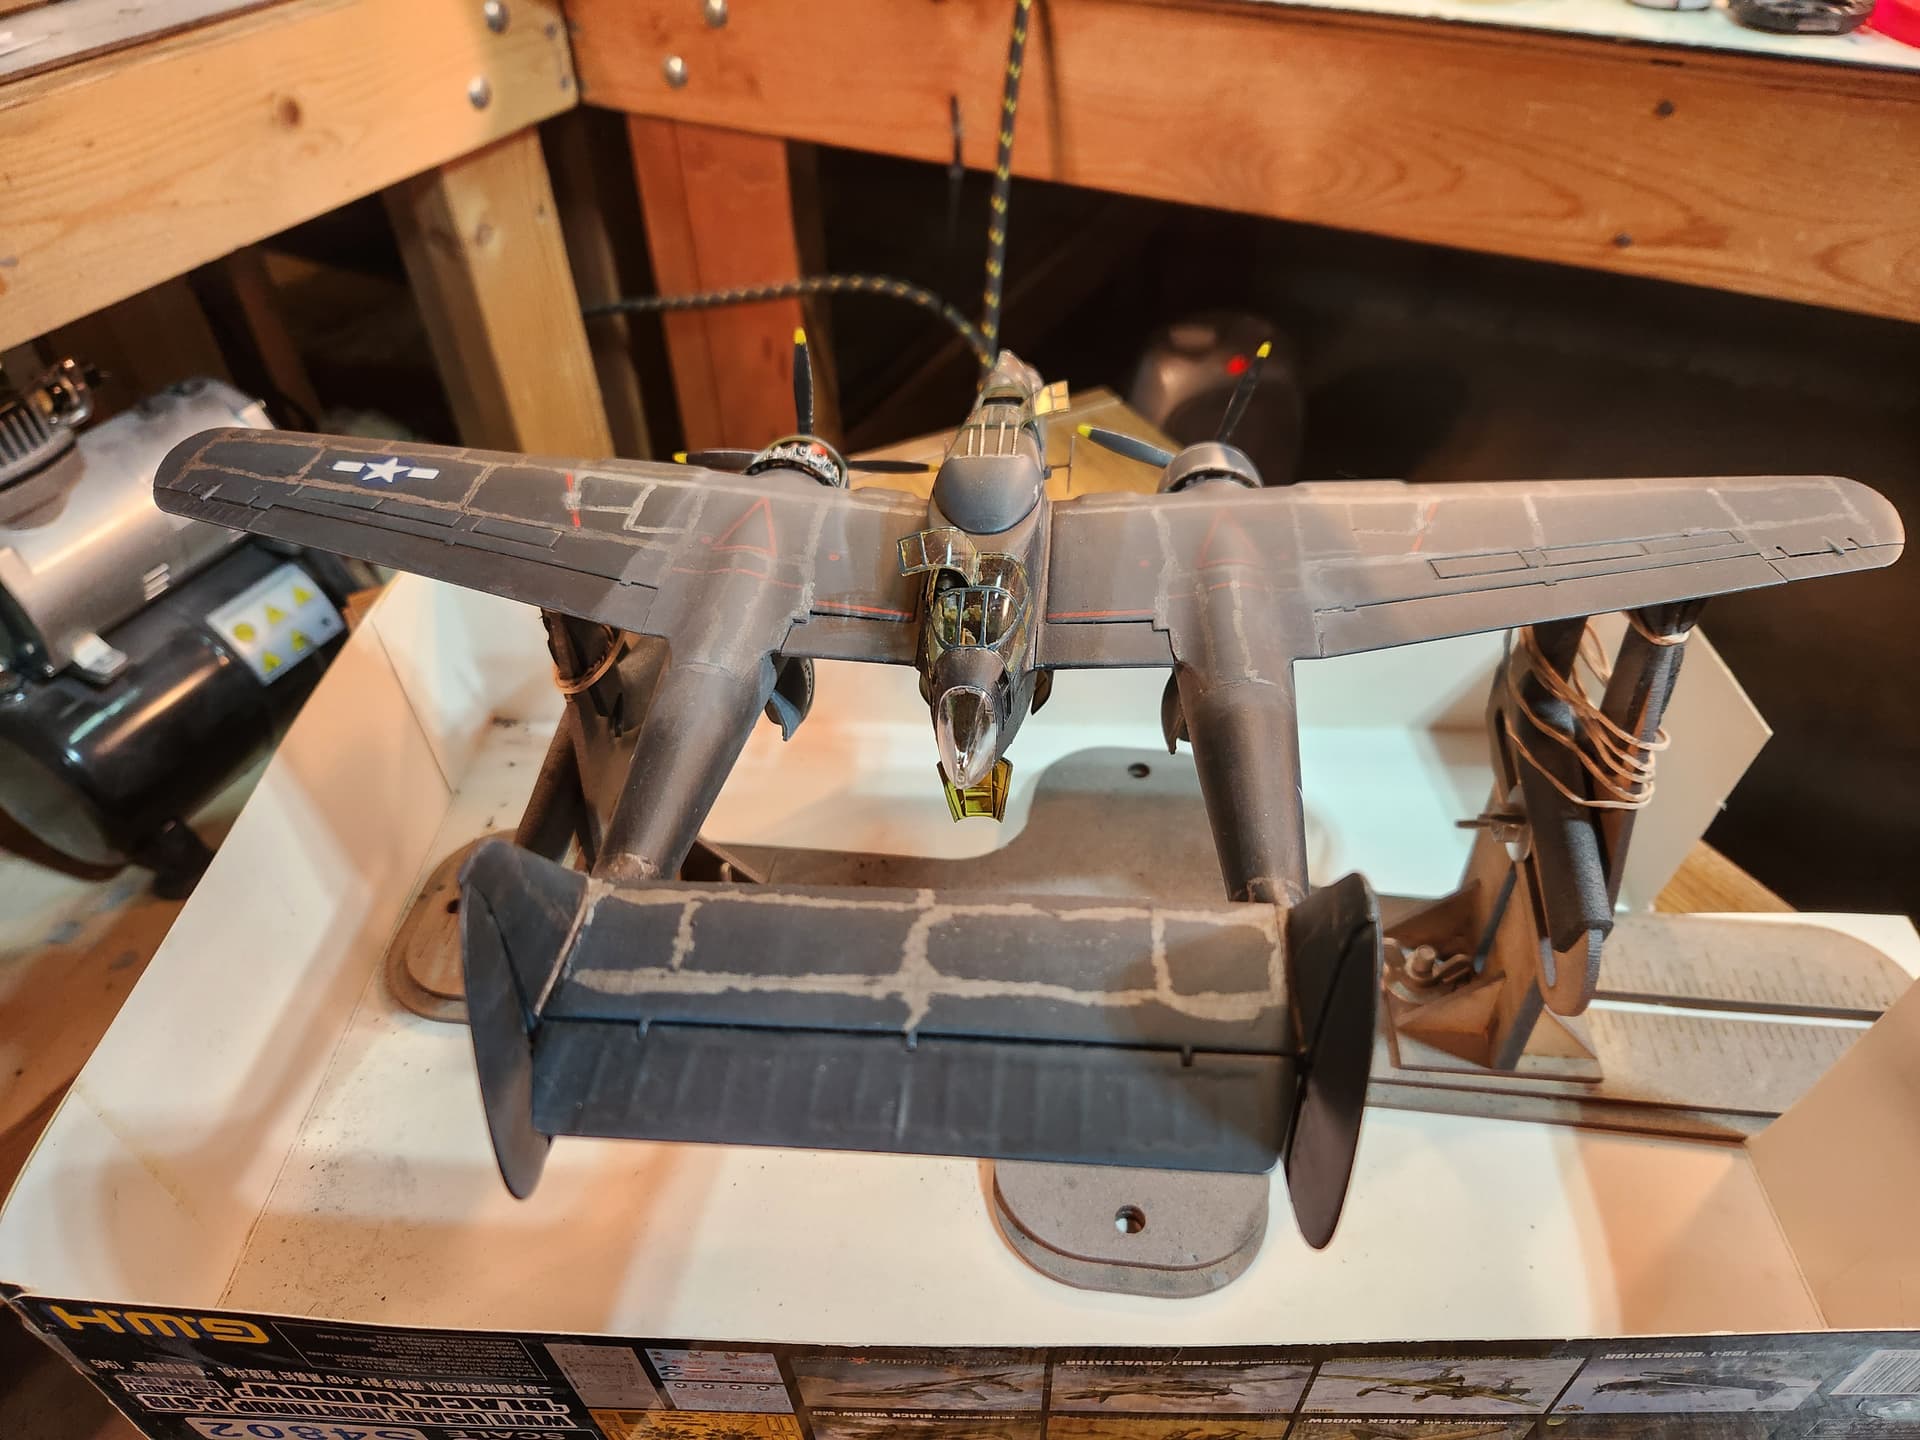

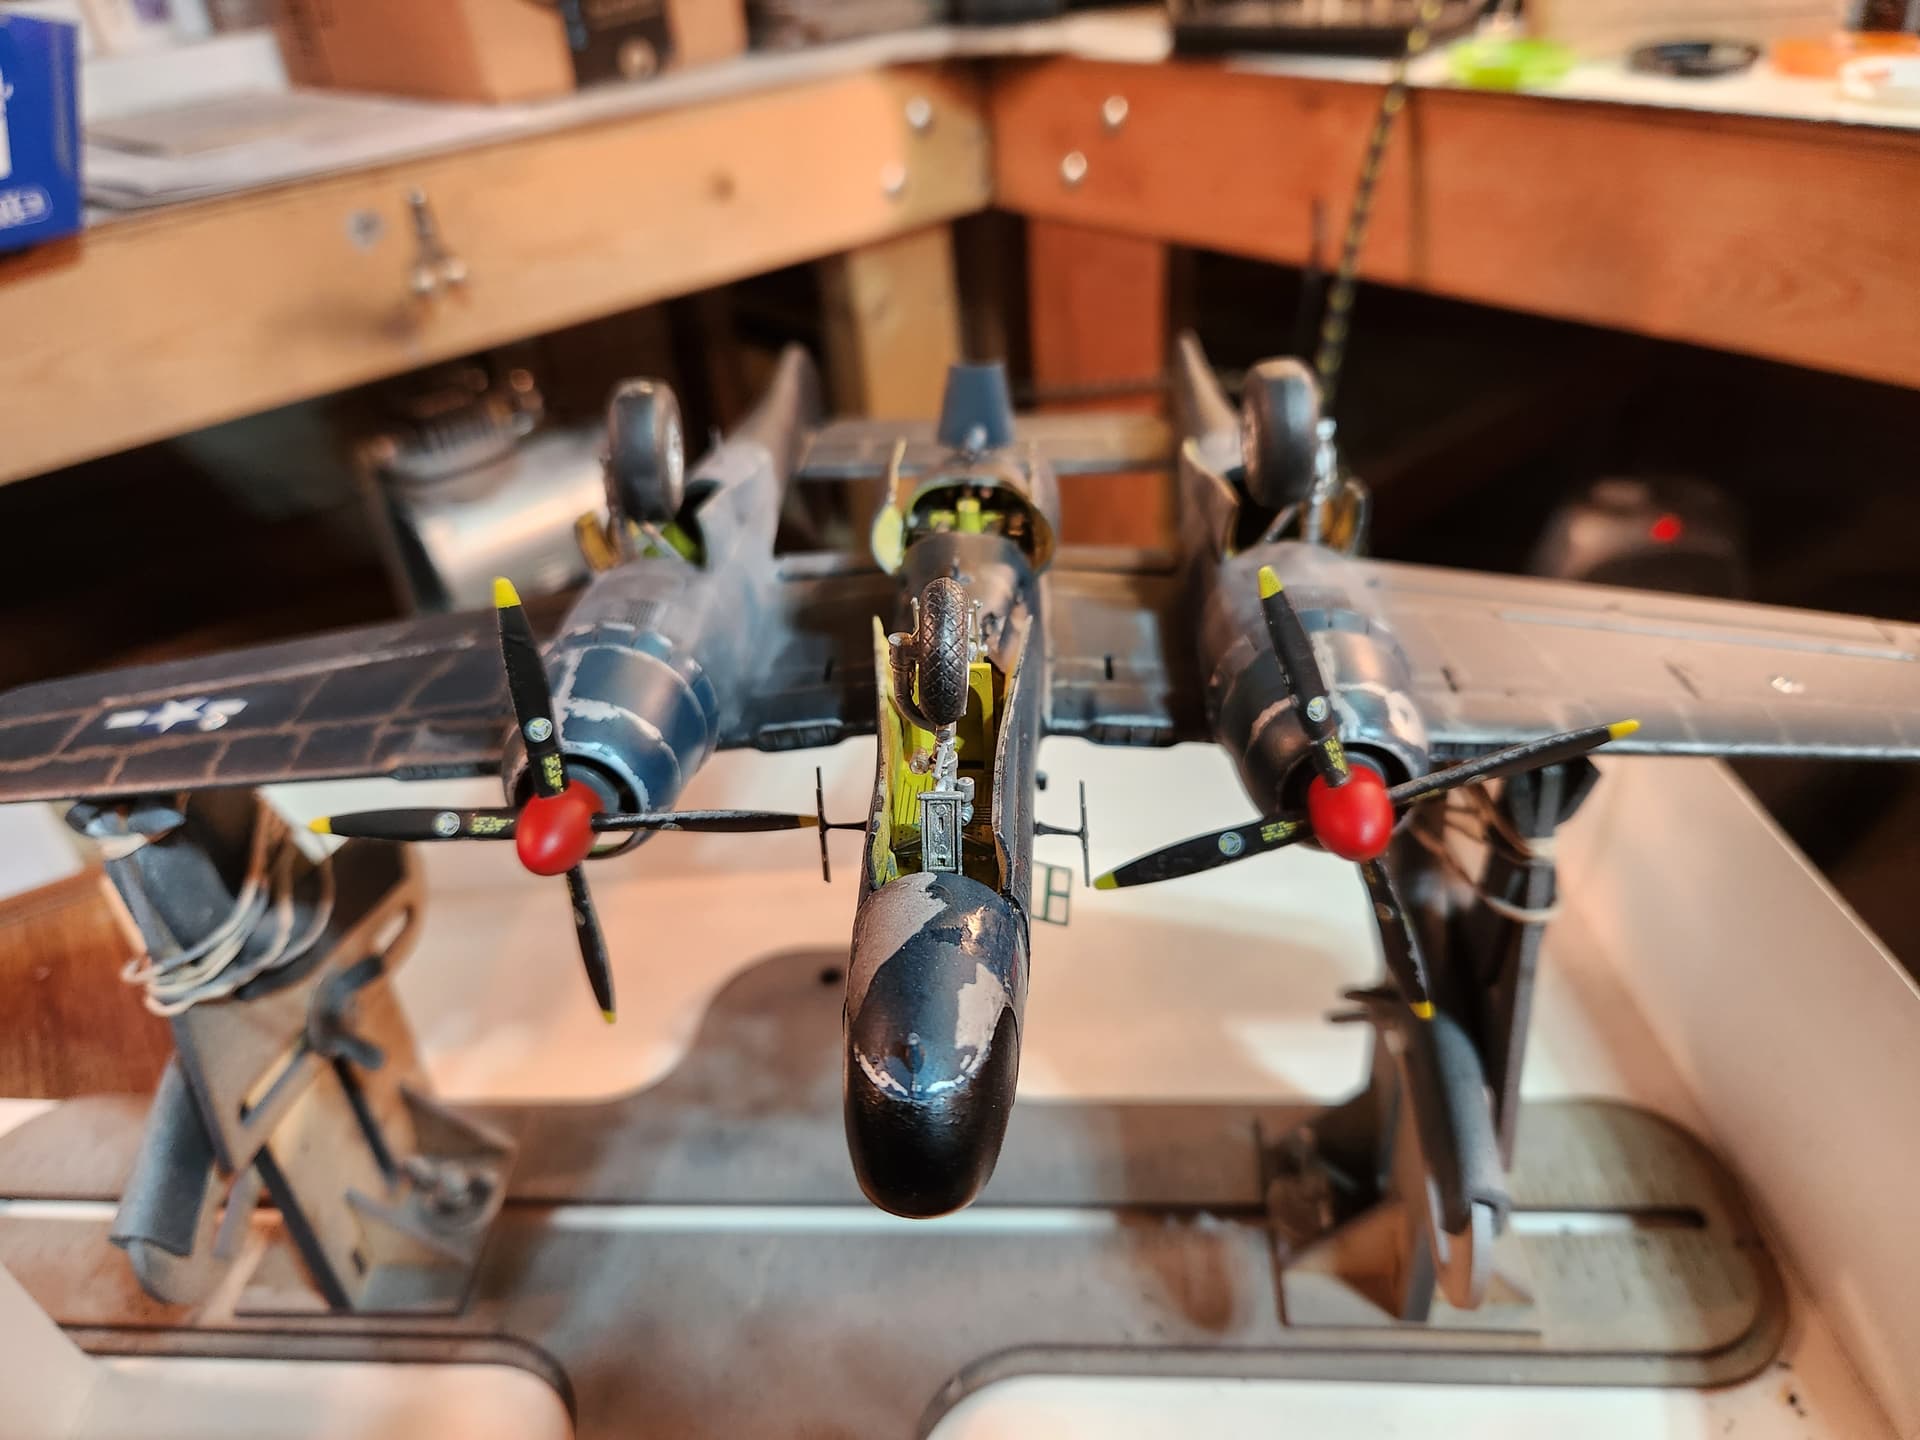
I took it up and put it on my display table.
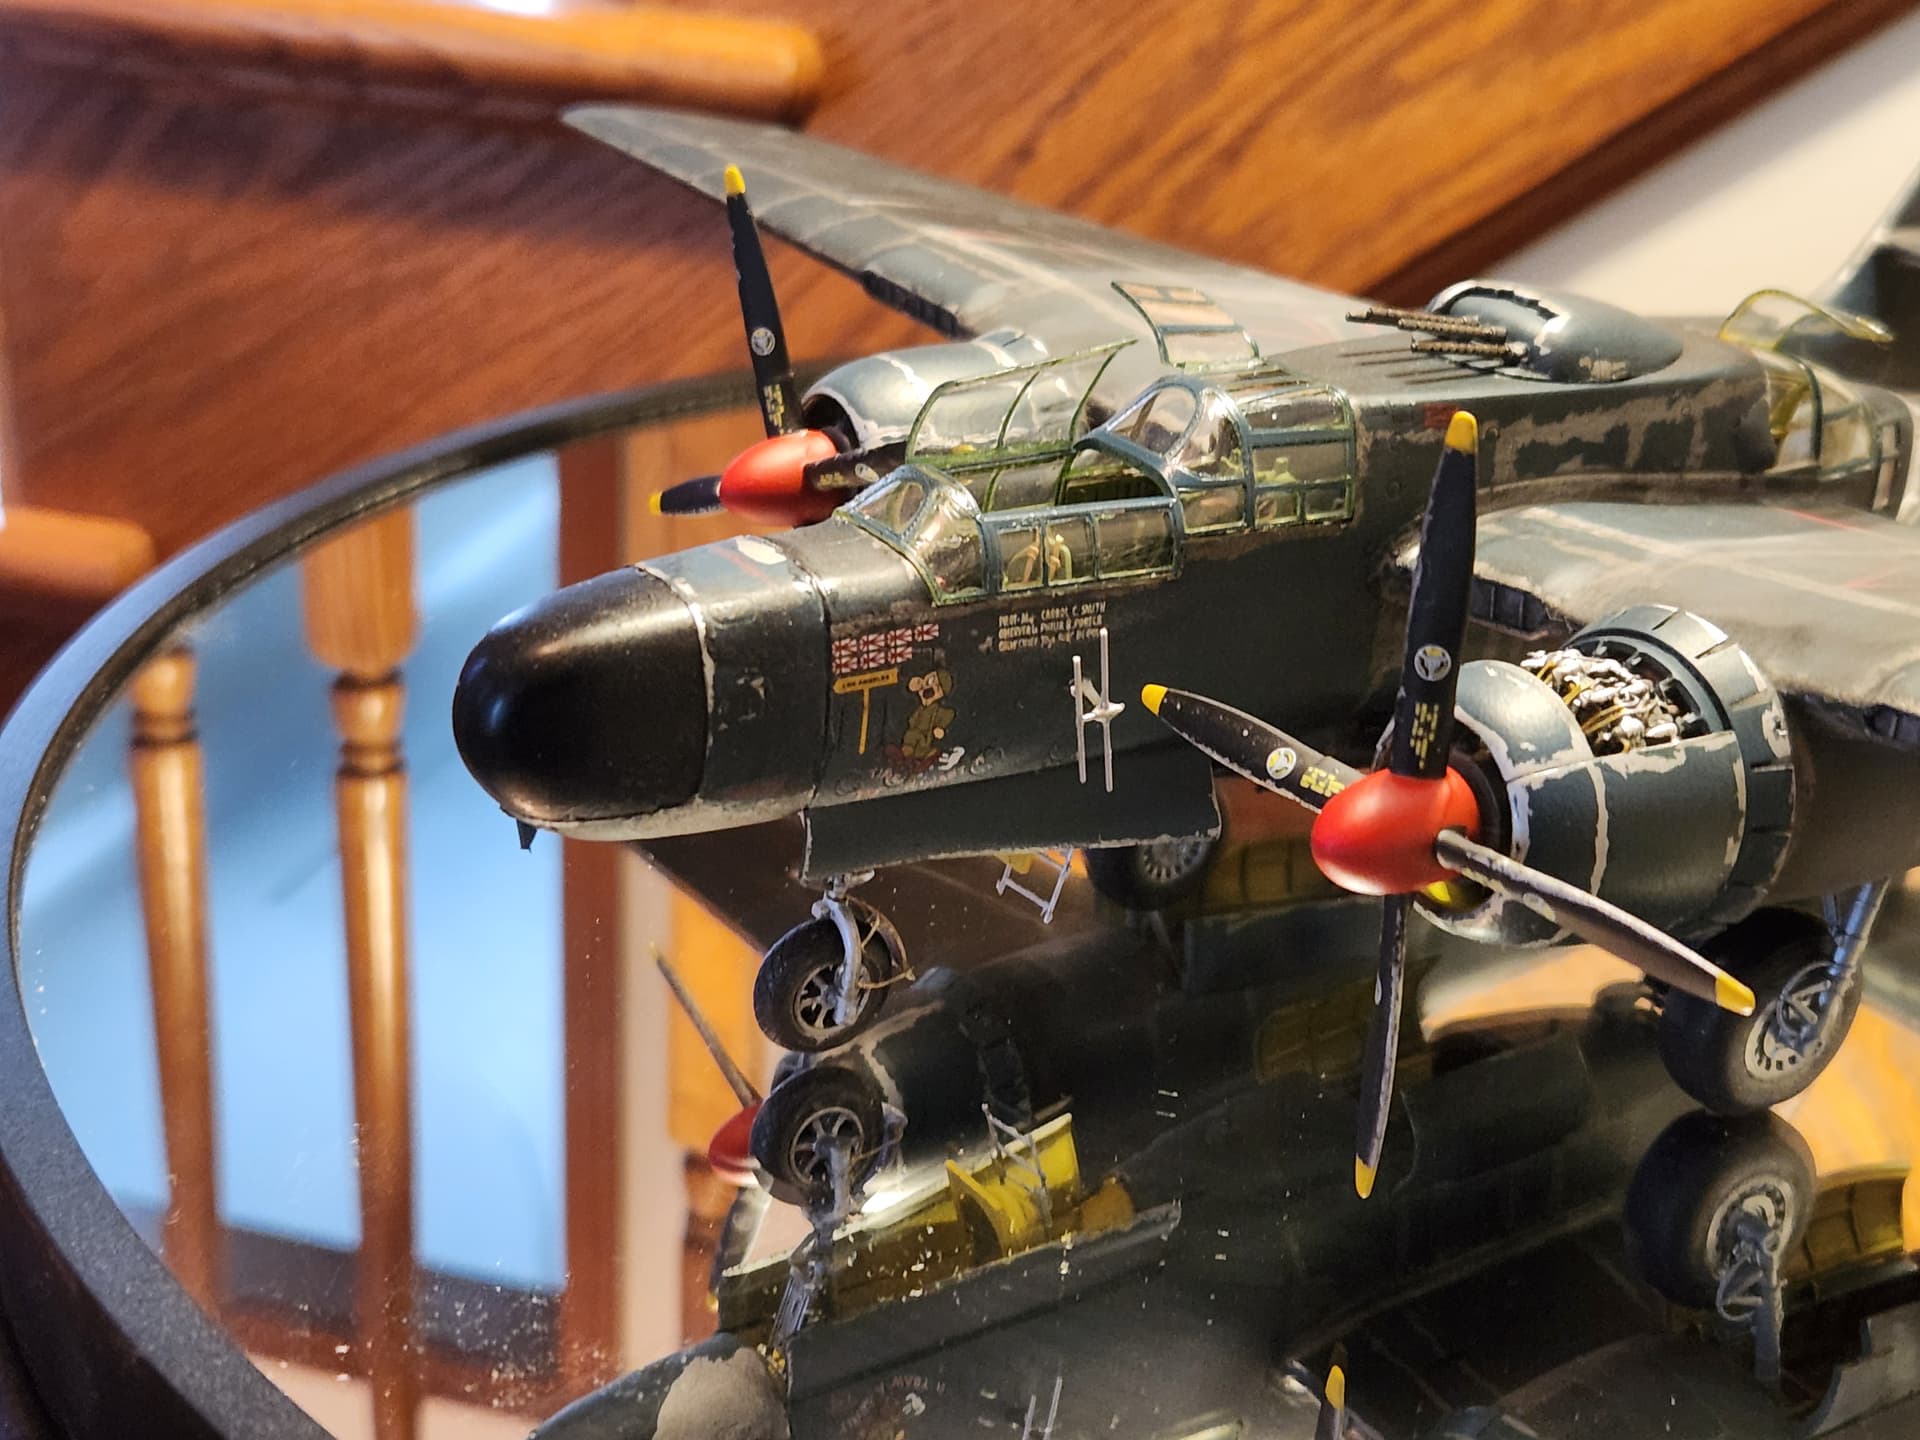
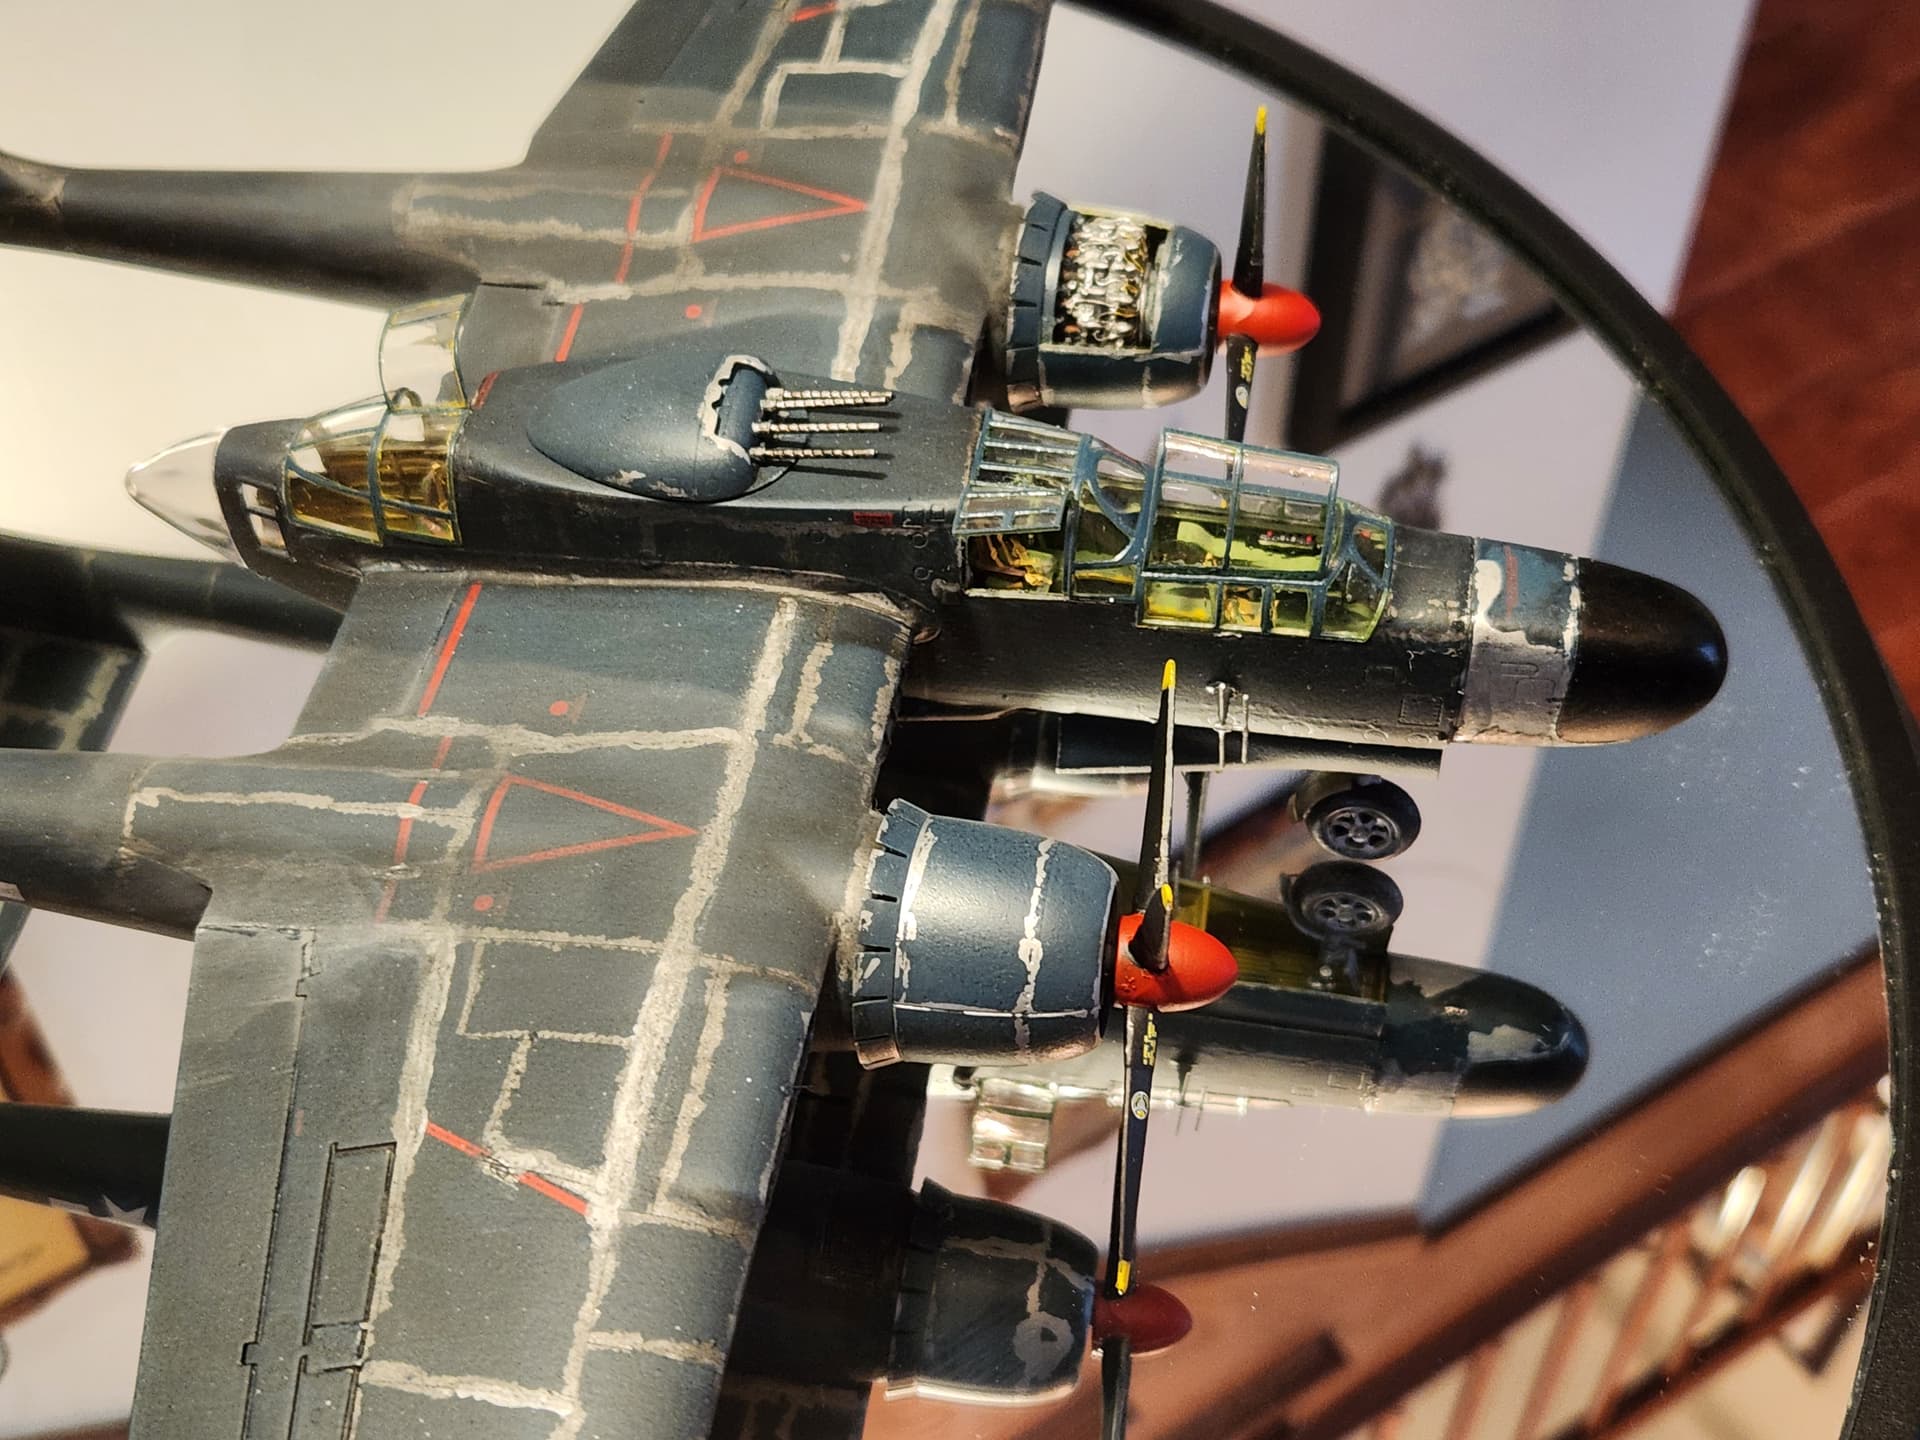
It bothered me that the three stripes of exhaust weren’t clear on the tops of the wings so I took it back down to the workshop, wiped some of the pastel chalk off differentiating the main parts of the exhaust stripes. I fixed it with AK thinner misted over the chalk dust with and airbrush. That finally took care of it and these pictures show the better exhaust stripes.

Done…time for a nap!