Man, you’re going to town on this build or should we say your "pre-build-before-the-real- build-that’s-comming-later" build, or PBBTRBTCL.
I’ll be over here in the corner watchn’ 
Man, you’re going to town on this build or should we say your "pre-build-before-the-real- build-that’s-comming-later" build, or PBBTRBTCL.
I’ll be over here in the corner watchn’
Hi Joe- very cool build! I have fond memories of building this Pabst tractor when I got it for my 10th birthday, just after it came out. Great to see the corrections you’re making, they may come in handy for me someday- I still have my build lol (at least that’s what’s going on in my head [proplr].
I can’t remember what color I used for the blue, it may have been the Pactra like you used. If you haven’t sourced anything yet, maybe Tamiya’s X-3 Royal Blue is a close match? Looking forward to your progress!
Dave
I just bought a Revell Peterbilt 359 using a 50% off coupon ($14 something). Thought I should get one before the kits vanish for a bit.
Nick: LOL! With the much earlier skillset I didn’t know they had alot of play. ![]()
Pawel: Thanks bud. Man this kit is tricky enough without addind parts from another kit into play…especially the major ones like a frame. Will be looking forward to your approach when you get to it though.
Timmy: Thanks for the good word. Whenever your ready lemme know.
Steve: Always good to have you in here. You bring a lightened mood to the show not to mention some of those neat emoticons you bring to the party as well.
Dave: Man I’m right there with you on the fond memories of this thing. I built this one as a kid too even though it turned out like hammered dogs*#$! I’m pondering the thoughts of building an independent rig as it gives so much more of an artistic license for personalization than a fleet rig does. We’ll see.
Rob: Good to see you in here. $14 IS a good deal for that truck. I believe I saw it on the shelves last time I was there. Looking forward to see what you’ll do with it when it appears on your bench potna.
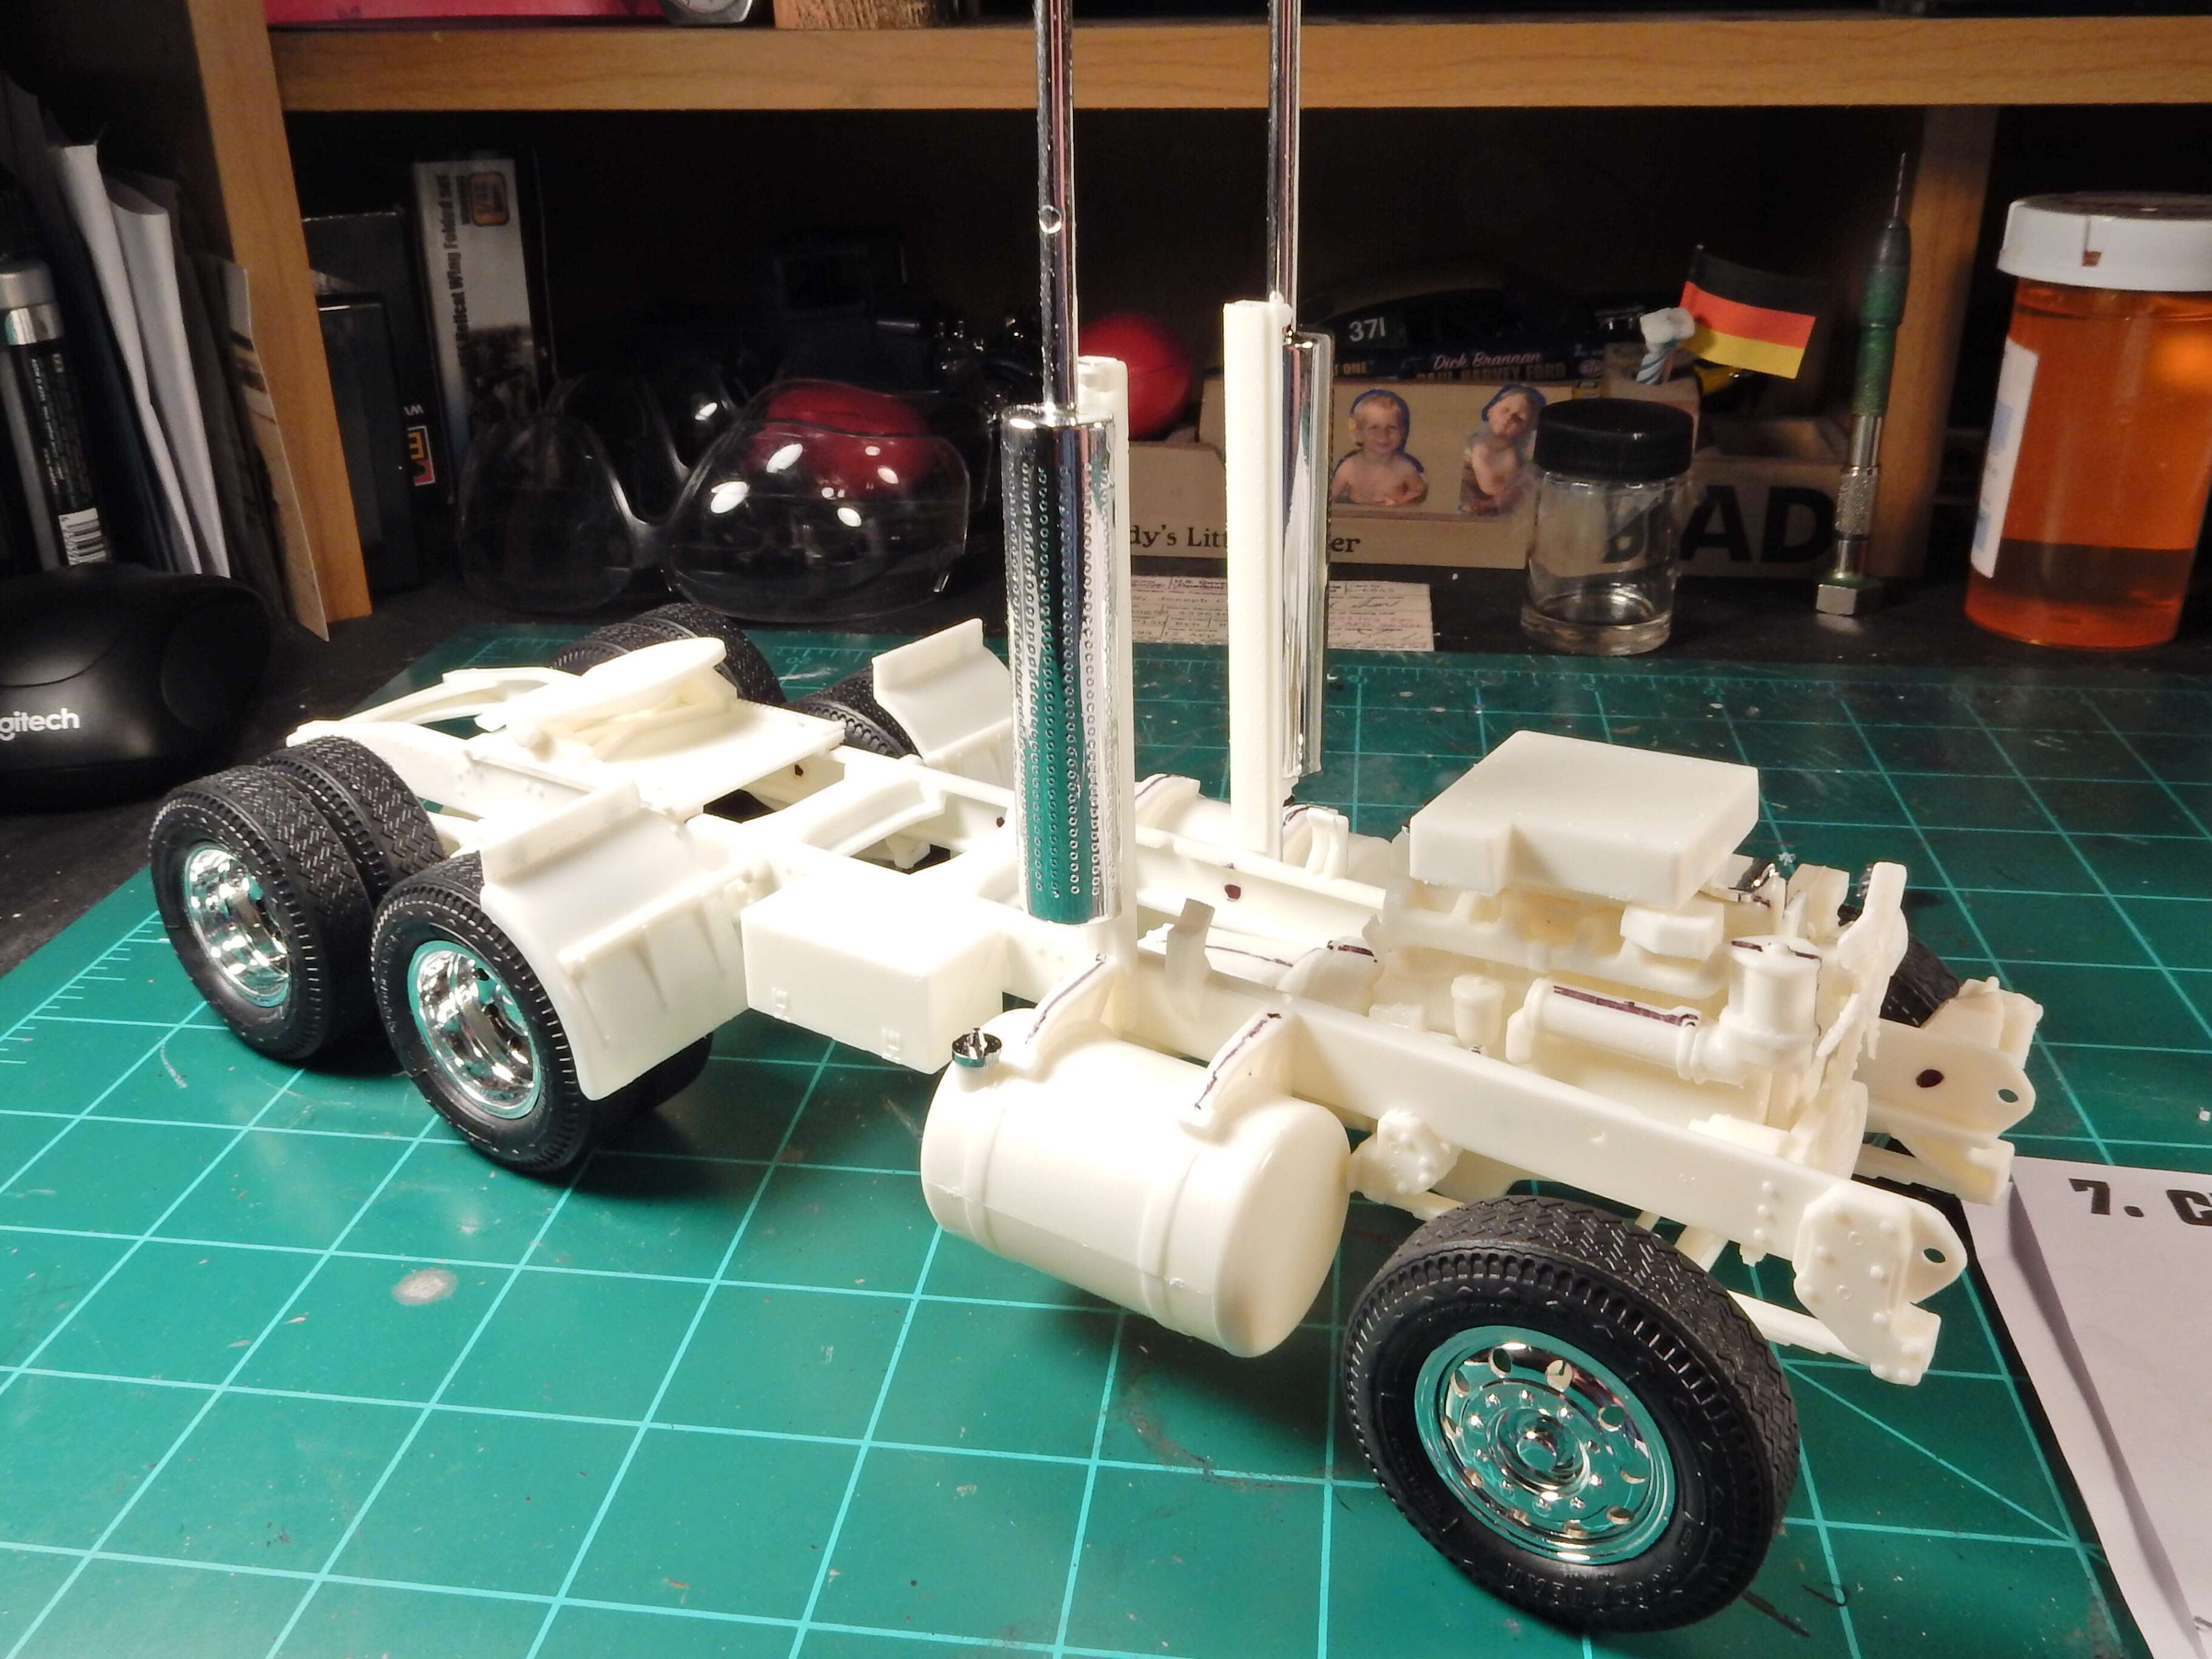
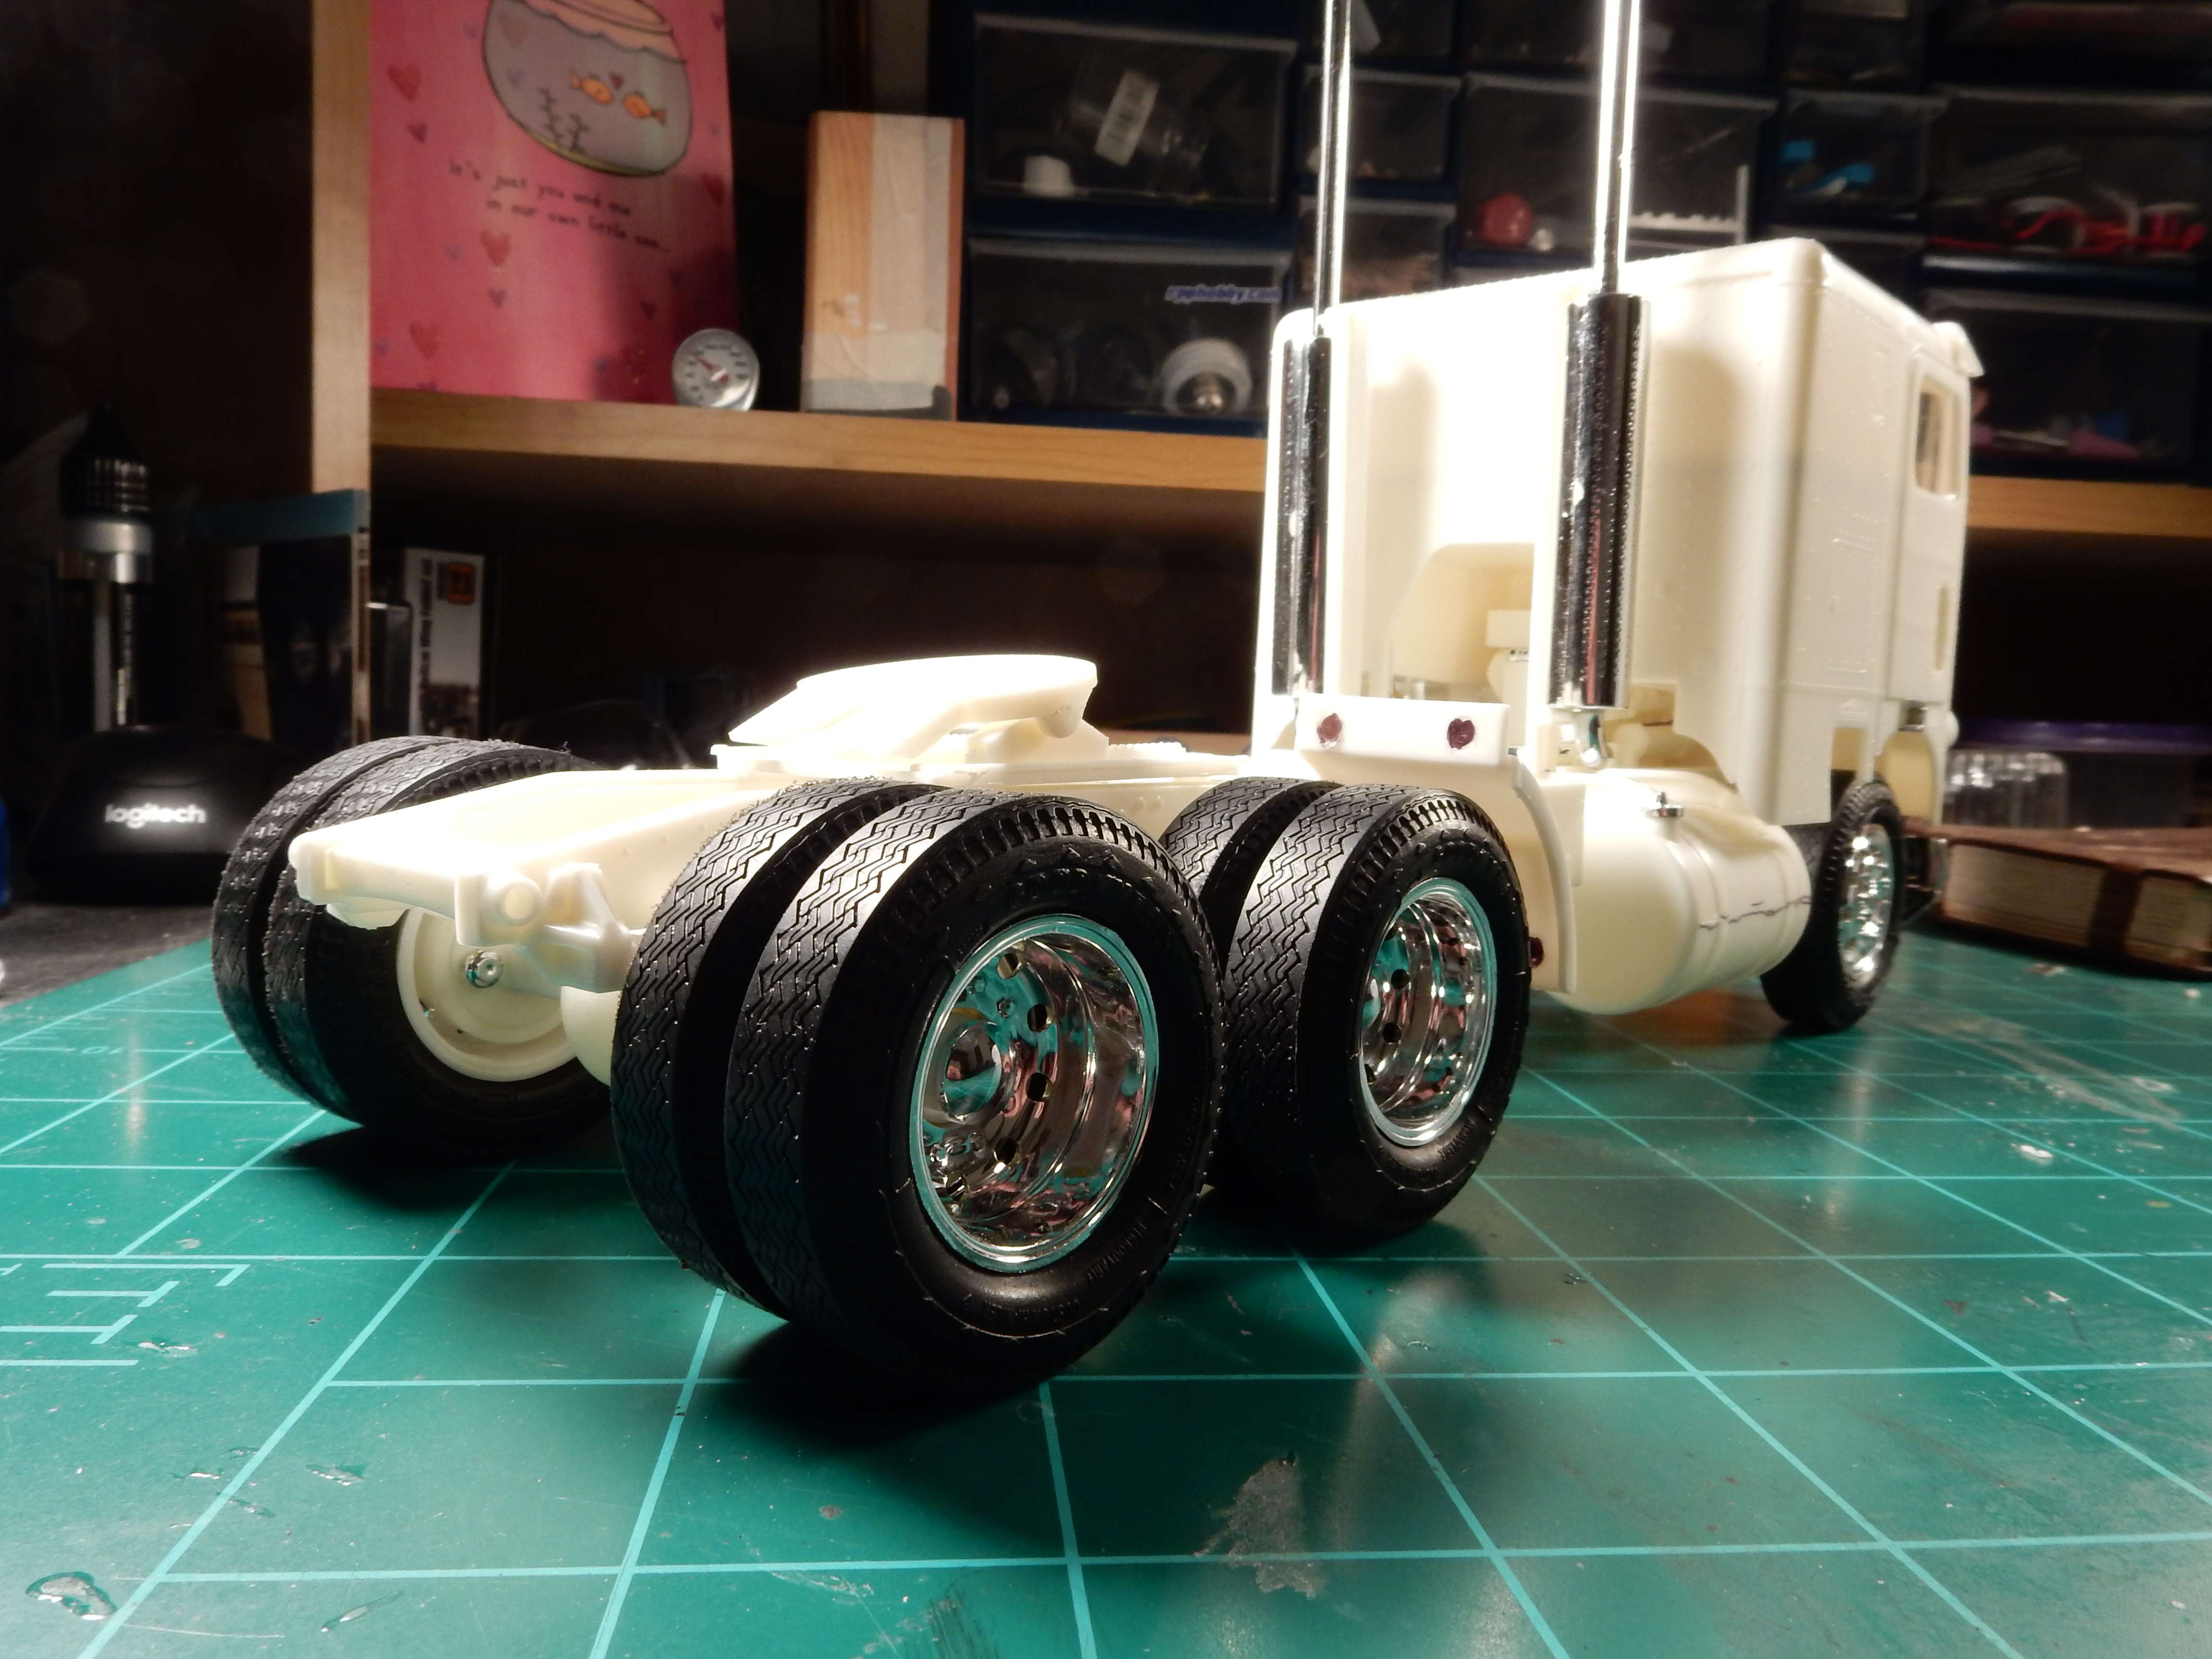
Well…among other little tidbits that I’ll have about this tricky kit (along with some tricky instructions) is the fact that the cab rests will have to be installed at a later part of the build than what the instructions call for. At least that’s what I’m finding. They interfere with the exhaust crossover pipe installation between the two exhaust stacks. They are called out in this photo:

For the most part it’s going fairly well. This kit has ALOT of seam filling, mold lines and ejector pin marks to contend with. I’ve marked most everything with a black sharpie so they’ll stand out boldly for reference points during the actual build. I’m sooooooo glad I’m taking the time to do the build up because I’m finding some faults with the instruction sheet in terms of where stuff actually goes and I’m hitting the problematic areas with no fear of screwing anything I’ve painted/ detailed up.
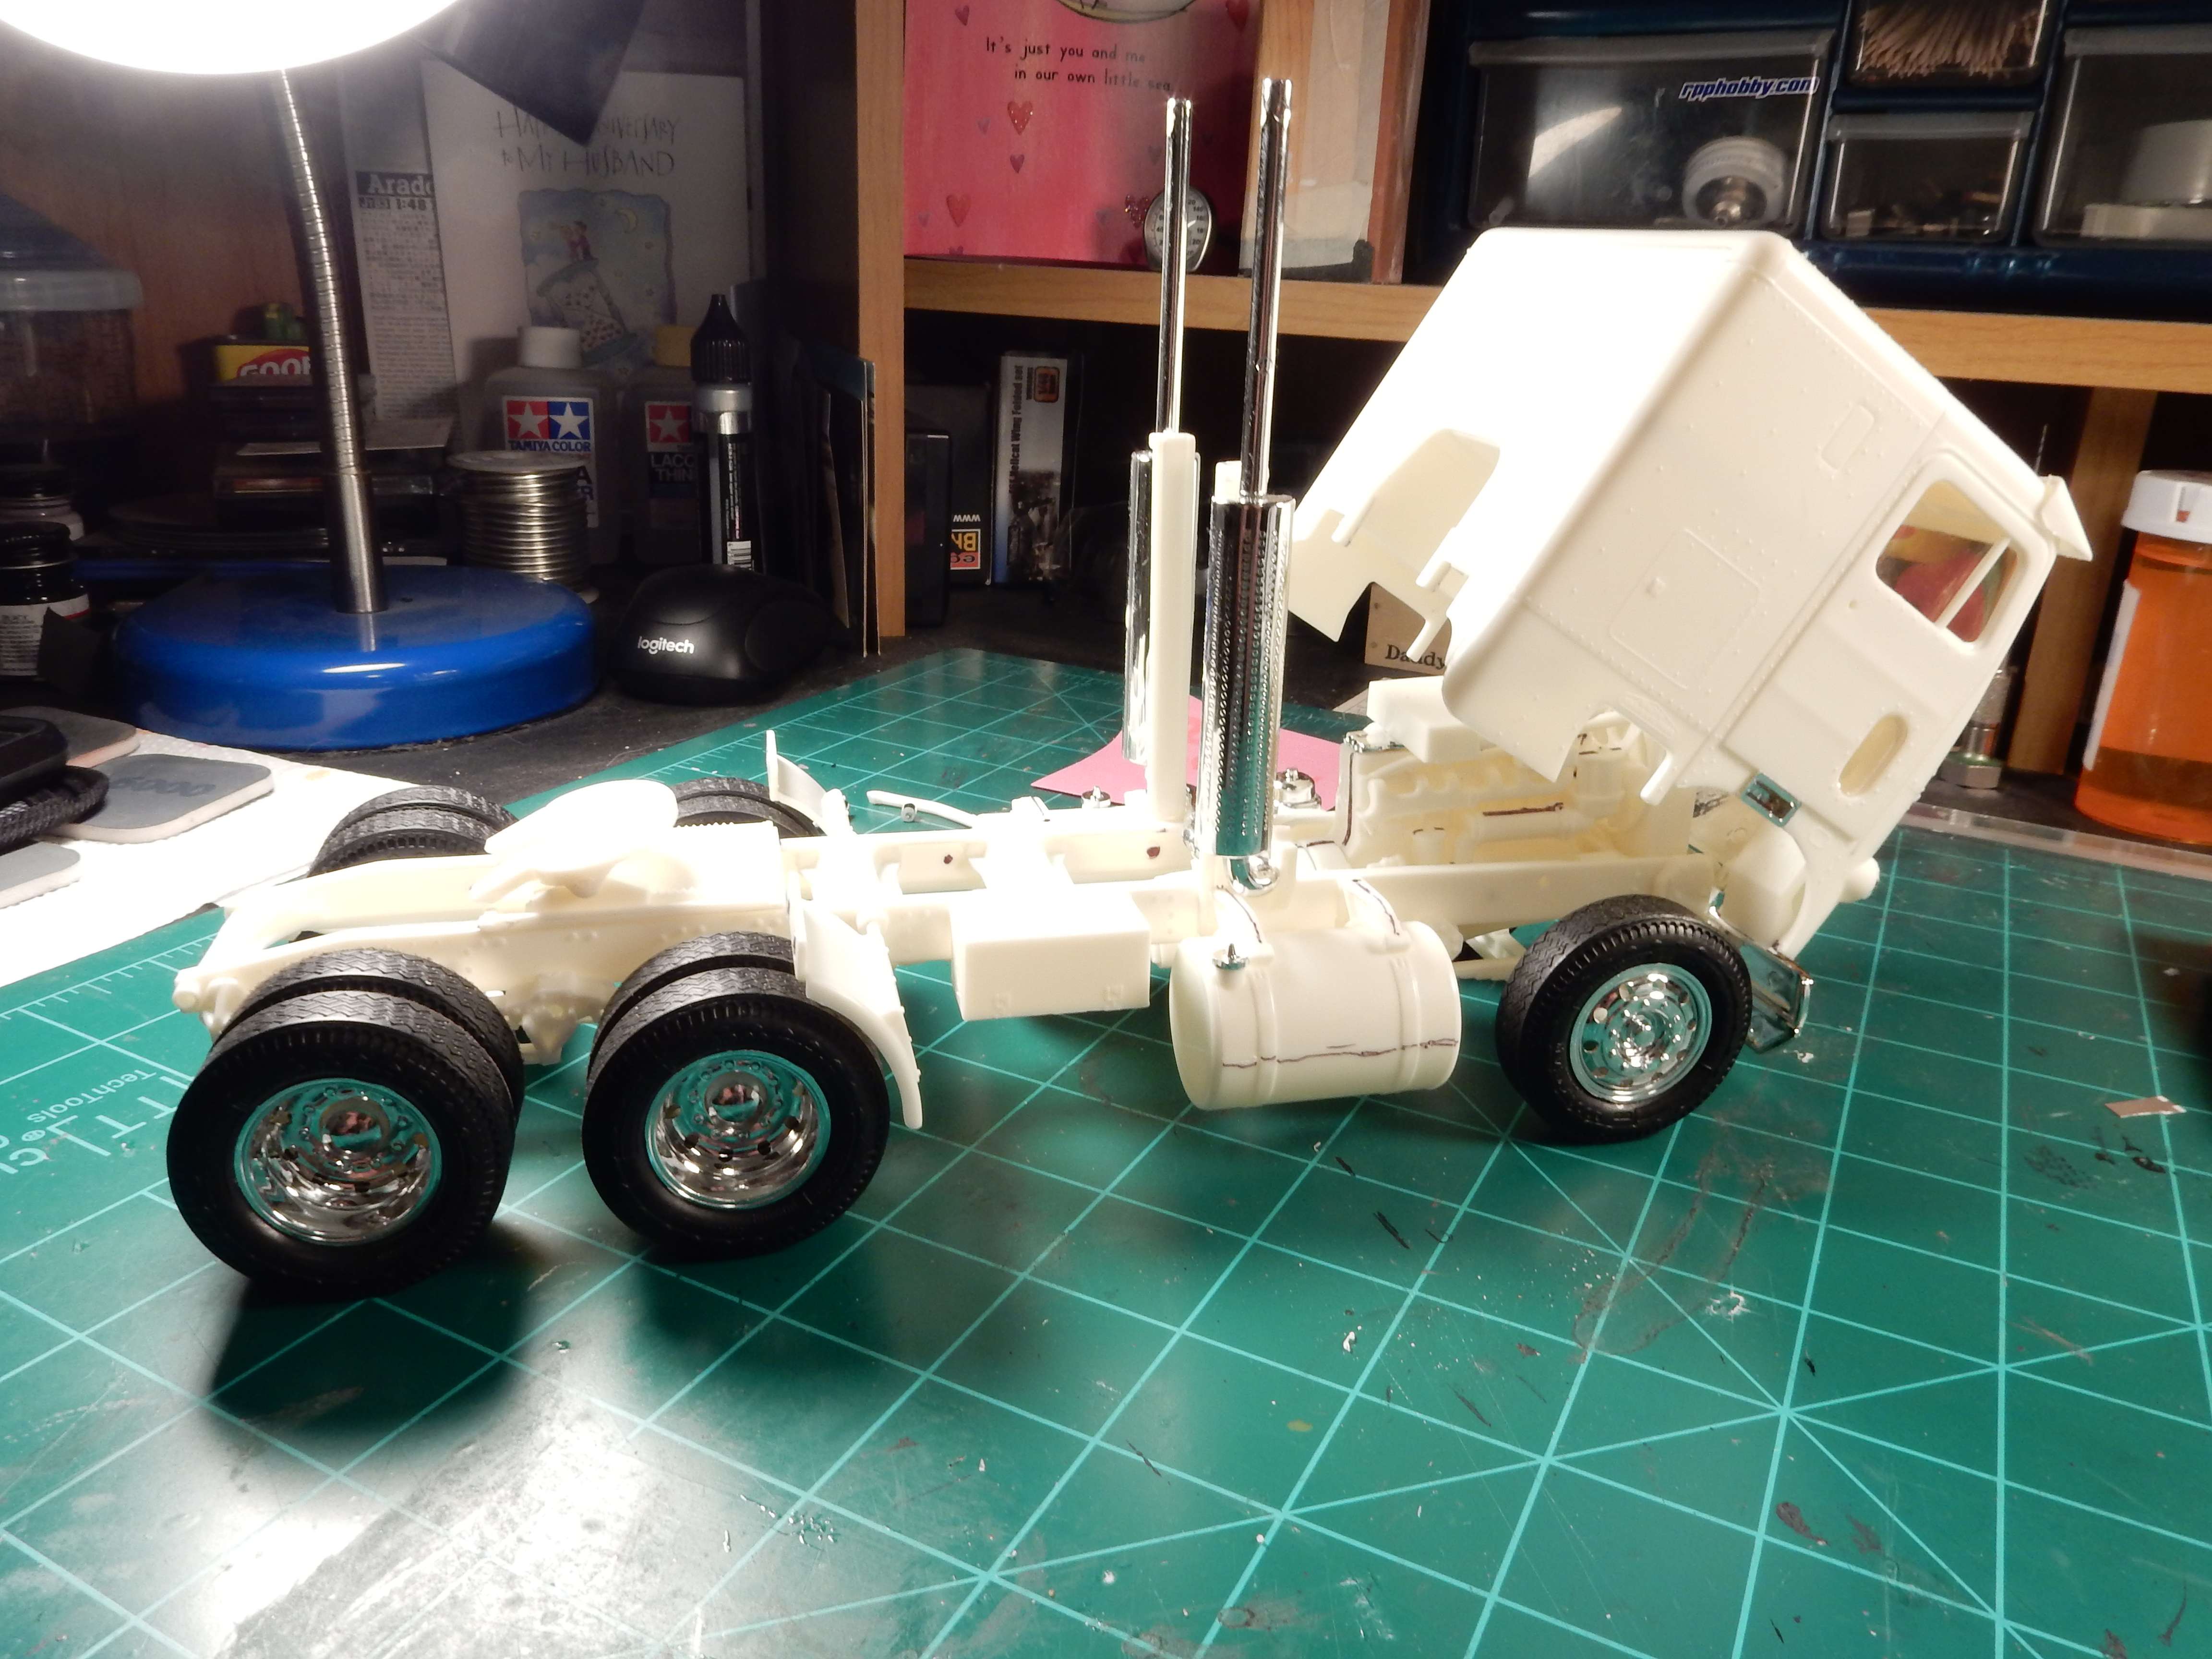
Here’s where I’m at right now. I may have to cut the crossover pipe in two in order to install it but that’s ok. Again…I’ll know about this before hand with the actual build.
Now, I’m suddenly interested in FL AM exhaust parts.
The actual stacks are kind of unique. The heat sheild and the muffler are nearly the same diameter. Unlike the KW/Pete stacks which have an inch or two in the stand off, the FL ones are scantly so–call it 3/8"-1/2" The body of the muffler is typically a dull aluminum color; the shields are more typically polished aluminum than chromed (but custom chromed pipes are available).
This is often also seen in wheels–fleet buyers will seldom spring for chromed wheels, polished metal and milled finish being very common (with painted wheels a close second).
FL are all over, workhorses in the trade. They soldier on and on. Here in DFW it’s not uncommon at all to see them refurbished as dump trucks, and clearly on second or third ownership.
So, the modeling propects are endless.
Bravo
Just checking in and I see you are moving right along.
Atta boy, Joe.
Hey There My Friend. Bought time I popped in and checked on your progress. The mock up appears to be moving along nicely. Nice that your picking up on issues and blemishes to address as you move forward. This is fun watching you build this tractor. Certainly new and interesting to me. Seems to me that you could have more than your share of fun “dessing” up the interior when you get to it. Standing by for further updates.
Thanks Mac, Greg and Joe. I appreciate all you guys comments and input.
Okeedokee everybody. It’s time for the cab updates. This is probably the most dreaded part of this build if building a sleeper cab. The day cab is a breeze in comparison.
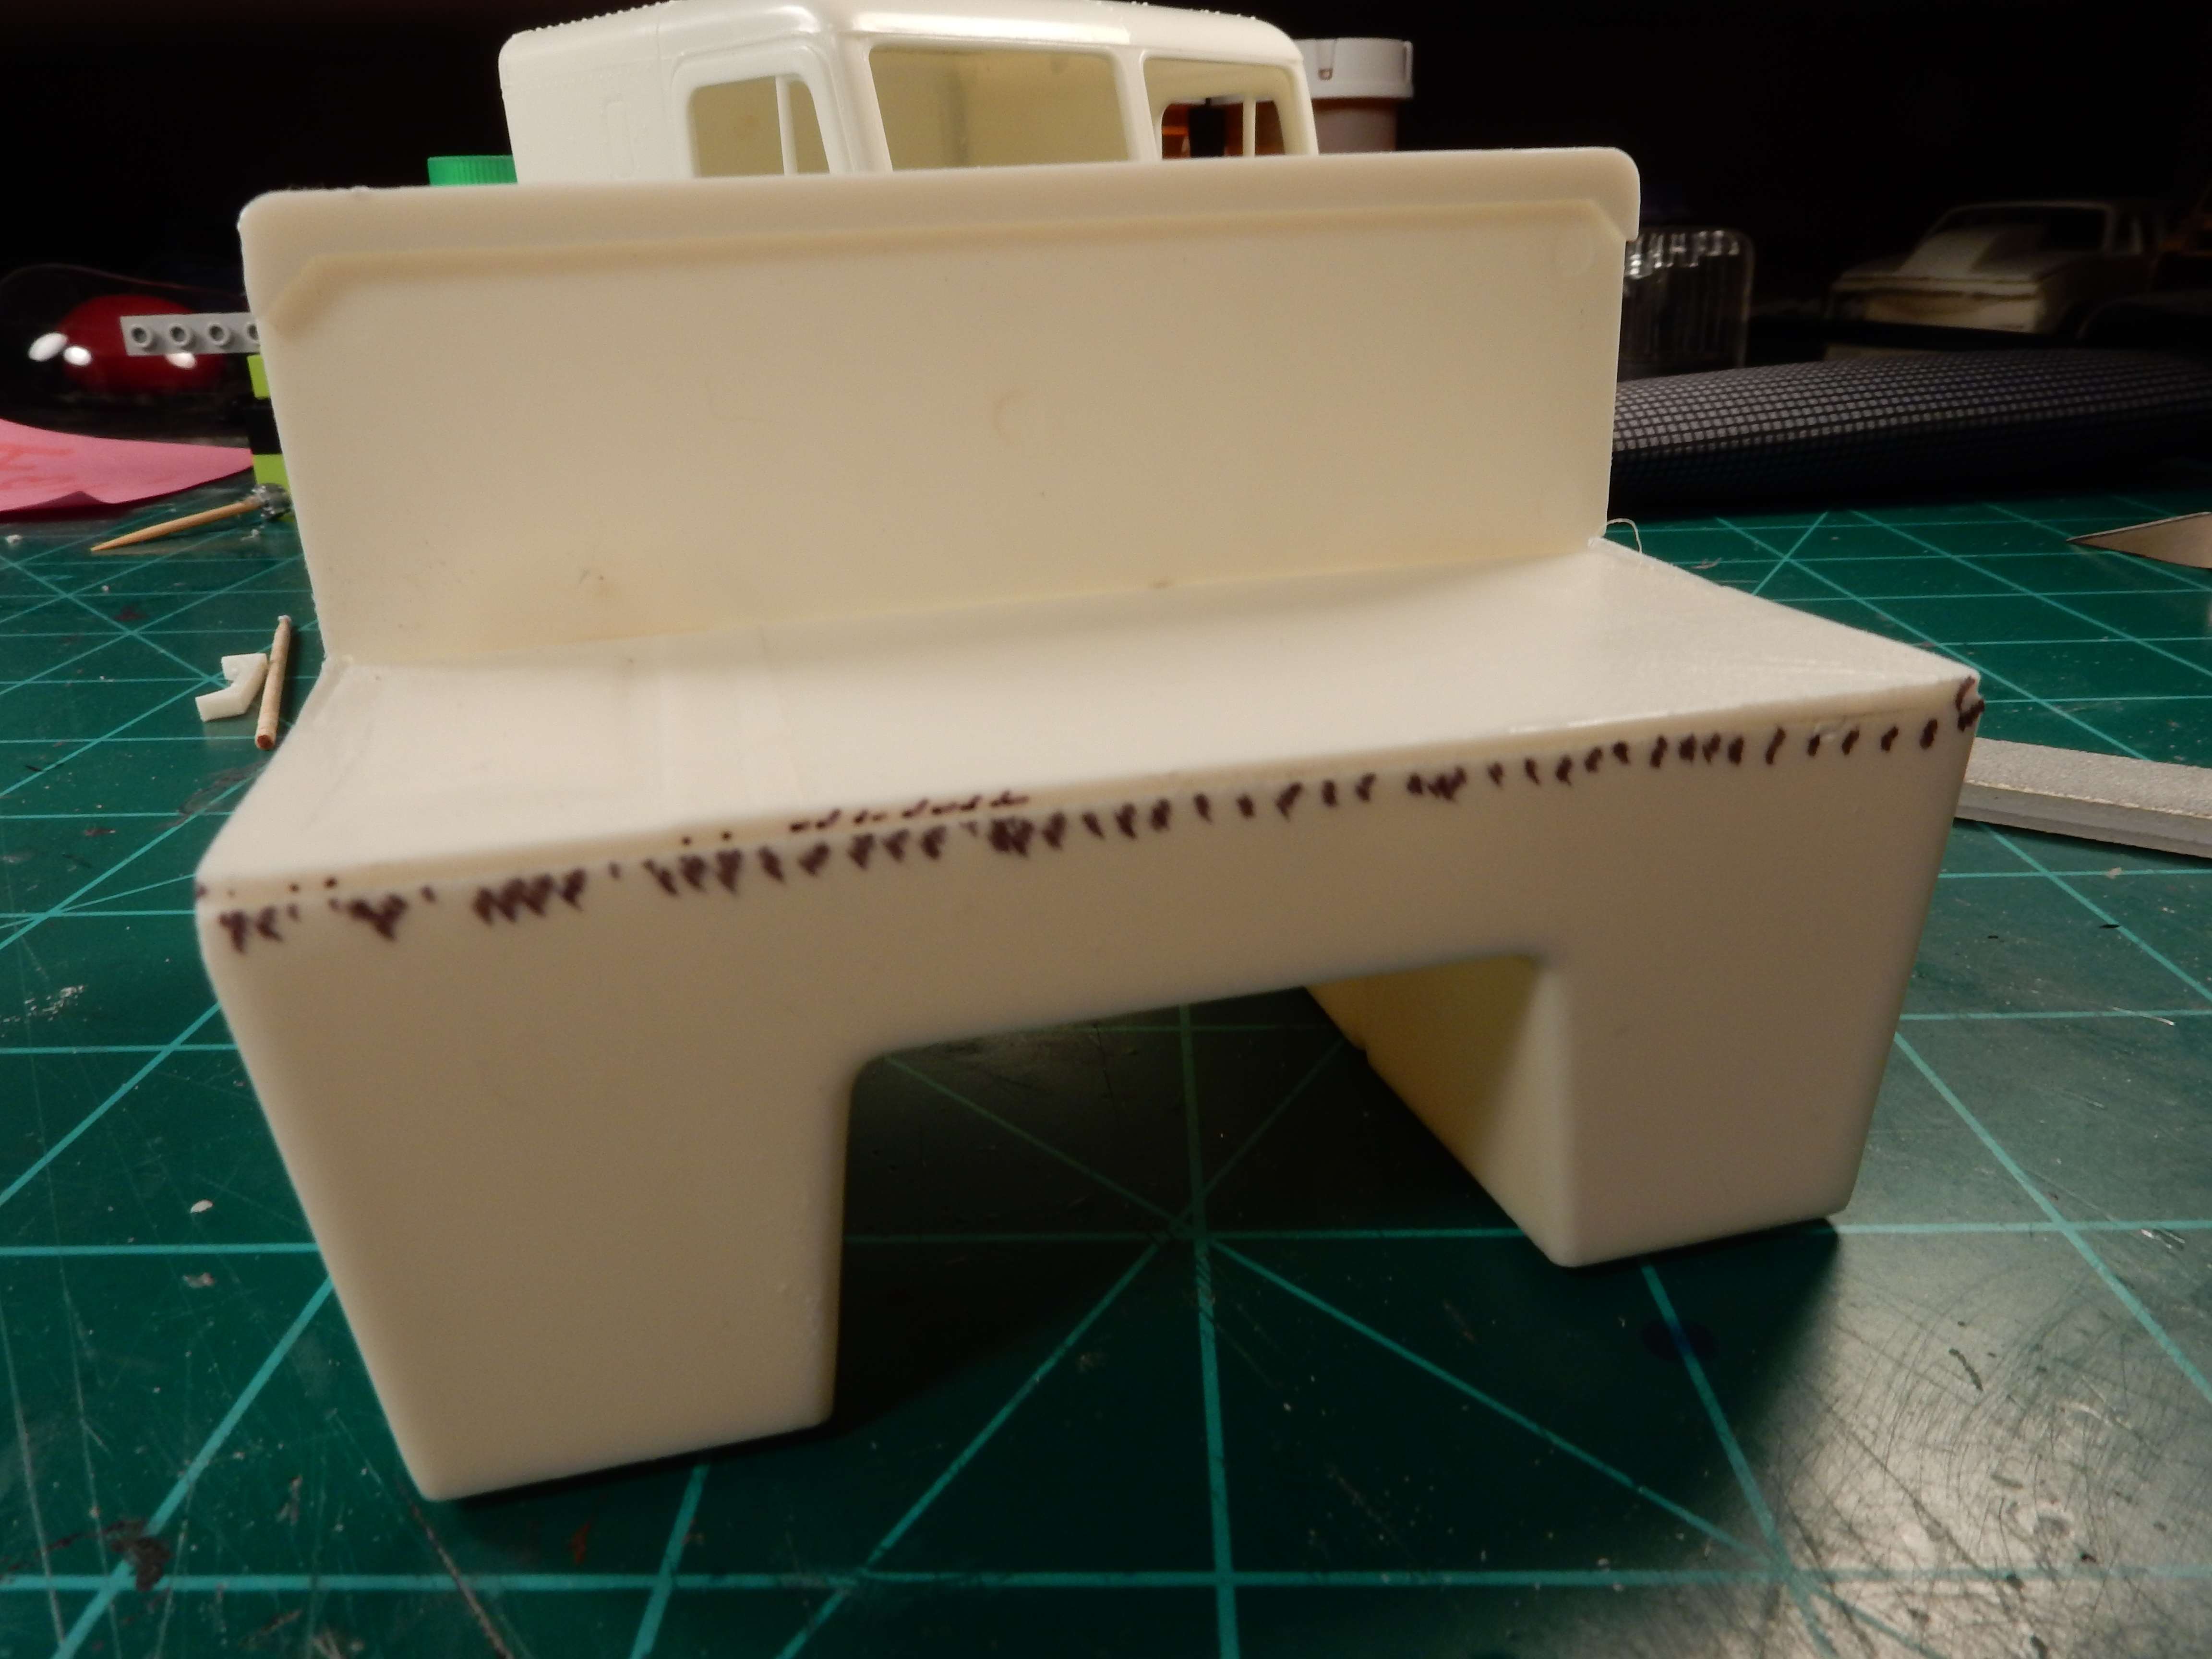
First off there is a nasty seam to fill between the passenger and sleeper half of it.
This is after assembly and I cleaned this up as best I could. Gonna be a lot of work right here.
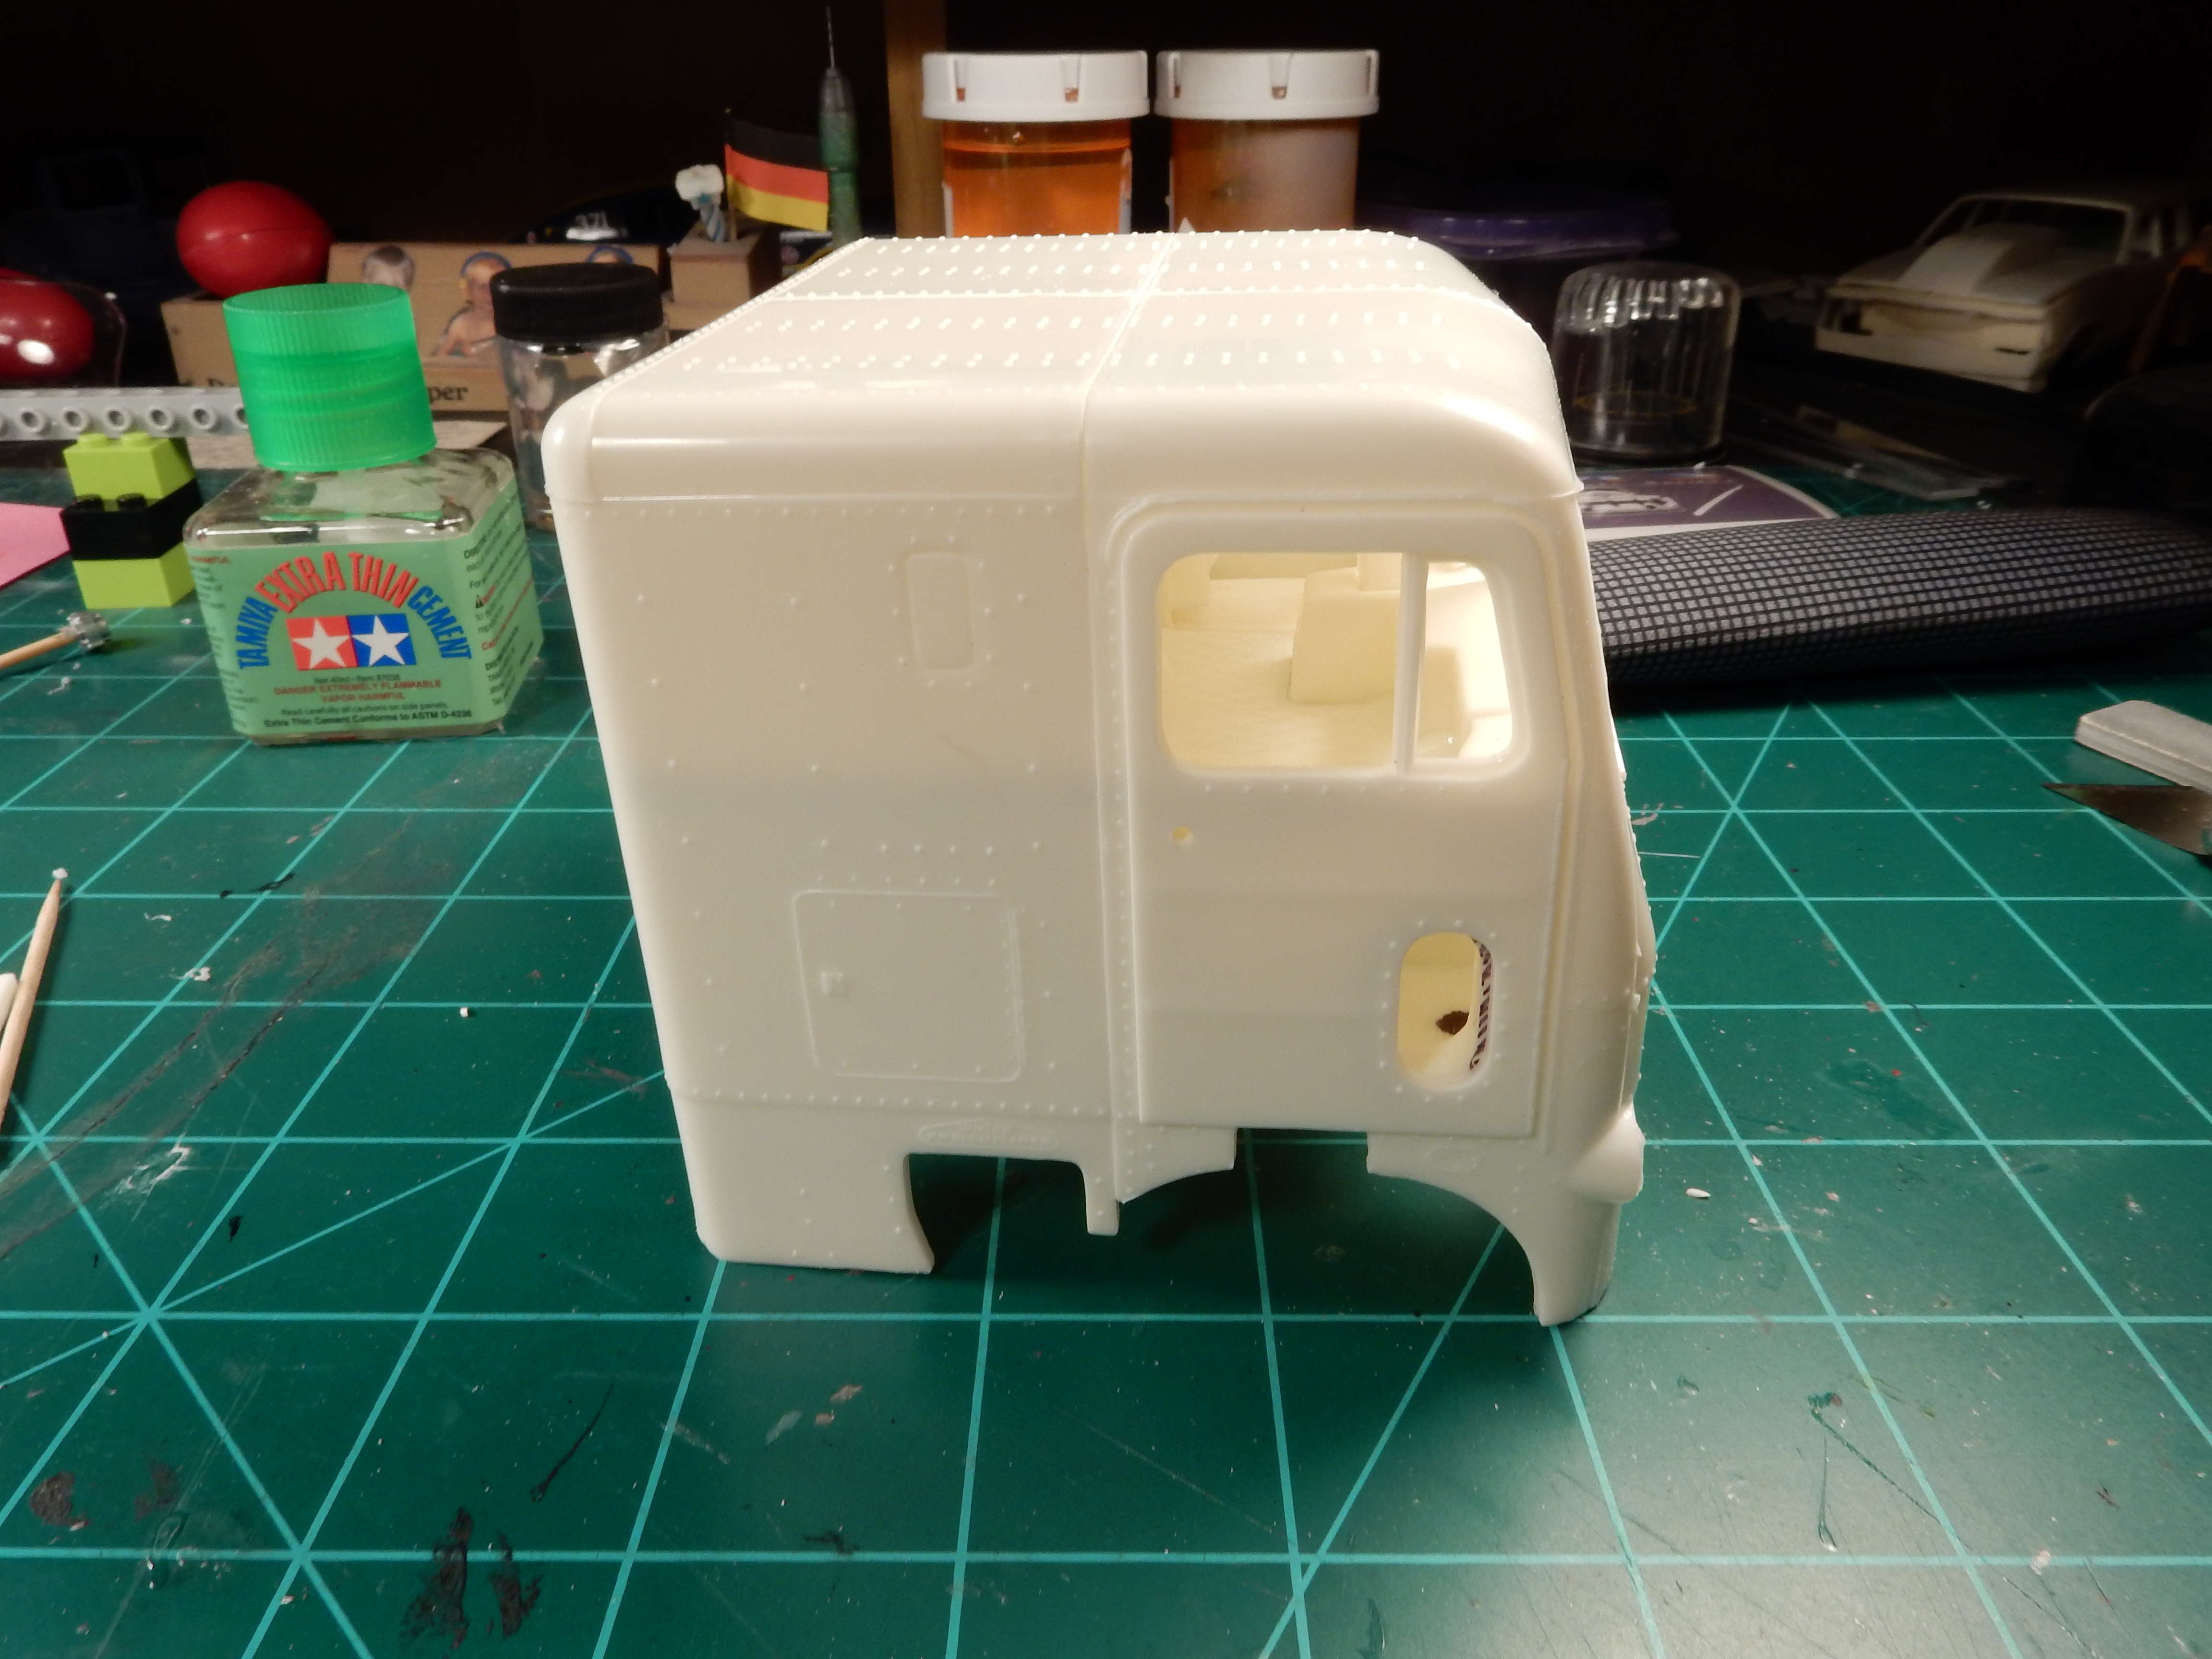

Secondly, I’ve heard just as many horror stories in regards to interior fit into the cab. I shaded the areas in with a black sharpie that needed trimmed up for the interior to slide nicely inside:
The sides needed a lot of work
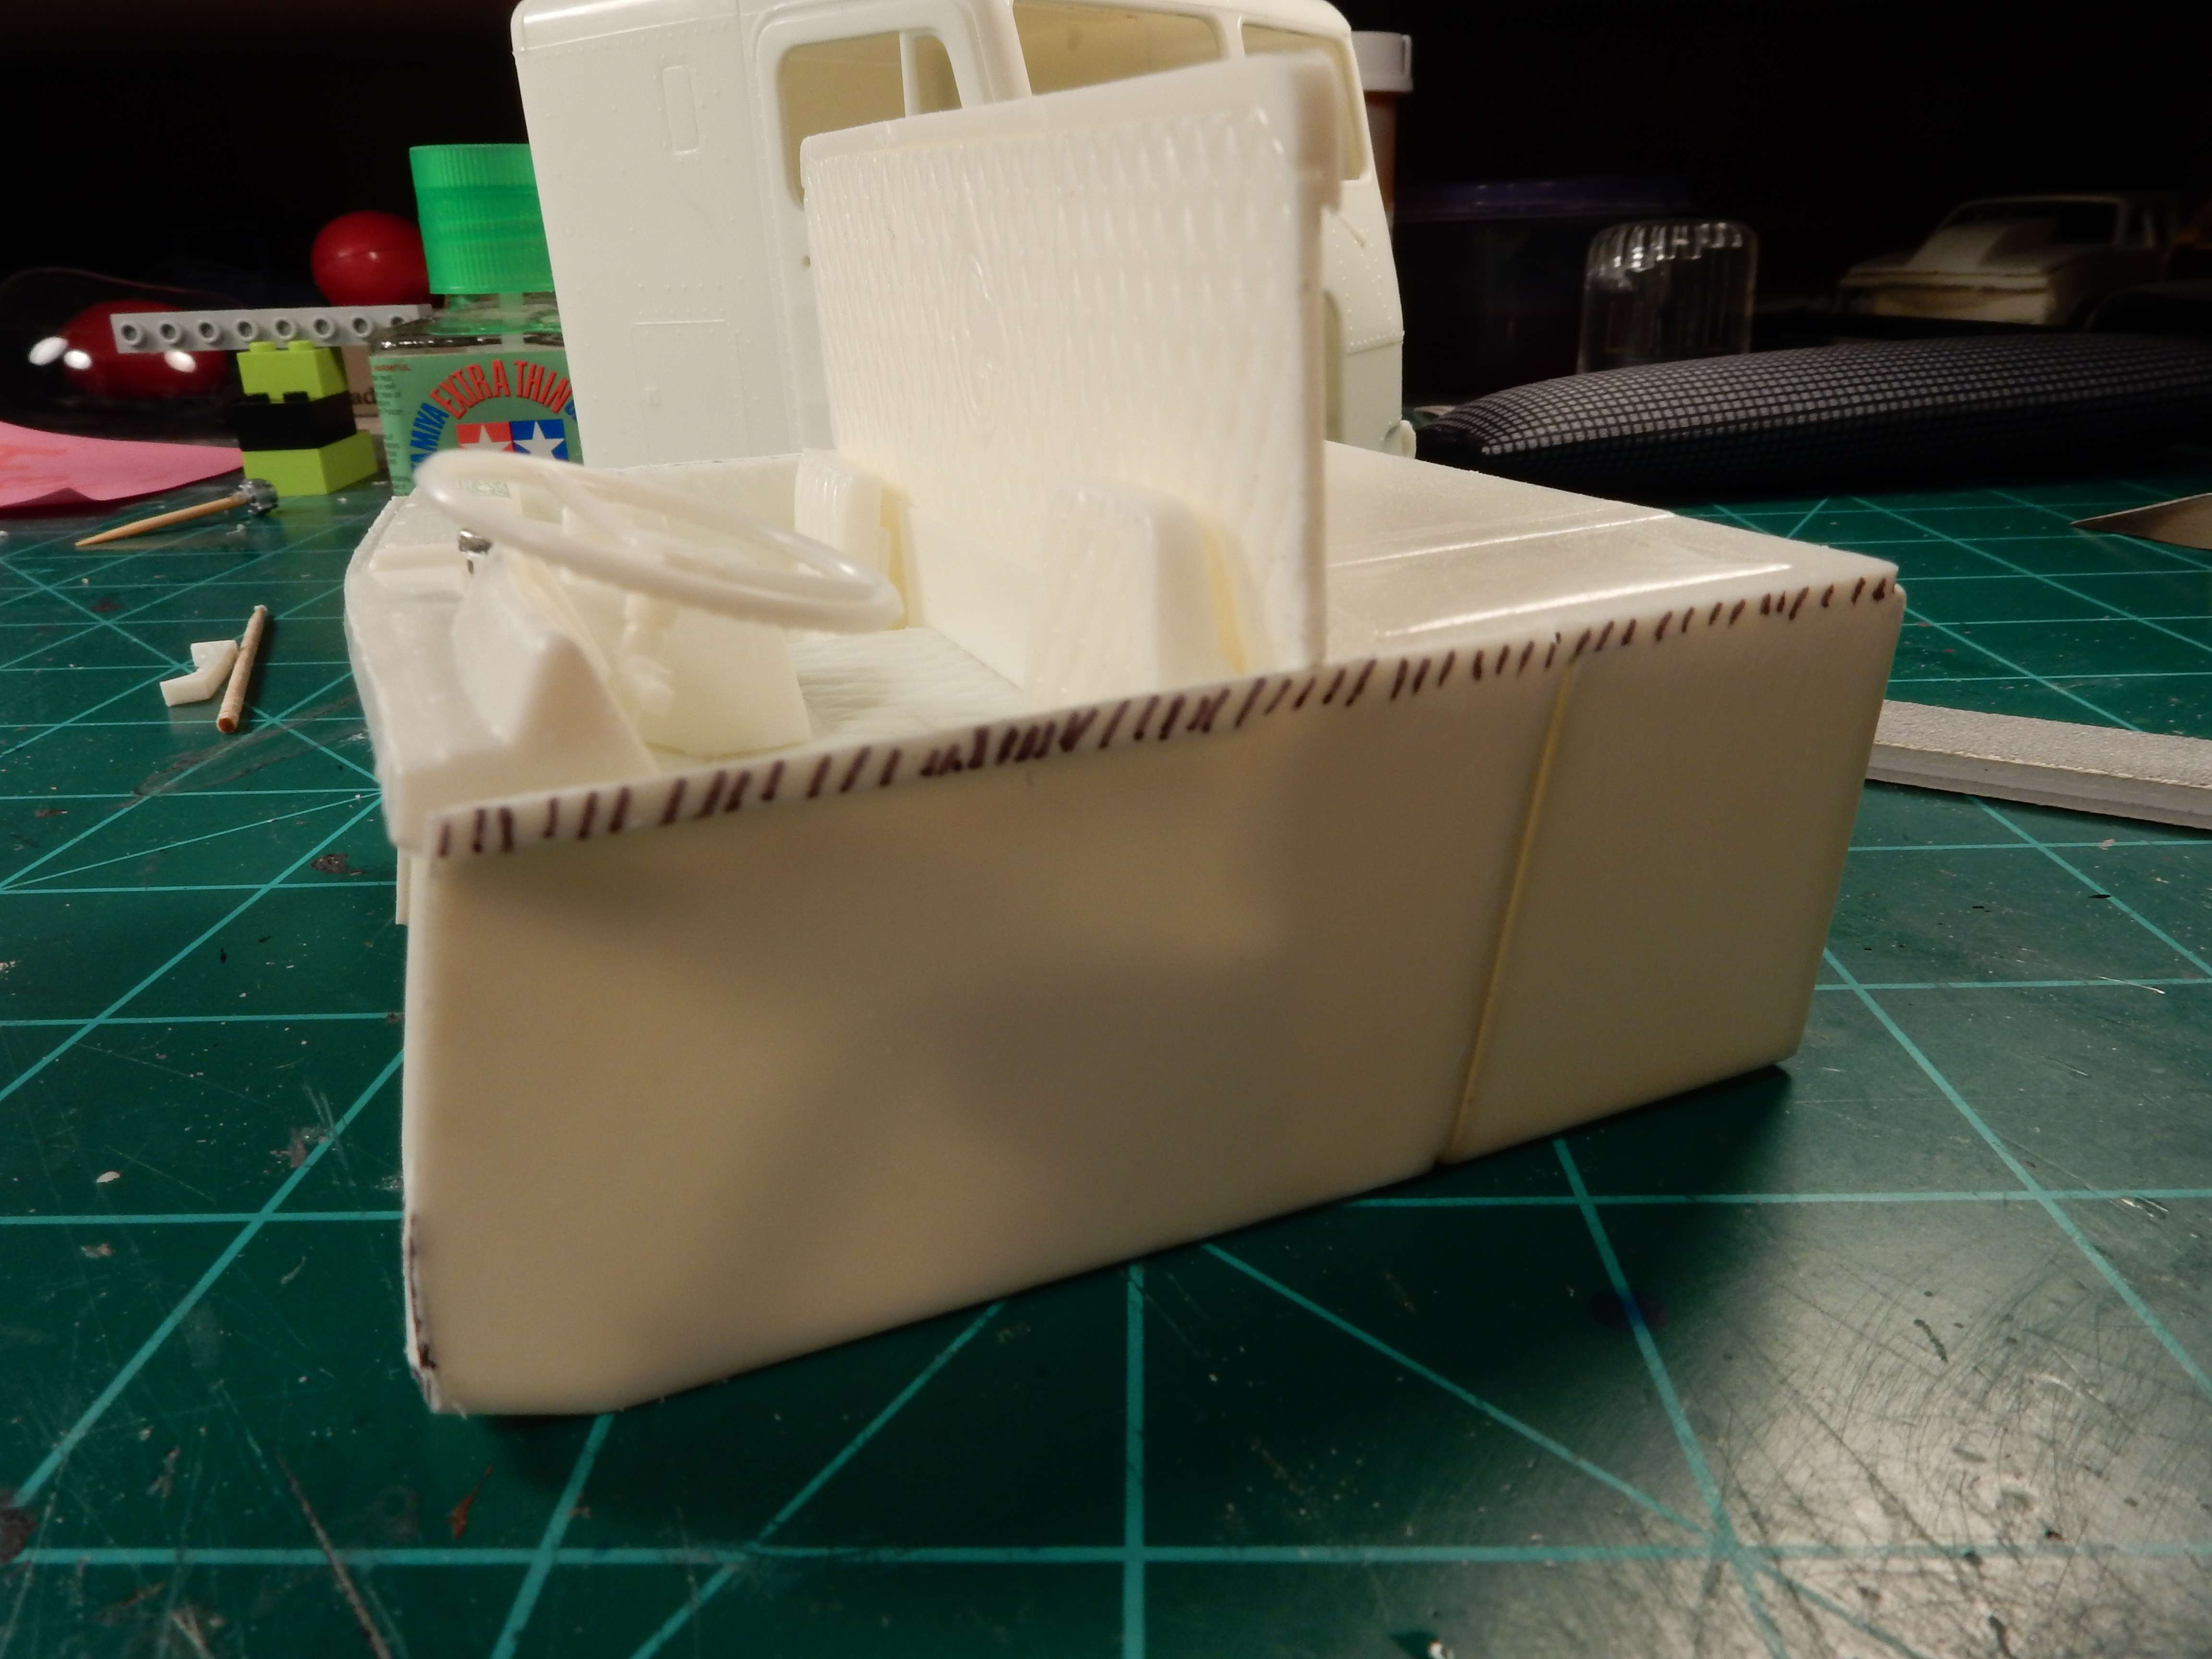
Then the rear of the interior and cab gave me some fit issues particularly in the area where both of the cab rest blocks are located. So a little sanding was done on the interior tub:
and some on the rest blocks:

Then the front of the cab had its issues with the interior tub and the front lower corners of the cab that had a little “slag” causing a fit problem. So I sanded a little off of the corners of the tub and the steering column since it protruded outside of the interior at the base of the column. (the black dot on the passengers floorboard is just an ejector pin mark that I’ll have to take care of.)

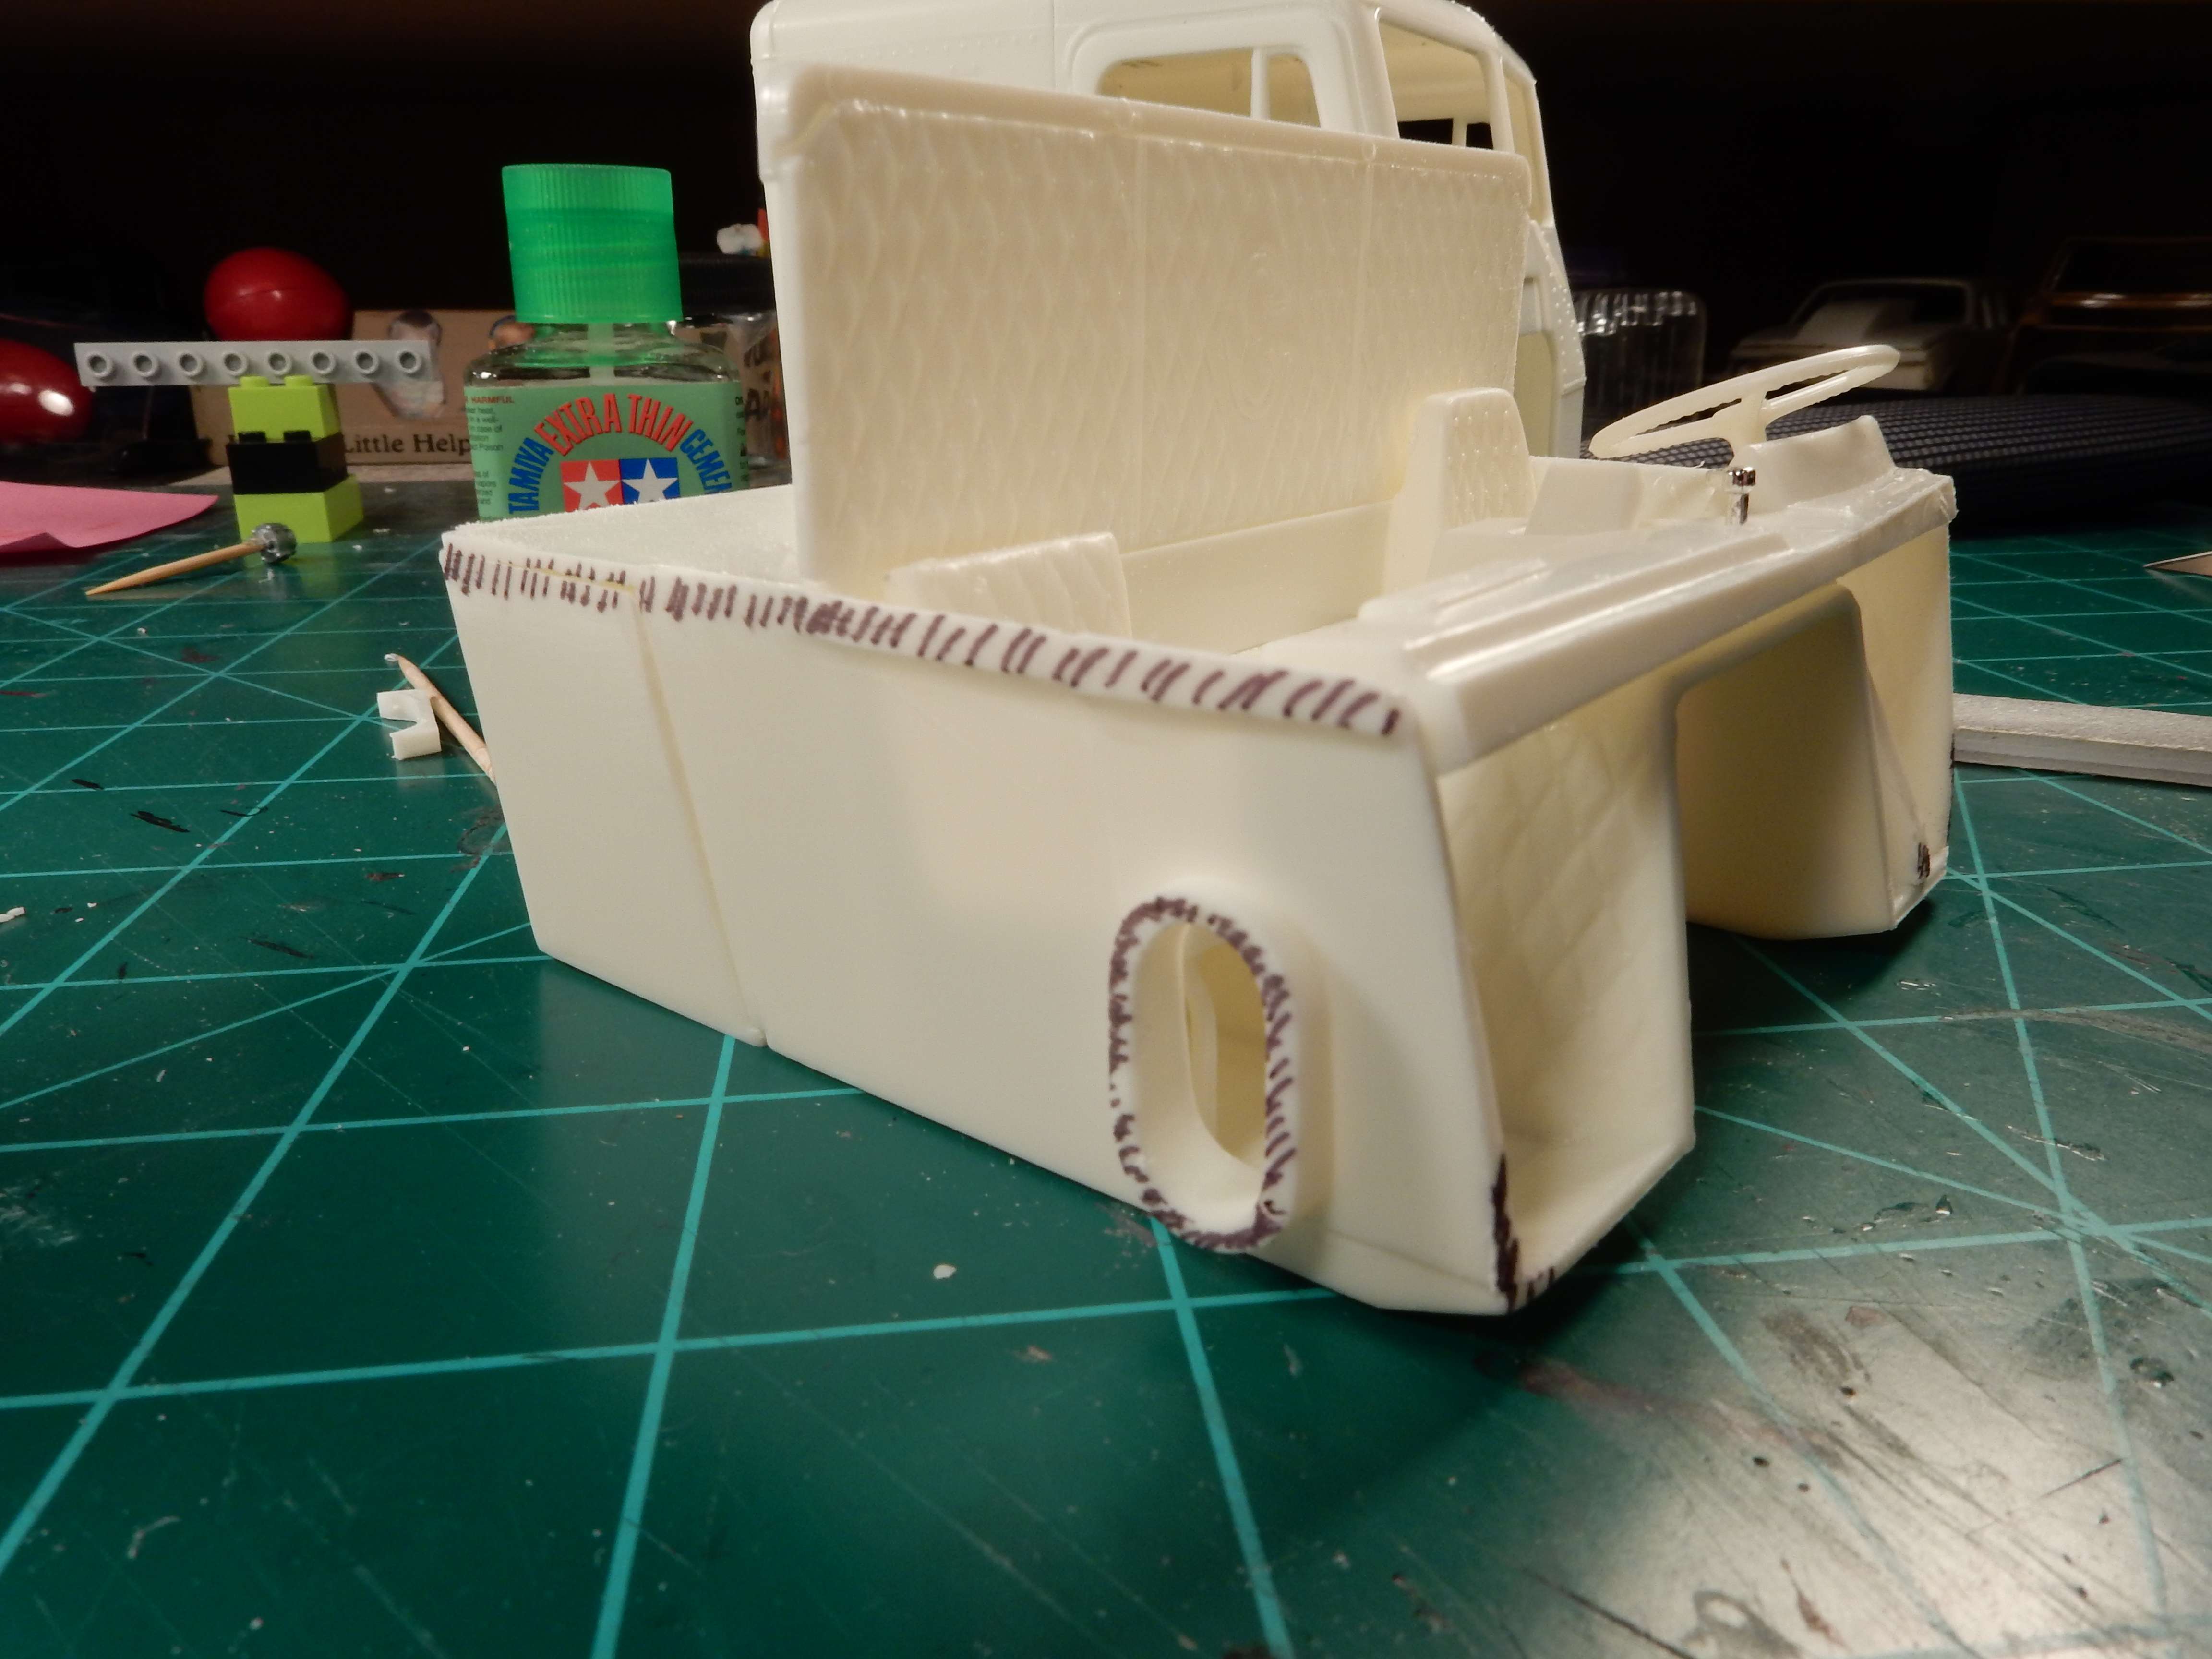
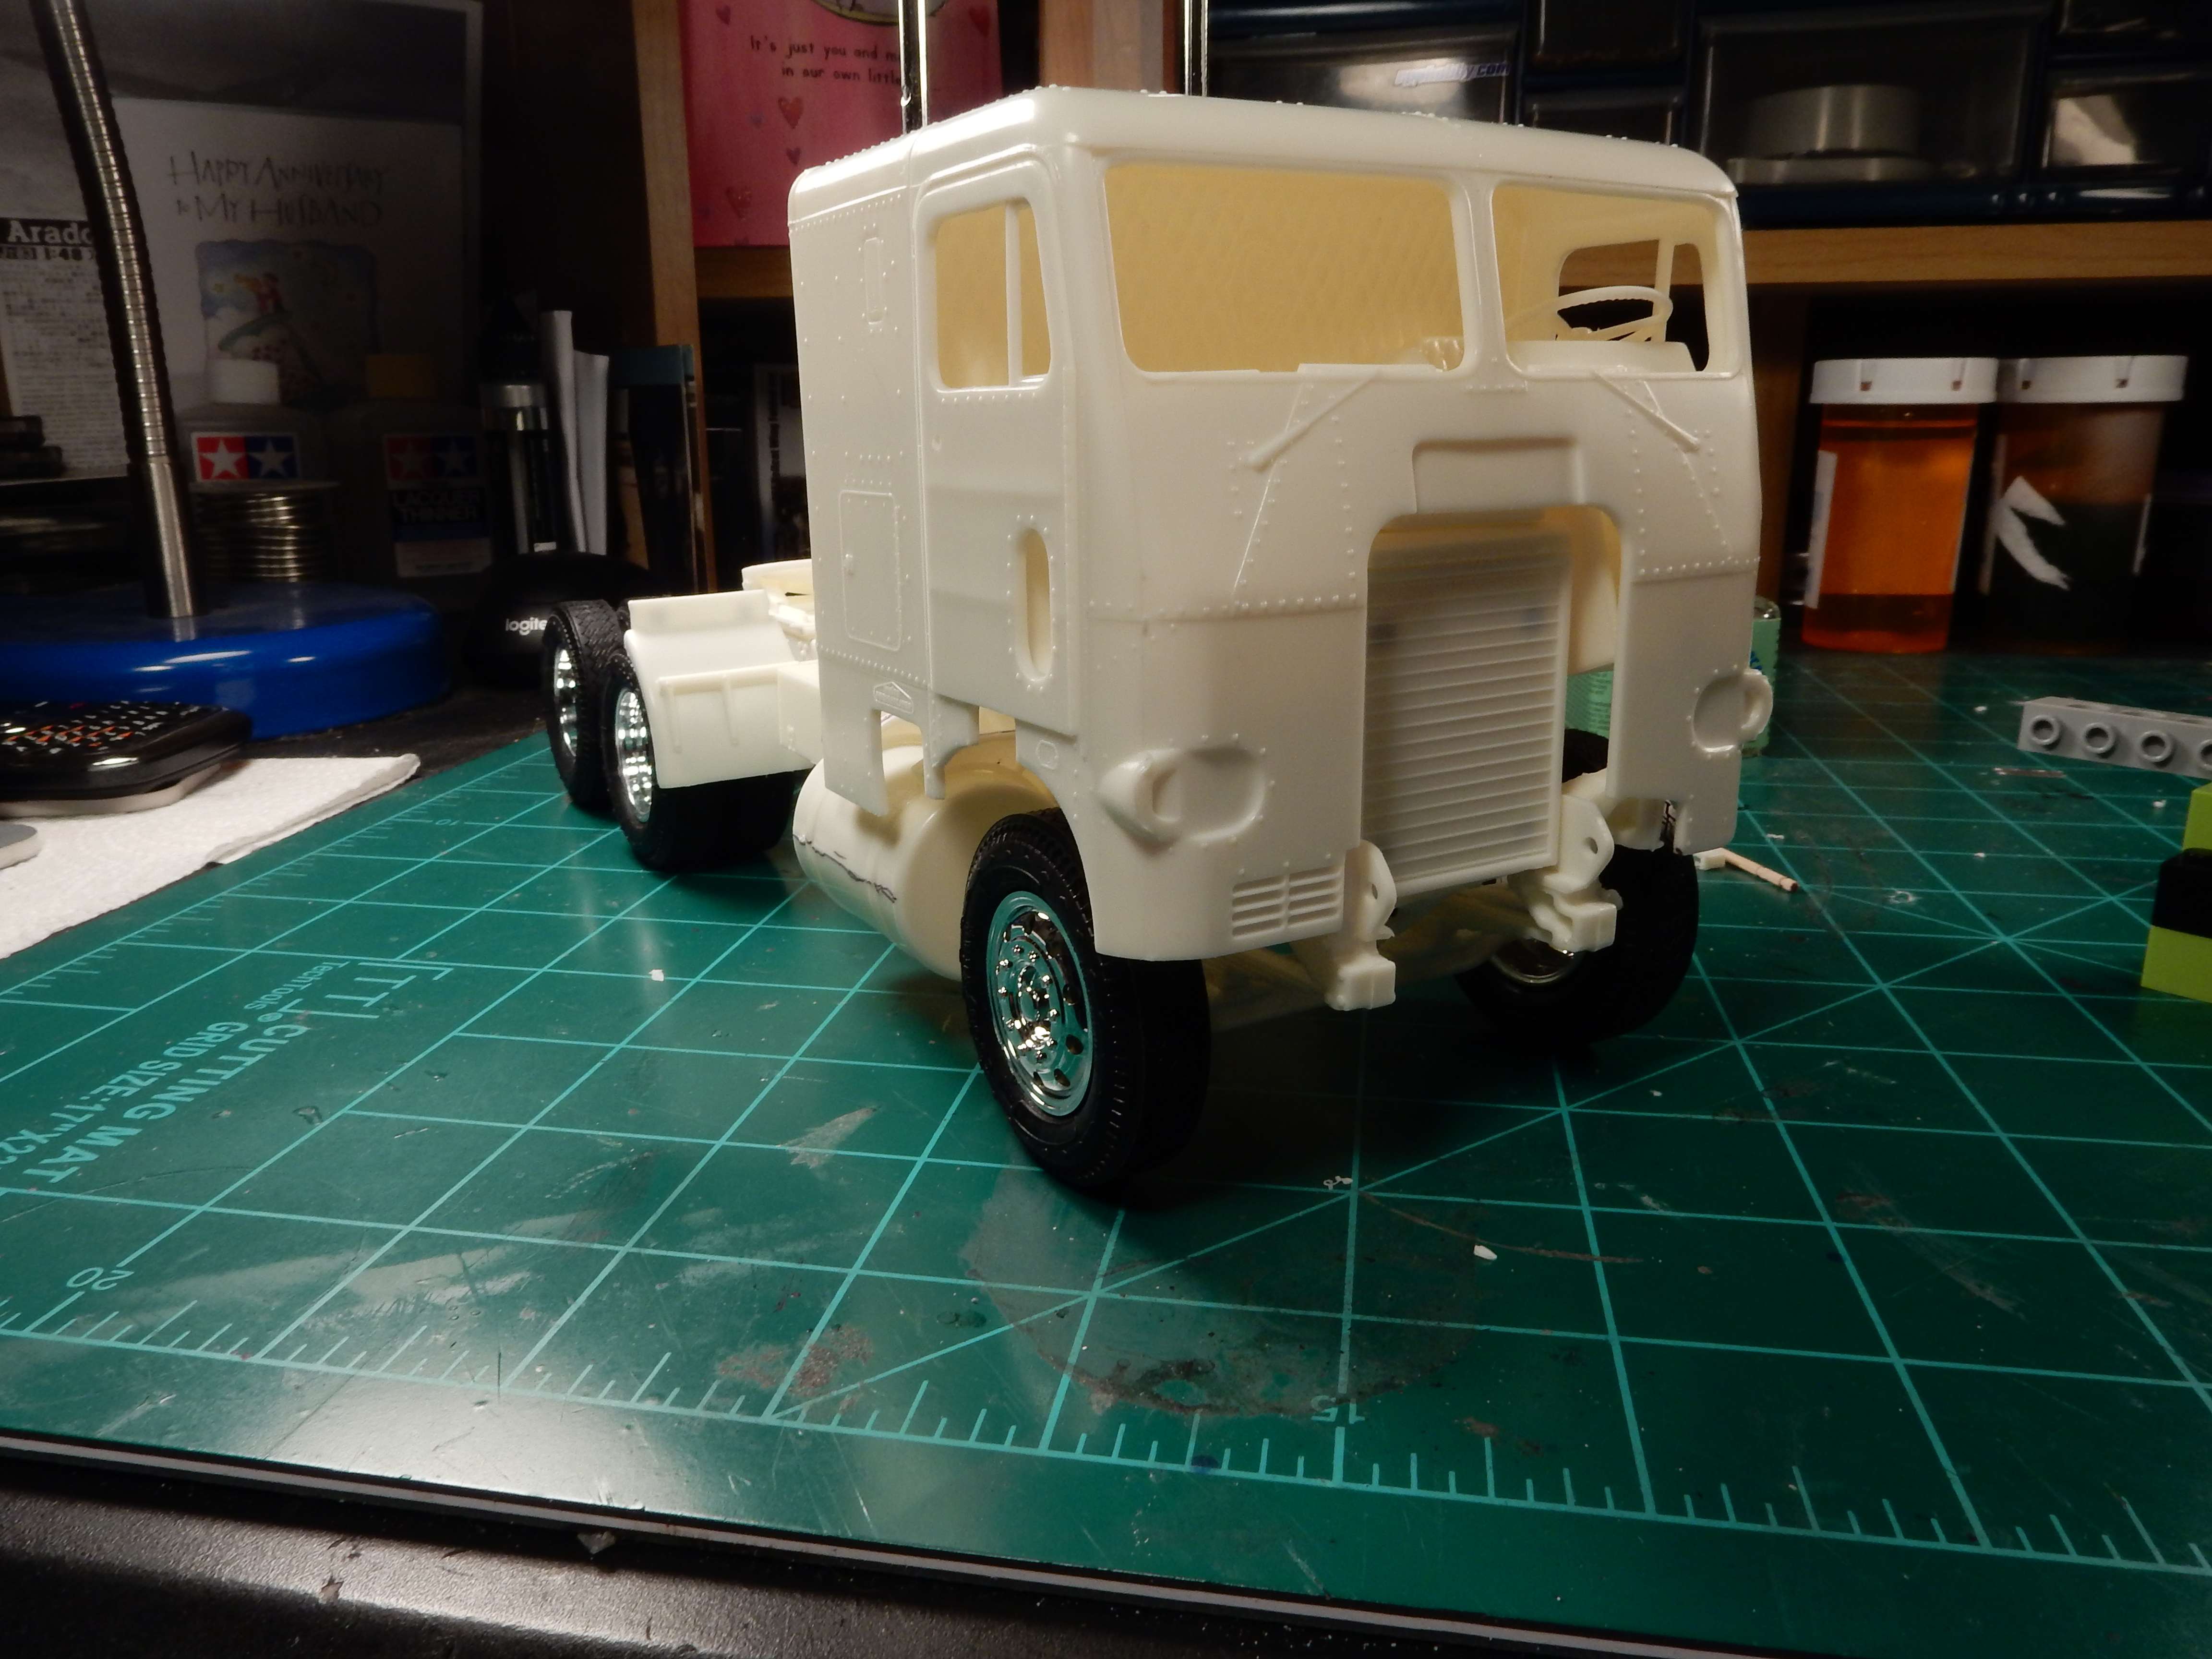
Here’s the area of the cab that needed shaved in the front lower corners:

So far so good with the overall fit. A little tweaking to do but it’s no big deal:

Appears to me that you are getting that beast whooped into shape quite nicely. Sure you must have built up some “guns” on your arms from all that sanding and cutting. Choice effort my friend.
Hey that’s taking shape . you got the bull by the horns now lol
Man, You have gotten that little COE under your spell, it ain’t got a chance.
Thanks Joe, Nick and Steve!
So far it’s fairly smooth sailing. I did find that when I fitted the cab onto the chassis that the bottom of the interior tub was hitting the air intake for the engine at the top of the radiator. I had to sand a little from the bottom of the tub and at the air intake assembly but it all fits good now. Front tires are right where I wanted 'em so I glued those in place as well. The front bumper is low enough to allow the cab to tilt forward with no fit interference issues. So far, aside from ALOT of cleanup and the headlamps that are too high issue this kit is turning out to be a good one. I’ll be getting a heads up post ready in the next few days to cover the overall kit issues that I encountered.

Looking good!
Dave
Now Thats whot I’m talkin’ 'bout.
p.s. Hope you get all the sanding dust out of the air intake before your fire 'er up.