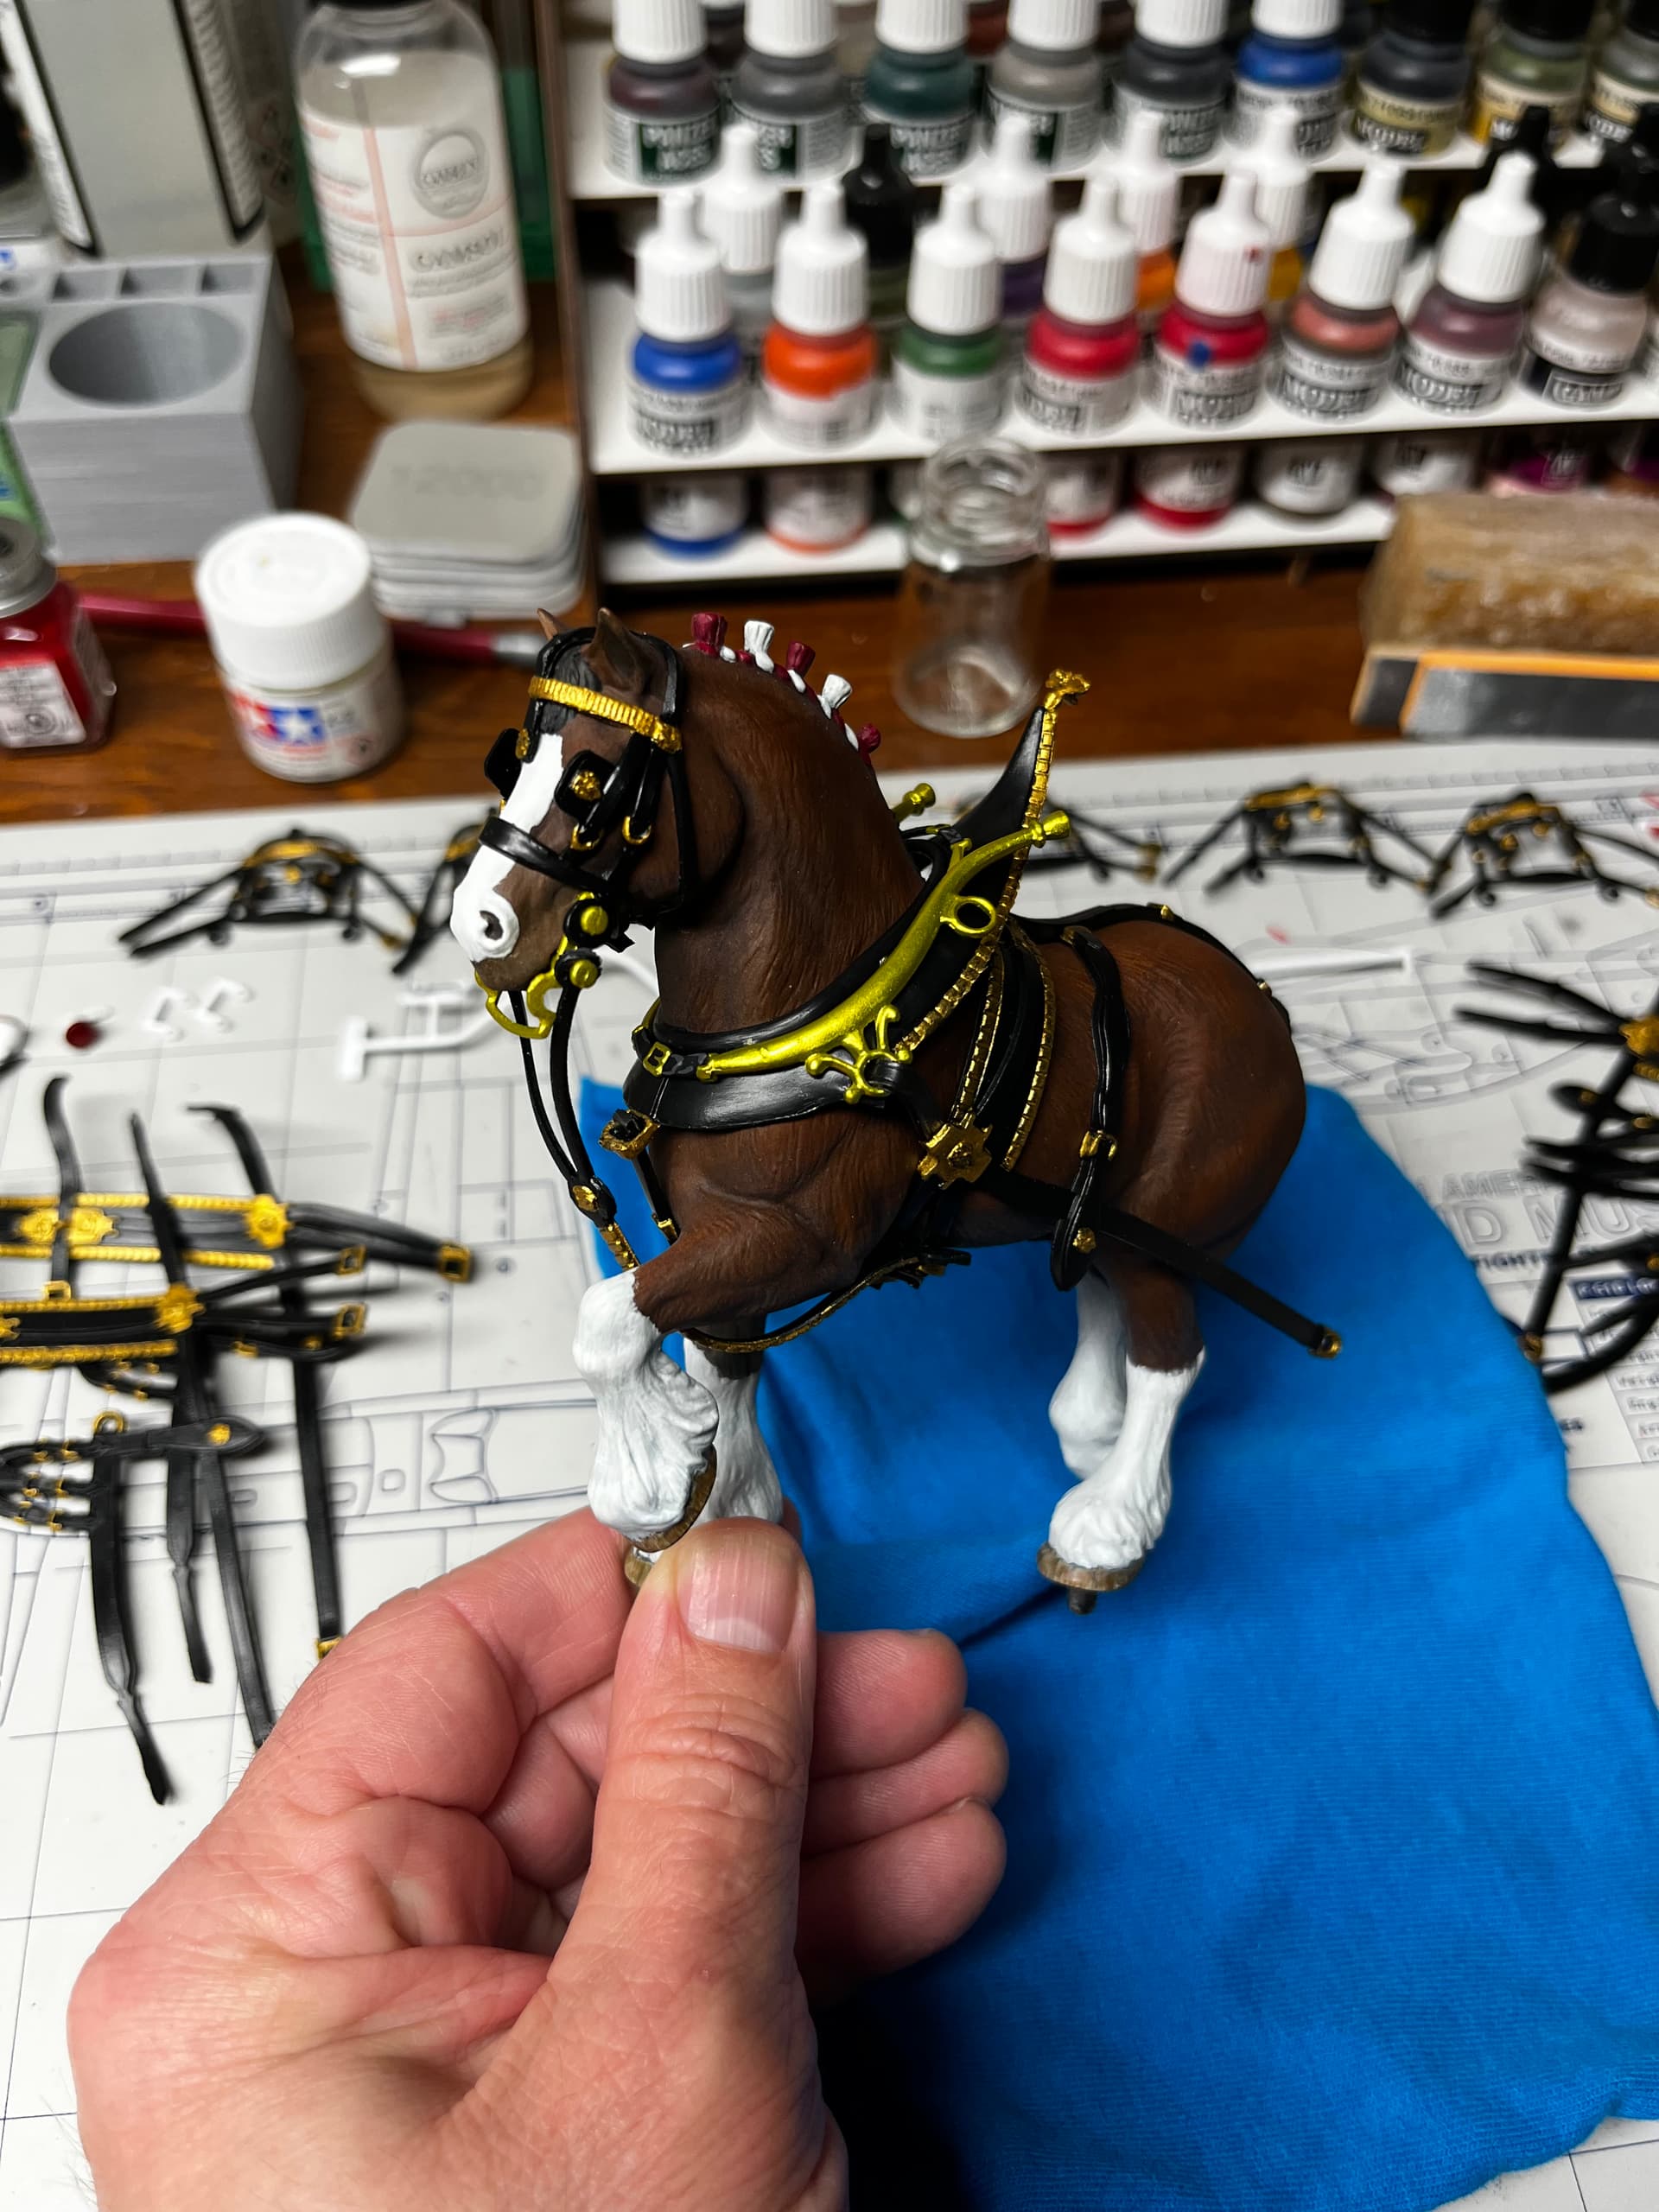
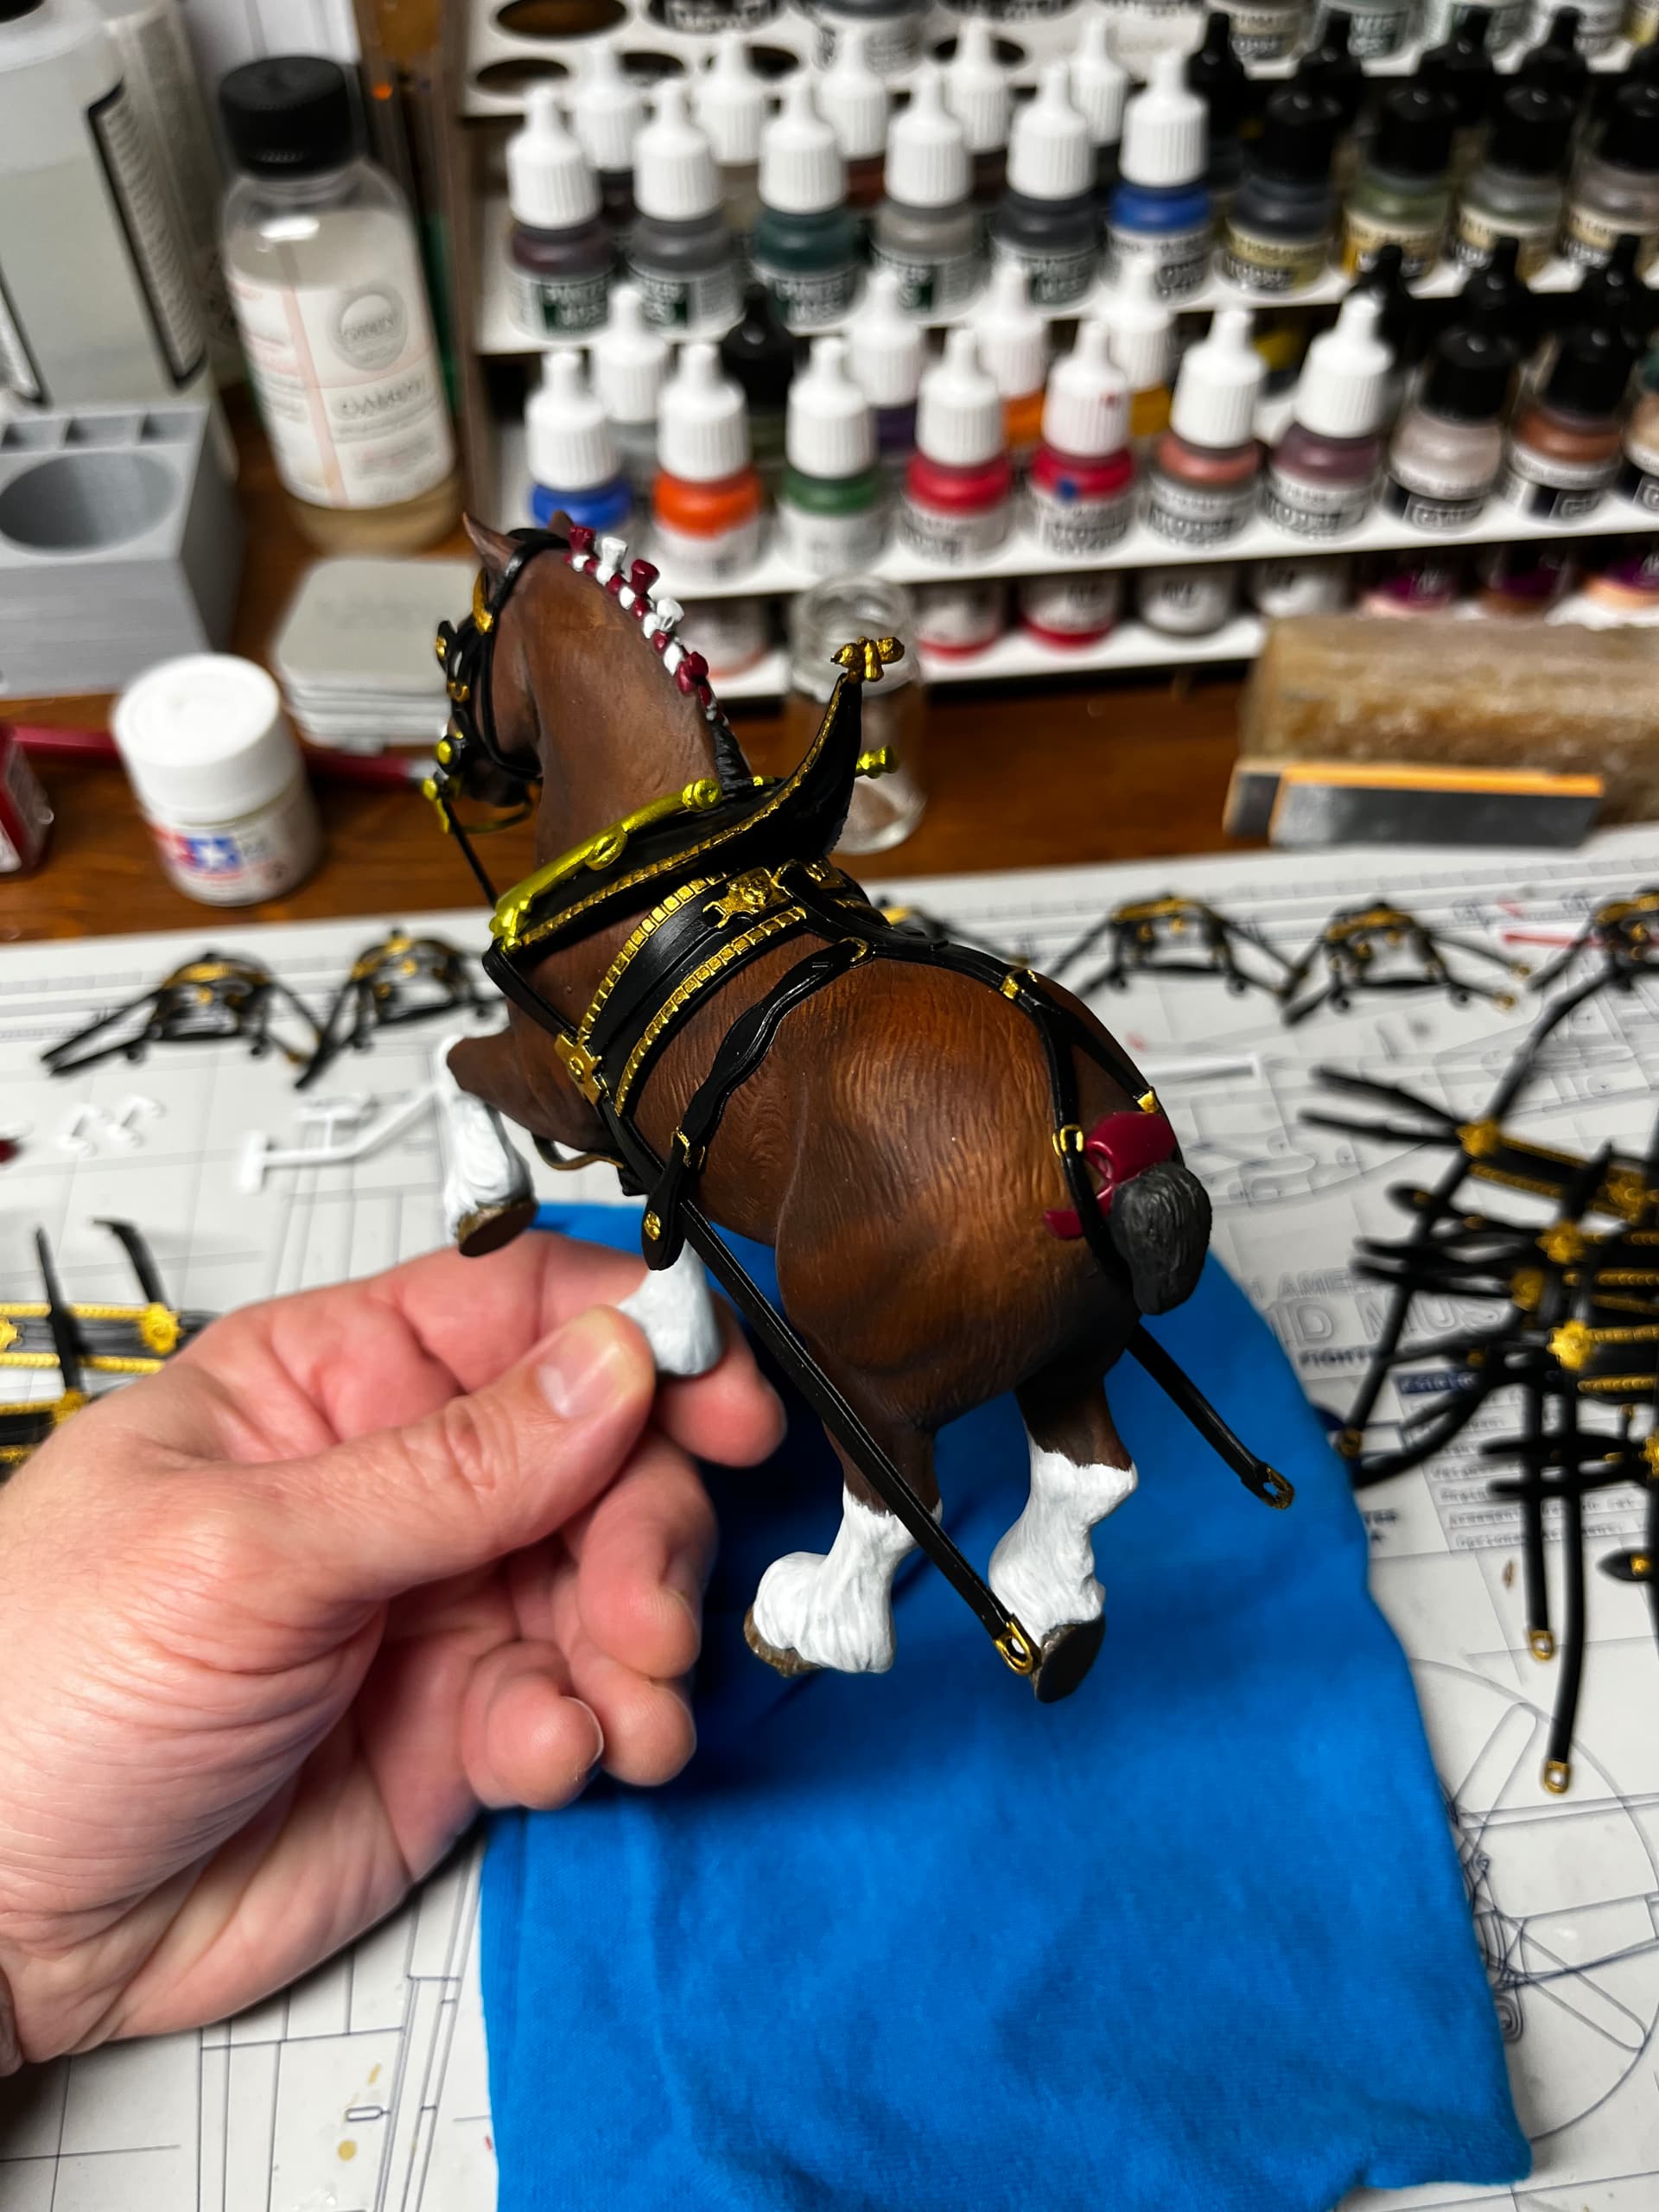
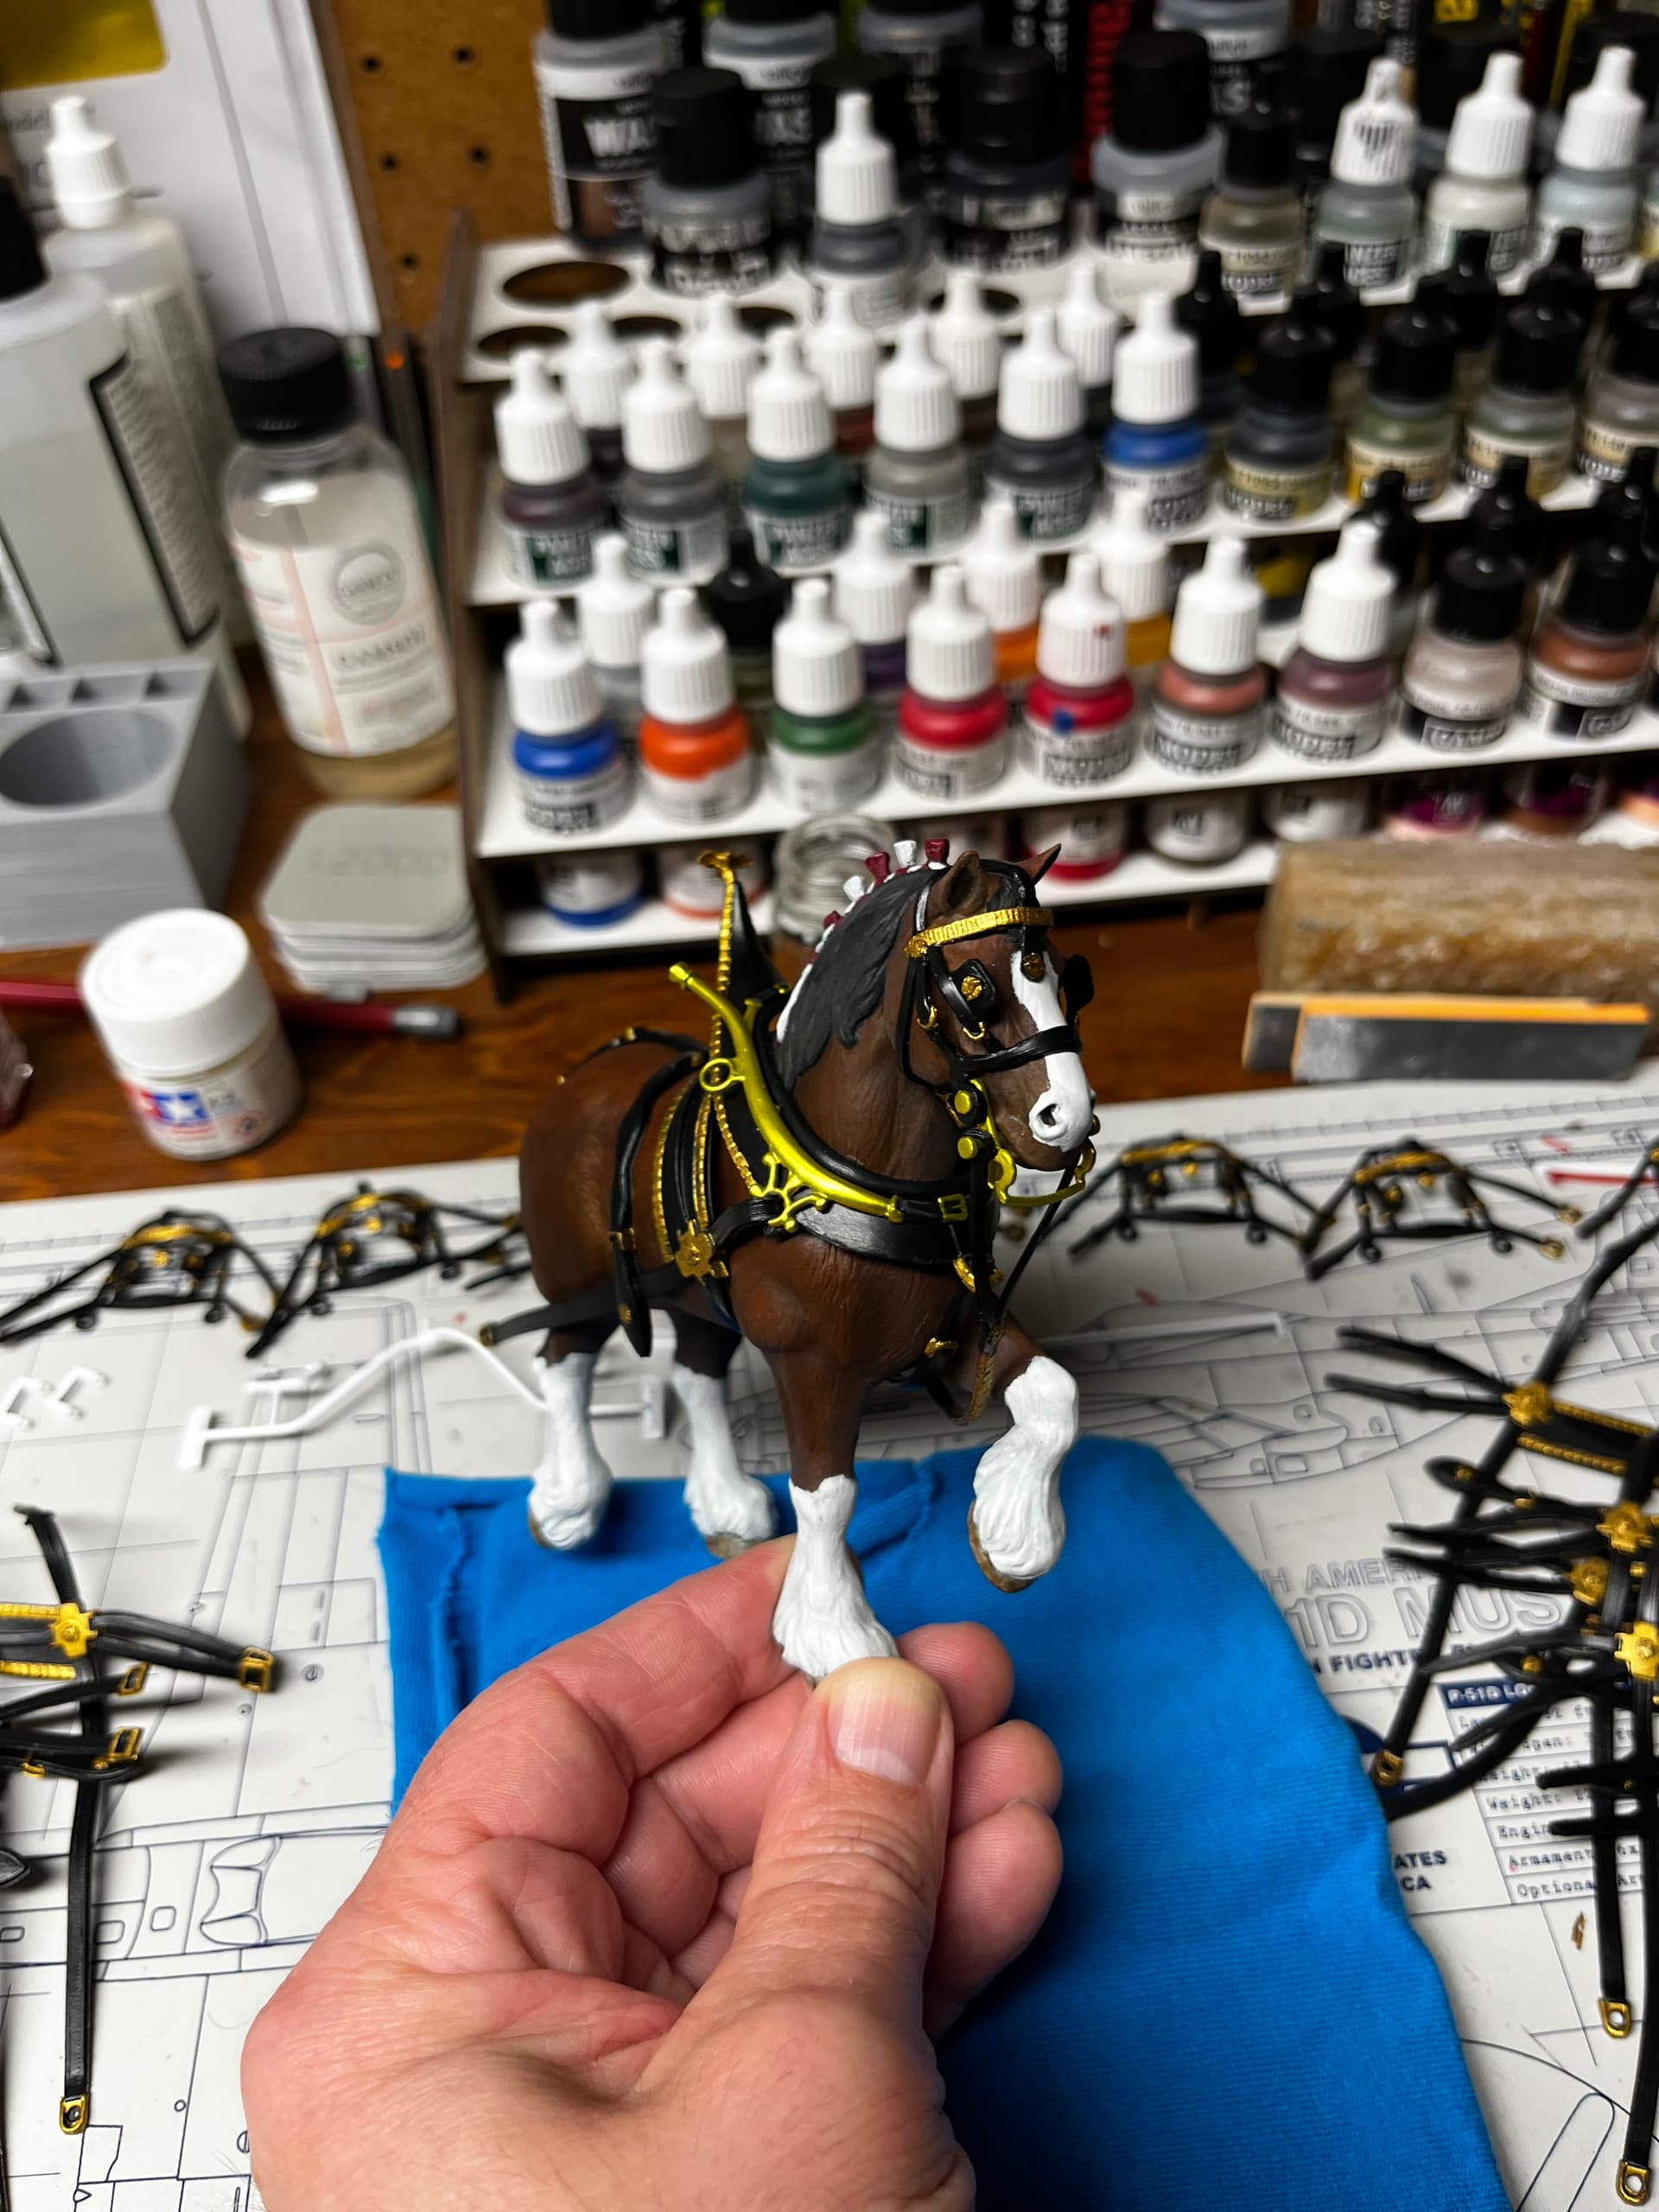
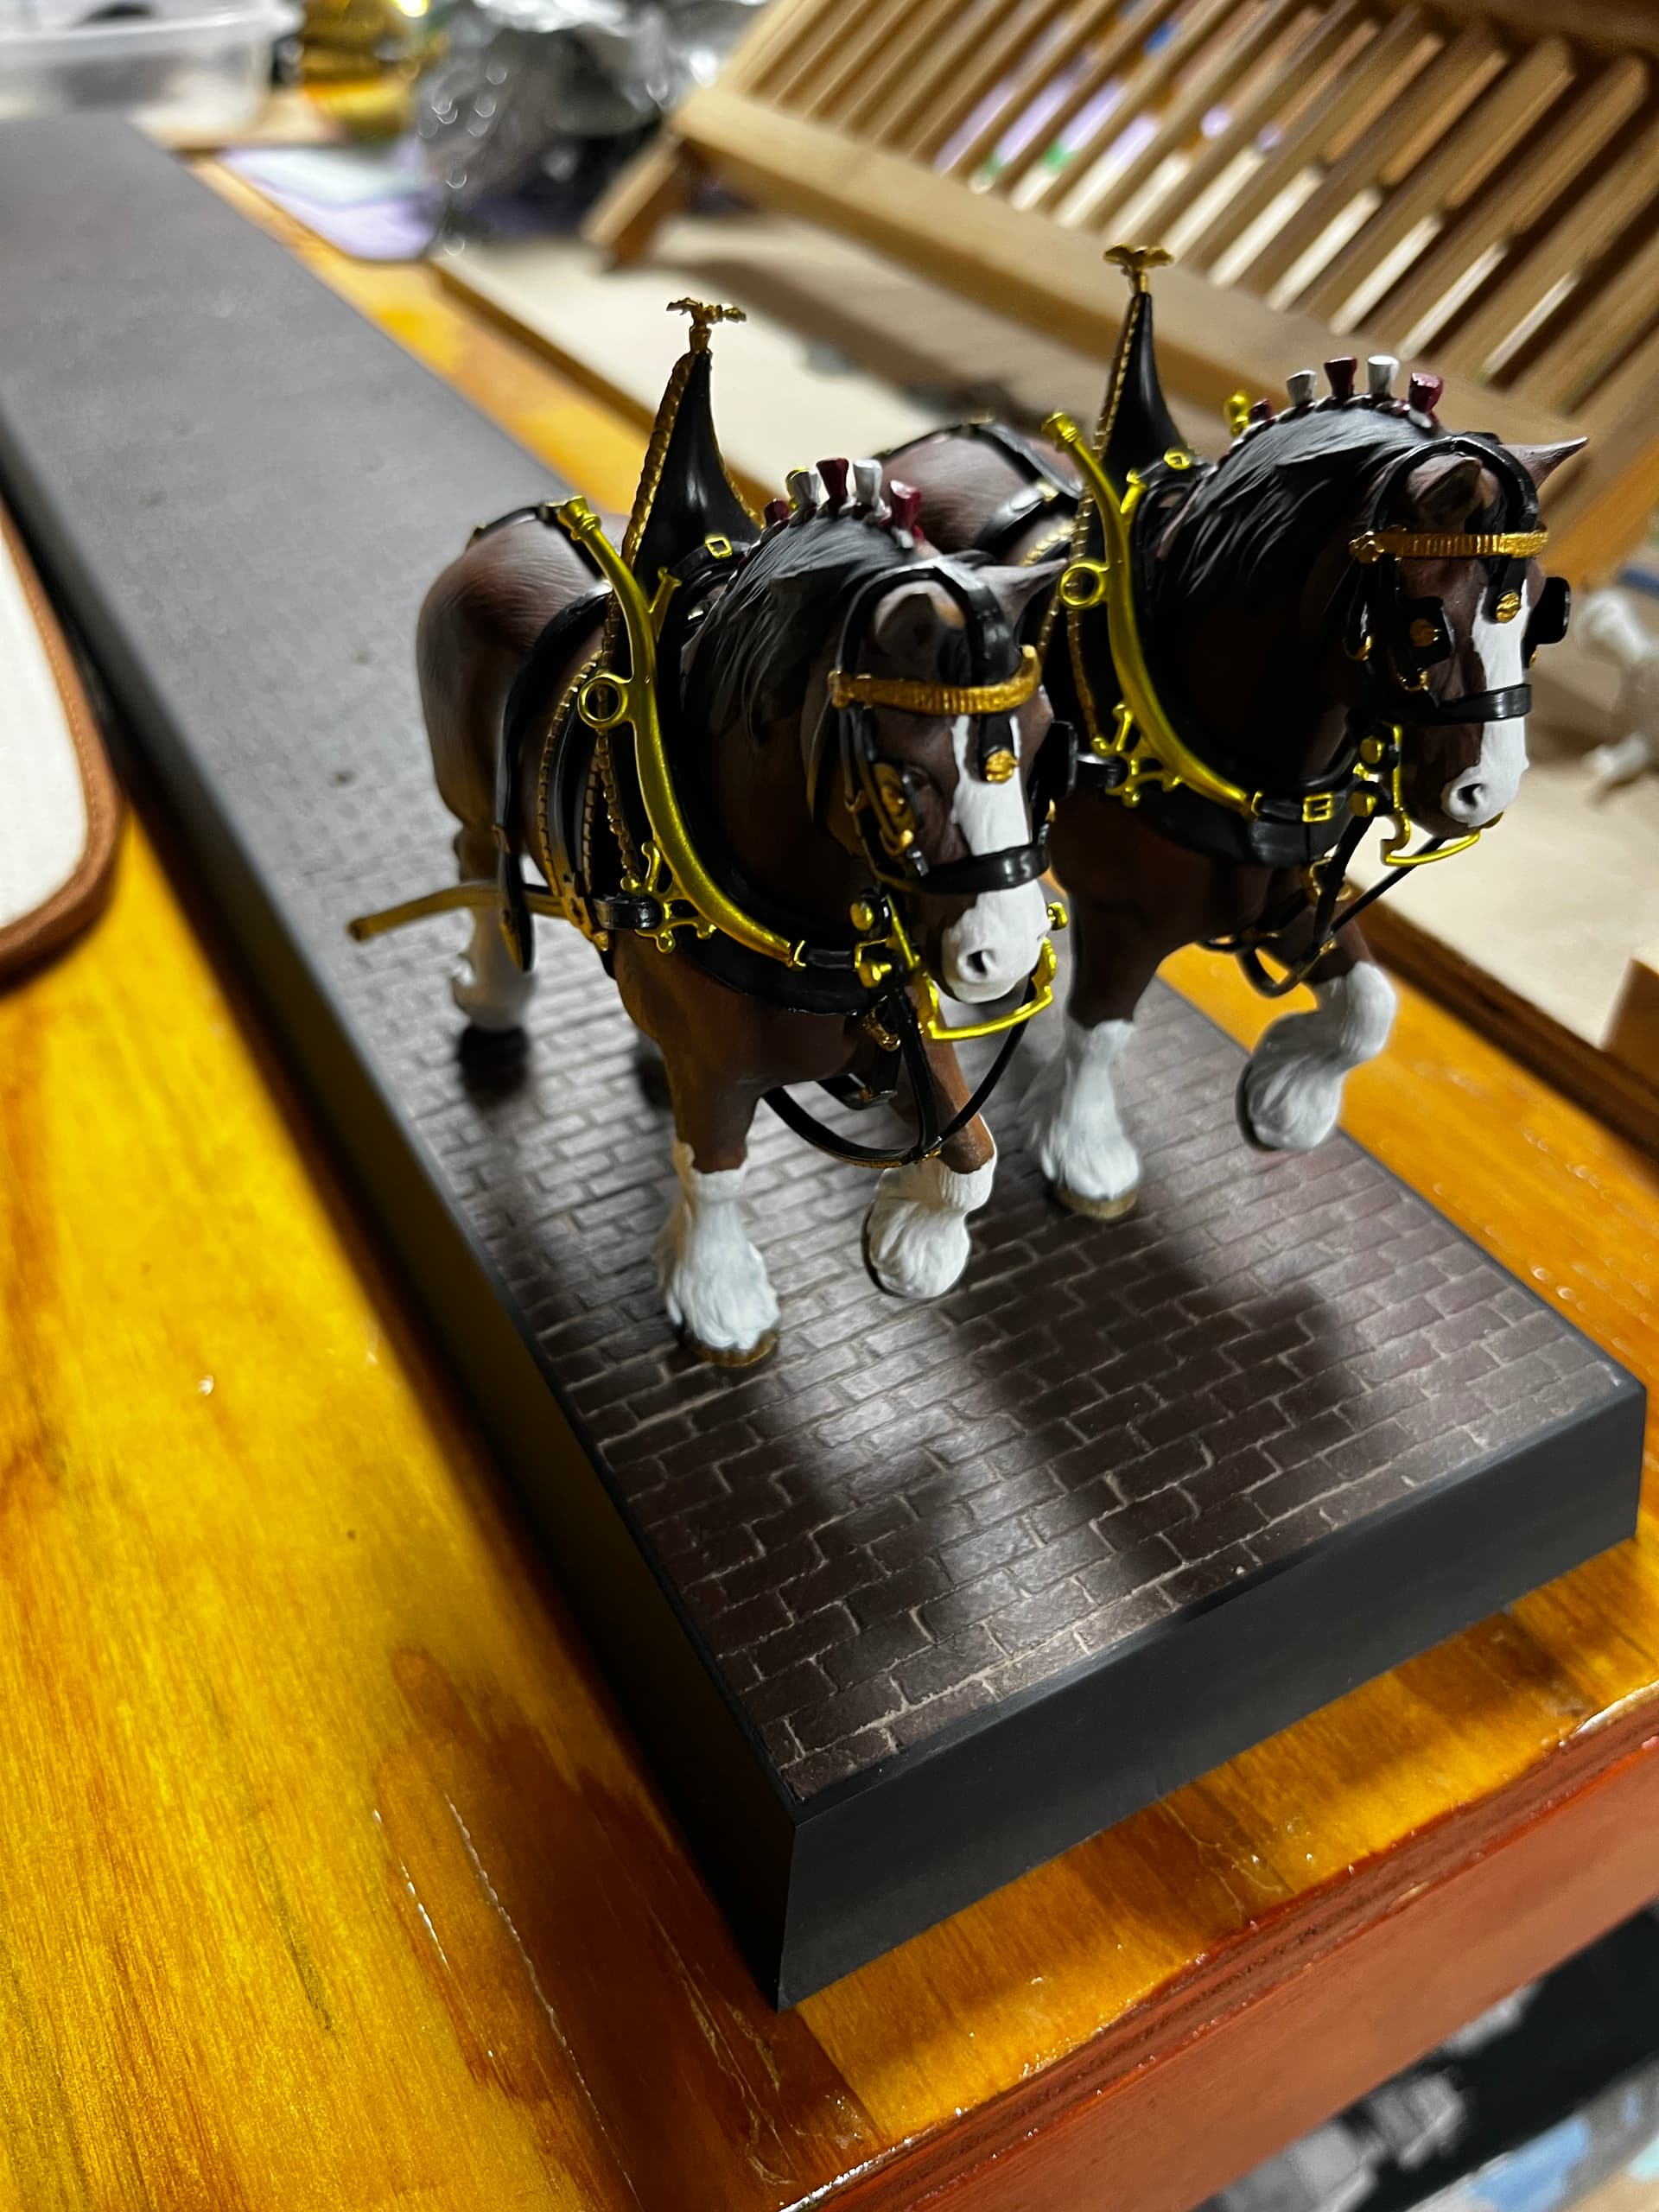
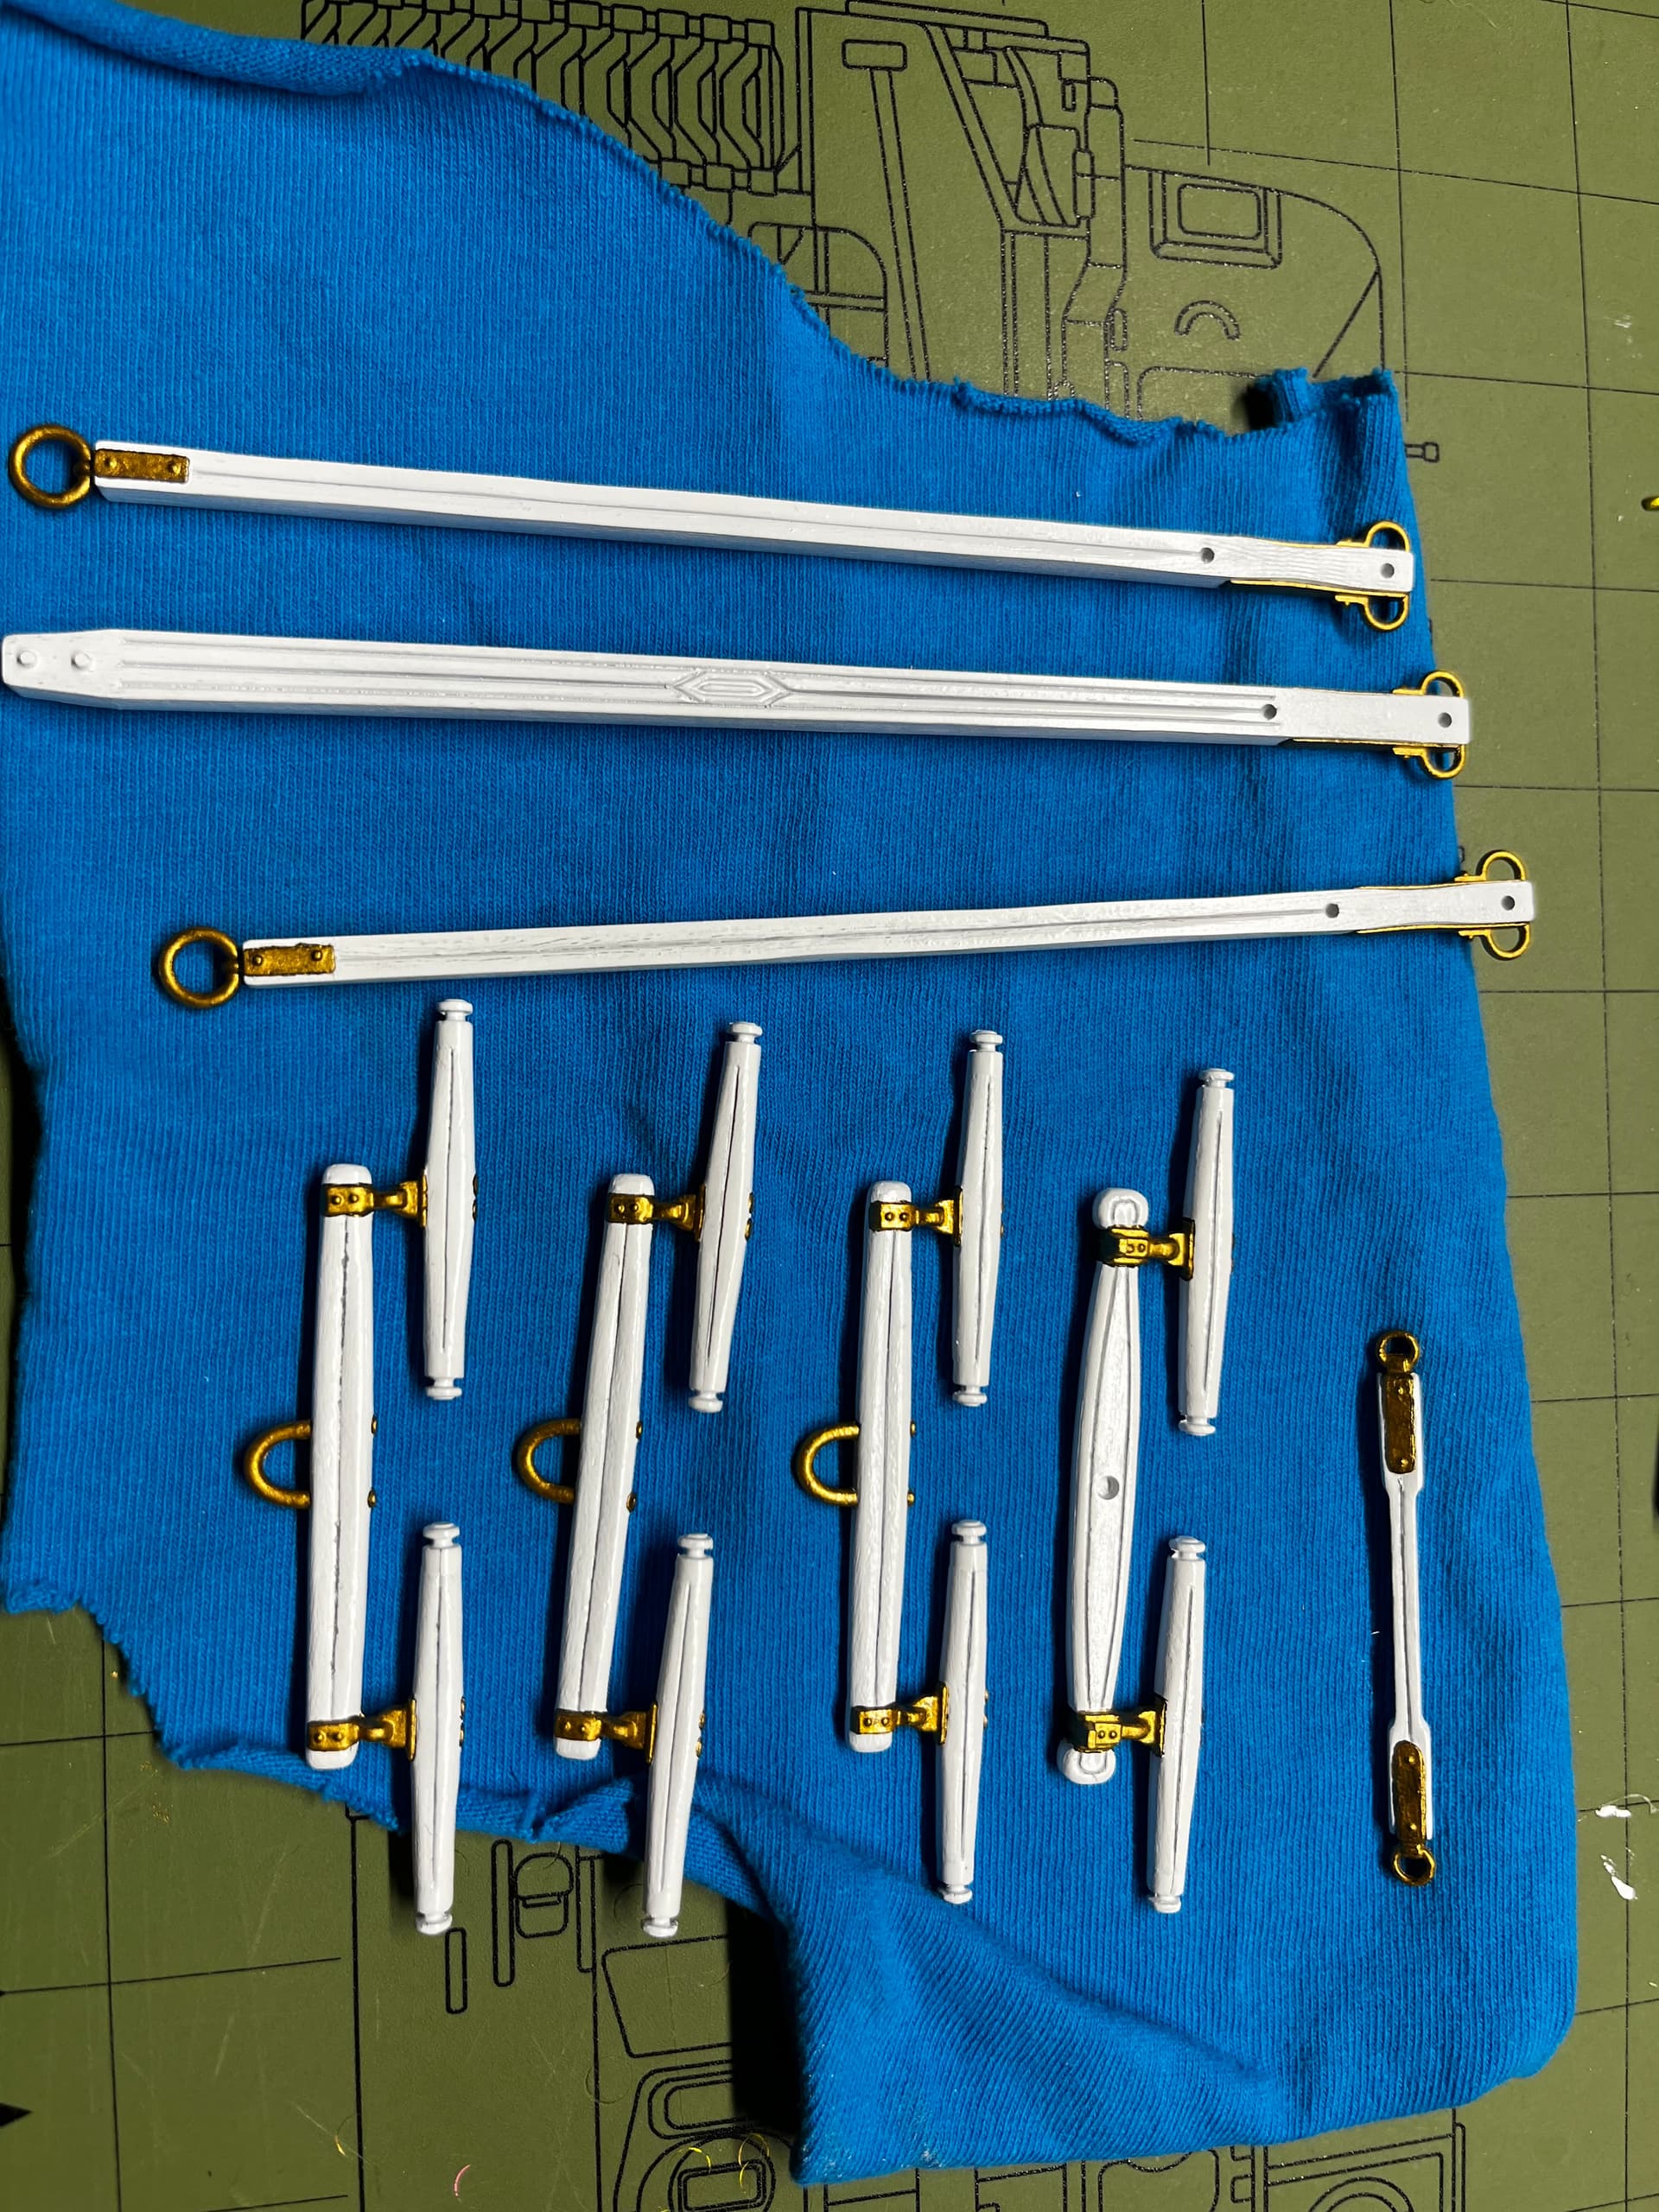
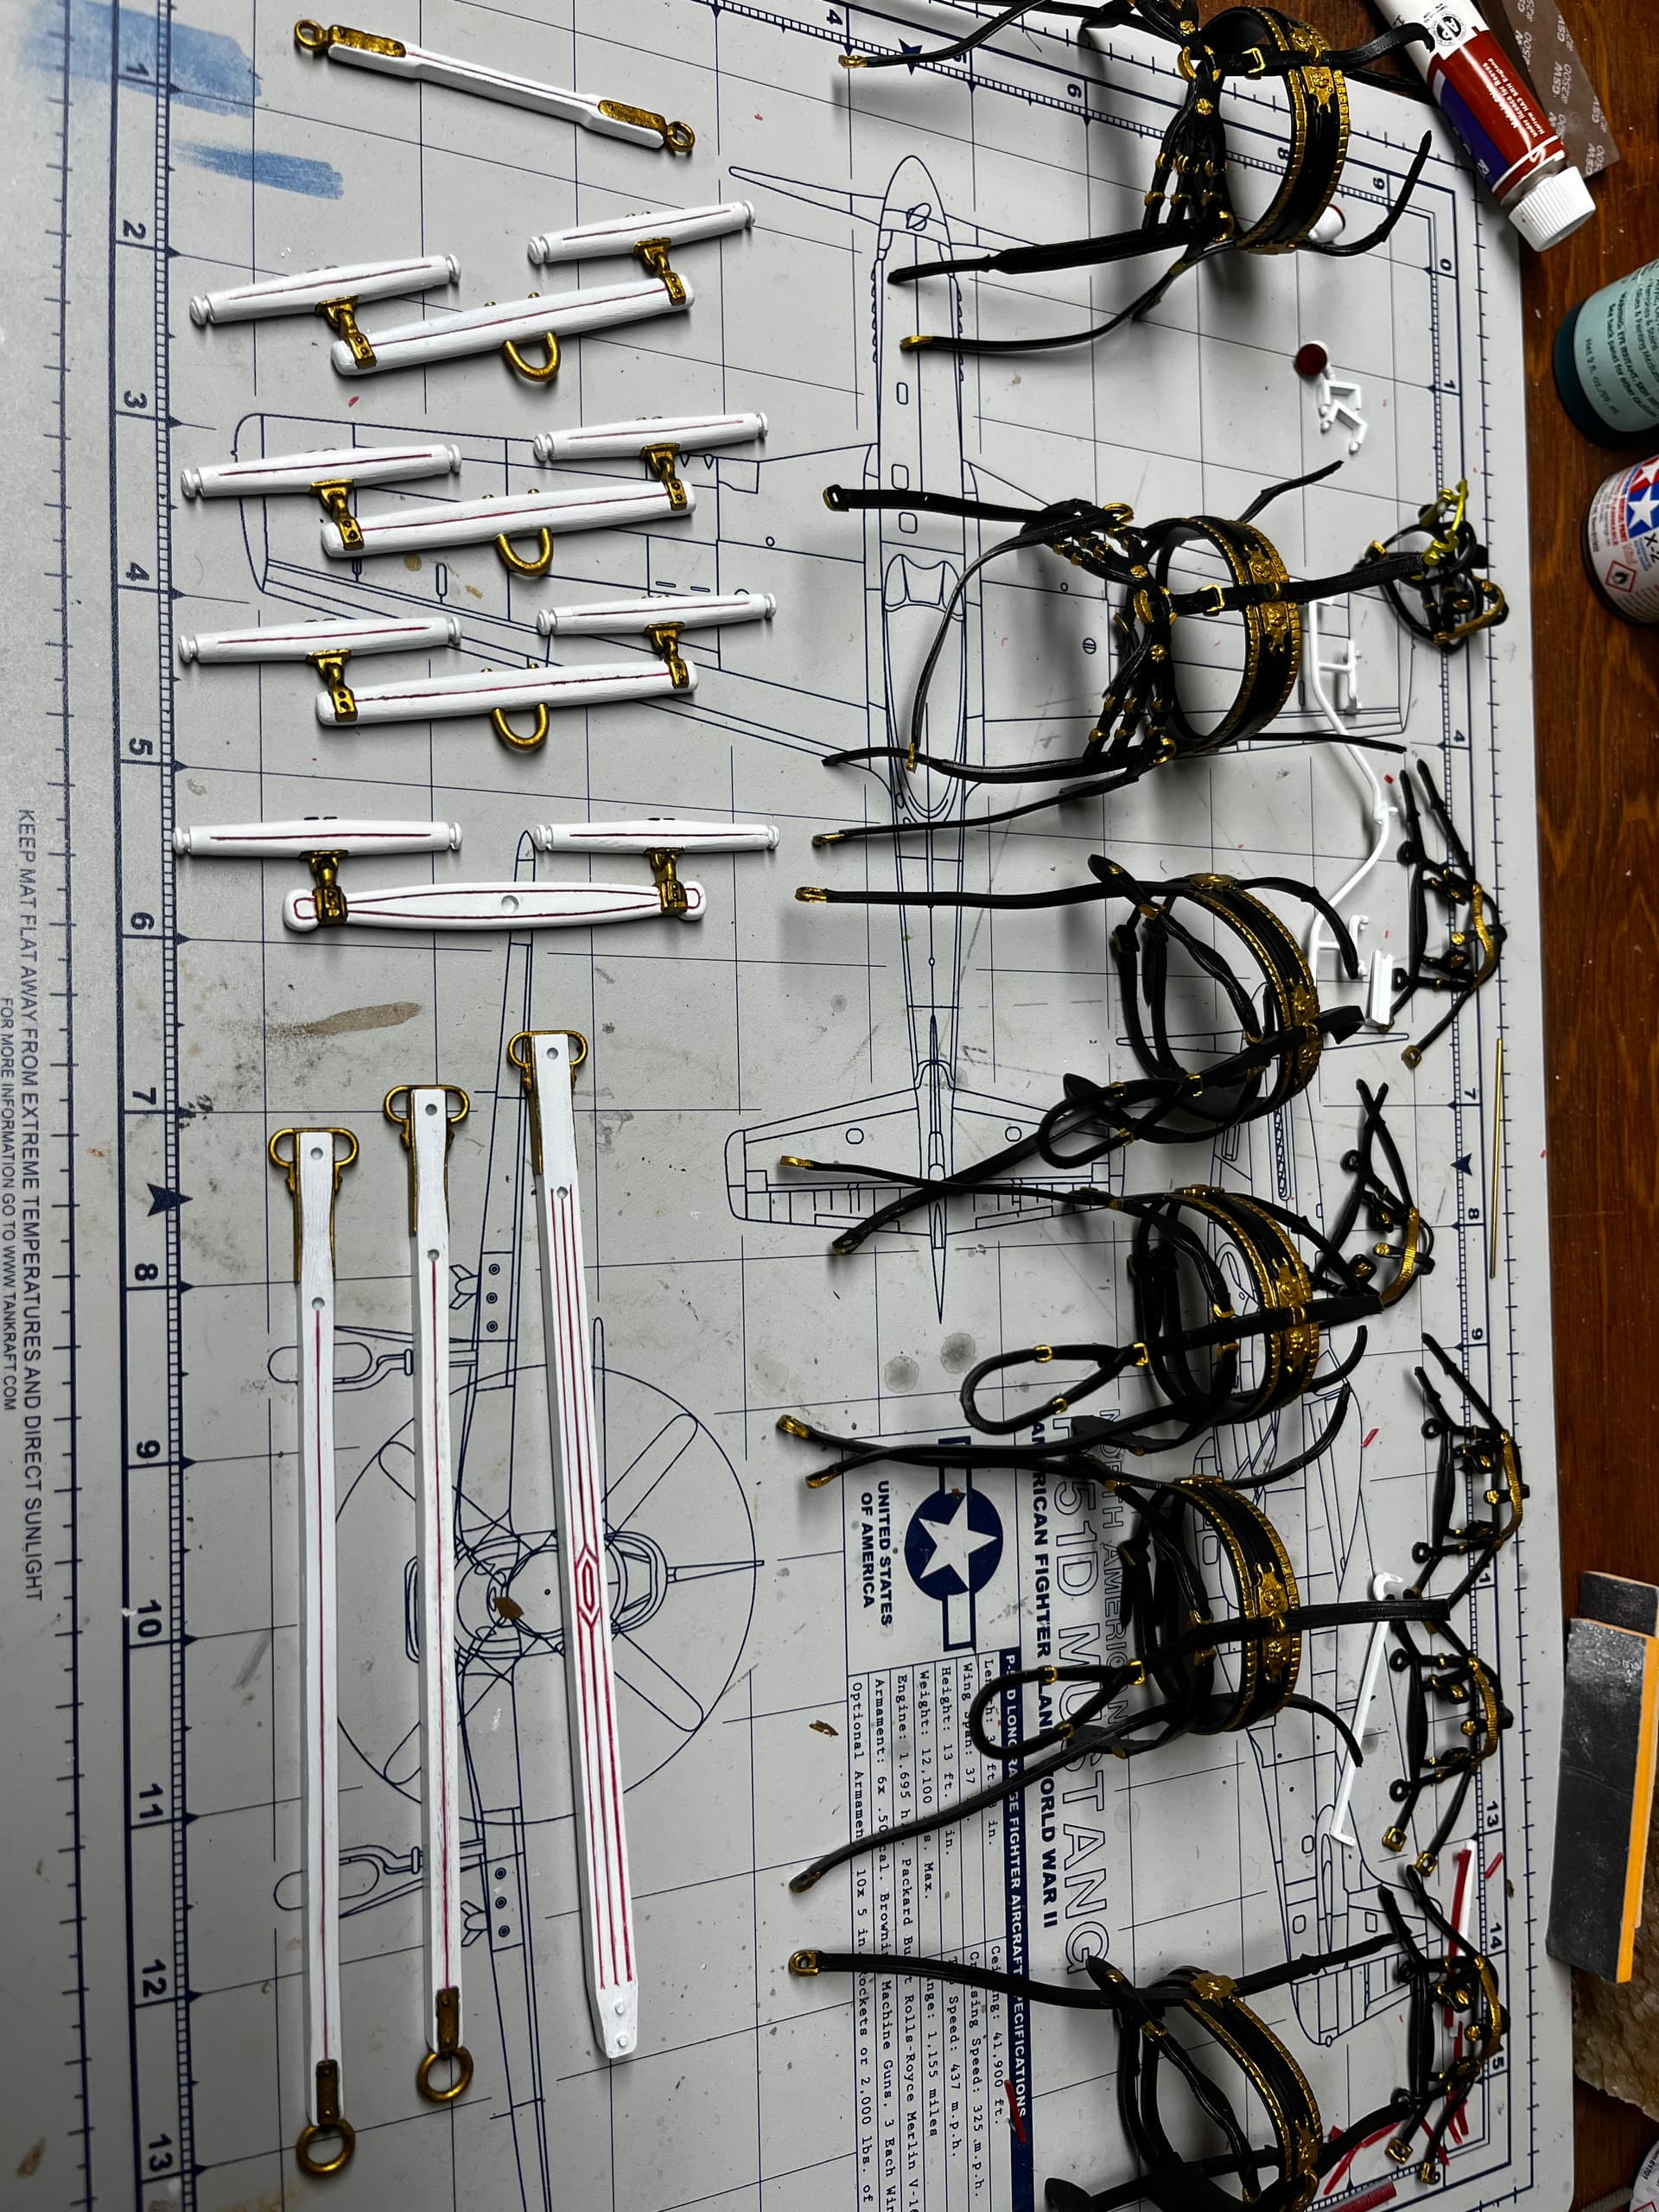
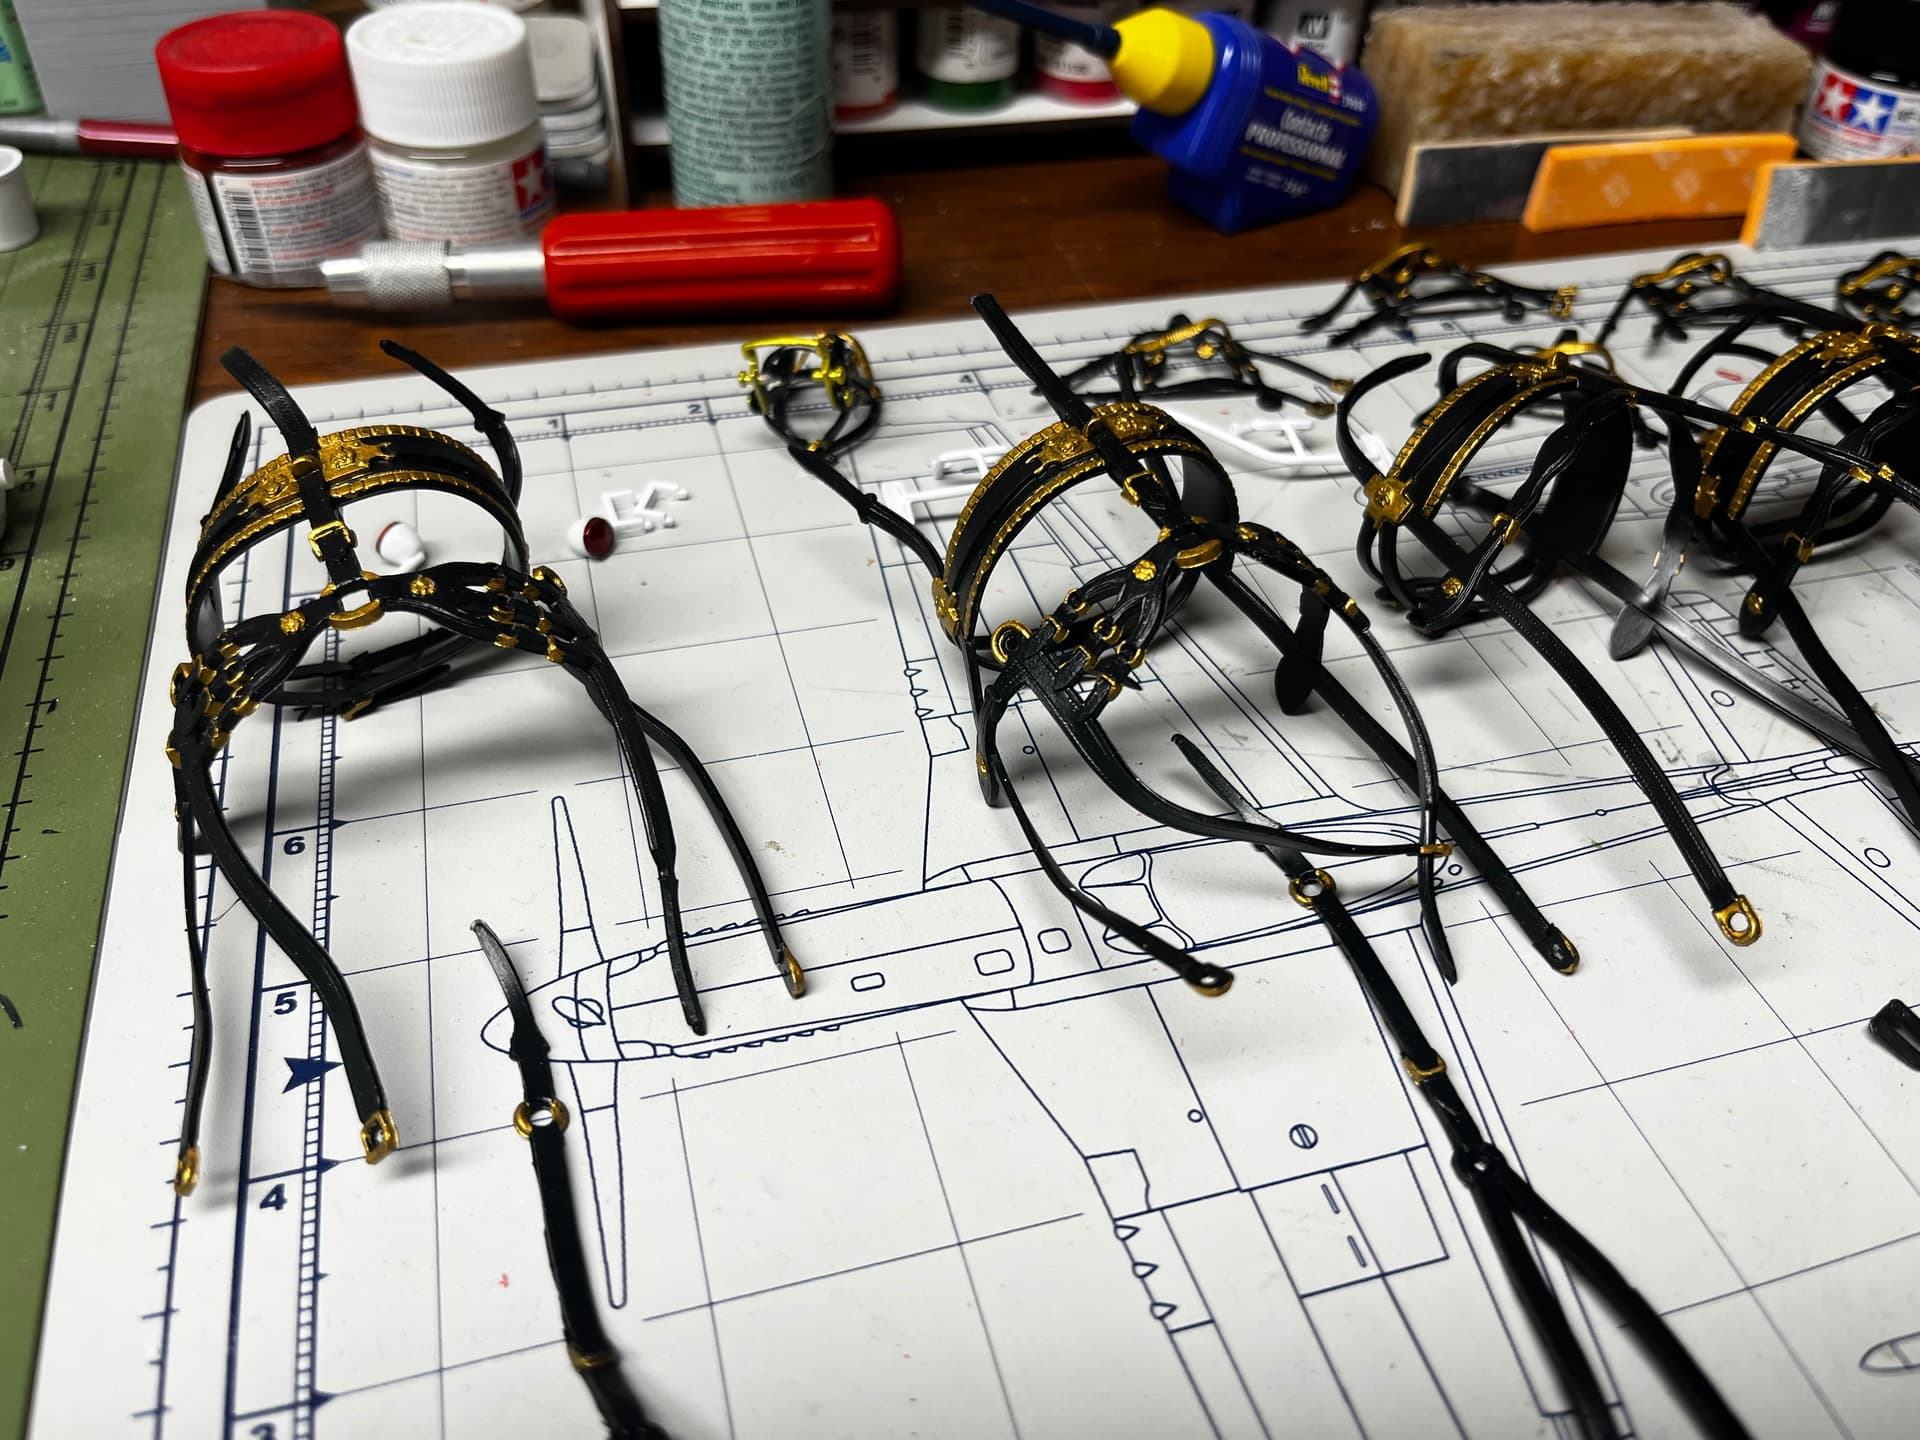
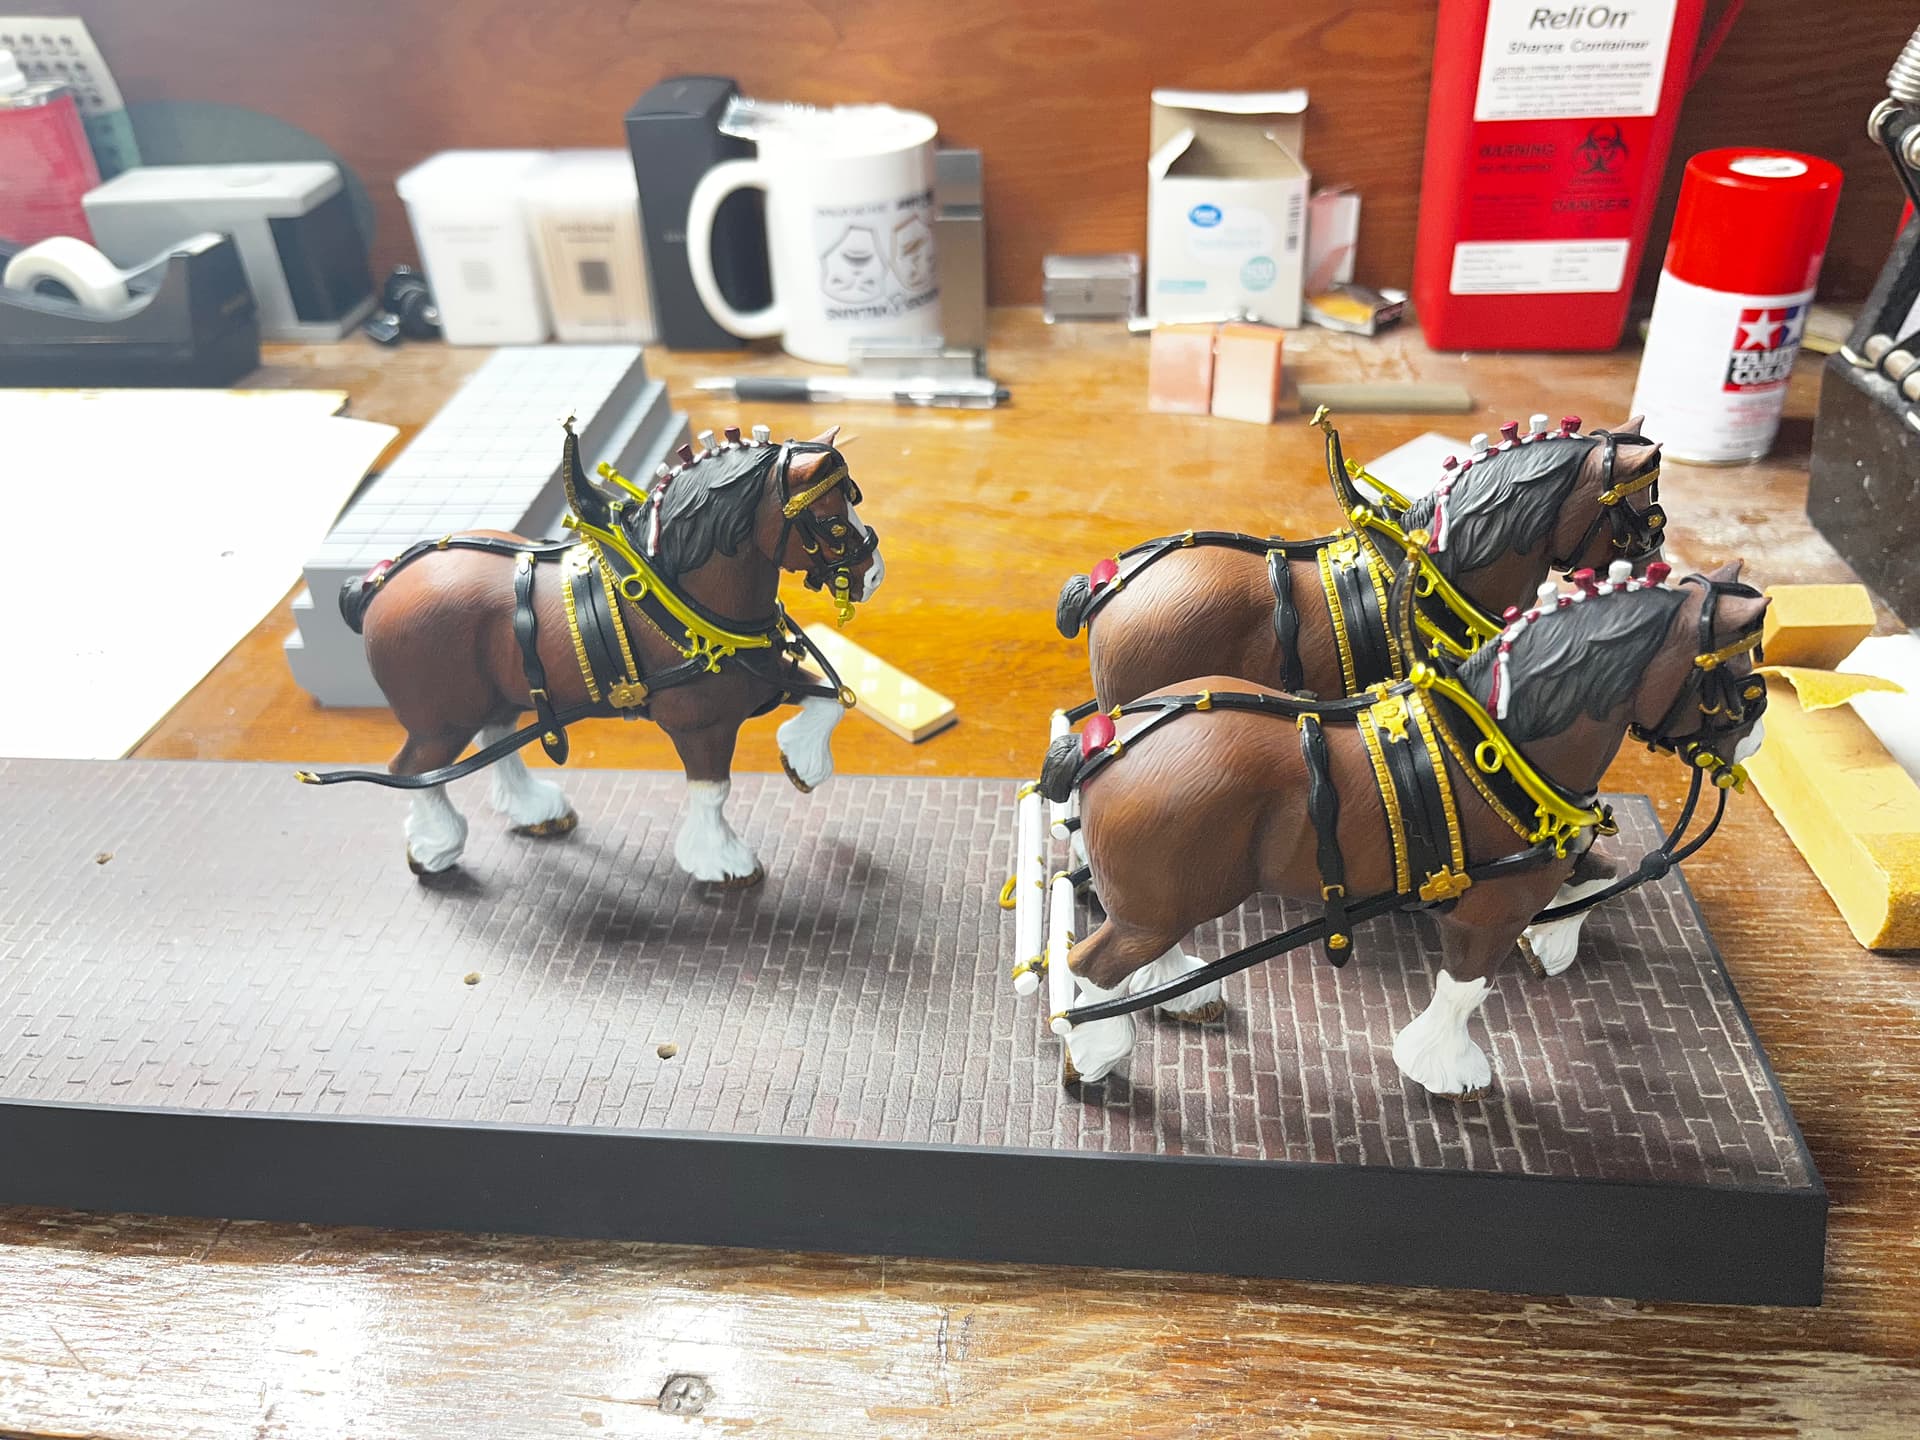
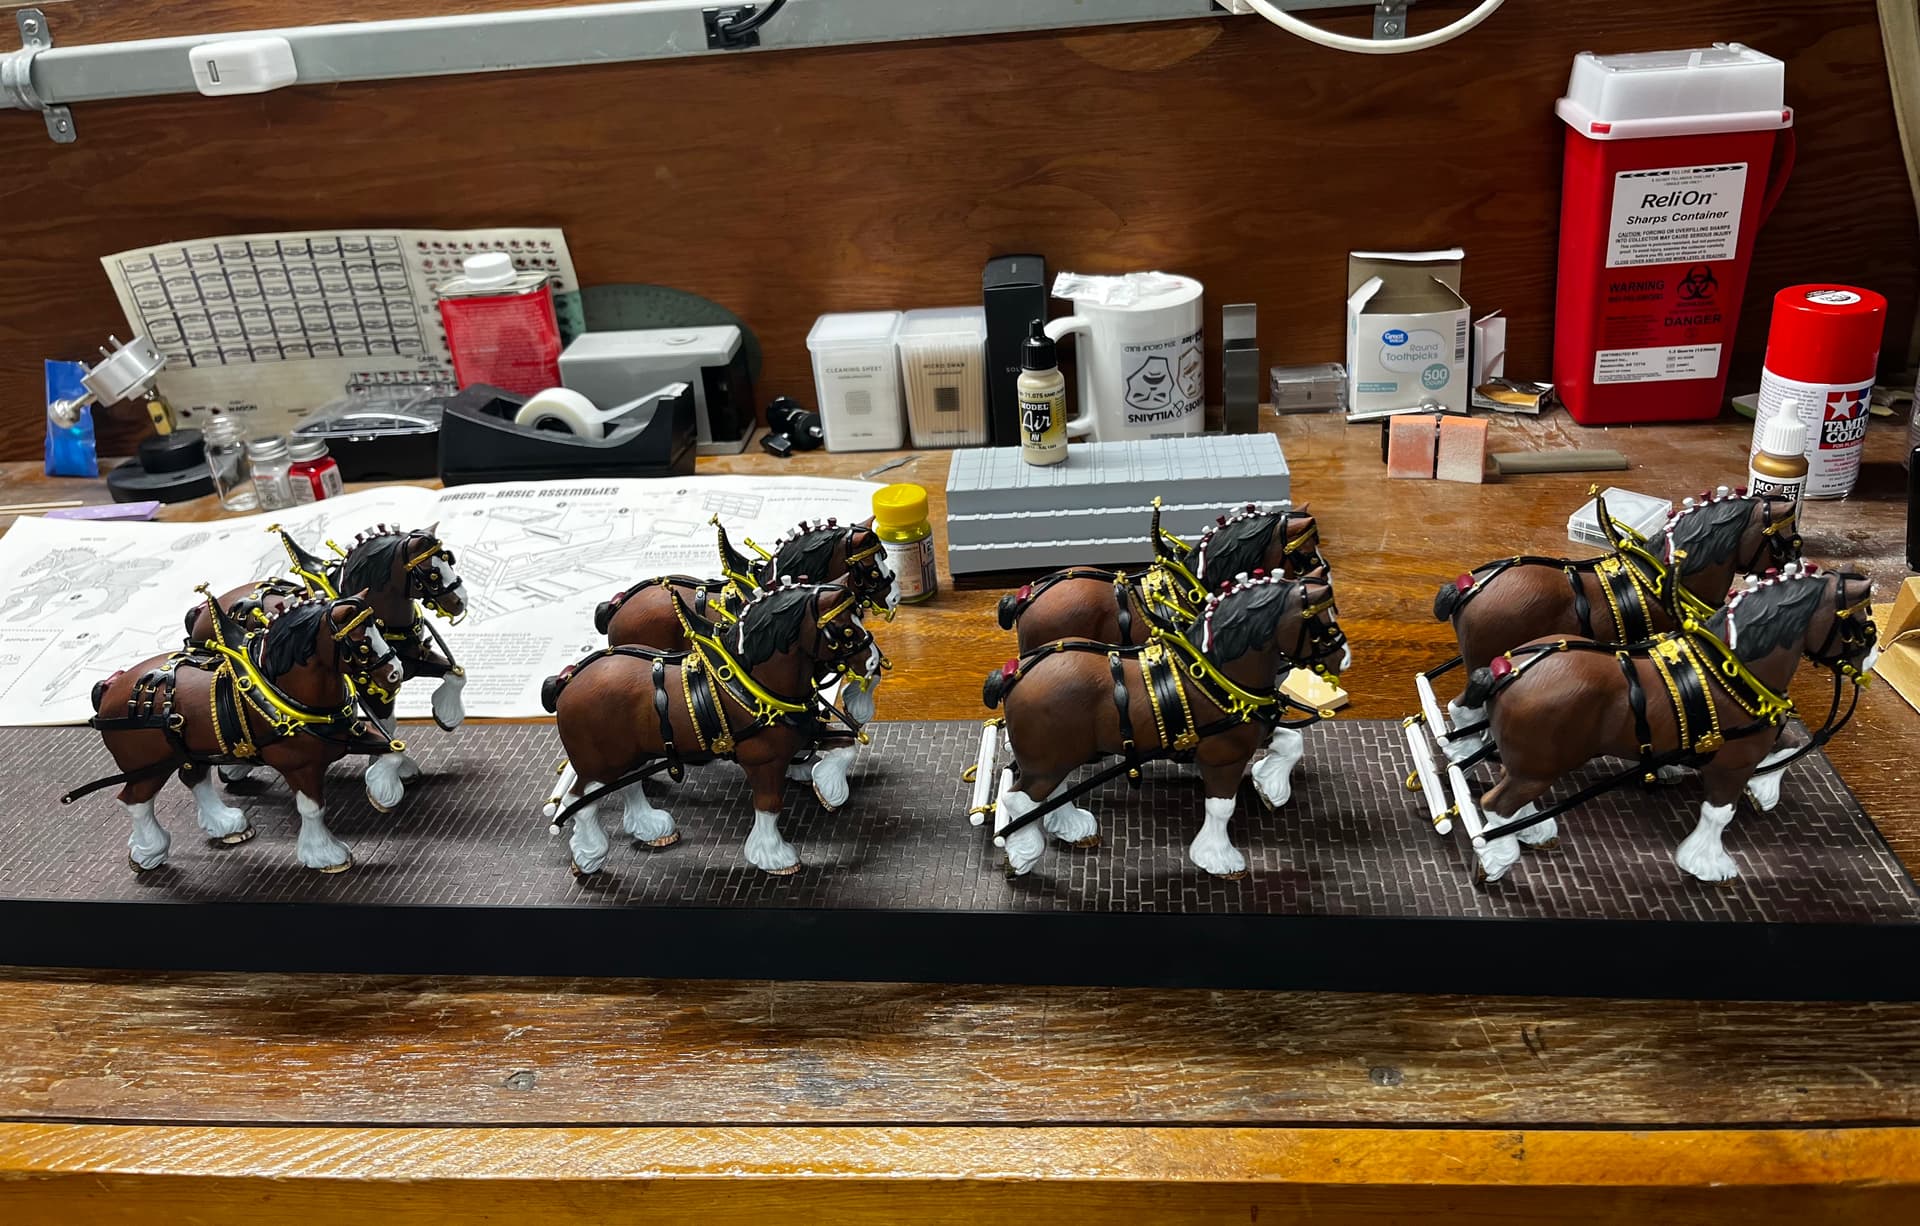
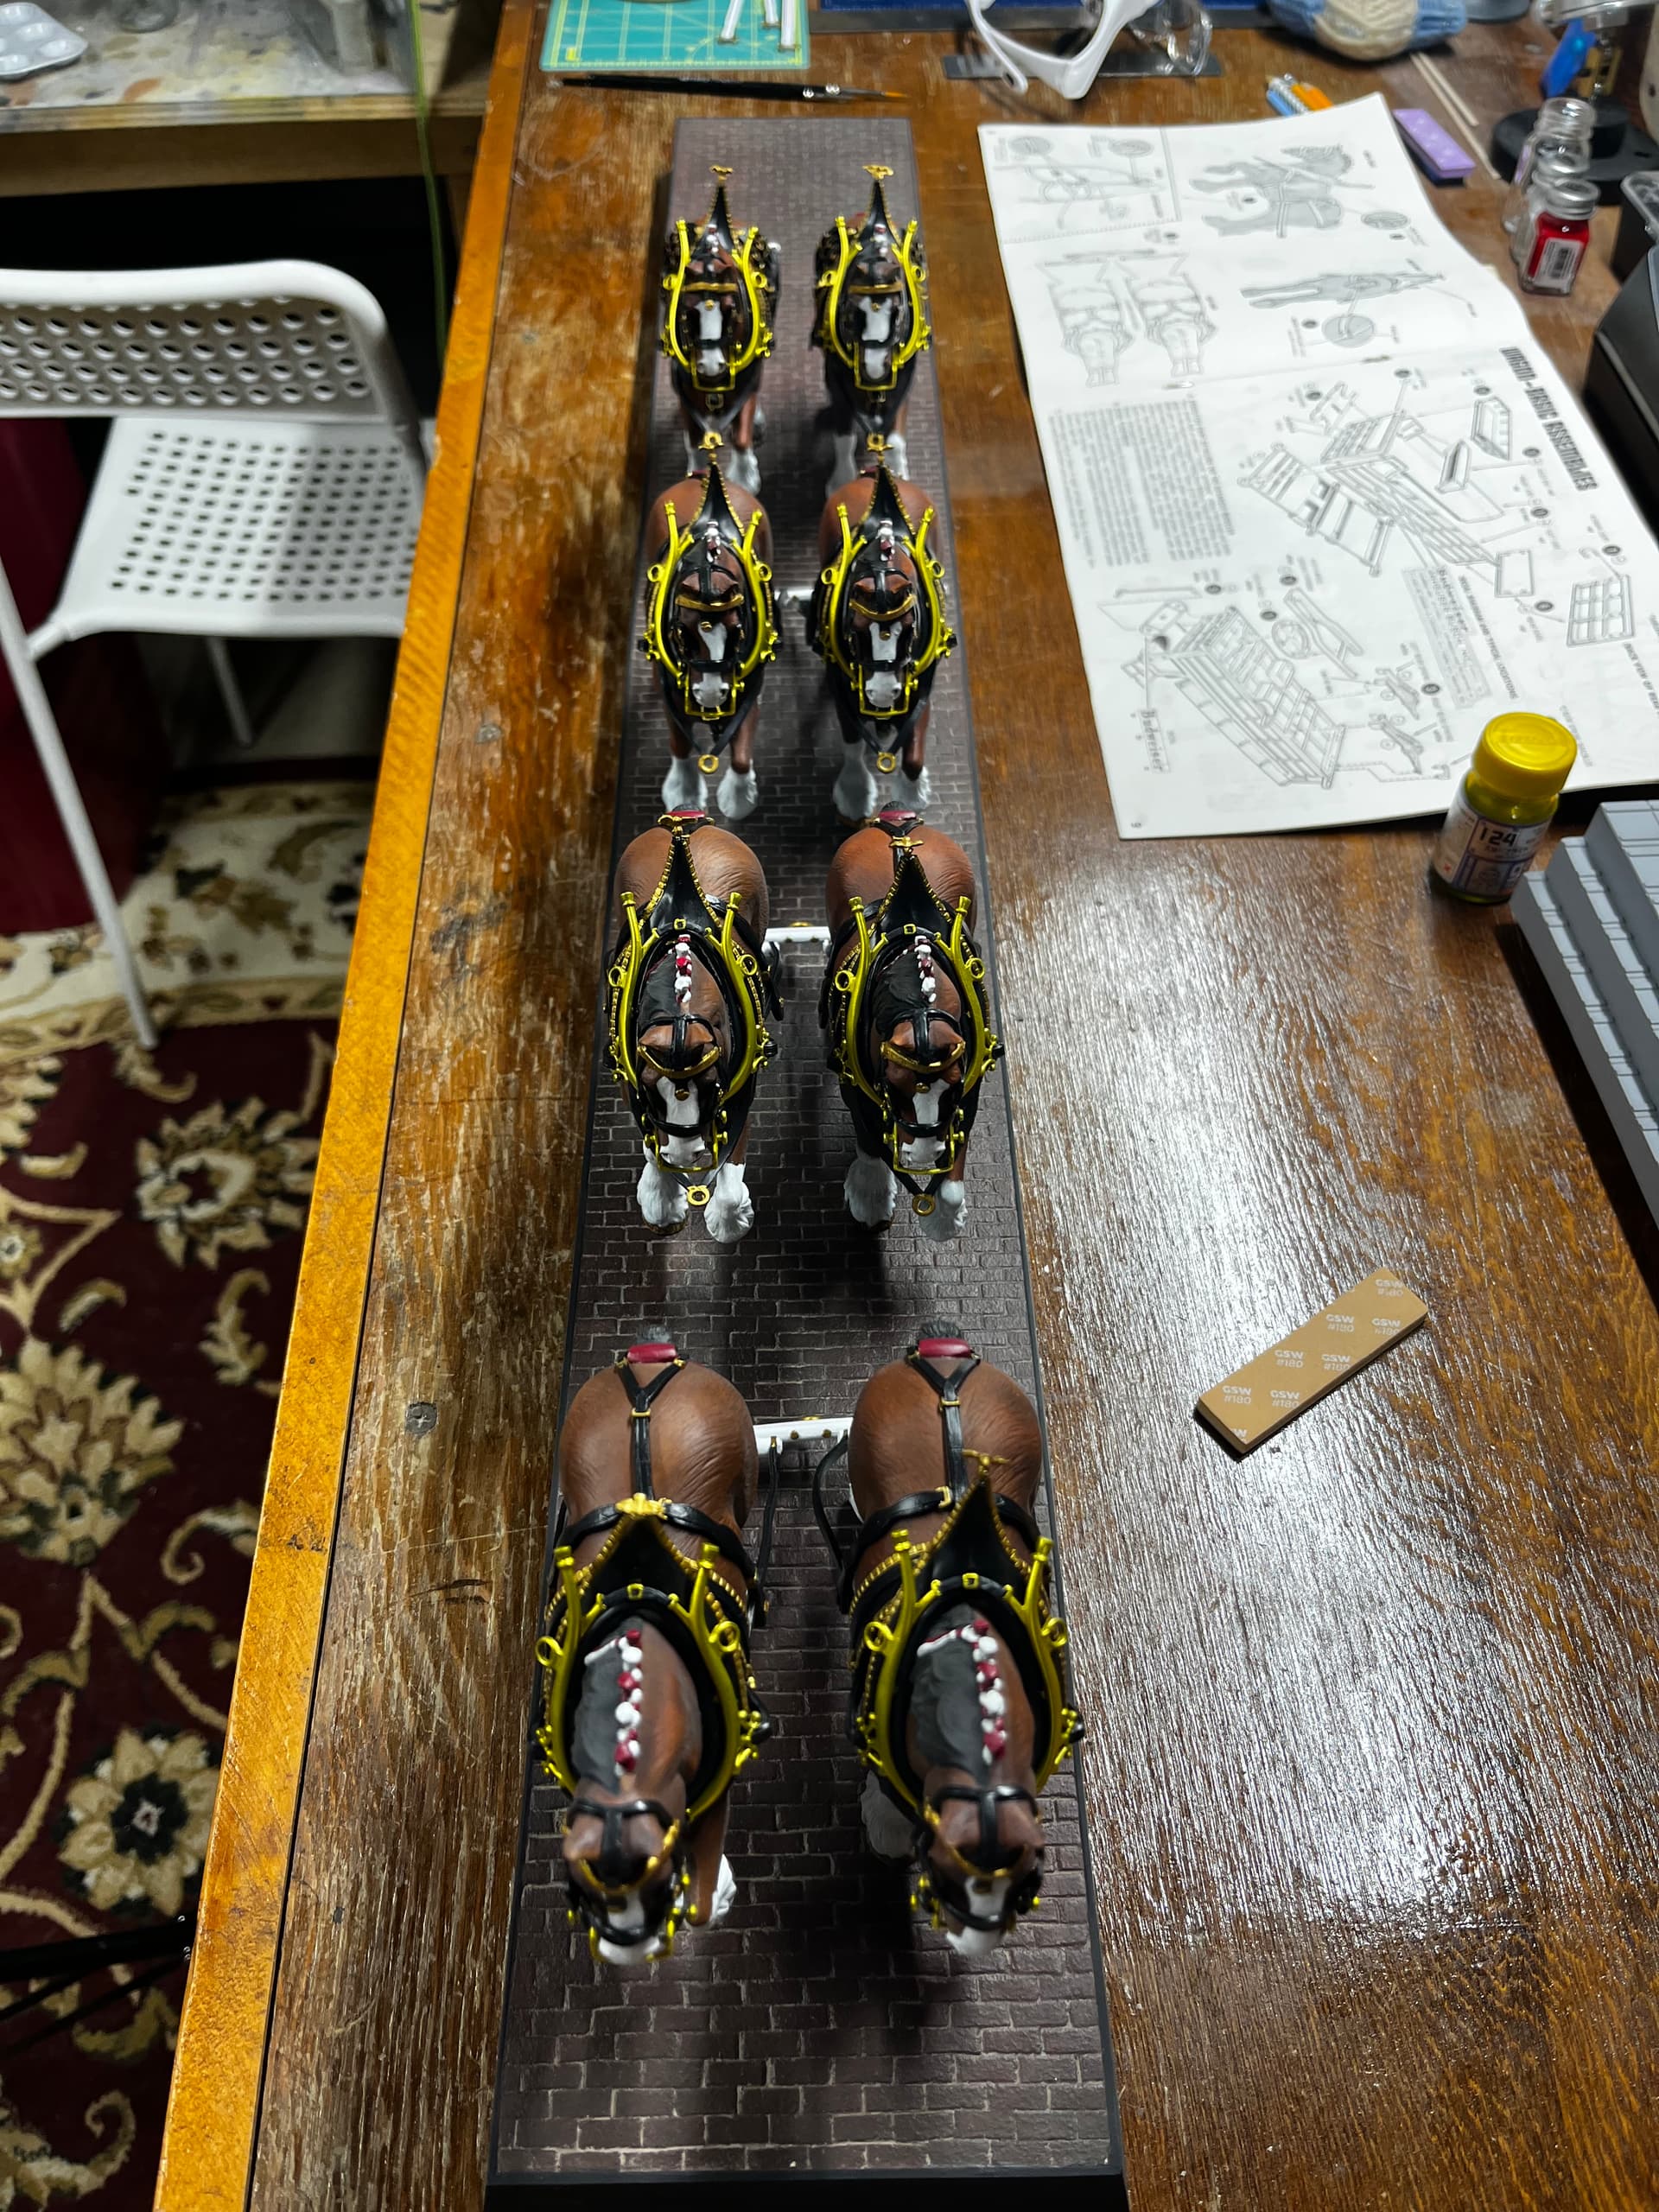
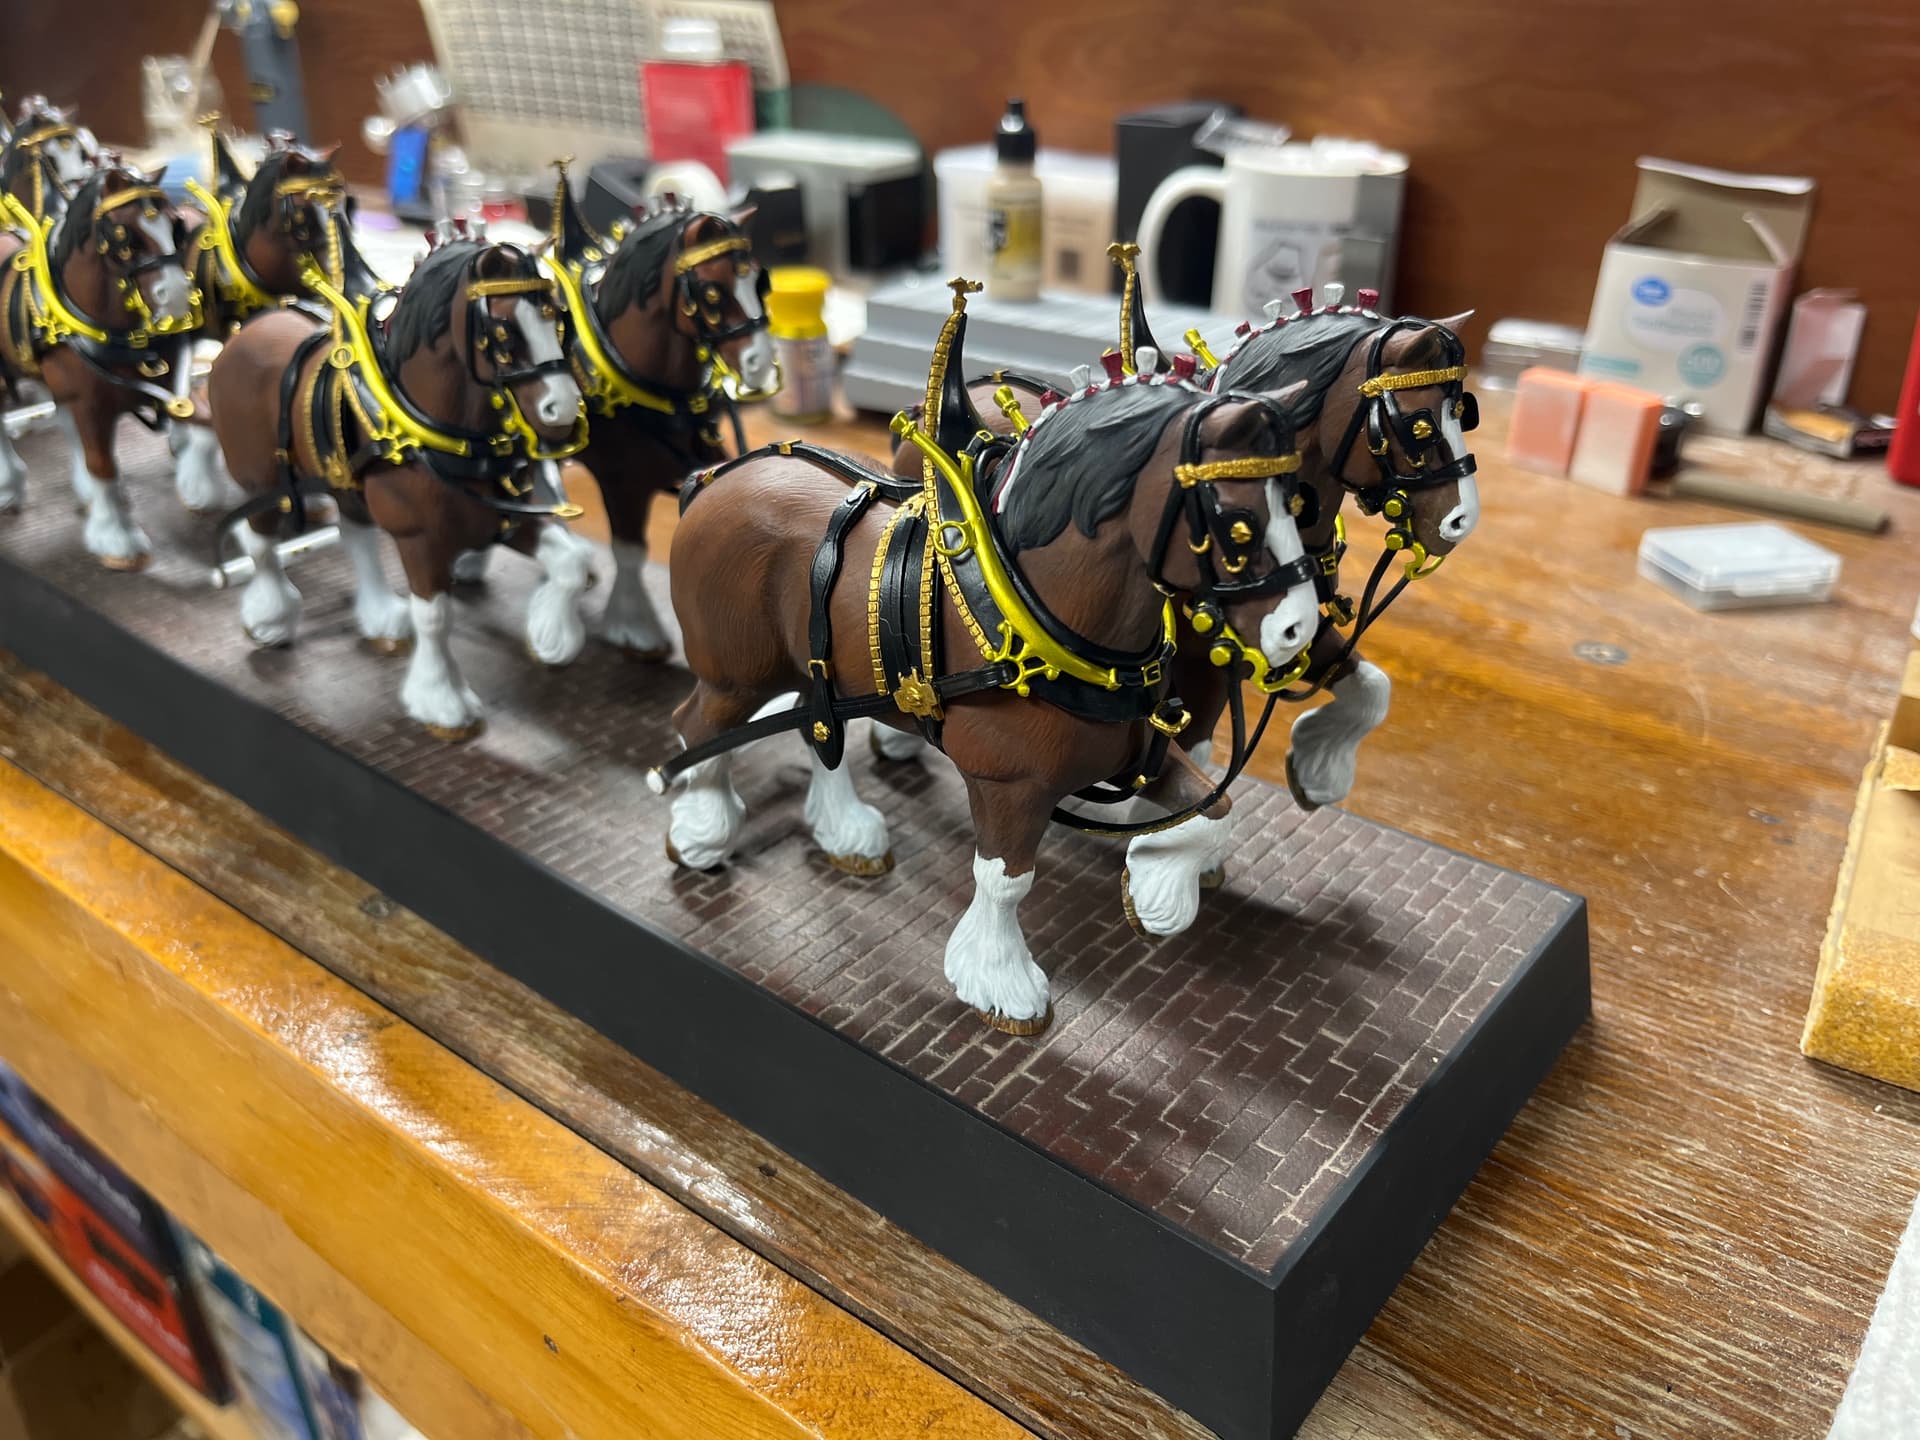
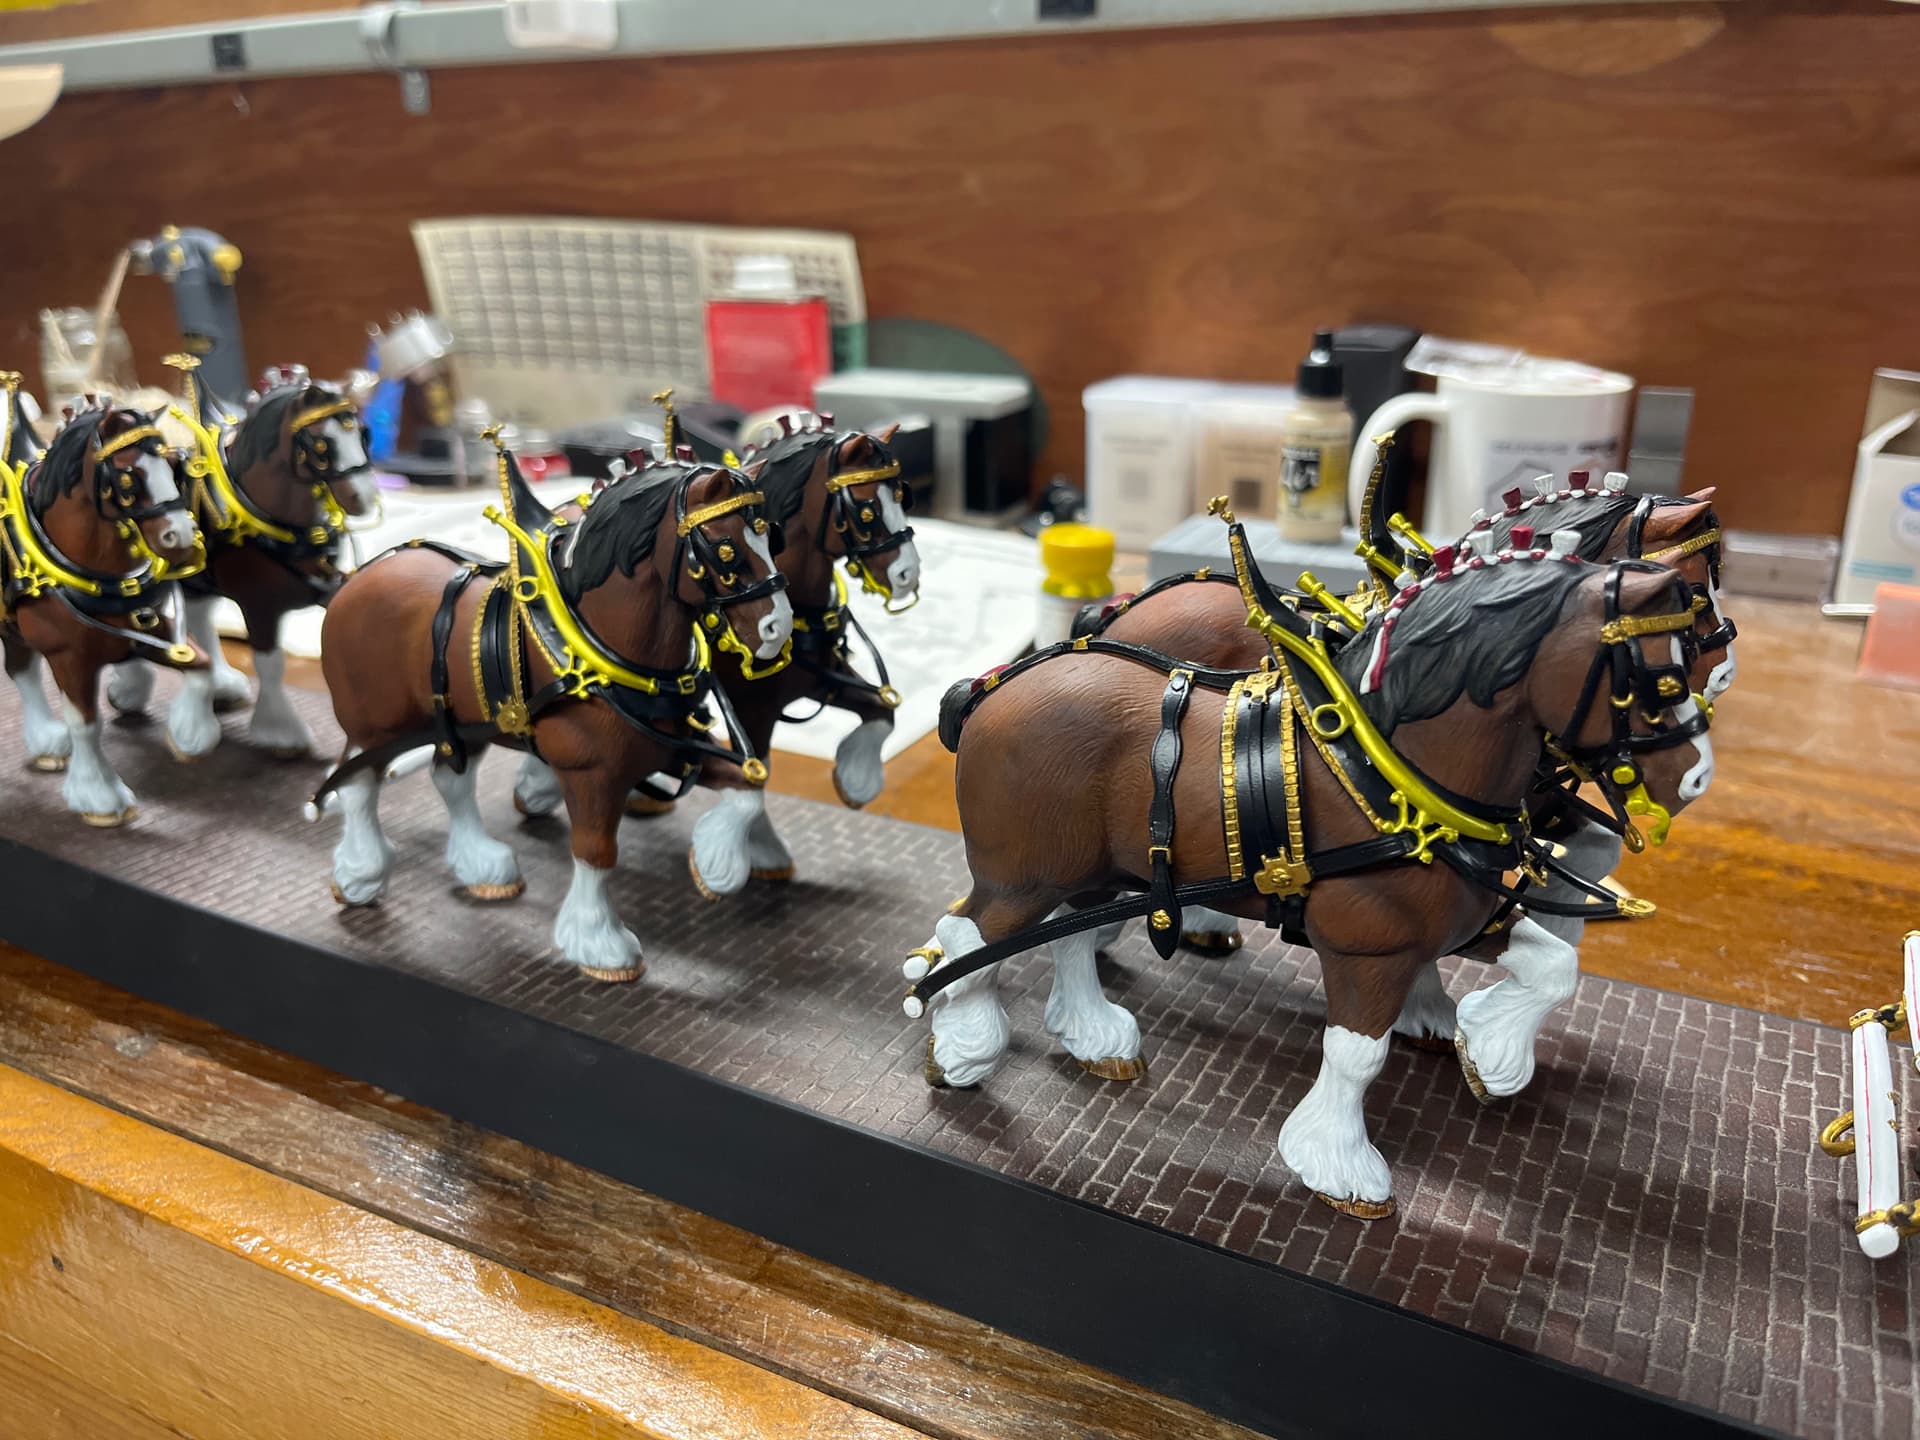
Thanks! I’m impressed with the GN Star Bright Brass. Super easy to paint, fine pigment, excellent coverage, and durable. If you’re able to use lacquers in your workshop or can airbrush outside, I’d recommend it as a replacement for brass colored parts. I’m interested in trying its nonmetallic colors.
It’s slowly coming together. Each of these little steps, though time consuming, maybe a bit niggling, are beginning to add up.
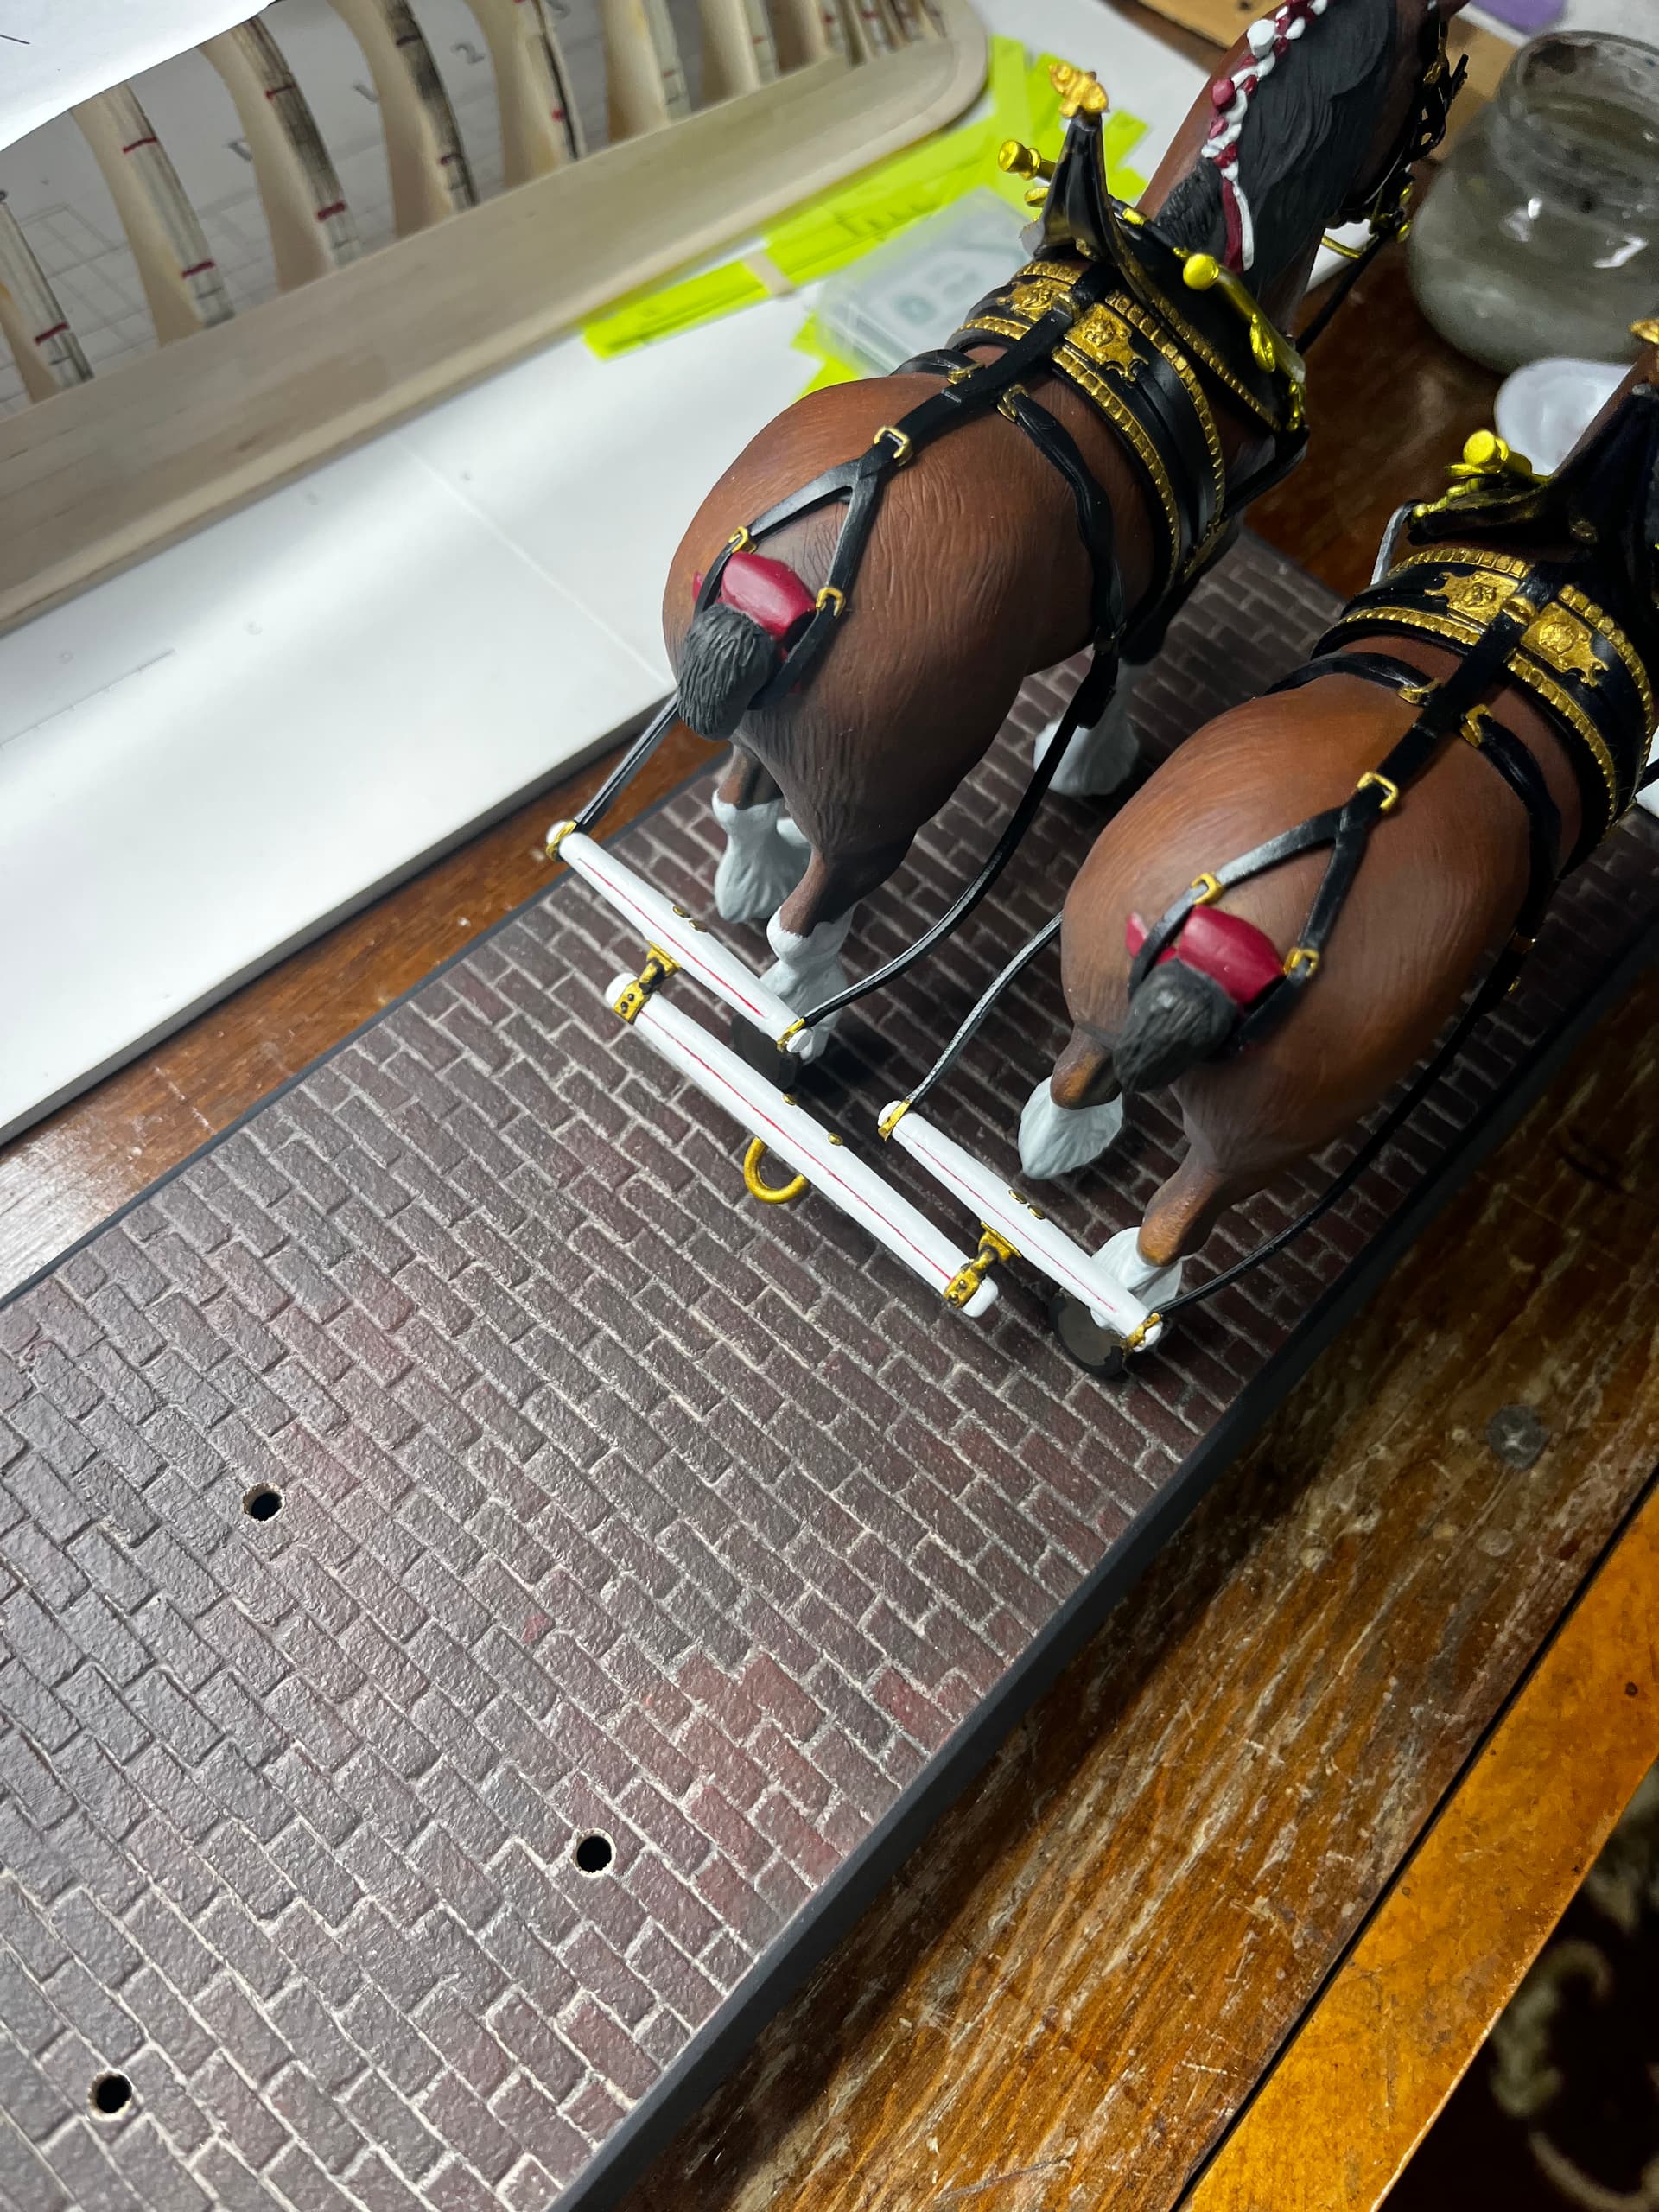
The shading on the horse is spectacular. You’ve really managed to make the hide look natural and keep it from looking like a plastic model. Beautiful job.
One question — when you mention the vinyl being stiff and hard to work with, do you mean the harness and tack? I’m not familiar enough with this kit to know exactly what you’re wrestling with there.
Amazing work Tim!! The satisfaction of completing this one will be off the charts. Nicely done!
I am really enjoying watching your progress. Thanks again for posting this journey.
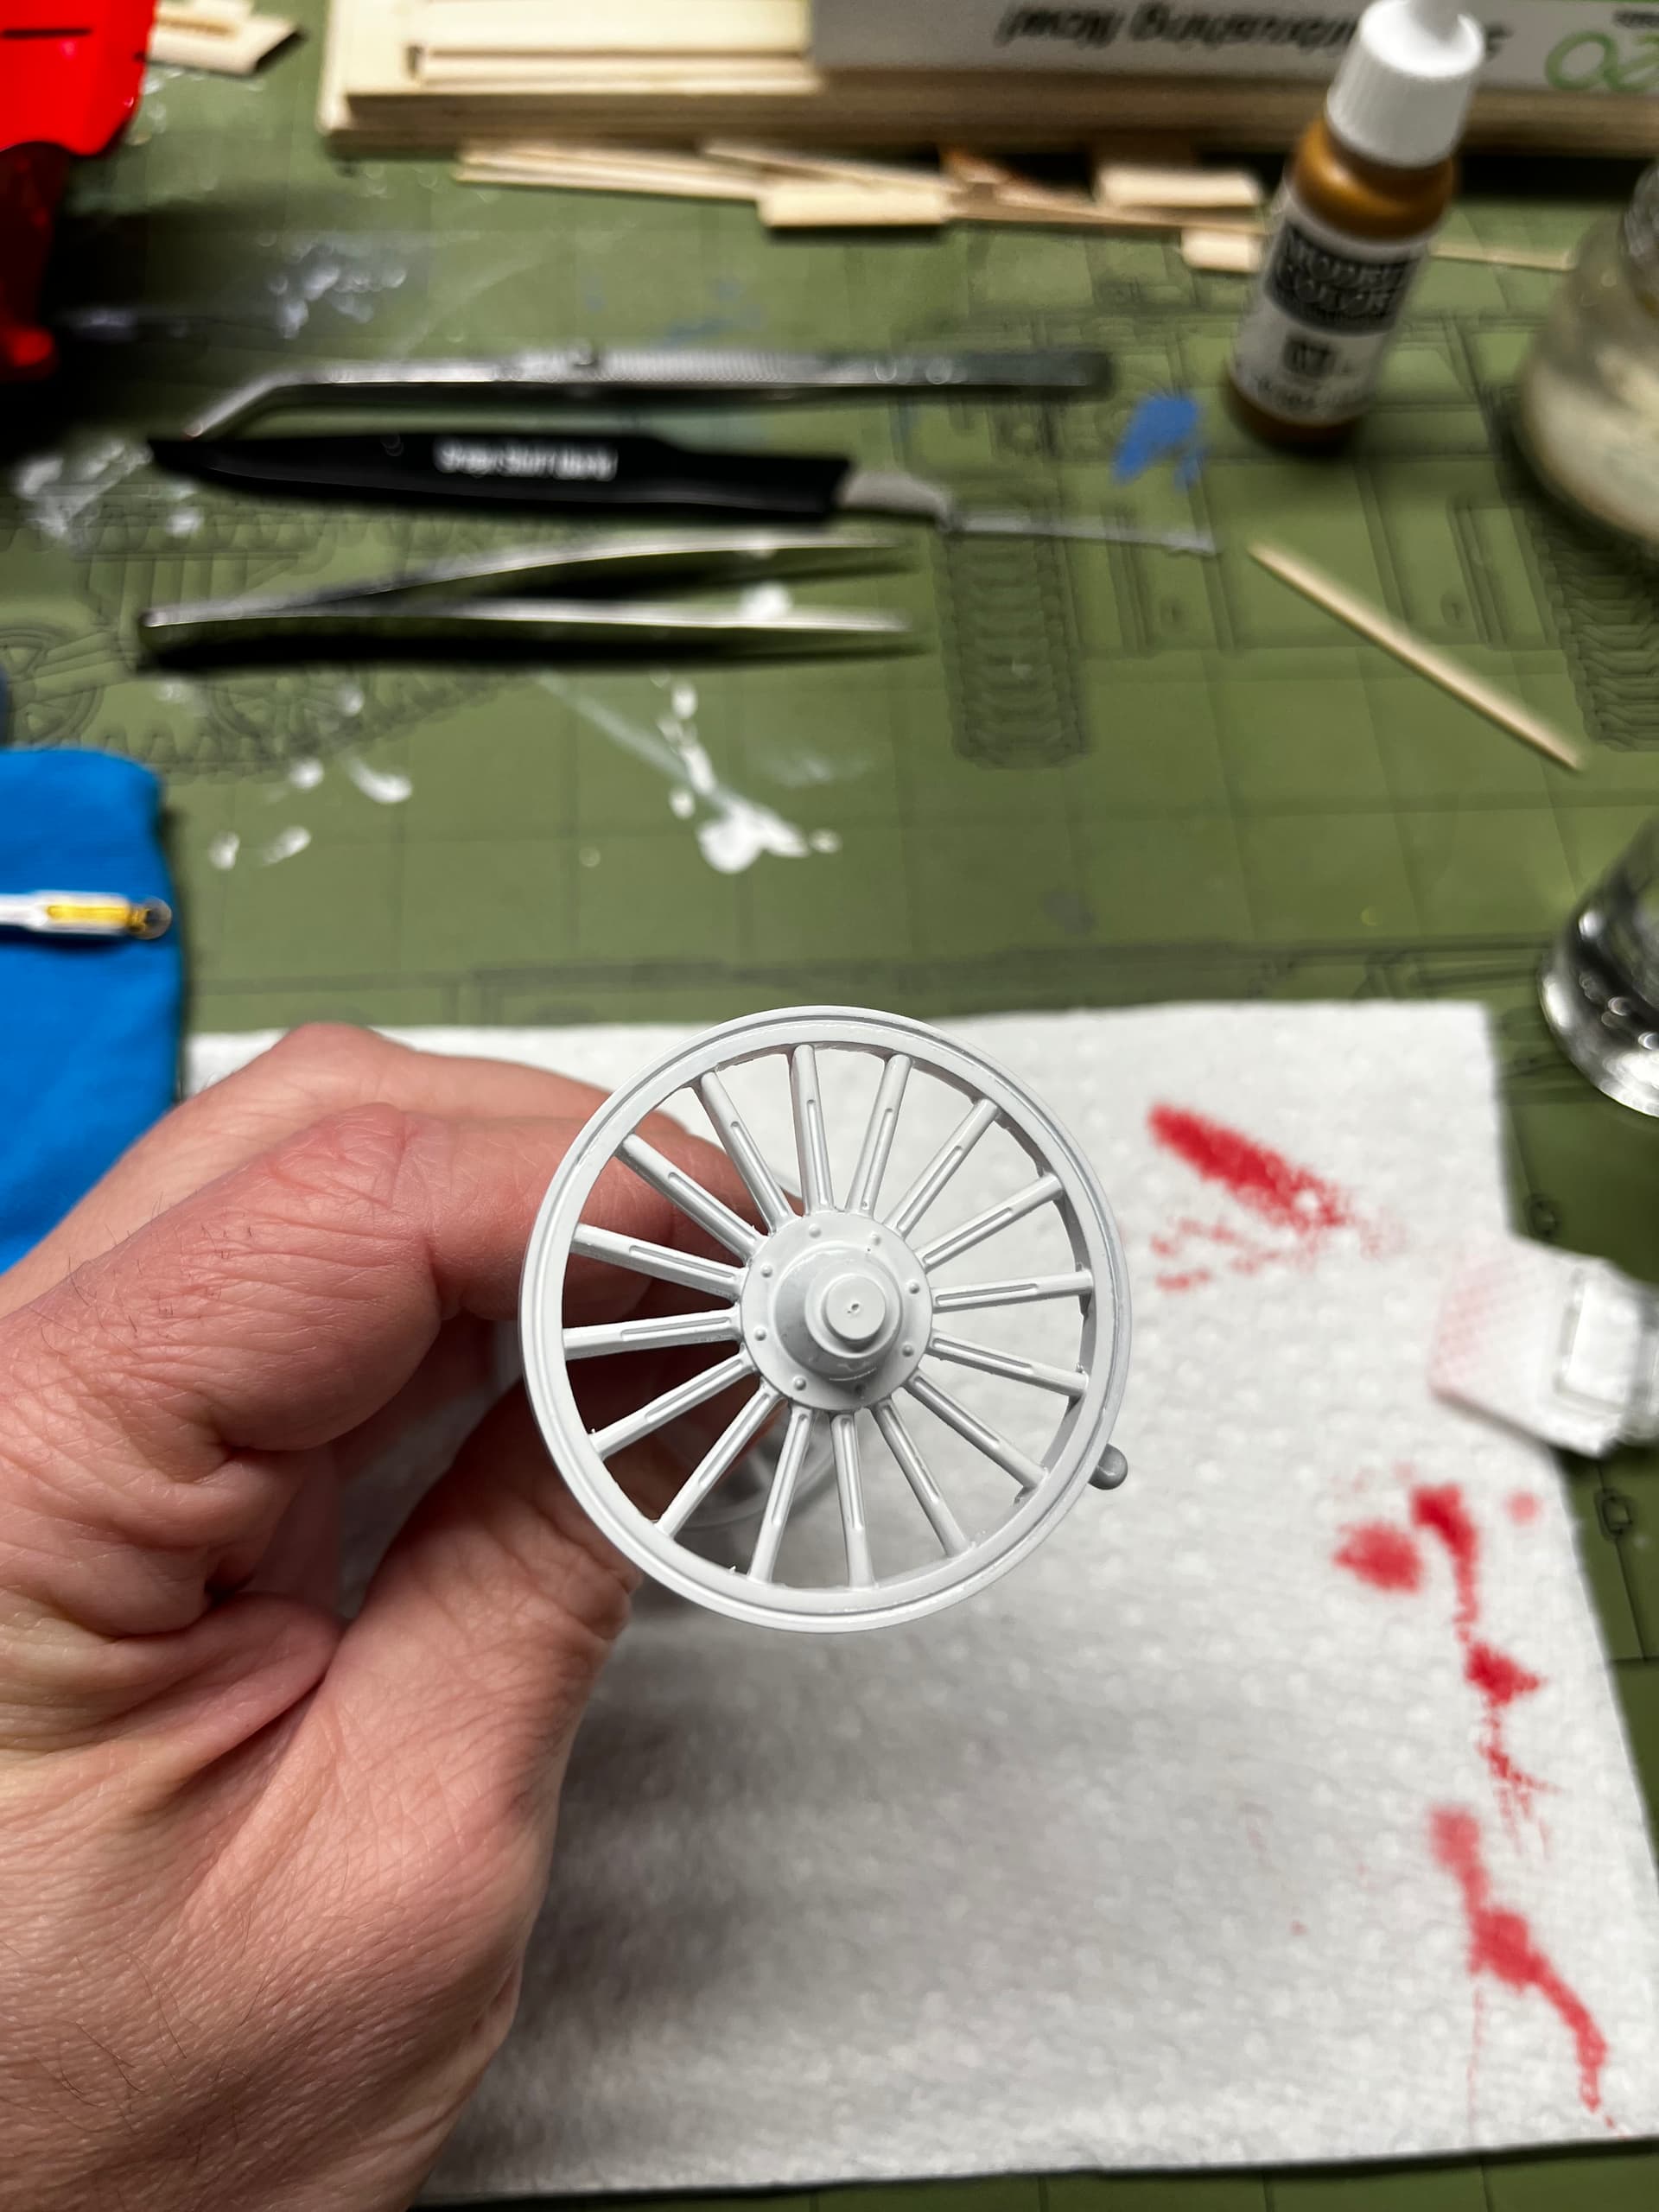
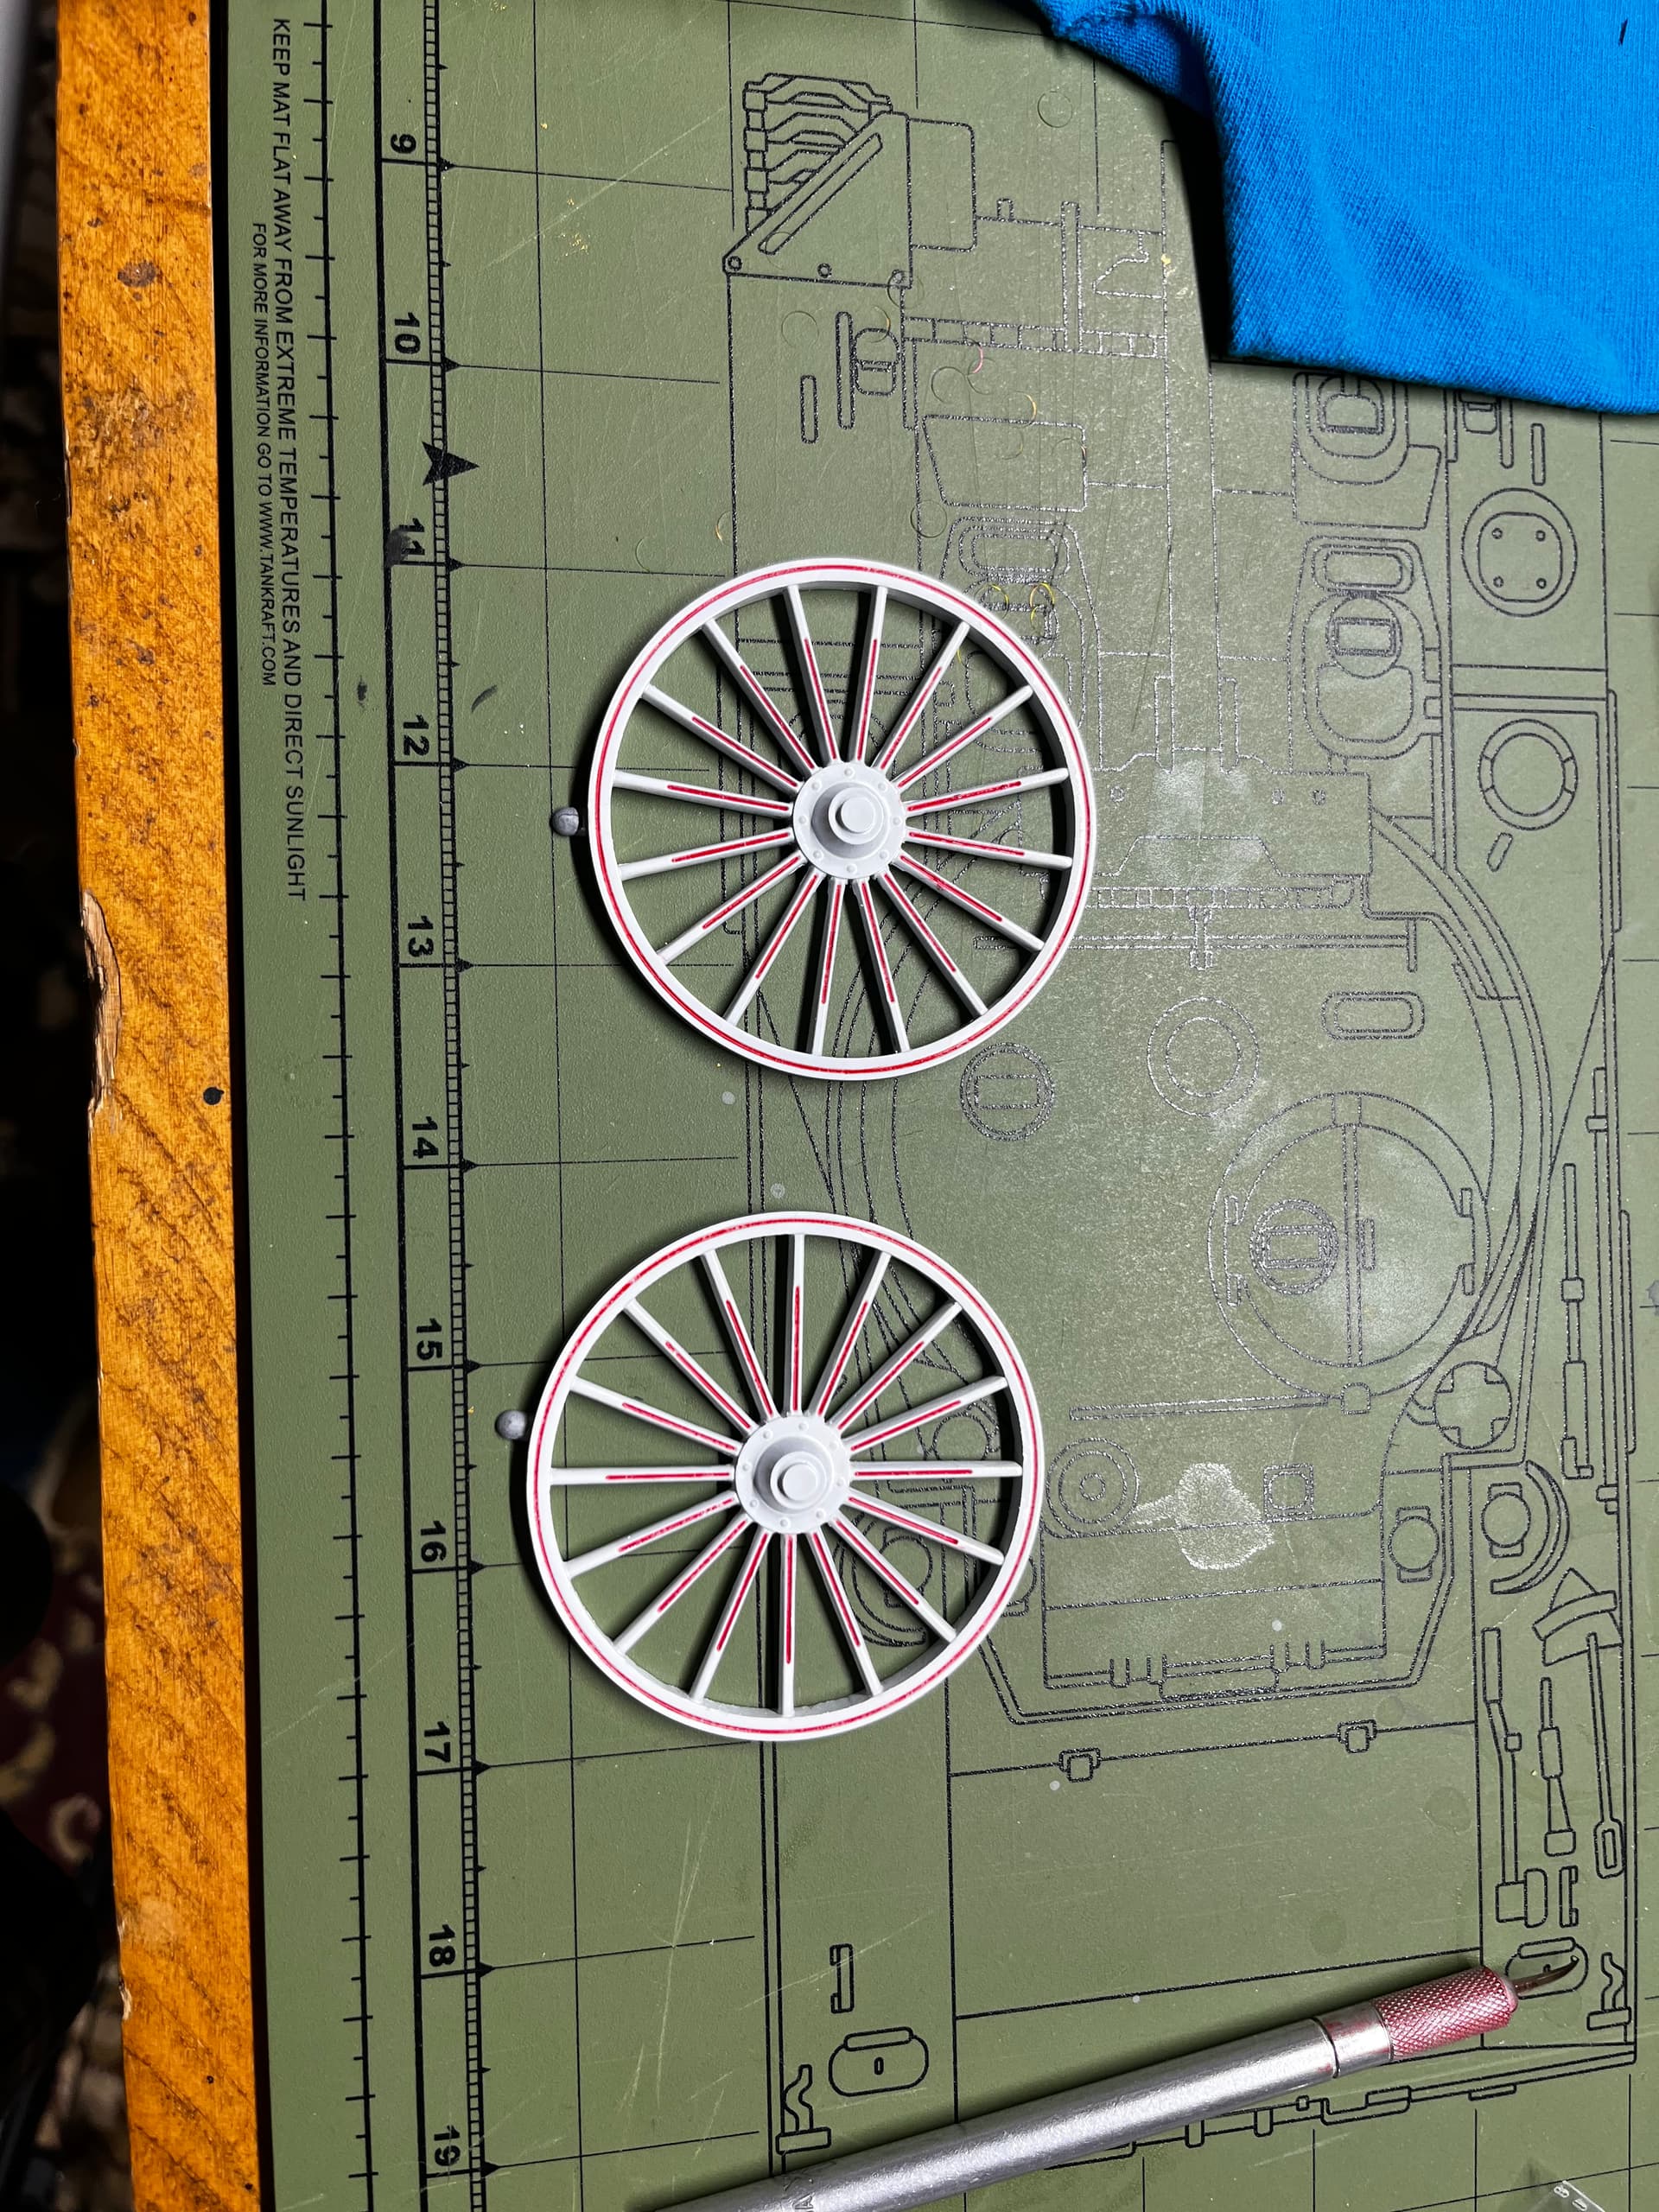
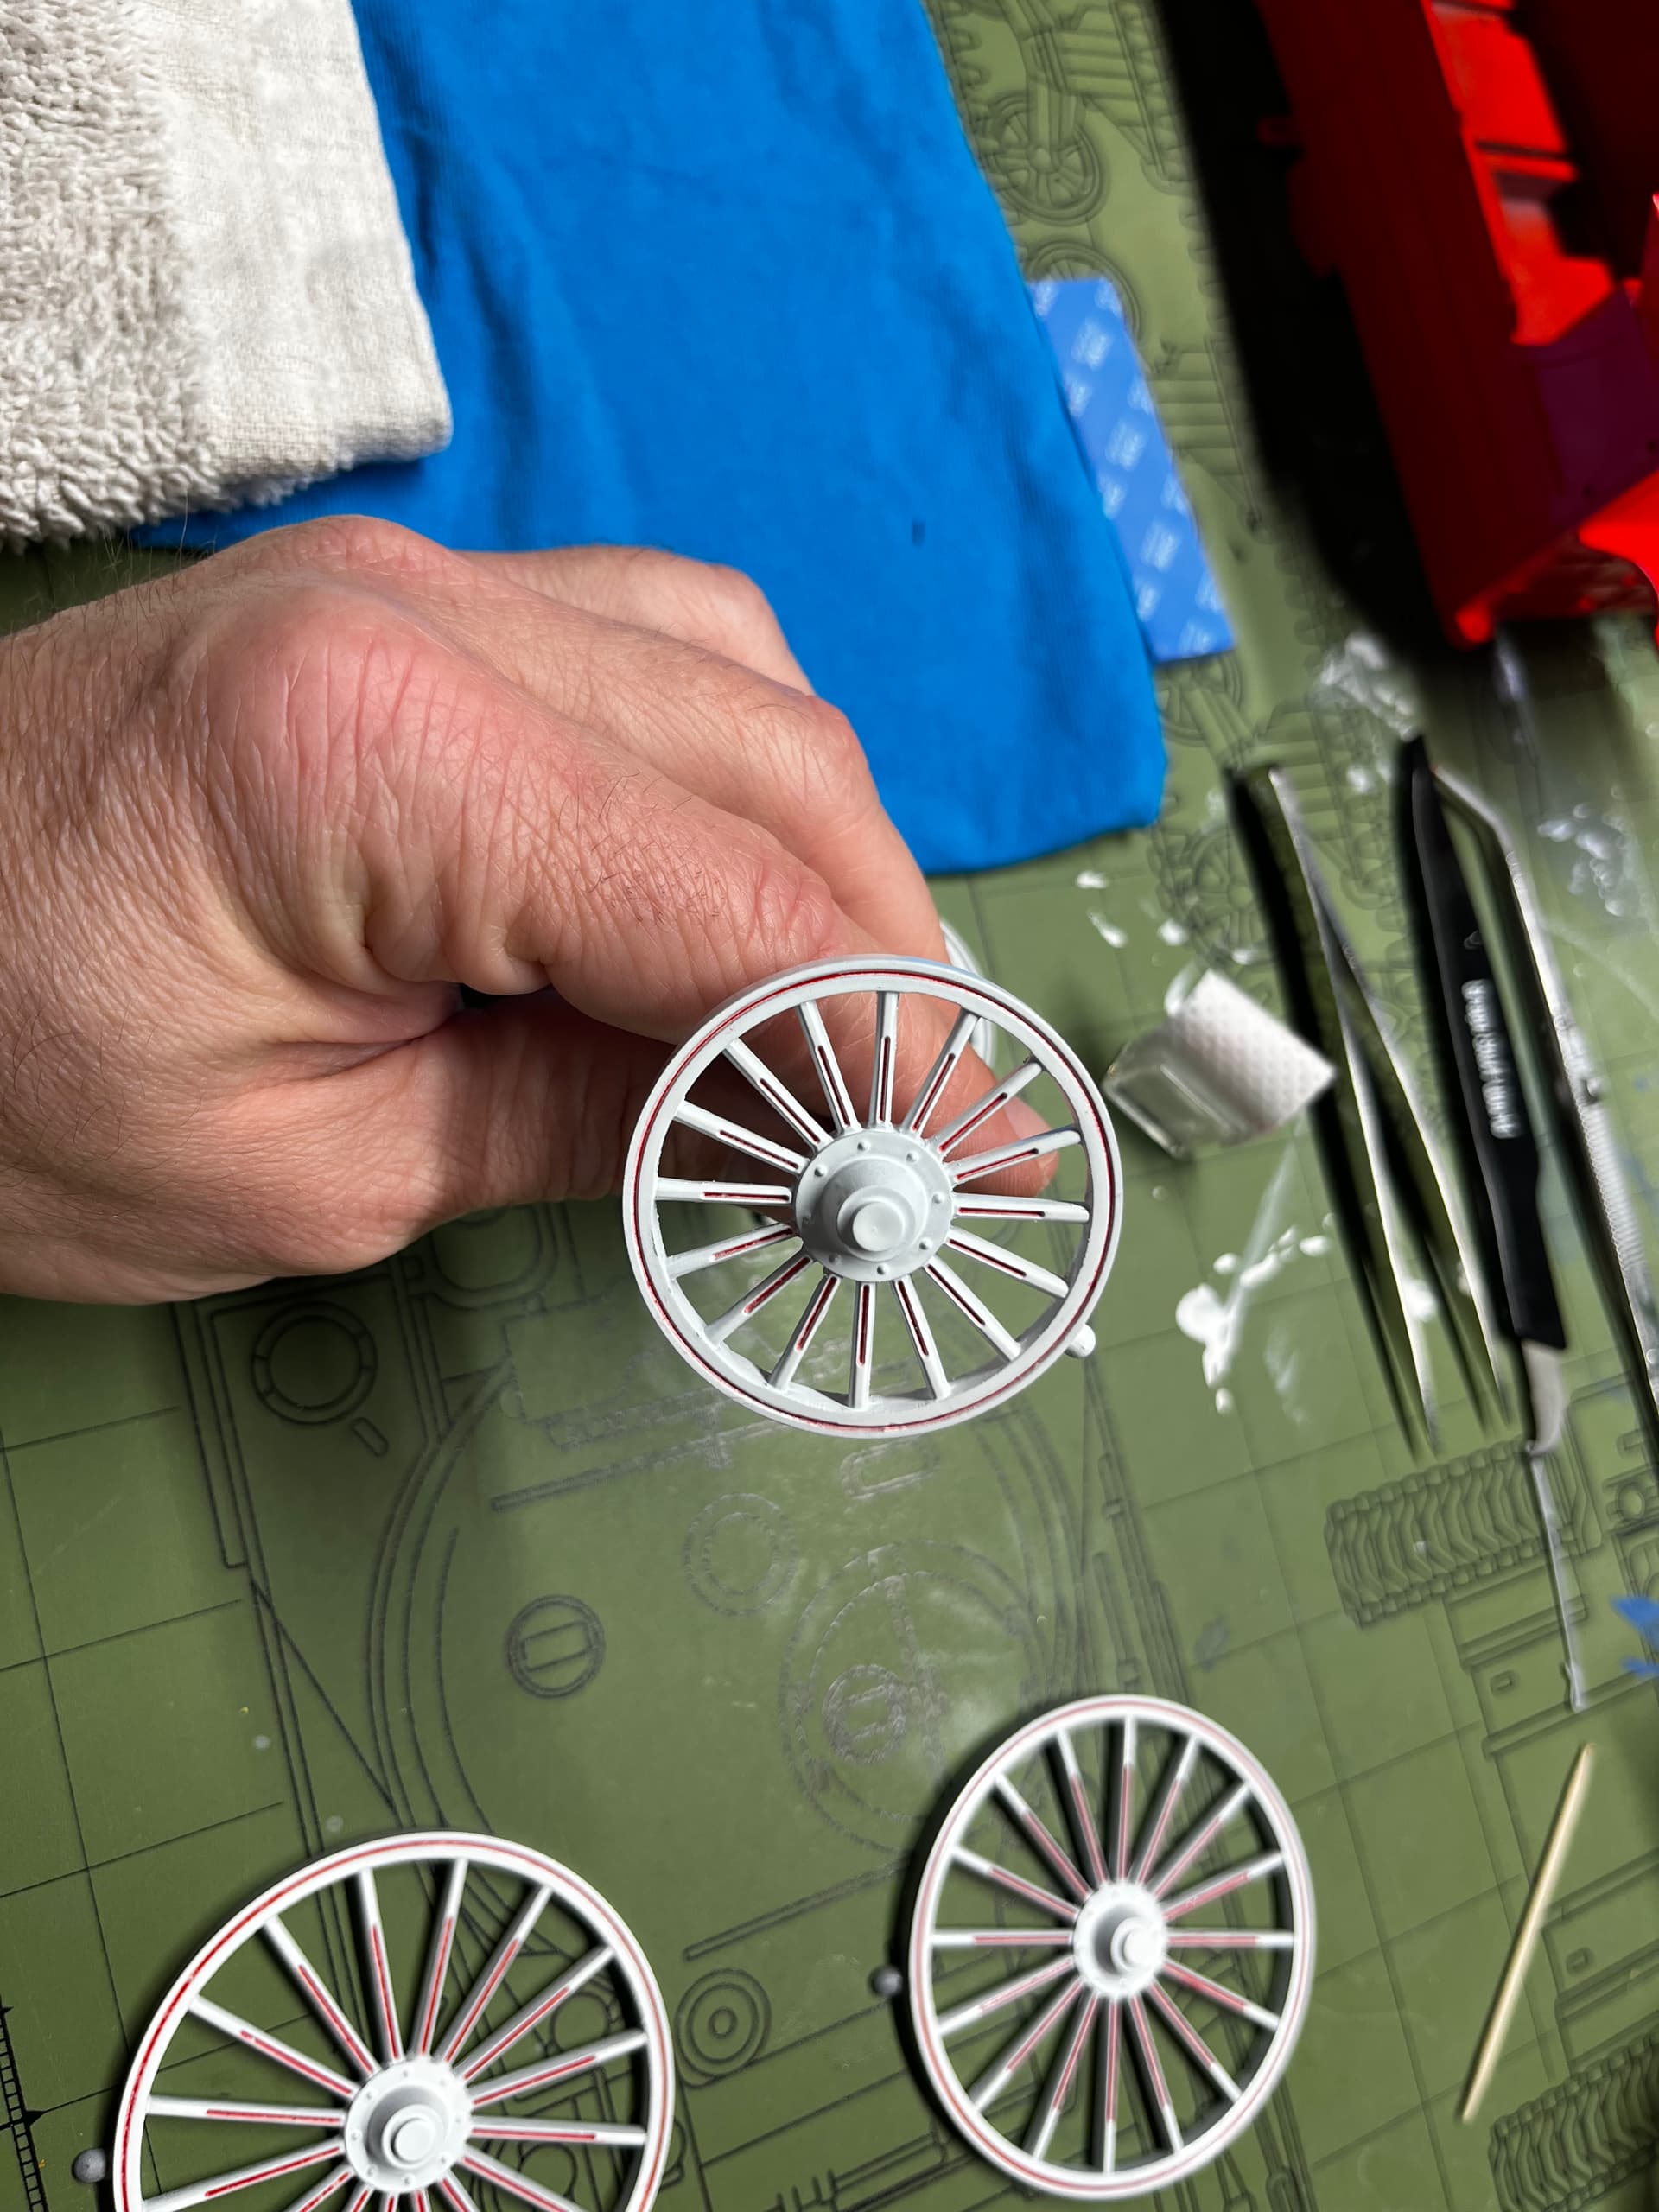
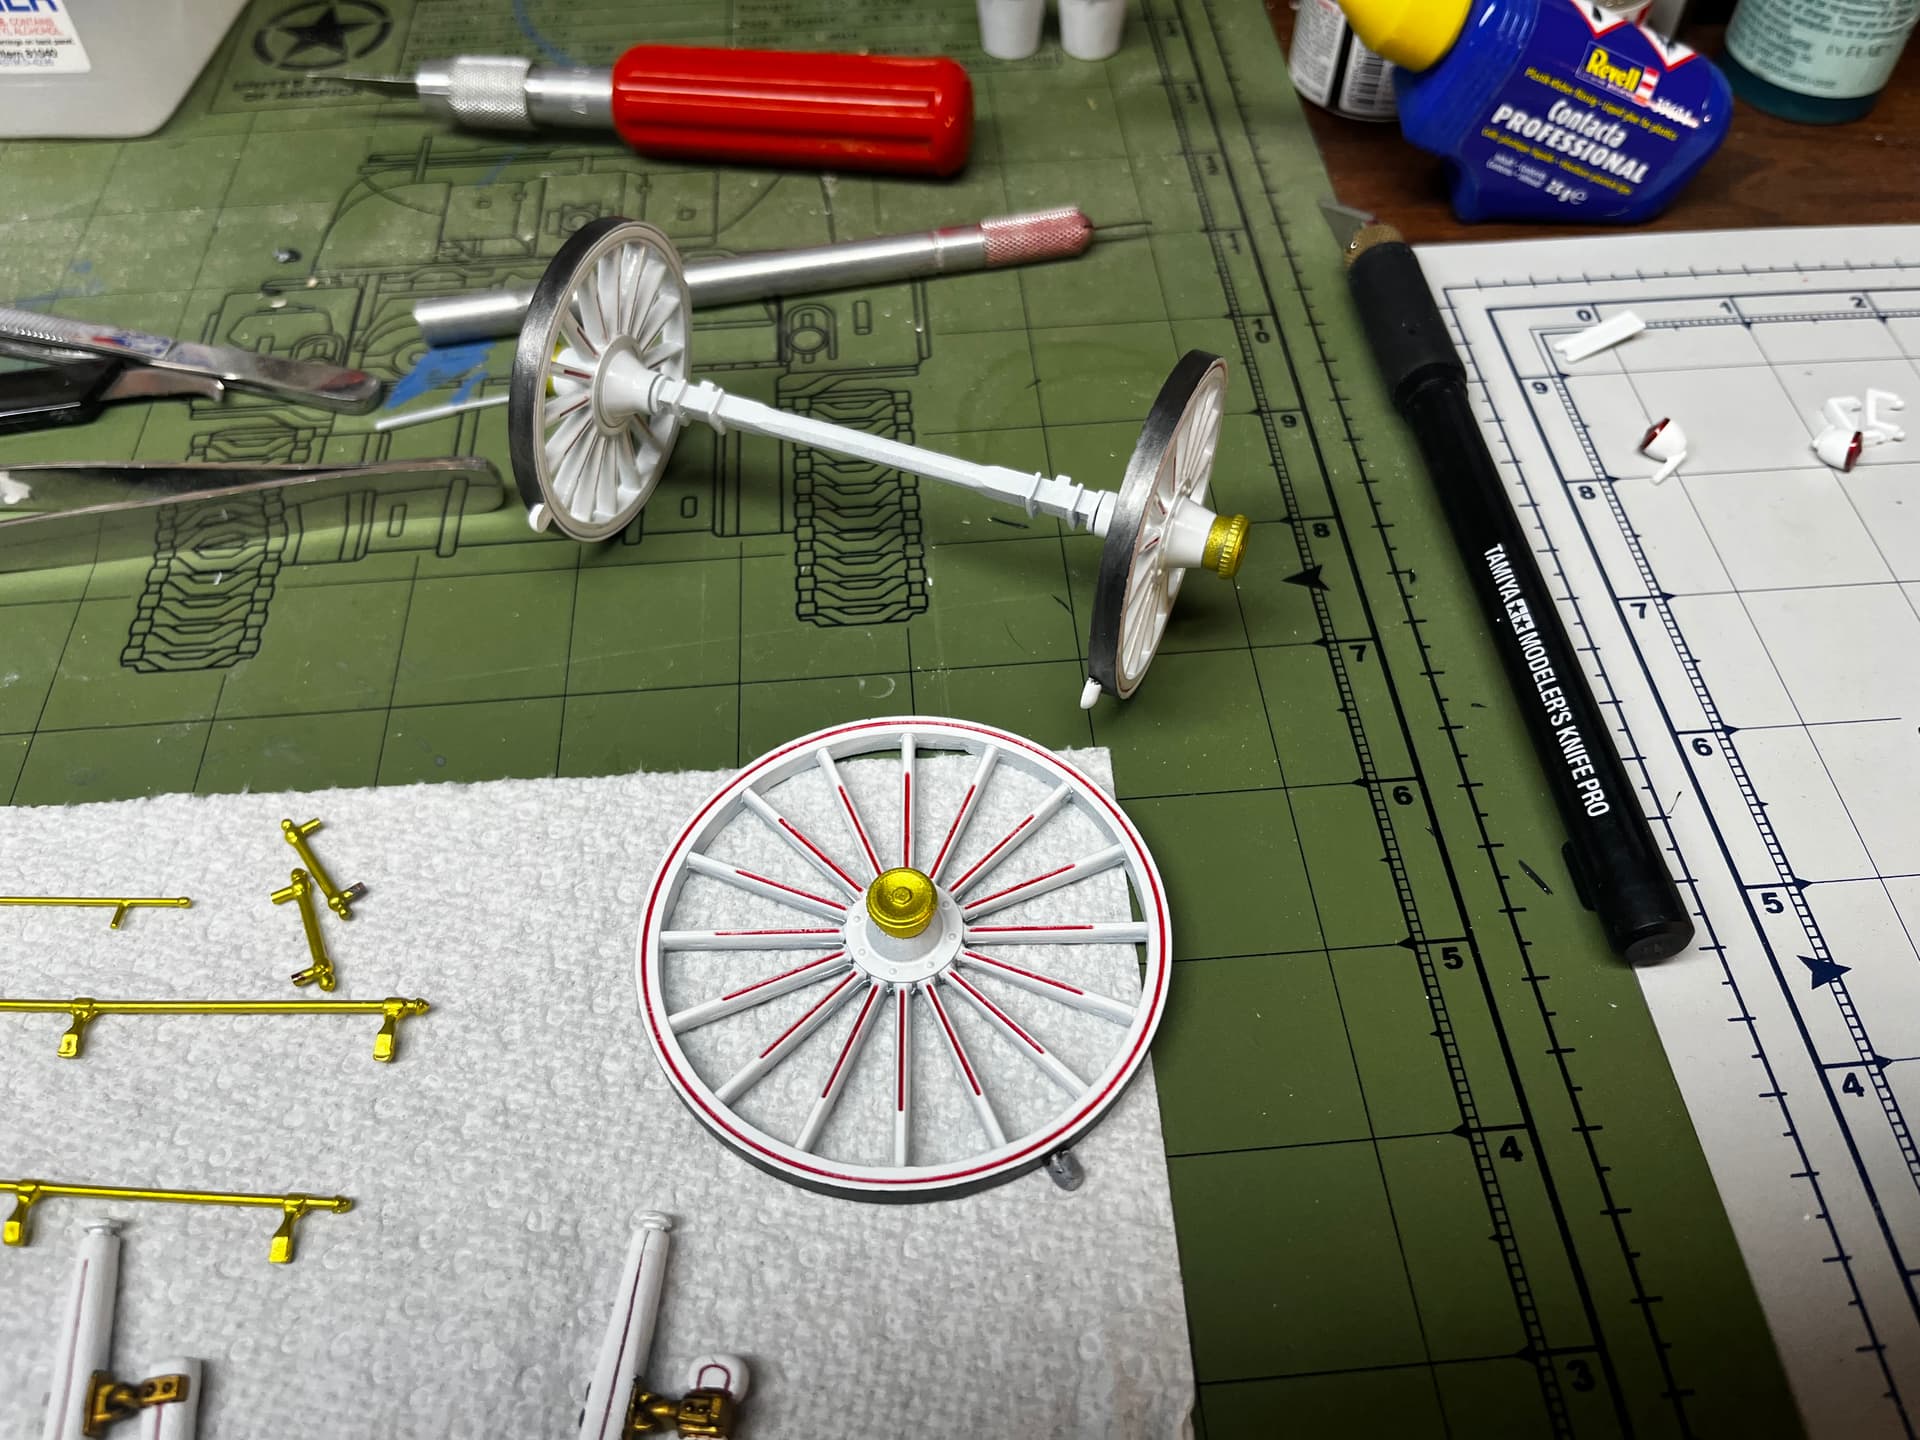
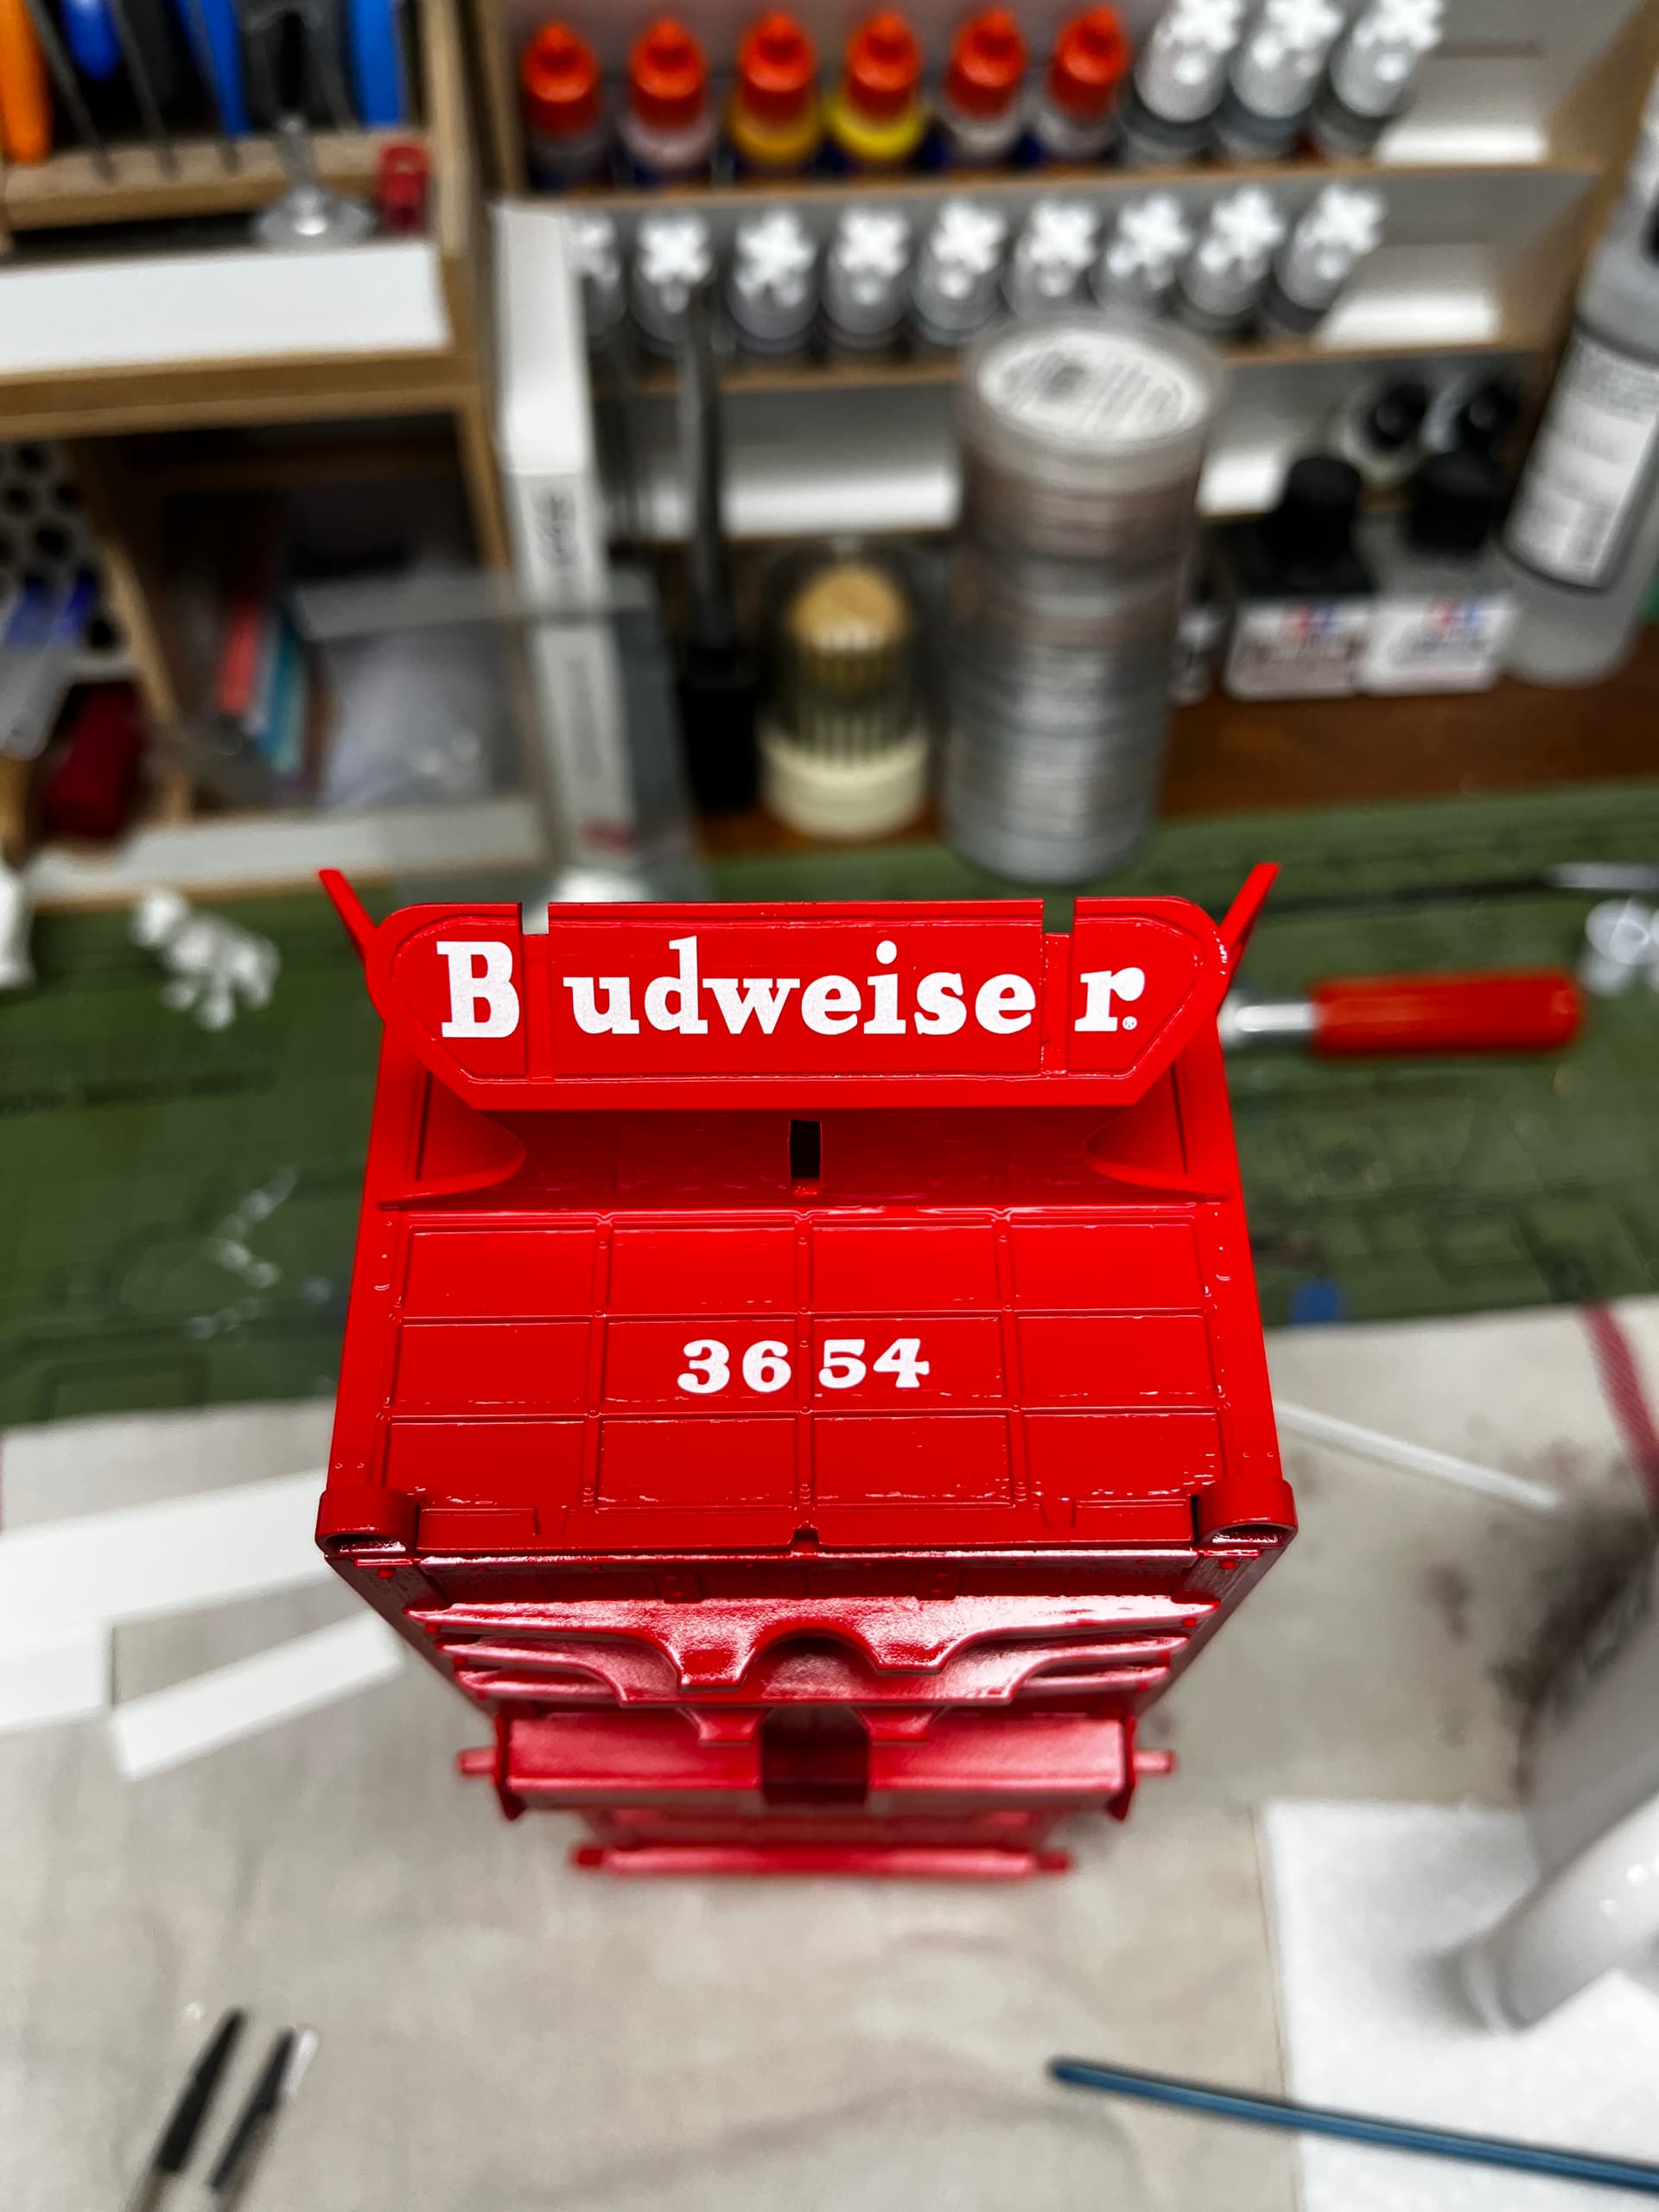
I made a wash from Testors red enamel and enamel thinner and flowed it into all the areas that are supposed to be red. Then I let them dry. When the pinwash was completely dry, I came back with a product I really like called Solven. It’s a little heavier than lighter fluid and doesn’t affect lacquer (the white and clear coat under the enamel pinwash). Just wet a cotton square and wiped any excess wash away. I’ll have to perform the same process on the wagon, but that won’t be for a couple of days yet.
I especially appreciated seeing how you flowed the red into the wheels and then cleaned up the excess. That’s one of those techniques I’m filing away for future use. Very clever way to handle that.
A horse and a horse, of course of course.
I remember considering buying one of these, or another multi-horse model (stagecoach maybe? or a hearse?) as a kid, and am glad to watch you enjoy (mostly) building it. Thanks for sharing!
My wife bought me that kit at a flea market, many years ago. Earlier this year she asked me, are you going to build this? I said no. She said okay I’m going to sell it on eBay. So she asked me to check all the parts. I did. She put in the description.. My husband builds scale models and he checked all the parts and said it was complete. So she put it on eBay, and it sold for about $60.
Then I was sweating my parts guarantee. But the buyer responded, your husband was right every single piece is here, even the non-plastic ones.
And now I get to live the whole build vicariously through you. And I’m going to pretend that I would have done it as well as you have. And that’s a stretch. Lol
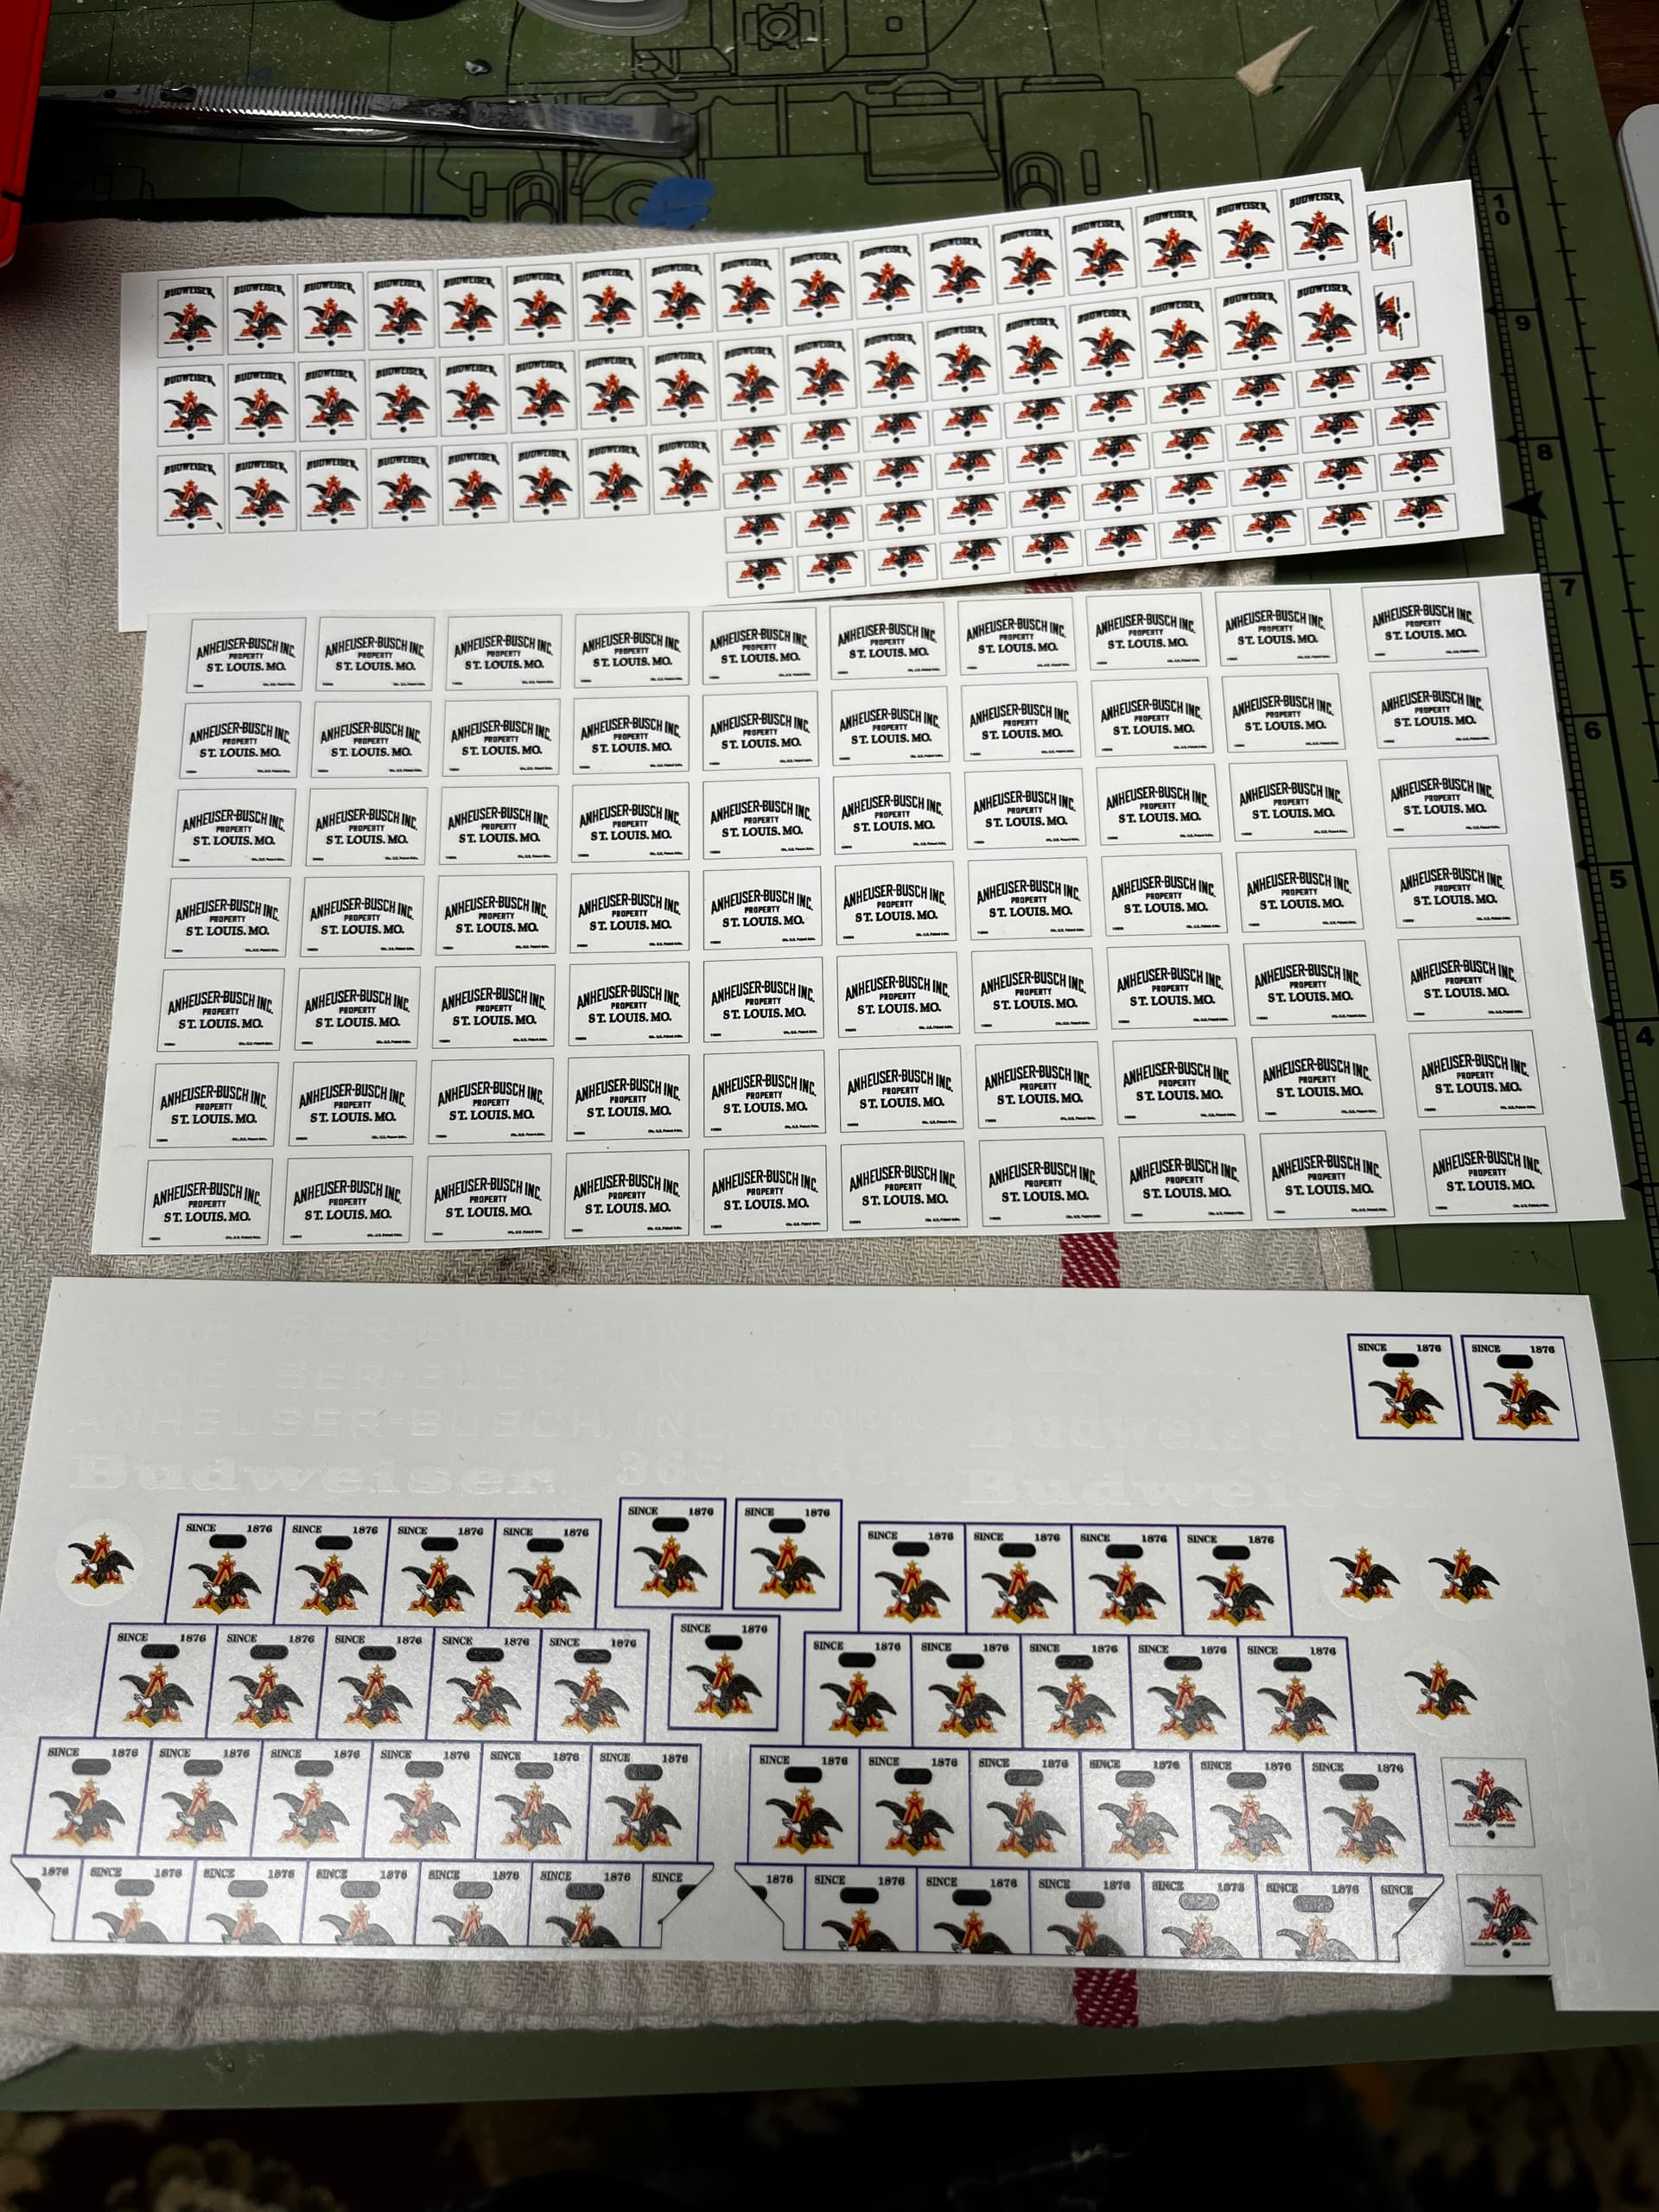
These replacements were designed and printed by Mark Jones at Scale Master. I knew from the beginning Mark would have to be part of this project; it wouldn’t be possible without his skills and work. Using the stickers in the 1980s would have been disappointing. Forty years later? Wouldn’t even contemplate it.
Thanks, Solomon. Just keeping the momentum. After finishing the decals on the wagon proper, I’ll assemble it and get it on the base. I’m saving the driver and dog figures for last.