Hello, all. I’ve been away from scale aircraft modeling for awhile and thought I’d get back by building one of AMT’s Vega’s as Amelia Earhart’s trans-Atlantic Vega, NR-7952. Here’s a few photos of my progress so far:
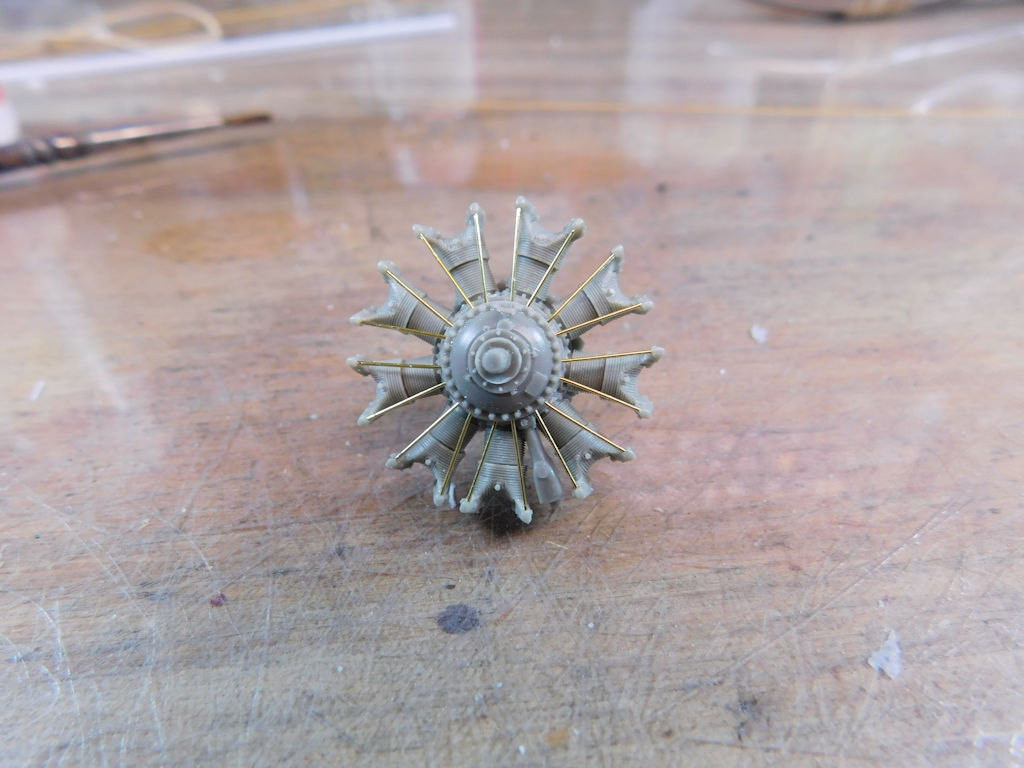
I decided that I wanted to replace the kit representation of the engine with something a bit more detailed. Vector’s resin Pratt and Whitney R-1340 isn’t an exact match to the engine in Earhart’s Vega, but I think it’s better than the kit part. I first had to assemble enough of it to check the fit inside the cowl.
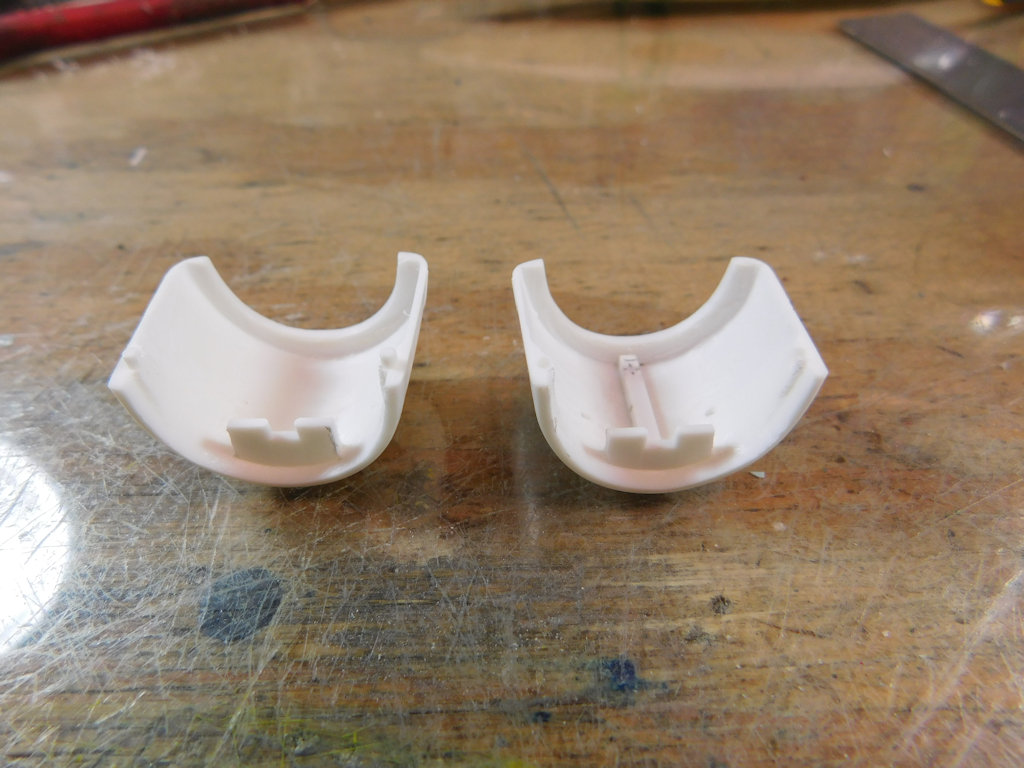
It turns out that I needed to remove material inside the cowl in order to get to engine to fit. I did that with a sanding drum attachment to my Dremel. While I was working on the cowl, I also removed a bit of the mounting points to open up the view through the cowl (as on the prototype) and I added a mounting for the engine made out of .060x.080 styrene strip.
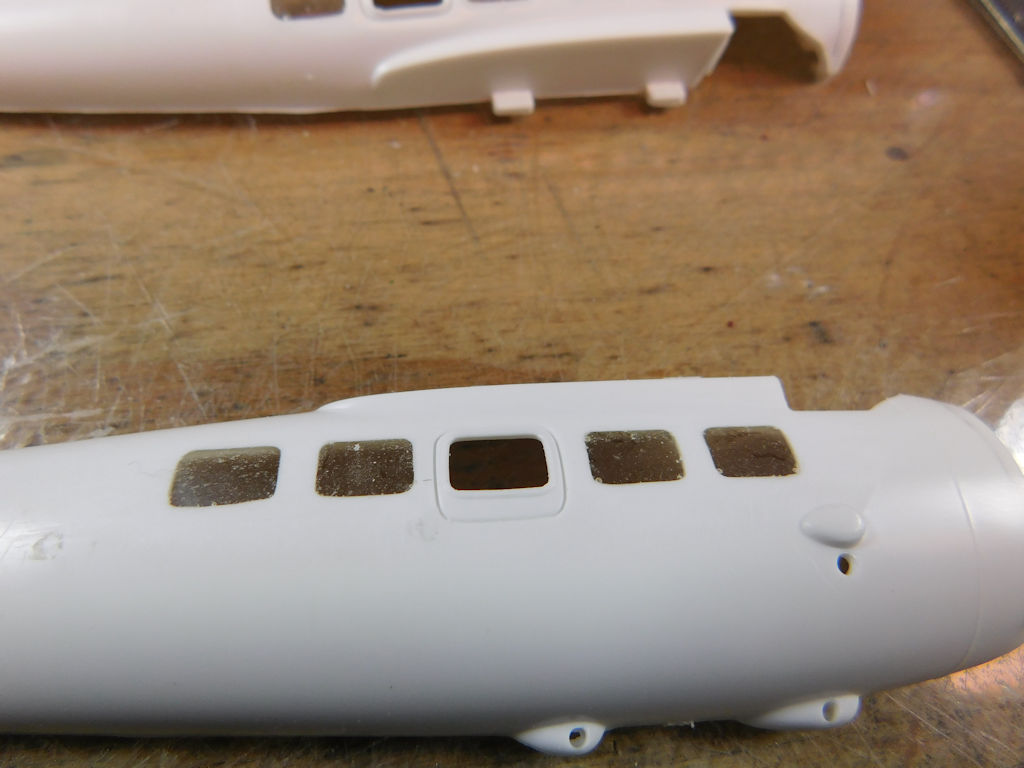
Most of the fuselage windows on Earhart’s Vega had been blanked out. The kit clear parts weren’t flush fitting, so I needed to come up with something on my own. Rather than try and make multiple inserts, I carved off the raised trim on the outside of the fuselage, covered the openings from outside with Scotch tape, and filled the openings with resin. Since I was just going to paint over the windows anyway, I didn’t worry that they didn’t come out clear.
I had a friend who did that kit, as a Wily Post plane. It came out pretty nice. I was doing a 1:72 kit from Eastern Europe- forget whose kit exactly, though. He had a harder time, but it still built up nice. You are doing great work so far.
If I remember correctly Lindberg did a 1/48th scale model of that Vega WAY back in the 50s. It was the Wiley Post decals. The real airplane, both Wiley Posts Vega, and Earhart’s Vega, are in the National Air and Space Museum in Washington D.C. The Earhart plane had several of the side windows covered over with doped cloth, rather than being filled in with wood. I never did find out why this was done. Drag? The Wiley Post airplane had this done as well and the windows eliminated for different flights are different. Anyone know why this was done? Anyway, enjoy the build. Testors has a maroon red that matches the real aircraft very well.
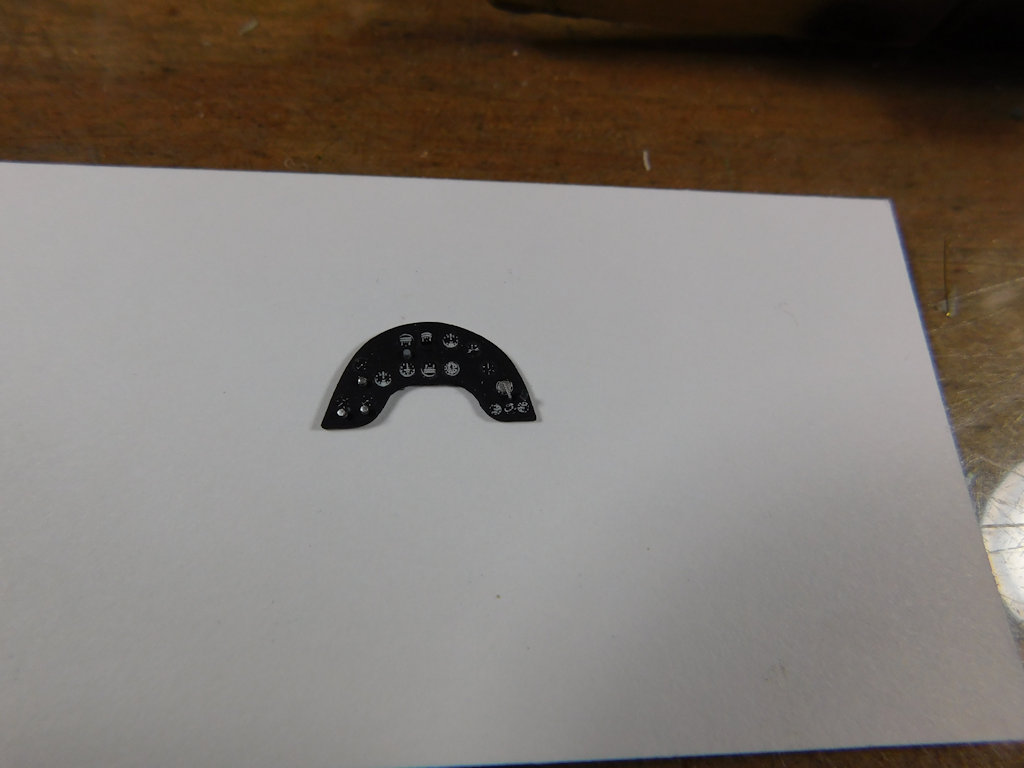
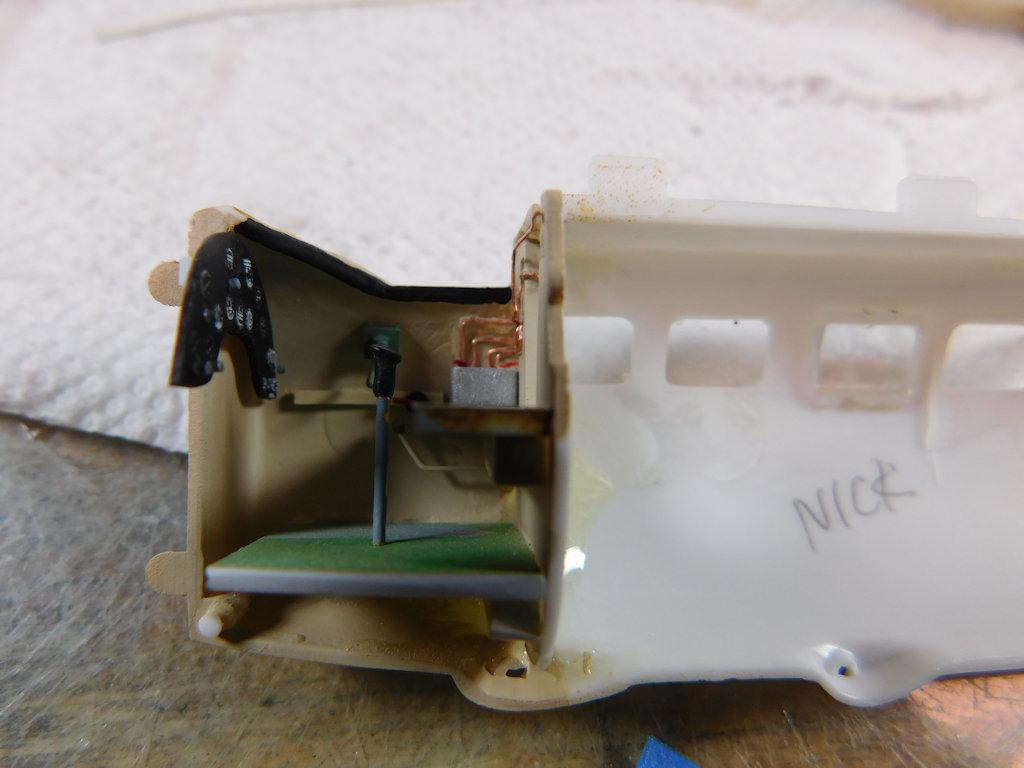
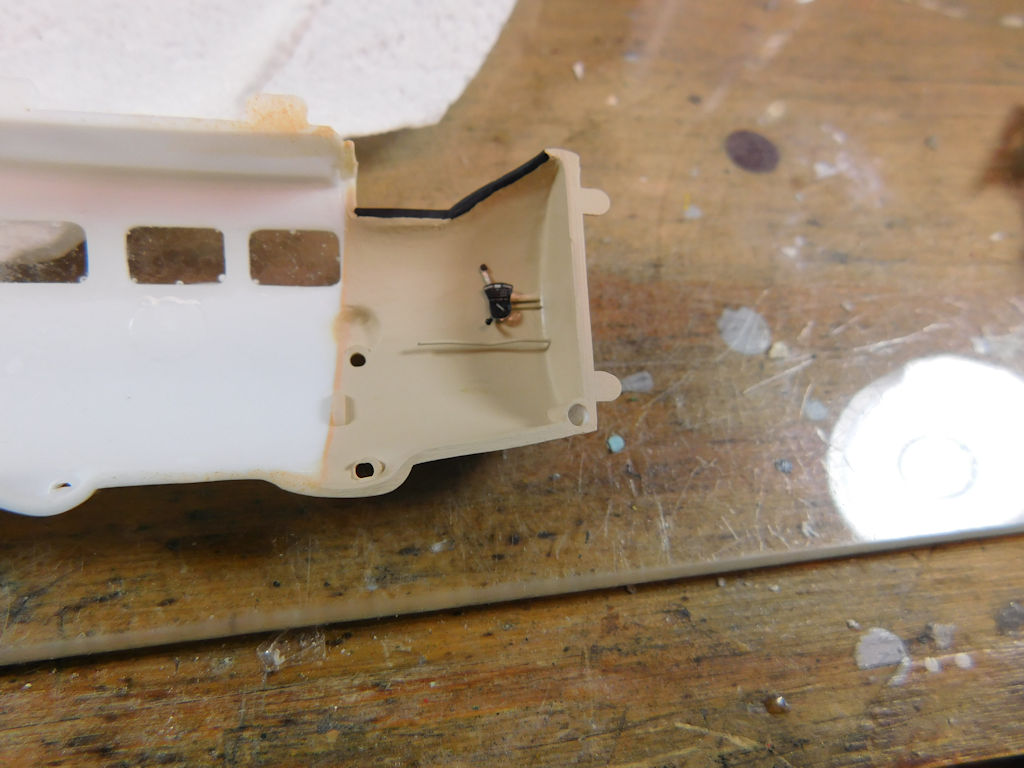
I really haven’t forgotten this build. I’ve been scratchbuilding bits and pieces for the cockpit. If you’ve ever seen the kit, you know that the AMT cockpit is something of a blank canvas; there’s really nothing to it other than a vaguely seat-shaped blob molded on the bulkhead and a male pilot figure. I really couldn’t use the pilot (Amelia was, well, you know, a woman), so the seat thing had to go. The Air and Space Museum’s Web site has one of those Flash player apps that lets you look into the cockpit of Earhart’s Vega. The viewpoint doesn’t make it easy to work out dimensions, but all I really wanted to do was to suggest that something was in there. Here are some shots of my representation of Amelia’s cockpit.
I’m going to put this out there for anyone listening: I’d pay decent money for a modern, newly-tooled, well-engineered 1/48 scale kit of a Vega. And if it was set up so that it could be built to represent both of Earhart’s Vegas and Post’s Winnie Mae, I’d buy three as soon as I could get my hands on them.
It’s good to hear from you again Larry. =] Those Vector engines really can’t be beat for the price some times. It’s a definite pick me up in detail!! And you’re right…it sure looks sparce in there. I imagine you must be busy scratching out some parts. =P
Good to hear from you, Britt. You’re right about the Vector engine. It’s gorgeous.
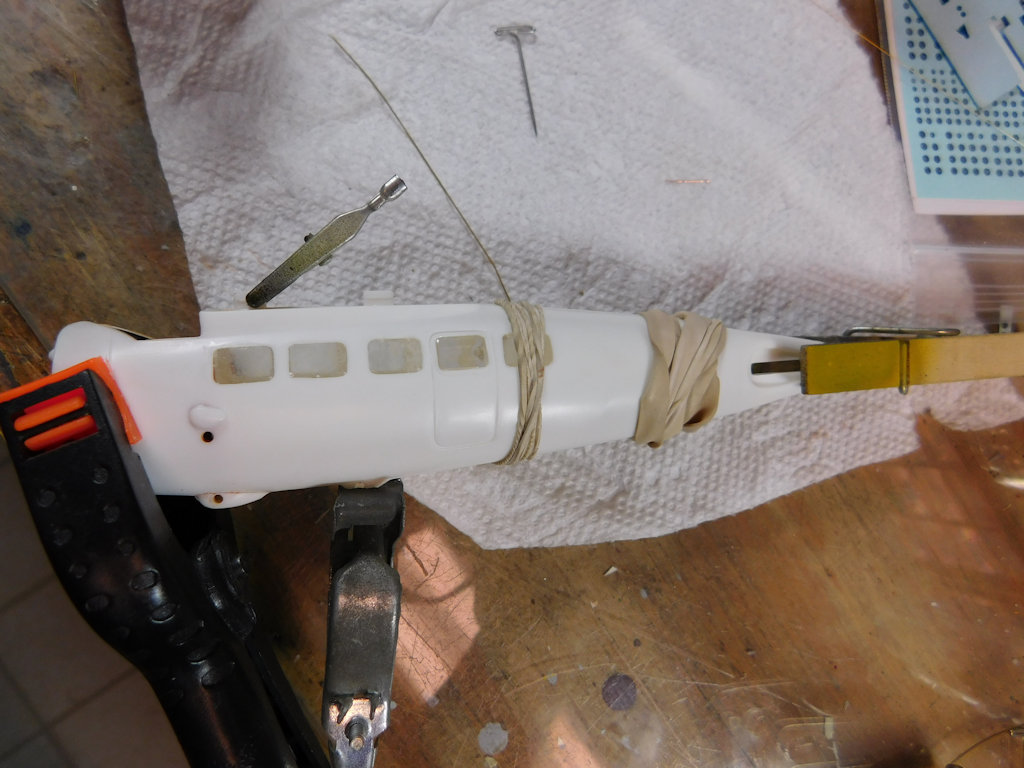
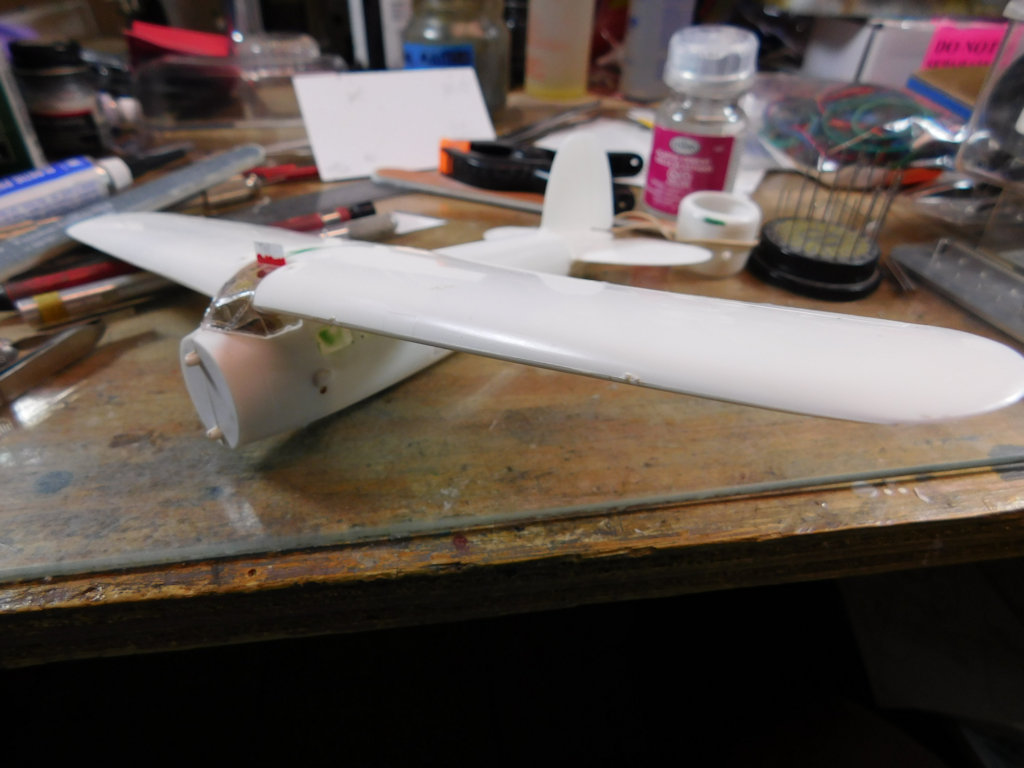
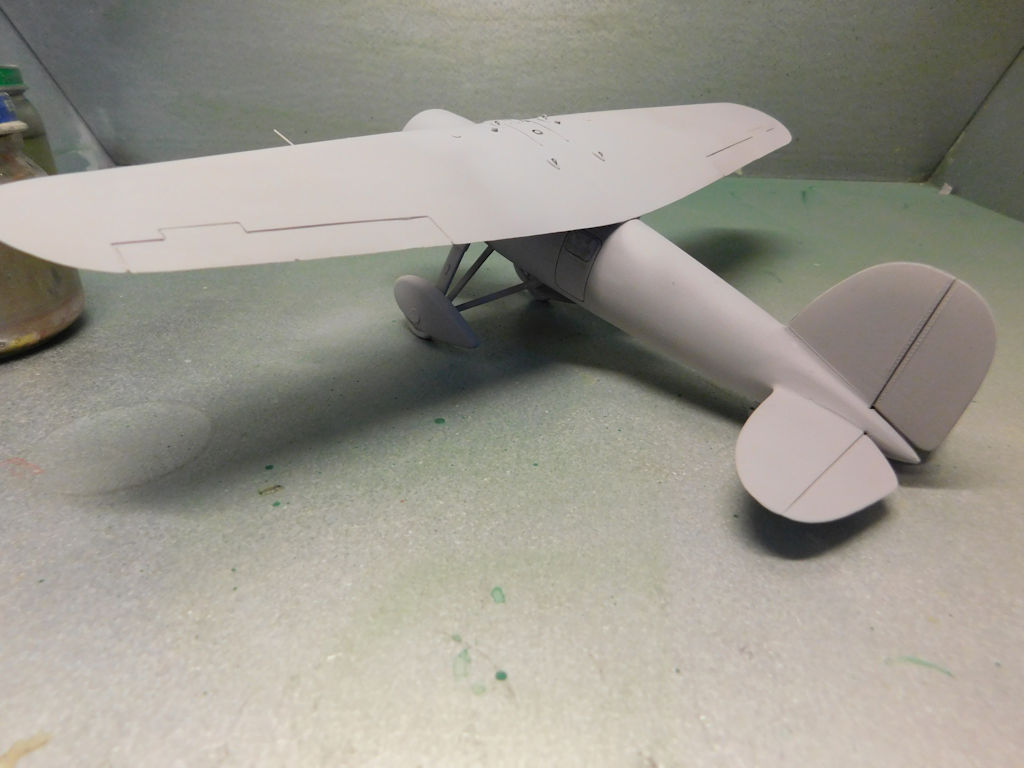
Here’s another update on this build. Once I felt like I had enough detail in the cockpit, I closed up the fuselage. I applied Testors liquid cement to both halves, stuck them together, and then used assorted rubber bands and clamps to force things into alignment. Then I snapped the first of the photos. Then I said many, many bad words. Those fairings on the bottom of the fuslage that mark the attachment points for the landing gear: Earhart’s Vega didn’t have them. And I knew that. It would have been far easier to remove them and fill the space before joining the fuselage halves.
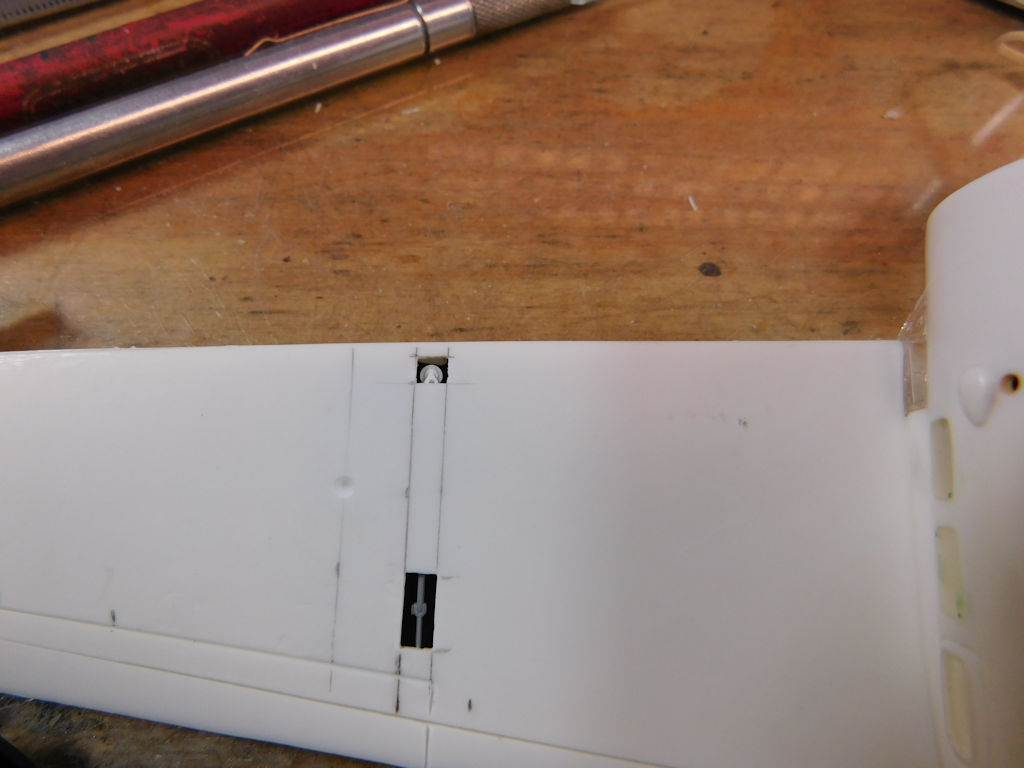
While the fuselage joint was drying (and I was trying to figure what to do with those pesky fairings), I opened up the inspection ports on the bottom of the wings. I used scrap styrene and leftover bits from my spares box to provide detail visible in the inspection ports. I also marked the locations where I’ll mount MV Products lenses to represent the retractable landing lights.
In the final photo, this thing is starting to look like a Vega. I’m not sure whether that’s because of the kit or in spite of it. Despite determined sanding and aggressive clamping, there was still a significant gap between the forward edge of the wing and the rear of the top of the canopy. I was able to turn that bug into a feature, however. As I was studying the situation, I noted that the gaping space in the wing was clearly visible through the canopy. In my photos of Earhart’s aircraft, there’s a bulkhead there. So, I cut a piece of .010 styrene sheet, painted it red to match my photos and slipped it through the gap between the wing and the canopy. After the cement sets up hard, I’ll trim it off flush with the wing. A bit of sanding should then blend it in.
Gary, Chevy did make a Vega. I owned one back in the day. Never got it to fly, though.
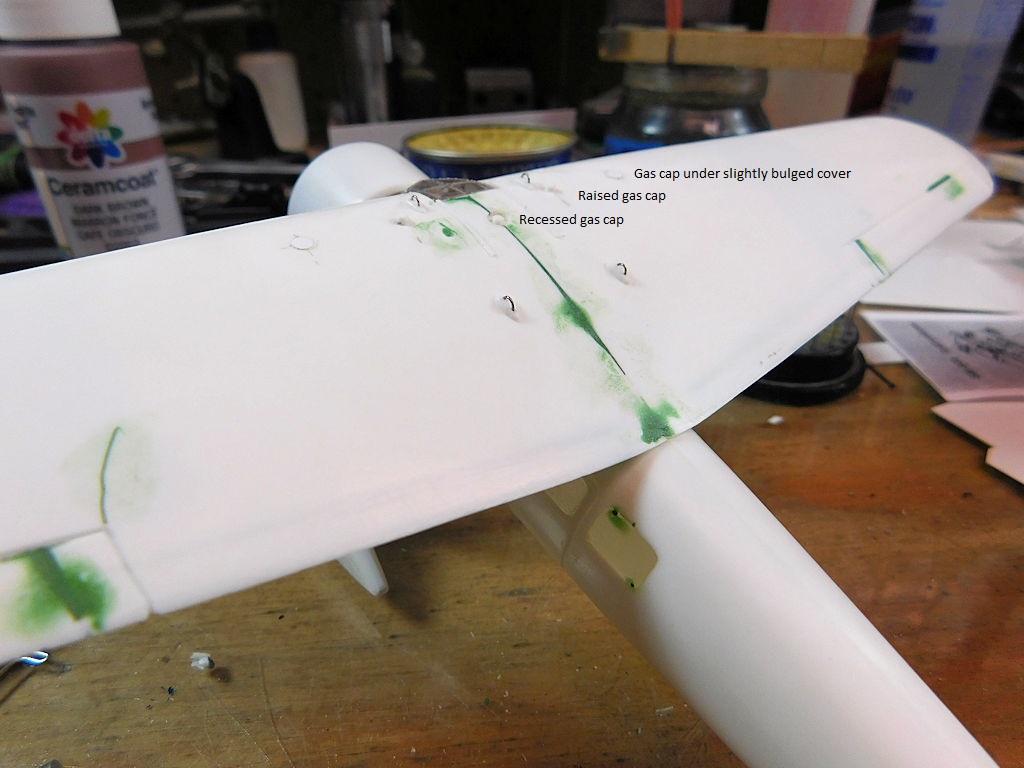
I’ve made a bit more progress on my current Vega. Eugene Millikin published an article on Earhart’s Vegas in the Winter 1979 edition of the IPMS/USA Quarterly. I followed that to model the wingtop details since it is difficult to get a clear shot of them at NASM. The various gas caps and covers were made from bits of styrene rod. The AMT kit included 3 pairs of teardrop-shaped fairings; I carved of the middle one on each side. I also rescribed the flaps to better match the prototype.
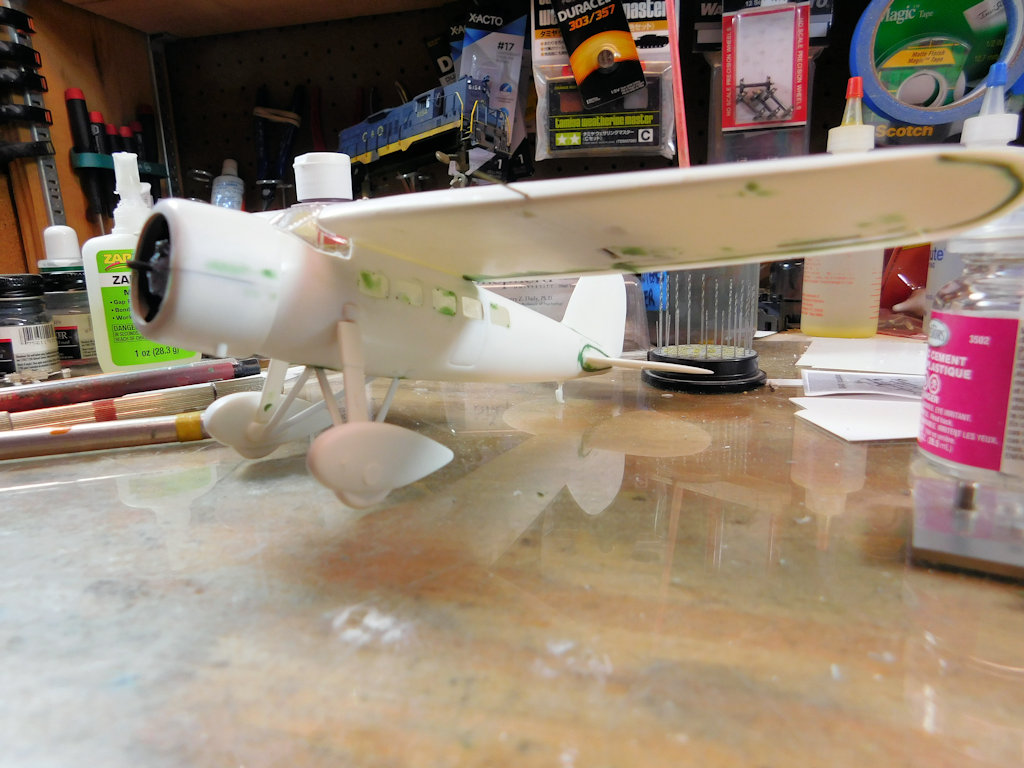
Removing the incorrect fairings on the belly of the aircraft meant that the braces for the landing gear were now too short. I made new ones out of strip styrene. I mounted then engine in the cowling and installed that assembly and then added a pitot tube made from a piece of .5mm tubing.
Several seams need a bit more putty and sanding, but I’m nearly ready to prime this beastie.
Chevy also made a car called the Baretta. When the famous Italian gun manufacturer sued Chevy for copywrite and trade name violation the car company claimed that the car was named after the pointed hat the Pope wears, also called a baretta. The suit was settled.
when the National Air and Space Museum was restoring the Lockheed Vega the “Winnie Mae” they went looking for the missing wheel pants. A museum employee sent a cable gram from Texas that said “found Winnies pants, stop” “bringing them home, stop”. This caused a bit of a stir for folks who received this cable at the museum and did not know what it was about.
the “Mig Mad Marine” logo on the F-86 assigned to John Glenn while he was TDY with the Air Force in Korea was painted on by the ground crew and NOT at Glenn’s request. John Glenn would say to the ground crew when he returned from a mission " there were not enough Migs up there today", and the crew painted the expression on his F-86.
Nice work on the build. cant wait to see the finished product. I’m a big AE fan.
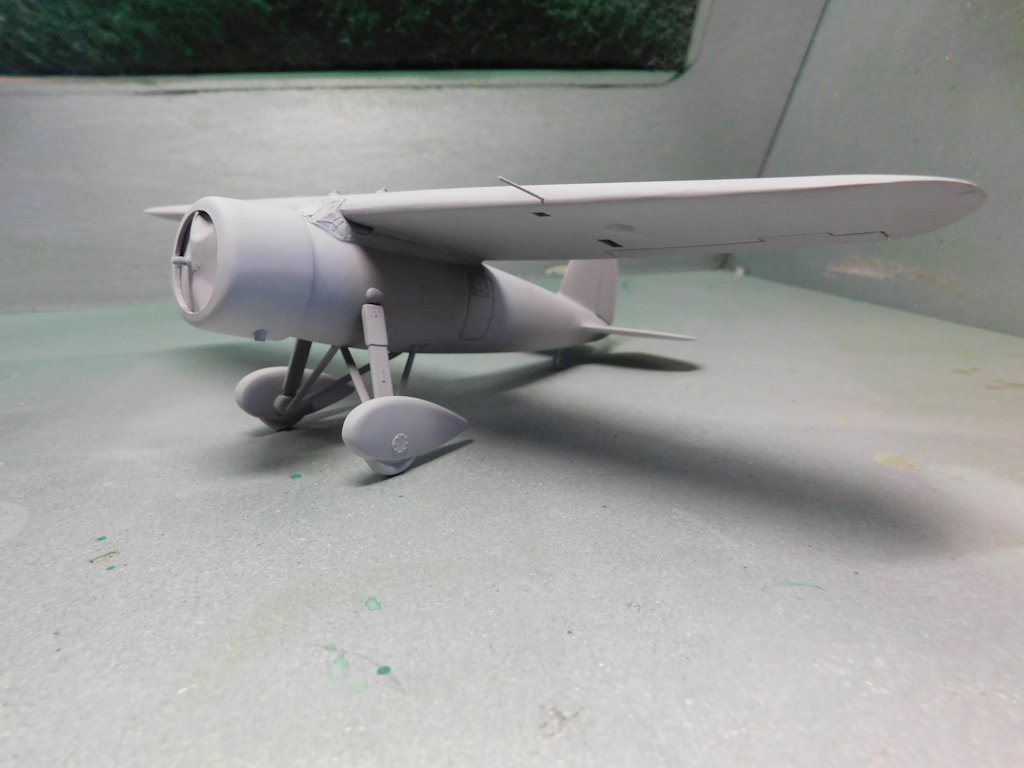
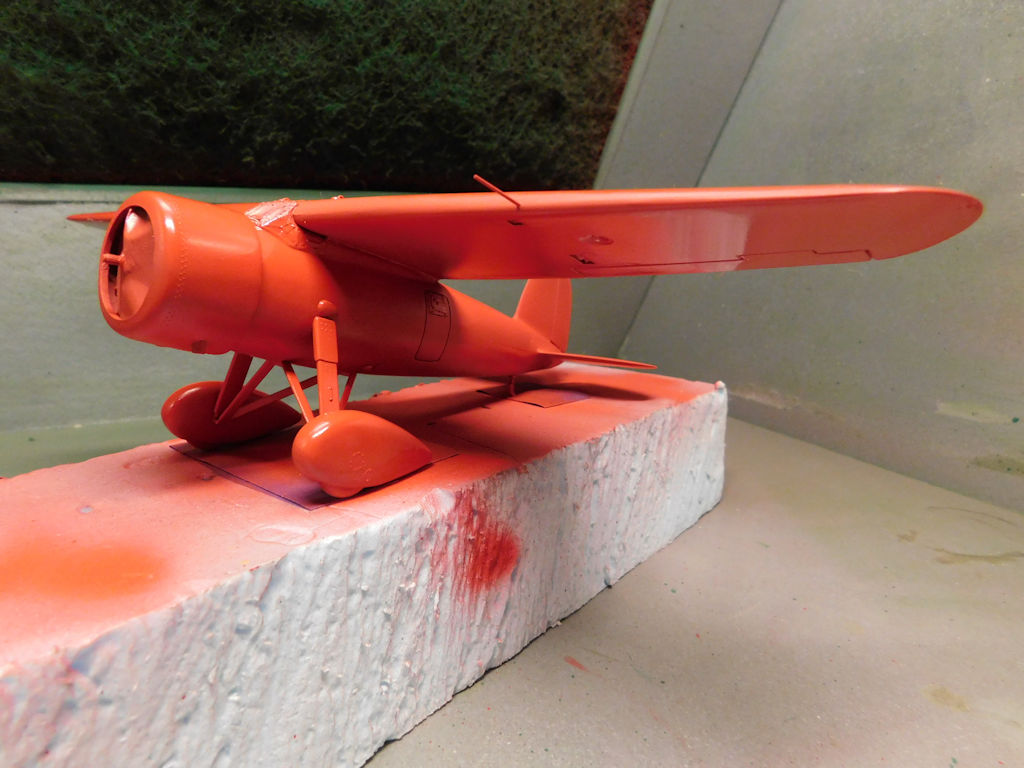
Here are a couple of shots of Earhart’s Vega in primer. Since my last post, I’ve spent a lot of time patching small flaws that showed up under the primer. I think I’ve got them all squared away now. The next step is to apply some Archer rivet decals on the cowling and then I’m ready for a coat or two of red paint. According to Millikin’s article, Earhart’s Vega is painted with a color called Bright Fokker Red. He suggested Testor’s 103 Red (the stuff in little square bottles) as a good match.
Doin a little Hi-Jacking momentarily . I had a VEGA too ! Mine would’ve flown I believe . I bought mine in Canada ! It had the Iron Duke four . Easy to heat up . I did . No wings though . Close !
Now as to the plane . I did mine , WIP ,as a Polar Exploration and supply plane with custom markings . I kept all the windows too ! Still a neat plane ! I am not one to worry to much about what is in the cowl . You can,t see most of it anyway !
As long as it looks right that’s fine with me . I wanted the Plane , Just sitting there , to draw the attention to my plane group ! And YES , I agree with DON .This should be in the Civilian Aircraft group . T.B.
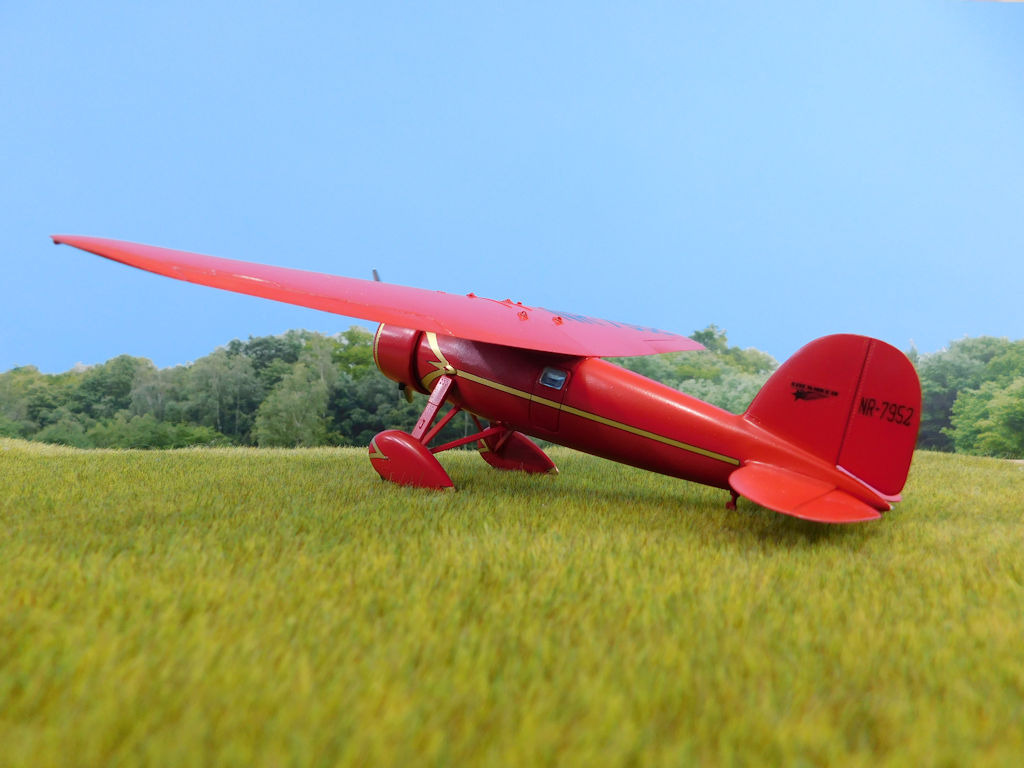
I have the red paint on the model now. It took me longer to get to this point than I planned. In the process of trying to polish out some imperfections in the first coat of red paint I managed to polish the landing gear right off the model. [:$] Since I had to build new landing gear anyway, I decided to try and incorporate the Lindberg wheels and pants. They’re made up of separate parts for the wheels and pants while the AMT wheels and pants are molded together. Next up are the decals.
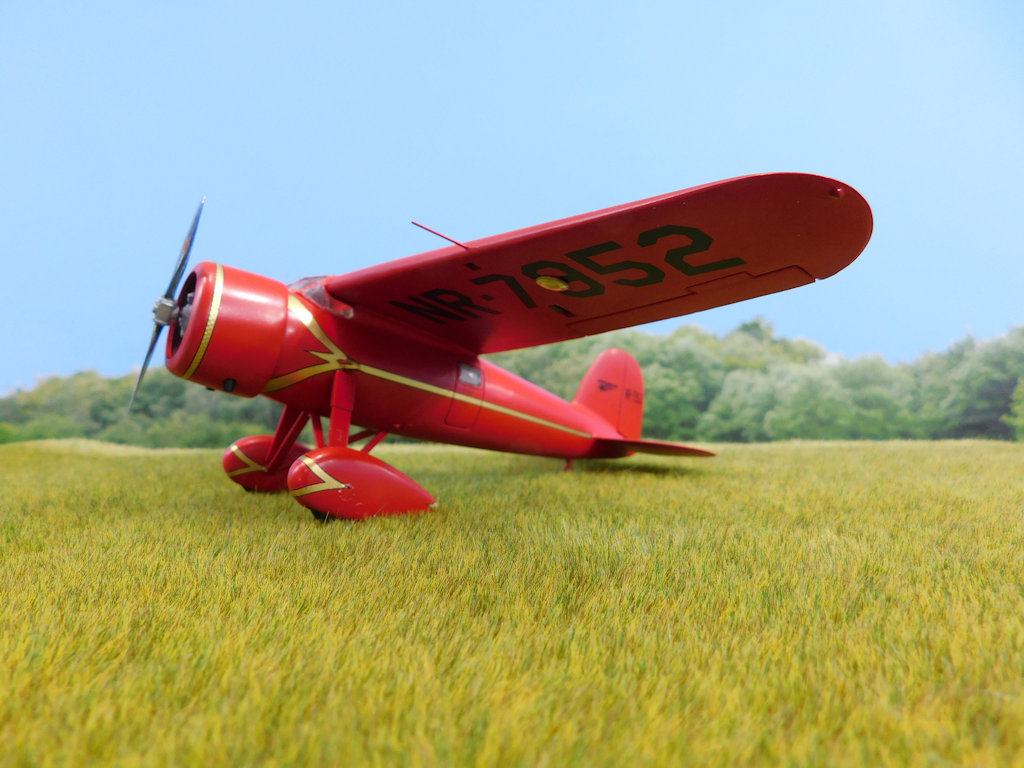
The Red Pegasus decals were a joy to work with; I just wish that I had a better model to put them on. For instance, the fairings at the top of the main landing gear struts are way too big, a fact that I overlooked until I was trying to put decals over them.
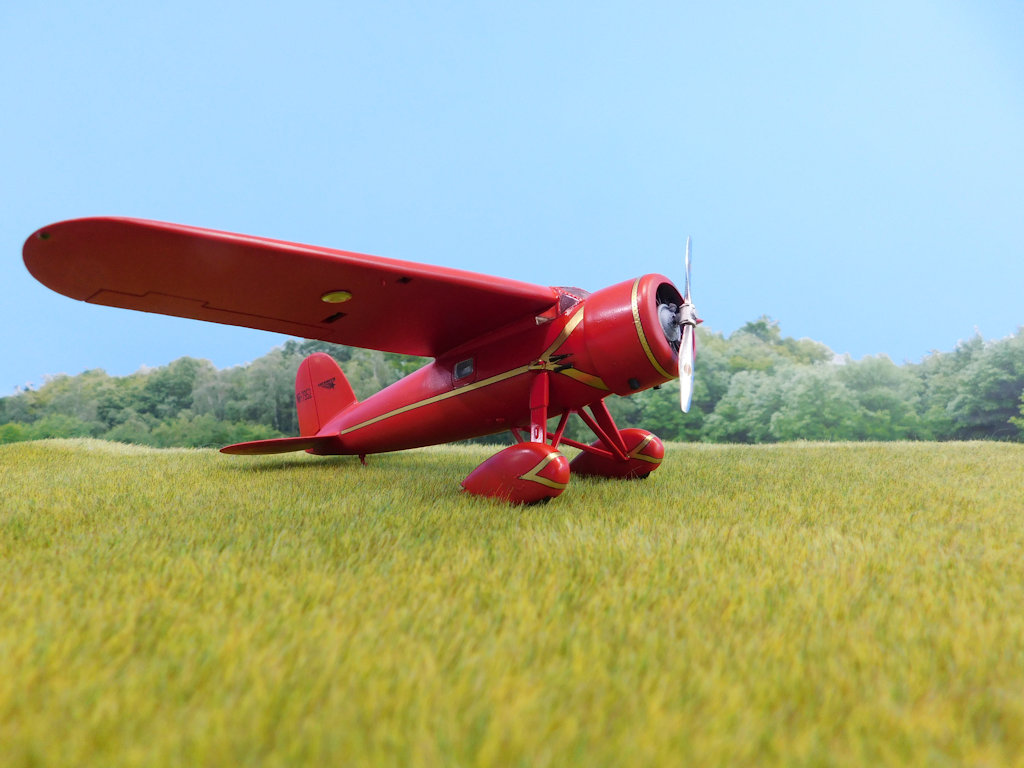
One of the venturis is from the Lindberg kit; the other from a Quickboost set intended for another kit. I matched the MV Products lenses that I used for the landing lights to the one molded on the Lindberg kit. After adding the decals and seeing the parts in comparsion, they’re a bit too big.
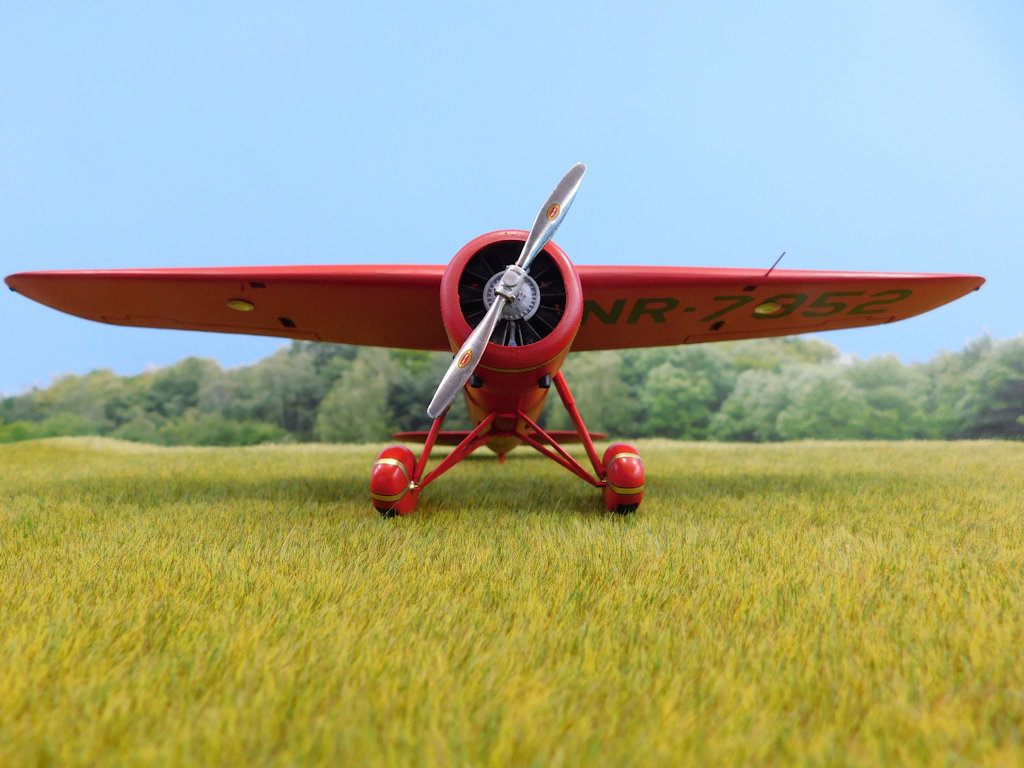
The prop is from a Monogram AT-6 and looks a lot more like the prototype than the prop included in either the AMT or Lindberg kits.
At this point, I’m going to call this build complete. There are still a few things that I might add. Among those are windshield wipers. I’m exploring modifying HO scale locomotive wipers, but we’ll see. Despite the flaws, I think the model came out pretty well. It sure stands out amongst the Mustangs in my collection.