long time not write something in this section.
Finally bought another two helicopter , the unknow wasp from airfix and this famous russian helicopter…
… i confess , before to see the amodel catalog never see it in other places [:S]
but was love at first sight [:$]
it remind me my daddy old fiat 500 giardinetta. Even the doors is hinged on rear!
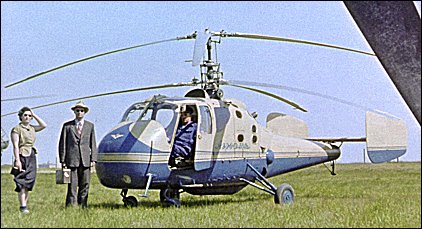
it’s a civilian copter developed from the smaller ka-15 and used as taxy service (used even by russian army but not in combat missions)
then this is the kit out of box
[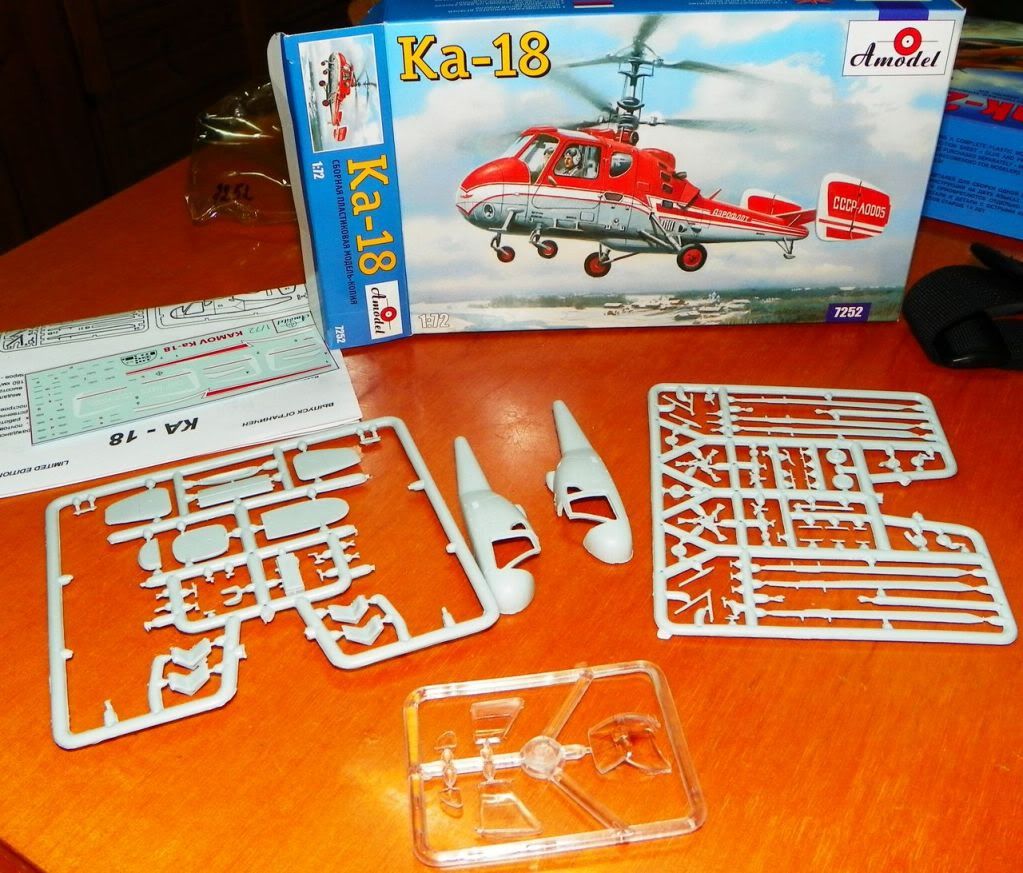](http://s405.photobucket.com/albums/pp139/bsyamato/modellismo/KA-18 72 amodel/?action=view¤t=100_2949.jpg)
i realized the real size of the kit only when i opened the box [:|]
[](http://s405.photobucket.com/albums/pp139/bsyamato/modellismo/KA-18 72 amodel/?action=view¤t=100_2950.jpg)
[](http://s405.photobucket.com/albums/pp139/bsyamato/modellismo/KA-18 72 amodel/?action=view¤t=100_2953.jpg)
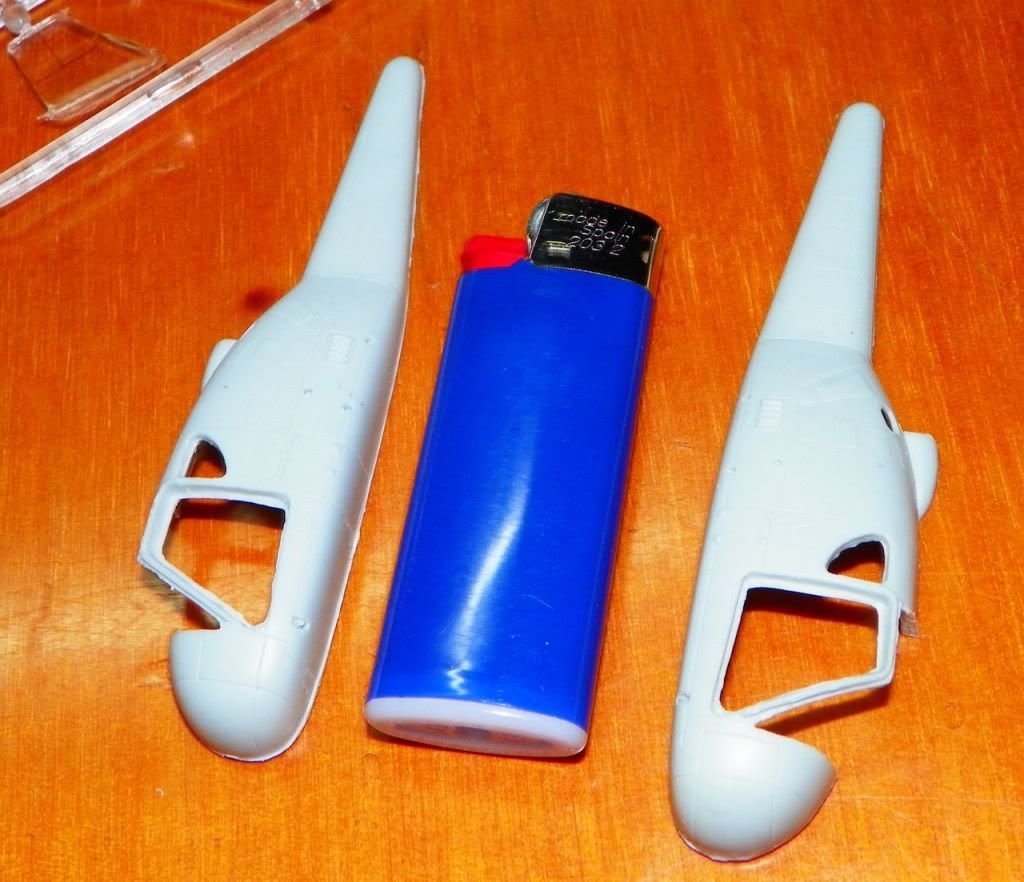
the quality of kit are greater than a short run, but less than a good mass production kit.
fitting is not so good and lots of flashes on pieces, but nothing that can fear an averaged modeller.
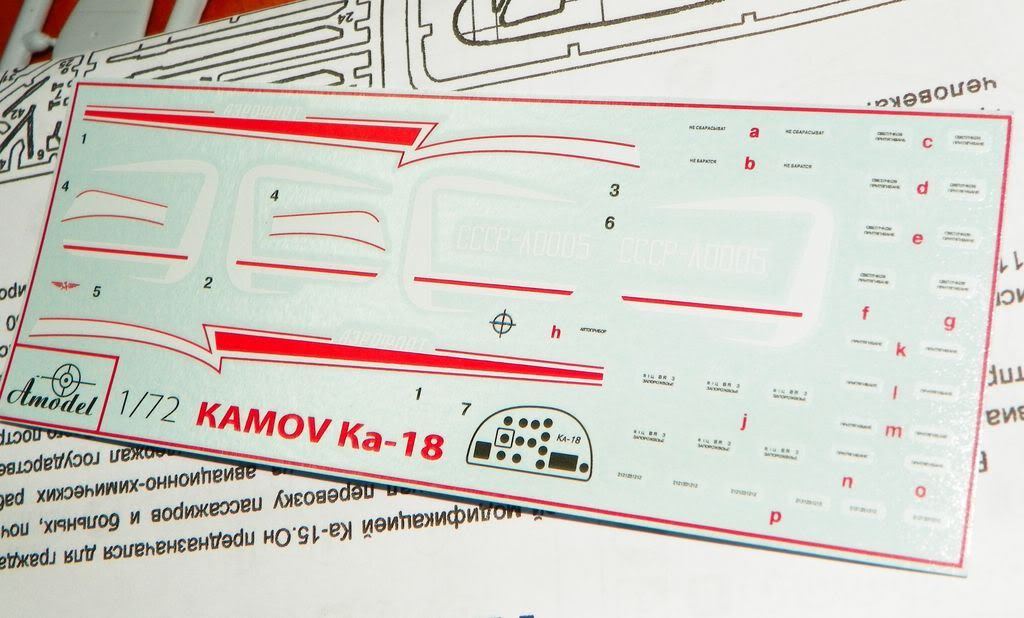
decals are good printed but a good final test will only after used it.
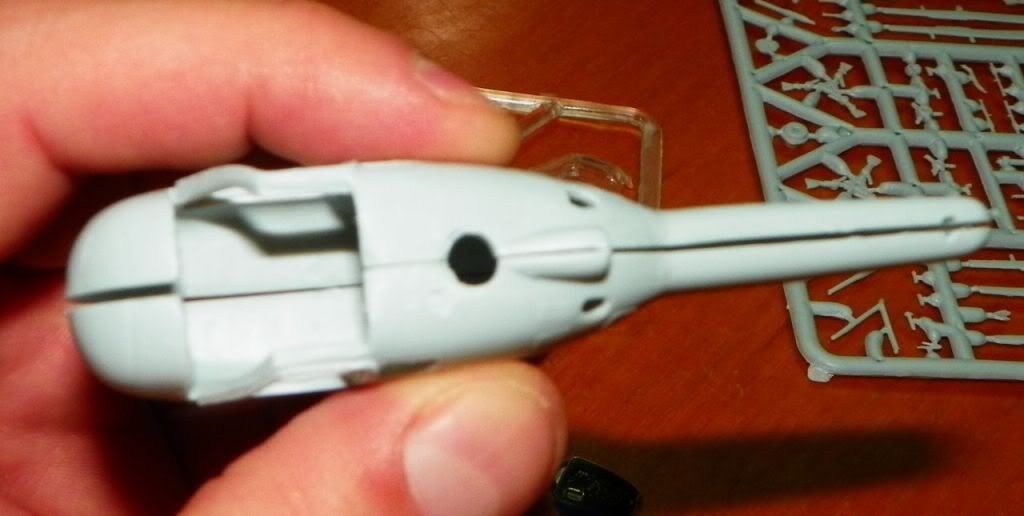
[](http://s405.photobucket.com/albums/pp139/bsyamato/modellismo/KA-18 72 amodel/?action=view¤t=100_2952.jpg)
Few references on the web but on airliners.net i found even a picture of the ip.
Actually i’m very busy with four group build but i’m too fashinated by this subject then go on with works!
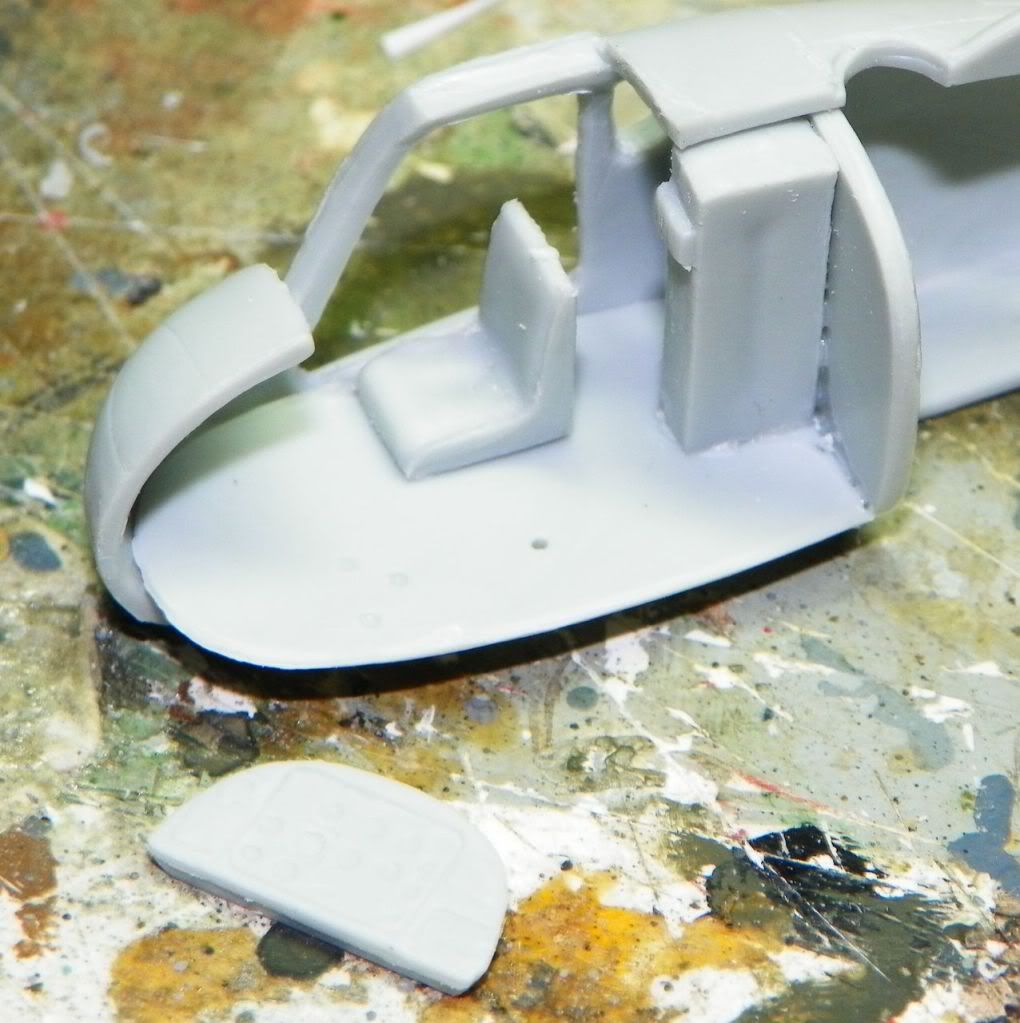
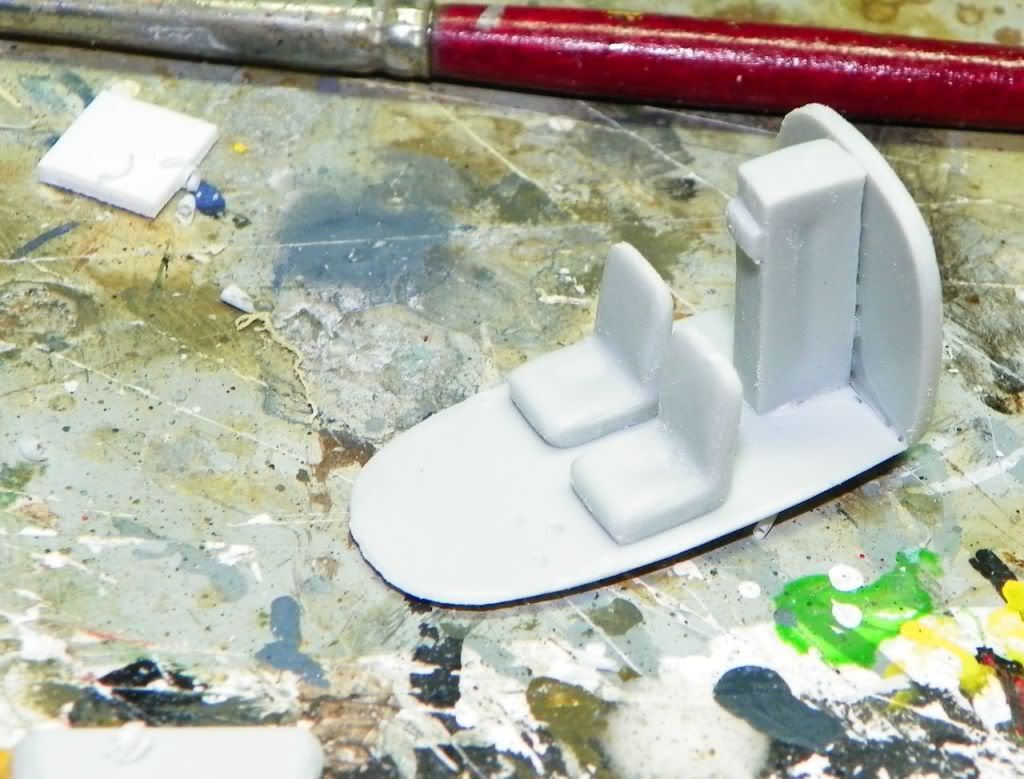
glued the cockpit floor to the rear bulkheads and the (avionics or gearbox) box in the middle,
used the two fuselages to aid the right position for the pieces.
[](http://s405.photobucket.com/albums/pp139/bsyamato/modellismo/KA-18 72 amodel/?action=view¤t=100_2962.jpg)
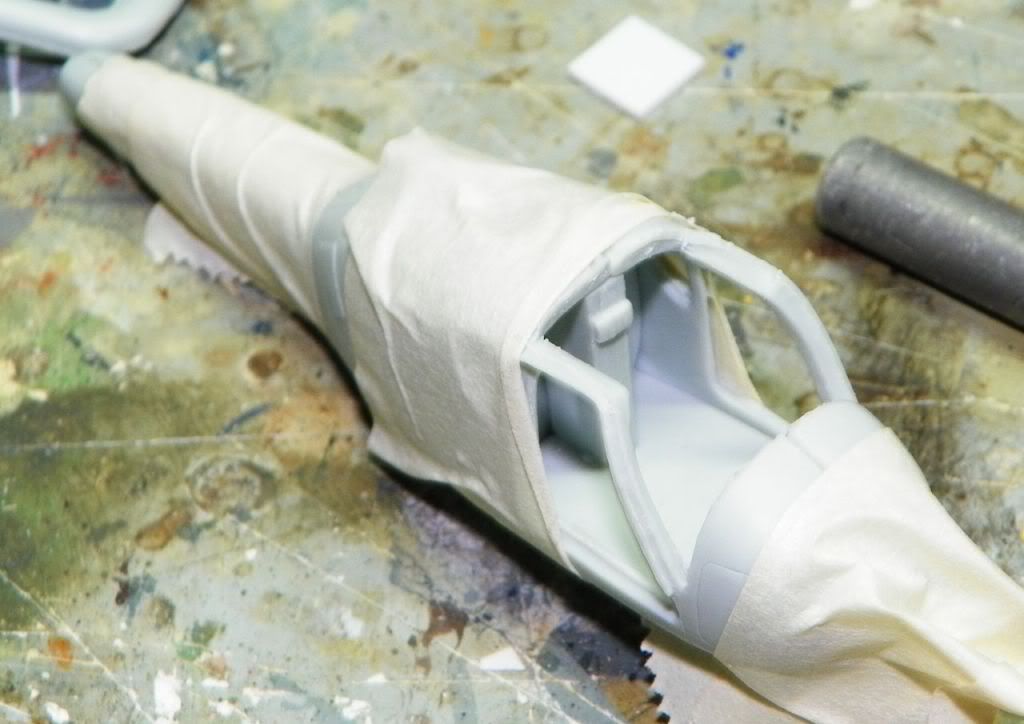
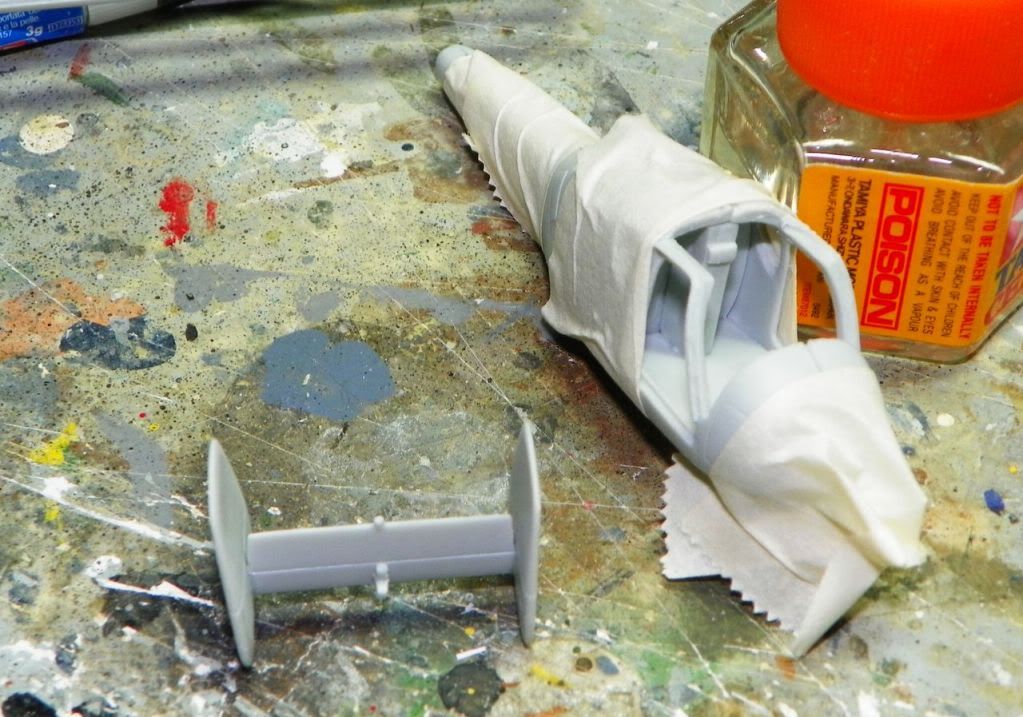
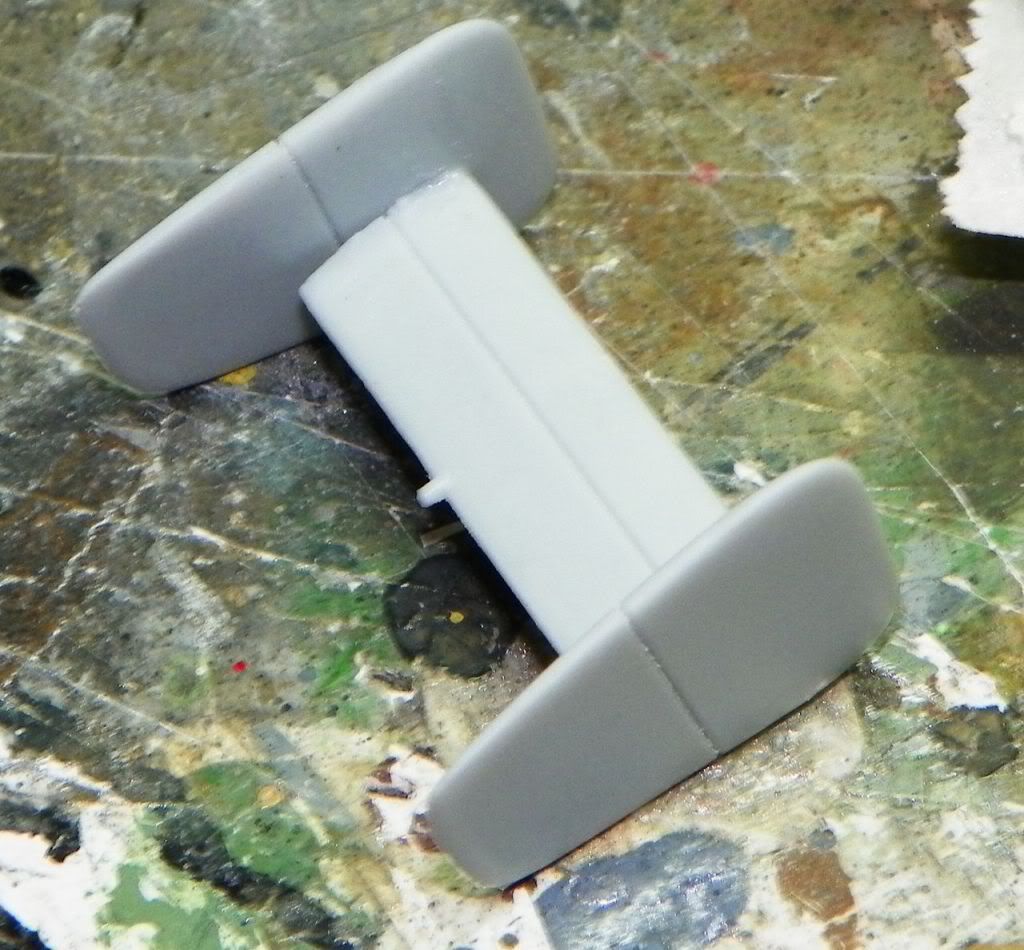
and after released the pieces from sprues and lots of flashes glued the tail pieces
[](http://s405.photobucket.com/albums/pp139/bsyamato/modellismo/KA-18 72 amodel/?action=view¤t=100_2963.jpg)
[](http://s405.photobucket.com/albums/pp139/bsyamato/modellismo/KA-18 72 amodel/?action=view¤t=100_2964.jpg)
test ftting for forward seats, the ip panel is in acceptable detail level, but not have pins for easy fixing… [:S]
seats need to be lifted few millimeters, and need to be shaped correctly
[](http://s405.photobucket.com/albums/pp139/bsyamato/modellismo/KA-18 72 amodel/?action=view¤t=100_2966.jpg)
[](http://s405.photobucket.com/albums/pp139/bsyamato/modellismo/KA-18 72 amodel/?action=view¤t=100_2968.jpg)
that’s all for now, i hope to do a speed built but some scratchbuilt is needed