Well, my attempts at rigging with 36-gauge wire were not a success, and I abandoned that idea. The wire does not “thread,” so it wasn’t possible to get a nice tension on each line. I ended up putting too much tension on one line and pulled out a turnbuckle. It looked pretty crummy, so I took all the wires off and even gave up on using brass tubes as ferrules. A lot of effort for zero results, but at least I have learned some things.
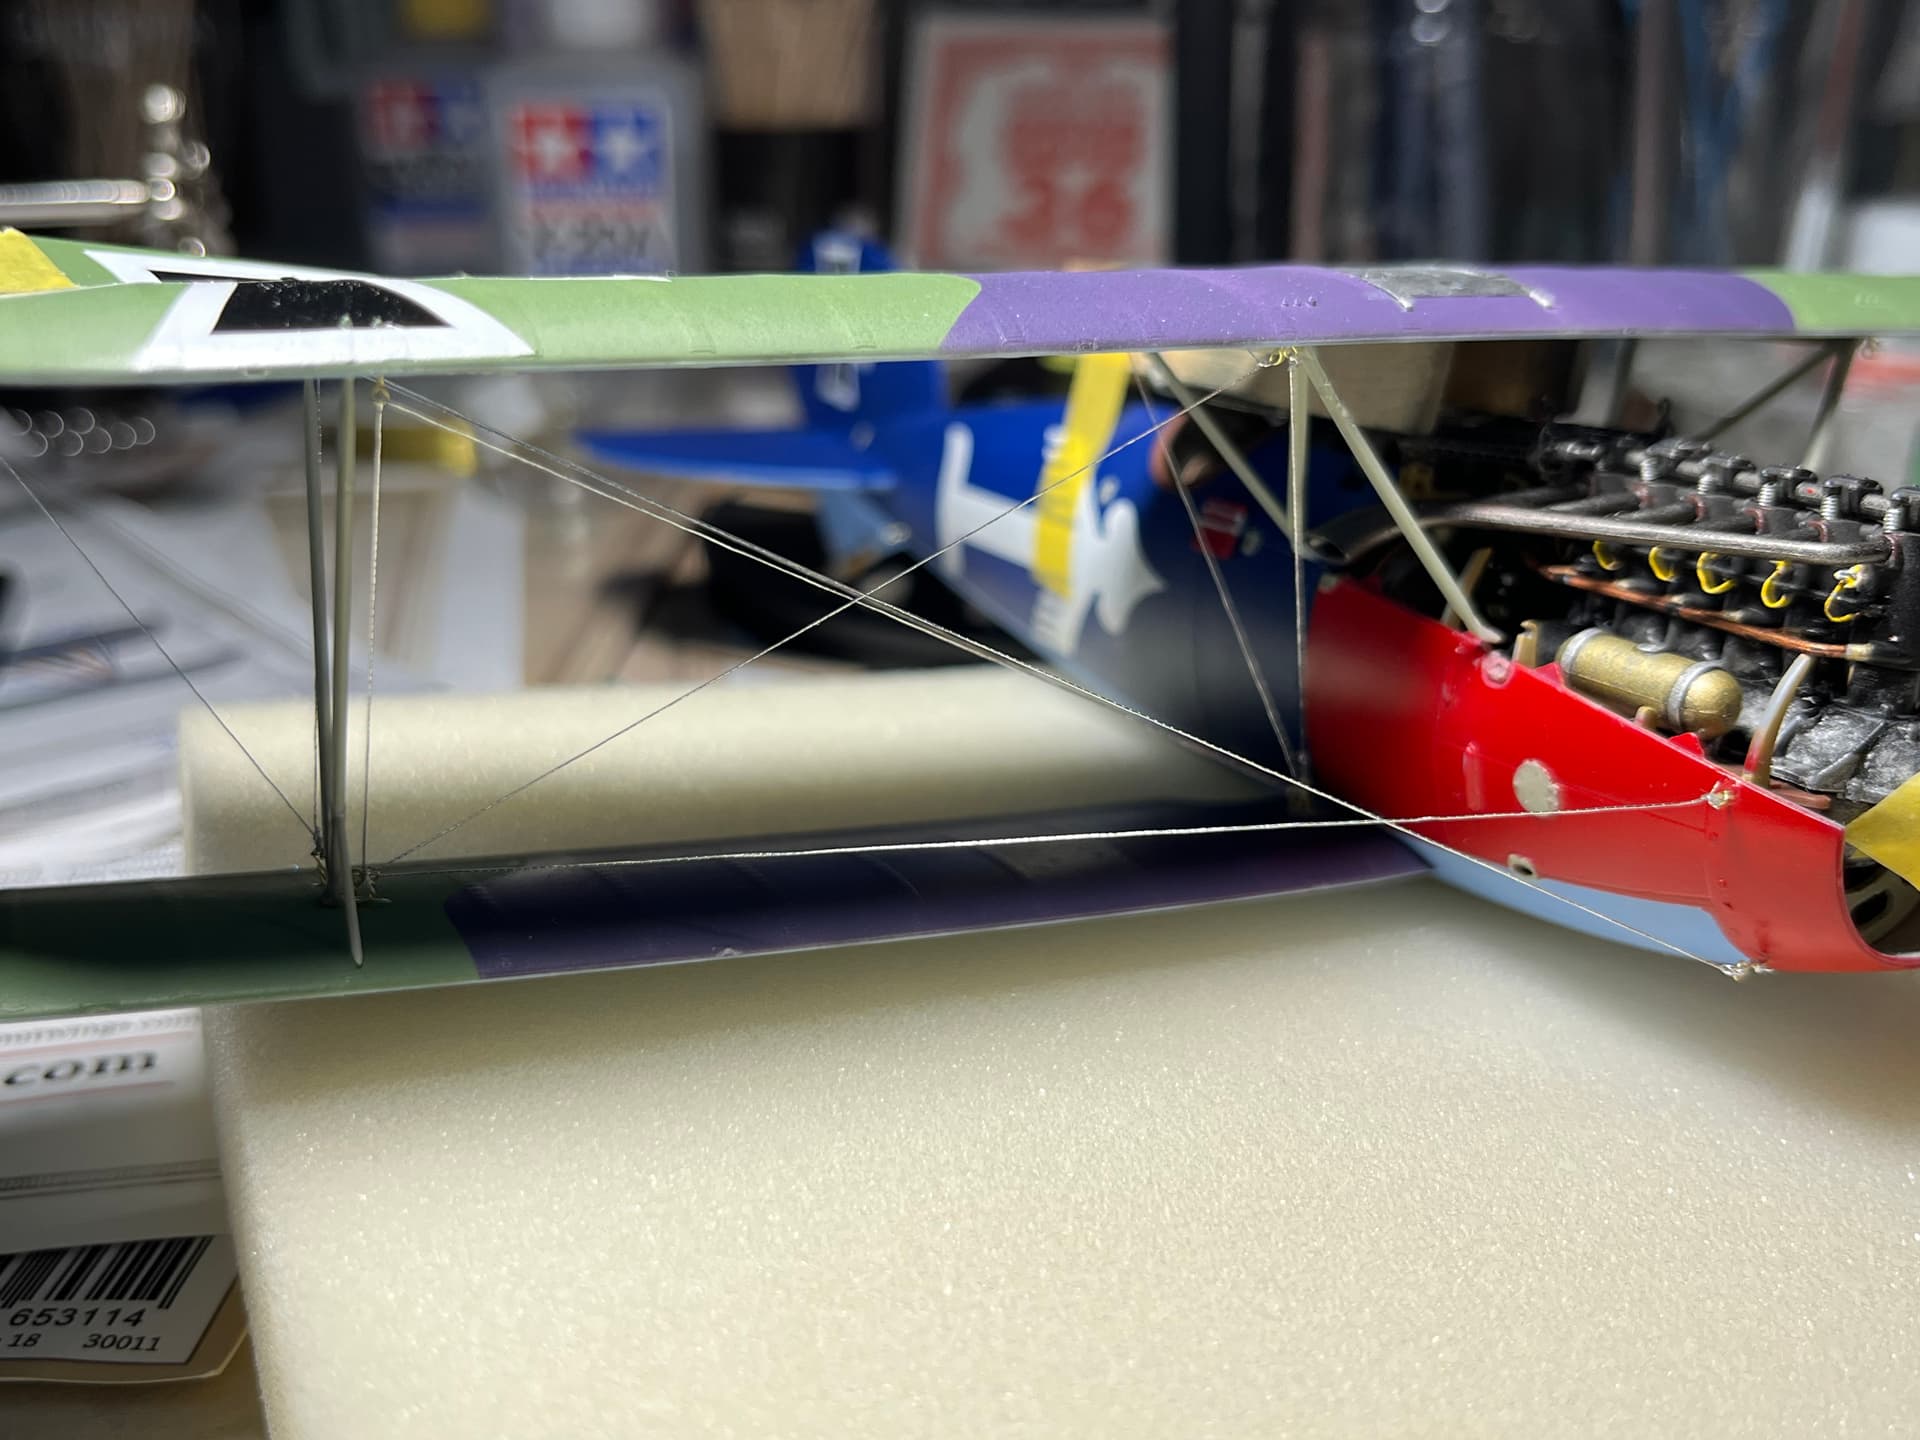
Now I am back to plan E… using silver thread and just tying it off (and tipping the knots with CA glue) on the turnbuckles, which I left in place. It looks much better. But I still have an issue with the stability of the wing mount. For now, I’ve got a clothespin as a shim. I was hoping that it would keep the wing in place for the glue to take hold on the struts, but the inner struts don’t hold well. I fear that when I remove the clothespin, the rigging will all go slack and the wing come down too close to the fuselage. Not sure what to do at this point. A discreet shim may have to become a part of the finished model. (Sure hope the pilot doesn’t mind flying with a clothespin.)
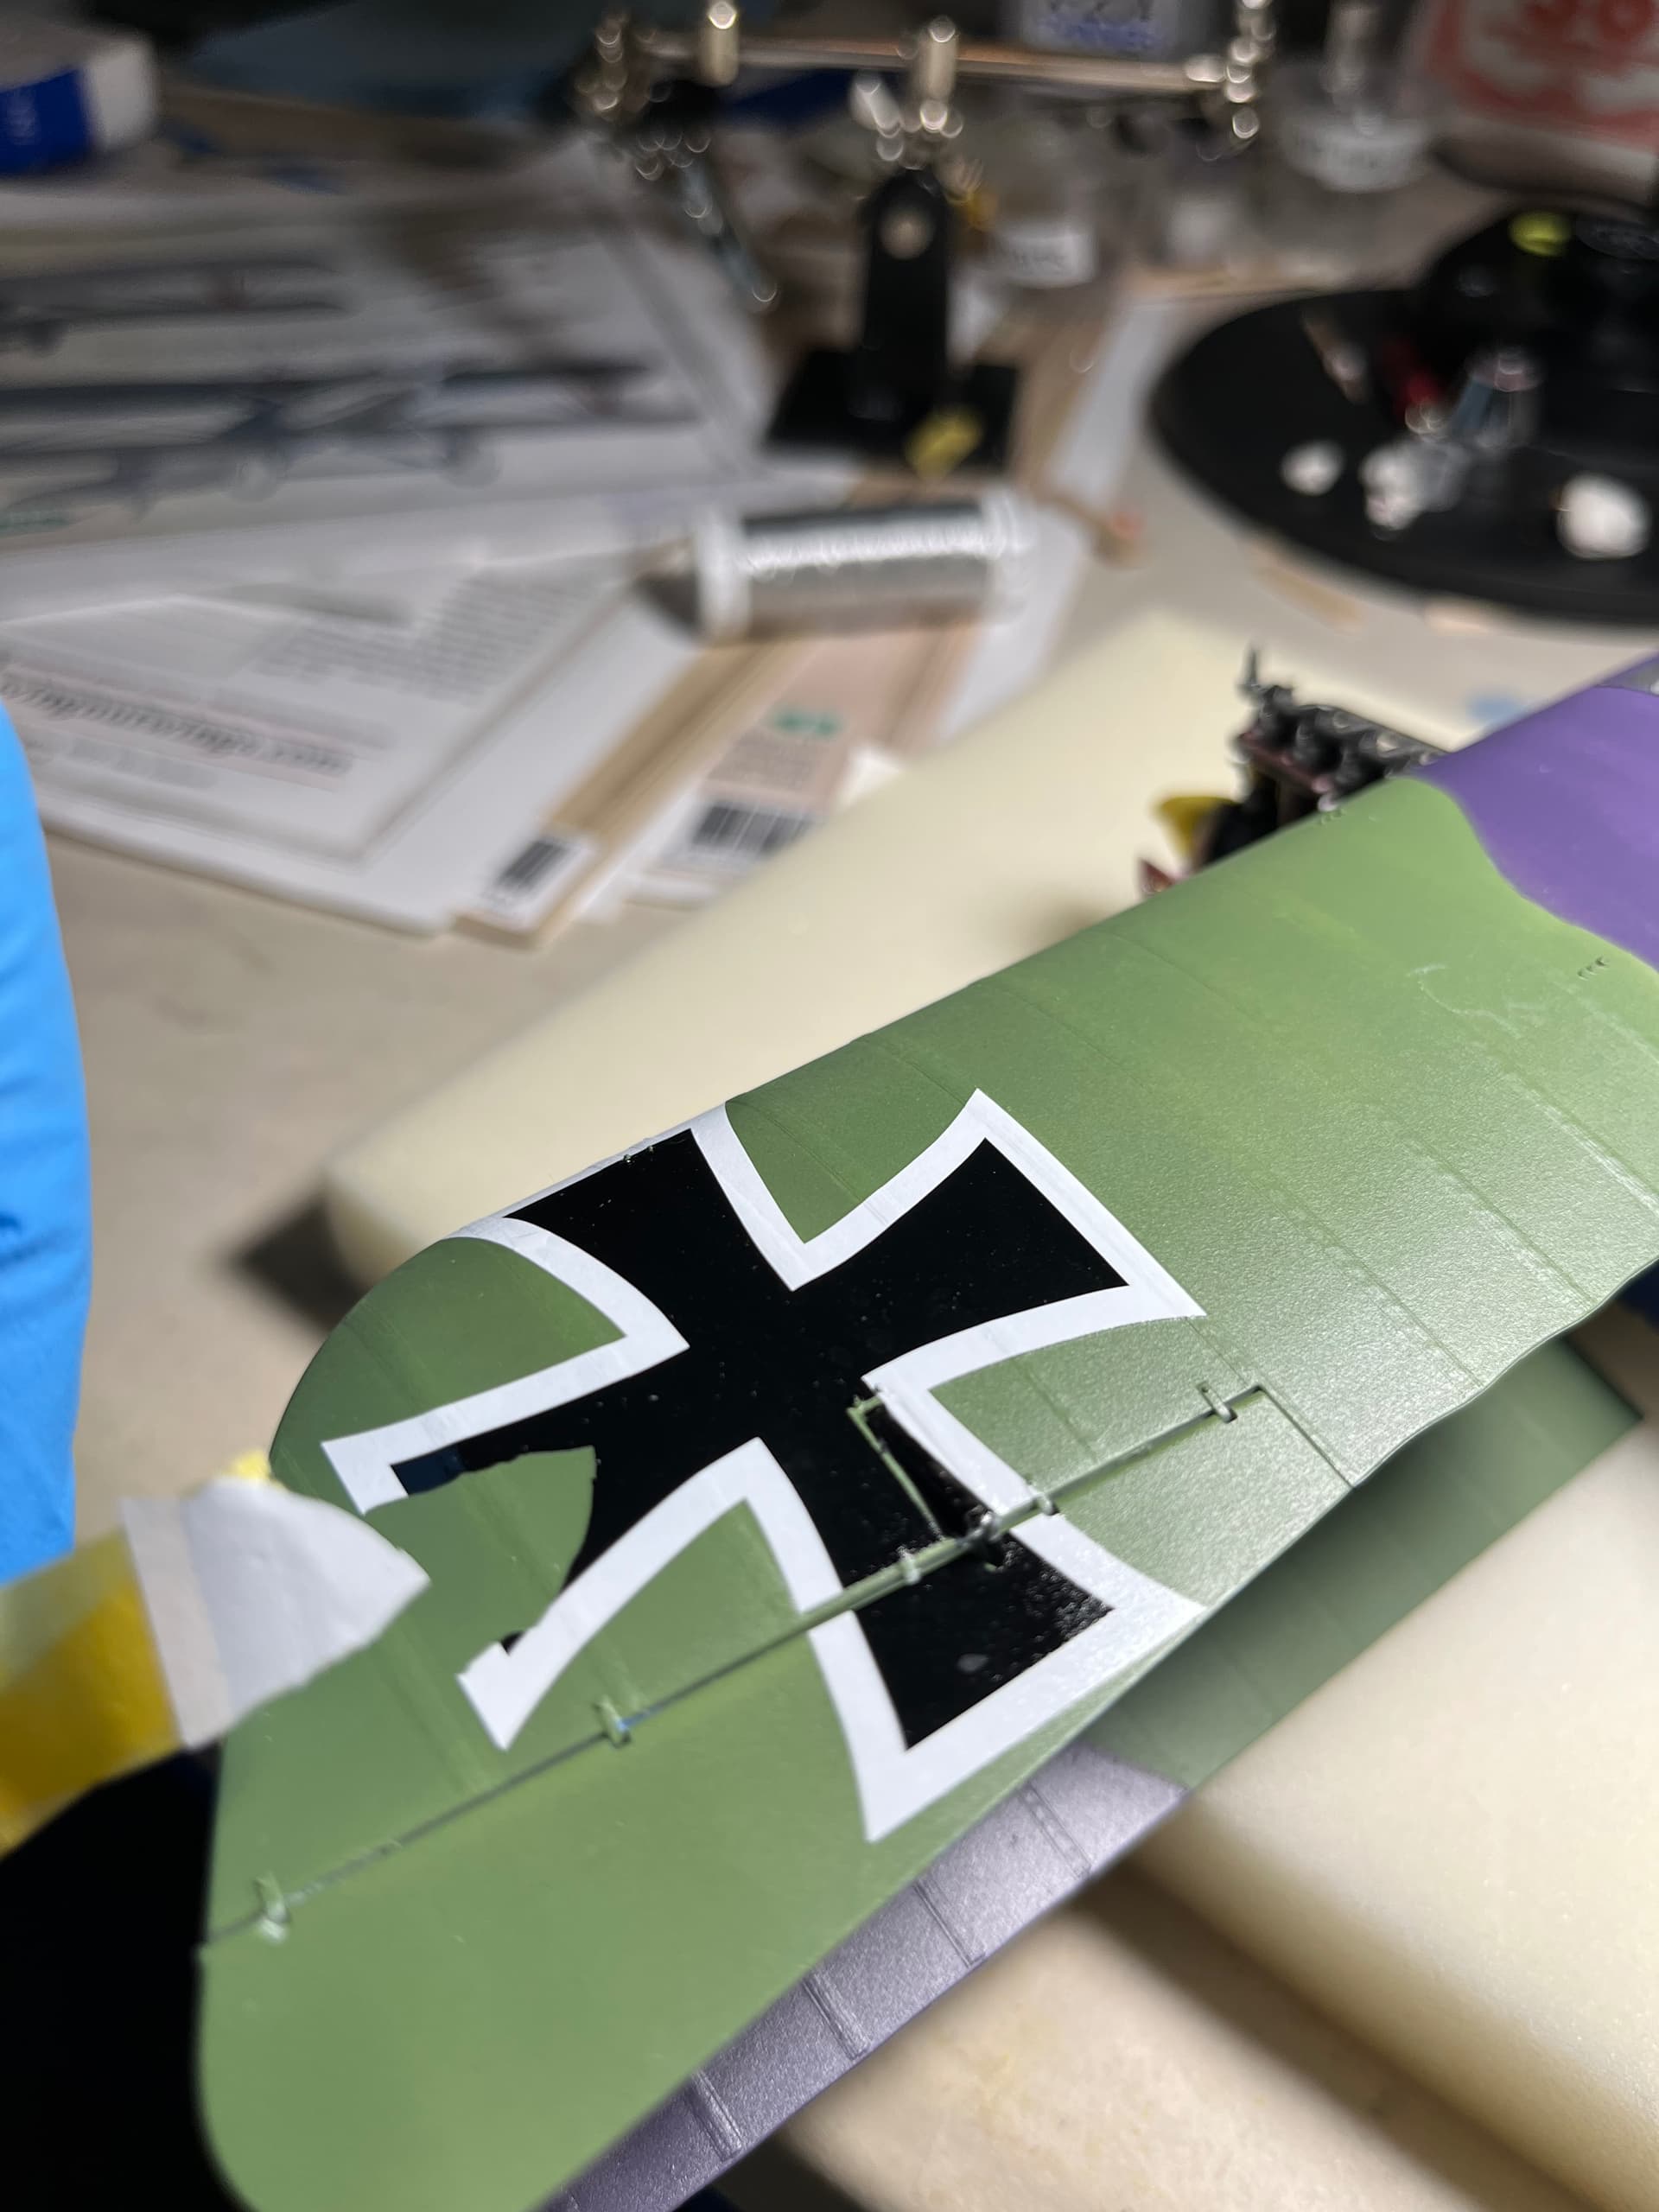
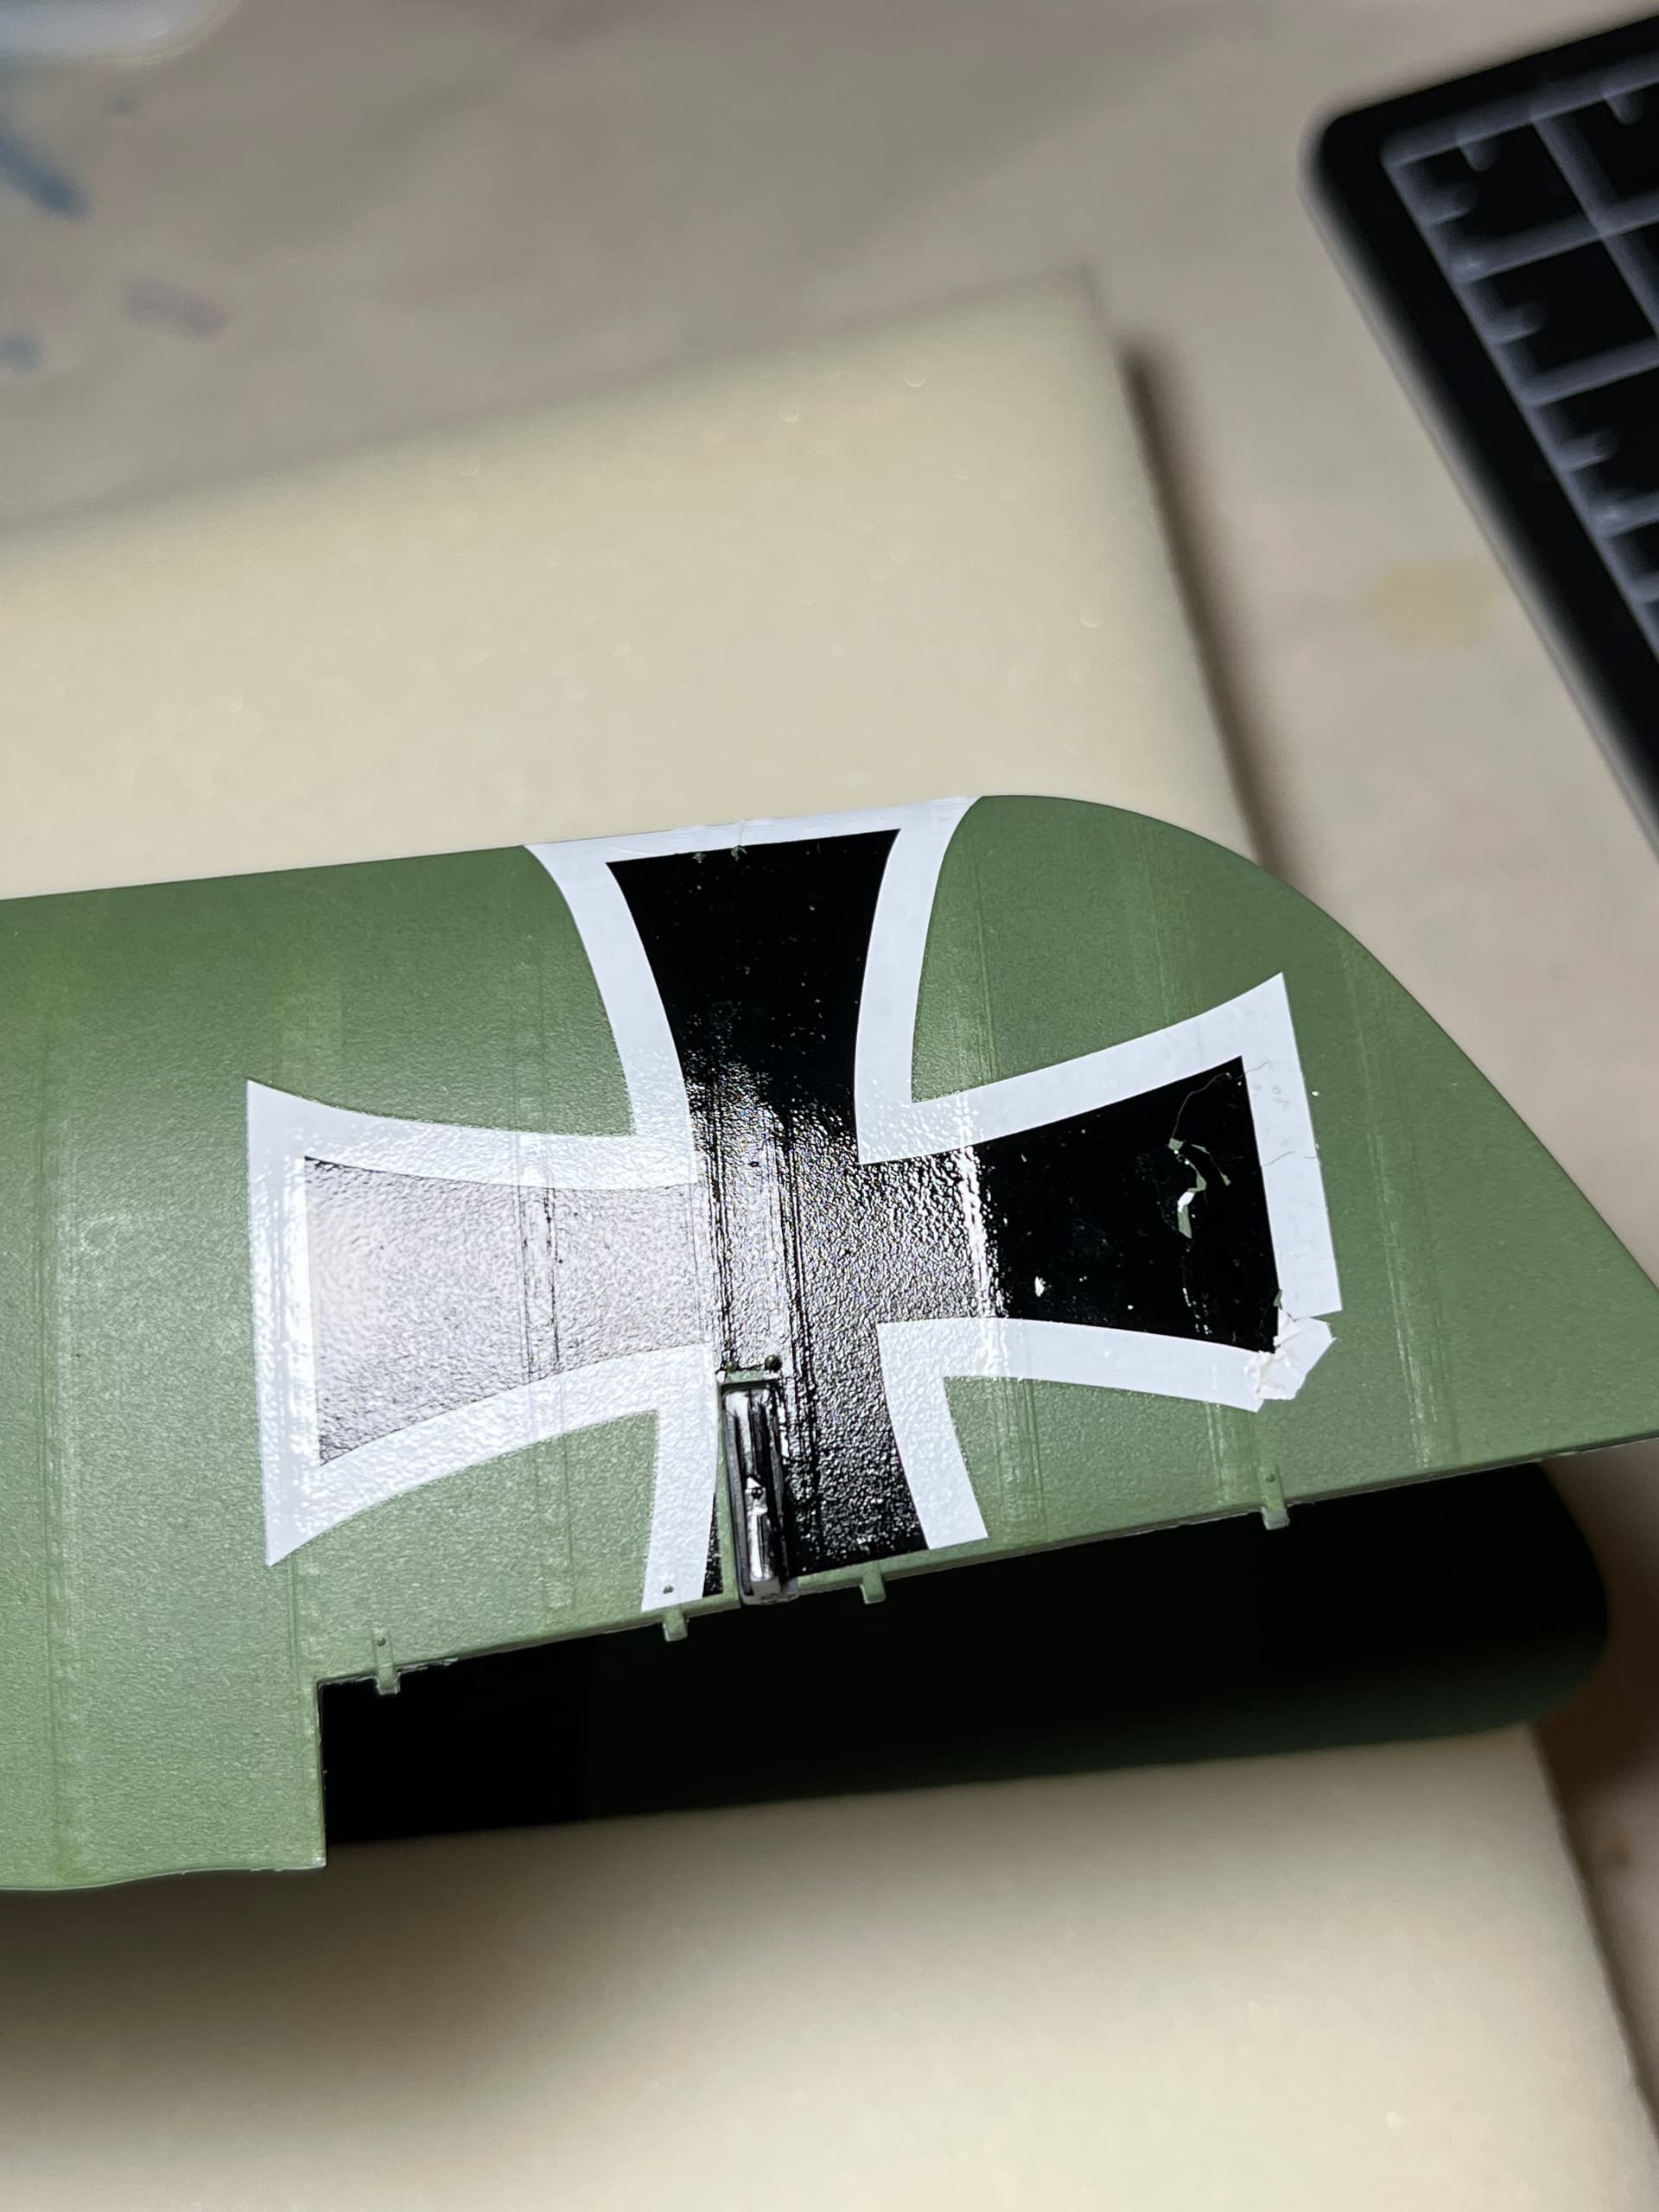
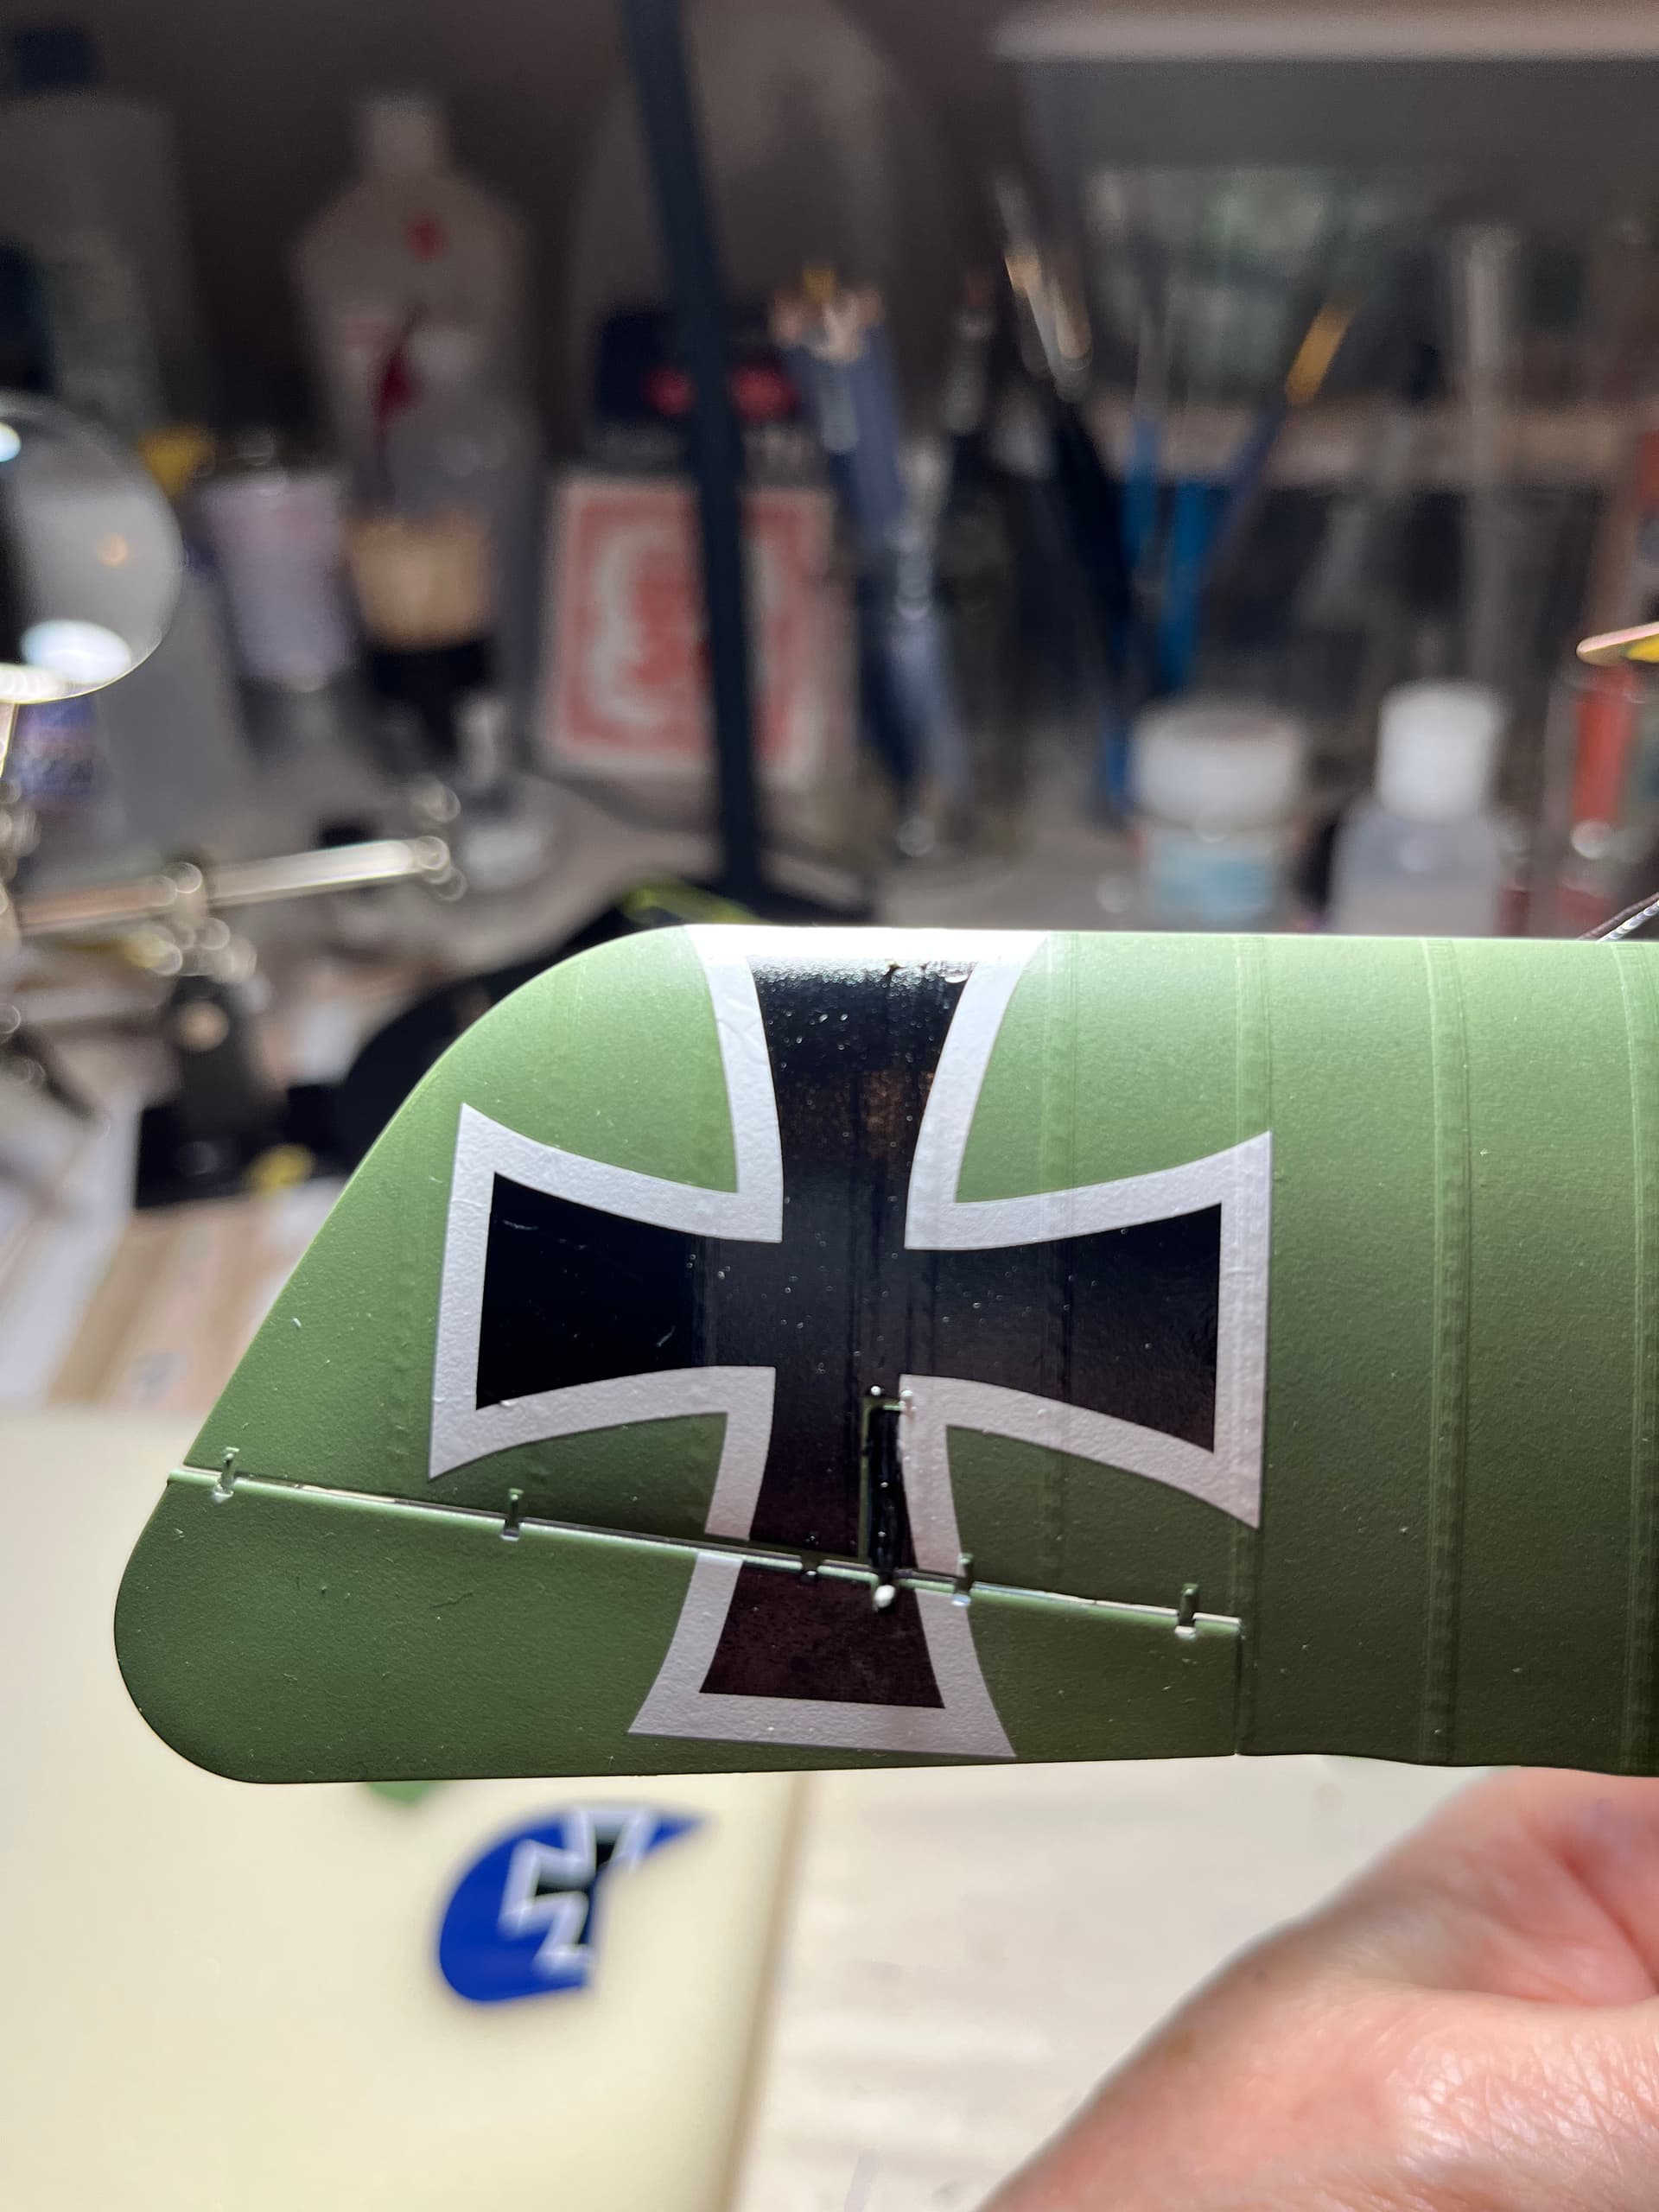
I confess. I am having some bad thoughts re: the Albatross. But there was some progress (and some setbacks) today. I finished the rigging - except one piece I forgot and will have to go back and do. I added the landing gear and am letting the glue set. A couple more pieces fell off and have to be put back on. I fashioned a little shim that should be more discreet than a clothespin. Unfortunately, it is necessary. And I suffered a rookie mistake when masking tape took up parts of two wing decals. I managed to find the pieces - had to dig through the trash for one of them - and put them back … mostly. It’s going to be “battle damage” since I had to do the best I could with one where not all the missing pieces went back.
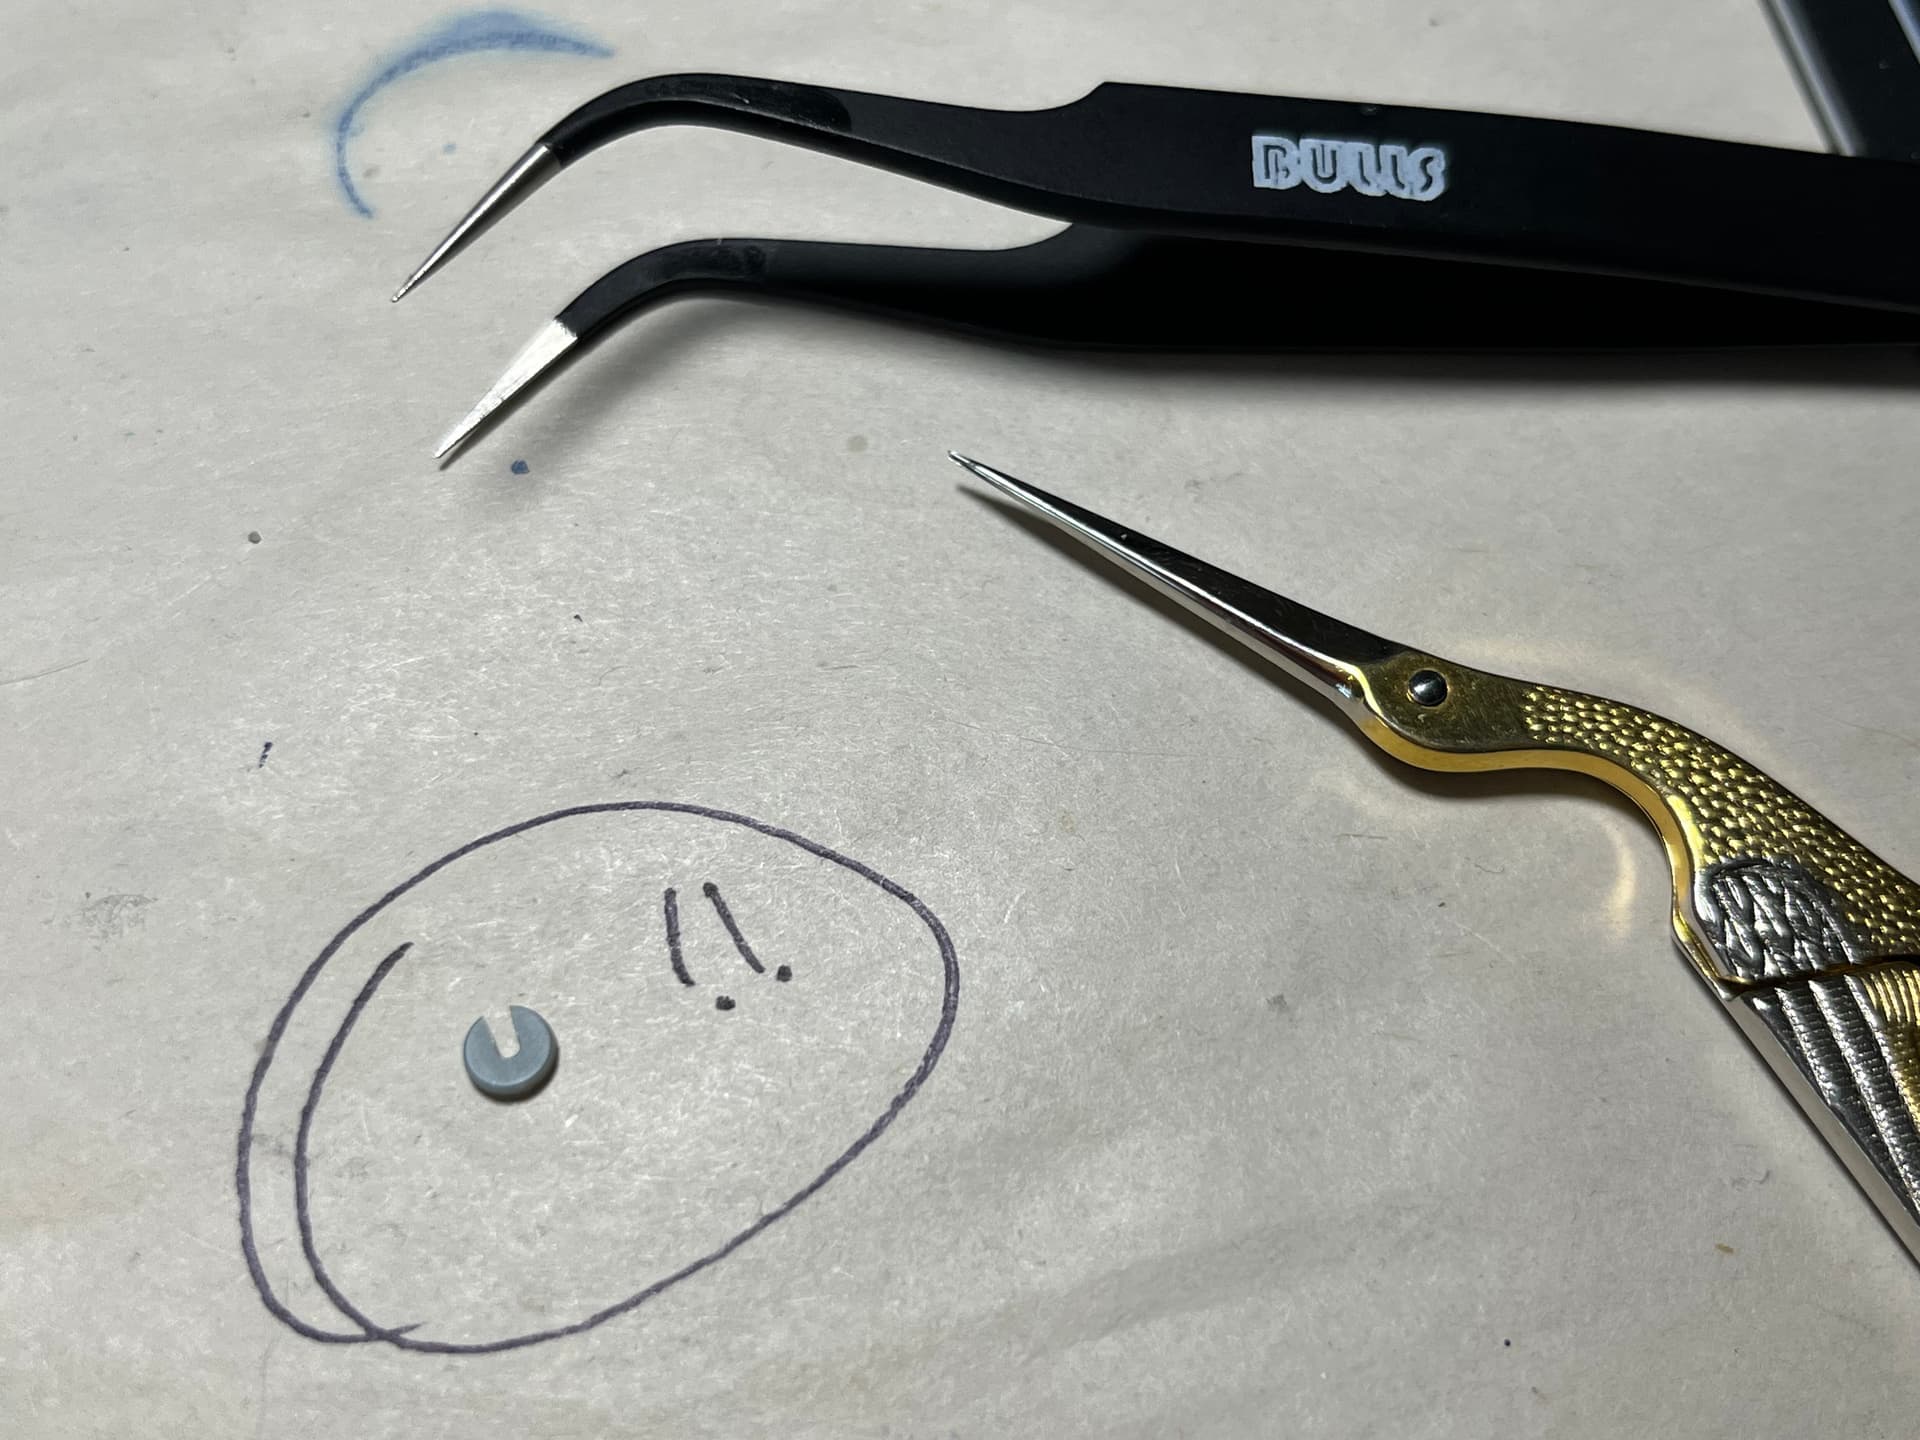
I may have said some bad words when I saw this. I was able to recover the missing piece and get it back into place. At the left of this photo, you can see the decal piece still stuck to the piece of masking tape I am holding.
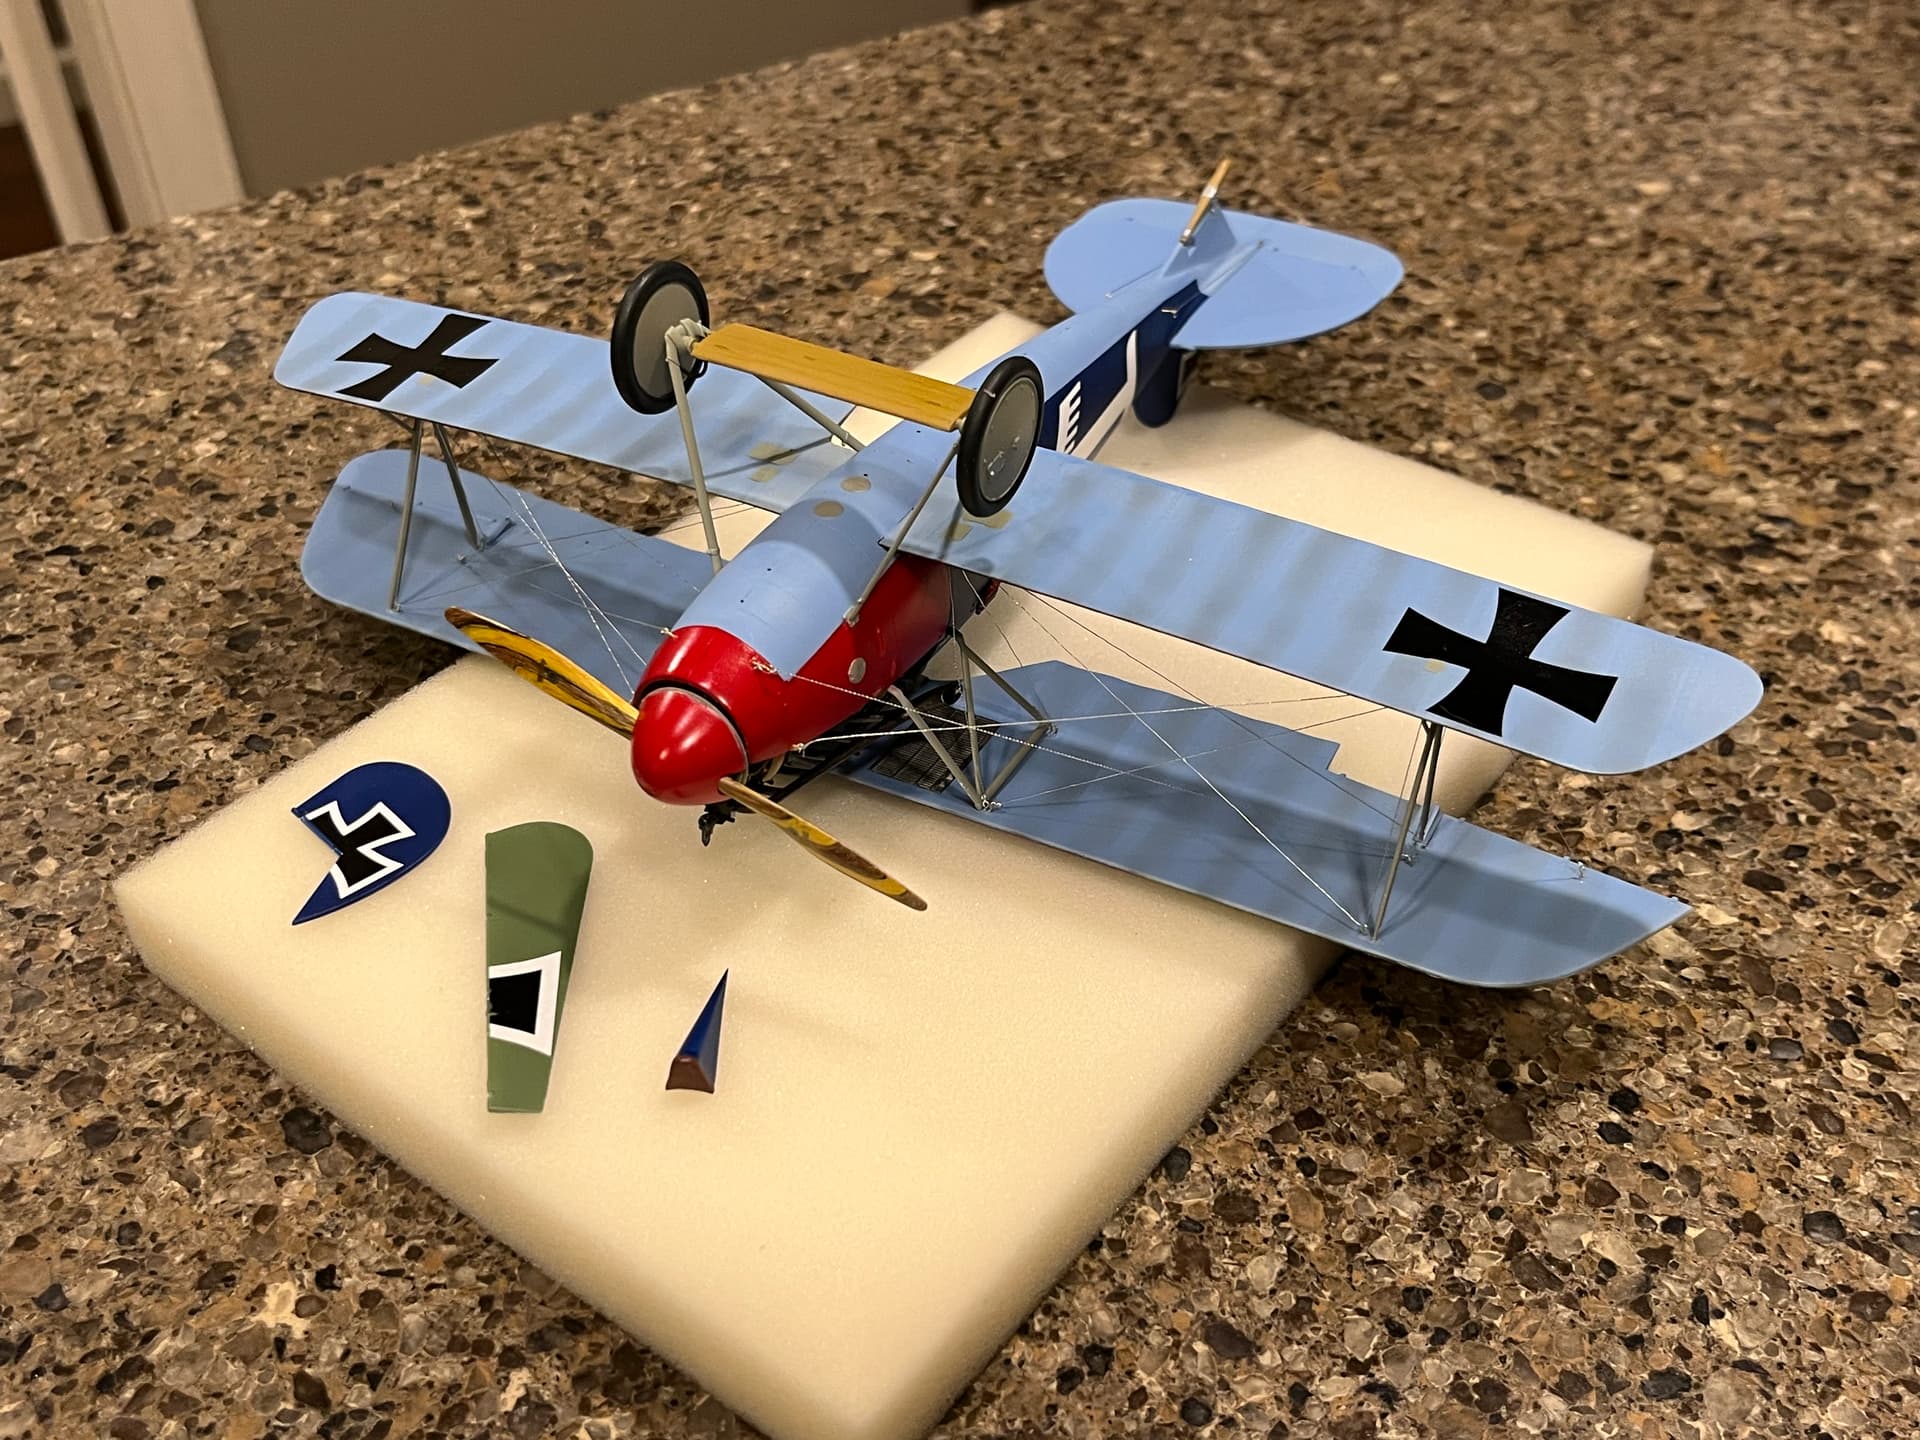
Propeller and spinner added. Landing gear added. Three pieces fell off despite my trying to be very careful with handling the model at this point. They’ll be glued back on tomorrow.
I imagine that everyone here has at one point or another run into the decal setback you did. It happens. But you seem to have recovered well from that. Your last photo is suggesting a fantastic finish, though. The colors are vibrant, the shading on the wings is superb. Can’t wait to see your final reveal.
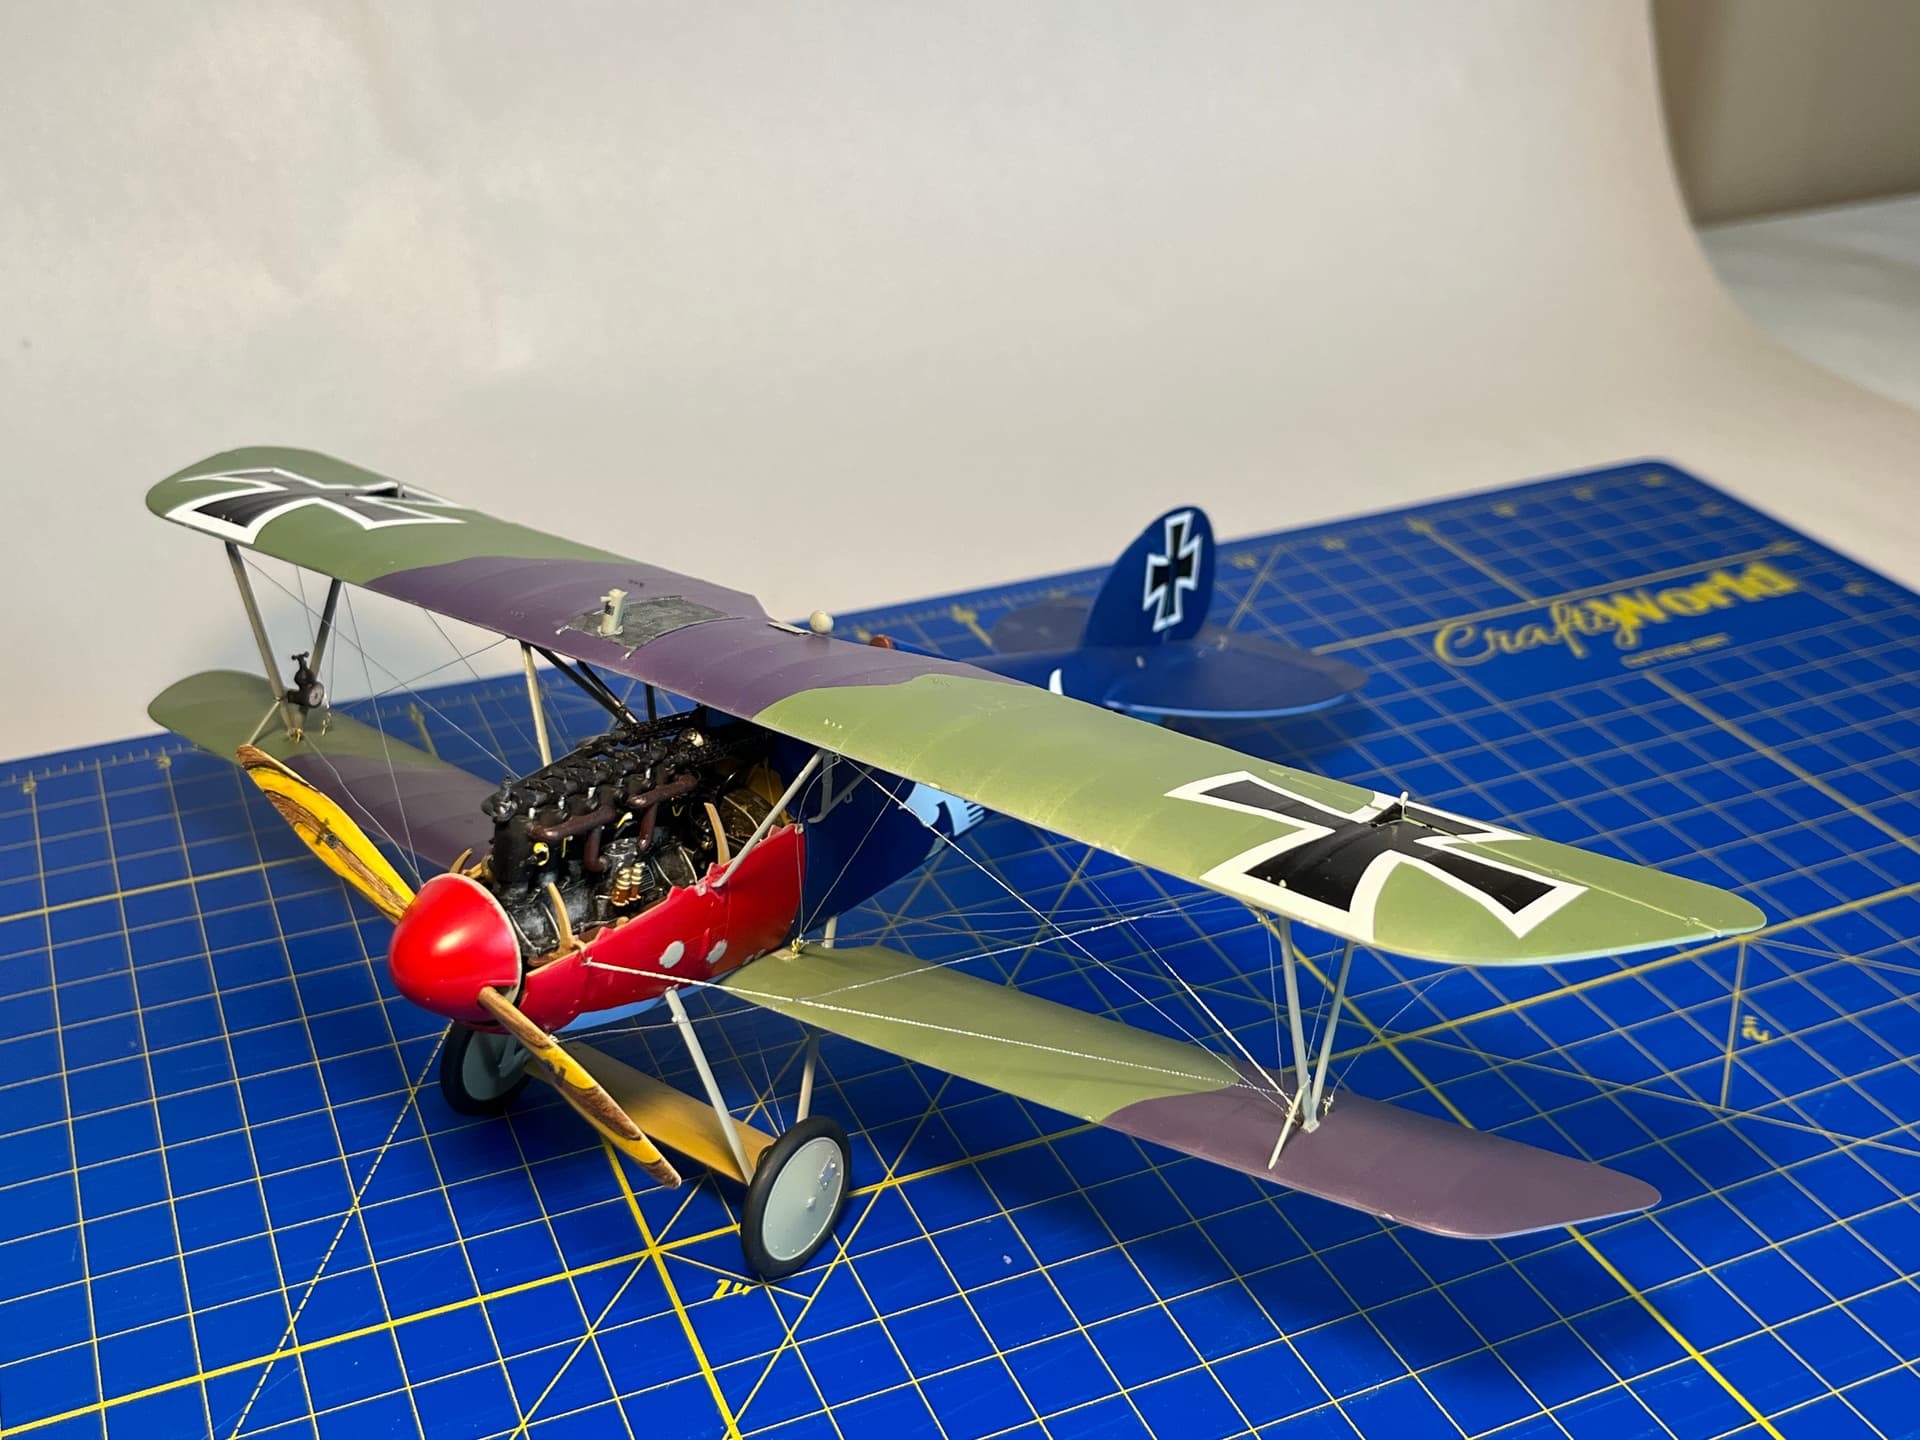
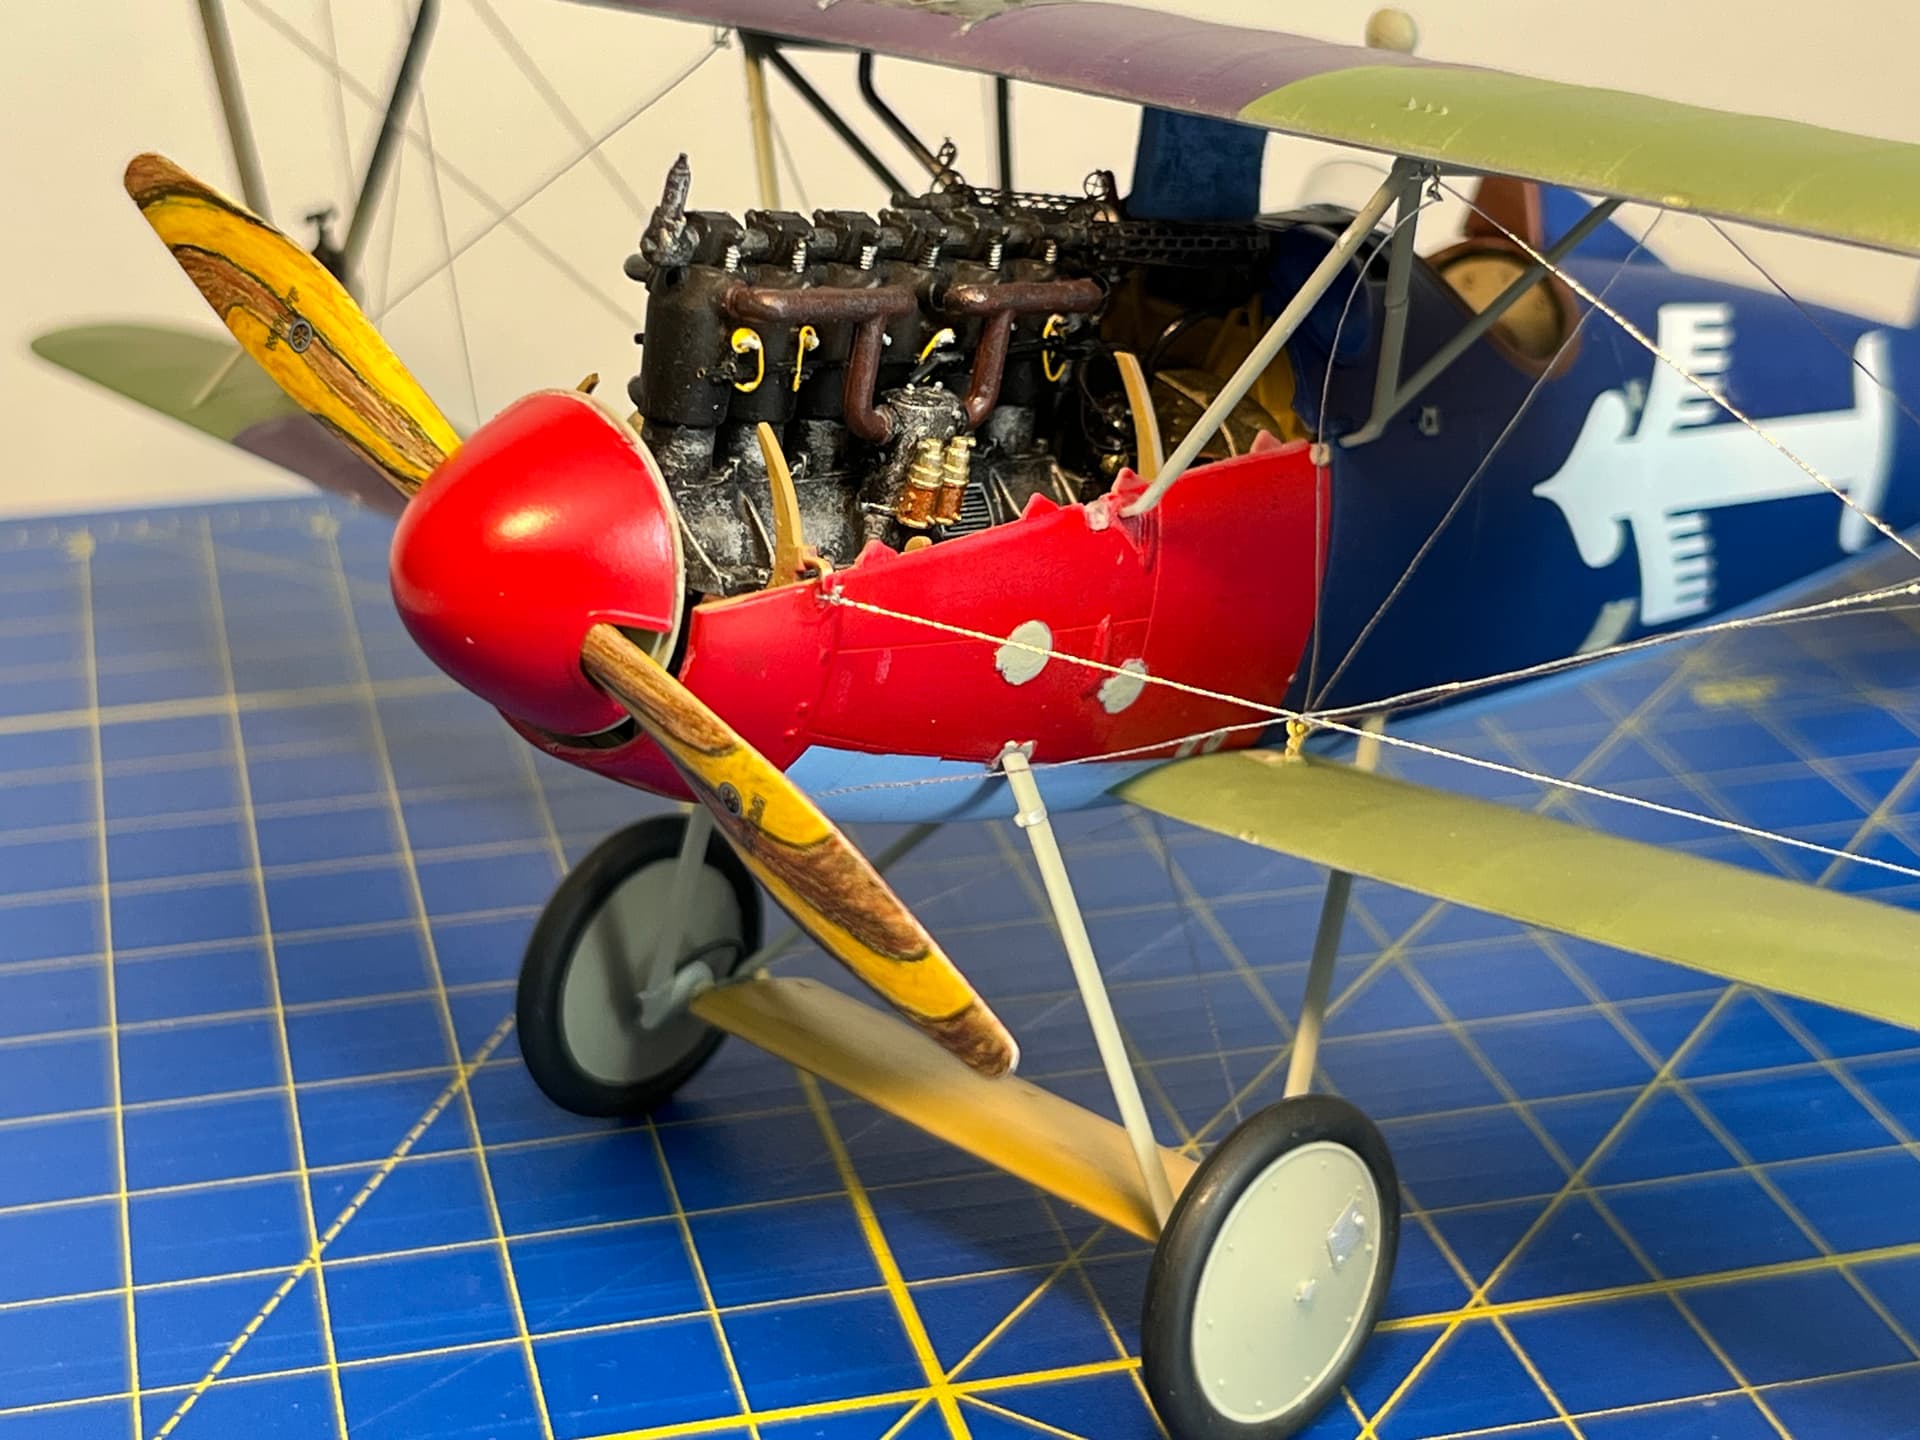
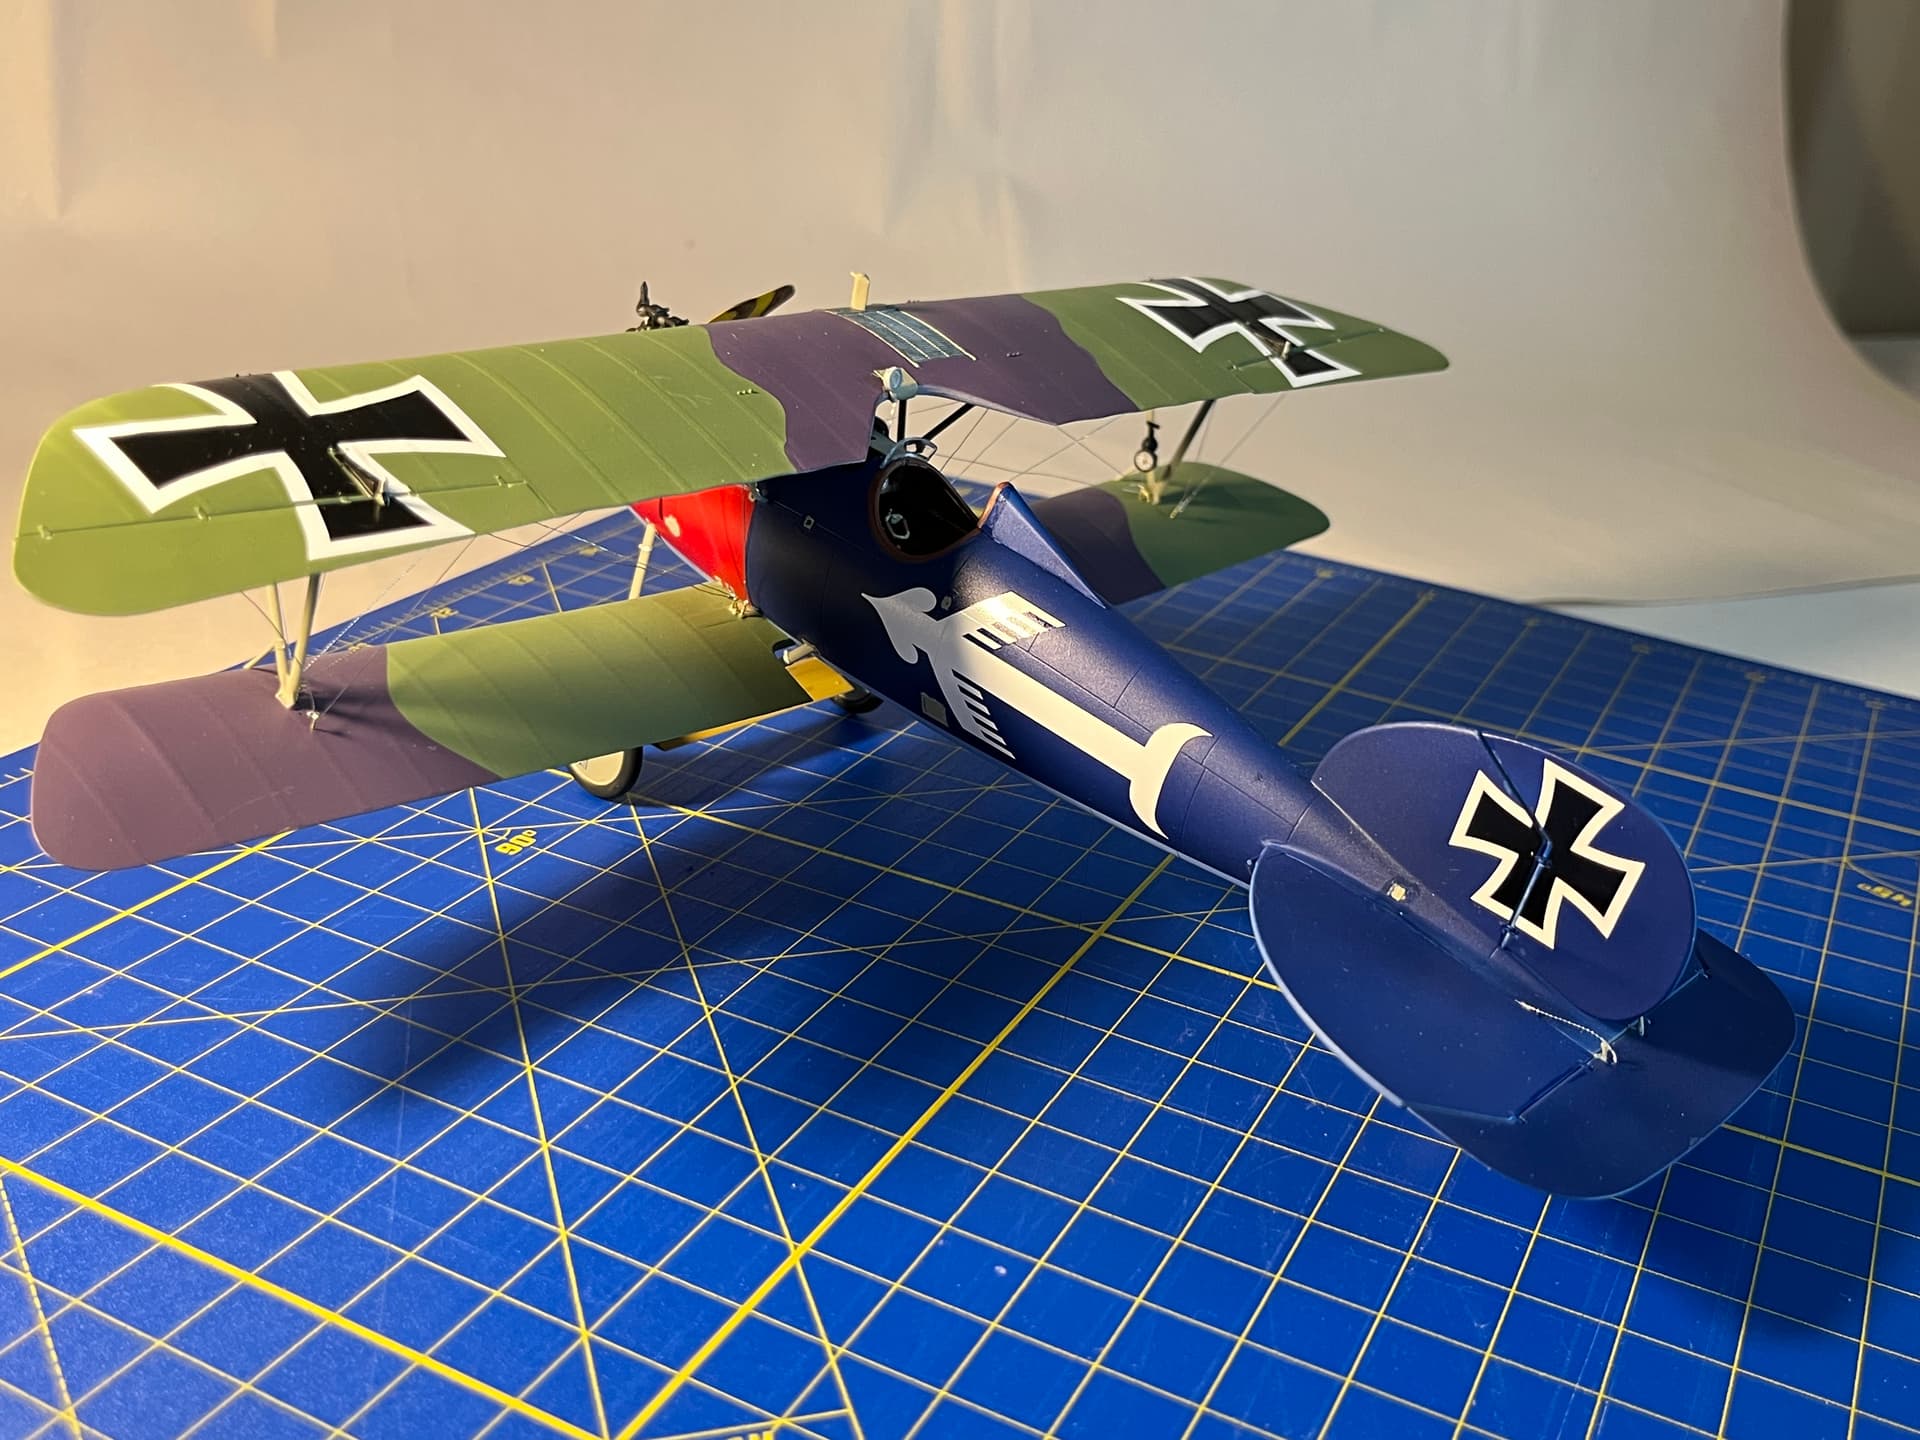
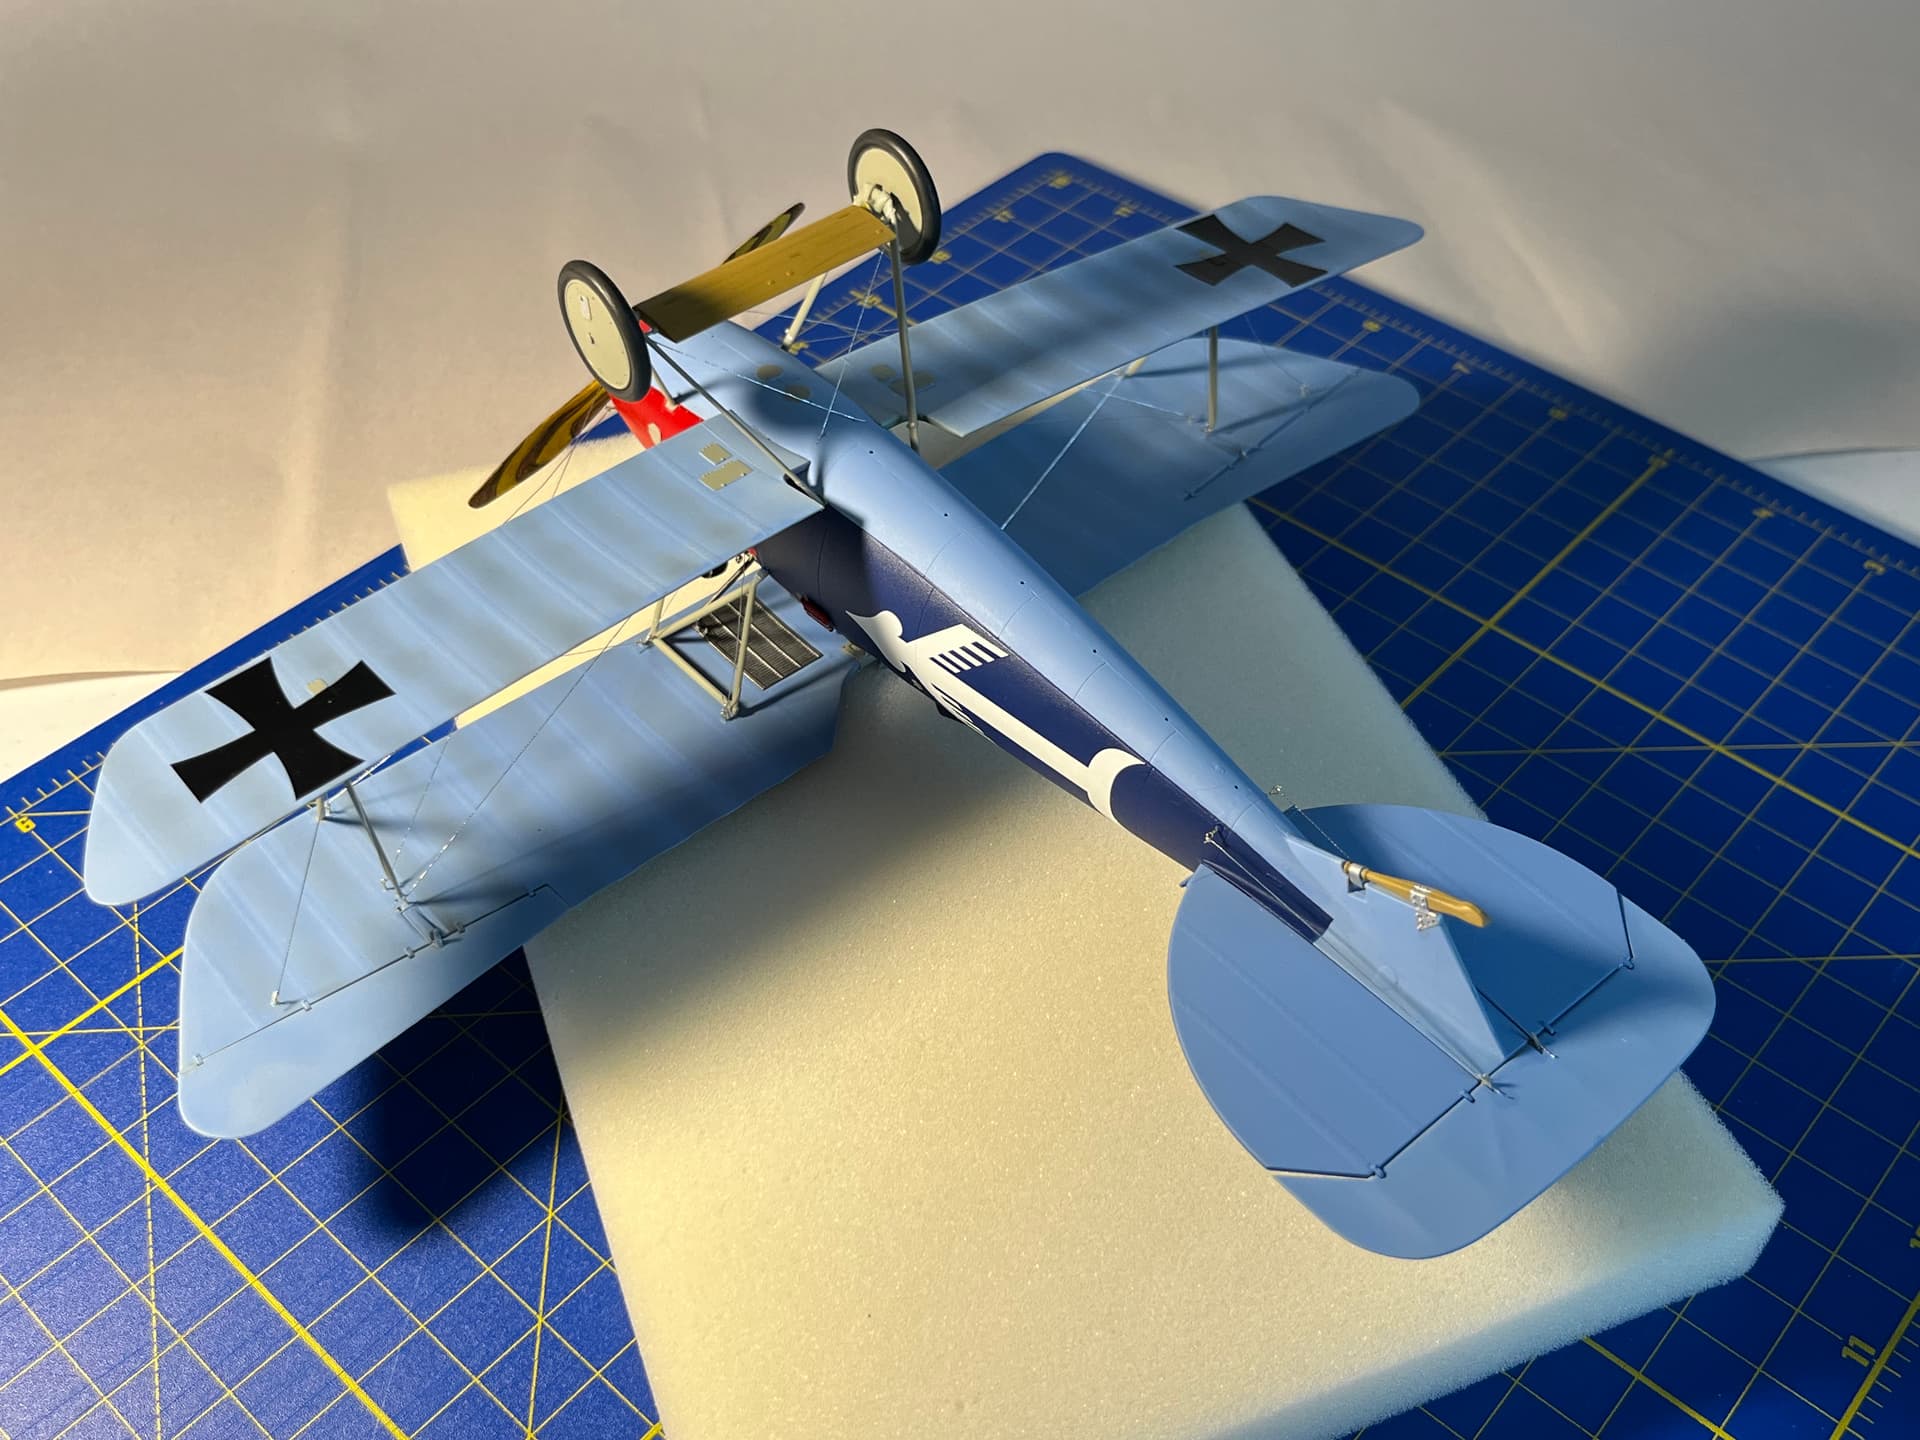
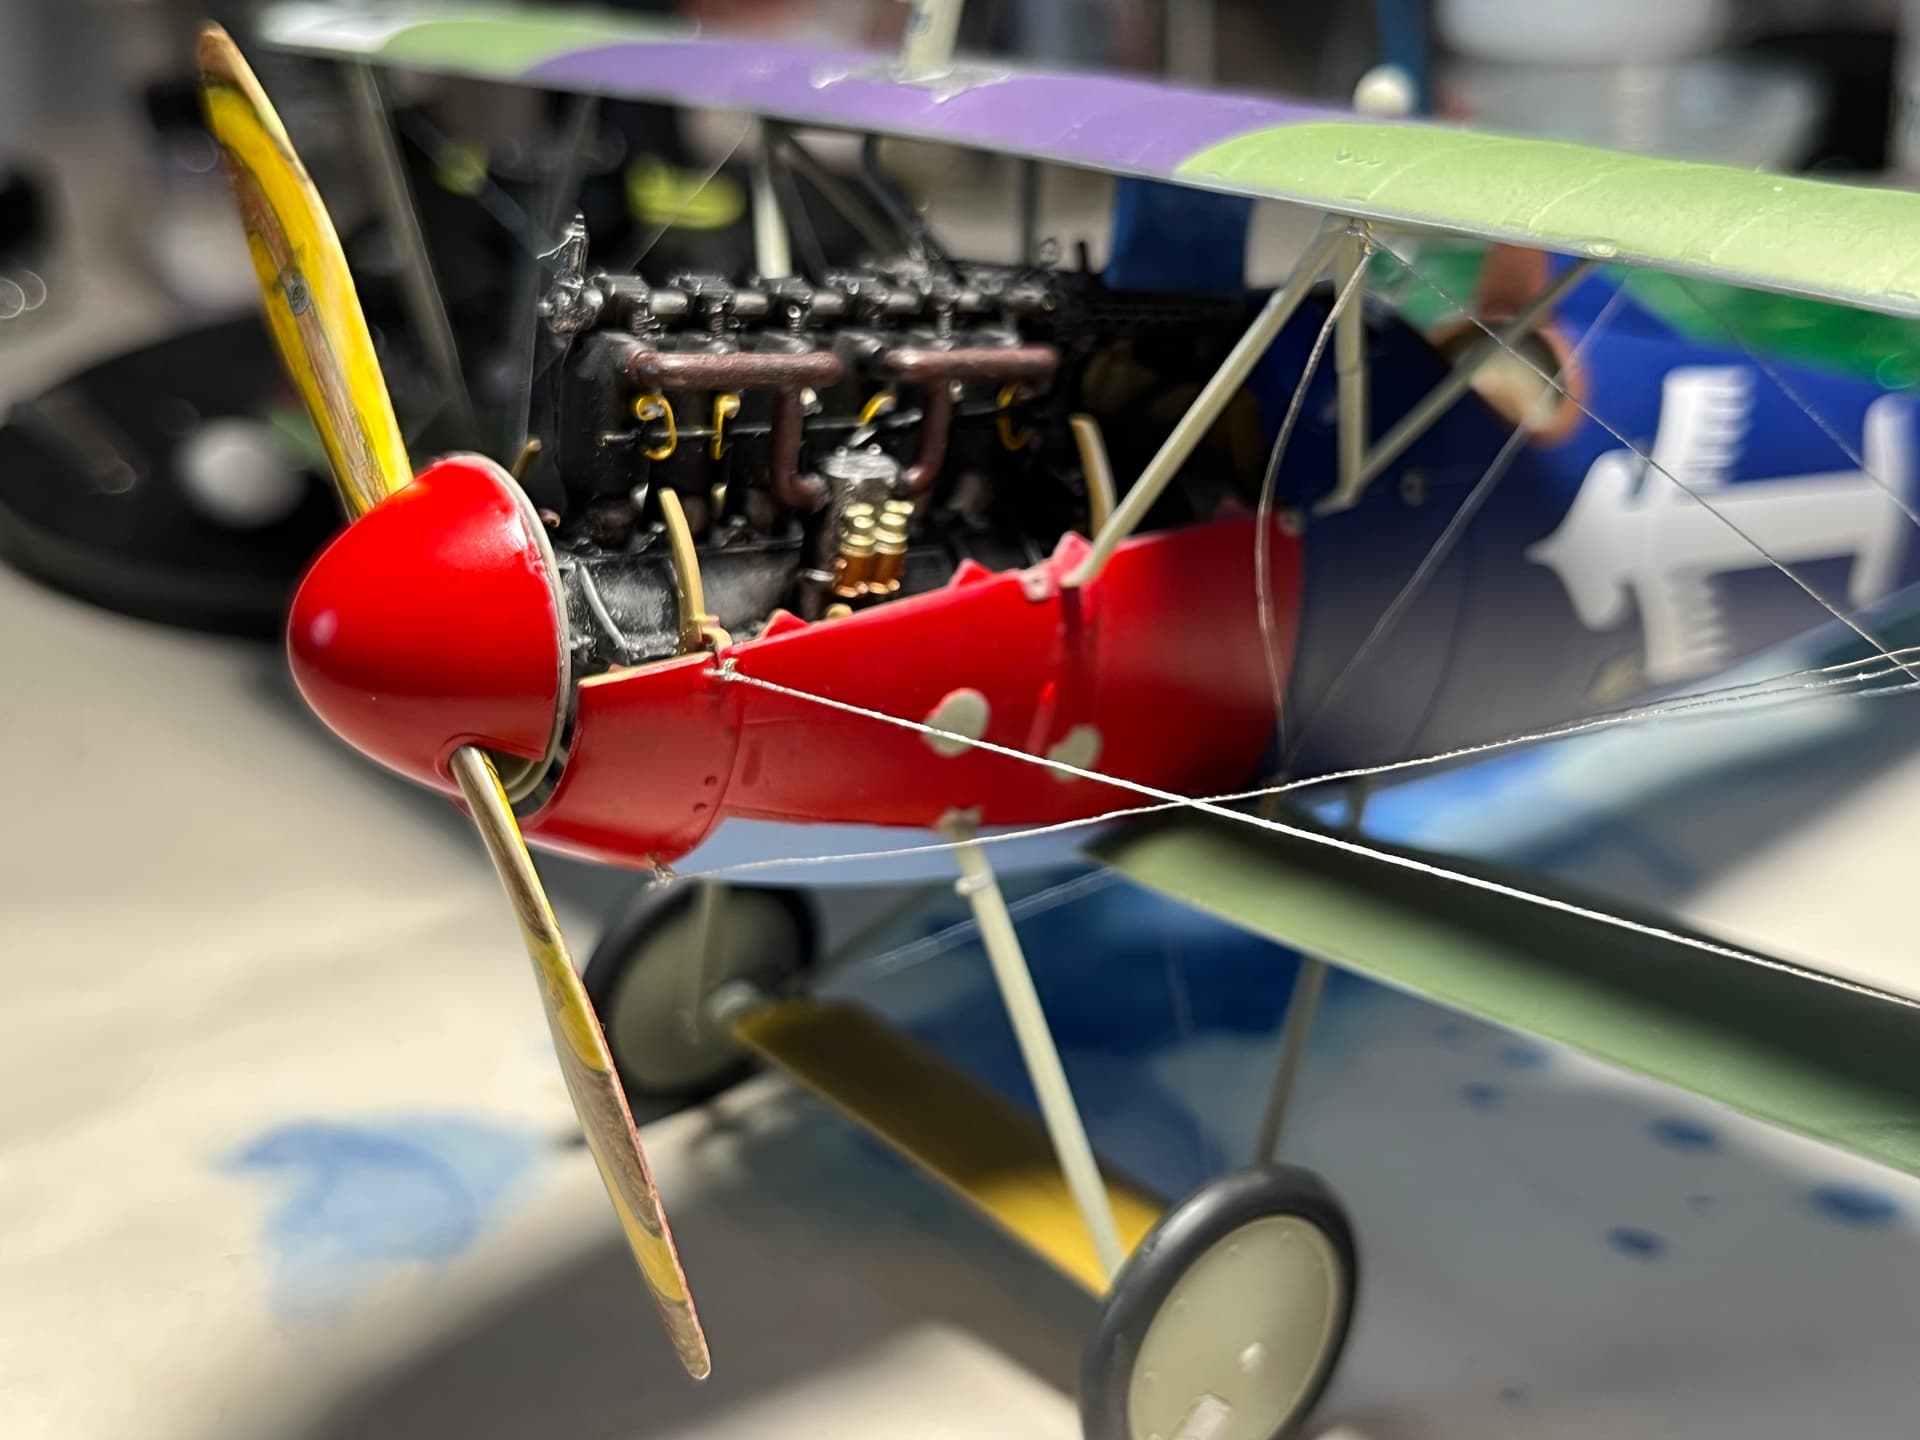
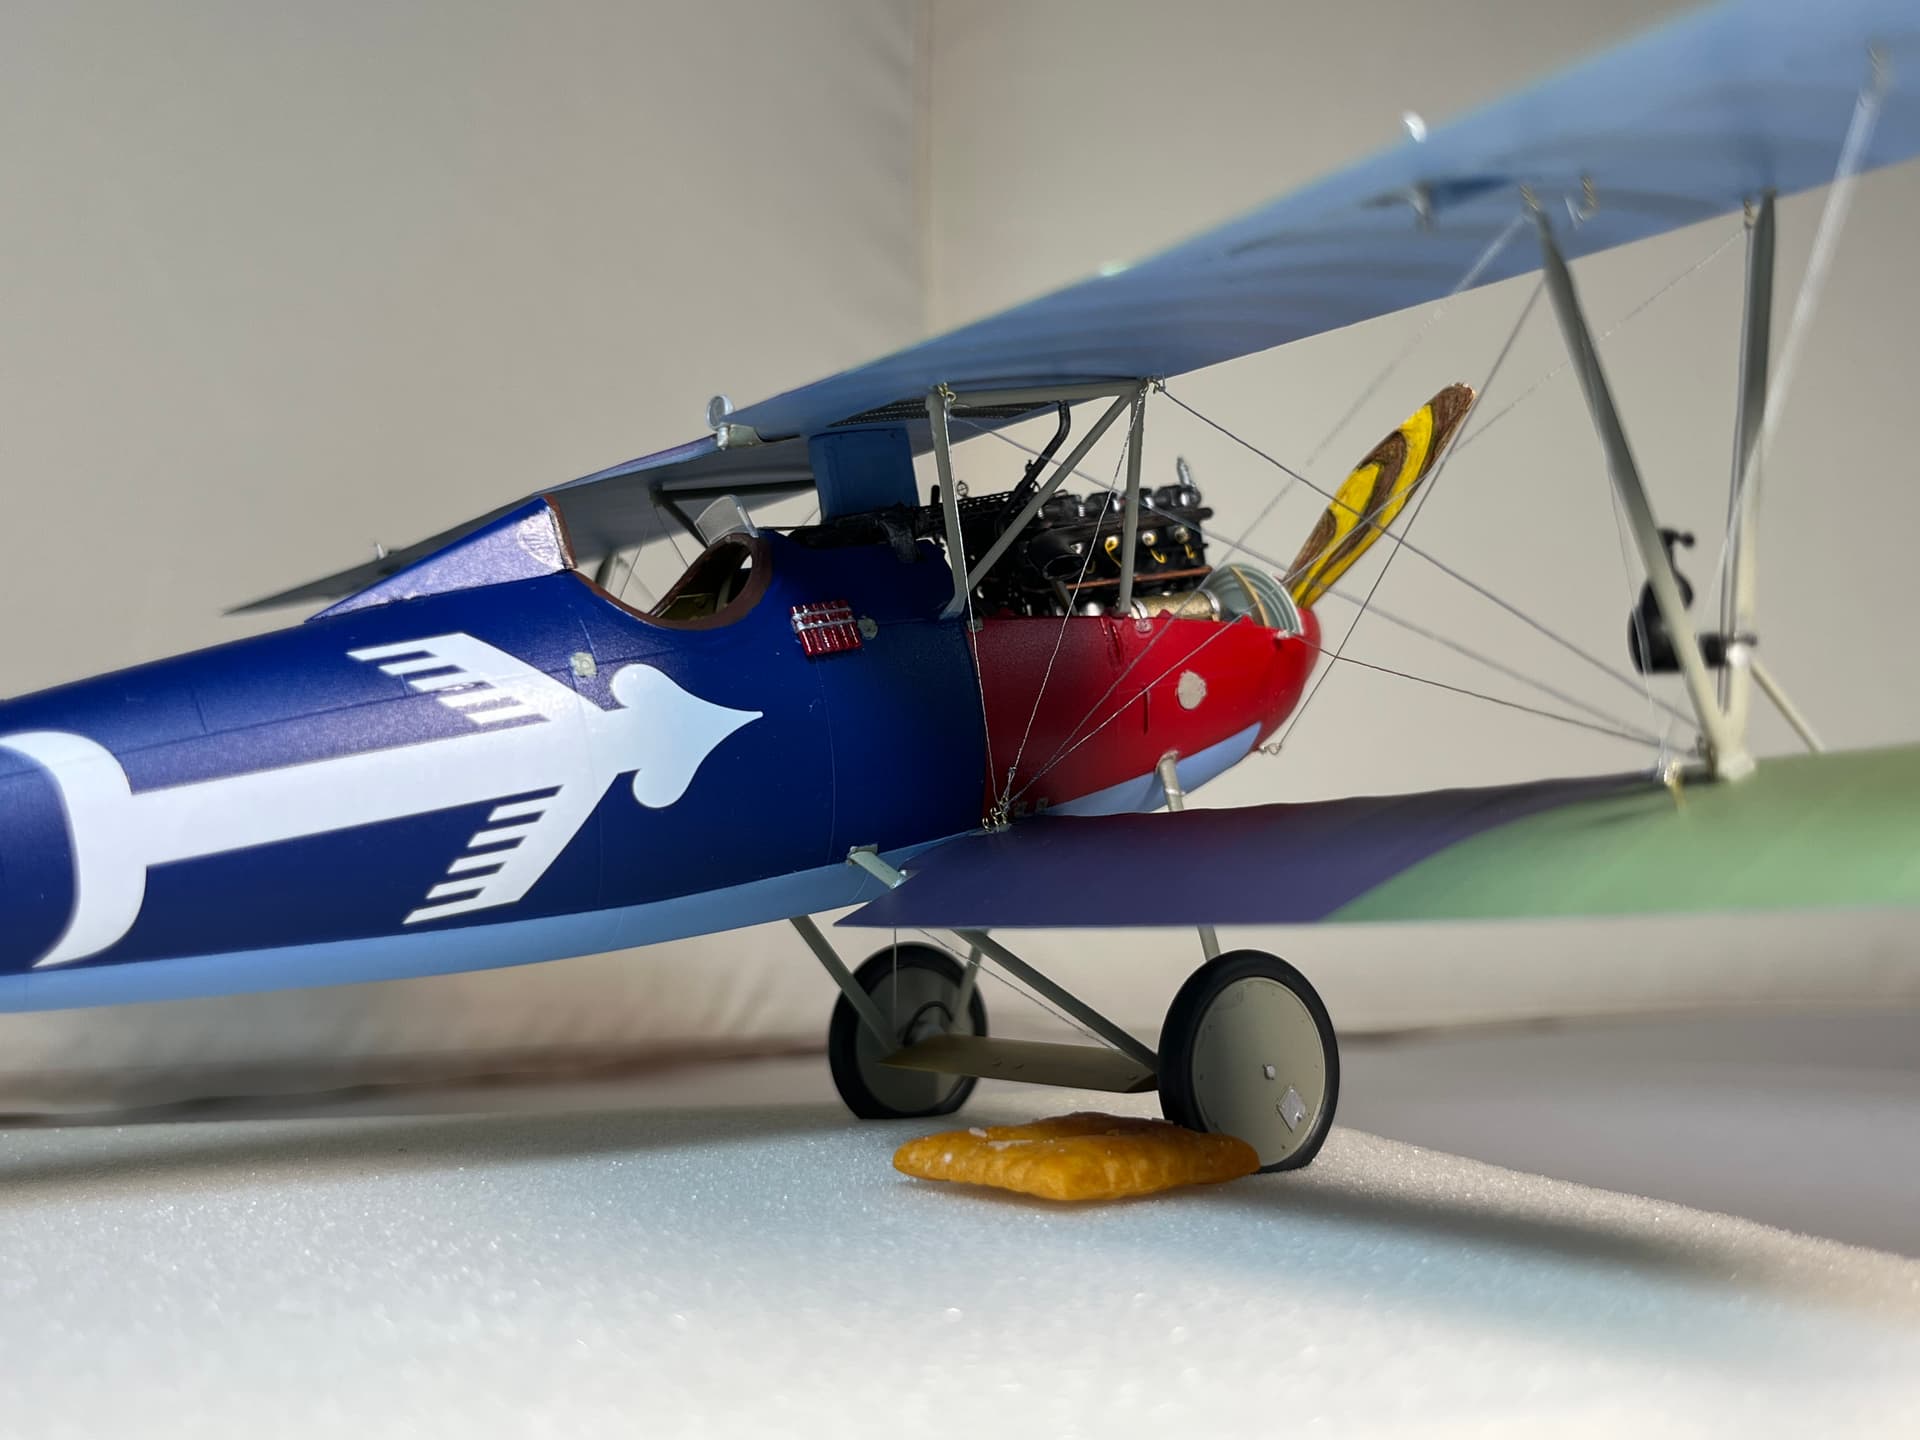
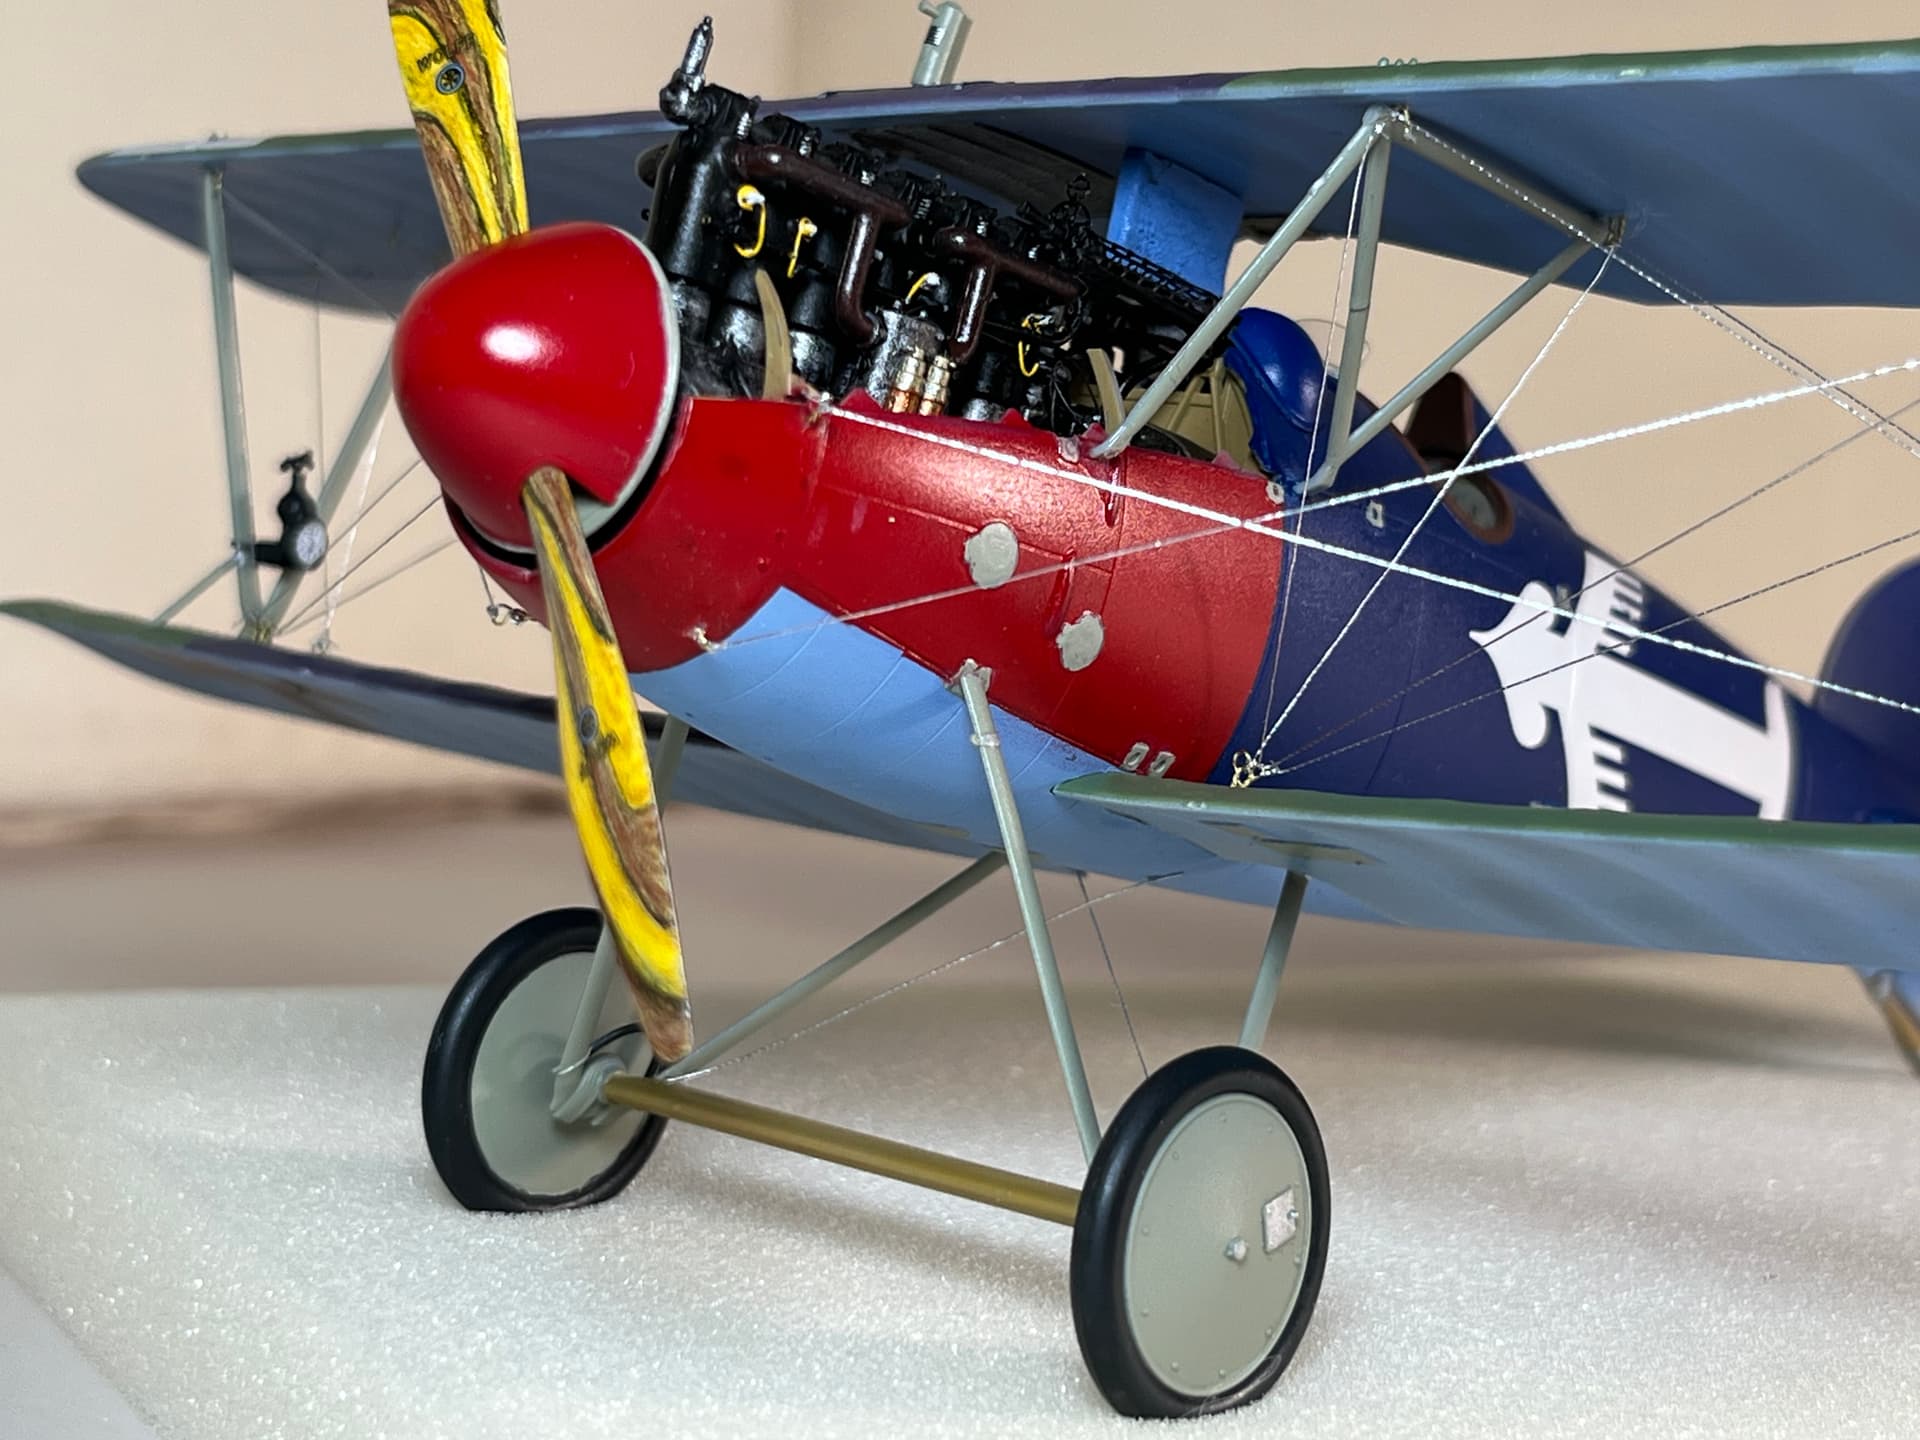
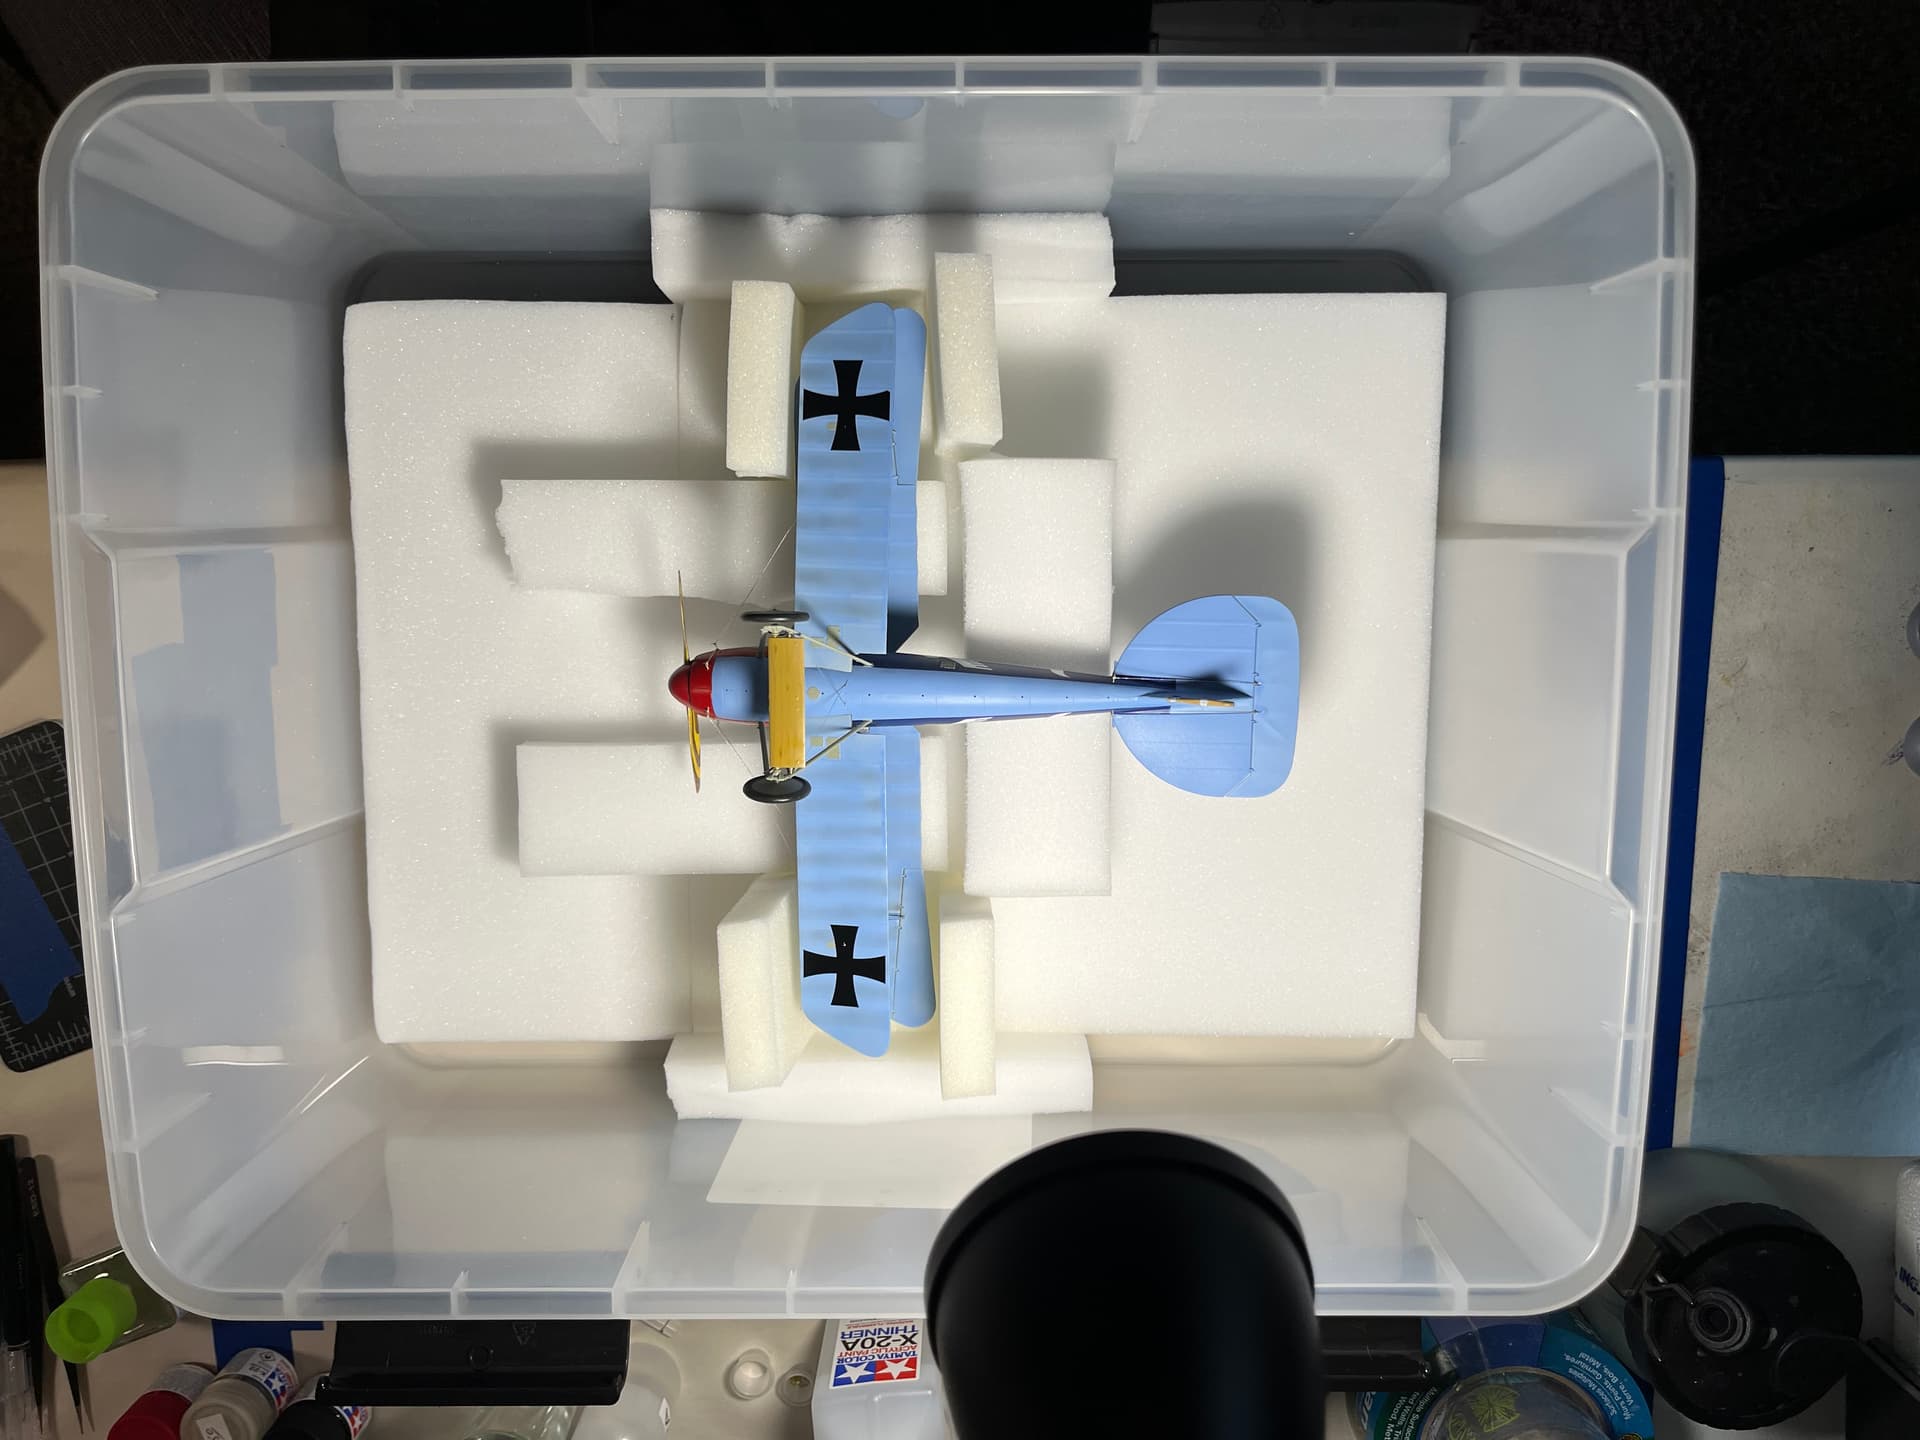
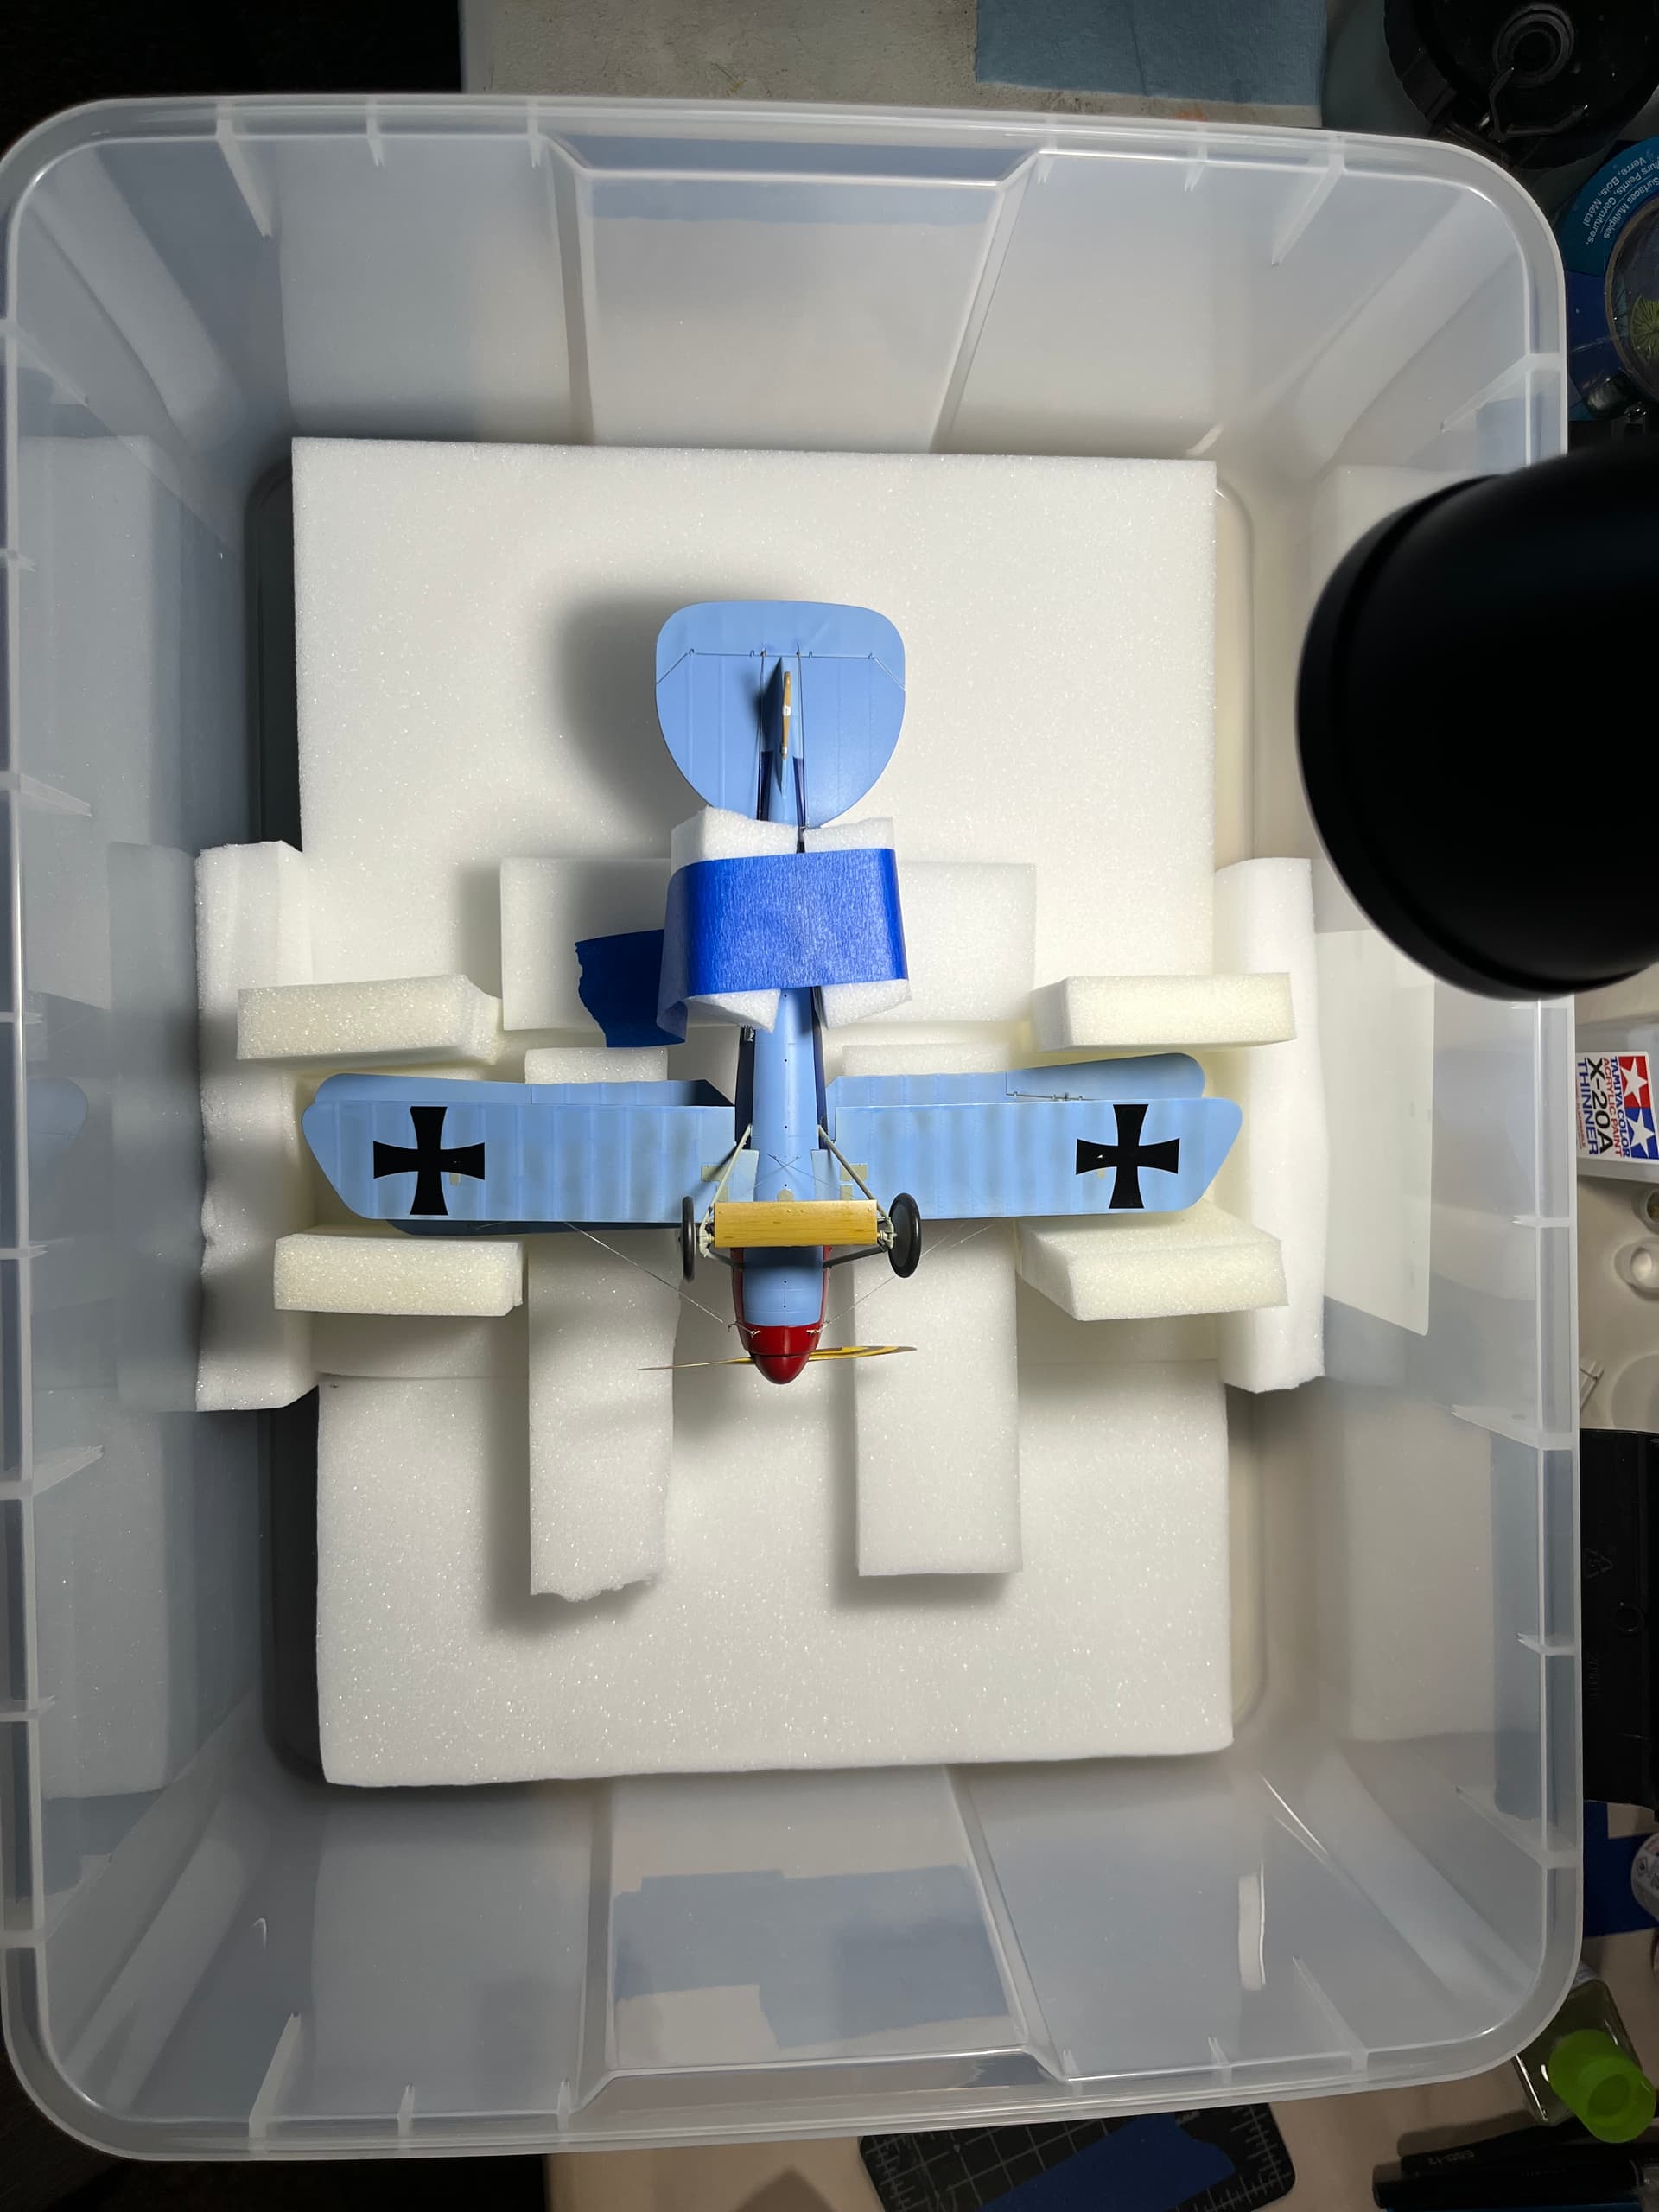
Here she is - Der Albatross D.V - Lt. Josef Veltjens. Naturally, I see the flaws and they irritate me, but I think I can live with them. Some of the rigging is more slack than I would like, but I can’t get too worked up about that at this point because I have a couple of clear coats to apply yet. I also have to transport the finished model 600 miles to its owner. I think I will plan to take a bottle of quick-dry cement.
Thank you, all of you who encouraged me on this project. It was daunting but I learned a few things. Your support kept me going, and I truly appreciate that.
You can’t even tell. I’m glad that you were able to fix it. really like the overall color scheme. Definitely some vibrant colors. Beautiful work. Congratulations!!
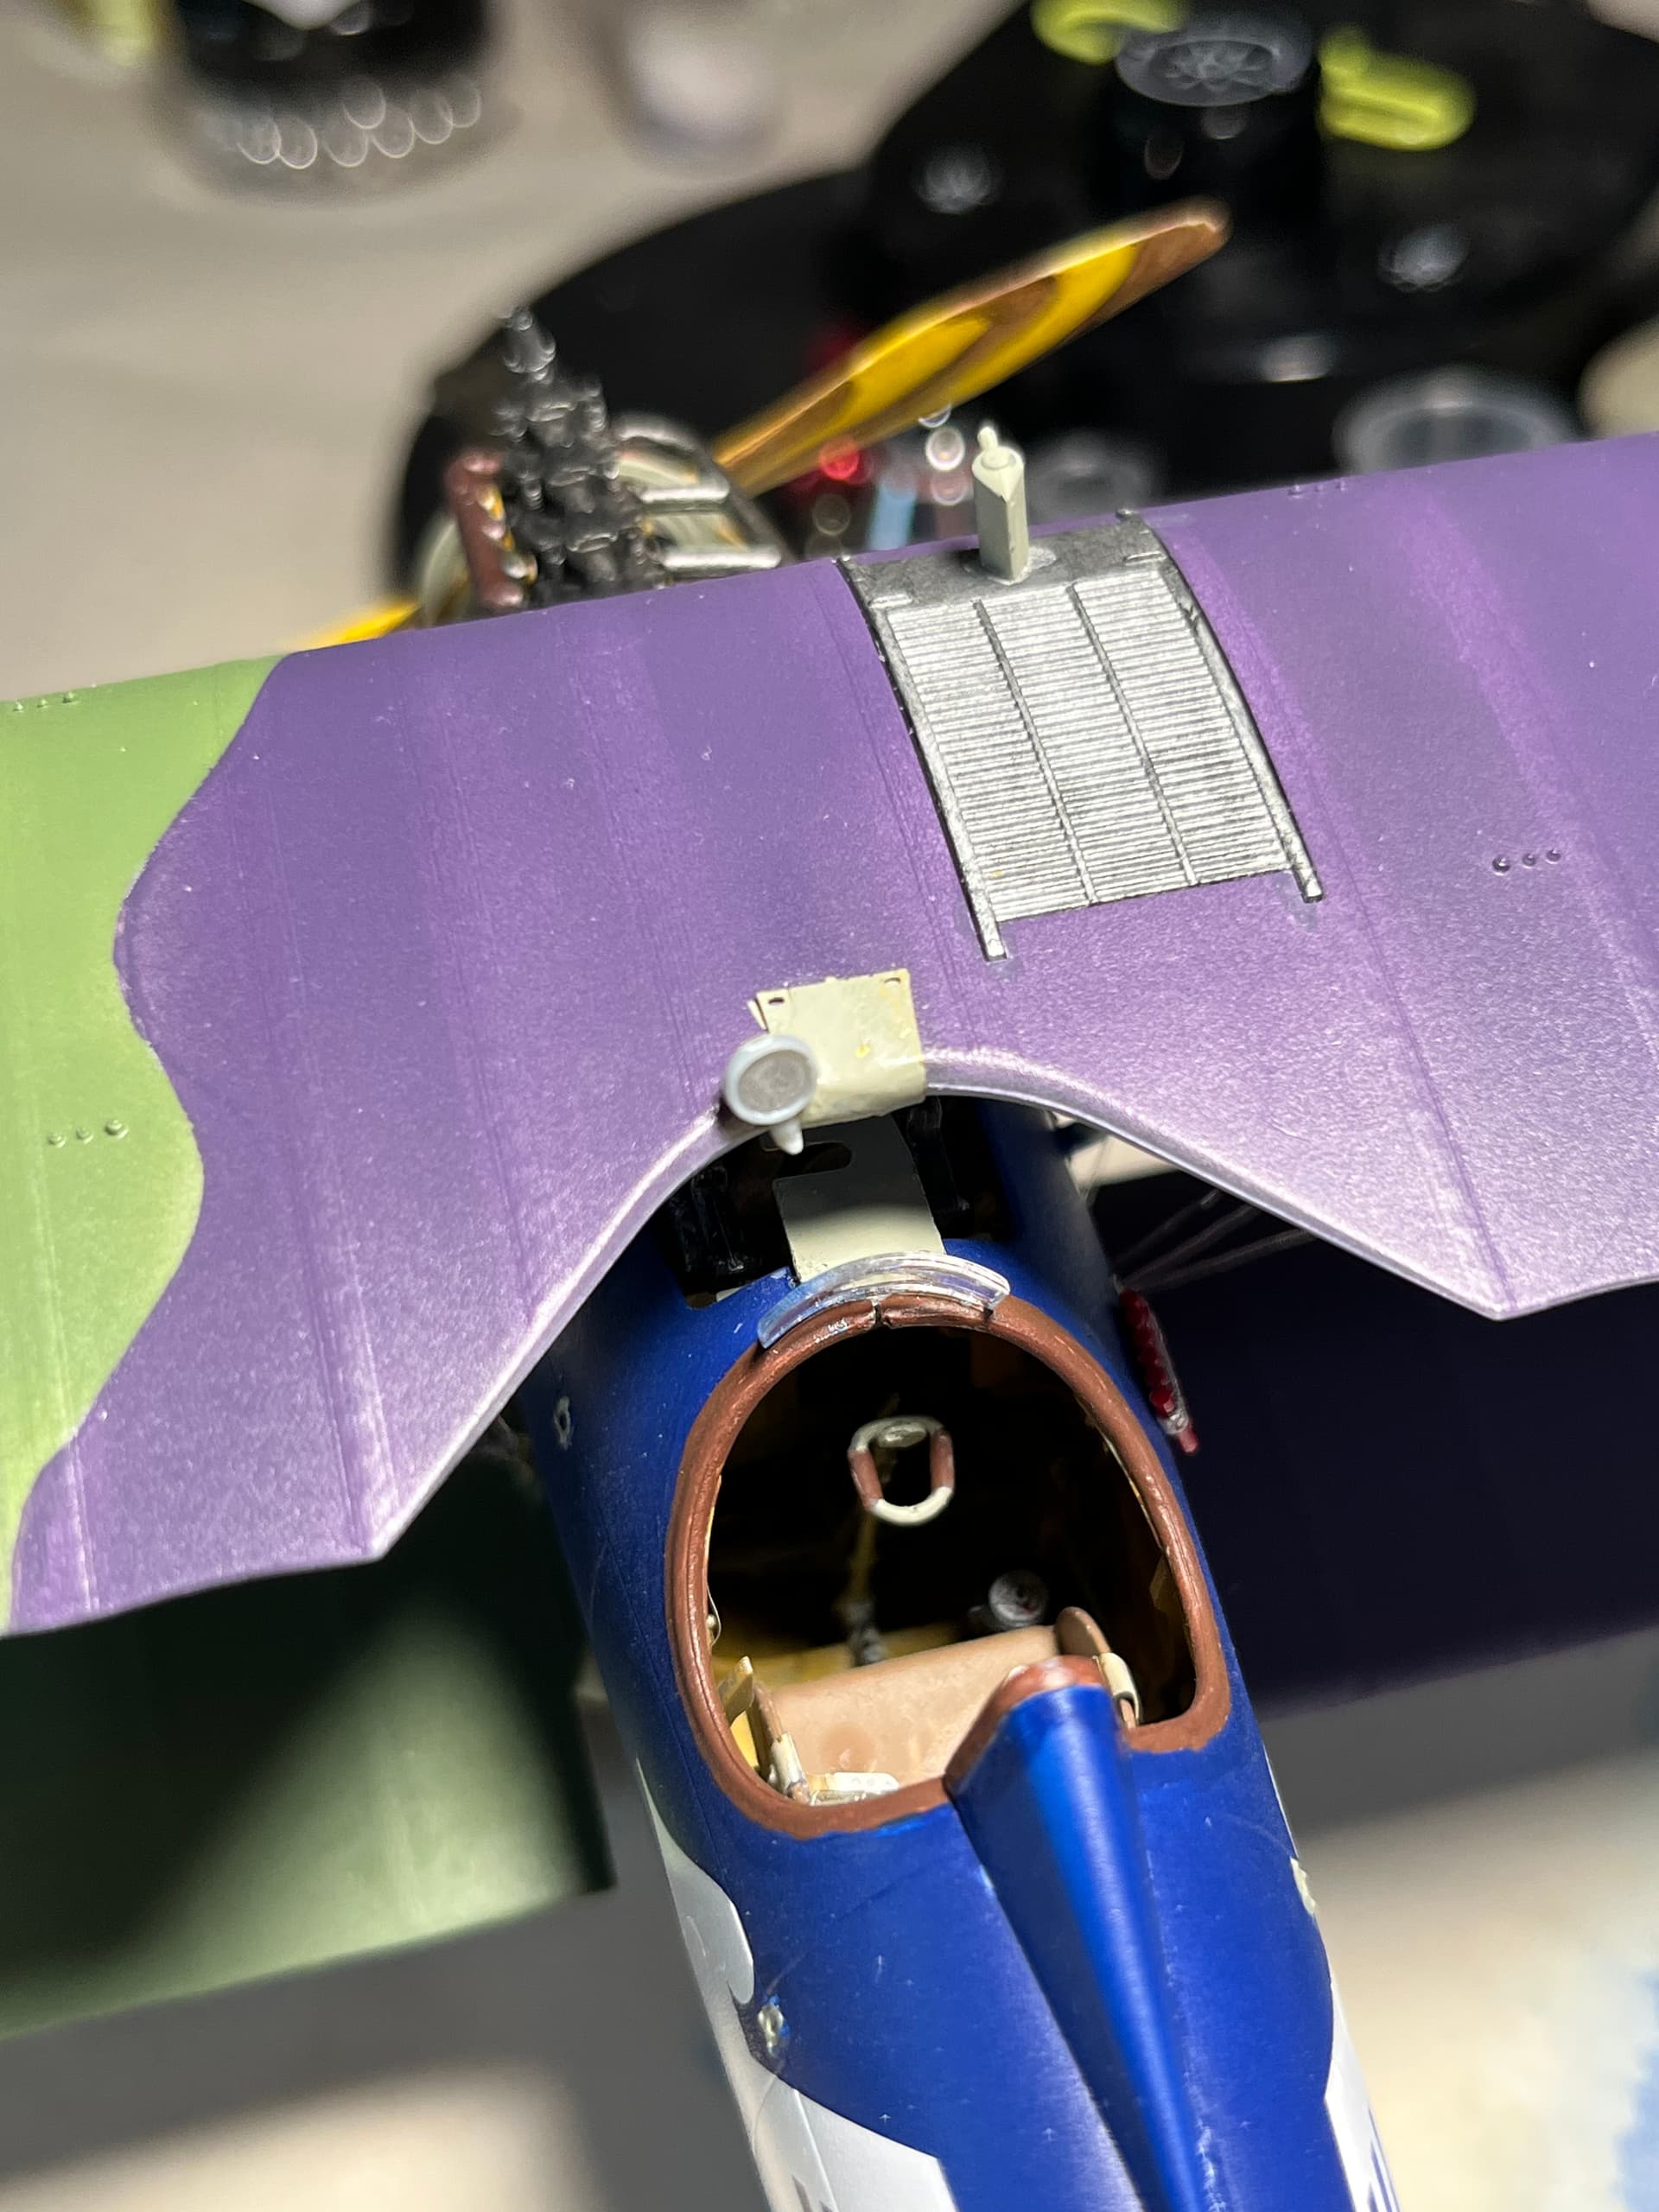
This little feature amuses me. The anemometer is mounted to the wing strut (the instructions note that it could go on either the left or the right wing). The skill of these pilots must have been something!
@Cbowling - thank you. I was pleased with my discreet shim - a piece of clothespin I fashioned with the dremel. It was my husband’s idea to paint to match the color under the wings.
Nicely done, Molly, and congratulations on finishing your first Wingnut Wings kit! Thank you for bringing us along on this journey, and I cannot wait to see what you do next.
@Molly High quality work on a difficult build. And you added all that detail to the engine while recovering from a few mishaps along the way. Any chance we can get more photos?
Lady…you deserve the “Most Patient Modeler of the Year” award after enduring all that you did with this build. I’ve seen folks scrap builds for much less than what you’ve put up with on this one.
Your outcome, despite all of the troubles you had along the way, is nothing short of amazing. Terrific work on this aircraft build and I’m sure the owner will be VERY happy with the outcome.
Way to go Molly.
View of the shim under the upper wing. Because the inner struts would not go into place and provide the support needed, I had to do something to salvage the work.
It turned out better than I feared. The troubles I encountered were partly my own lack of knowledge and misinterpretation of others’ recommendations (e.g., 0.5 mm brass tubing, but that referred to the inner diameter and I ordered smaller stuff). However, the silver thread I ended up using was very forgiving because it has some elasticity.


 Thanks for posting the photos link. I’m going to share this with my buddies in our club that are Wing nut wings fanatics.