Airfix 1/72 P-51D Mustang of 332nd FG. "We Weren't Assigned, We Were Requested."

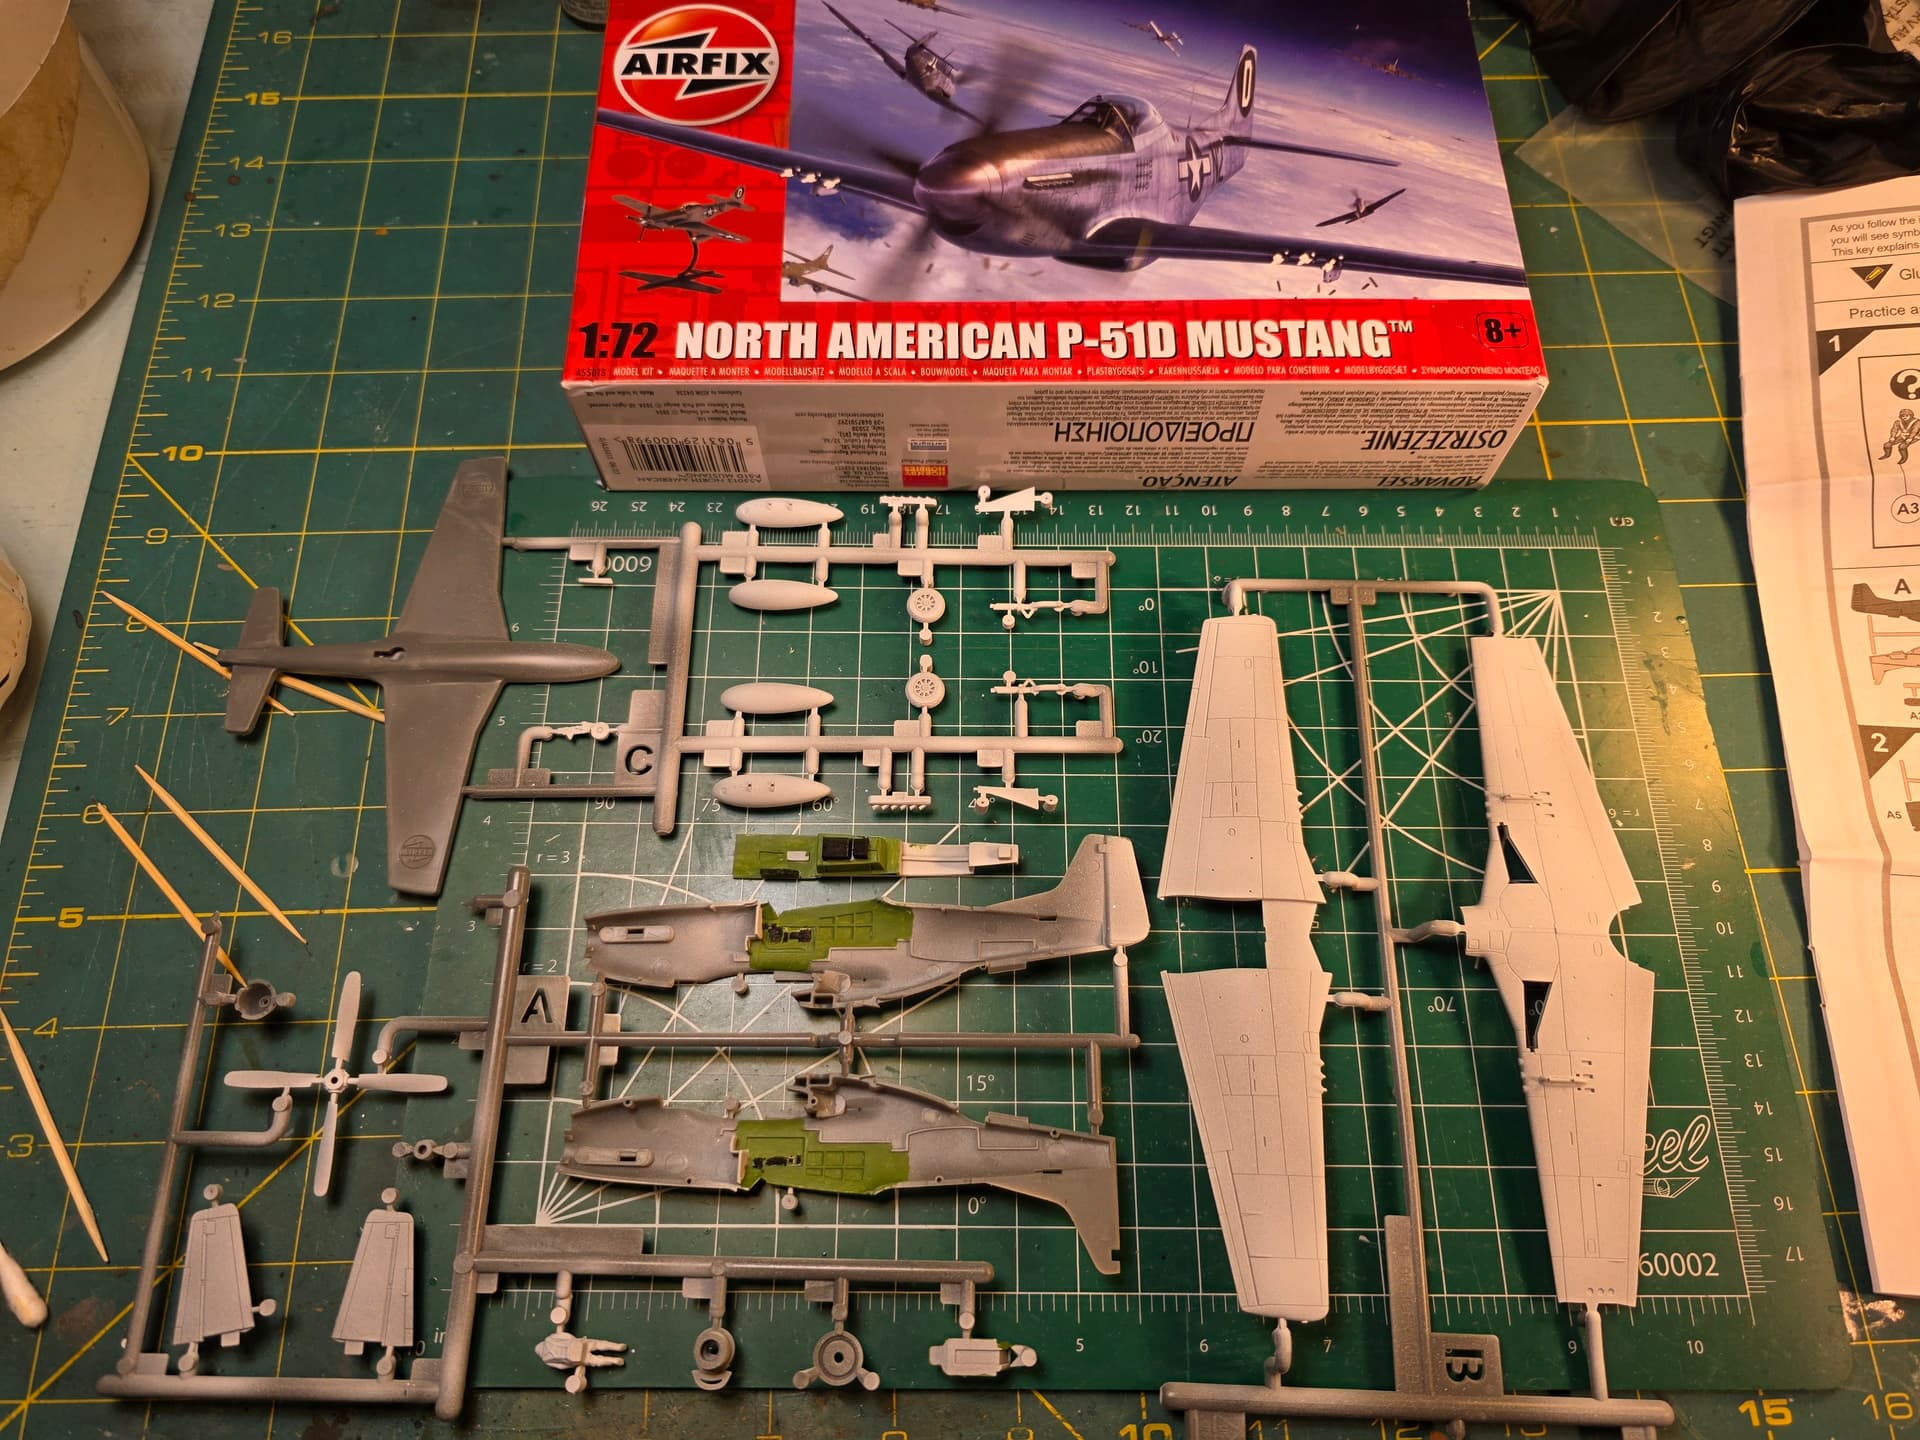
Just started my next project. I don’t usually venture here, but I’m on a mission. It looks like an easy build, but I intend to give it my ALL. Its been primed and I started the cockpit with MM Zinc Chromate enamel paint. Unfortunately, it doesn’t come with an instrument panel, so I’m going to have to improvise. Aircraft builds are very unforgiving.:slightly_smiling_face: Wish me luck!

6 Likes

Excellent! I’m always up for a good RedTail build…

2 Likes

Thanks for the comment Egilman. I got some work done. I finished the cockpit and pilot seat and radio set. Unfortunately, the control panel is basically non-existent. So, I painted the two fuselage halves dark grey and added Future Klear. I have Cockpit Details decals and added them to each half, then sealed it with more Future. While that dried, I painted the pilot. 1/72 scale figures are a pain for me to paint, but it came out OK. The figure was glued to the seat and both halves glued together. I like how the instrument panel came out. It probably won’t be seen, but I know they’re there. Well as always, all comments and critiques are greatly appreciated.


3 Likes

I got some work done putting most of the airframe together and now it’s time to mask.


3 Likes

I noticed that this model had hole for the stand that came with it. I had to close it up before masking and painting the plane along with the wheel wells. I like the way its coming out so far, but I still need to do the anti-glare panel.


3 Likes

Nothing like a Mustang build! Great job masking that tail section – it’s harder than it looks.

Nice work and a nice rescue!

Hello everyone and Happy Easter. I got some more work done on the plane. I’m getti g close to putting on some decals, but not just yet. Enjoy the WIP pics.


3 Likes

Well, the decals on the airframe are done. Now onto painting the canopy, propeller and decaling the props and nose. So far, so good.


4 Likes

Great progress! Any difficulties with the Airfix decals? They’re looking good.

1 Like

Hi Tom, believe it or not I had a problem with the decal from WarBirds. The wing star came apart, so I went with the Airfix decals and they want on beautifully. I was surprised how well they conformed with the model and I haven’t dullcoted it yet. Luckily the WarBirds decals for this specific aircraft went on without a hitch. :+1:

Well, I got the propeller and nose spinner painted and decaled. Now to attach the landing gears and do the canopy.


3 Likes

Well except for one more thing, (the aerial wire), and the base, this project is almost done. Enjoy the pics, more to follow later.


3 Likes

Looks great! I think getting a nice, clean result from a 1/72 warbird is a lot harder than folks give credit for. You’ve nailed it.

I must say I’ve had good mostly good luck with Airfix decals myself. I’ve been burned by aftermarket decals before – when I first “discovered” aftermarket markings I mistakenly assumed they would naturally be a superior quality item. Not always the case, sadly!

1 Like

You are so right Tom. I was very disappointed with WarBirds Decals. Some of the decals were fragile and easily broke, especially since they had to stay immersed for awhile. The red nose was supposed to be a decal but all three broke, so I had to mask and paint again. On an upnote, WarBirds Decals provided very good different pics for different aircraft, but the quality of the product was somewhat substandard.

Here are some more pics on the WWII Marston Mat base.


2 Likes