Airfix 1/72 Hurricane Mk I, Finnish HC456: FINALLY COMPLETE

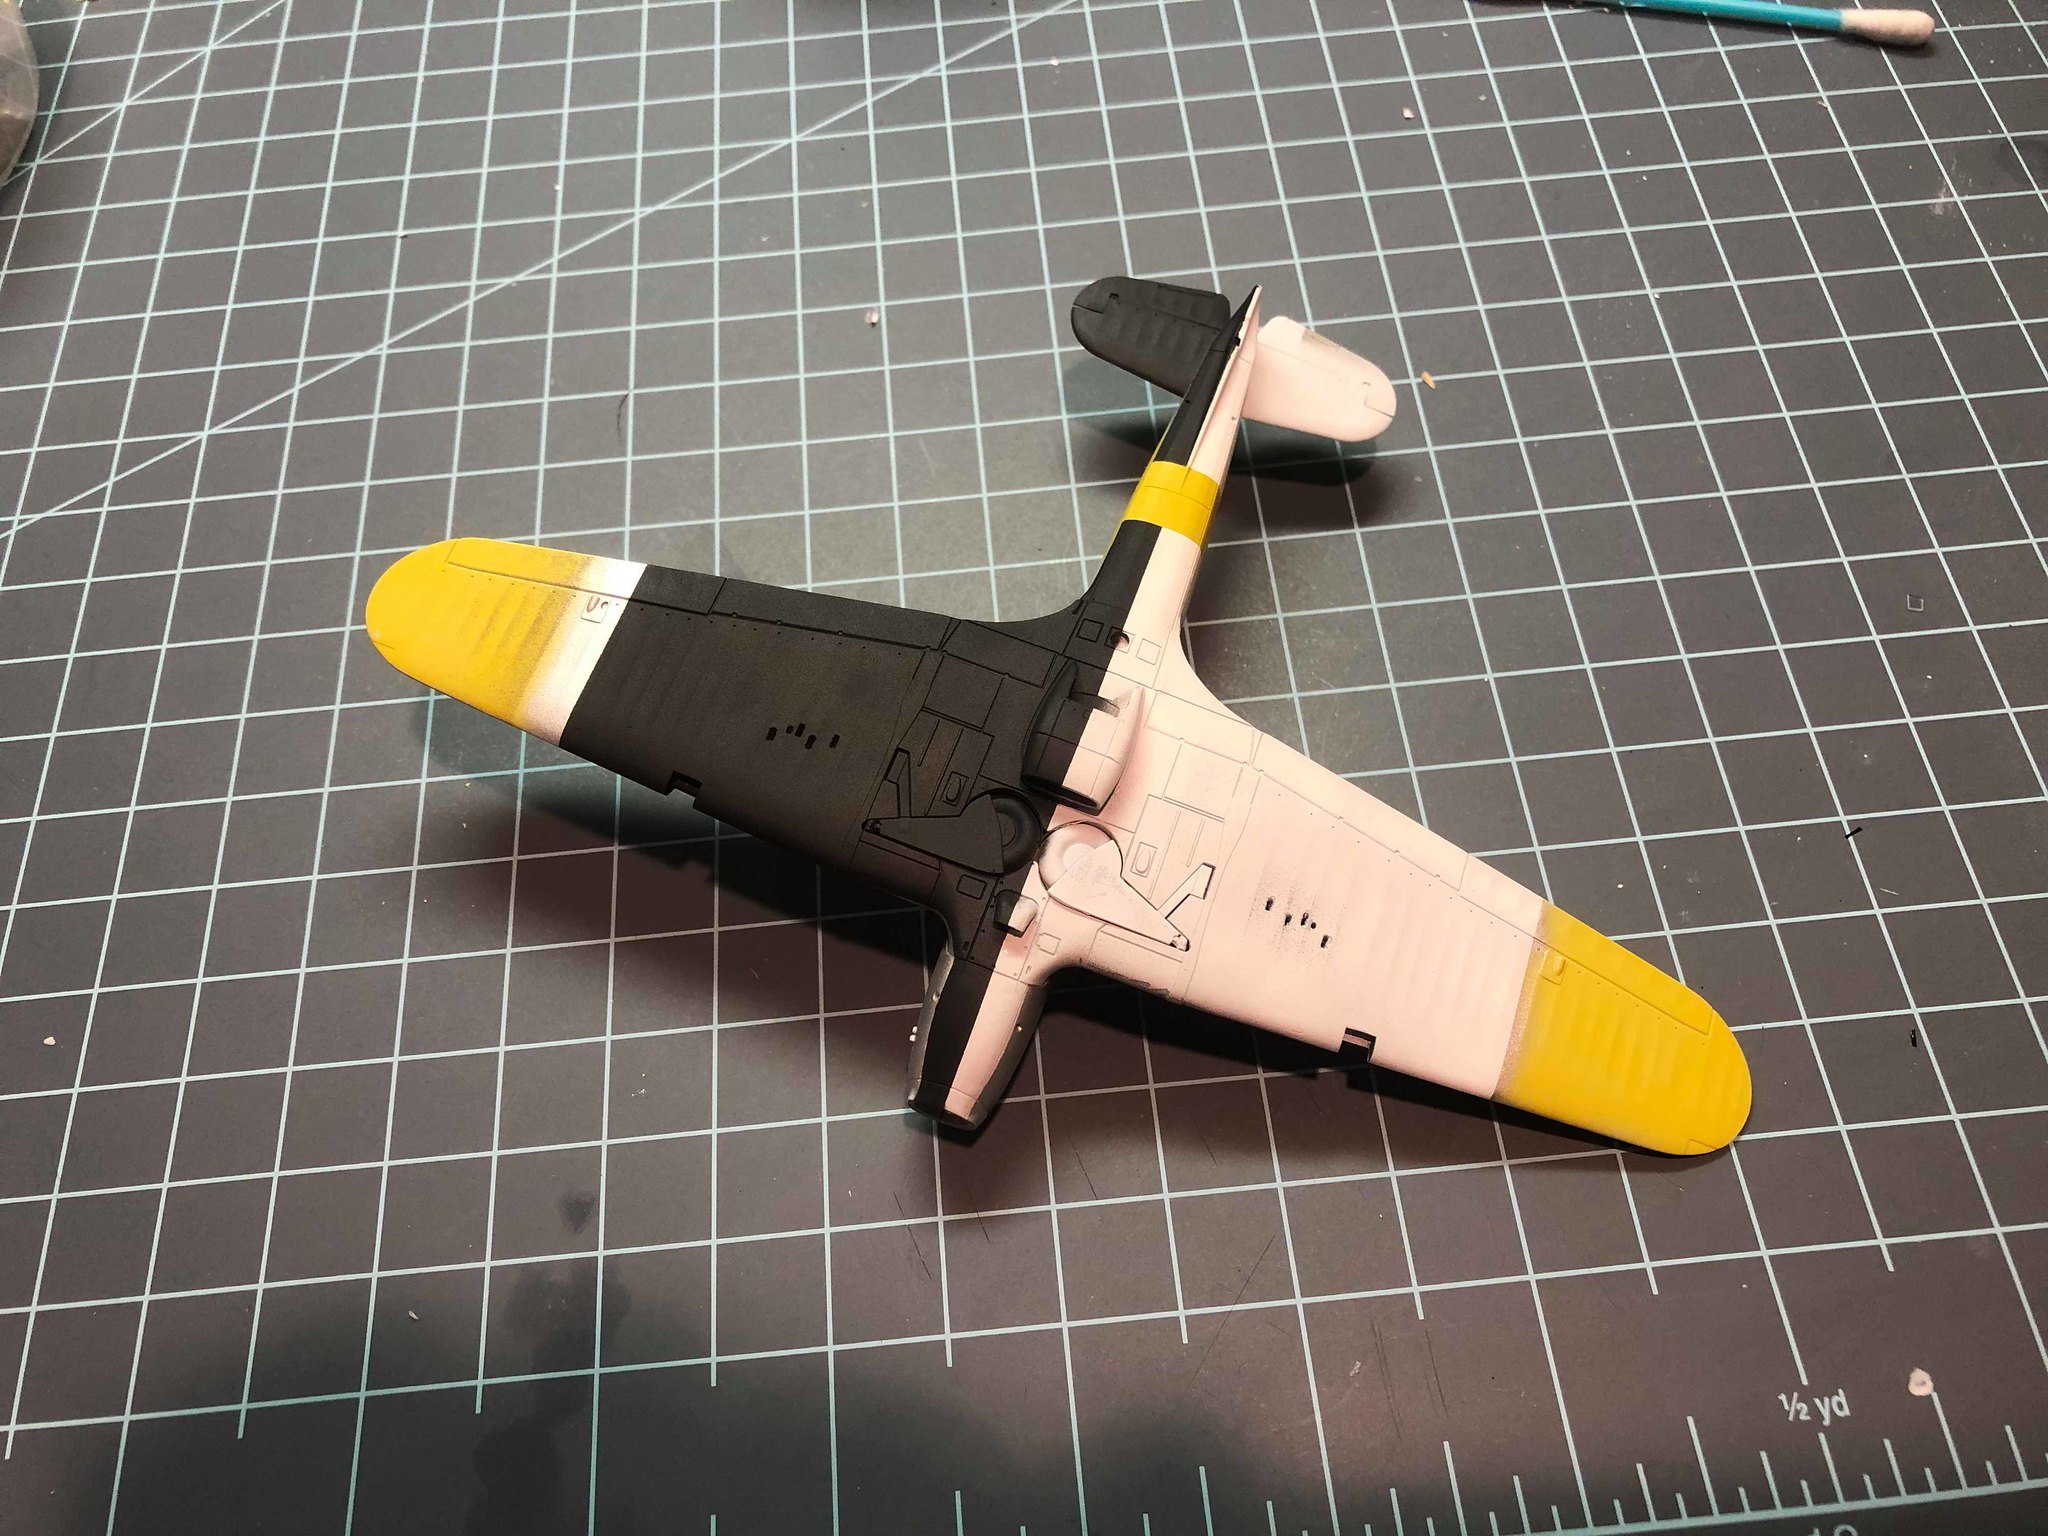
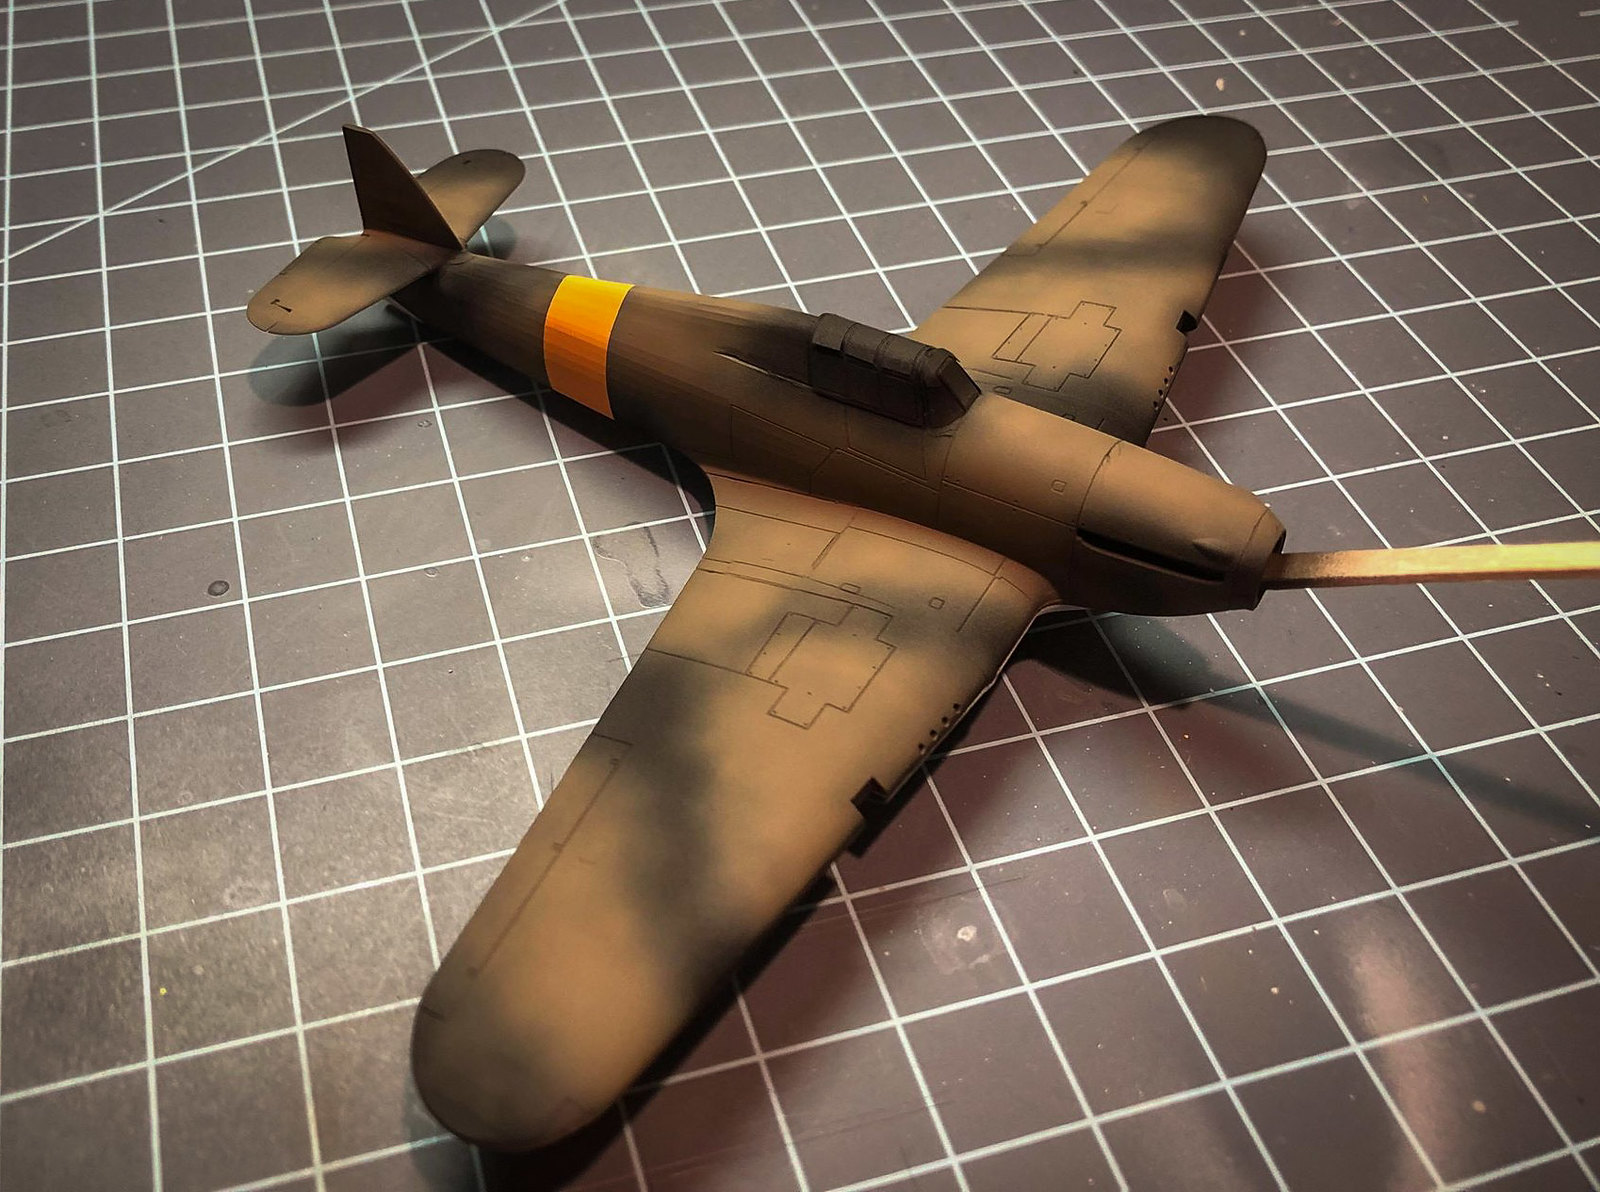
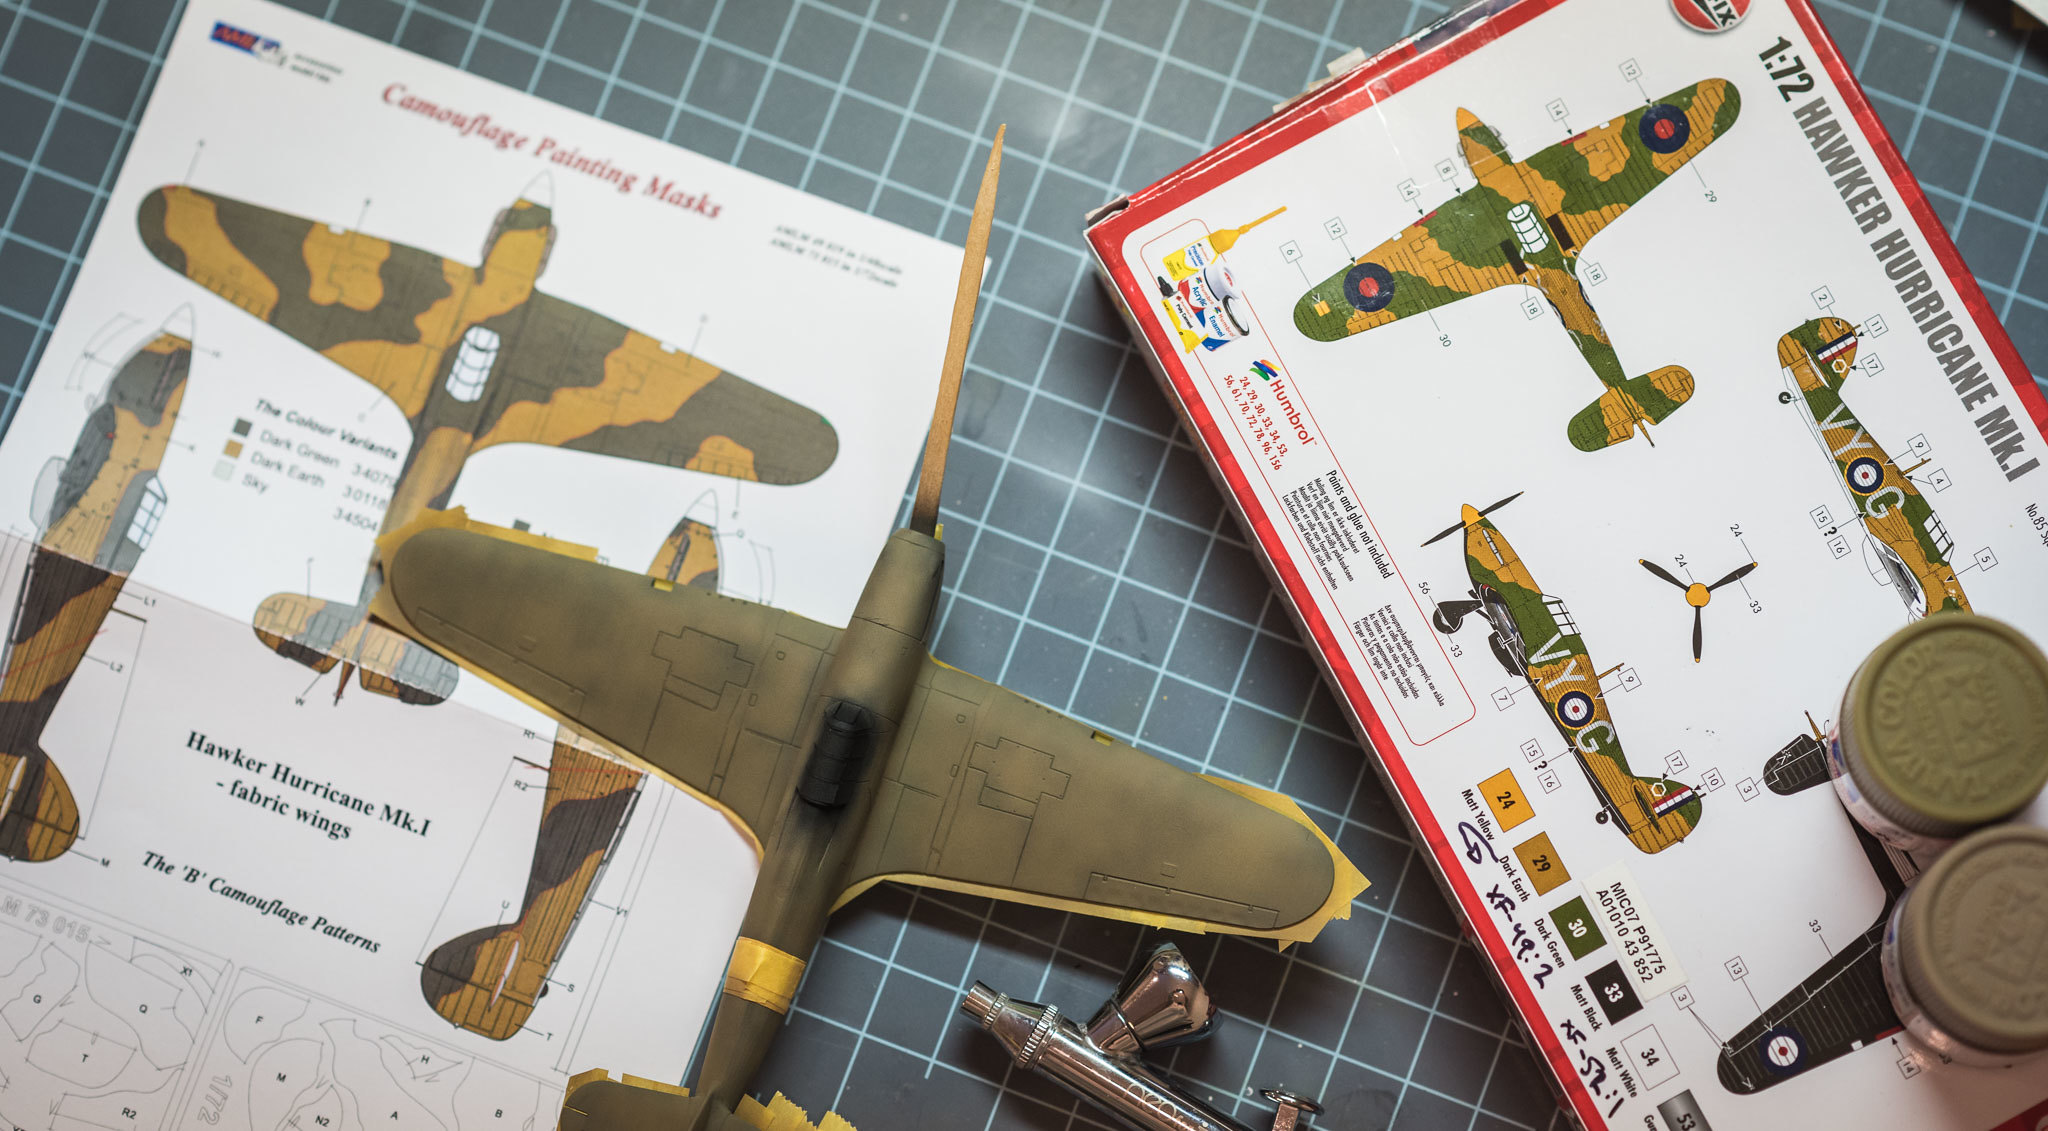
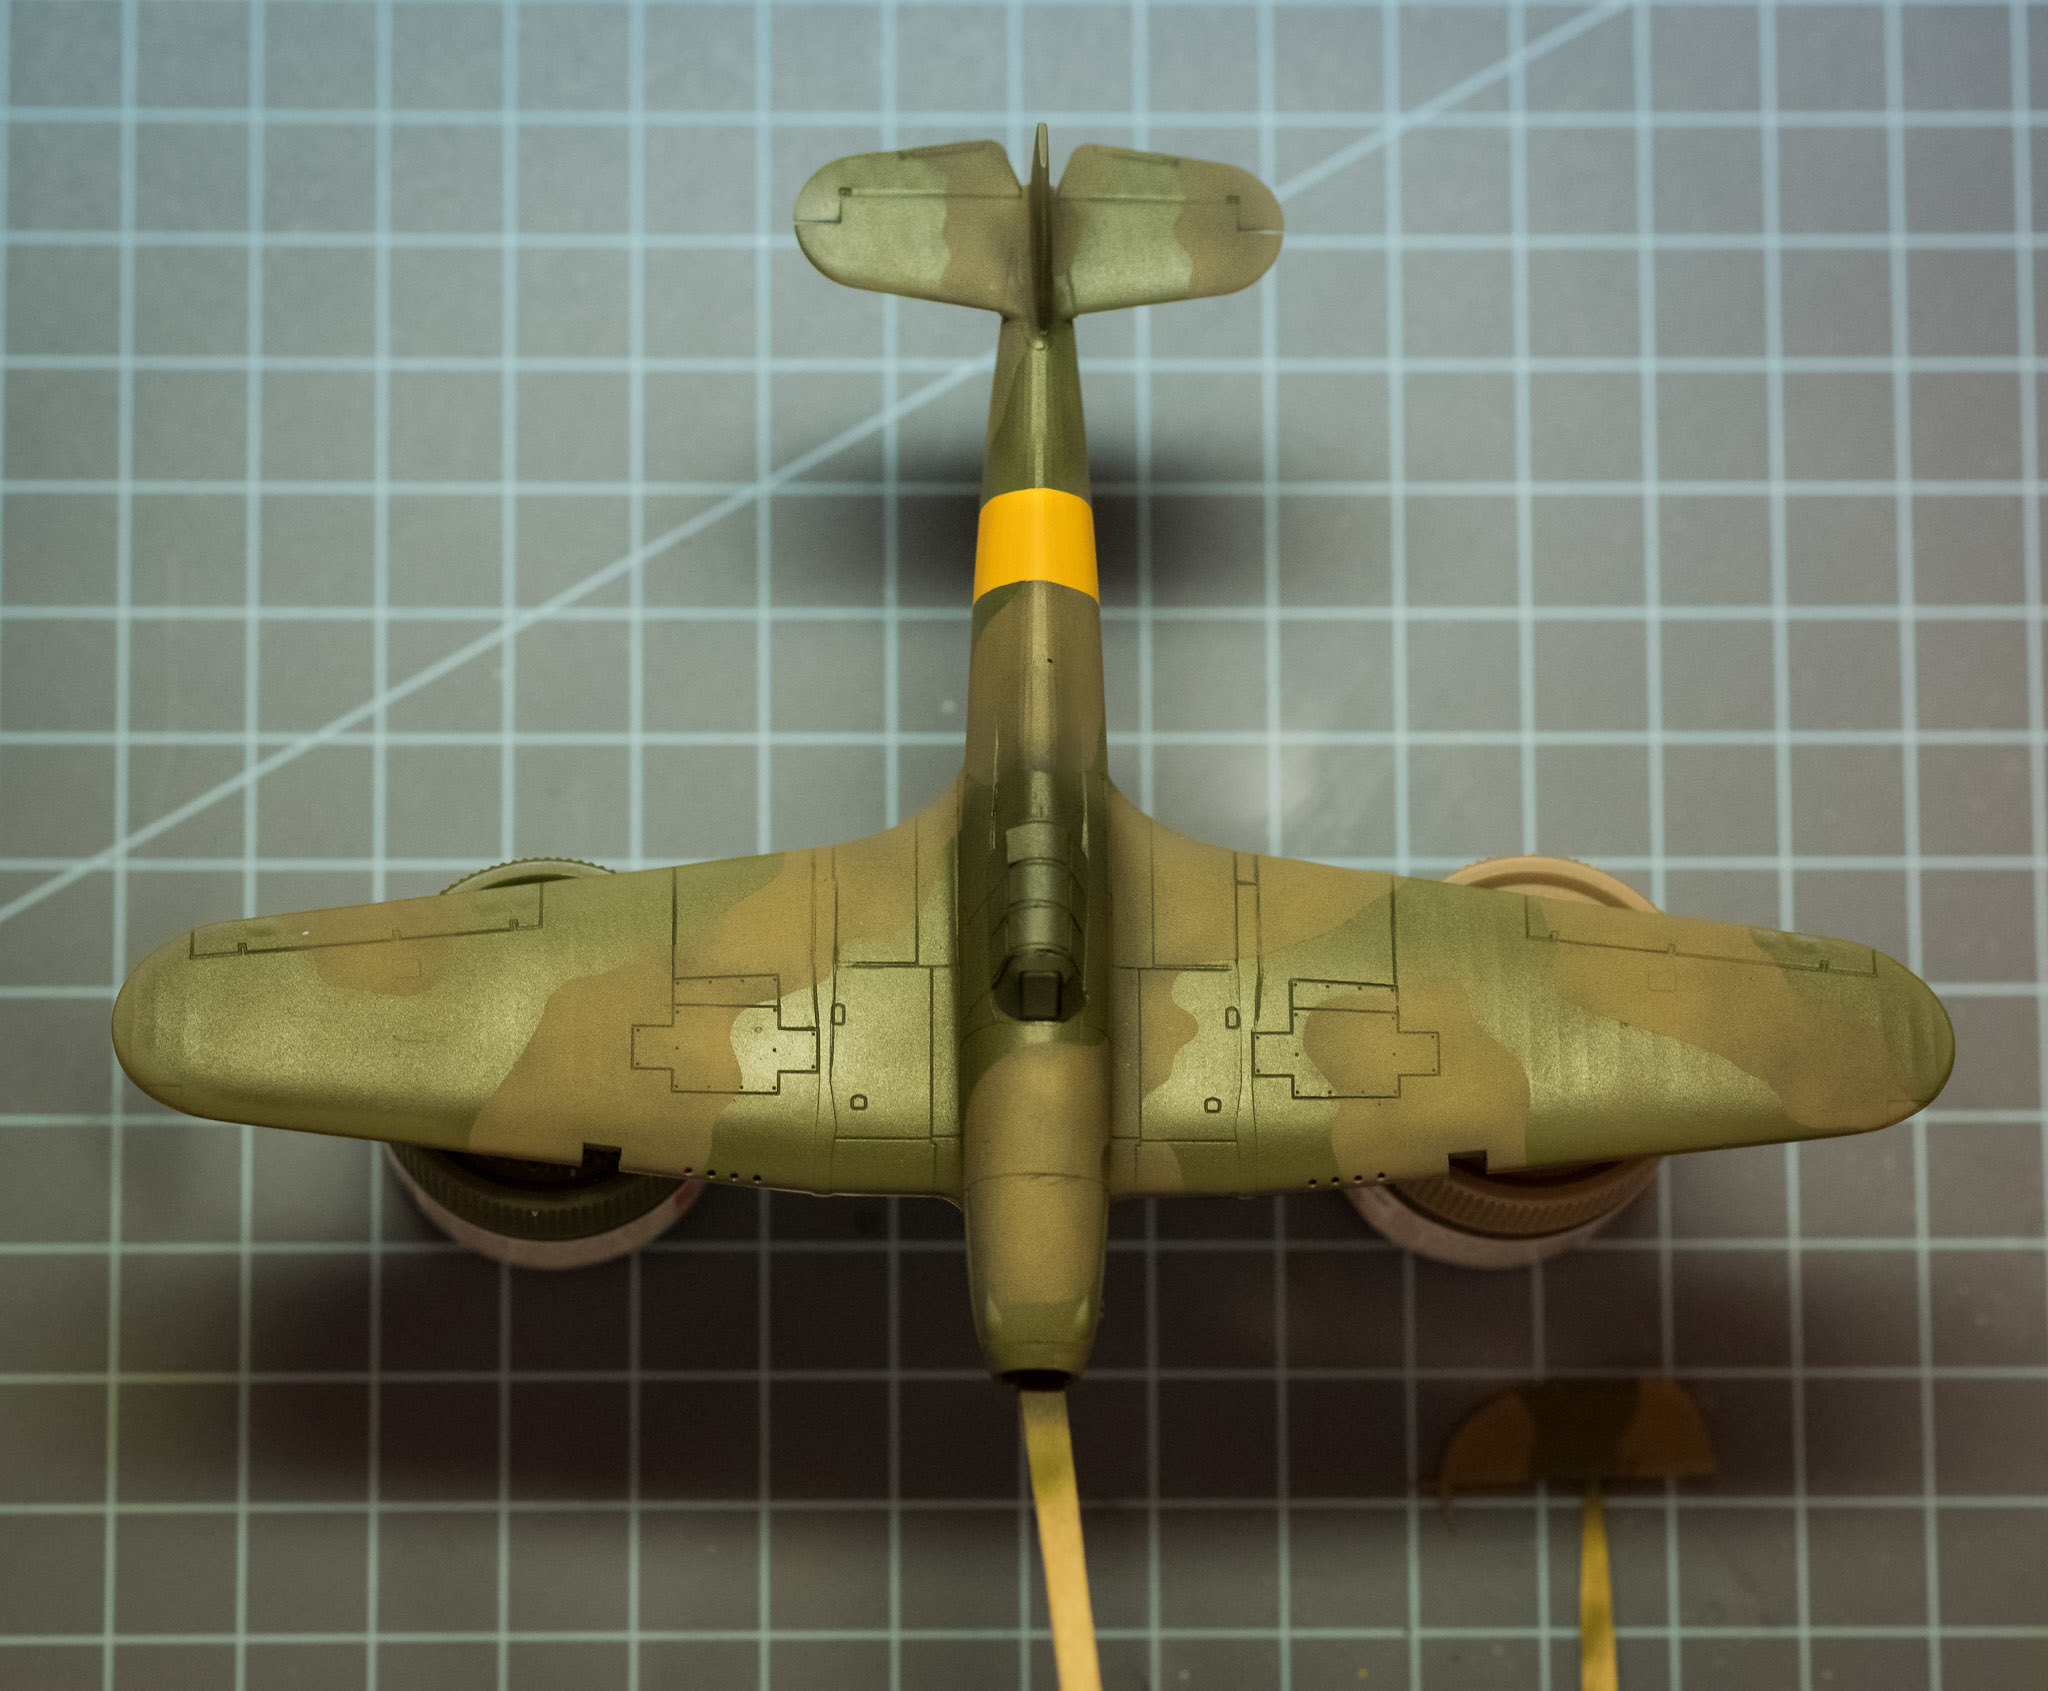
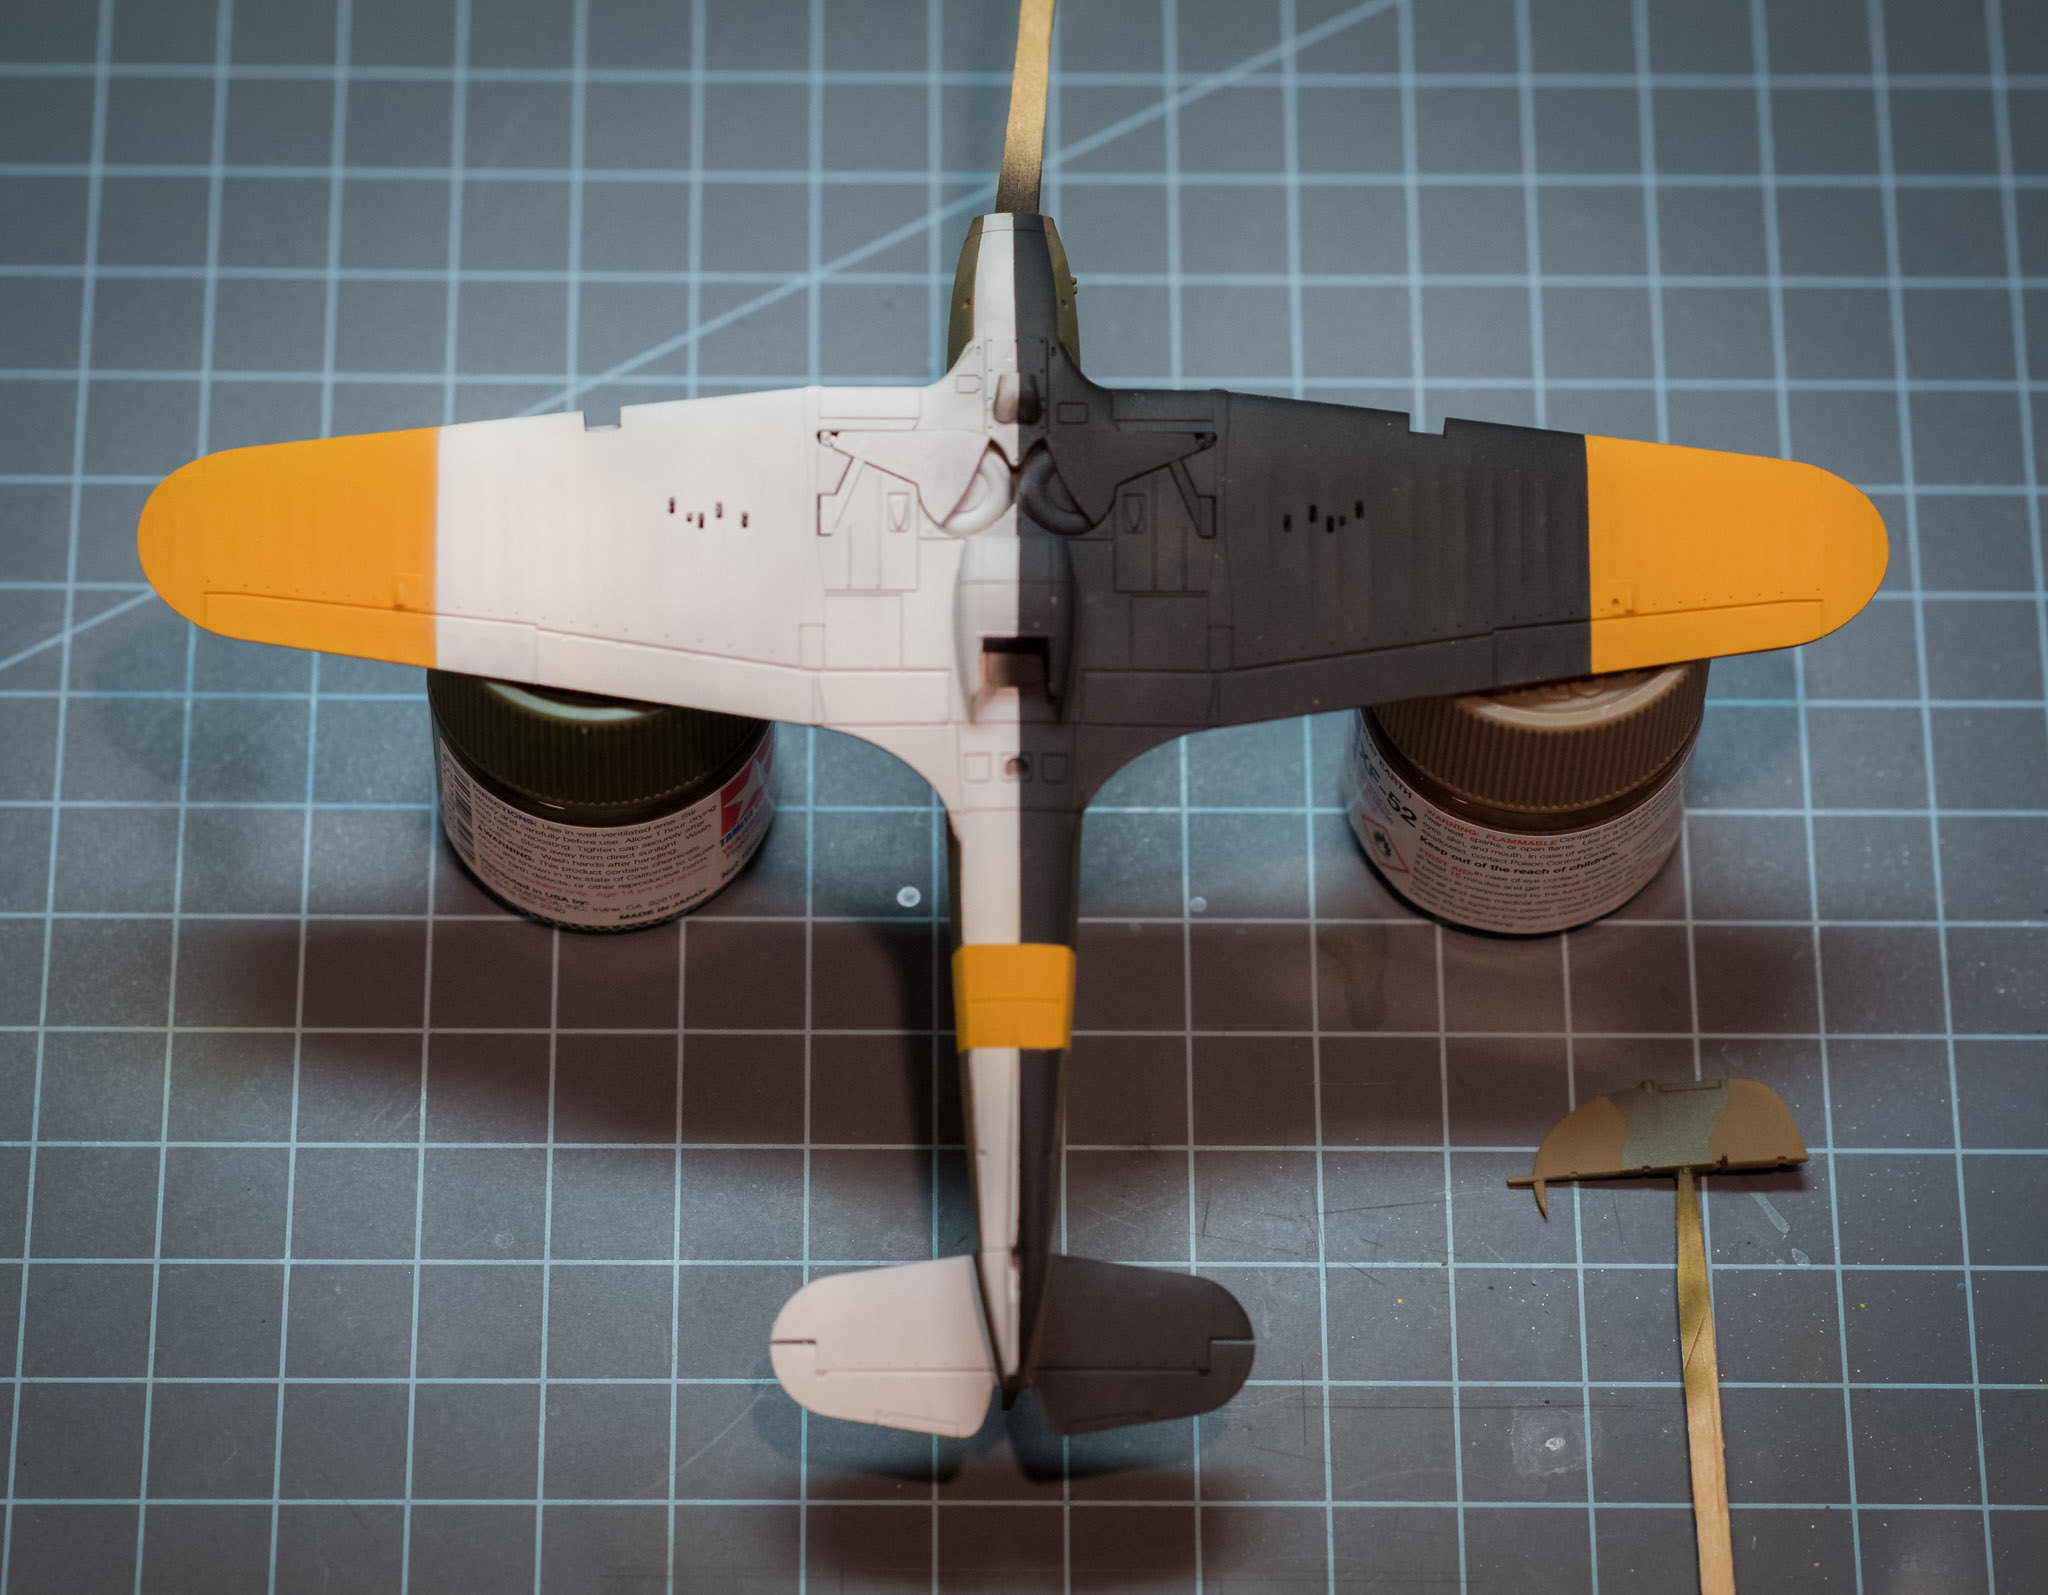
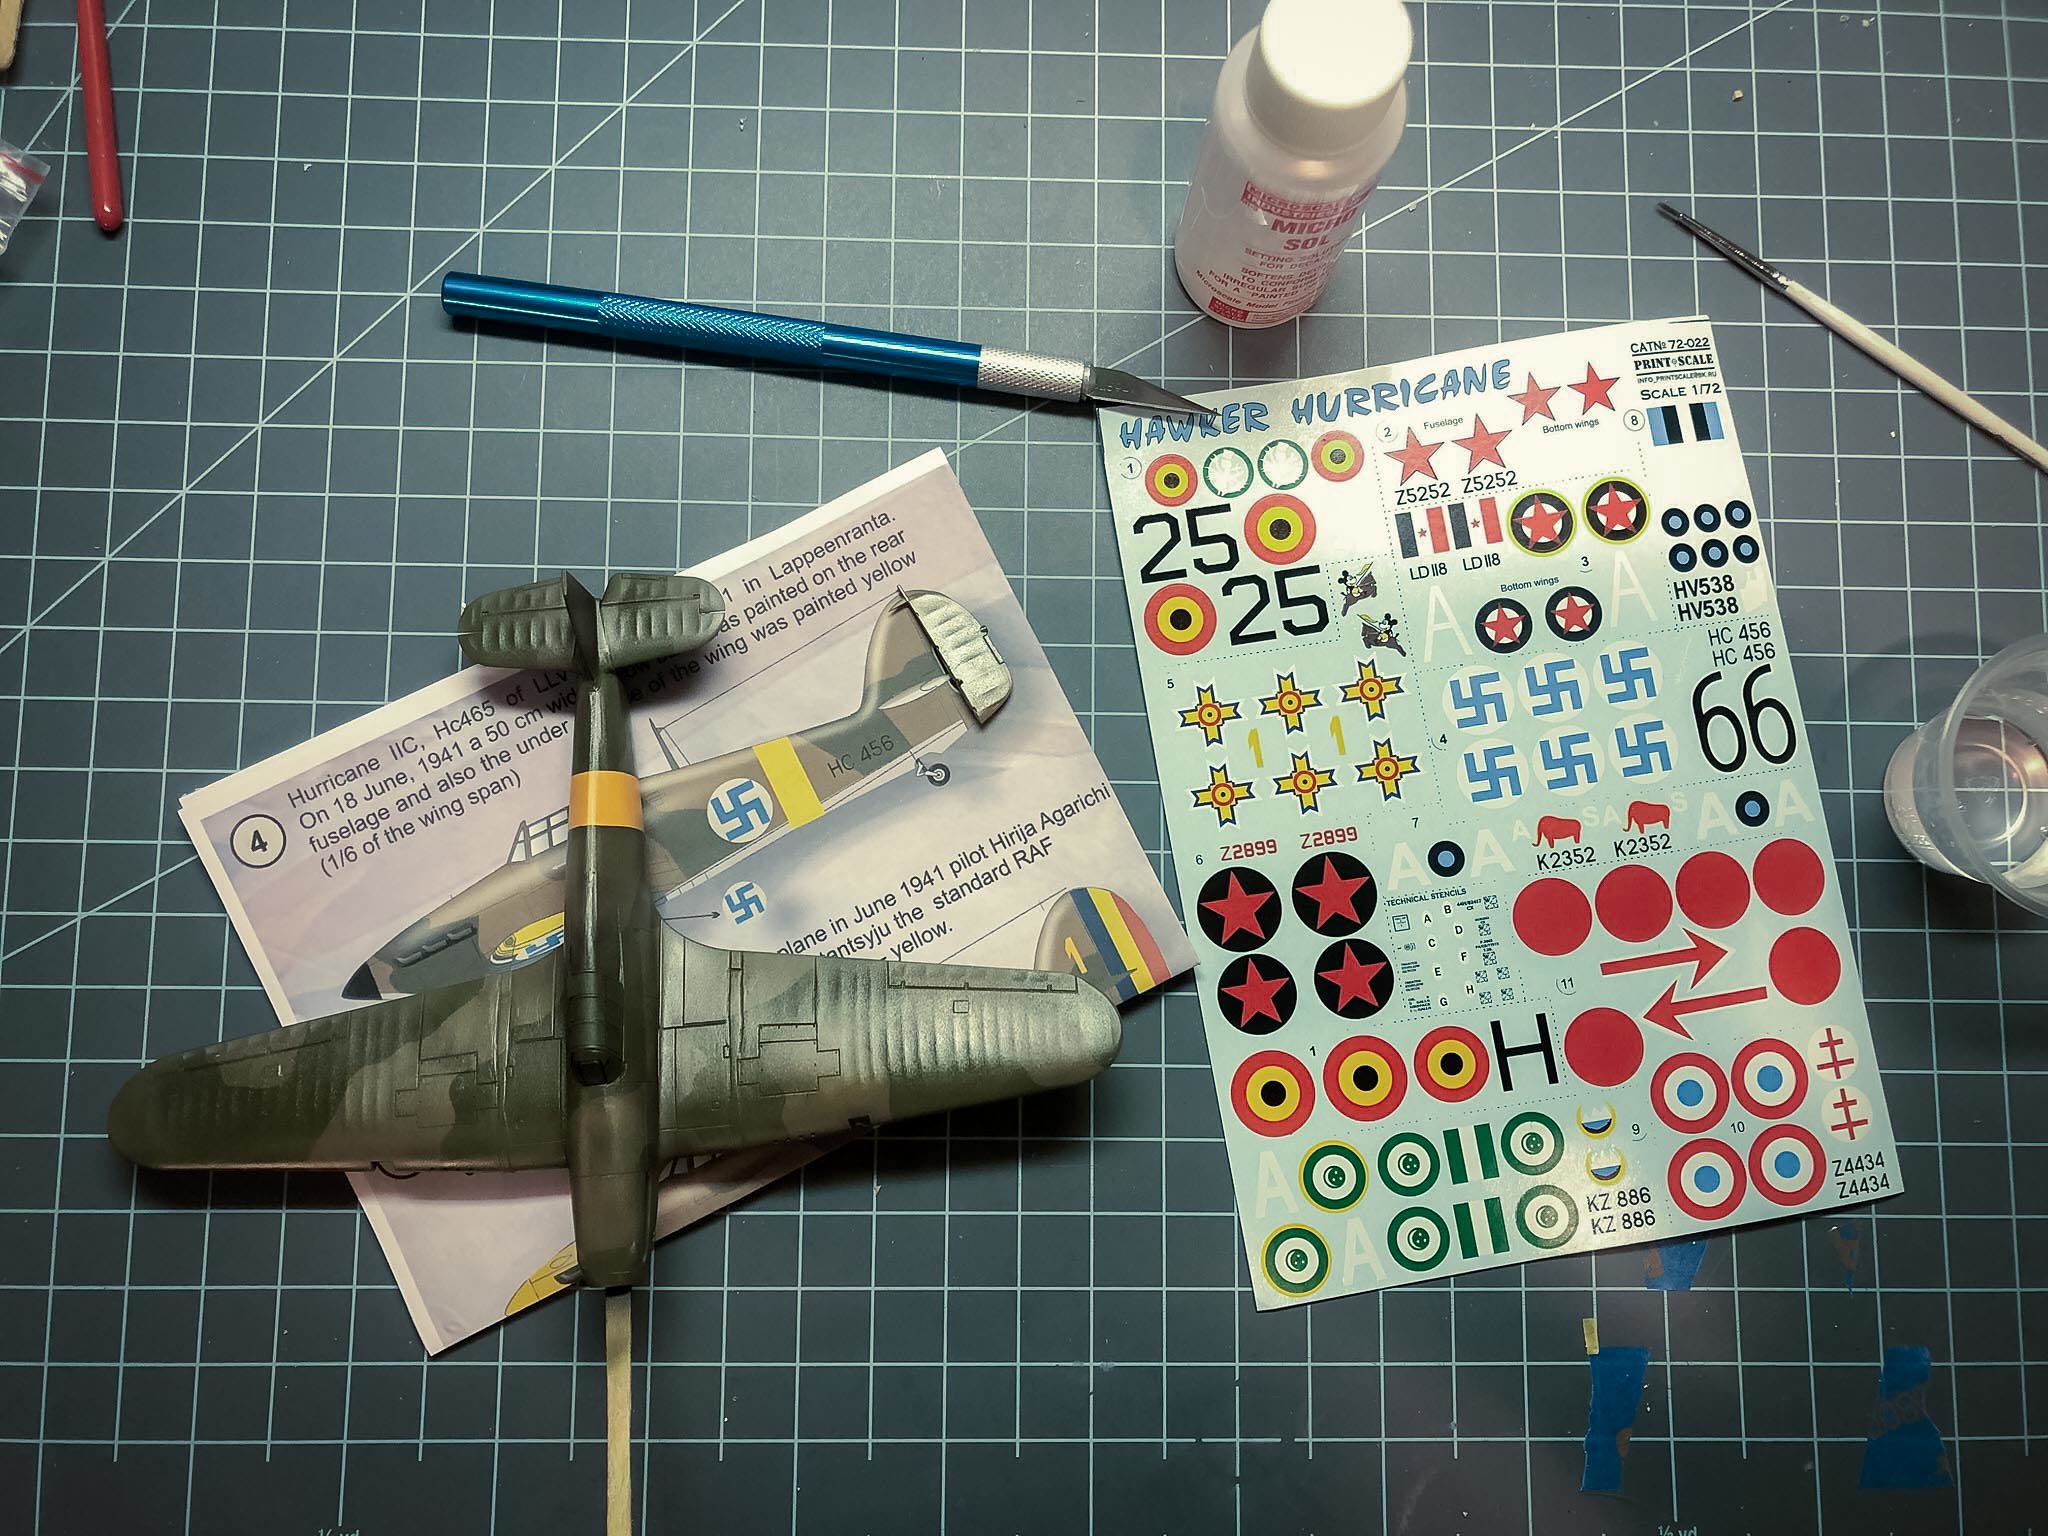
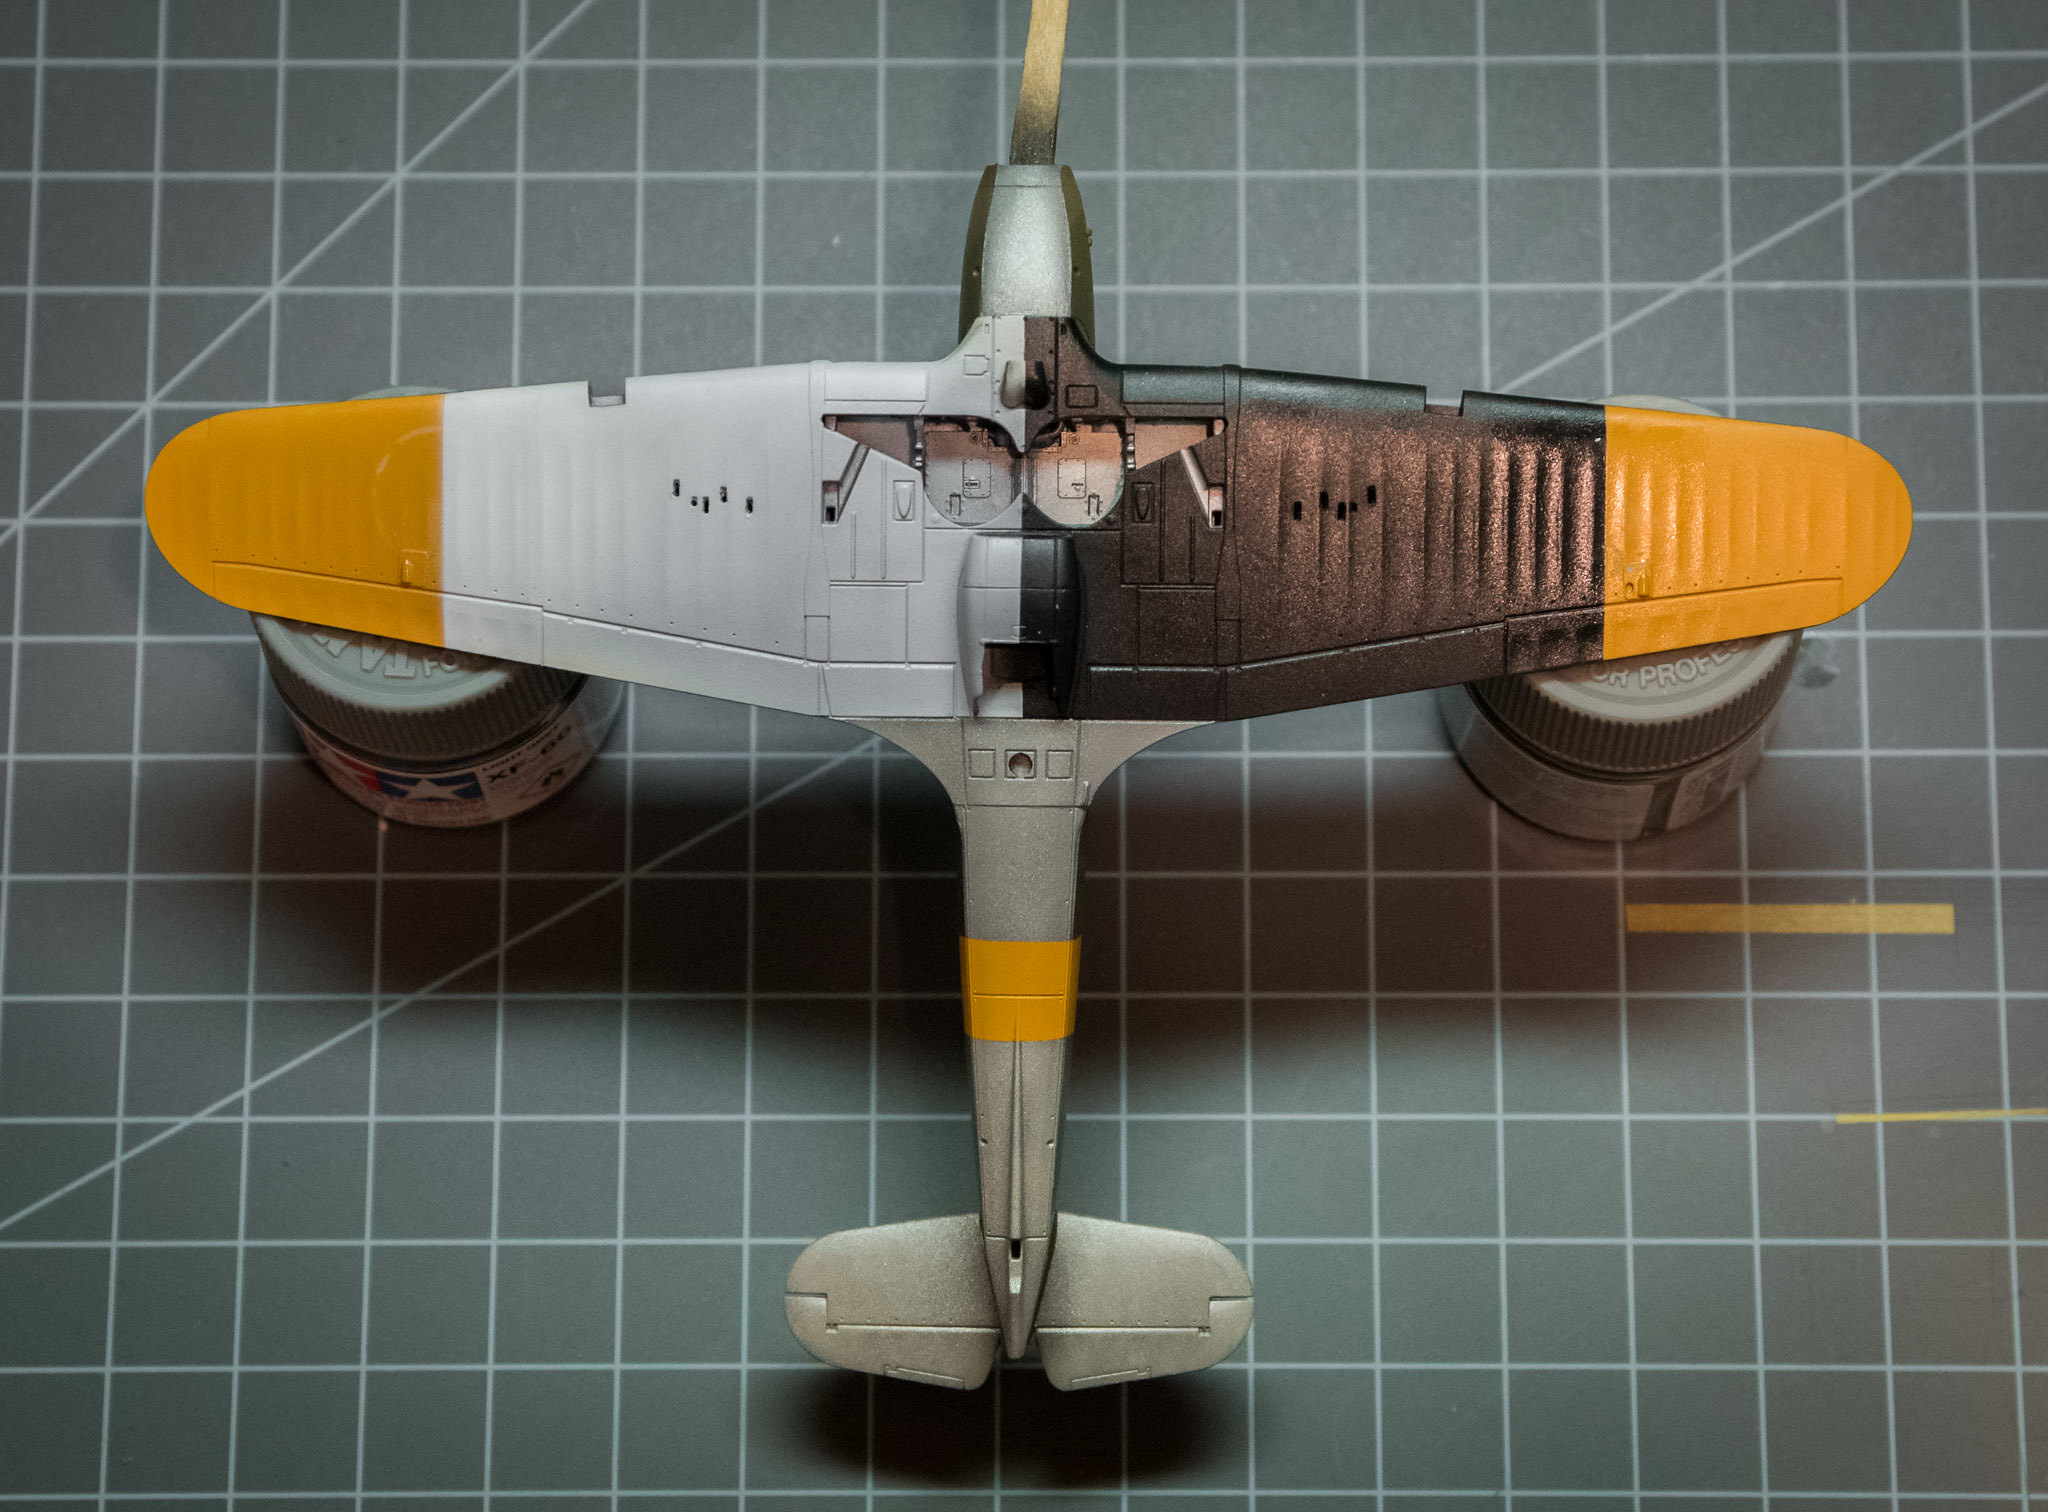
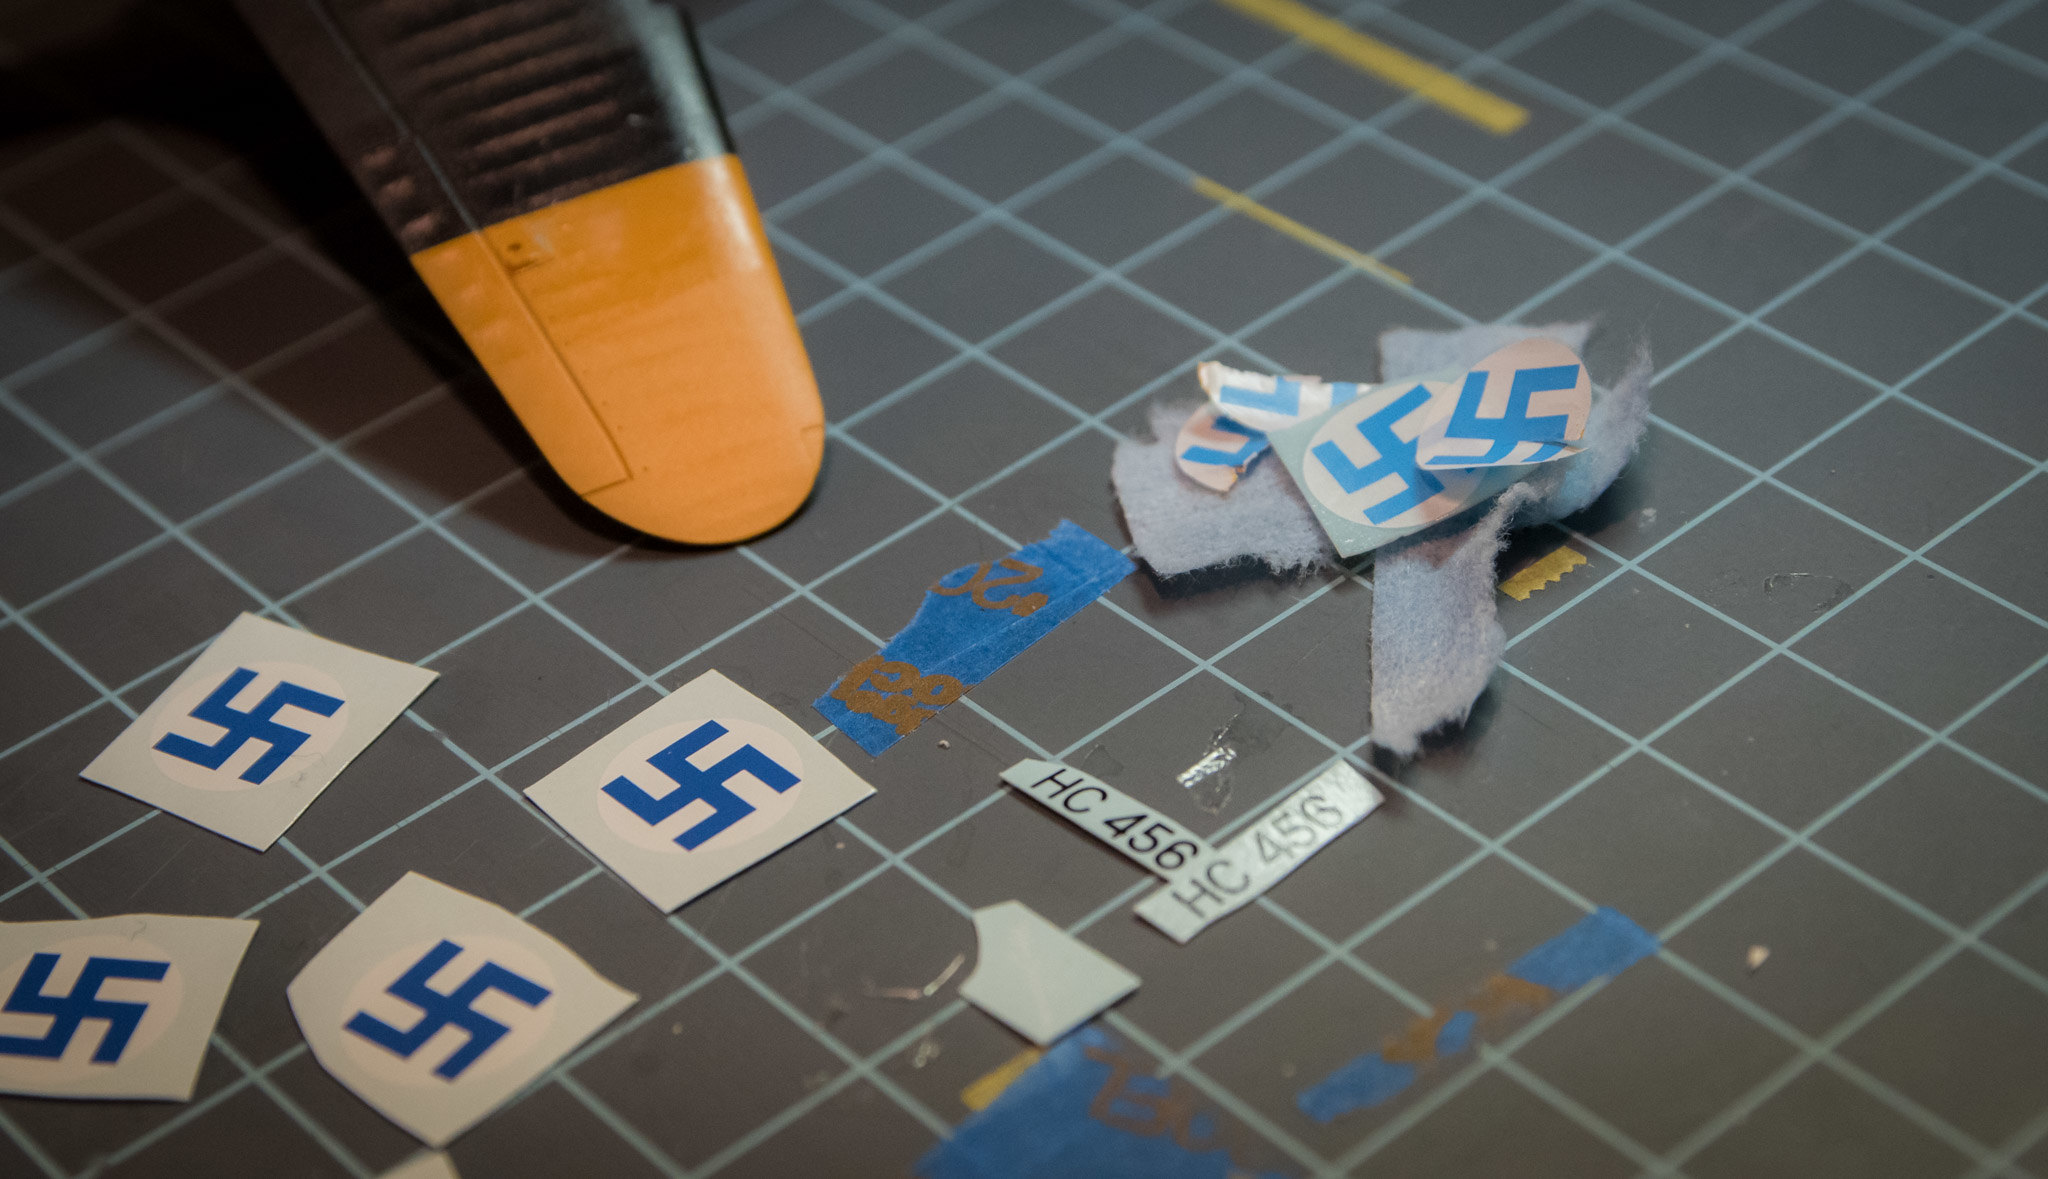
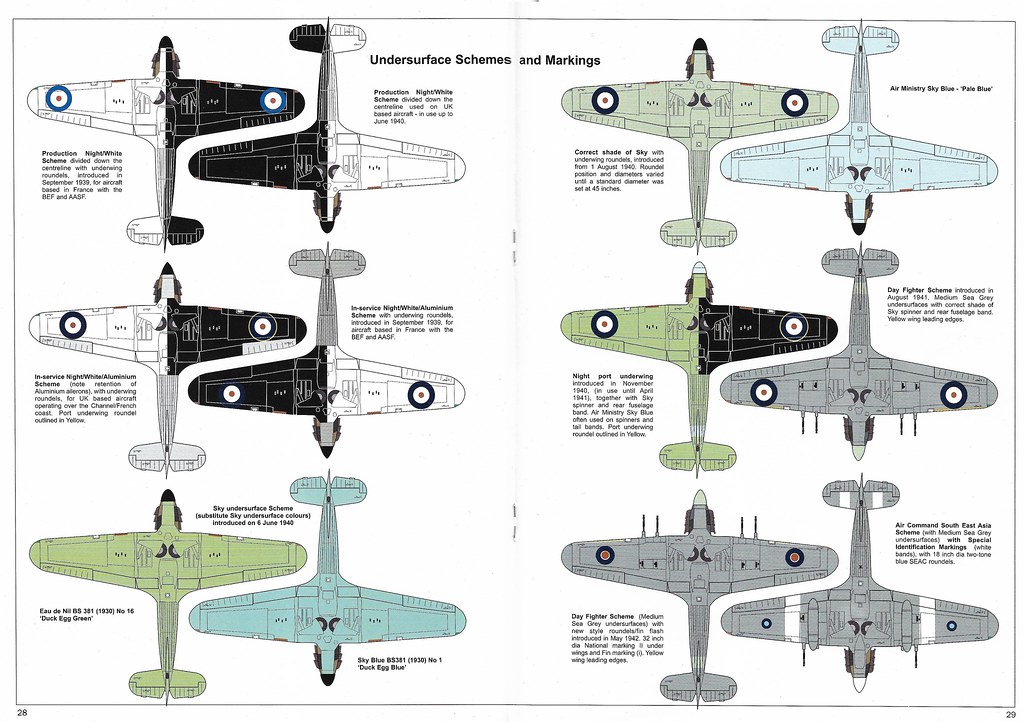
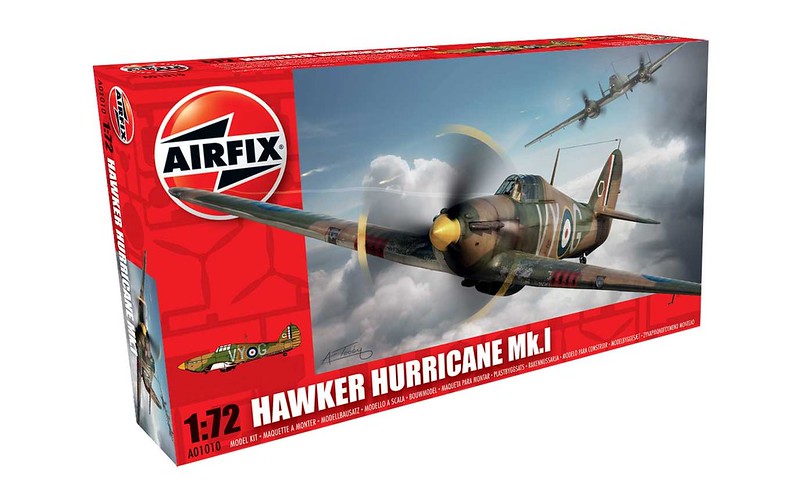
Impulse-bought this kit at the LHS for about $10, and liked the look of it so much I couldn’t put off starting it. Luckily my Ms.406 is in its final stages, which requires lots of waiting, so I have got a good jumpstart on this one. When I have time I’ll write up a post on the history of the dozen Hurricanes that GB sent to Finland in 1940; this model will be HC456, a fabric-winger, just after the re-start of hostilities in 1941. This mean she’ll have British paintwork and yellow “Eastern Front” ID stripes, along with standard Finnish serials and insignia.

There are two fabric-winged Airfix Hurricane MkI kits – this one, and another that includes an extra sprue of earlier parts (two-blade prop and an unarmored seat for example).

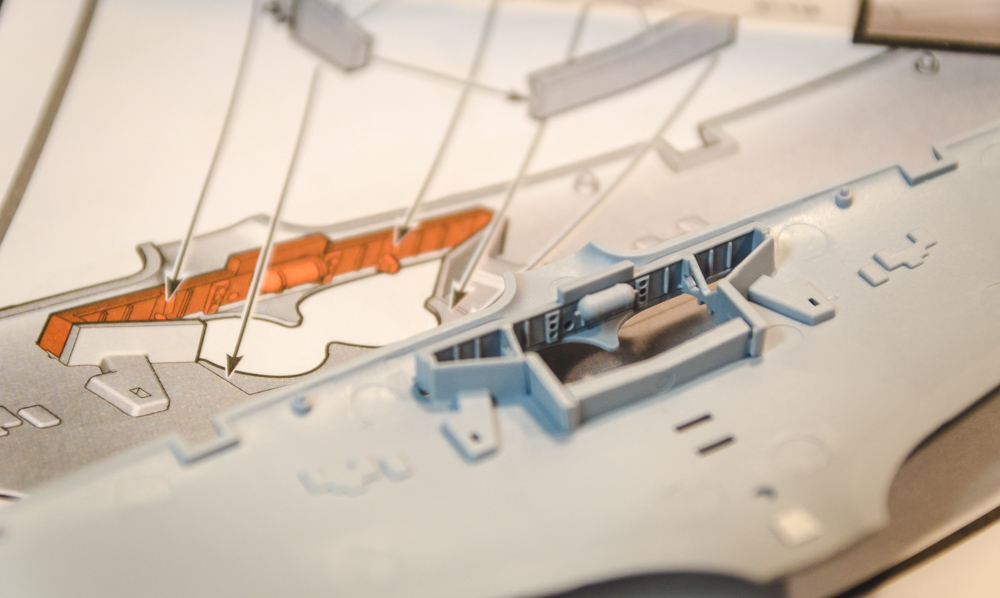
I also decided to jump into the photoetched metal world with this set from Eduard, which adds lots of detail to an already well-detailed kit (for 1/72). I won’t be using the flaps, as neither the RAF nor the FAF seemed to ever park their Hurricanes with the flaps lowered, from what I’ve seen in lots of period photos.
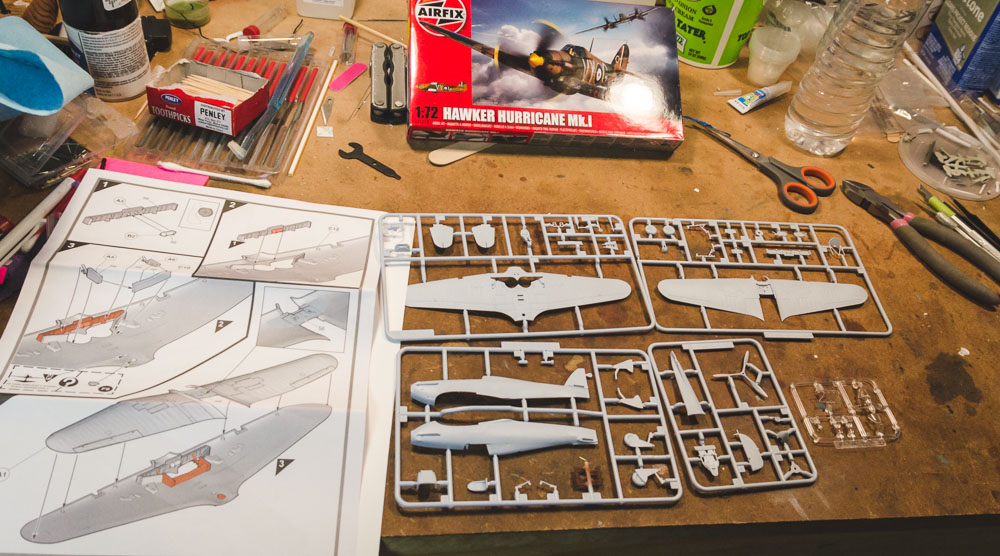
Box and sprue shot!

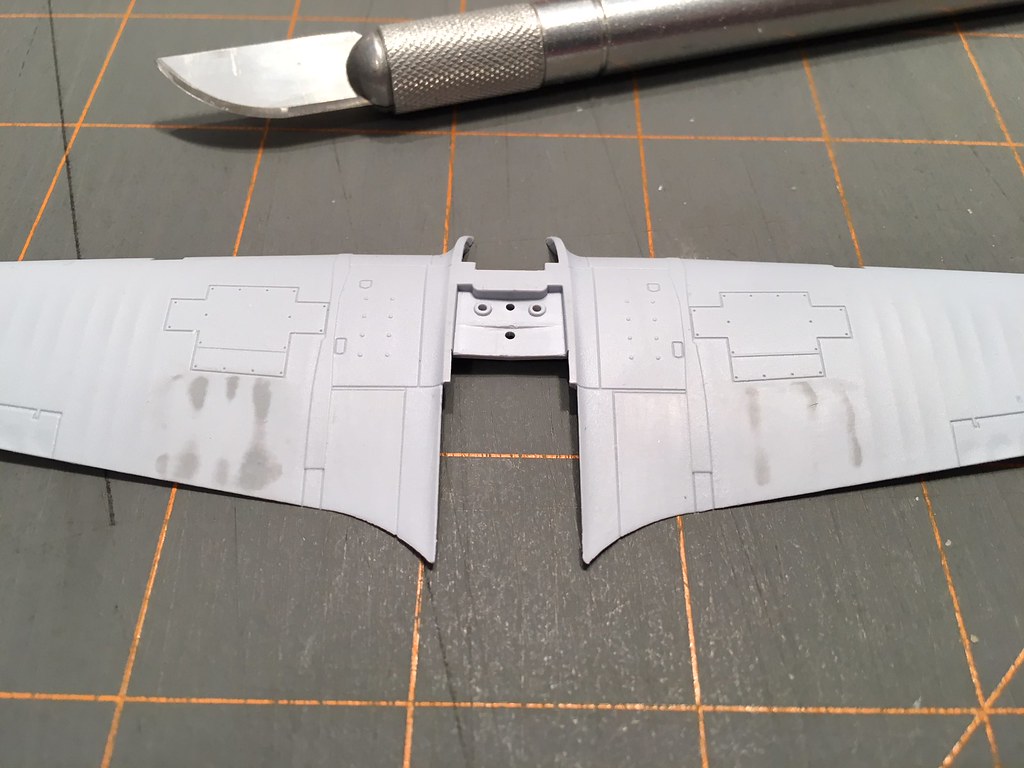
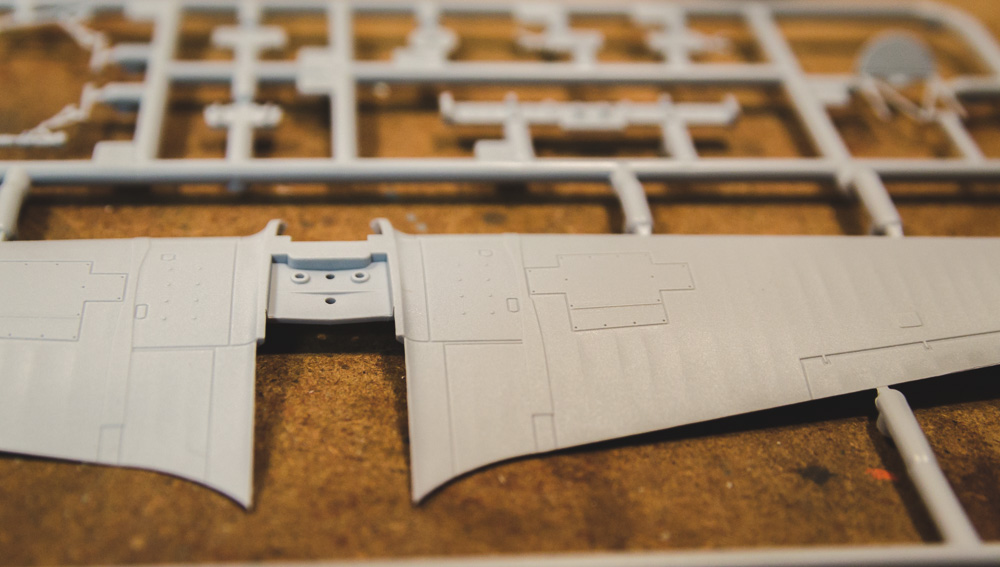
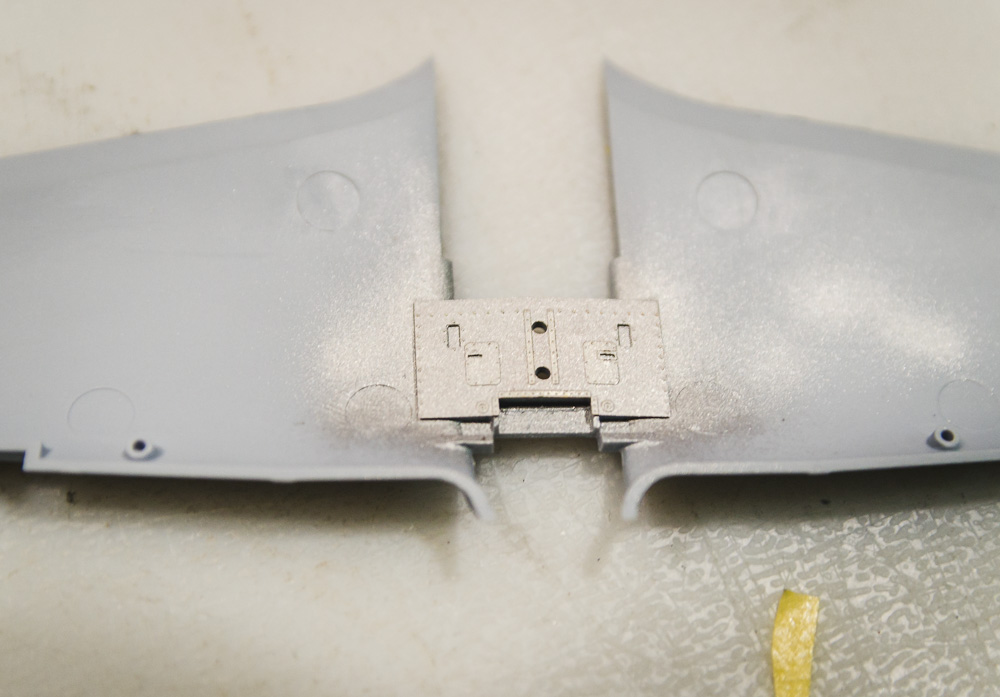
And right off the bat, the one big issue with these Airfix fabric-wing Hurricane kits: there should be metal panels ahead of and behind the MG access panels, for the crew to work on. The nice fabric wing detail is for some reason extended into these areas and must be filled in. There’s an excellent WIP thread on this same tool on the britmodeller site, which is how I knew about this and a few other issues – solutions in my thread are basically copied from there.

If it’s okay, here’s a link to the BM thread, with good period photo evidence and many other tips/warnings that I’m taking into account to build this model: http://www.britmodeller.com/forums/index.php?/topic/234967780-airfix-172-hawker-hurricane-mk1-fabric-wing/

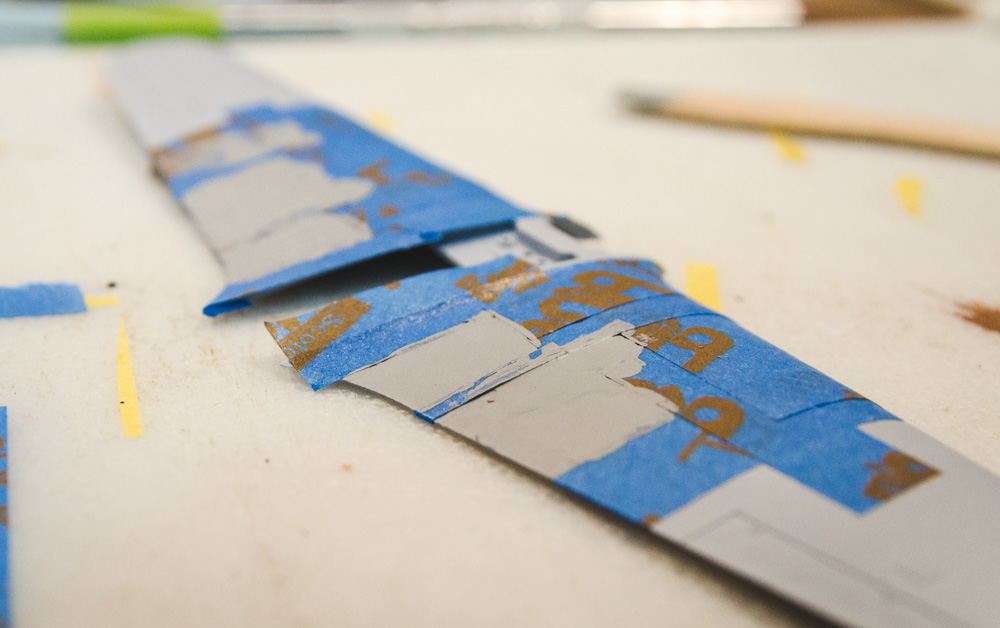
Here’s the “before” shot of my kit’s wing.

Masked and filled with basic Tamiya putty.

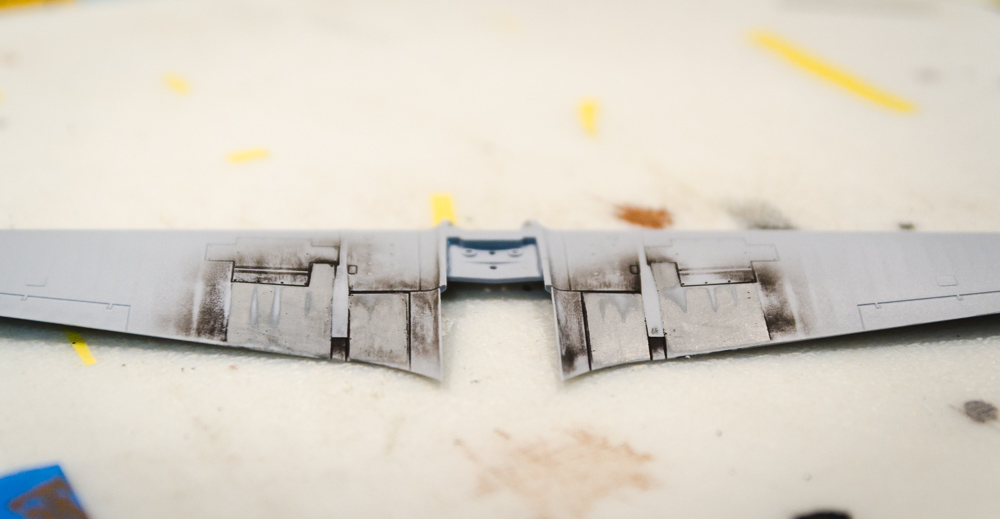
After it dried, I shaped it with a flat needle file and some 1000 grit wetsanding; shot it with a guide coat of flat black (leftover in the airbrush), and then sanded needy areas again:

Leading edge of wing, one side done:

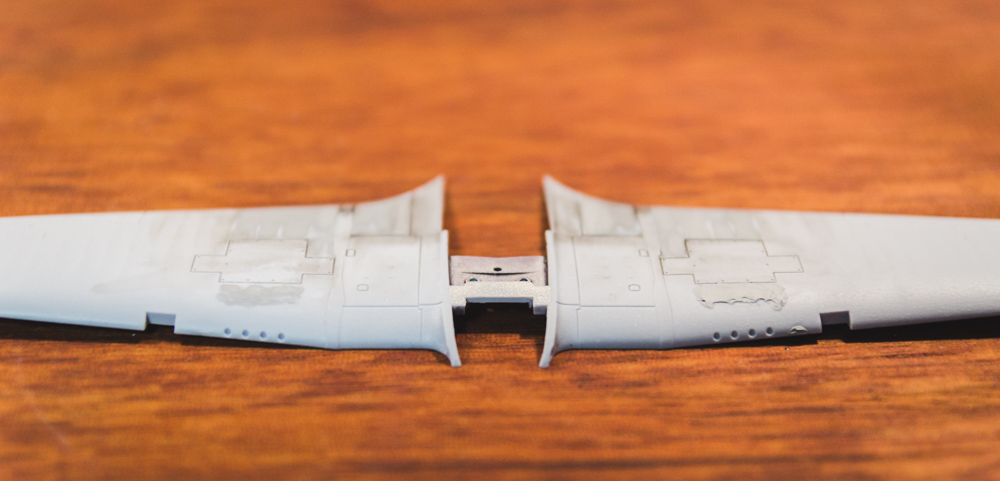
After it was sanded smooth, I had to scribe/rescribe some lines, using my new Tamiya line scriber. Much, much easier than a needle held in a pin vise, but it still needs a good straightedge and some practice. It’s easy to get wavy lines. Here’s my first attempt, revealed by a grey guide coat. I filled it back in with CA glue and rescribed, but haven’t rephotographed it yet.

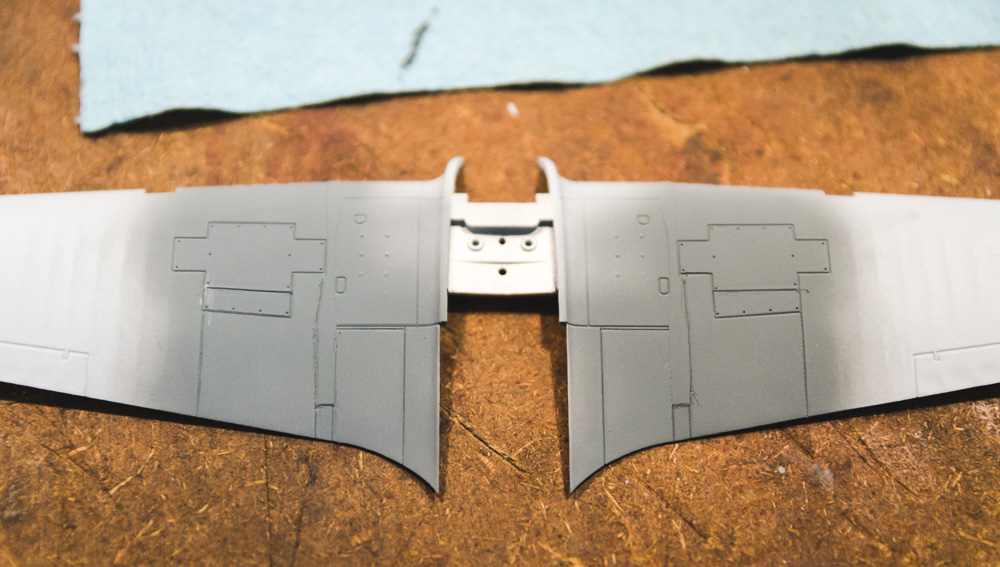
The bottom wing landing gear bay is the first assembly work. The parts need a little fitting, and care must be taken: how these parts fit will really have an impact on how well the top and bottom wings match up. Pay special attention to the foremost “wall” of the bay – it needs to be tilted forward a bit if possible, or I twill force the top wing back out of alignment.

Also on the bottom wing is a hole for a small light. Here is another trick gleaned from that BM thread. Rather than gluing the clear part in now and then masking it for the rest of the build, I put a small bit of styrene backing over the hole and will then glue the light in place from outside at the end of the build.

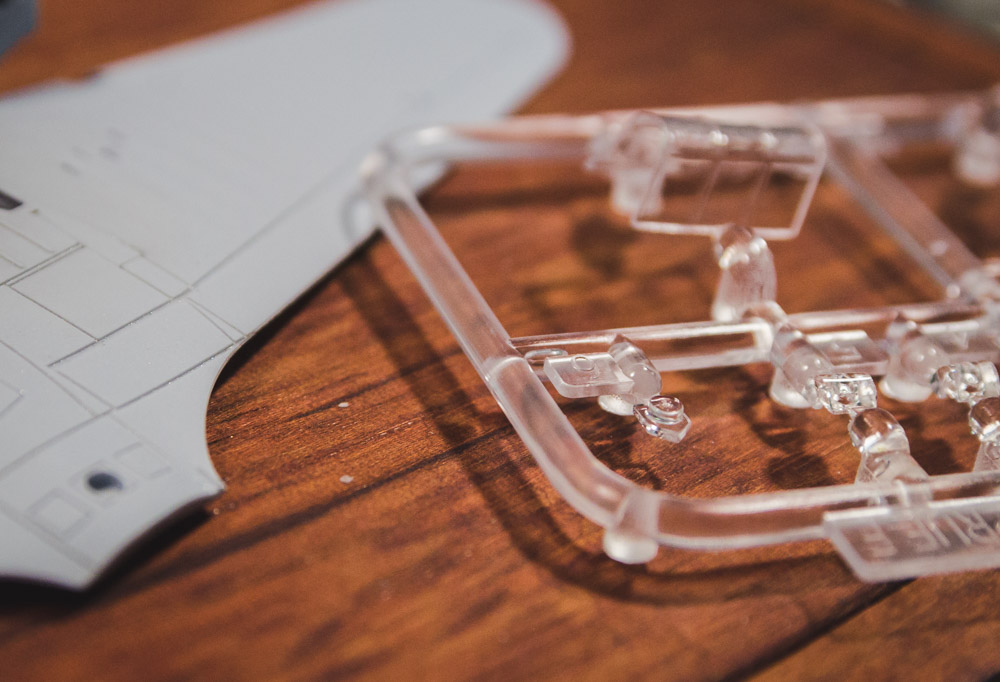
Here’s the clear part:

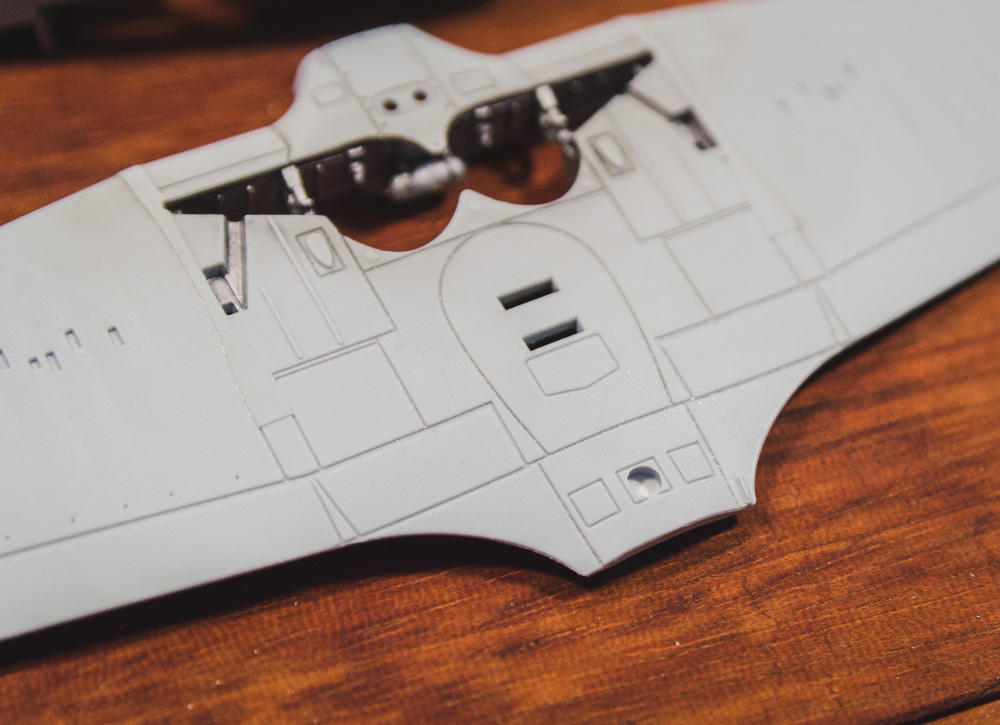
Where it goes (also a peek at the painted landing gear bay):

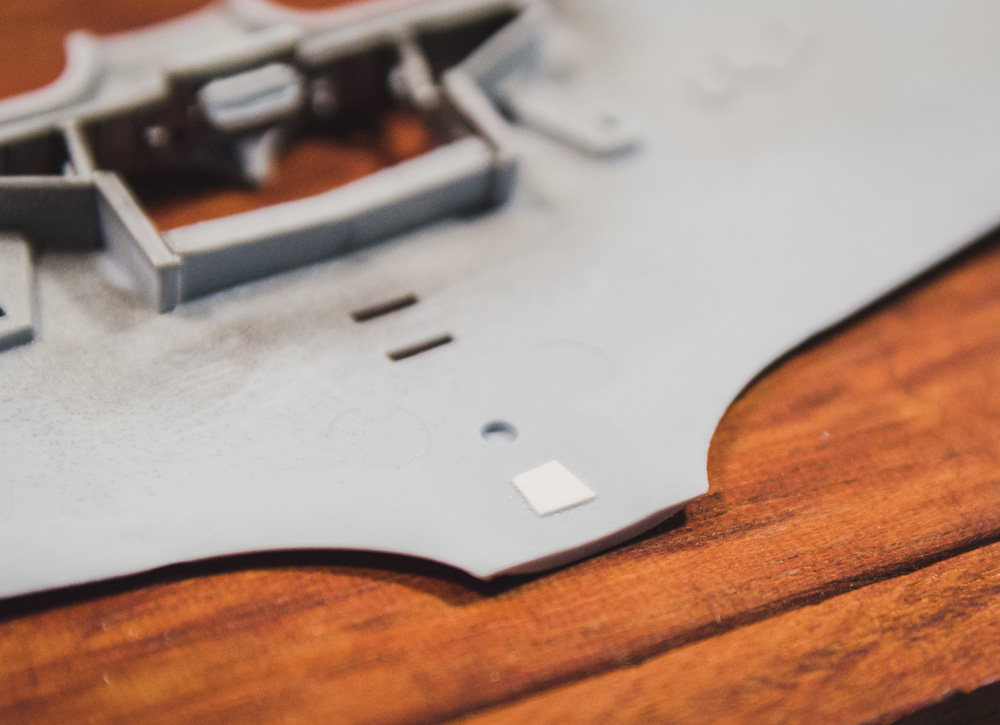
And the styrene backing:

The first PE piece I used went onto the bottom wing half. It’s the roof of the landing gear bay. Easy enough to bend to fit. Notice the ejector pin marks on either side – these ARE visible through the gear opening, so fill/sand them before painting, or afterwards, like I did, and then just repaint. [:^)]

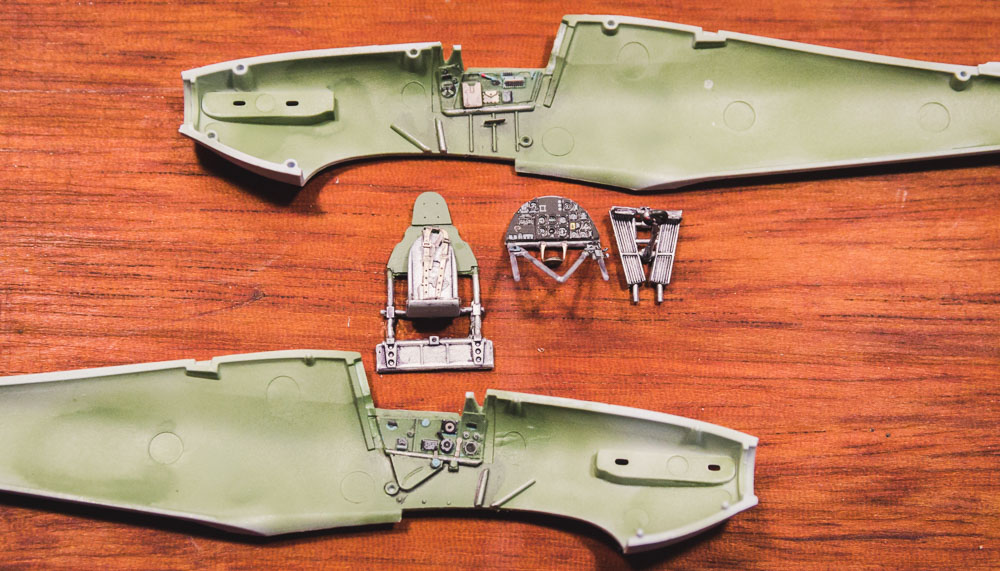
The cockpit detailing went pretty well. Only lost a 2 or 3 of the PE parts, although I dropped one of the lap belts twice (!) and had to have my wife help me find it.

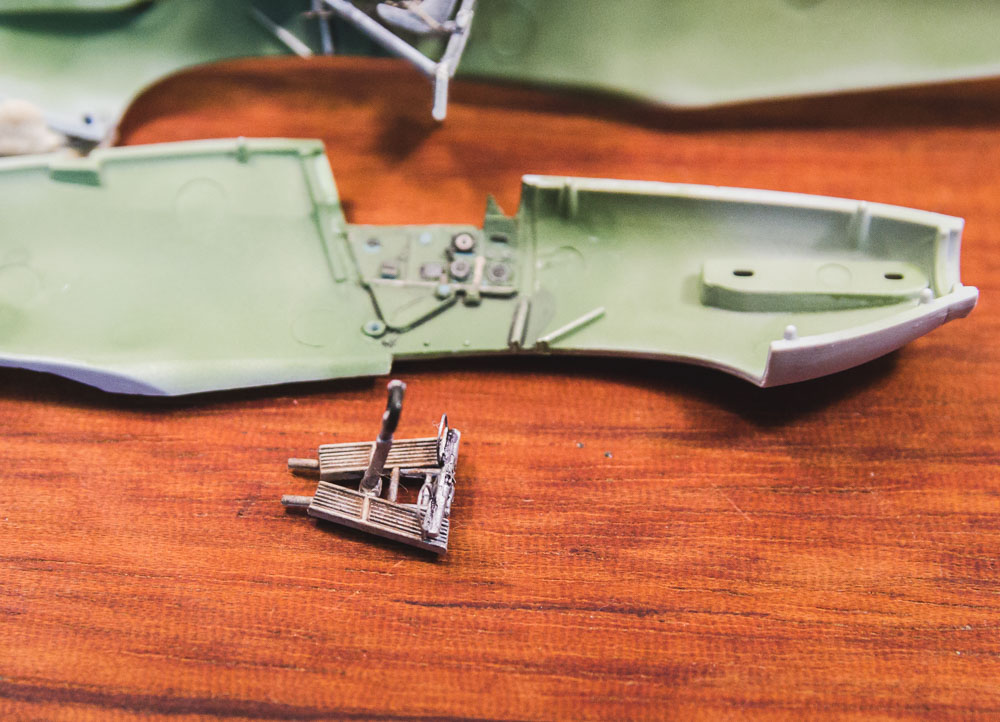
The instrument panel is quite nice, multi-level, with good instruments. I neglected to put a tiny spacer in the compass, so it is a little flat. Too late! Here the floorboards, PE rudder pedals, and yoke are sprayed in Tamiya flat aluminum.

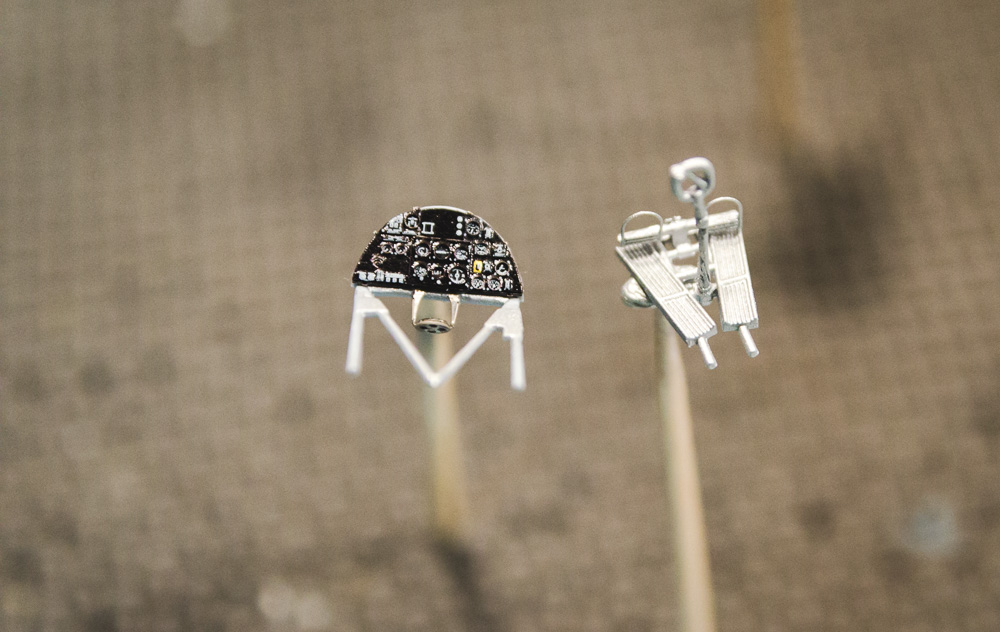
The pre-painted Eduard photo etch is great except for the “cockpit green” which has a rather ugly inkjet pattern to it, and didn’t match my paint anyway. After gluing in place, I resprayed the sidewalls with the Tamiya “cockpit green” and then, after letting it dry for a minute or two, I used a toothpick dipped in thinner to scrub the instruments clean.

The seat back bulkhead seemed to have a little too much armor on it. The Finnish Hurricanes arrived without pilot armor, but it was installed in 4/40, before hostilities. This bird did have it – but photos of the original Finnish Hurricane don’t seem to match the kit.

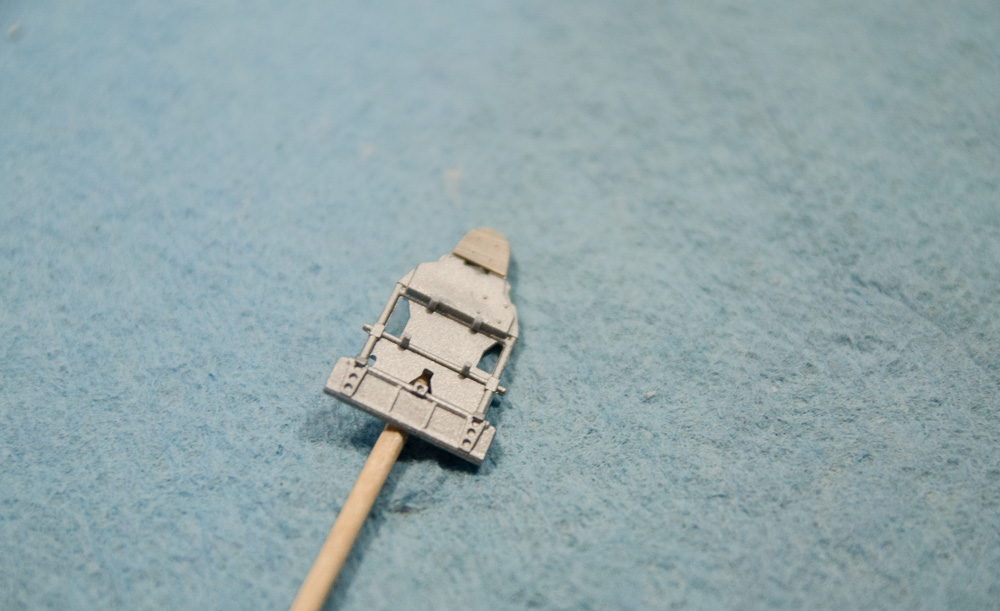
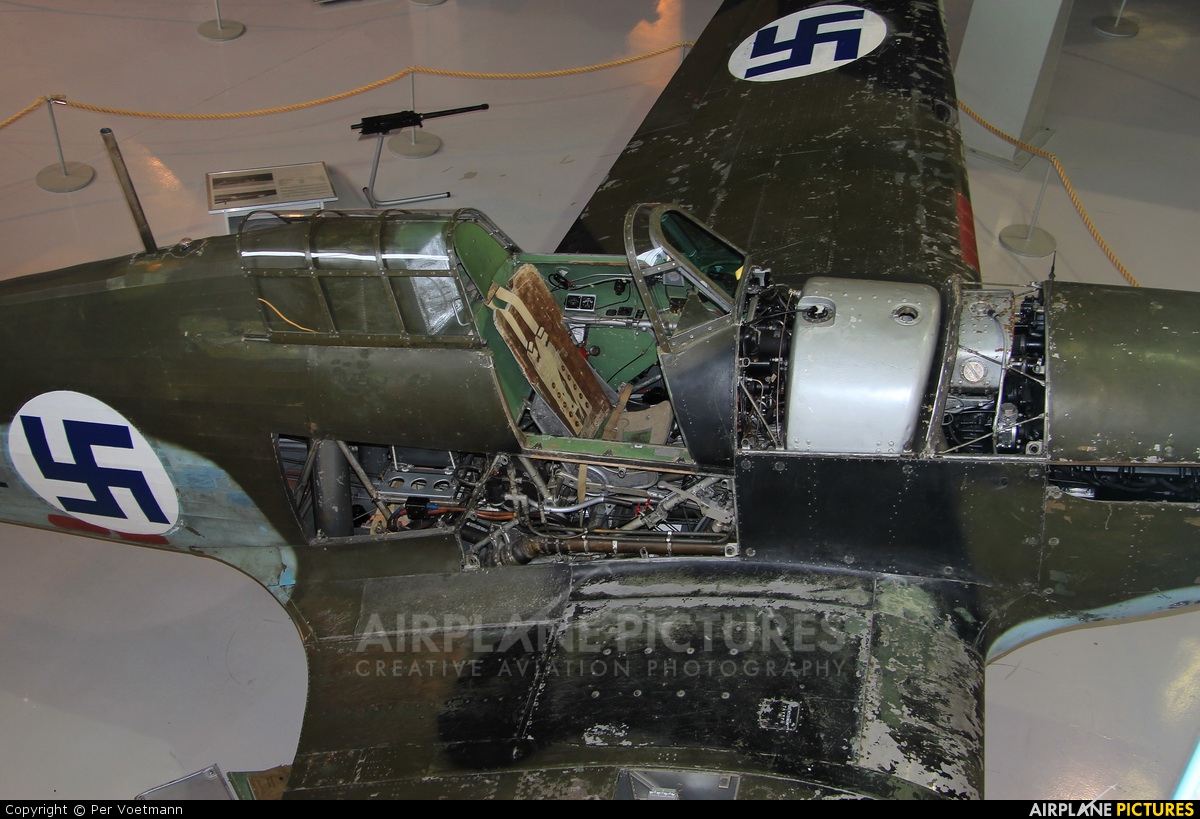
So I cut/filed off the extra armor, leaving only the headrest armor PE part to match the actual example. (If I’d bought the other Airfix MkI kit, it has this part, w/o armor, included.) Here it is repainted (hand brushed for now) along with the seat and belts.

Notice the dark spot on the back of the seat. CA glue sticks to Tamiya paint better than Tamiya paint sticks to plastic, and it will peel it right off. The good news is, it looks even more like the real thing, now! Except for that dang leather (?) cushion in the other photos… never mind that…

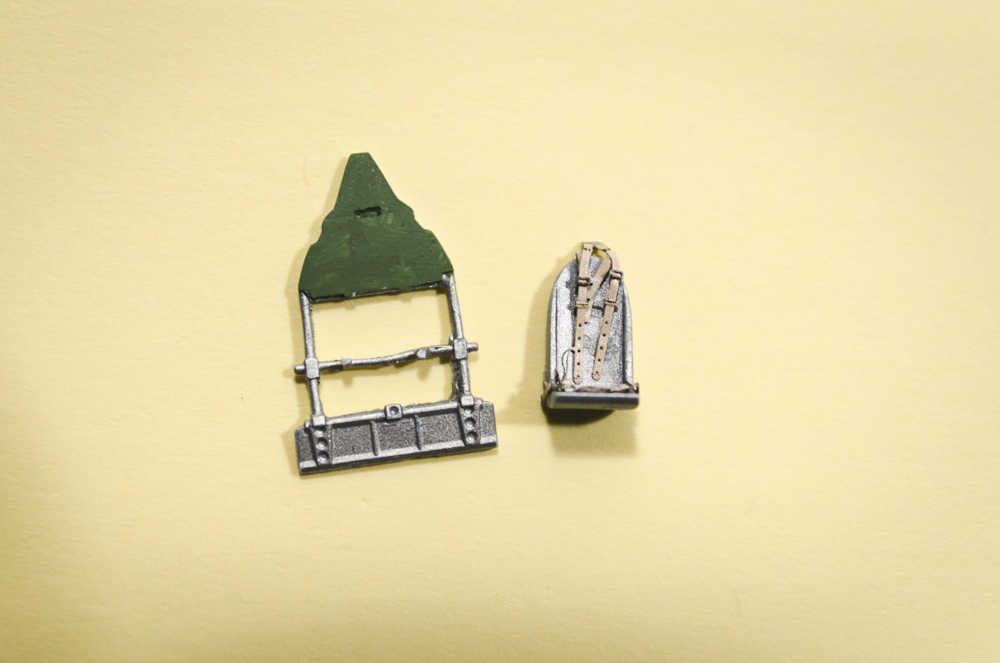
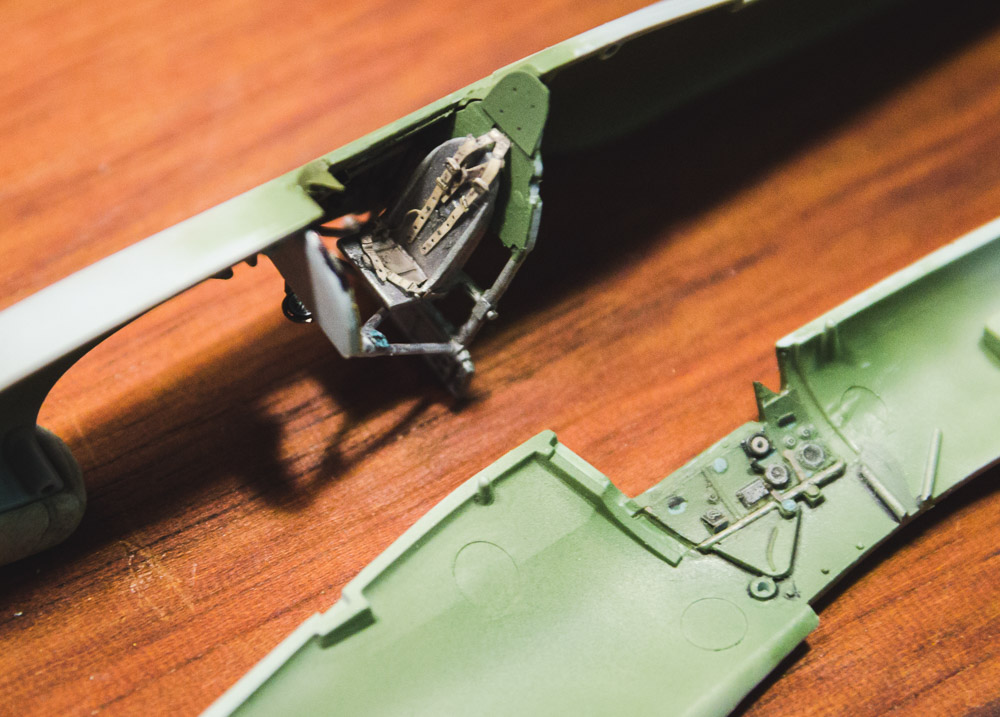
And now everything ready for assembly. Between the above steps and these photos are a final “cockpit green” spray for the seat back bulkhead and headrest armor, a Future coat, a wash with “The Detailer, black”, touch ups, dull coat, and lastly a dirt dusting with ground pastels.

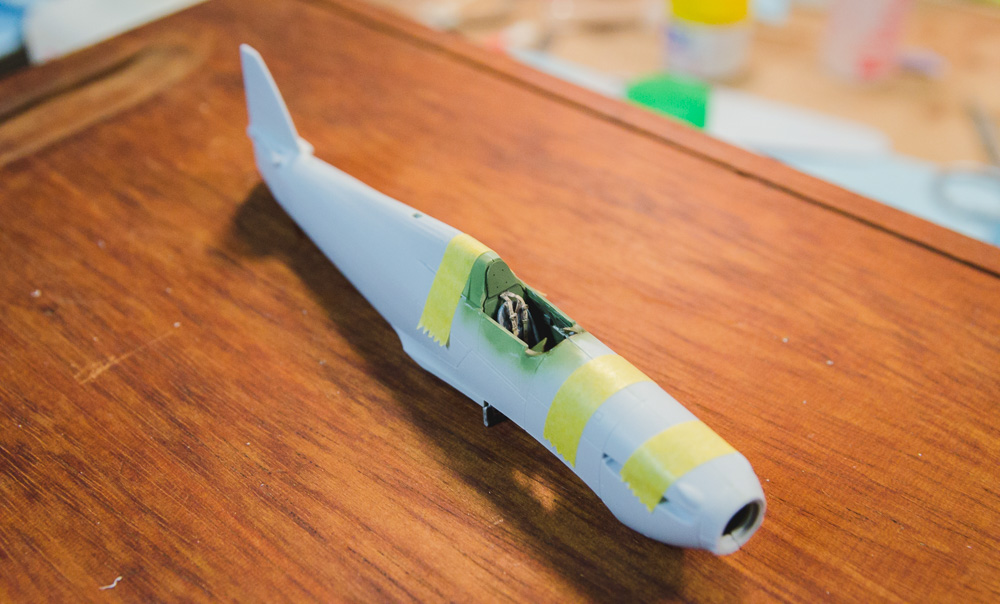
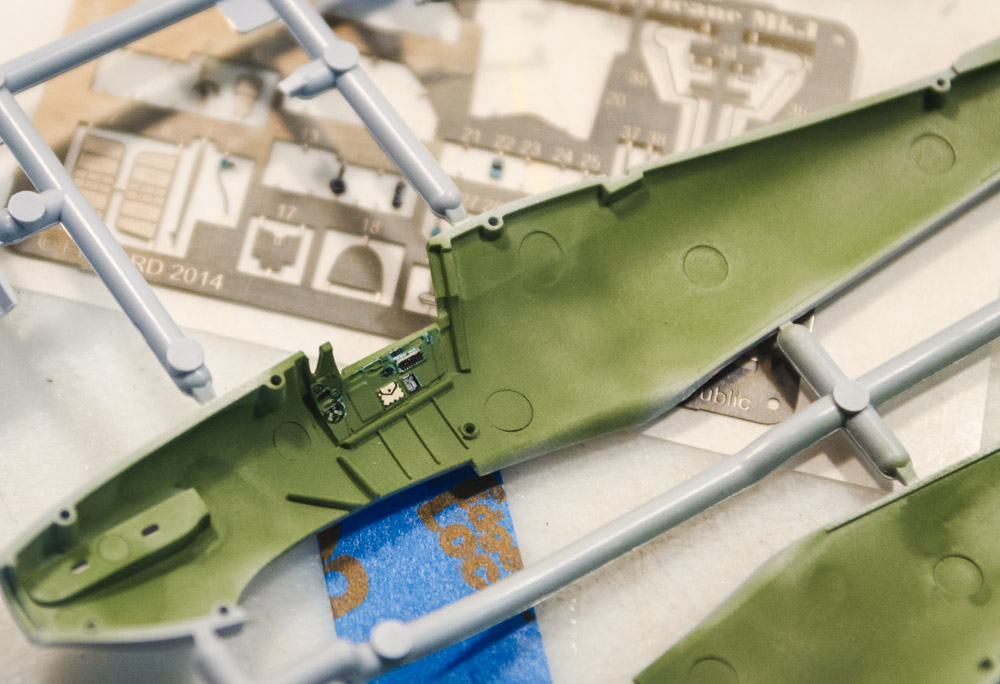
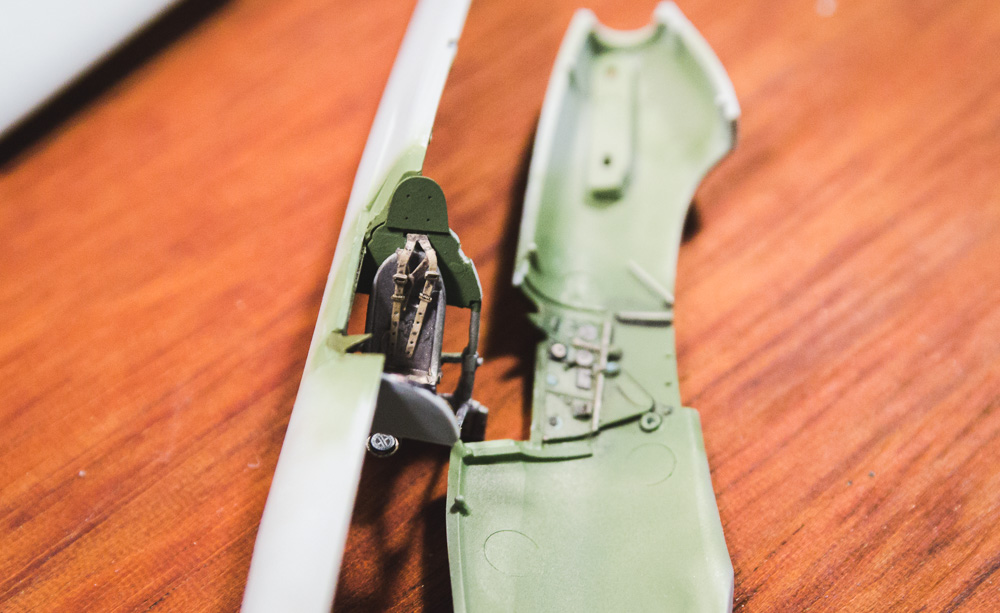
And now assembly. As I installed each part, after lots of test fitting, I only glued one side but pressed the fuselage halves together tightly to hold the interior parts in good position while the CA glue set. Care needs to be taken with these assemblies, as the PE makes some parts thicker than the recesses they are supposed fit into, and in some cases overlaps the recesses. Lots of small adjustments were made to get everything to fit tight.
Also shaped and thinned the gunsight cross-bar (will add a small bit of “tubing” once fuse halves are glued). The fuselage skin that extends across here, underneath the windscreen, is outer fuselage color, not cockpit green.

Need to figure out what to do about a sight – what the Finnish Hurricanes had. Time to hit the books.

I took lots of photos of this since a lot of it will be hidden once everything is buttoned up. I do plan to install the canopy open.

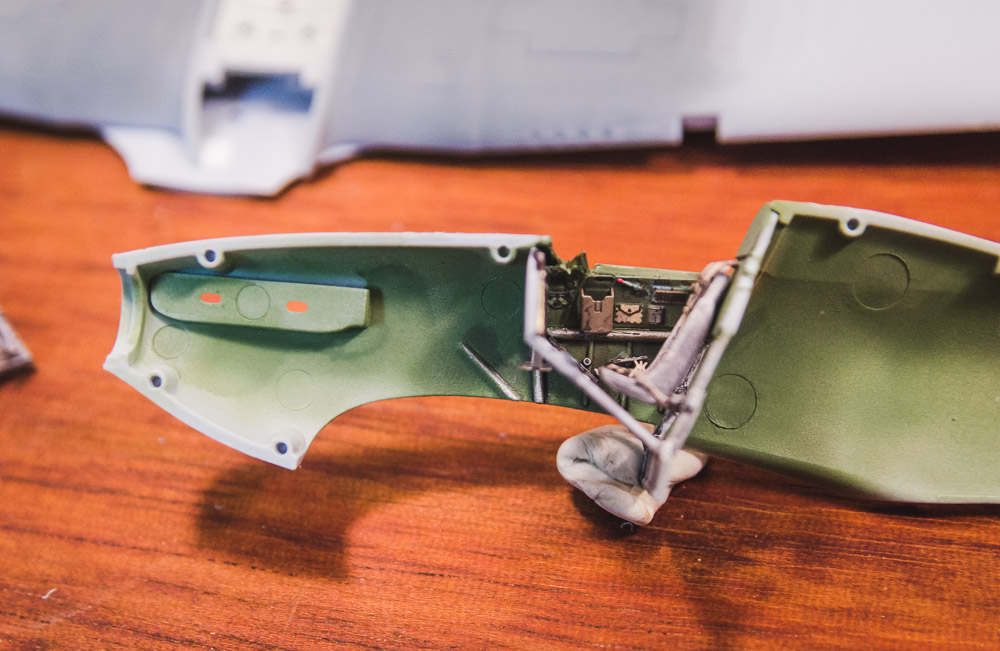
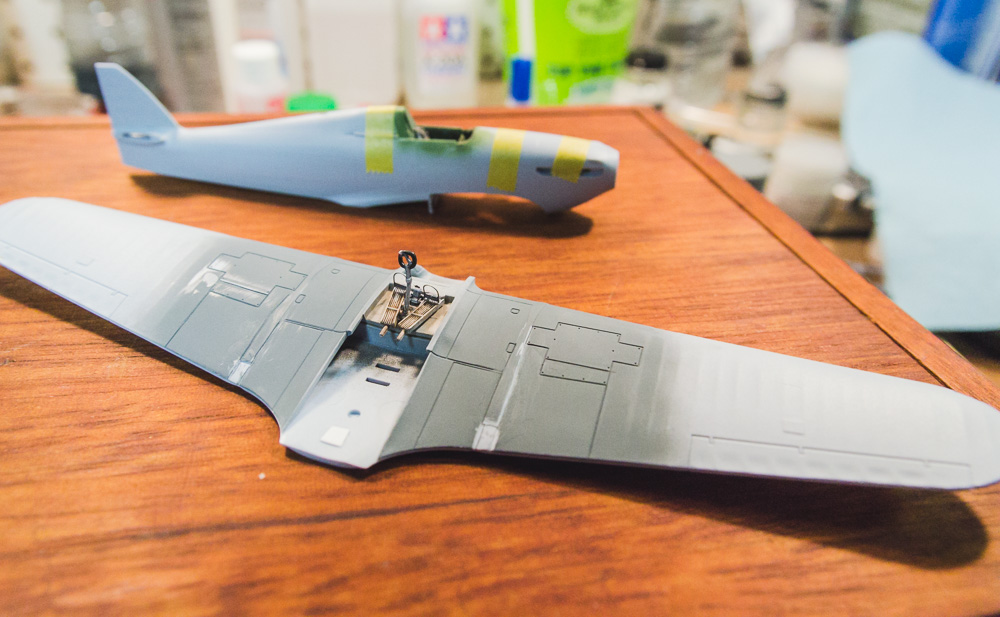
Floorboards with a nice coat of dirt. These attach to the wing and come up through fuselage bottom. That’ll be tricky, I can already tell.

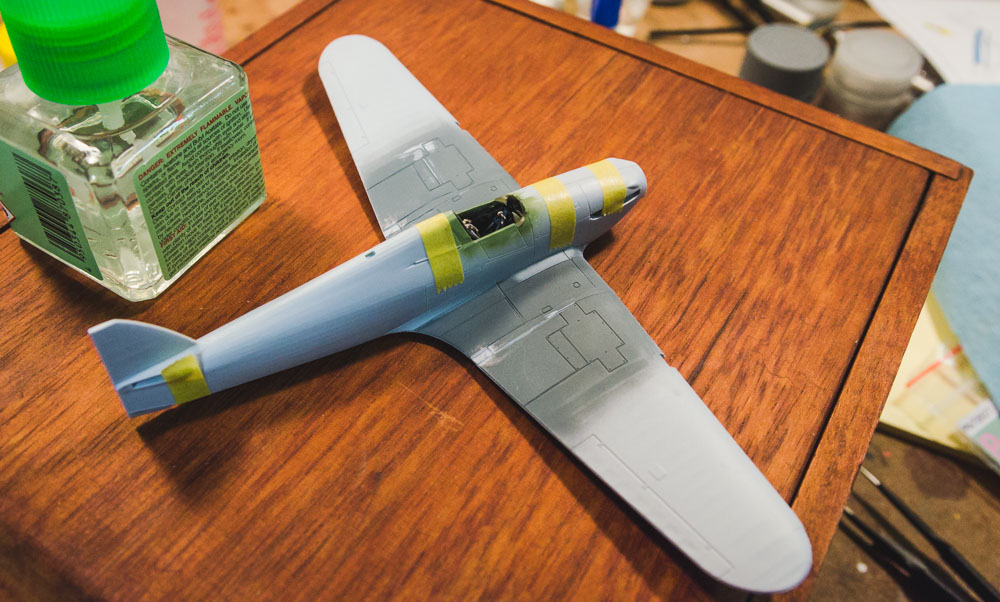
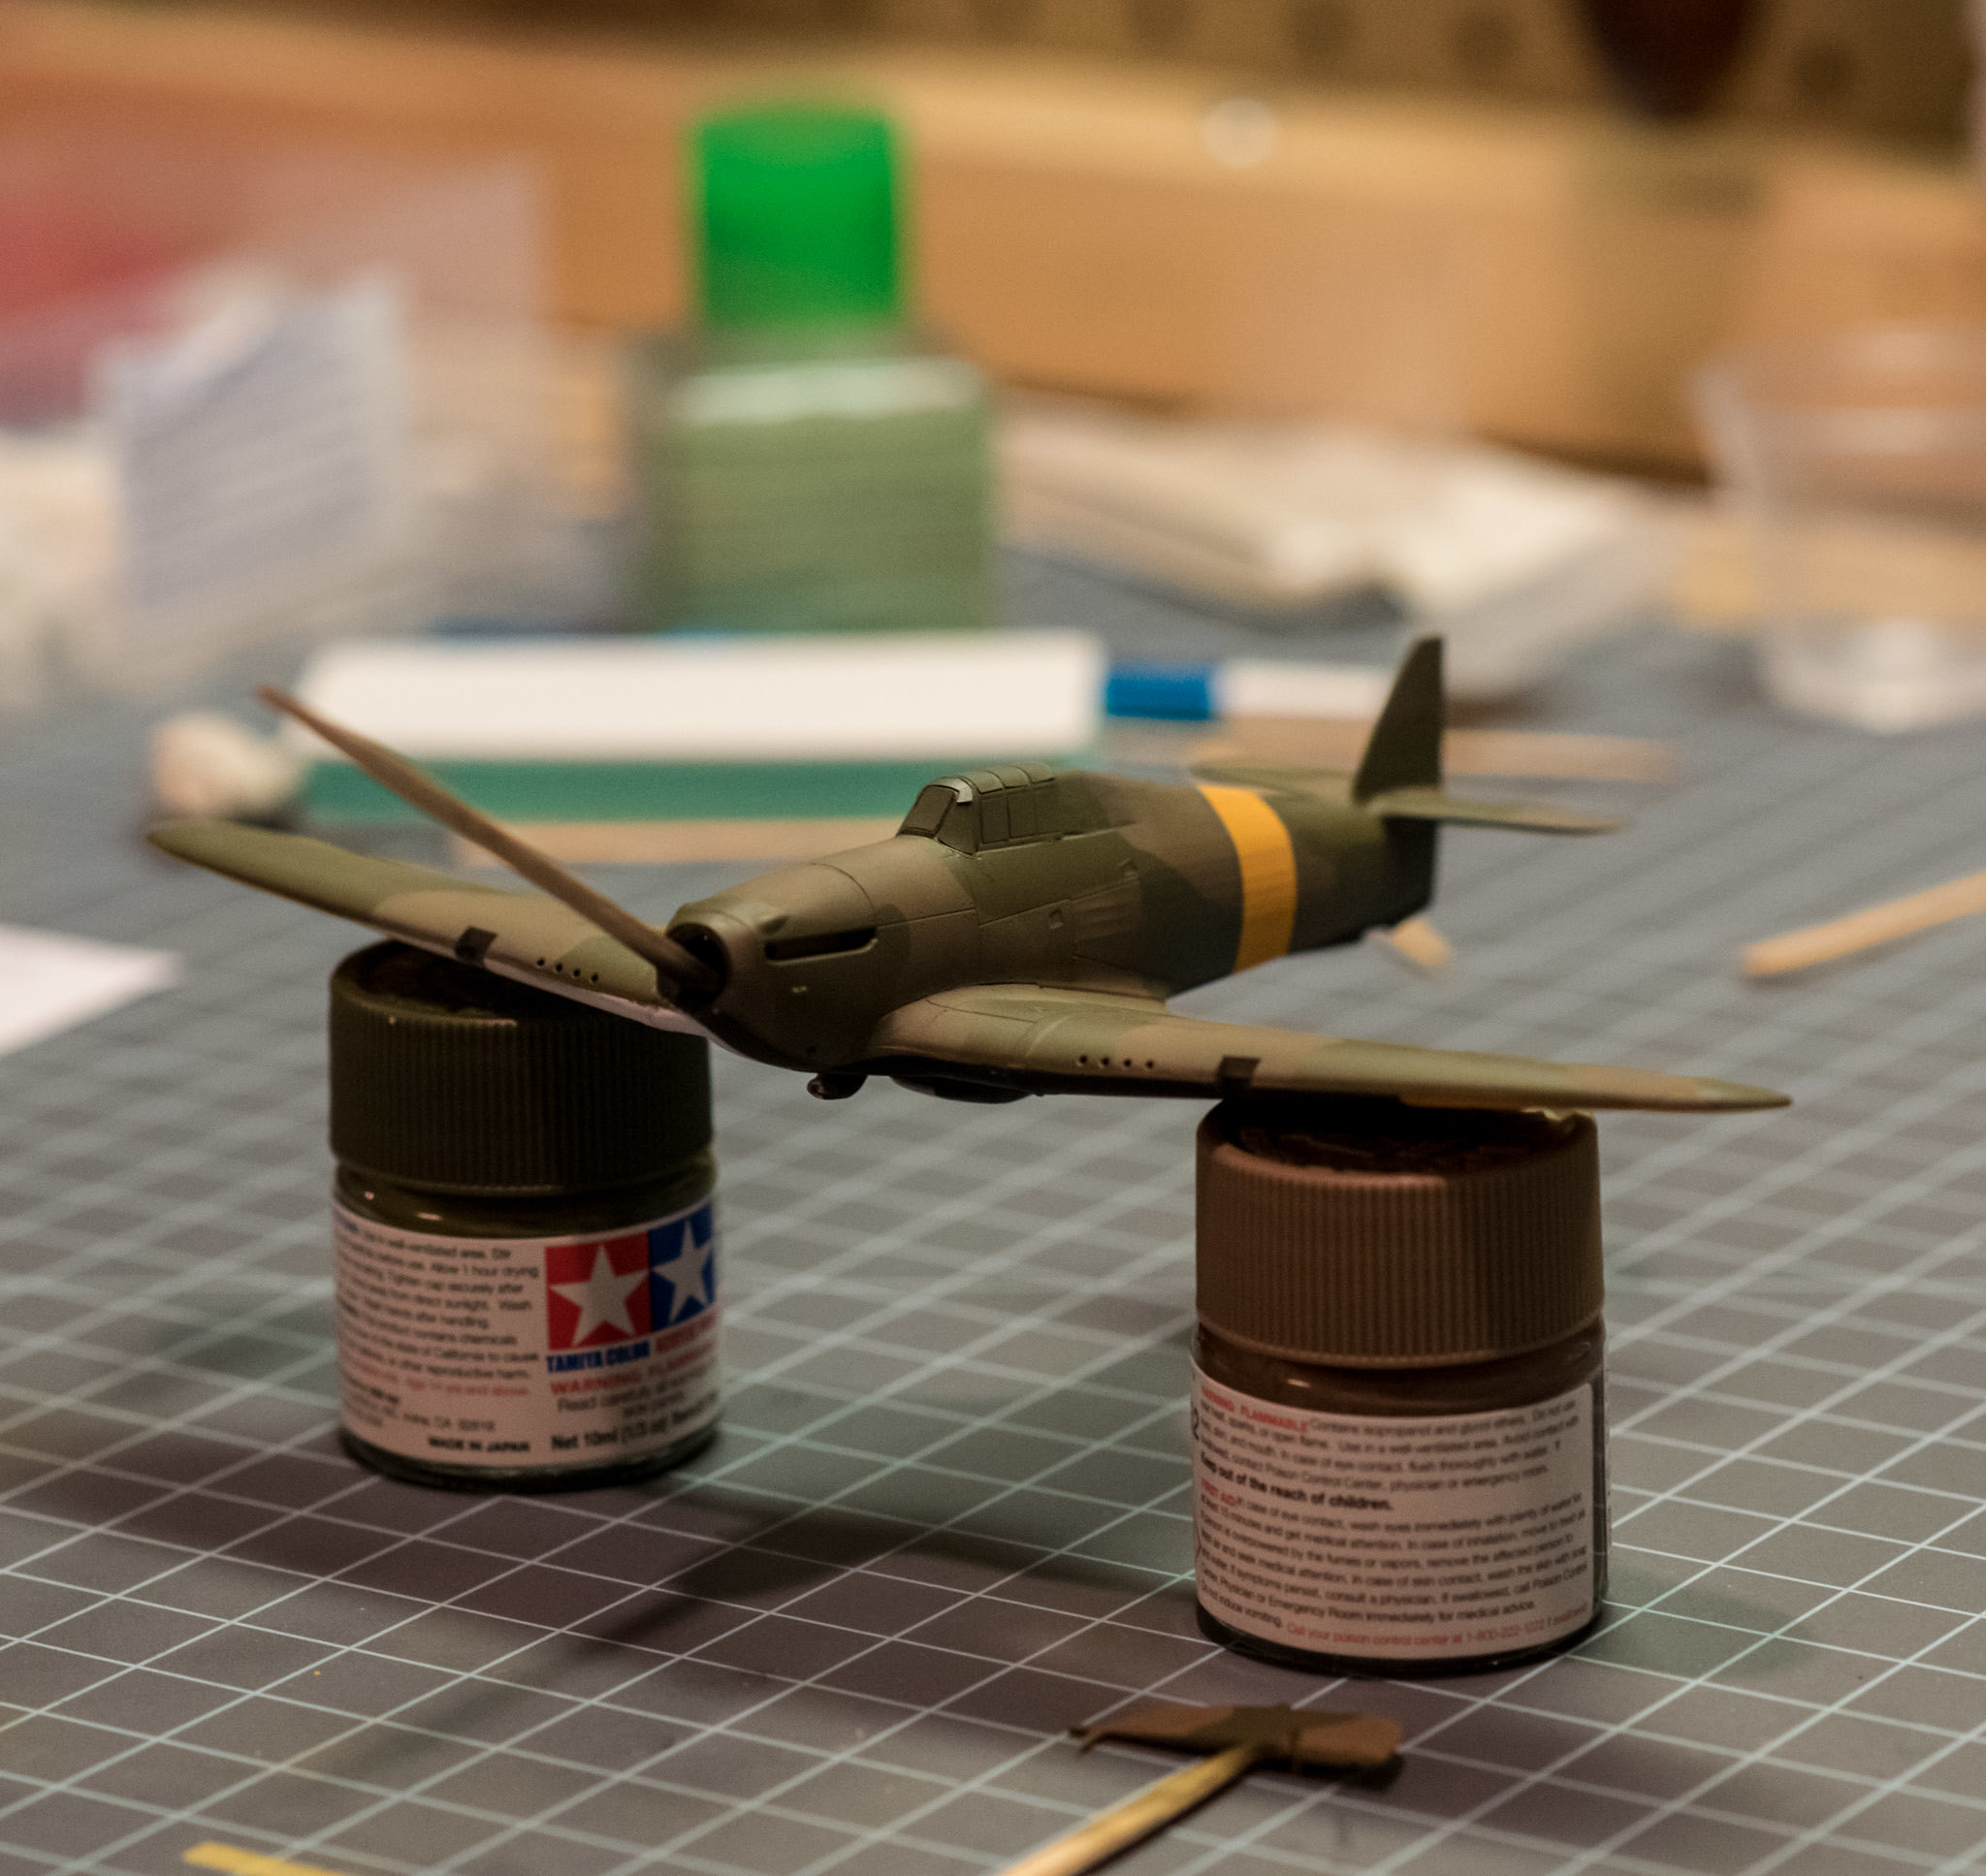
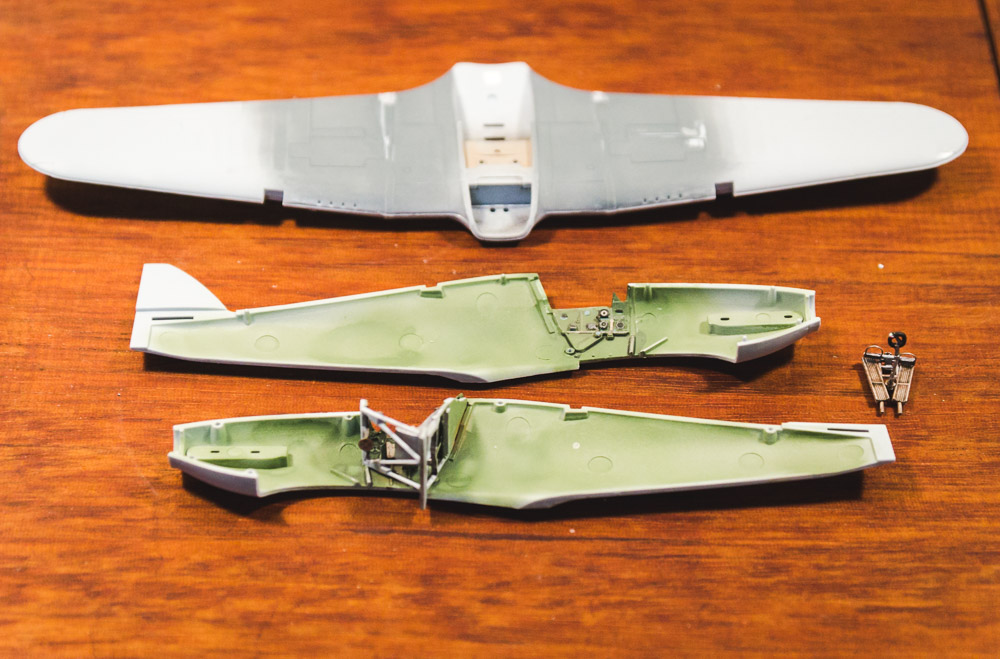
Got the wing top and bottom glued together at the end of last night (fit could be a lot better, but I can work with it) and so here’s where she sits right now.

Thanks for reading all the way through. Trying to be thorough, given how much I enjoy others’ detailed WIP posts. All feedback/ideas welcome.

Very nice! This is one aircraft I’ve been after for a while now, but in 1/32 scale, but no one seems to make one. Which seems confusing to me considering it was the pivotal aircraft of the RAF during the Battle of Britain?!

Have fun with the rest of the build! :slight_smile:

Cheers,

Martin

Suomi -

Looking great…I was not aware of this aircraft so I’m reading up on it. Great looking aircraft and I enjoy viewing all your builds…great photos and commentary. Enjoy!

fantastic! Great attention to detail mate.

That is amazing to me, too… Airfix must be working on one, right? I mean, there are some really obscure 1/32 aircraft out there, why not a BoB Hurricane? You could always do a stick-and-glue Guillows Hurricane, which is about 1/32. Got one of those in my stash. Some guys really super-detail those kits.

Thanks for the comments! I enjoy writing these up, in no small part because they are a “build log” for myself too! The Finnish Hurricanes didn’t make a huge impact in their theater, as once Barbarossa began, Great Britain declared war on Finland and so the Hurricanes suffered from parts shortages almost immediately. They are an interesting story nonetheless. In fact I’m pretty sure the Finns shot down more VVS Hurricanes than they ever operated themselves.

Thank you! I think I need to get a pair of cheater glasses though after all that squinting! [8-|]

Last night I just had a short time to button things up. Luckily the fit of all of this was VERY good. Almost no gaps left over, and there will not be much filling/sanding to do. [<:o)]

Here’s a better look at the gear bays. Hard to photograph but they look pretty nice with the PE and a mild black wash.

Thanks again for checking in.

Excellent job sir, just superb!

Toshi

Been away from the bench for a while folks, but I’m back. New house, new job, etc. Have made a little progress on this kit. Bottom colors sprayed (the RLM04 theater stripes aren’t done yet). Weird seeing Ostfront yellow on a Hurricane, but here we are!

Excellent job so far

That is looking great! On my build, I fixed the area behind the gun panels by scraping the ridges down with a hobby knife and the adding some Mr. Surfacer 1000 then sanding it out.

Chris

Thanks! I’m rusty but getting back into the groove. Playing a little IL2:1946 Finnish campaign helps with the motivation.

That looks really good – better than mine. I now have a second one of these in my stash for some reason so I’ll use your method next time!

Since the last post I solved the gunsight problem. It was in the Eduard PE set – add your own clear bit – built and broken/lost several times but now it’s safe inside the cockpit.

I also worked up a warmer version of RLM04 for the theater colors (Tamiya Flat Yellow to Flat Red - 7:1 – shocking difference for one drop of red) and masked and sprayed the wingtips and a band around the fuselage.

Decided to try black basing this time around instead of preshading.

Went with a mix of Tamiya Flat Earth and Khaki (1:2) after some googling to get the RAF “Dark Earth” base camo coat on. I’ll be trying out some storebought vinyl camo masks, so I just went over the D.E. areas first, rather roughly. Already liking the effect of the blackbase vs. preshade. Hopefully it shows through clearcoats and weathering.

As much as I hate the thought of re-doing all that masking to paint the second camo color, I hate the thought of tape peeling up my other colors worse. I probably won’t have time this weekend to get to it, and don’t want that tape sitting there getting more and more stuck. So I removed all the masking to let the paint cure for a few days.

Next step is re-masking and then camo masking and then RAF dark green camo. It’s time to start thinking about which kit is next “on deck,” as I’m at the stage here where it’s one small step and then overnight waiting. Perhaps it’s time for a bomber? Blenheim or Junkers? [*-)]

Well I made my first blunder with this kit – luckily, easily fixed, but sets me back a day or two. When I painted my Dark Earth camo last week I used the back of the Airfix box as a rough guide, knowing that I was going to use some vinyl masks to cover it before painting the green next. It turns out that the masks are for the “B” camo pattern, which is correct for the Finnish HC-456, but apparently the Airfix box guide is for a different camo pattern.

So I had to re-mask and re-spray the Dark Earth, just going for full coverage. After I mask the camo for the green, I’ll lay another coat of black in some areas to get the blackbased-shading effect. Not a disaster, but frustrating to have delays when bench time is limited.

I really like those white/black underbellies!

Yeah, The Airfix guide is the “A” pattern. AML makes masks in both patterns. I have the “B” pattern masks for mine.

Chris

Wow that little guy packs a lot of detail. She is looking great and that belly color is sure different.

I certainly didn’t mean to imply that this was Airfix’s, or anyone’s fault – just mine for assuming and not checking. No big deal in the end. Just glad I have the right masks for my chosen a/c subject.

It’s a great kit, and a really fun scheme to work with. Not very often a WWII a/c modeler gets to work with bright colors and sharp lines. Looking forward to pulling all the tape off for the full picture.

The AML vinyl camo masks were nice to work with, once I got the hang of them. Well-engineered and seem like they’ll even be reusable if I end up doing another 72nd Hurricane.

The Pmask canopy masks, not as much. They seem to slide around in kind of a springy way, making them hard to line up squarely, and the ones going over curves don’t stay stuck in the corners. I think I’m back to just taking my time with Tamiya tape for the next canopy I do – or maybe redoing this one, once I see how it looks with the masks off.

Got the second camo color, RAF Dark Green (Tamyia XF-81), sprayed. Interestingly it layed down with a bit of a satin sheen to it, and looks odd compared to the very flat Dark Earth color. I’ve never had a Tamiya acrylic spray this glossy before. I might have had it thinned a bit more than I usually do? Has anyone else run into this?

Will have to experiment a little. I think that after a Future coat, the colors will match up better of course. And that’s the next step here.

But what joy – to pull off all the masking and see the clean, unweathered base colors intact. Probably my favorite part of each kit’s process, tempered only a little by fear of colors lifting with the tape. No problems with that this time around, I’m happy to report.

That’s coming along nicely. I’m now glad that I bought the AML masks.

Chris

Thanks, Chris. Yeah, I can definitely recommend 'em. The colors do look much better-matched under the gloss coat as well. Not too contrasty, which I’m told is appropriate for the Finnish birds, which were rather faded in color overall.

These Print Scale decals, on the other hand, I’m not so sure I can recommend.

They’re thick, and the clear registers over the printed colors are extreme – the large “6” tail numbers I’m using are completely filled in with clear film, not just inside the “loop” but inside the “hook” of the 6 too. They seem slightly over-scale compared to reference, and barely fit on the rudder, the clear film overhangs both sides. I’m considering scrapping these decals and ordering the SBS set, but that would mean a week of waiting, plus possibly stripping and repainting the rudder if these don’t come off easily. I’ll see how it looks in the morning. [bnghead]

I might also just extra salty because I discovered today that I made another coloration mistake. While studying references to try to determine exact placement for the bottom-wing roundel decals (since the Print Scale decal sheet only shows a single side view of the a/c) I noticed that all other views of this ship indicate aluminum dope for the underside of the fuselage, while the wings were black and white. I painted using the Airfix box color guide (my second time making this mistake), which shows the black and white scheme extending to the fuse. Further research confirmed that I’d messed it up. The Hurris sent to Finland (or at least HC456) had aluminum dope fore and aft.

Anyone who’s built a MkI Hurricane knows that bottomside paint schemes were all over the place from '38-'40, so it’s on me for not doing my diligence. [8-)]

Here’s how it should look, from the SBS decal sheet I probably shoulda bought:

So, back to masking! [*-)]

Aluminum color went on fine. Tamiya flat aluminum about 3:1 with Tamiya light grey, thinned with Tamiya lacquer thinner. It’s still a little grainy but that should diminish under fading/weathering, and flat coat.

You can also see where I’ve been having more decal issues, this time with the wing roundels.

After fighting these Print Scale decals for about a hour I gave up. They’re thick and don’t lay down that well, firstly; secondly they’re underscale for this particular a/c (though in scale for later versions); lastly, and critically, they’re not even close to opaque white and the blue is far too light, almost “aqua” colored (on the right in the pic). I still have most of a sheet of Techmod Finnish markings (on the left in the pic), so I’ll use those for the insignia. They’re a little thick but the colors are spot-on and with slow, patient applications of Micro Sol they do eventually lay down. I’ll still be forced to use the Print Scale decals for the serial number and pilot art.

Now I guess I know not to buy Print Scale decals again; has anyone else had a similar experience, or did I maybe get a bad run?

Yes, early Hurricane undersurface colours can be quite a mish-mash, even for RAF machines.

Chris