Interesting idea. I love the way he did the hand. I’m just getting back into mechs, so I’ll be keeping an eye on this one.
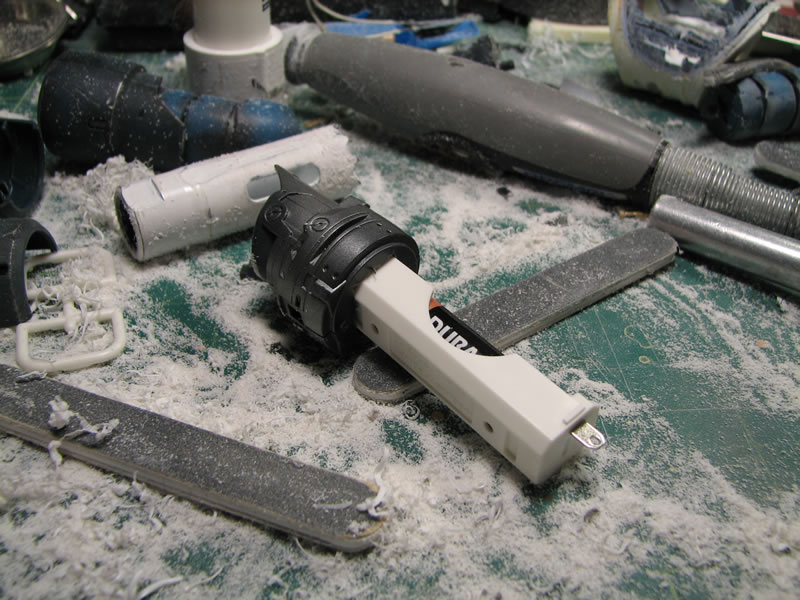
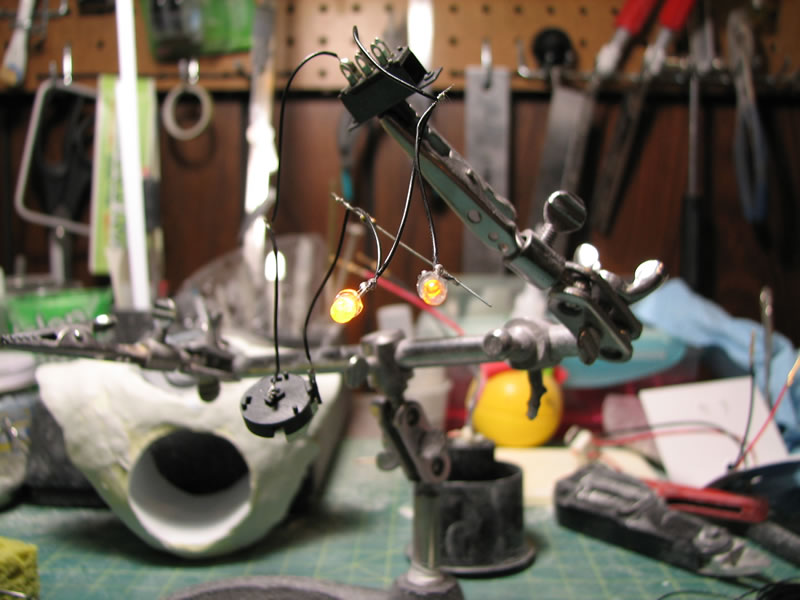
Got the electronic components together
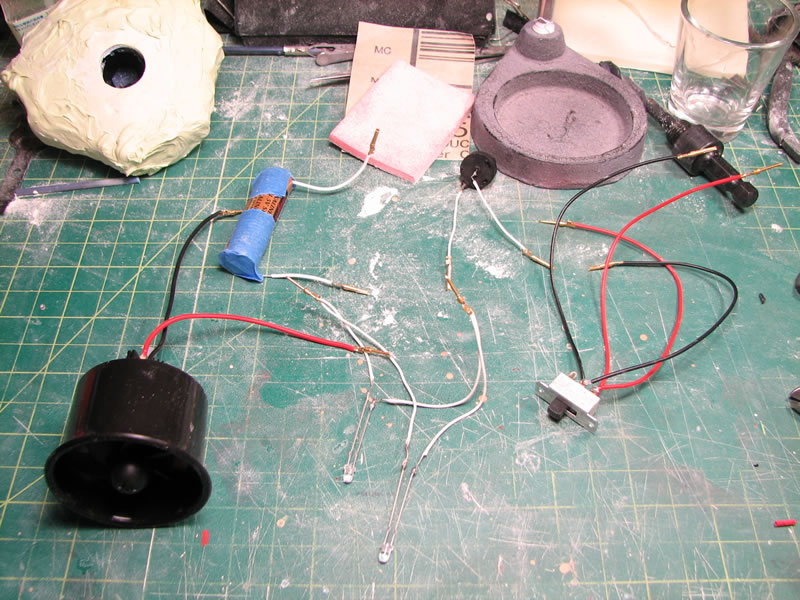
Adding little connectors to each component, stringing them together with the DPDT switch, I can run the yellow LEDS (Still not completely decided on the color I want the eyes - red, yellow, or blue) from the lithium 3 volt battery and the ducted fan can run off the 1.5 volts coming off the AAA battery cell.
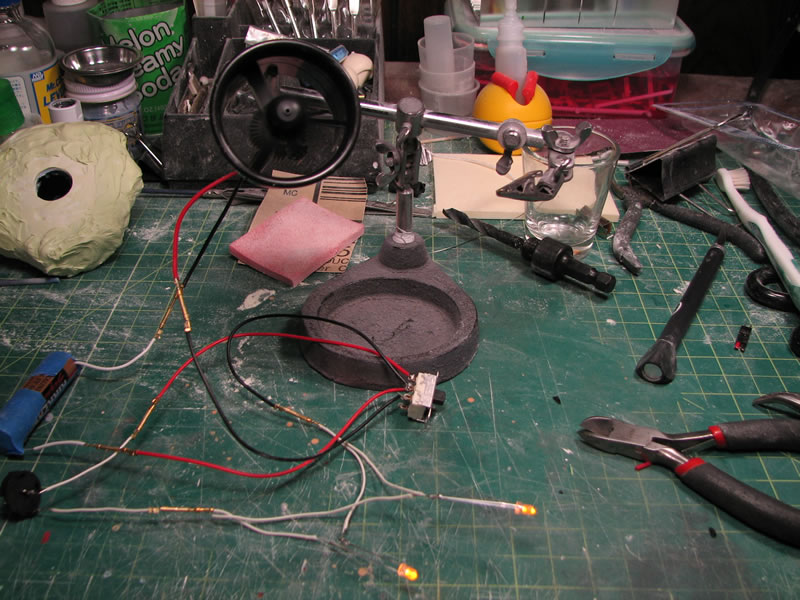
And I even have a little video for it: http://www.gamerabaenre.com/air_man_prog.htm Scroll to the middle of the page.
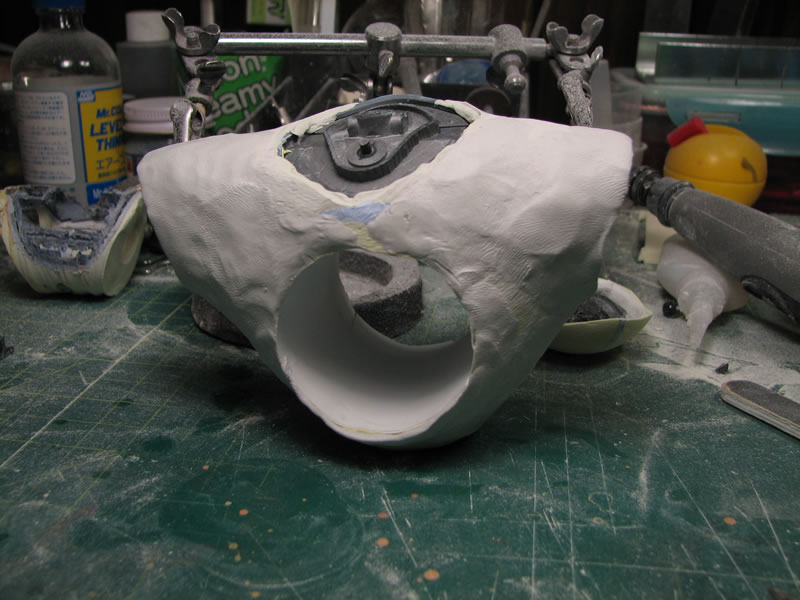
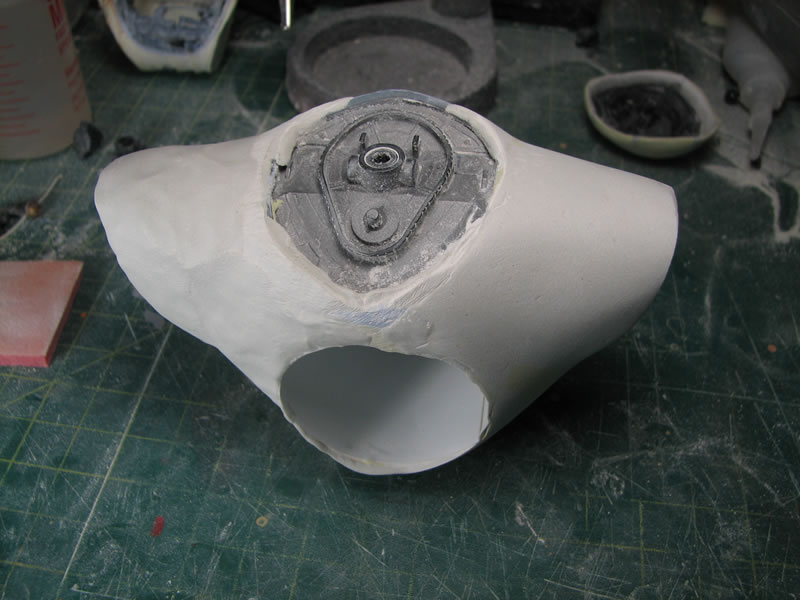
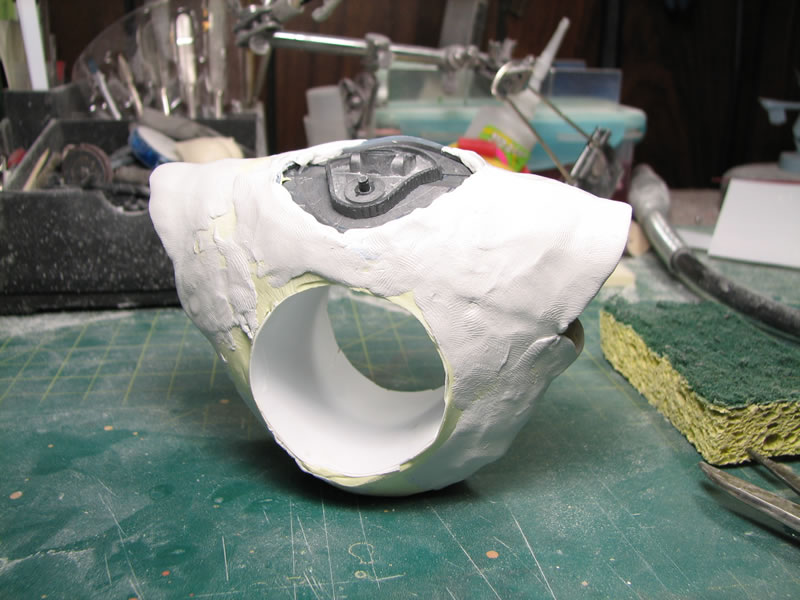
Next up, I drilled out the fan hole using a hole saw that was 44mm in diameter.
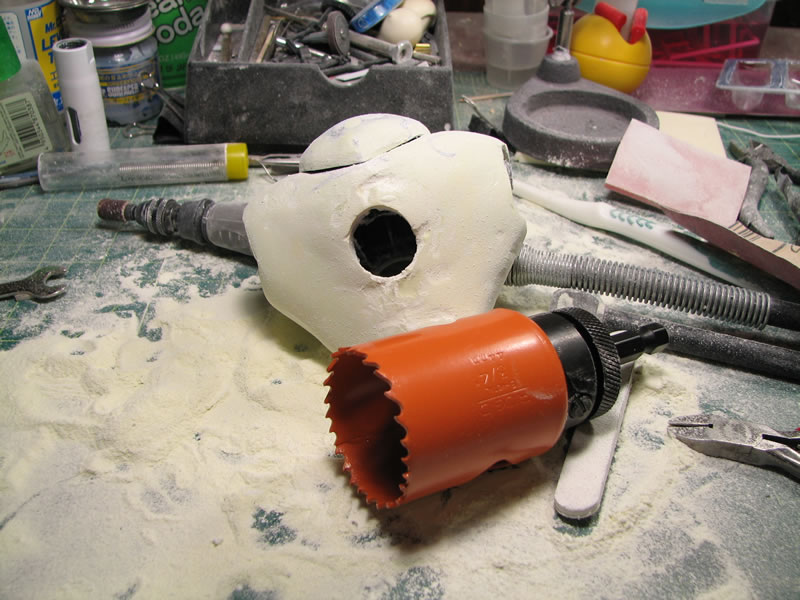
Slightly off center, but I’m already working on fixing it 
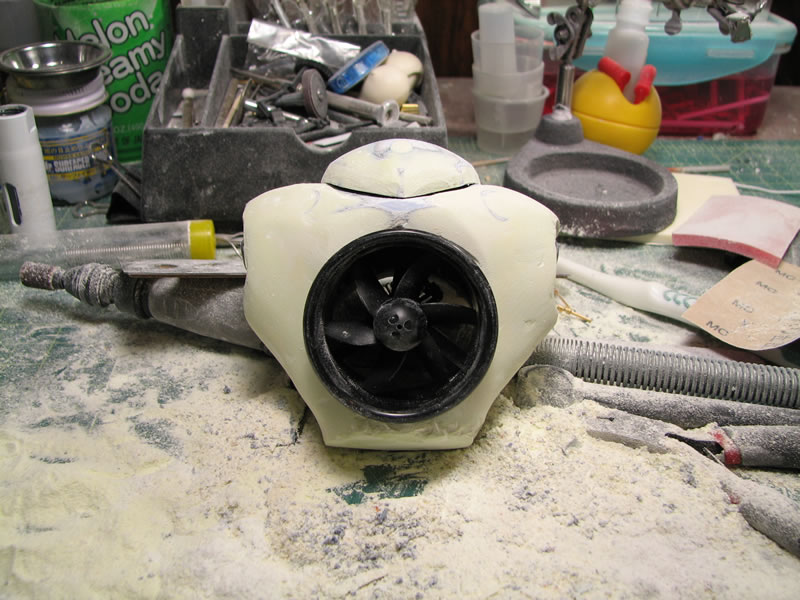
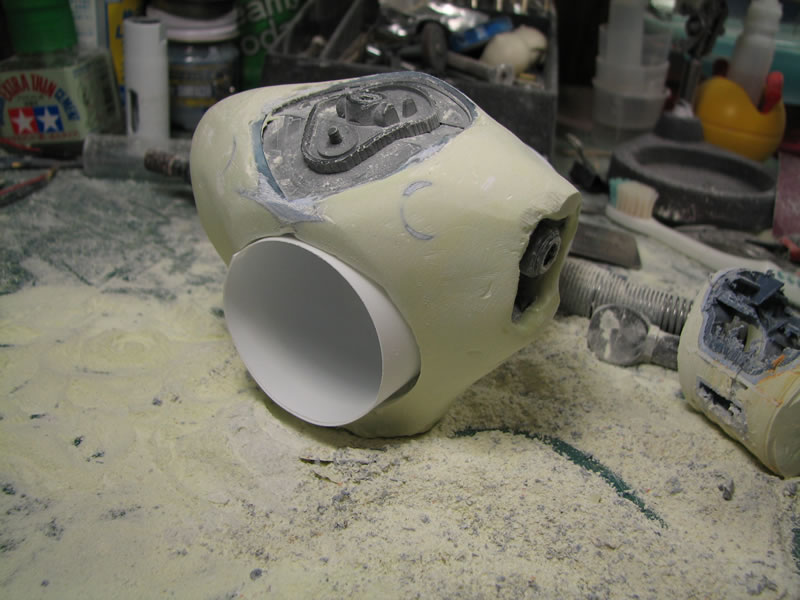
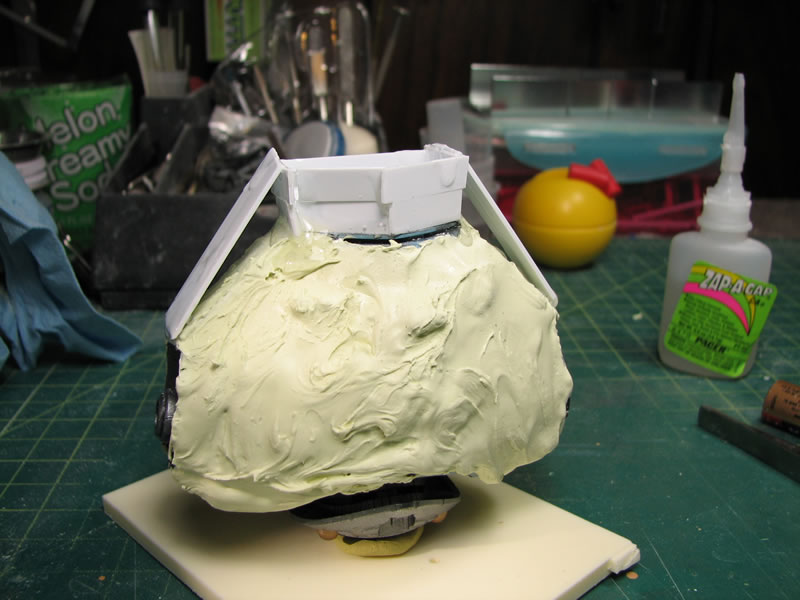
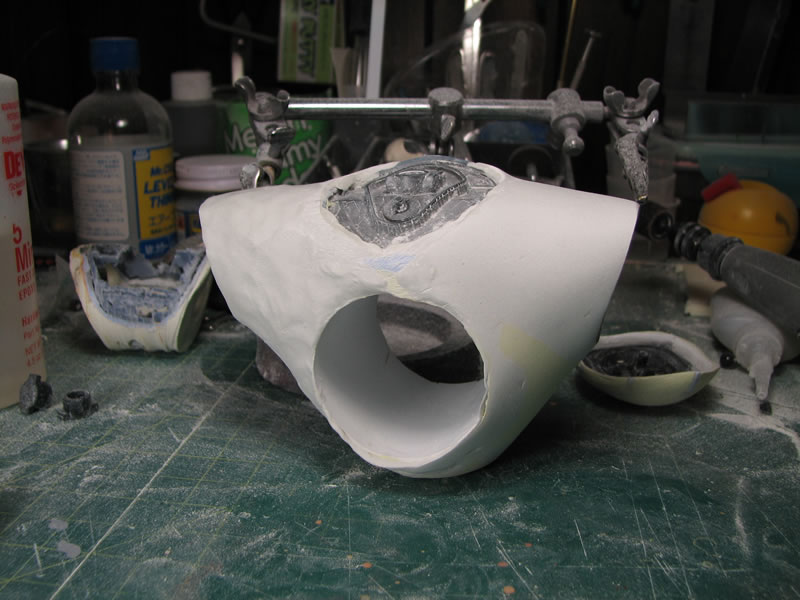
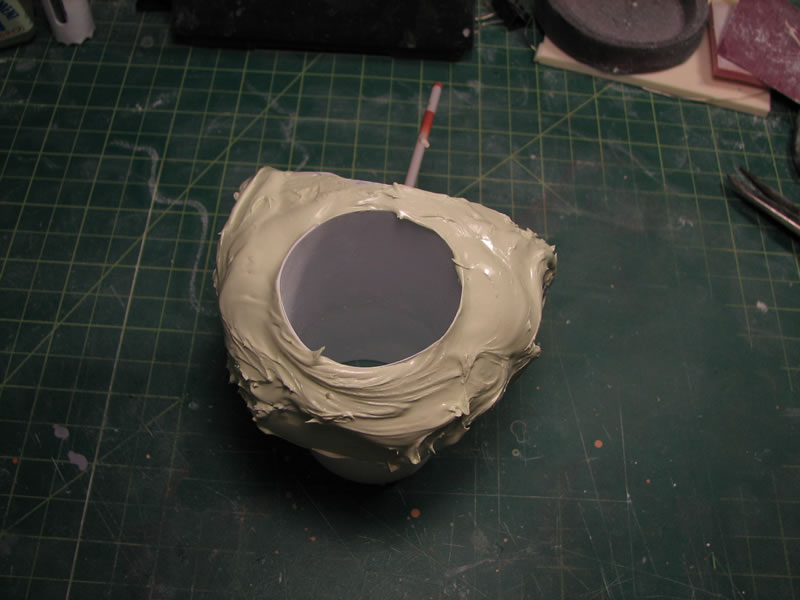
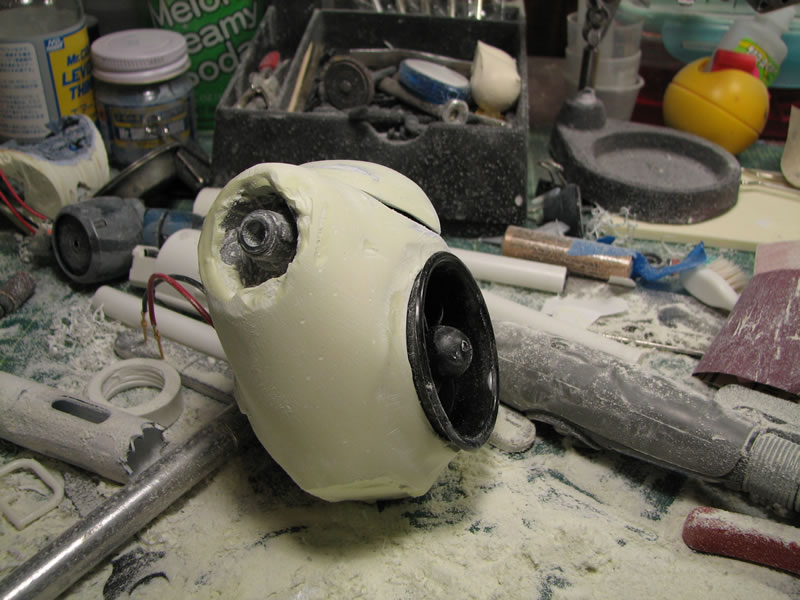
And finally, more putty because after drilling the hole, the size of the waist area and area surrounding the hole was too thin, some thin sheet styrene was rolled up and inserted as a cowl for the fan, and doubles as a support for the additional putty slopped onto the kit. This should be the last putty build up session and next I can work on the final sculpting and surface prep.
Small update from the past two days of work. I got the arm pod with battery pack built.
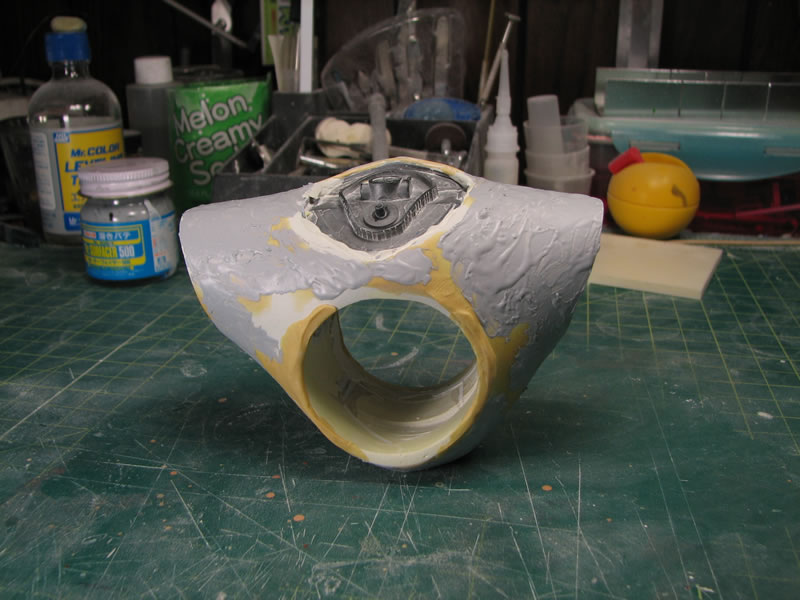
More sanding work on the body.
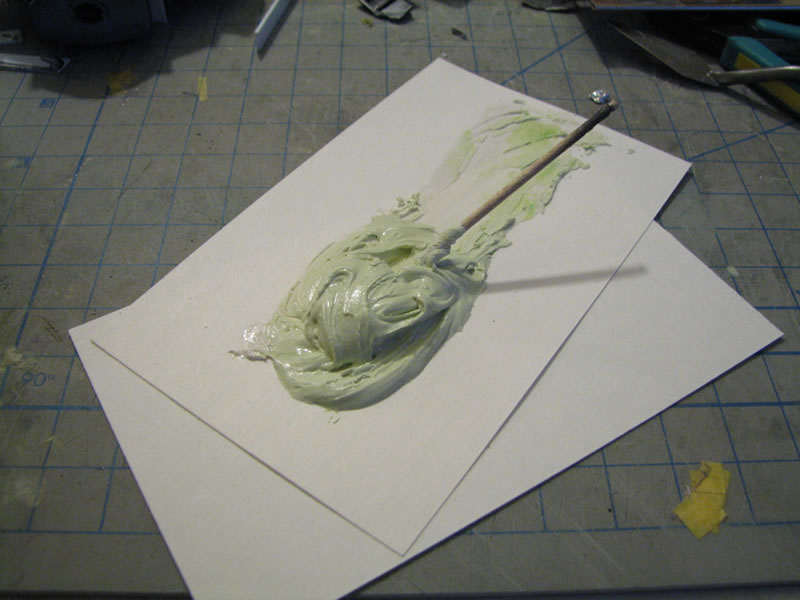
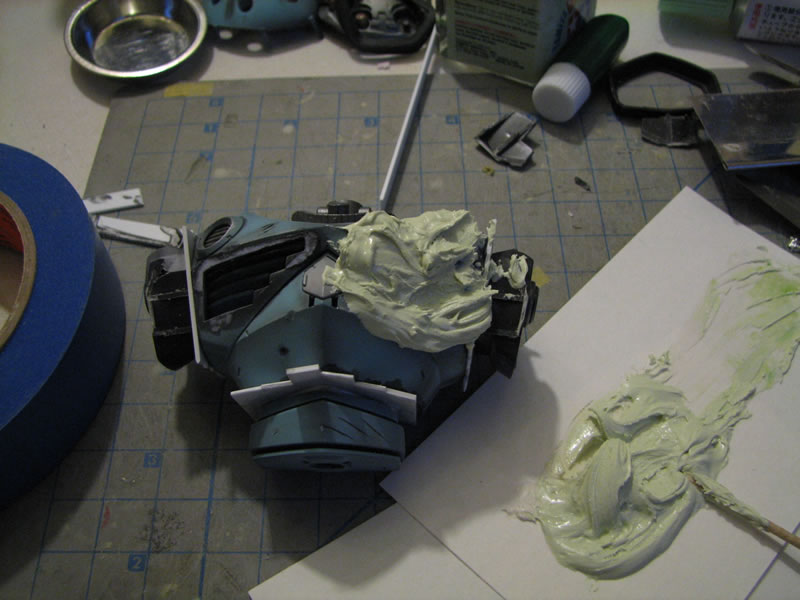
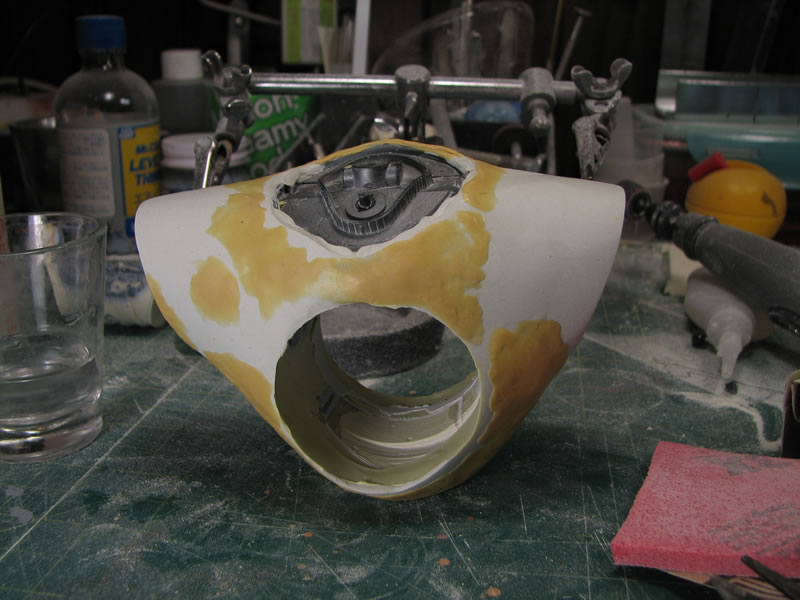
Aquament epoxy putty work on the body for finer details and filling.
Another test with the LEDs one with a resistor and one without, I’ll be going with a resistor along the parallel setup.
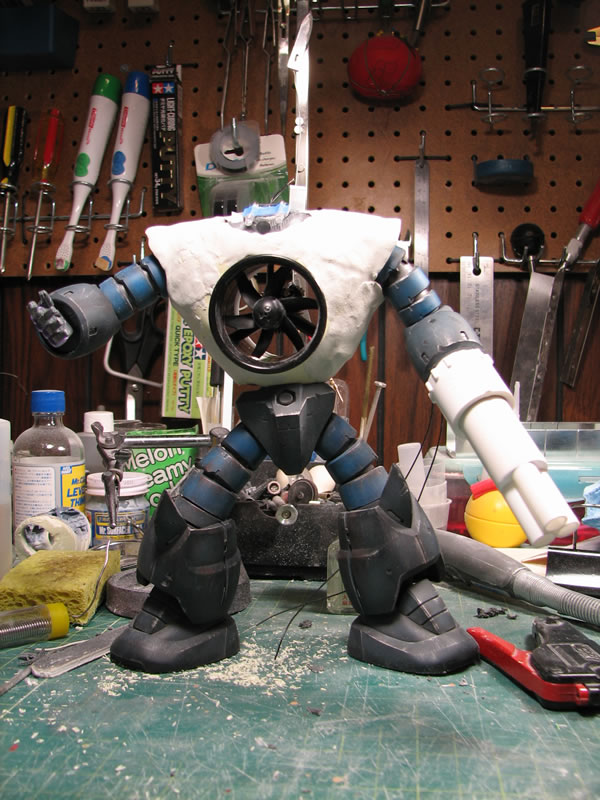
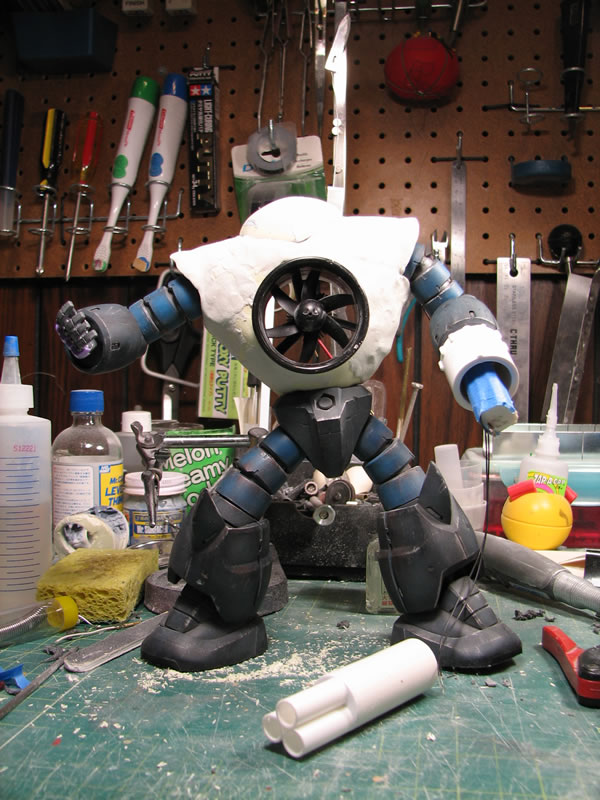
Next up is a little mockup of what I have so far. I used an MG Dom hand in lieu of scratch building my own, saves on time and I think the Dom’s fat fingers and hand fit the project decently. For the arm pod/battery pack, I used some hollowed out PVC pipe capped it with some styrene strips, then placed some barrels in a tri-barrel configuration. The more I look at the setup, I think I want to cut the barrels down more just to balance things out a bit. I also need to point the LEDs forward as opposed to pointing down. There are a few other modifications I’ll probably make as I look at the mock up more. But for now…
Hey gam, what exactly are you going to light up with the leds?