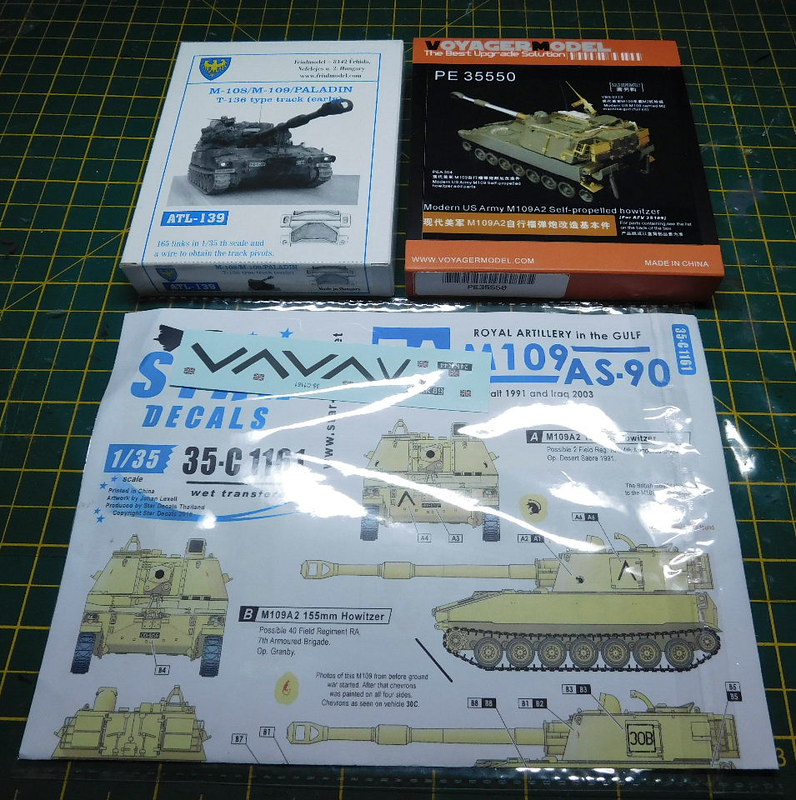
Thanks Harold. To be honest, i am not a huge fan of Voyager sets (i wish i had found that out before i bought about 20 of them). There is lots of thats not really needed, i always end up with lots of left overs. I tend to prefer Eduard or Aber. If this was a German subject, i would not bother and just use some tool clamps and a few bits from the spares box. If it was a more modern takom or Amusing Hobby kit, i would just settle for OOB. But this i felt neee a little extra and this is what there was. Most sets seem to be for the Isreali versions.
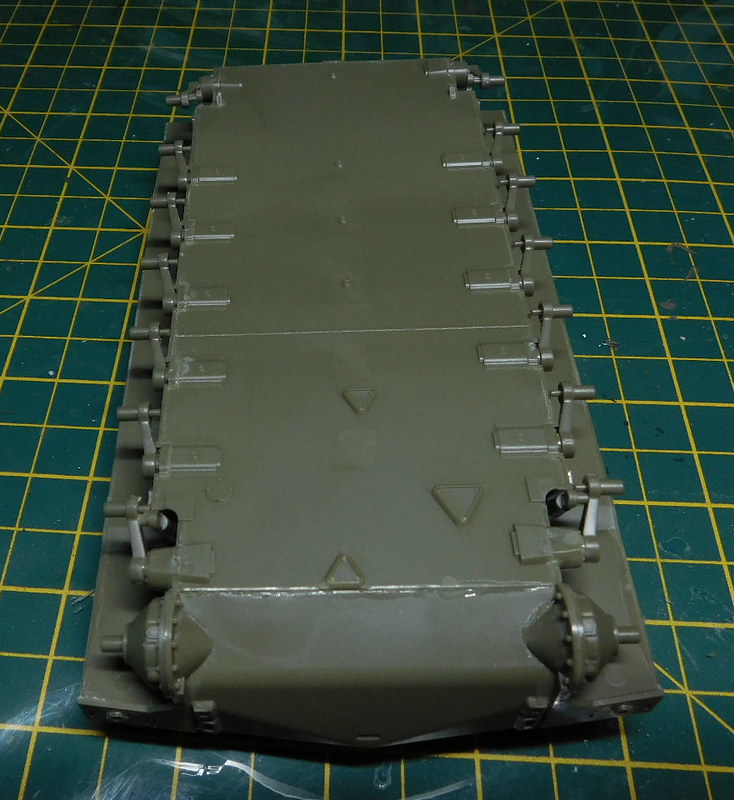
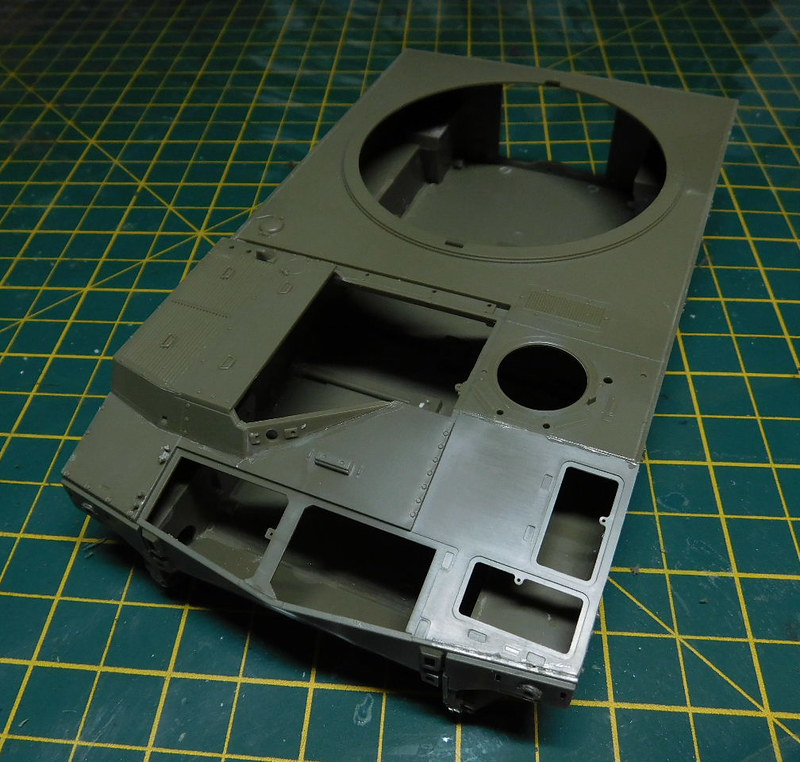
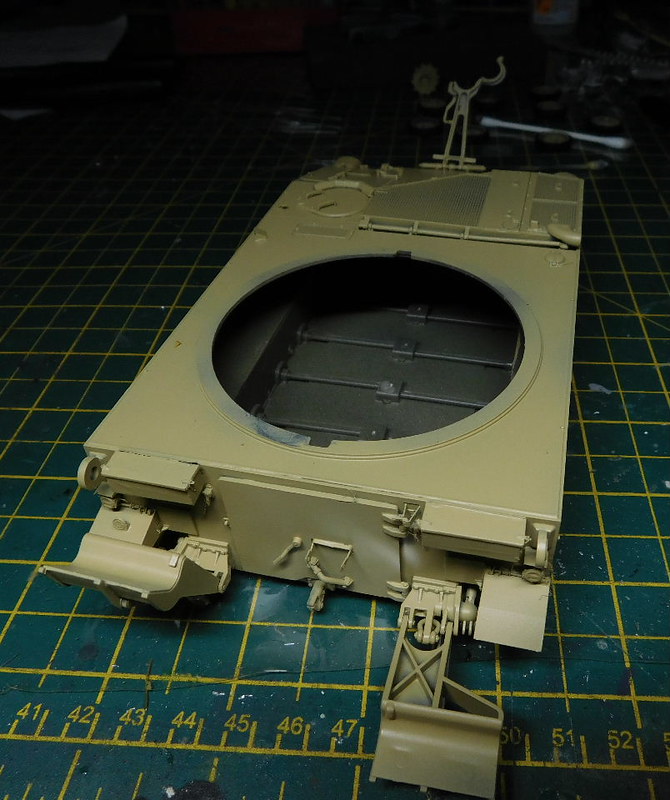
I now have the hull finished to the paint stage. I have not used all of the PE for it as some is for inside hatches i have closed and other parts are IMHO best left off as the kit parts are more realistic. I am not a big fan of voyager sets and now i only buy them where i just want a somthing to add and no one else does anything for that kit and the spares box doesn’t have it (mainly anything that isn’t German). So this is the hull now.
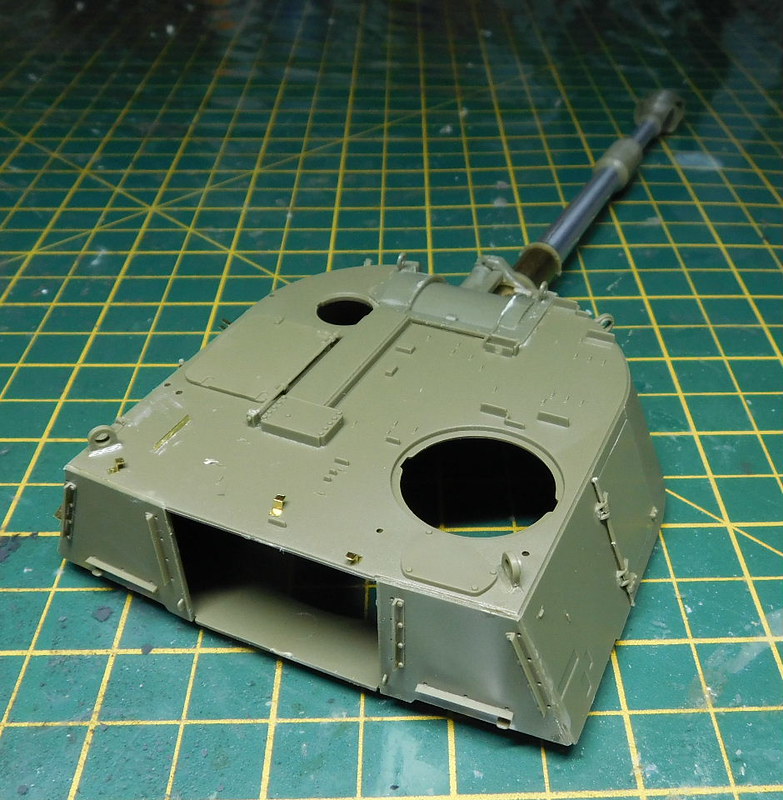
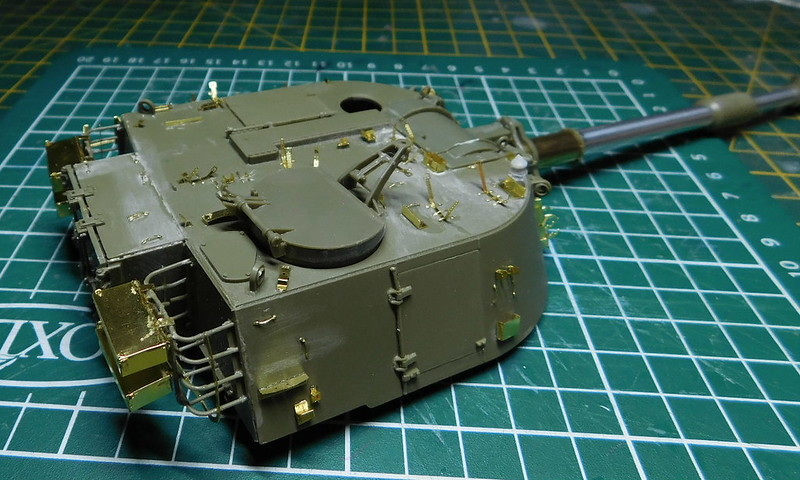
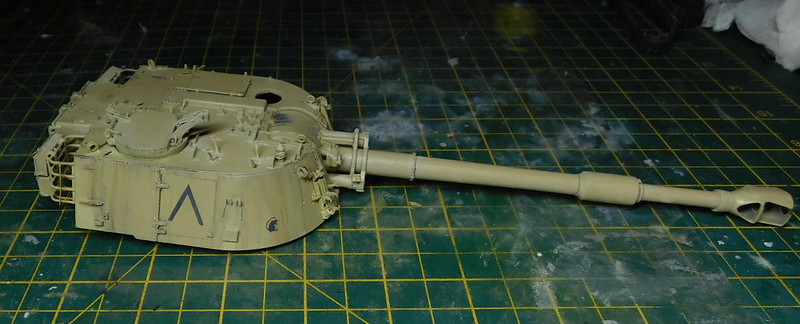
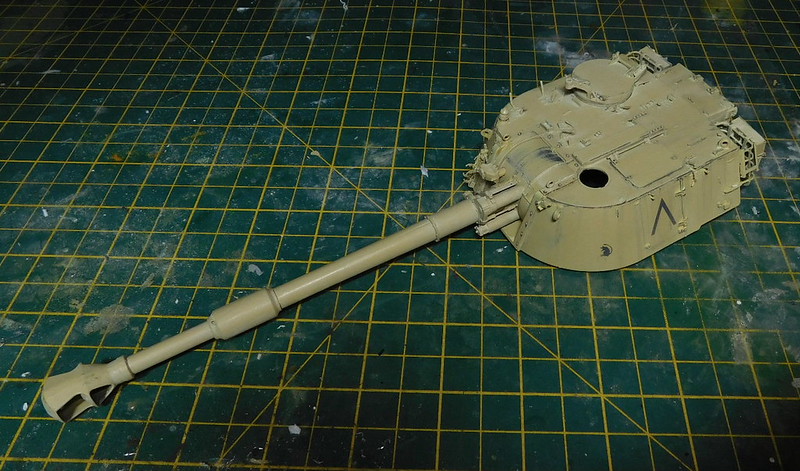
And have now started on the turret. Same again here for the PE, picking carefully what parts i use and which i don’t. The barrel is from the kit.
Thanks Harold. I am replaceing things like the tie downs and brackets for the tols, but leaving hinges and other things. So its takeing time to check everything to see what i replace and what not.
Voyager are pretty bad for putting in more PE than you need. I am just doing the doors for the rear ammo locker and the entire locking mechanisim can be replaced. But the PE is just to flat and the kit part looks close enough that it would not be worth all the hassle. But i know what you mean. I broke that habit useing a Voyager set on a Dragon Panther.
Bit of a long update. I got the turrety finished a couple of weks ago. Plenty of PE here. But i again i didn’t use everything. The PE set included hinges and the locking mechanisim for the ammo locker door, but i felt the kit parts were much better. After i took the pics, i realised i had put the 4 rear bins on wrong, so they were then removed and fitted the right way.
I took a Clansman antenna mount from the spares box, this is a resin Accurate Armour piece that came with my Warrior conversion set.
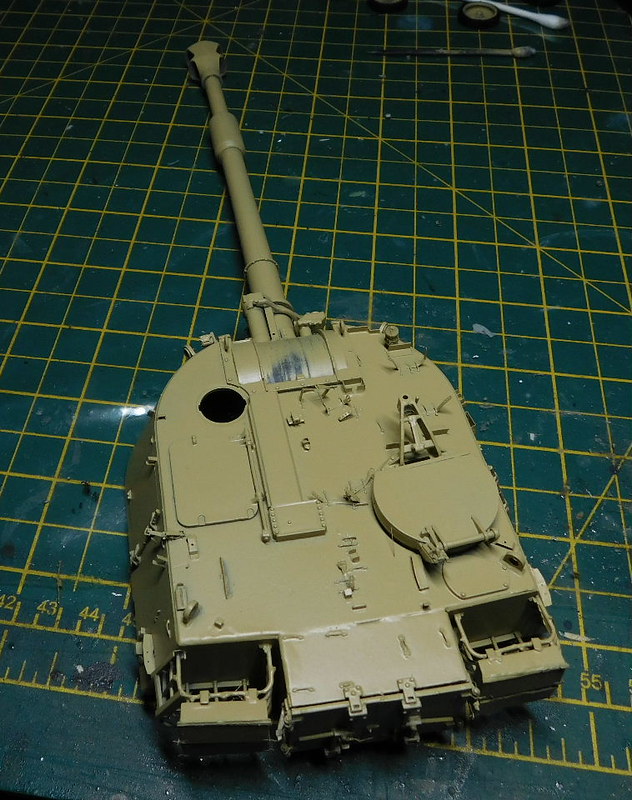
Then i was ready for primer and paint. Nice easy scheme, over all desert sand, i used the Xtracolor gulf War sand, although this colour has been is use for British desert vehicles for a long time.
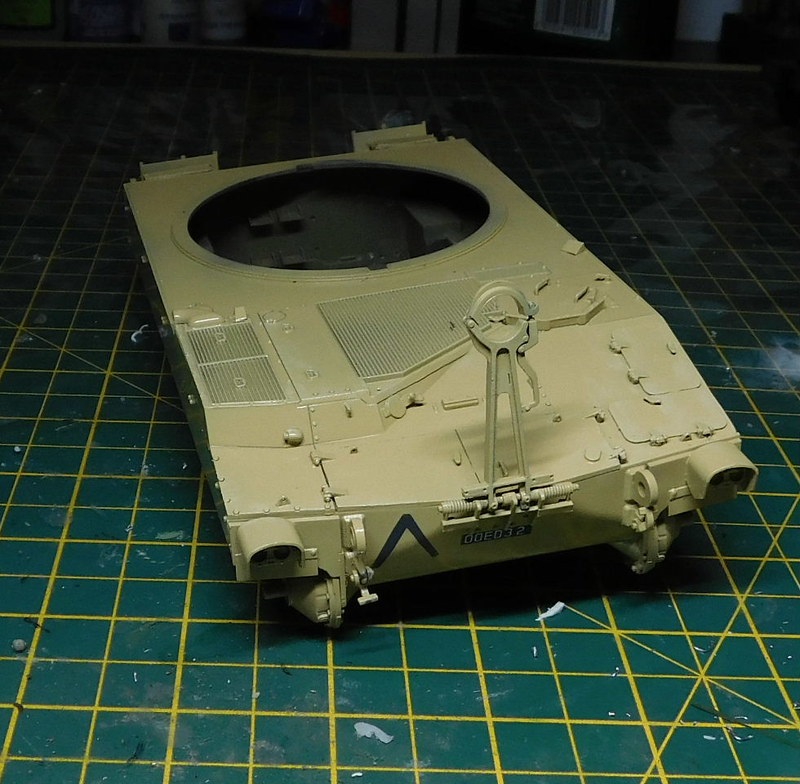
Followed by the decals. The decal instructions don’t have an image of the rear for this vehicle, so i added the rear chevron based on the others on the sheet.
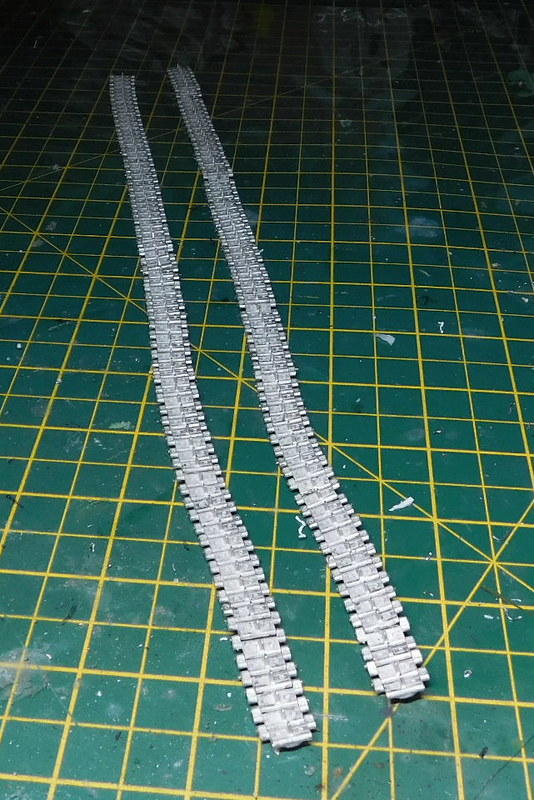
I also got the Fruil tracks together. I found these a real pain, every link had to be drilled out both front and rear. They also have different links for where the track goes round the drive sprocket and rear idler so it not just a case of sticking them all together.
After a couple of coats of Aqua gloss, tine for some weathering. I gave it a light dry brush, a panel line wash, light dot filtering and finally some steaking useing AK’s DAK streaking grime.
Next up, i will be painting and adding tools and various stowage before some final dust effects.
AHHHGGGGHHHHHHHH!!! All that PE is giving me a headache just looking at it! I think you made the right decsion about not using all of it, yes- that way lies madness!!!
I wrapped this up last night. Once everything was together i used some pigmenst for final dust effects. I don’t have a pic of this vehicle so i based the stowage on the photo’s i have found. The fabric flag is from AMP and its a bit bigger that i had expected for a 35th flag and while the other one looked out of place on my Scimitar i don’t think its so bad on this.
Its been nice to build an AFV Club kit thats not a 251. Just what i would expect from them. Nice kit and i am pleased with the end result.