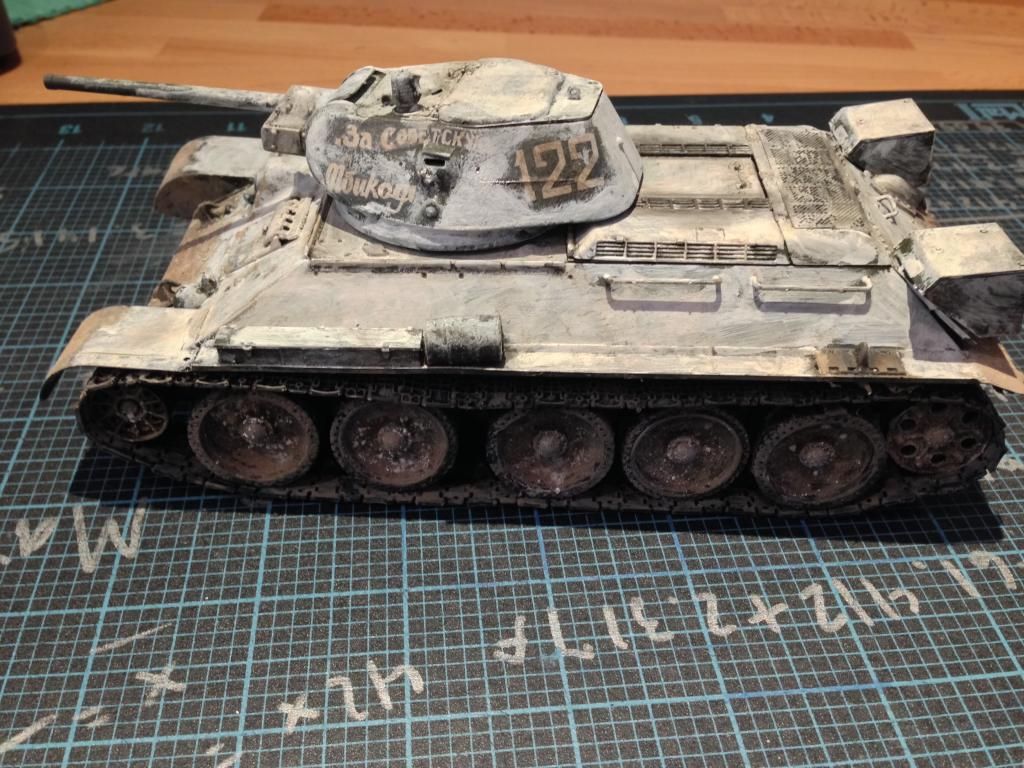
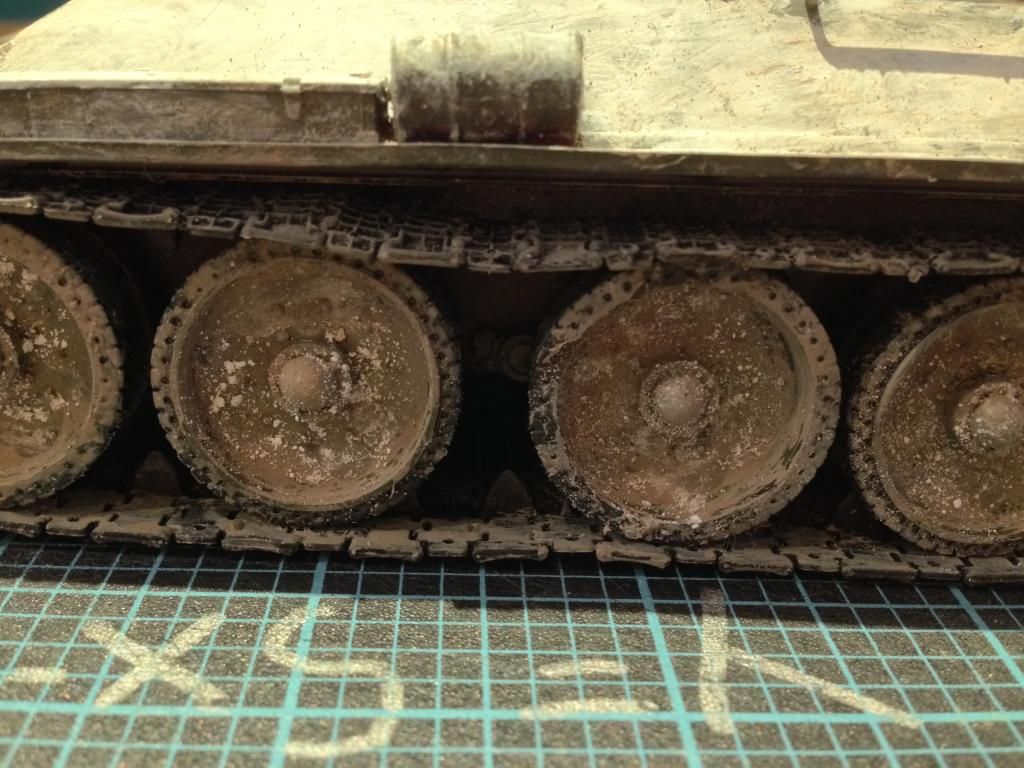
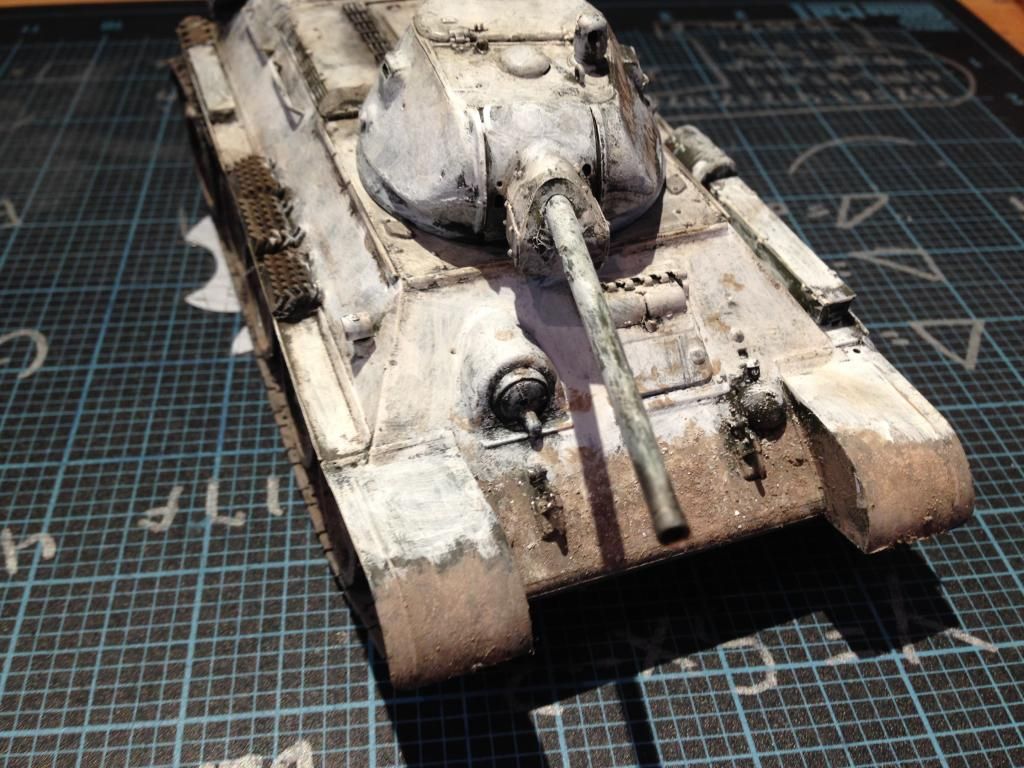
I built this model 2 years ago with a Tamiya olive green base and some very basic weathering but after learning about new weathering strategies I decided to use my new skills to make my once boring T-34 into something I can be proud of. I decided to experiment with a basic, sloppy, and simple white wash with Tamiya flat white over the already green base. I achieved this sloppy look by using a large, thick brush with lots of paint and just brushed it on as quickly as possible leaving some parts unpainted on purpose. For the weathering I soaked the tracks in a brown wash and then stuck AK interactive “European Earth” pigment which was applied in the largest amount possible and whatever didn’t adhere was put back in the bottle. I gave the entire tank a dark wash keeping it is every seam but making sure it didn’t dull the white of the paint. I mixed the pigment with water and white glue to make the mud on the wheels and front and back of the hull, before this was entirely dry I sprinkled both white and the European Earth pigment to simulate dirt and snow built up from roaming through the muddy and snowy eastern front. The marking are of a Russian tank in the Leningrad area during the winter of 1943. Hope you guys enjoy my T-34 as much as I do, but I know it is far from perfect. Feel free to offer any suggestion but please keep in mind that I’m 14 and on a budget, thank you. -Dakota G.
Hi Dakota D Mixing some talcum powder ( i use Johnsons baby powder) with your paint makes good mud effects, the more powder the thicker the mud. I find it works well. Nice build and keep up the good work. Raven
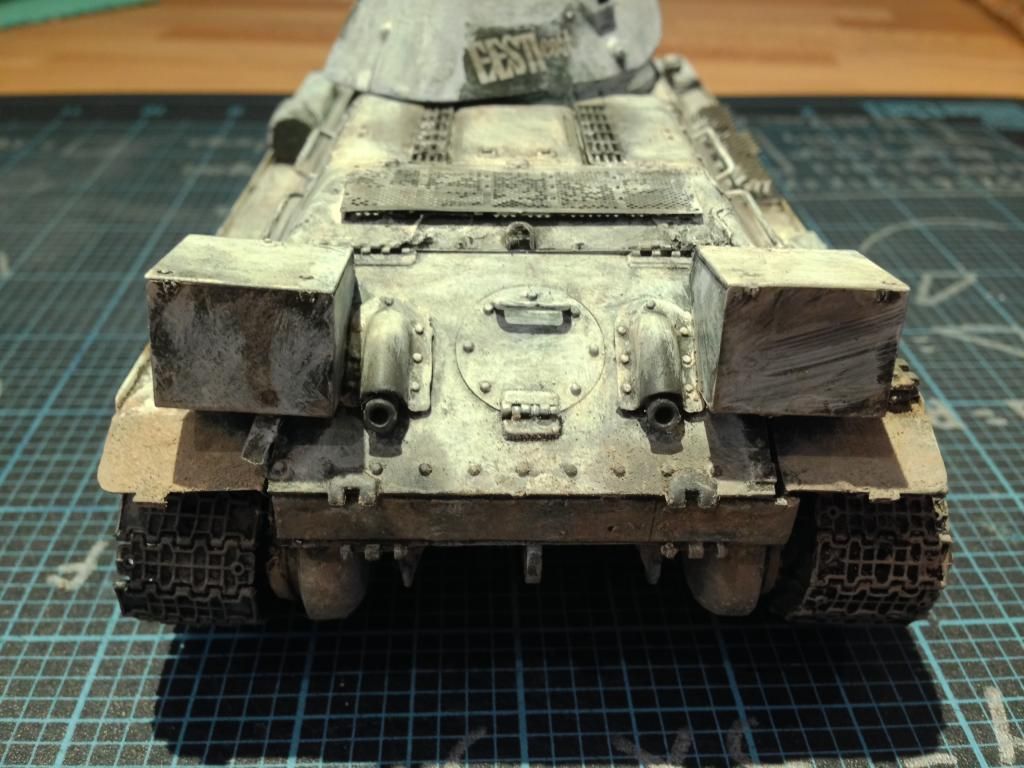
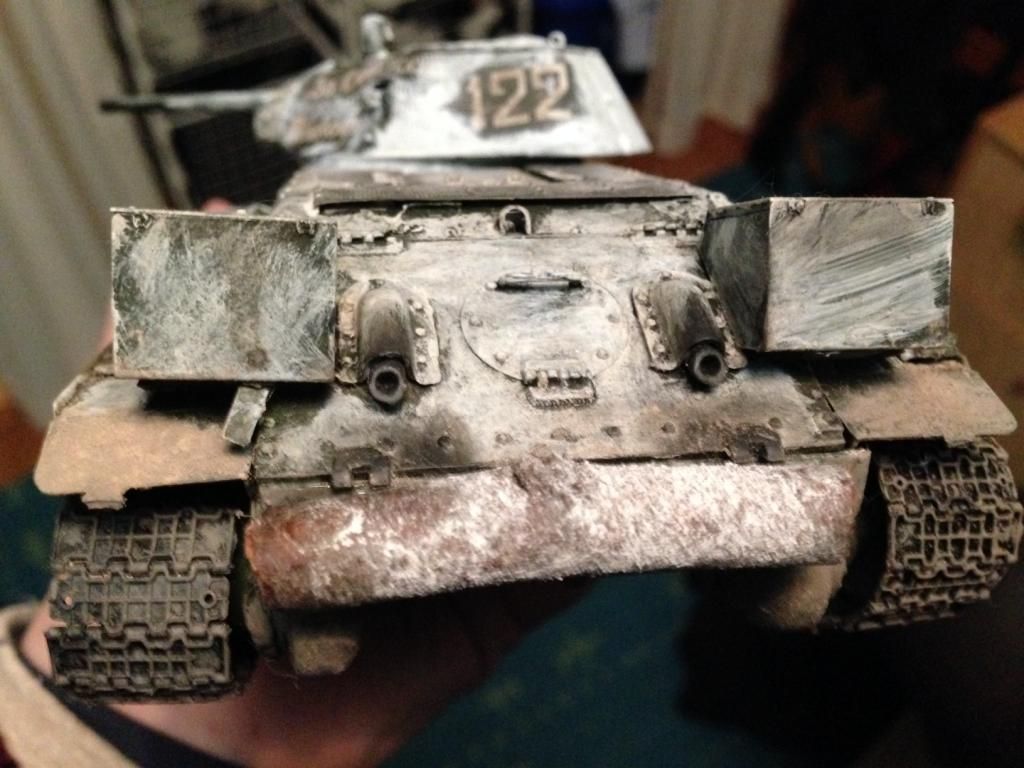
Great job on the T-34. The only thing that caught my eye were the thickness of the exhaust outlets. Could be the way the pic. was taken. Other than that excellent job. Keep it up.
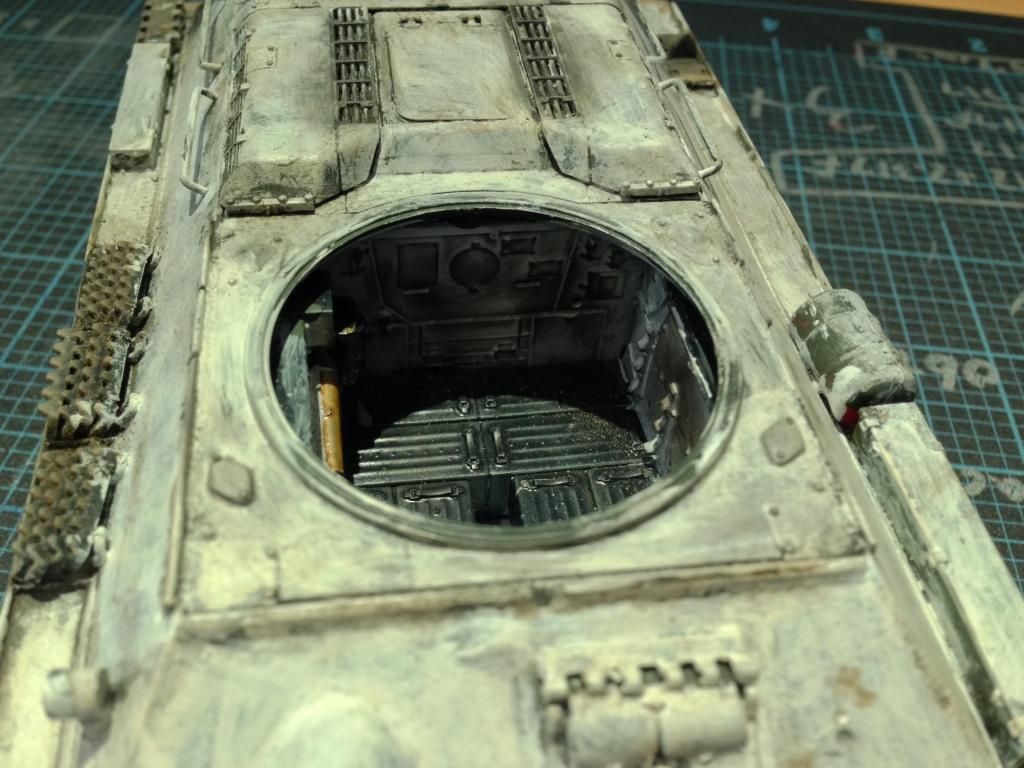
It appears you had a little trouble fitting the rear hull plate. The two hinge halves should be mated together. I’m not sure why you stuck a irregular shaped piece of plastic between the rear hull plates?
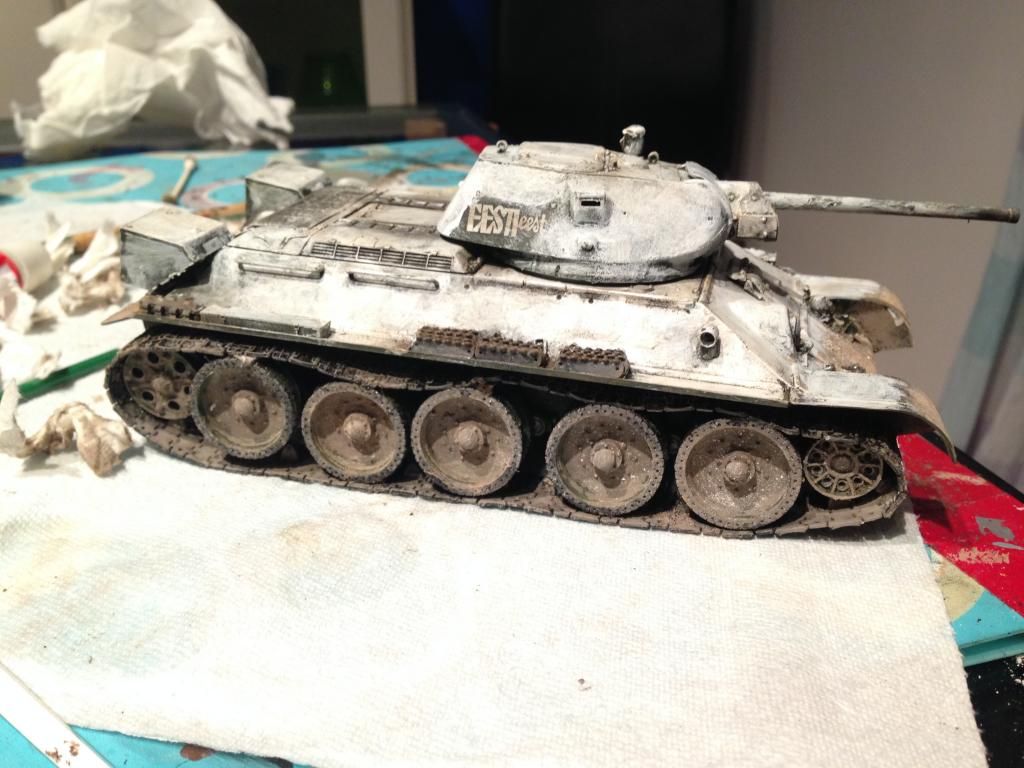
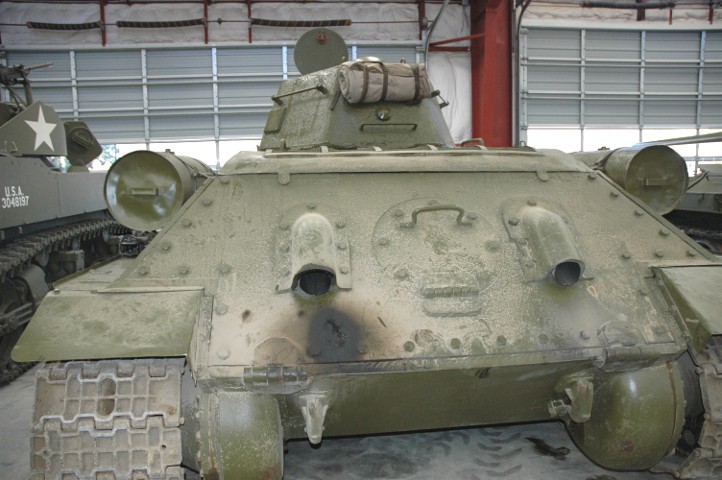
I like what you’ve done. I do think that you might have glued on the circular object in the second photo on the right front corner of the hull. It is an antenna mount, but you have mounted it facing out instead of up as in this photo of a similar kit. Other than that, it looks like you’ve done a nice job finishing the kit. We’ve all done that; gluing on a part in the wrong direction or spot.
good job and interesting choice of model. if you’ll rebuild this model you need to correct a words on decail. there are no the second part of slogan. so there is only “За Советскую” but without “Эстонию”. but may be some words are under white painting…
and i would drilled the exhaust pipes. on real tanks it was made from 2-3mm metal.
I very much appreciate the compliments and the friendly criticism about my t-34. The misplaced part on the hull has been fixed, and the decal issue will be resolved shortly. As for the rear part of the t-34, I neglected to explain the odd piece of plastic glued between the 2 plates of the rear hull. This started as a fit problem but after seeing pictures of both t-34s and t-55s with log armor attached I decided that it would be a perfect way to add character and uniqueness to my t-34 all while hiding my fit issue. I needed a flat piece of plastic to mount the log so i simply trimmed the hull so it would fit without raising its height. For some reason I accidentally forgot to include a pic the rear of the tank with the newly attached log as one of the pictures so I will include it now. I will also add some putty to reduce the visible seem. In the near future I will add small portions of rope as seen in the pictures that I am assuming were attached to help hold the log in place. As for the exhaust holes I will try to thin them out when I get some new drill bits but until then they will remain too thick. Thanks for all the feedback and I will be sure to use your future advice to further my modeling ability. Thank you.
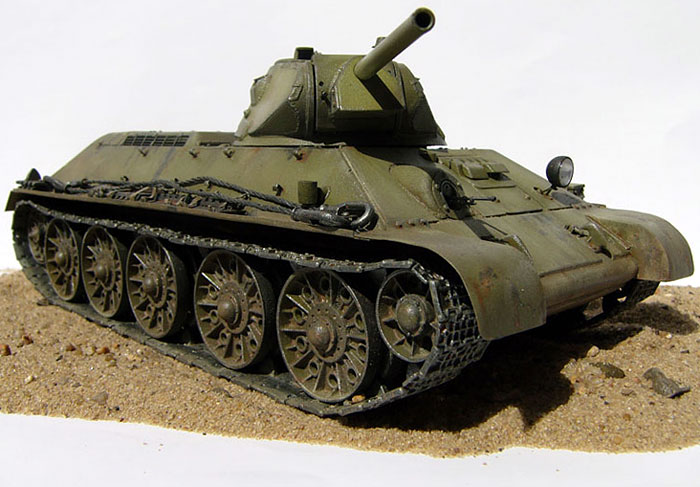
The fitment of the tracks on the right hand side needs some rearrangement.
Study Robs excellent photo example for arrangement advice…
The left rear view of the track alignment appears tilted out to the left. Again, observe the already enclosed picture from Ixion.
If not this time, then next time, you will know a bit more. Know that this build is darn nice for your age and you will only get better every time you complete another kit (and have more funds to work with)
The classic approach to the weathering situation works just as well and costs much less.
That’s the way I’ve always gone about it. Quite often, simpler is better.
Having been building for 40 years, I have noticed that most modelers agree that 1 you will always find things you think you could have done better. 2 your next kit will seem better than the last! 3 as modelers we are our own worst critics. I think its a wonderful build! When I find flaws in my work it usually is for a reason, sometimes the best save is just to simply cover it up. Example a tarp or bedroll can cover mistakes easy! Remember some kits just are poor fitting from the start. But anything can be fixed or covered! Nice job. Only the most familiar with your project will notice these small details. Once again… nice wor.