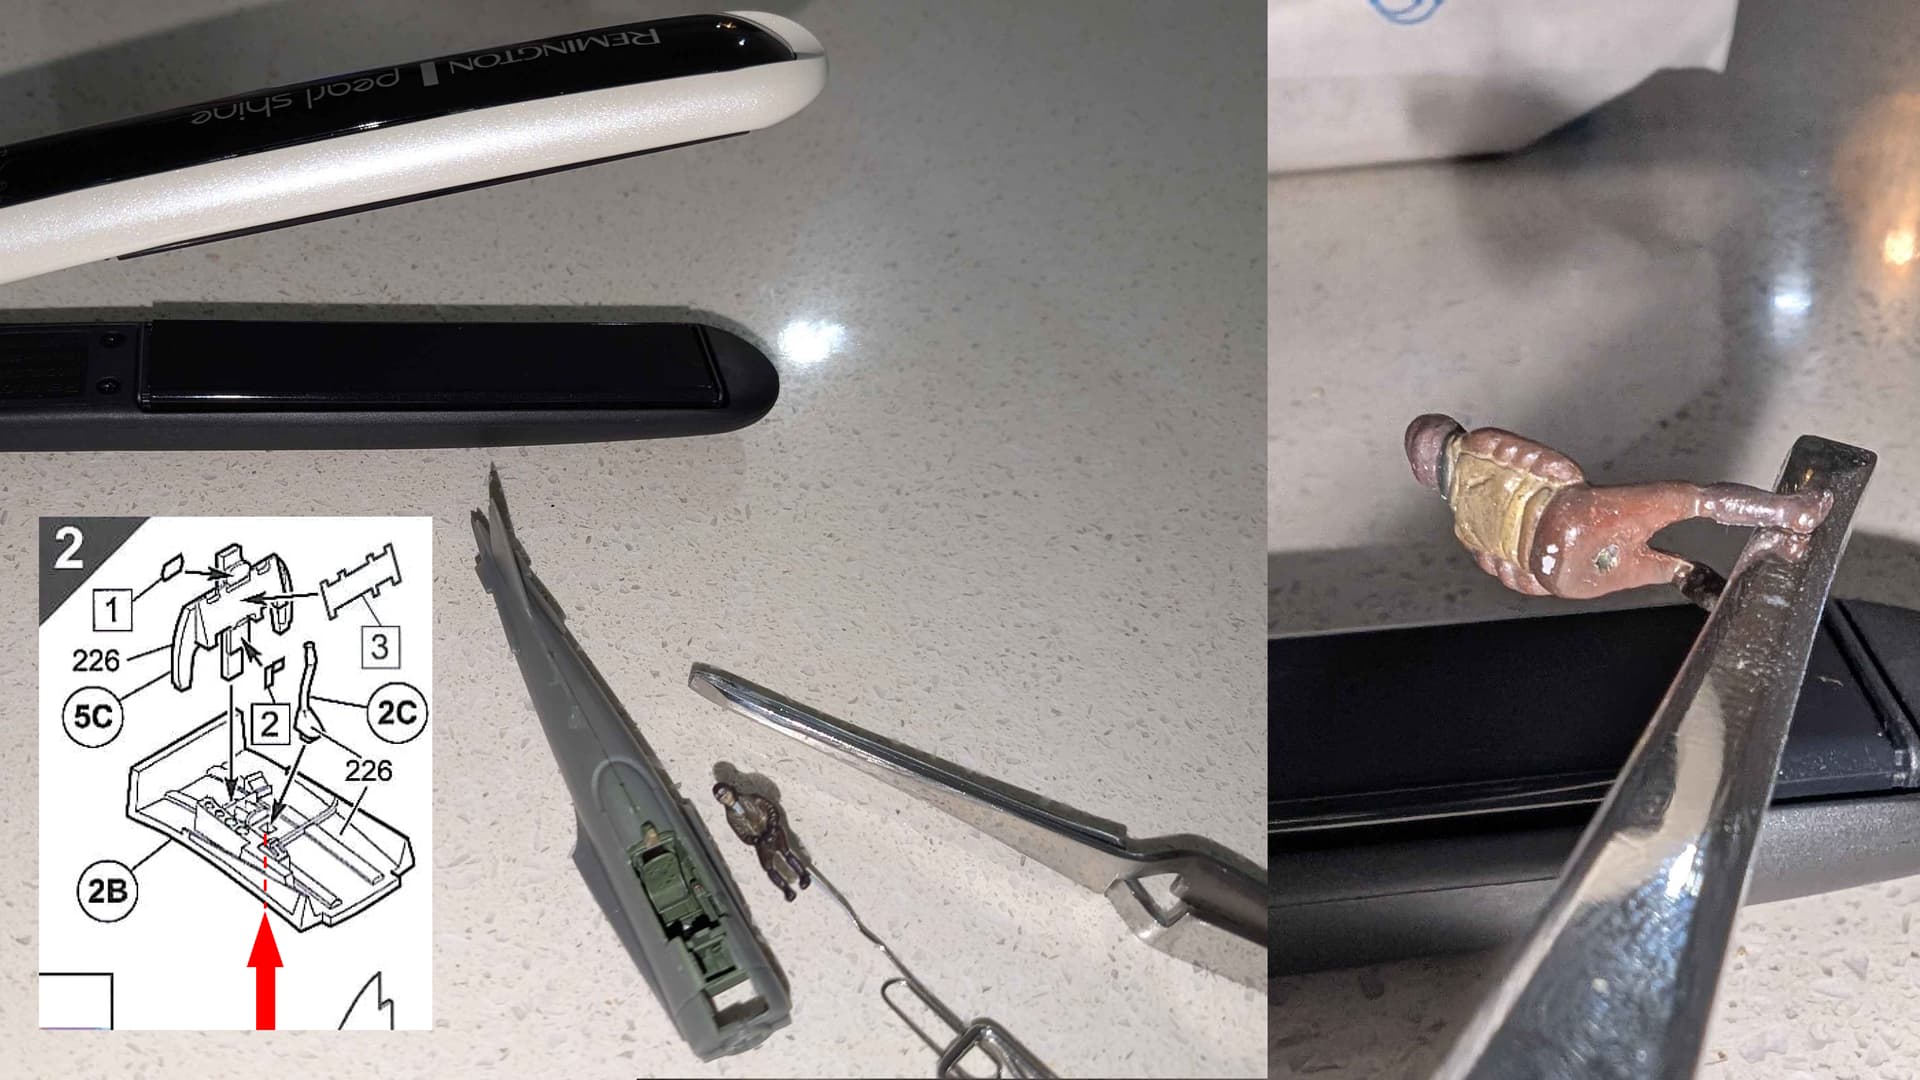
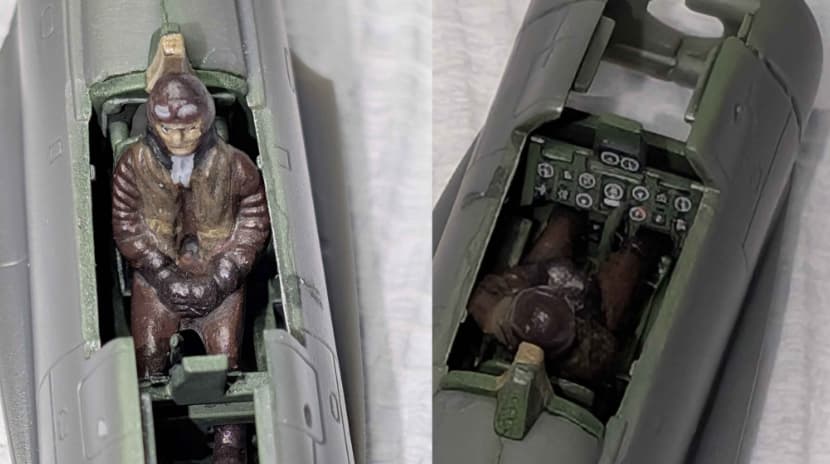
So I’ve run into an issue on a current project… I’ve delayed installing the pilot into the cockpit of this 1:72 A6M2b Zero, thinking it’d be easier to mask off if he wasn’t part of the picture. The pilot has already been painted.
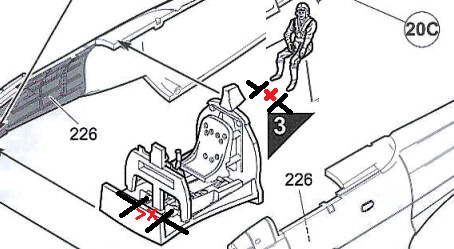
I realise after closing up the hull sections and encasing the cockpit, that the central column of the instrument panel is too wide for the space available between the ankles. I could potentially rely on the flexibility of the styrene to force his legs apart, but the joystick suffered some trauma during assembly and I really don’t want to turn this process into the worlds sh**tiest game of Operation by forcing tools into the space.
Noting that the pilot has already been painted with Tamiya Acrylics, is there a way that I can safely deform his legs so that I can drop him right in as Airfix intended? I don’t own a heat gun, but some means of controlled heat application seems to be the obvious solution…
My pilot didn’t fit in my A/F-18C - legs wouldn’t make it so I did some surgery to get him to fit. Nipped off the legs about mid shin down. They aren’t visible in the cockpit anyhow.
Yeah, I’m trying to avoid a surgical option if I can help it but if other methods start wrecking the paint finish on the areas I want to manipulate then this solution starts to look a bit friendlier…
I would put the pilot in then stuff tissue in and around and over the pilot and cockpit till its all covered. Use a wet brush to get it to conform ( clear coat the pilot and cockpit if acrylics used). Use masking tape too.
I feel like mirroring your process of masking around the pilot is ultimately going to be simpler on future builds than the act of heat therapy at best or orthopaedic surgery at worst that will be visited upon this pilot…
There’s a top idea… The underside of the control stick is still exposed, so I might be able to just punch it out of the cockpit floor from below. That will eliminate the most nerve-wracking aspect of forcing the pilots legs apart with reverse-action tweezers to insert him… Brains trust wins again!
Soldering iron or wood burning tool (if you have one) in a stand to provide constant flameless heat. You might be able to soften the plastic just enough to widen the pilots stance. Shouldn’t affect the paint.
I like where your head is at. The good lady had offered her hair straightener, so I have actively contemplated sitting the pilot between the tongs and heating until the plastic becomes more pliable. The trick is getting the overall structure to be uniformly deformable, without creating a situation where I locally deform the plastic and create a dent where the pressure is applied.
I’m probably not going to be much help on this one because I’ve never actually tried to reshape an already-painted figure.
Without a heat gun, my first thought would probably be really hot water. Actually, even if I had a heat gun, I’d probably try the hot water first. It seems like you’d have a little more control and less chance of accidentally overheating one small area of the figure.
What I don’t know is what the hot water would do to the Tamiya acrylic paint. That’s the part that would make me nervous.
So I’m probably more curious than helpful on this one. I’m very interested to see what solution you end up with and how well it works.
We were able to significantly reduce our risk profile by briefly taking our joystick out of the equation. Since the wings and hull were yet to be mated, the underside of the cockpit floor was still exposed. This allowed us to punch out the joystick the way it came in…
The pilot still couldn’t be pushed past the instrument panel column, so we were forced to resort to hot warfare and fired up the wife’s trusty hair straightener. Forcing the manspread we wanted with our tweezers, we held the pilot over the tongs (on the lowest setting of about 150°C / 300°F). About 10-20 seconds was enough to destress the plastic and allowed our deformation to become permanent… Plastic deformation rather than elastic deformation as we say in engineering materials science parlance
When I threw out heat as a possible solution, I’d never actually tried reshaping an already-painted figure myself, so I wasn’t at all sure how well it would work—or whether the paint would survive the process.
Now you’ve actually tested it and documented the whole thing, including the temperature and how long you applied the heat. That’s useful information I’m going to remember the next time I have a pilot who doesn’t want to fit where he’s supposed to.
Although now that I think about it, you really just needed to find one of those old ThighMasters in 1/72 scale. A few workouts and he’d have been manspreading his way around that instrument panel with no trouble at all.
FYI the glass transition temperature for polystyrene is right around 100 C (212 F). That is where the plastic goes from glassy (solid) to rubbery. It is not exact depending on the exact formulation of the plastic. Of course boiling water would take acrylic paint off so careful use of a heat gun is a good idea. Note that polystyrene melts above 260C (500F) so don’t set it too high. Be careful at those high temperatures!

 It seems like you’d have a little more control and less chance of accidentally overheating one small area of the figure.
 I’m very interested to see what solution you end up with and how well it works.