Hello Friends,
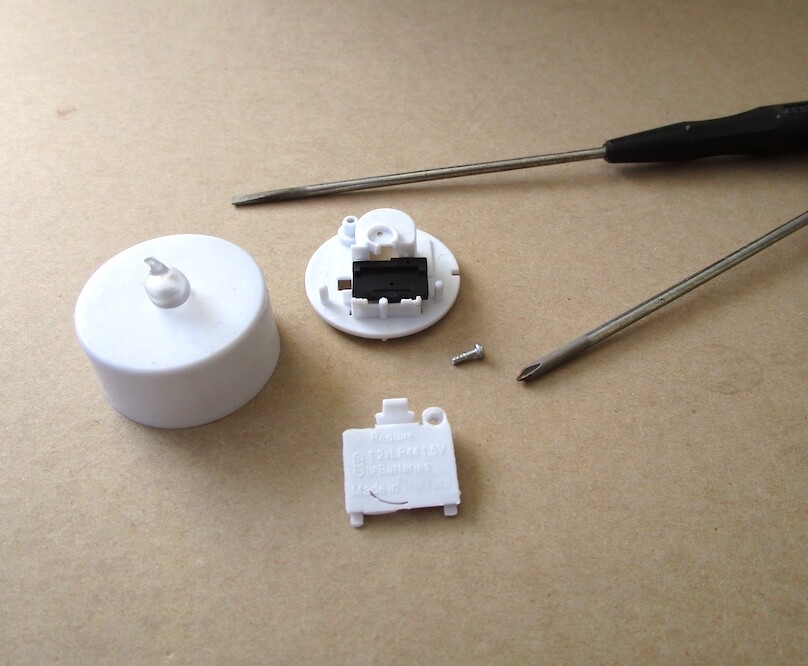
This is a cheap and easy way to add lighting to your models. All you have to be able to do is solder. Whether it be armor, science fiction, cars, and so on. I started using these a few years ago. They can be found at arts and crafts stores like Hobby lobby, and Michael’s. The box that I have pictured below, has four sets in it. The lights come with a controller that takes two AA batteries.
These controllers allow you to pick what function you want(on, flashing, chasing, fading). They have timers on them as well. The LED lights are very bright. If you want to decrease the number of lights on the strand, all you do is clip the very thin wires closest to the light. Each light has two LED chips in it. One is white and the other one is color.
If you want to make individual lights, you can buy very thin gauge train layout wire to do this. All you need is a soldering iron, and shrink tubing. I’ve Incorporated lighting and three of my dioramas, with amazing results. The best thing about this is that when you go to enter your model in a contest, you don’t have to worry about getting power.


Love the cutaway!
Rob
Iwata Padawan
Thank you cbowling! I’ve been wanting to light a few of my models but I don’t have the knowledge/skill for it but your remedy seems like it could be possible for me. I’ll be giving this a try soon. BTW I agree with Rob, your cut away looks fantastic.
Thank you. The process is very easy. I’ll make a new thread on how to do it. If I can do it, trust me, you can. Thanks for the comments on the cutaway guys. I was a bit apprehensive about cutting open such a beautiful Model.I started with the hull first. It wasn’t too bad.
I’ve been lighting models for years (mostly sci-fi) and started with the battery packs listed above. Then I moved into my own custom circuits (20 years of electronics in the military helped). Lots of resources out there for designing LED circuits.
One of my favorite sites is https://ledcalculator.net/. You just plug in the information, and it spits out a wiring diagram or schematic and shows what resistors to use.
As far as LEDs and supplies go, you can’t beat Evan Designs
Buy Battery Powered & Small LED Lights | Evan Designs
Dave and Shelly are great people to work with and they back their products 100%.
Rob
Iwata Padawan
“Here’s the process folks.”
It didn’t post…
Rob
Iwata Padawan


There are two types of light sets: White or White/multicolor.
Some models require white/color bulbs. The inside of the Sherman tank has white and red. (White for non-tactical, and red for tactical.) The inside of an M109 has white and blue lights for the same reason.


Here’s the process. I like to cut each bulb off the set. I’ll turn the set on and mark each bulb with a piece of tape saying what color it is. It makes it a lot easier having to second-guess what color something is when the lights are off. The lights can be assembled in series, or individually.
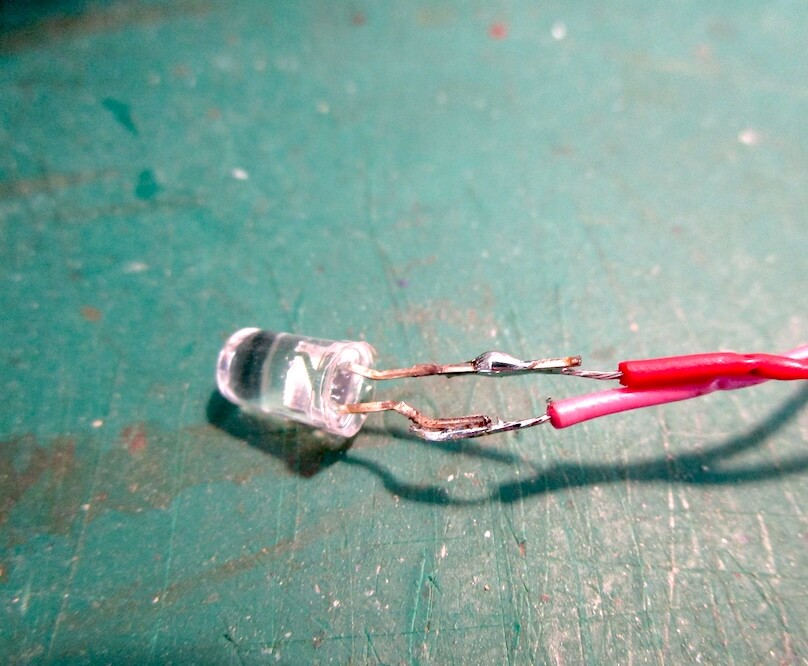
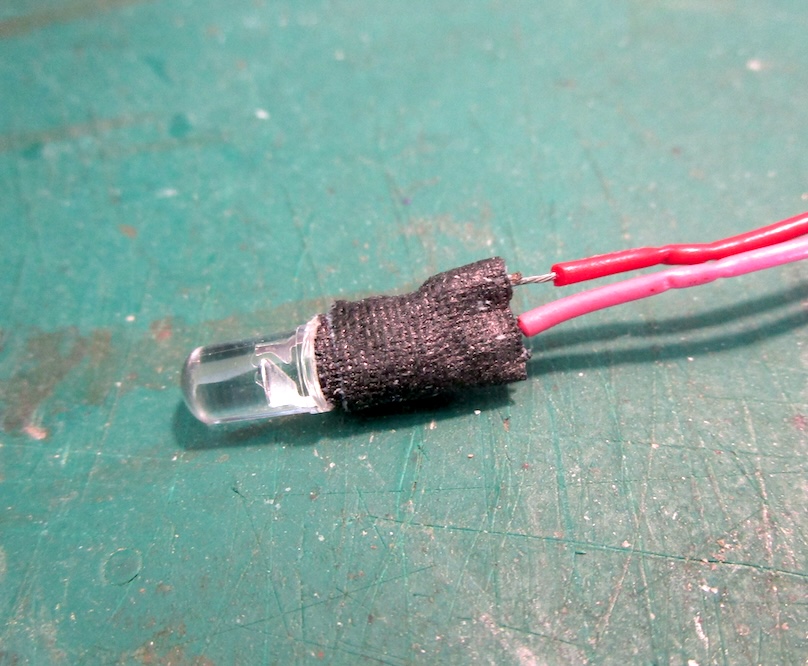
Assembly. 1. The wire between each LED bulb is coated with tin to eliminate short circuits. The end of each wire needs to be either sanded, or scraped with an X-Acto knife to expose the copper interior prior to soldering. 2. Once the tin is removed, tape the two ends down on whatever material you’re using to solder on top of. (I use masonite.) 3. Cut two different color pieces of the thin gauge insulated wire. Stripped the insulation off, twist the ends and tape them over top of the exposed copper wiring on the LED.
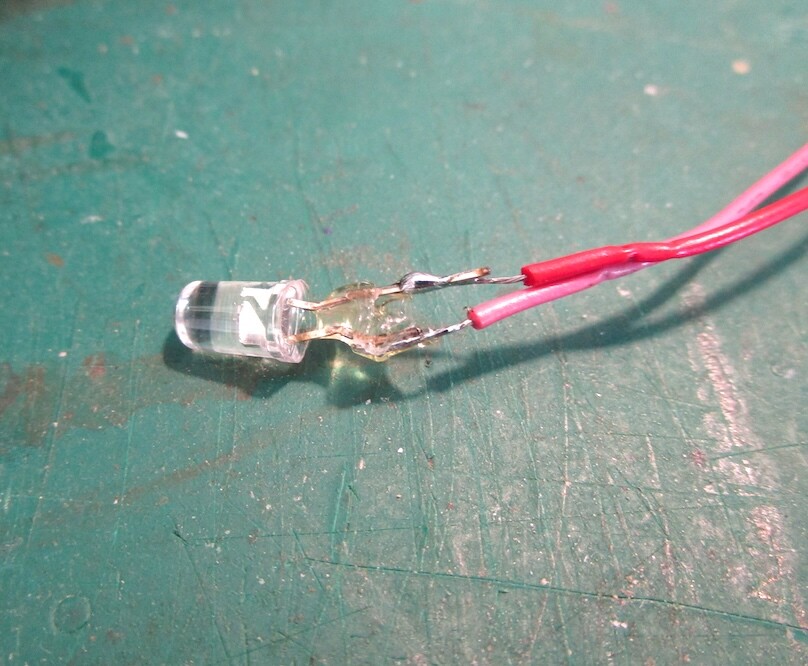
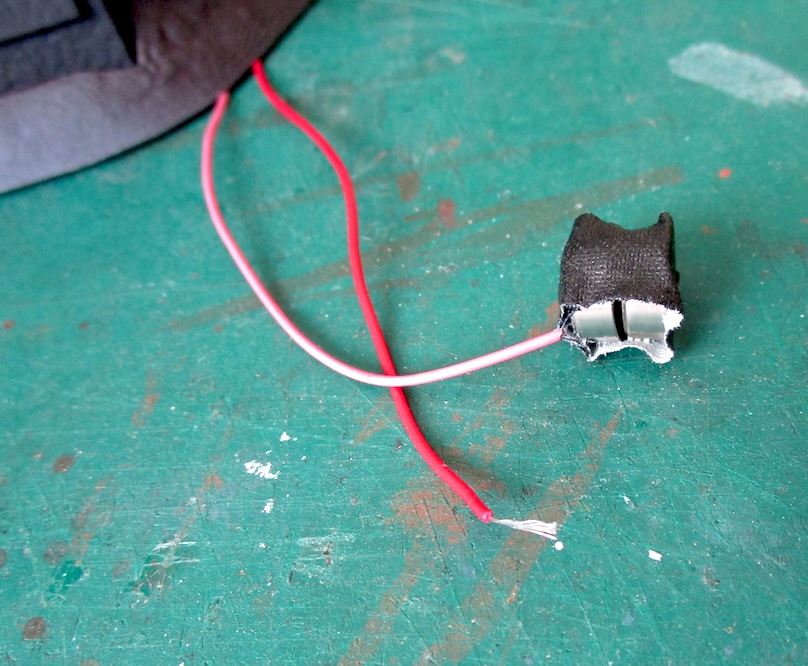
4. Solder the wires together. Only a small amount of solder is needed to join the two. 5. Cut the appropriate length of shrink tubing to cover each solder joint. Once the shrink tubing is in place, take the tip of the soldering iron and run it back back-and-forth on the length of the tube until it starts to shrink. (take care not to hit the insulation on the wires with the tip of the soldering iron.)
6. Attach the controller to check for continuity.
That’s it.


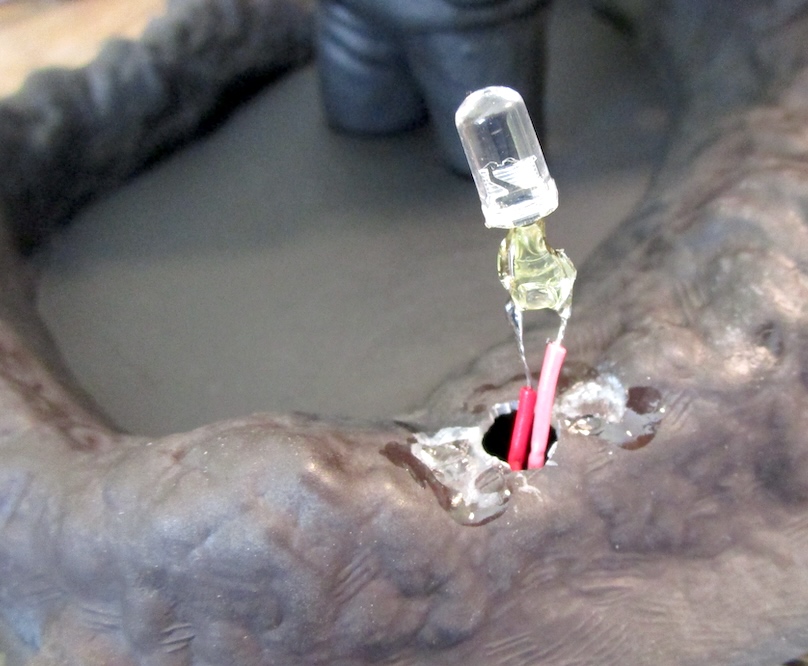
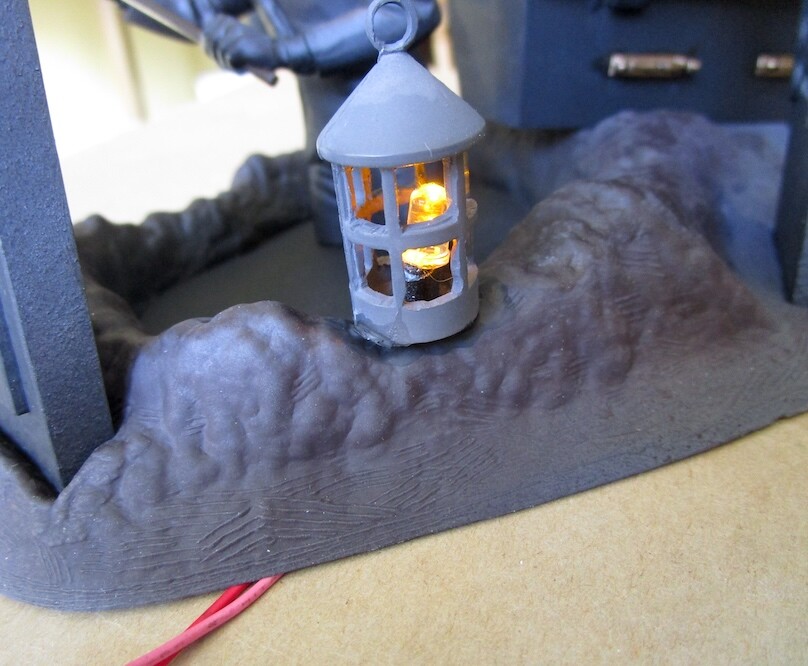
The wire between the LED bulbs is extremely flexible. I normally attach the completed assemblies to the inside of the model with superglue. The wire can be painted with the appropriate acrylic color.
Thanks for the thorough tutorial.
Thanks for the additional links, Rob