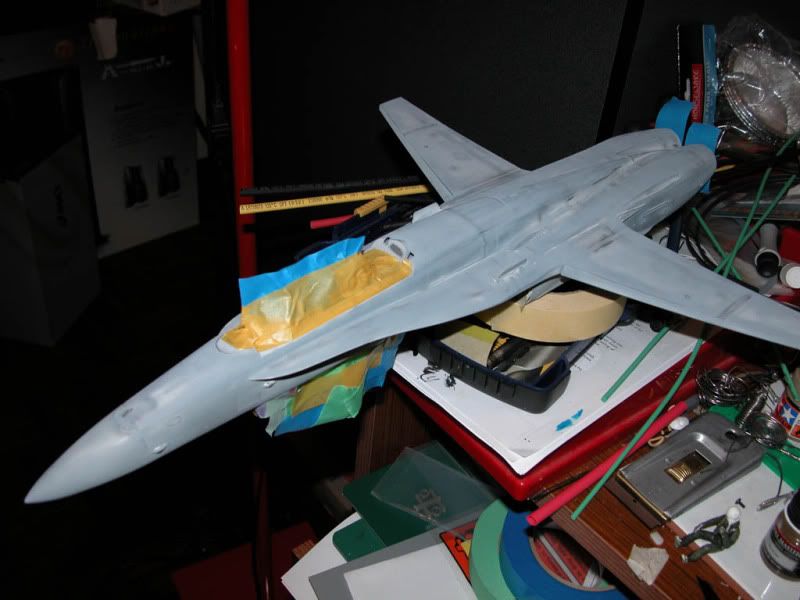
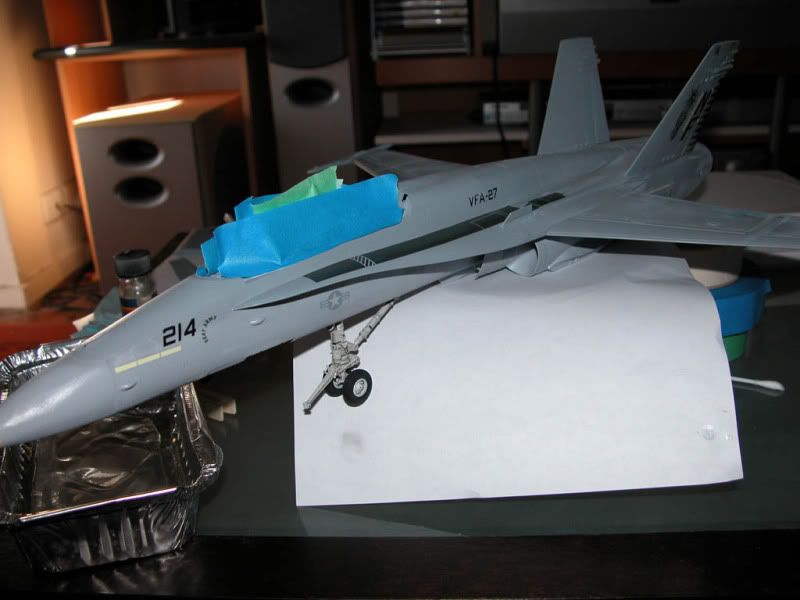
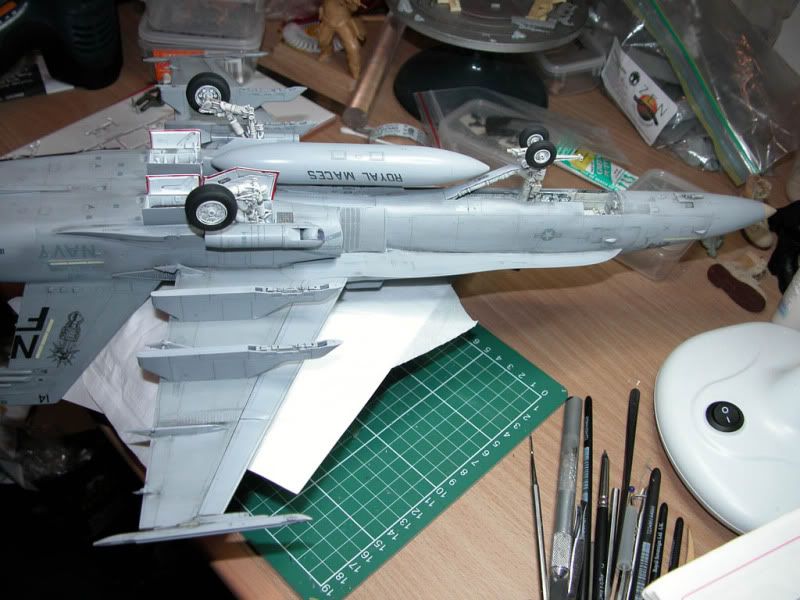
I shelved this kit a while back after problems with the paint job, but recently decided to strip the enamel paint back and re-spray with Gunze acrylics. I’ve blended the two tone scheme and have put down some Future in preparation for decals. The markings will be for VFA-27 “Royal Maces”.
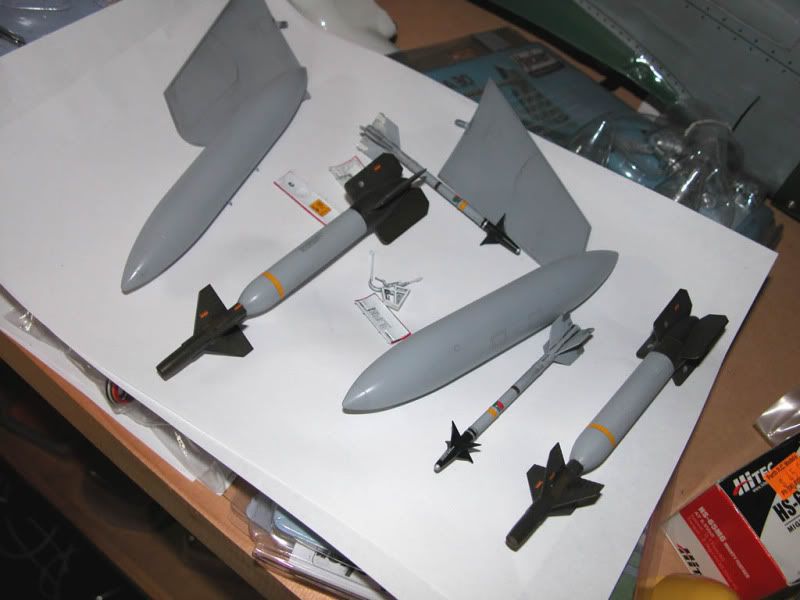
For the external stores I’m just fitting whatever looks cool. Thanks for looking.
Glad to see she’s back on the bench! From what I have heard, that is a great kit and I have seen some spectacular build-ups of it. Keep us posted on your progress with it! [:D]
What a coincidence. I’m going to post F/A-18D Hornet “Night Attack” 1:32 - also from Academy and I see this thread on top of the page. Your C version looks so far so good.
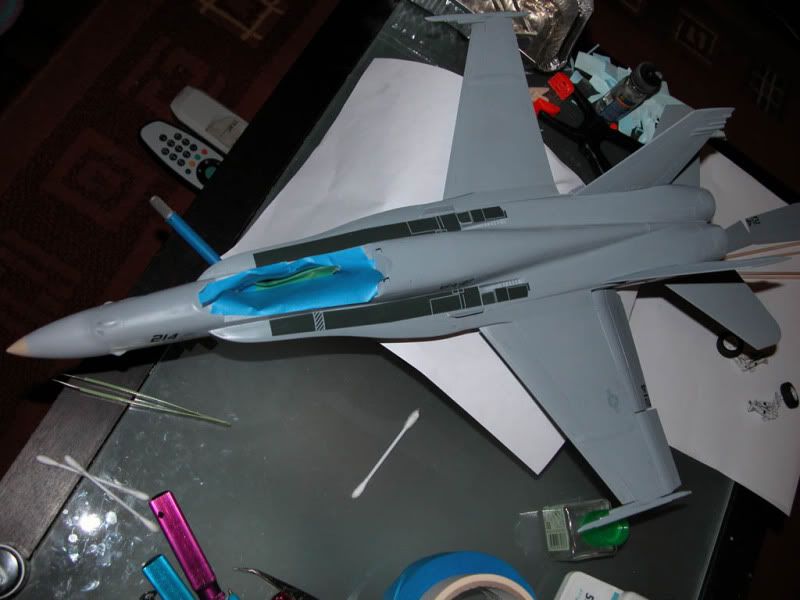
Added some decals. I’m liking the low-vis markings as I wanted this to look like a work-horse Hornet, no-frills. Putting down the ‘no-step’ decals is however, no-fun.
Looking good!!! I also did the “C” a while back, loved every minute of it, such a well done kit. I also did the “D” model as well, for my bro(while he was in Iraq)VMFA(aw)332(markings in kit were wrong) it was nice to have pics of the real thing e-mailed on a daily basis!!!
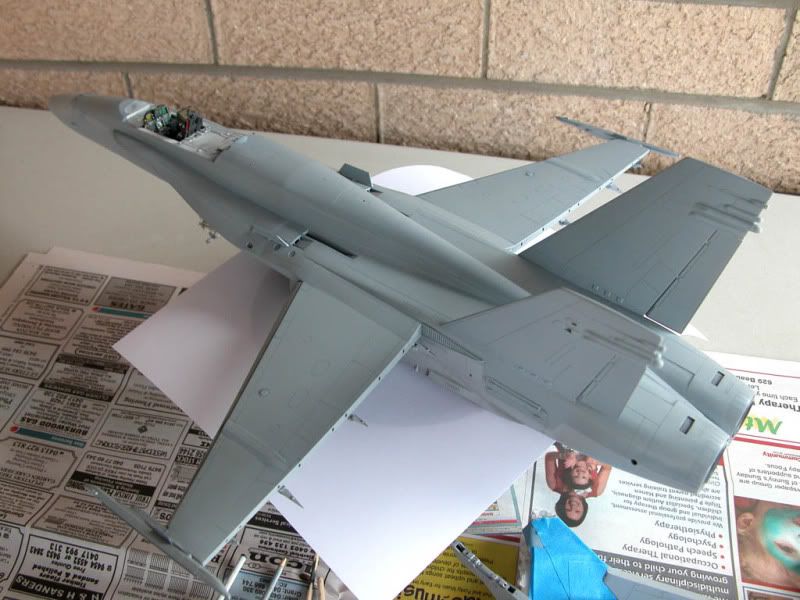
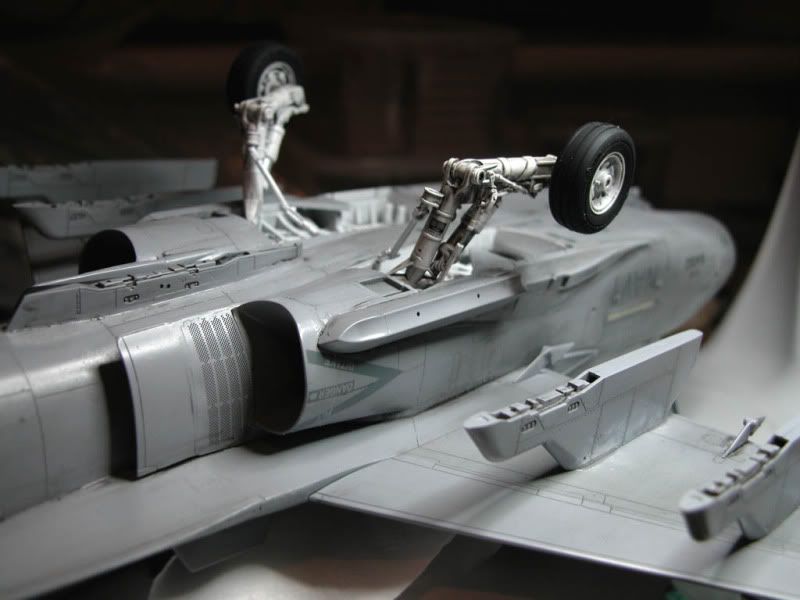
I added an oil wash to bring out the panel lines, but it needs some more retouching with the airbrush which I’ll do later.
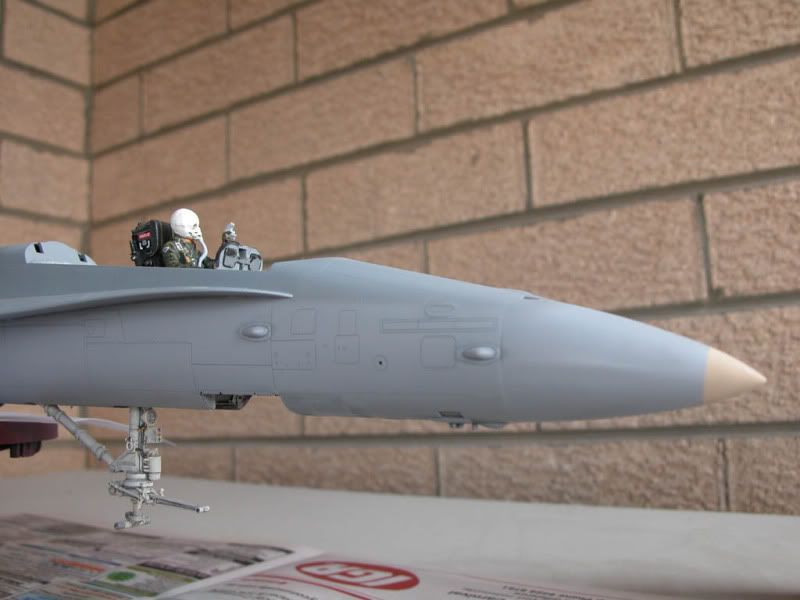
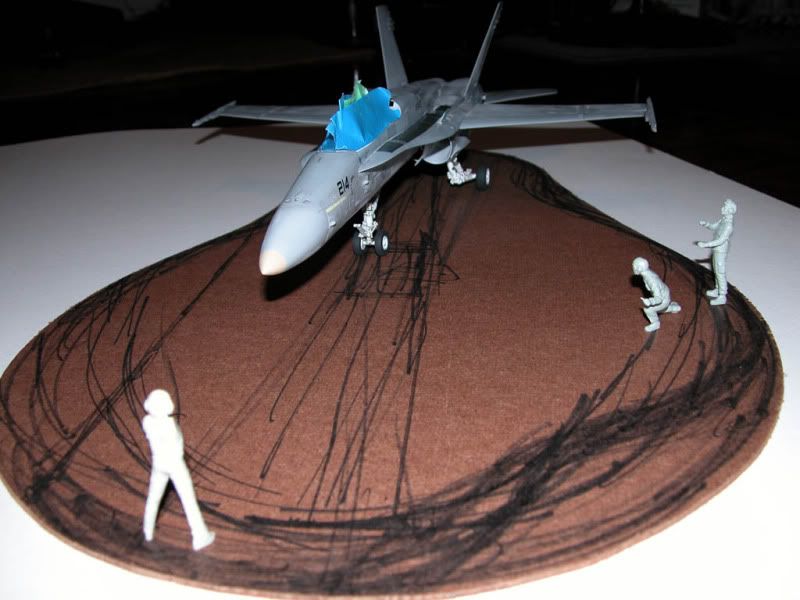
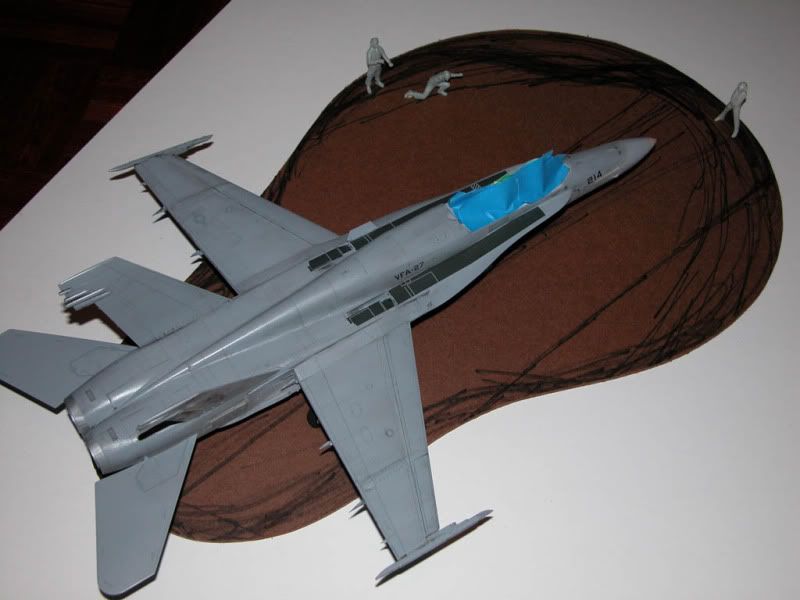
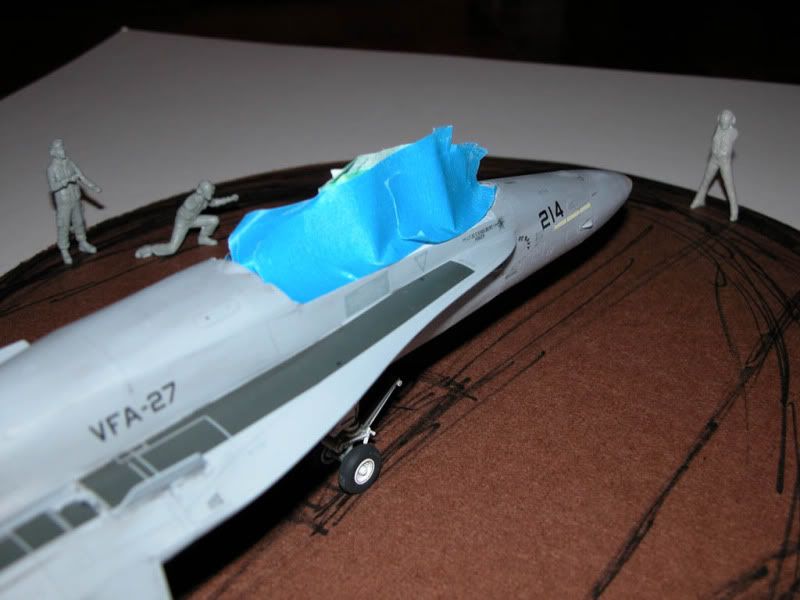
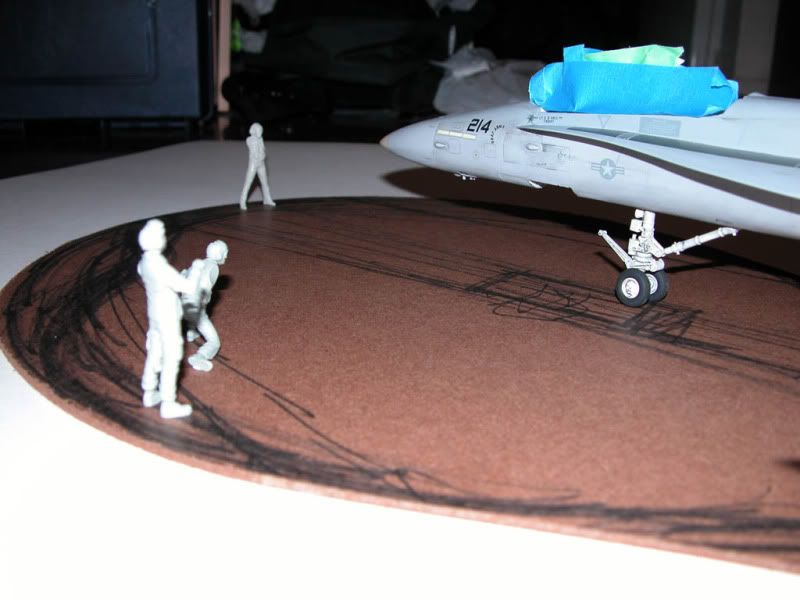
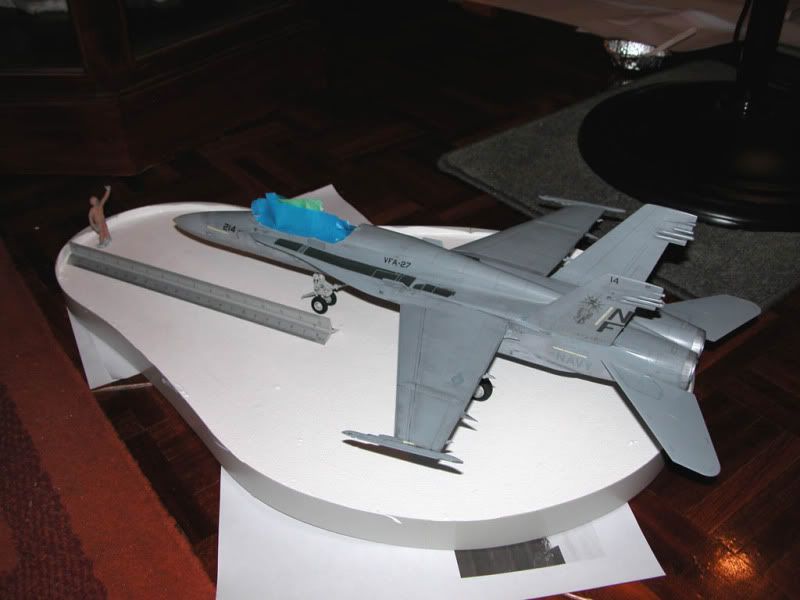
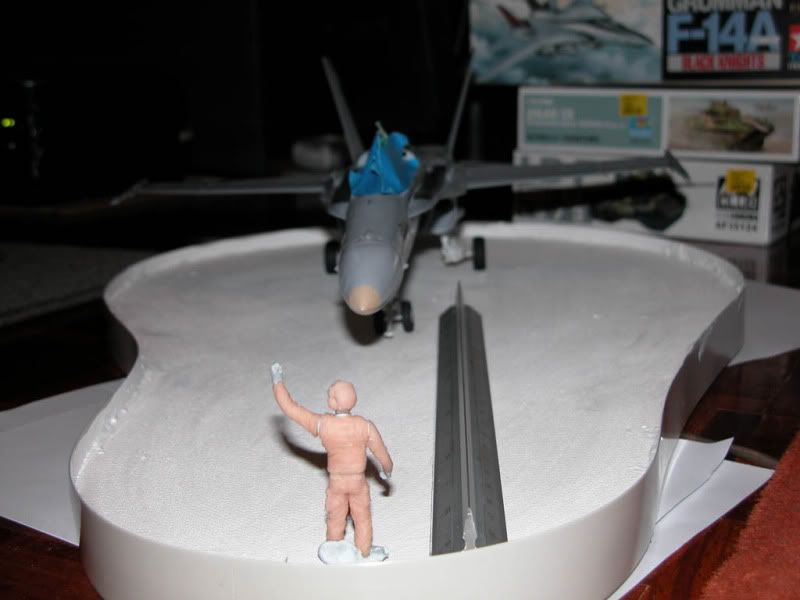
I also started work on a base as you can see here. The scene will be guiding the F-18 onto the catapault (not launching). I have some figures from this F-18 kit and my 1/32 Tamiya Tomcat, but I think their outfits look pre-90’s so may need some updating.
Thanks! I wasn’t too sure if that base shape would look any good. Hopefully once I get the depth (it should be up to an inch deep) I think it should work ok.
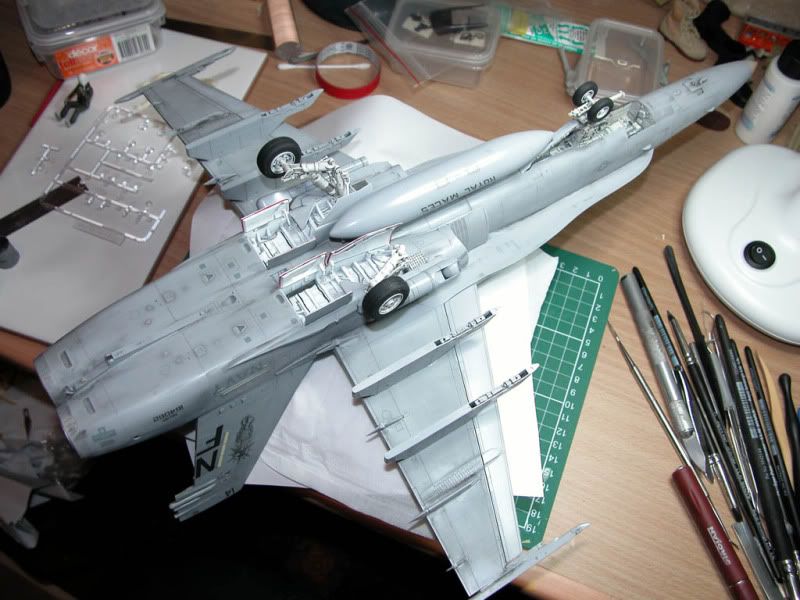
Another update. Haven’t done much on the F-18 apart from the wash/weathering which turned out ok (I prefer pre-shading which I probably should have used instead) The wash seeped under some decals which will require retouching. That was mainly because of the paint repair job was a bit uneven, some decals silvered slightly.
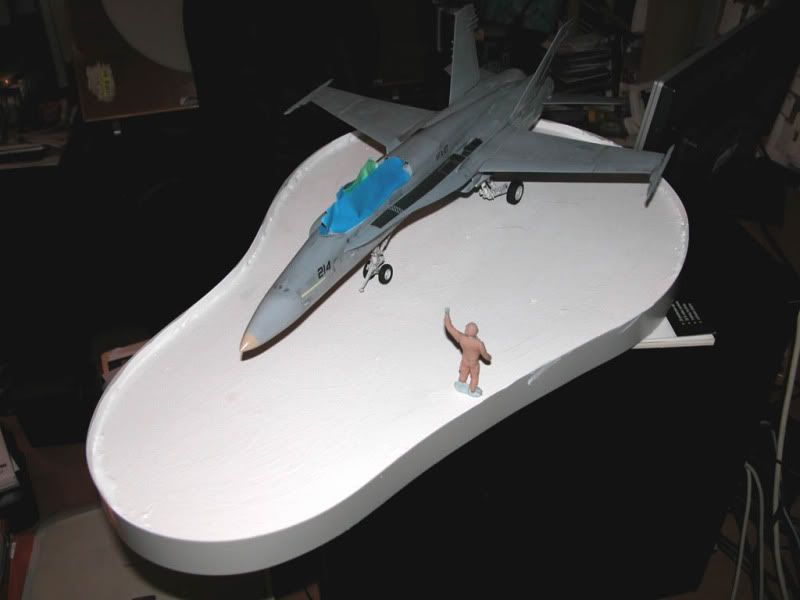
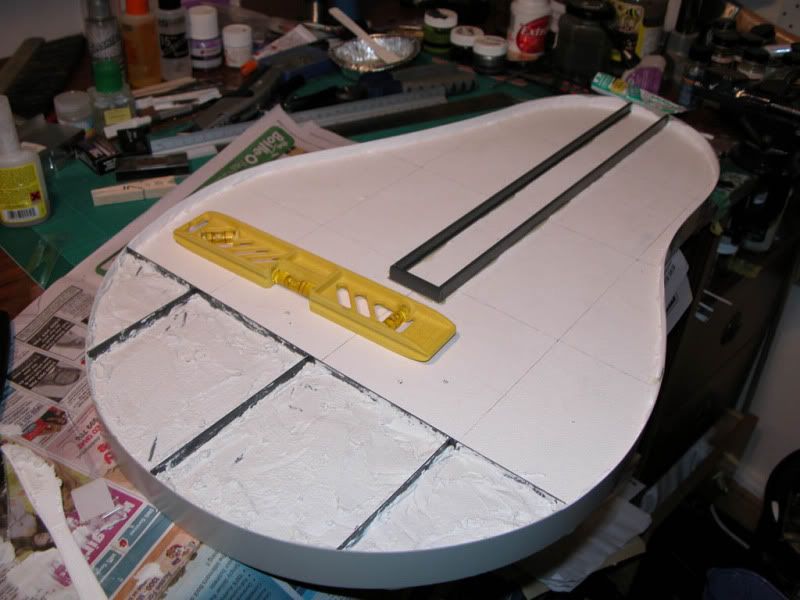
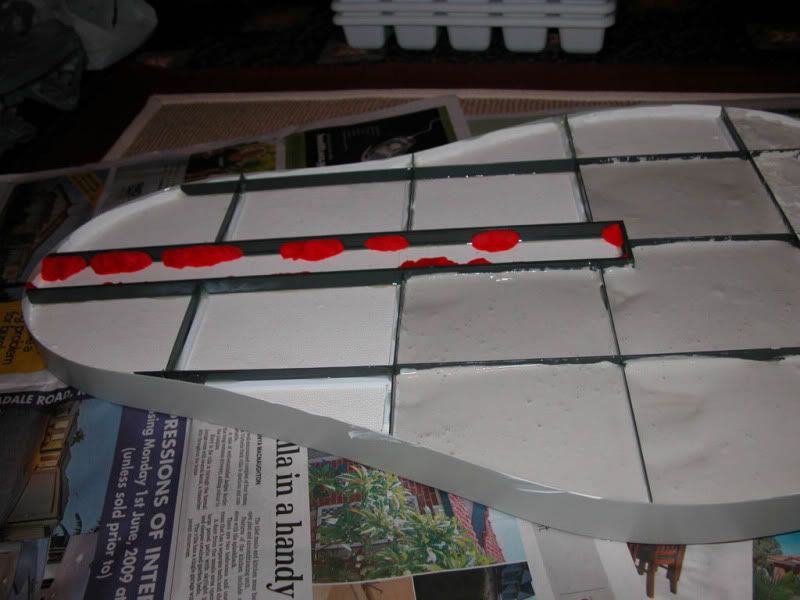
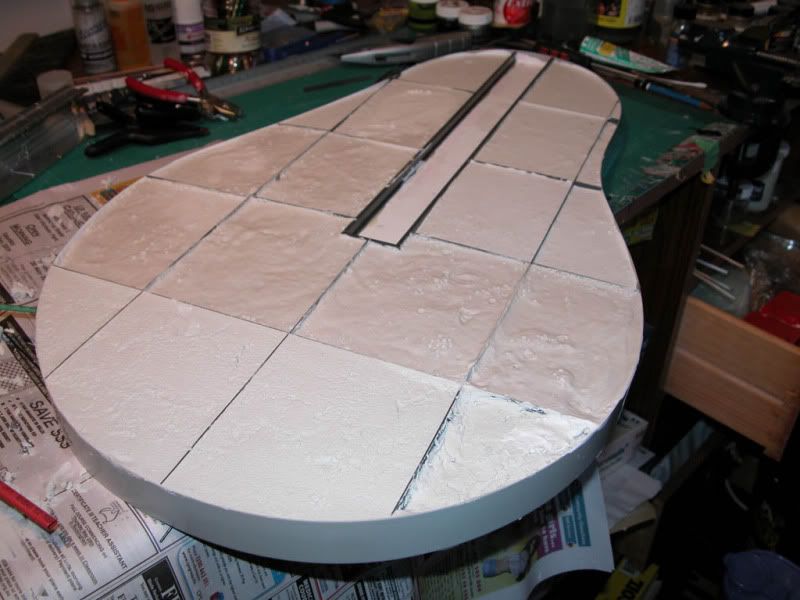
I’ve also been building up the base which turned out to be more involved than I originally intended. I decided to lay out tile sections and fill them with plaster and gap sealant (polyfilla its called here). I hope after much sanding I’ll lend up with a convincing tarmac appearance.
I decided to press on and get the jet finished, and it seems to be coming together ok. Paint is a little uneven, noticable compared to the drop-tanks ( I finally got to grips with the old airbrush) but the weathering ties it together ok.
I never got around to putting these shots up before, never been published as far as I know, so here’s an image dump of the final diorama from 2009. The deck crew were hand modelled in Sculpey from scratch, and cast in resin.