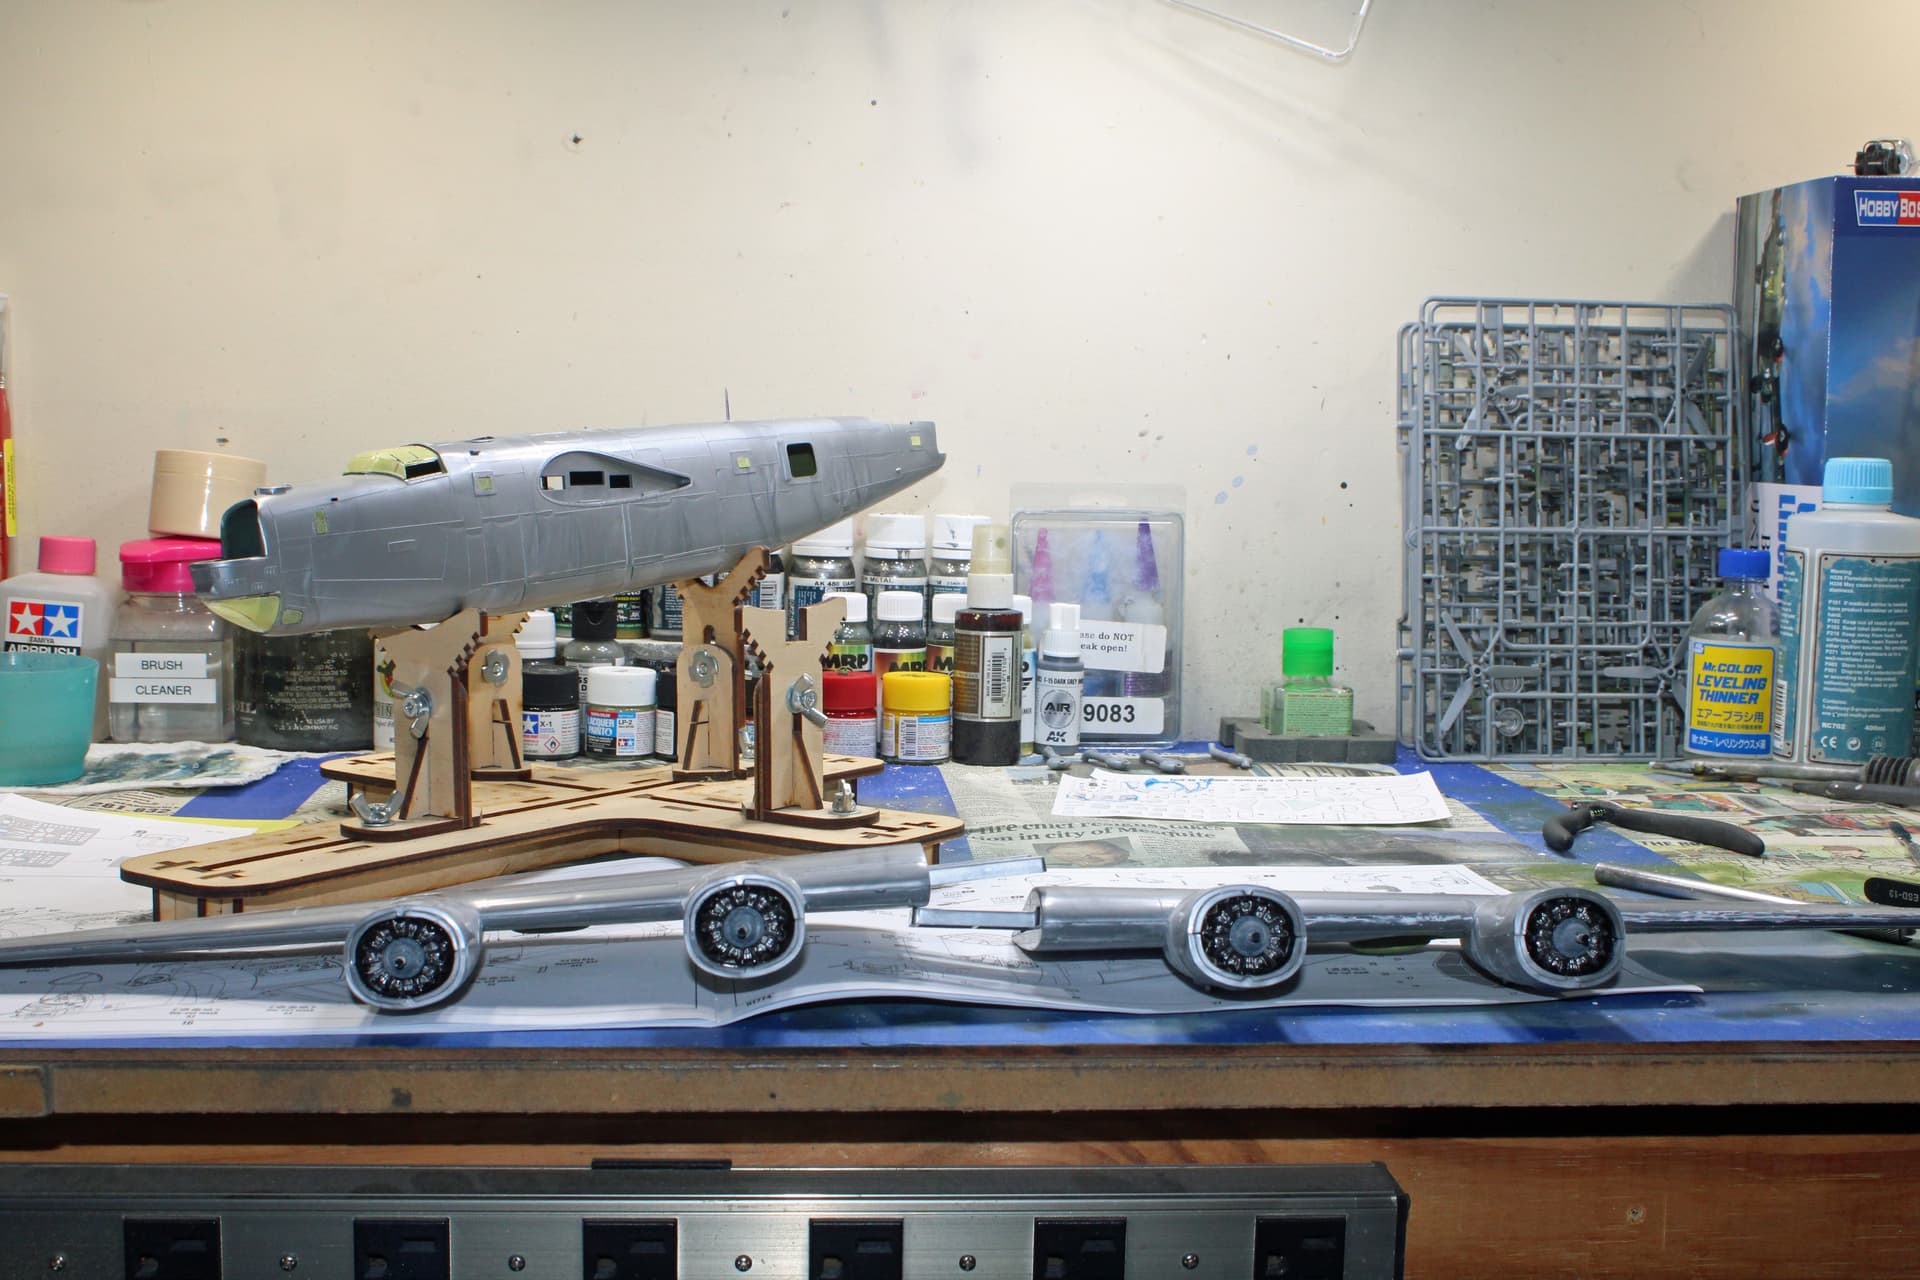
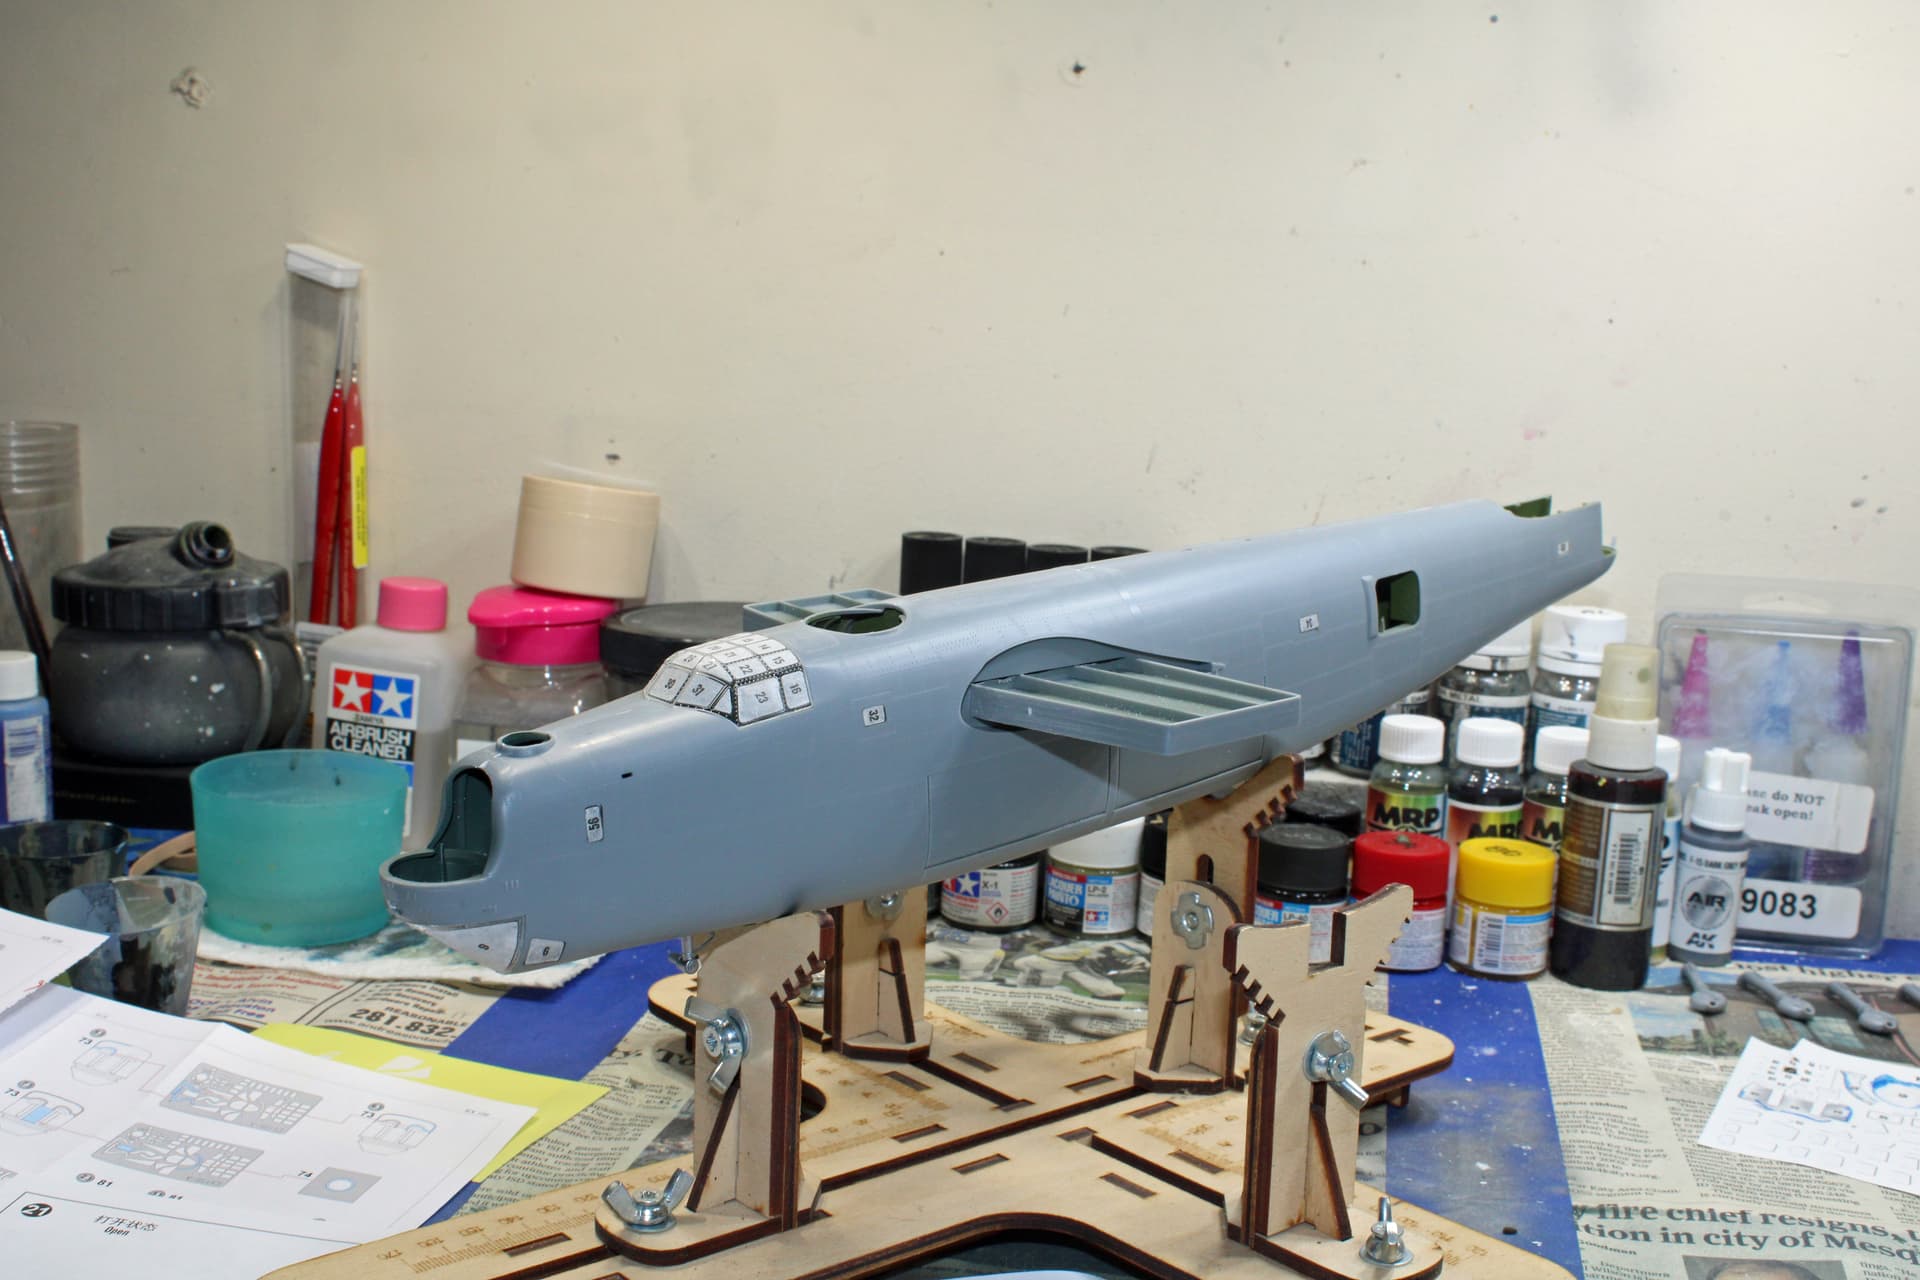
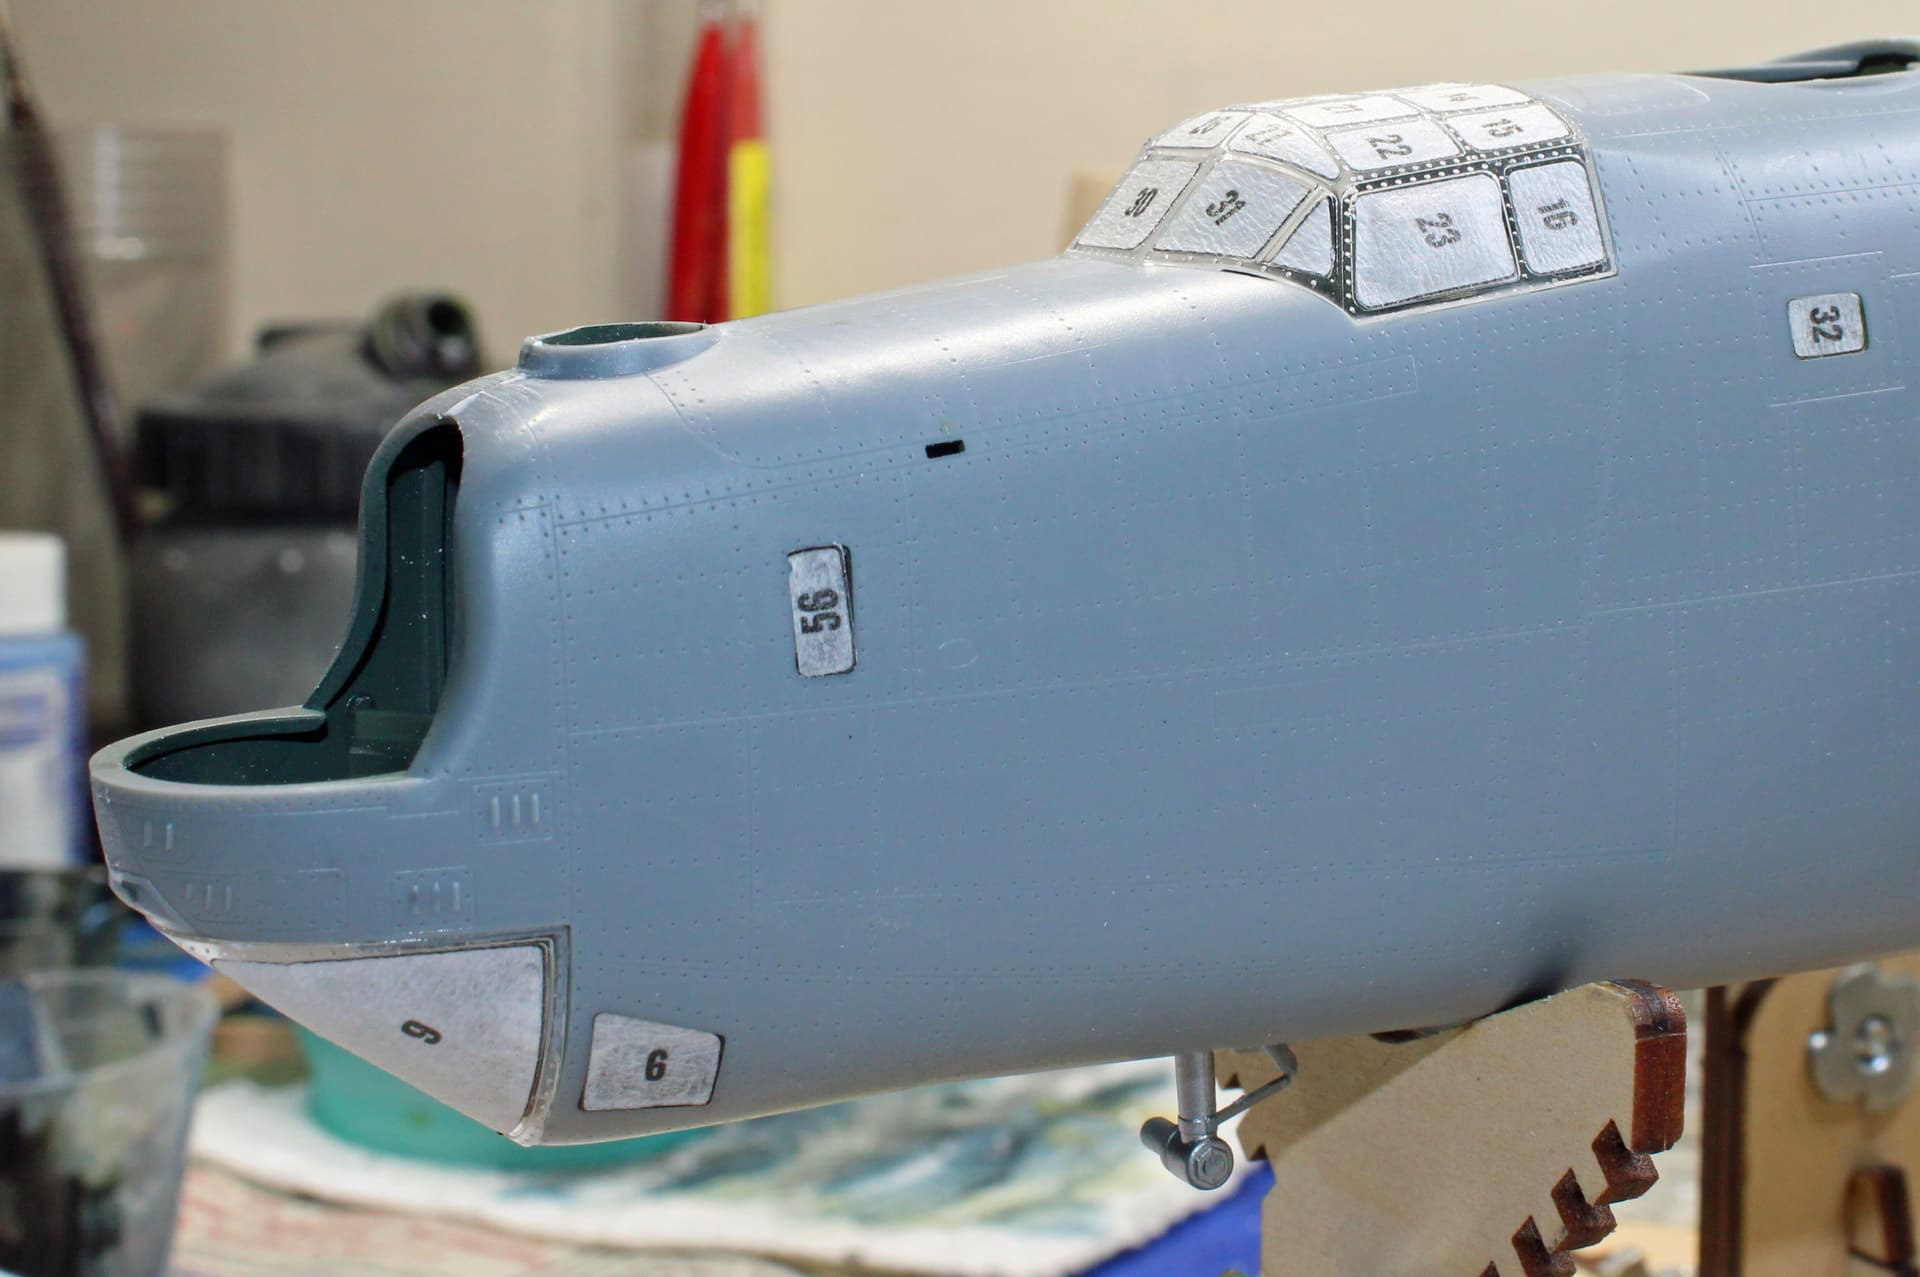
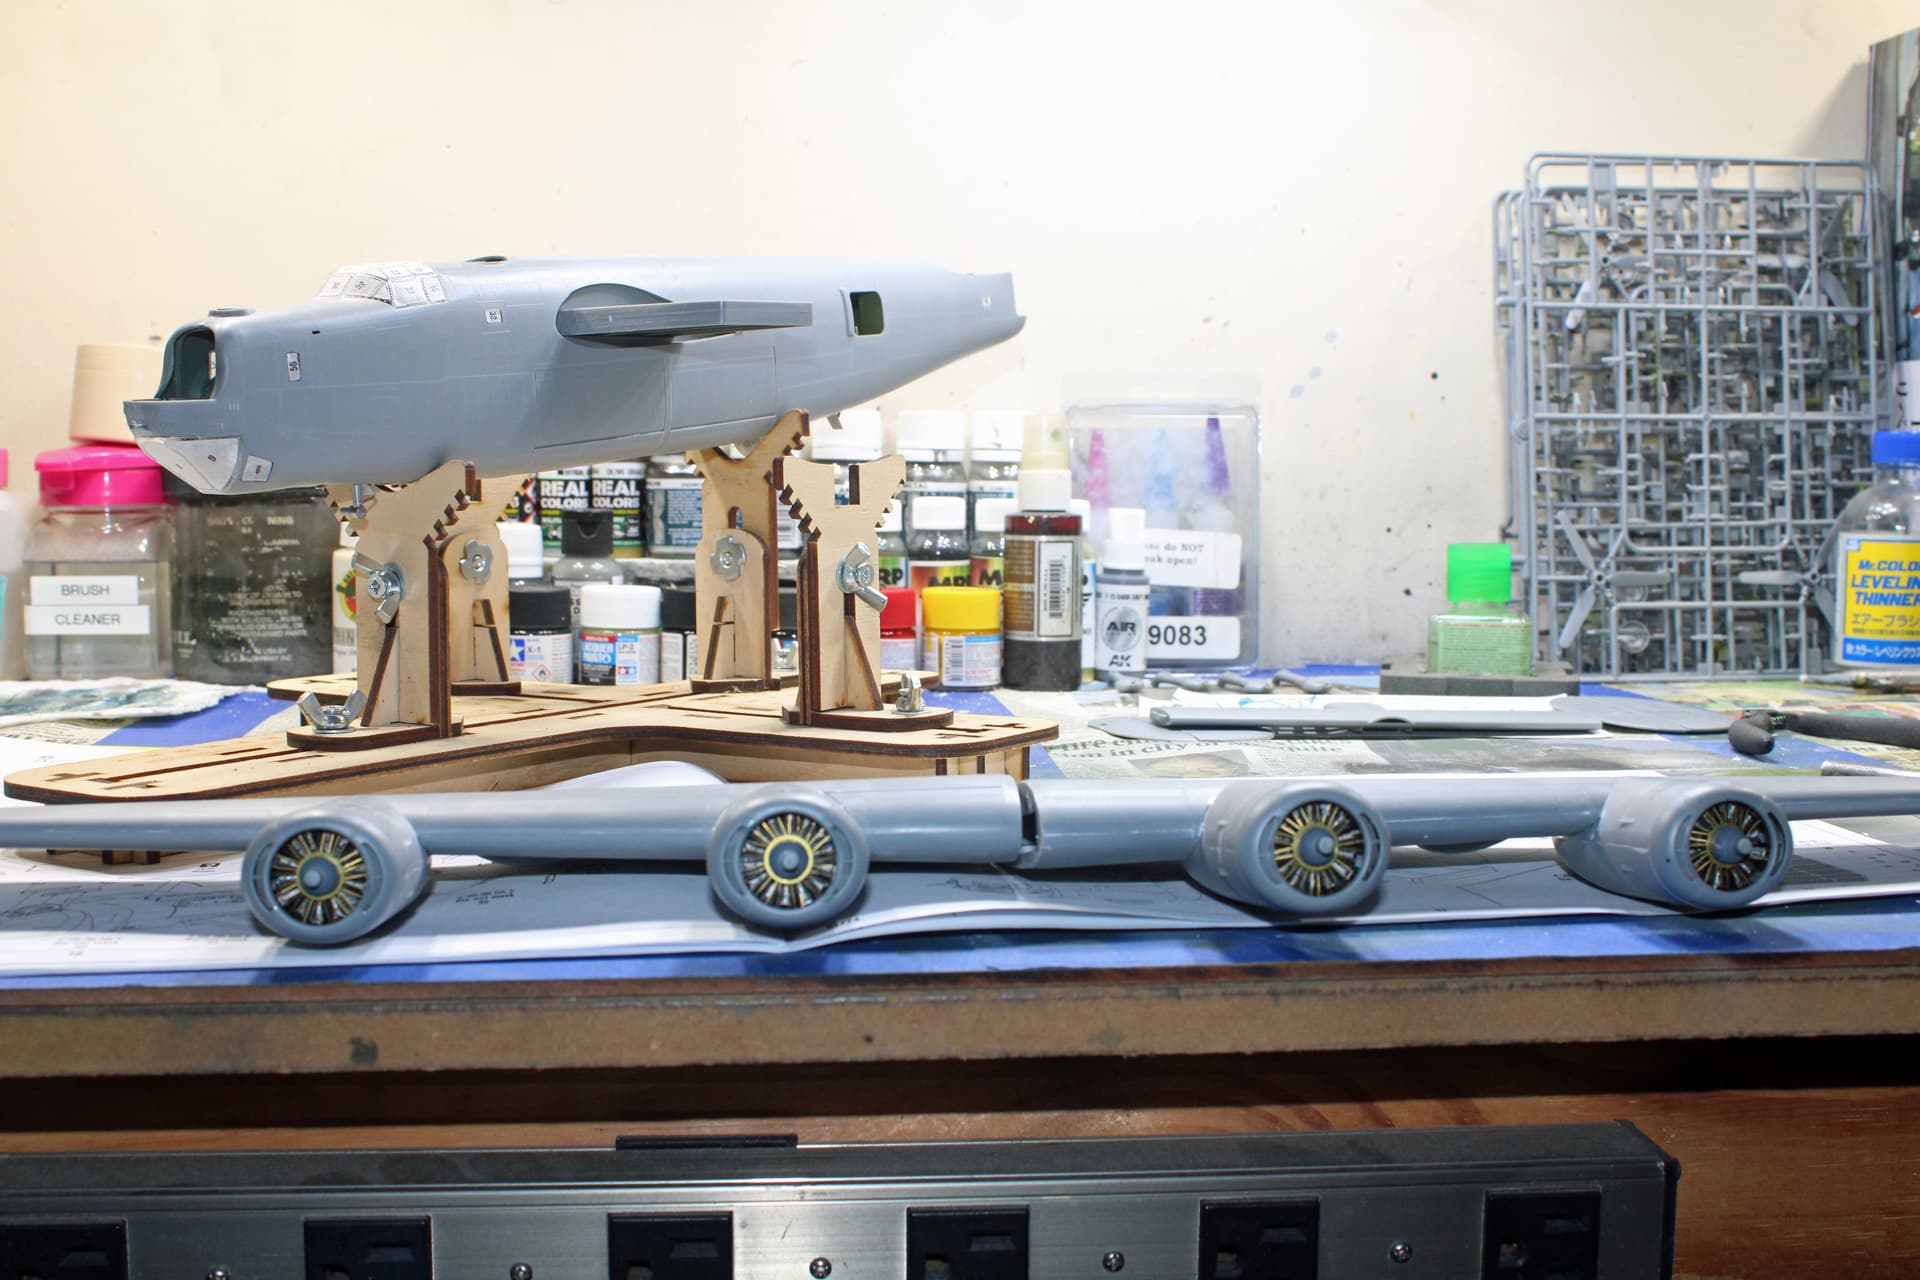
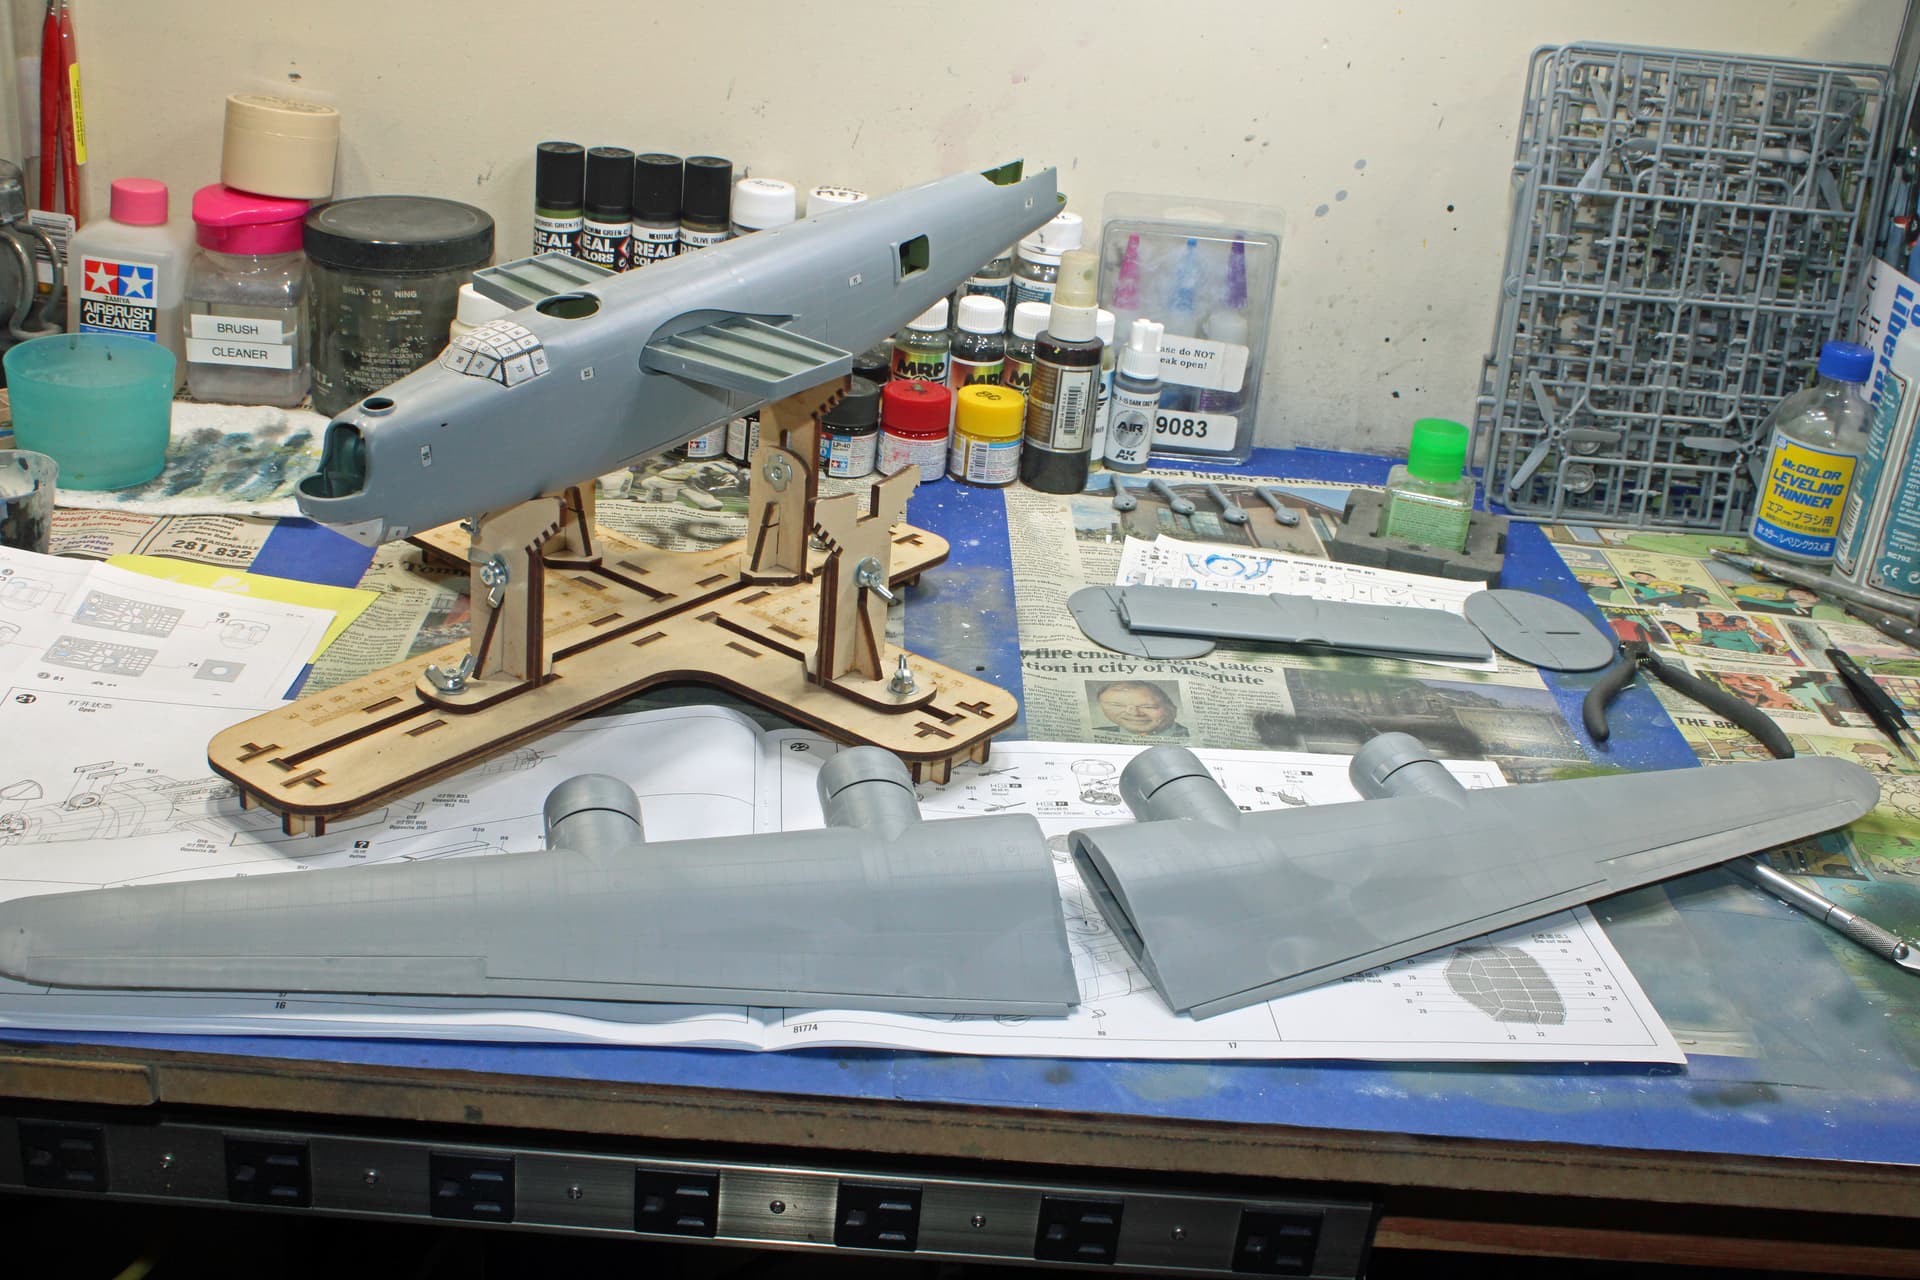
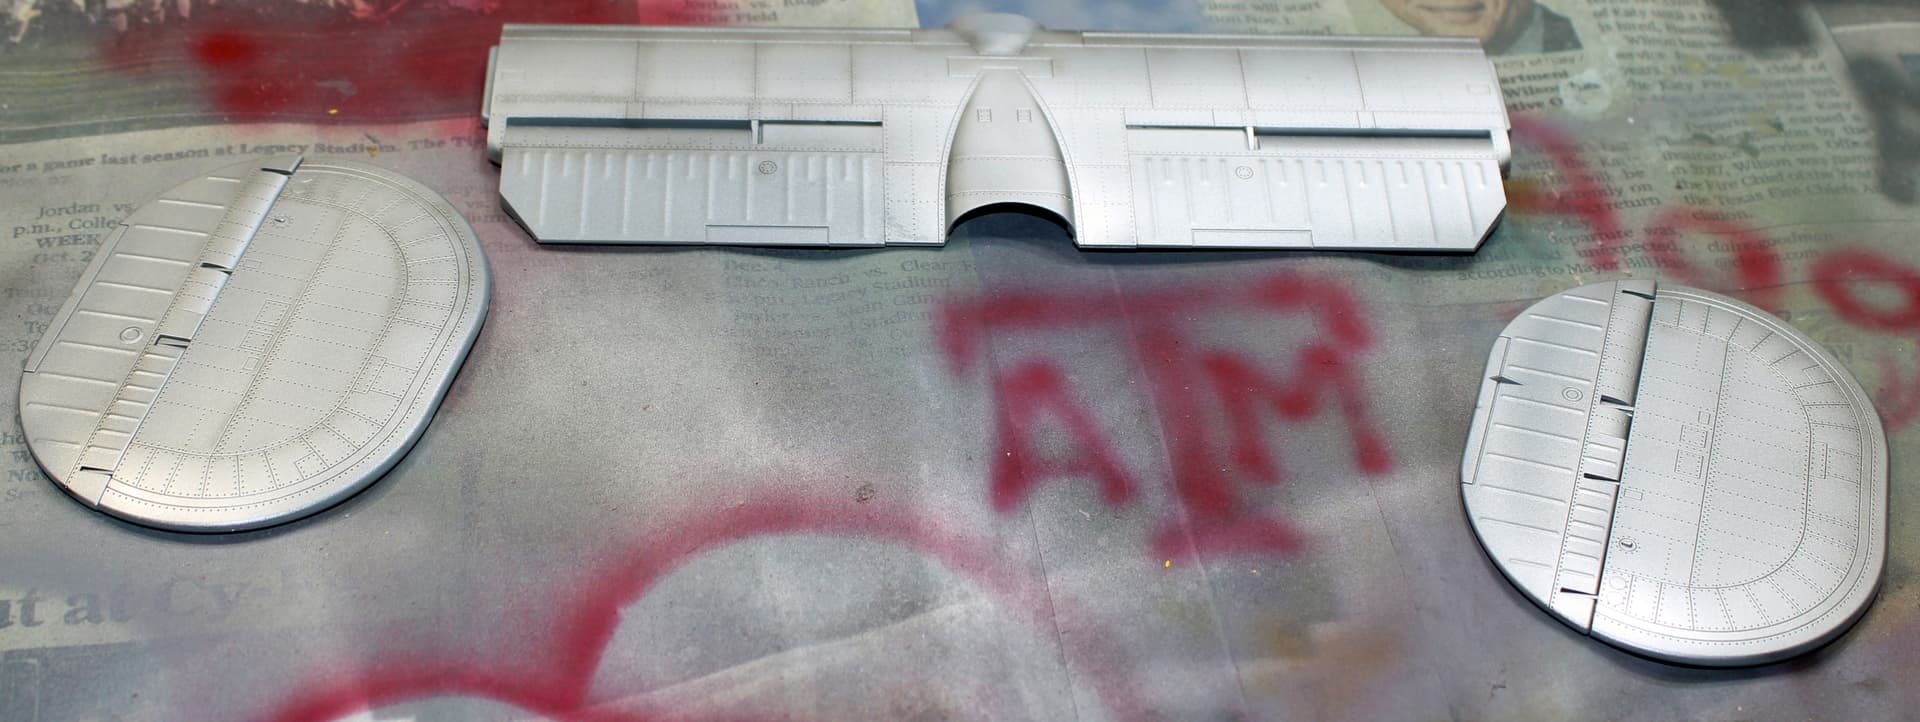
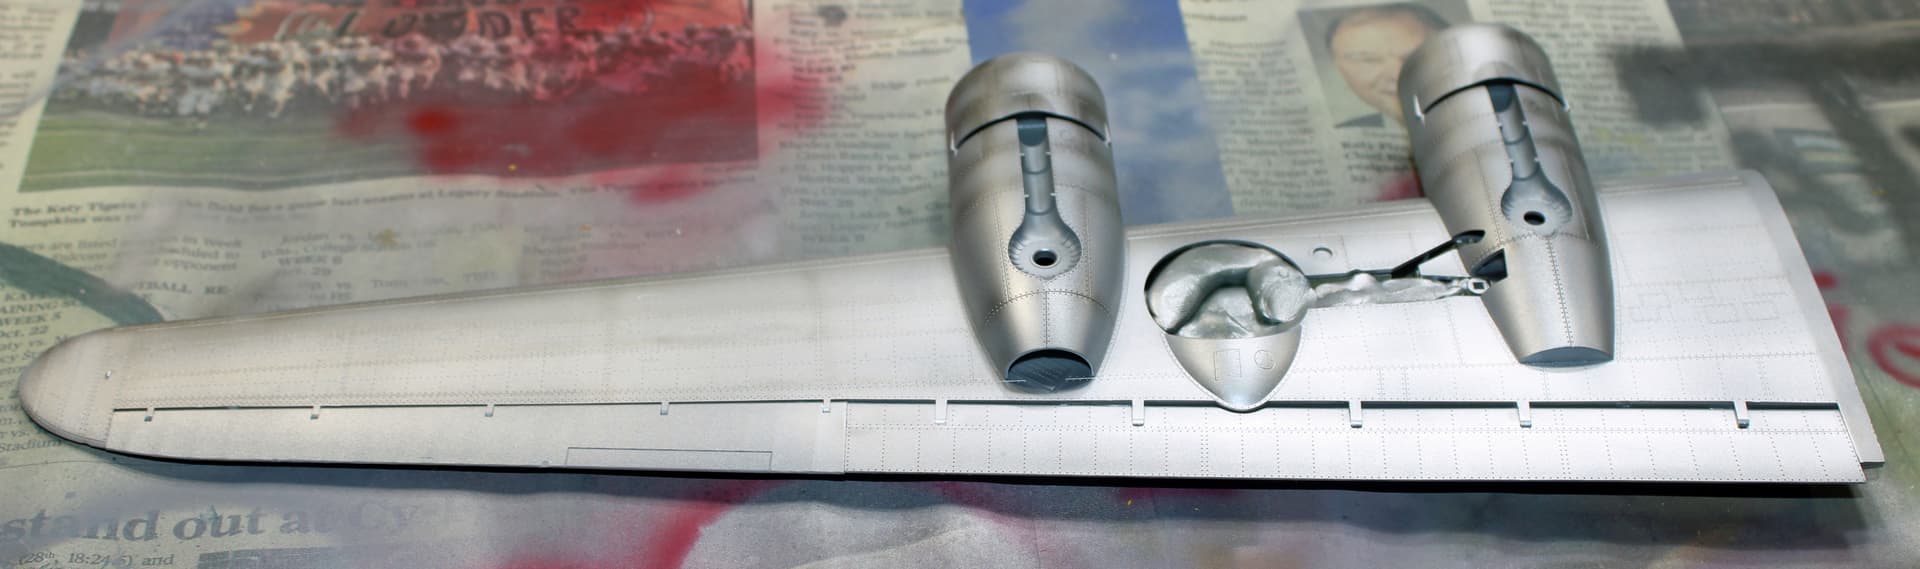
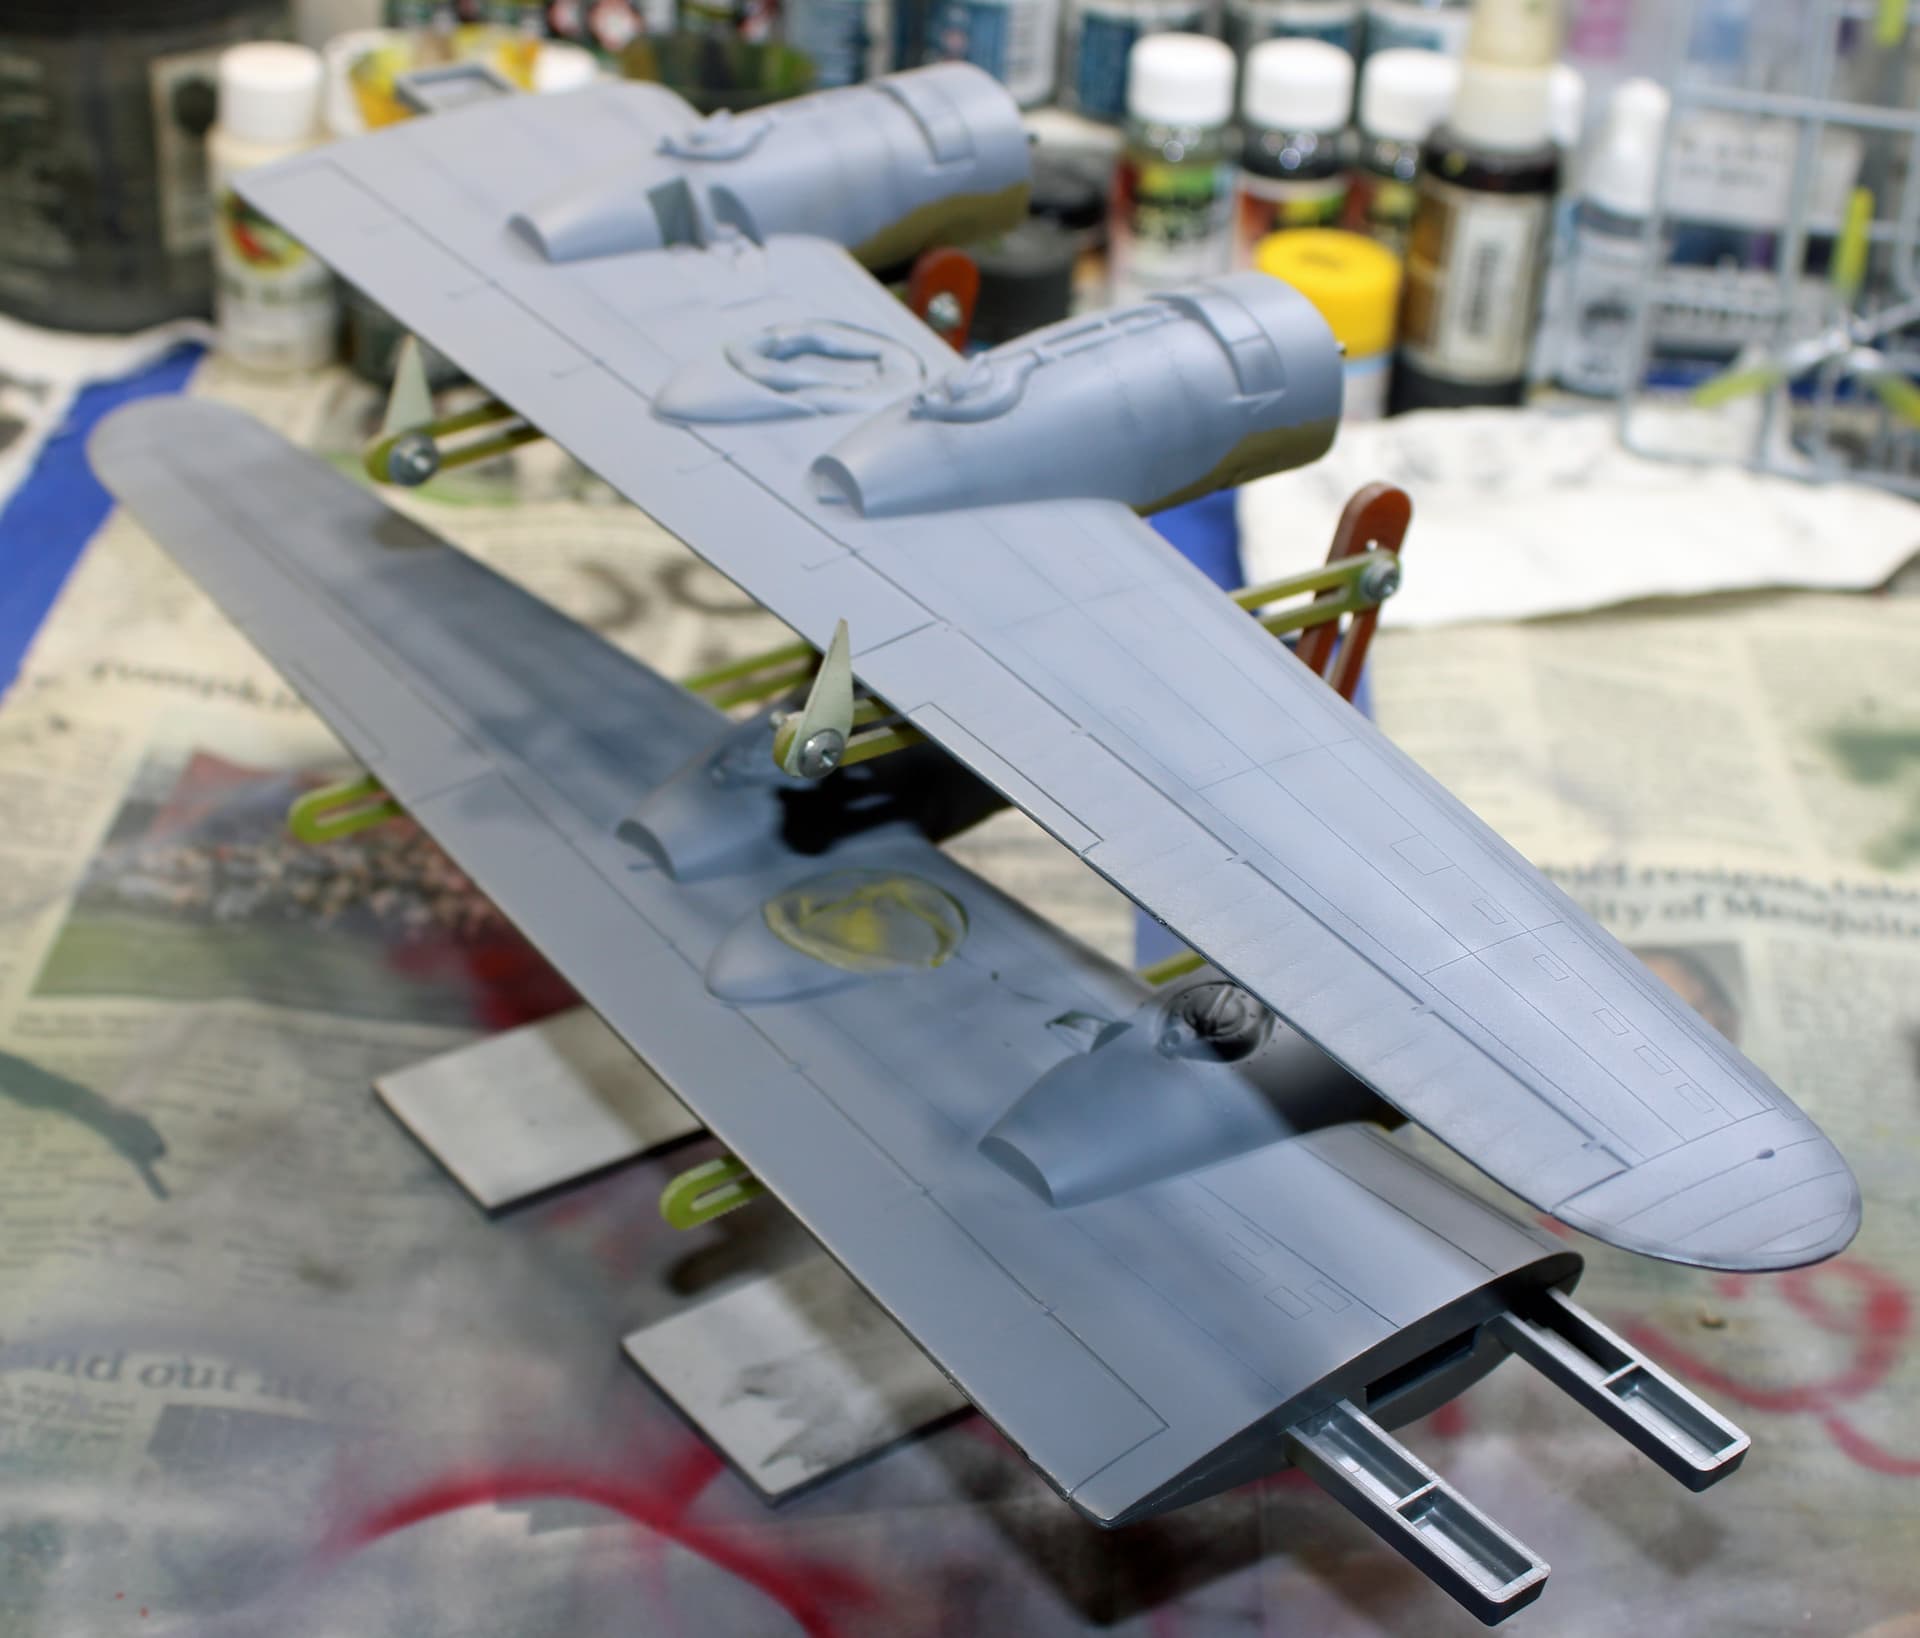
Yesterday these big birds really started to round into shape. I was able to get the fuselage fully set together on the Hobby Boss, as well as start the highly detailed wheel wells for the Hobby Boss. I painted all of the engines for both Liberators and assembled the wings for the Monogram.
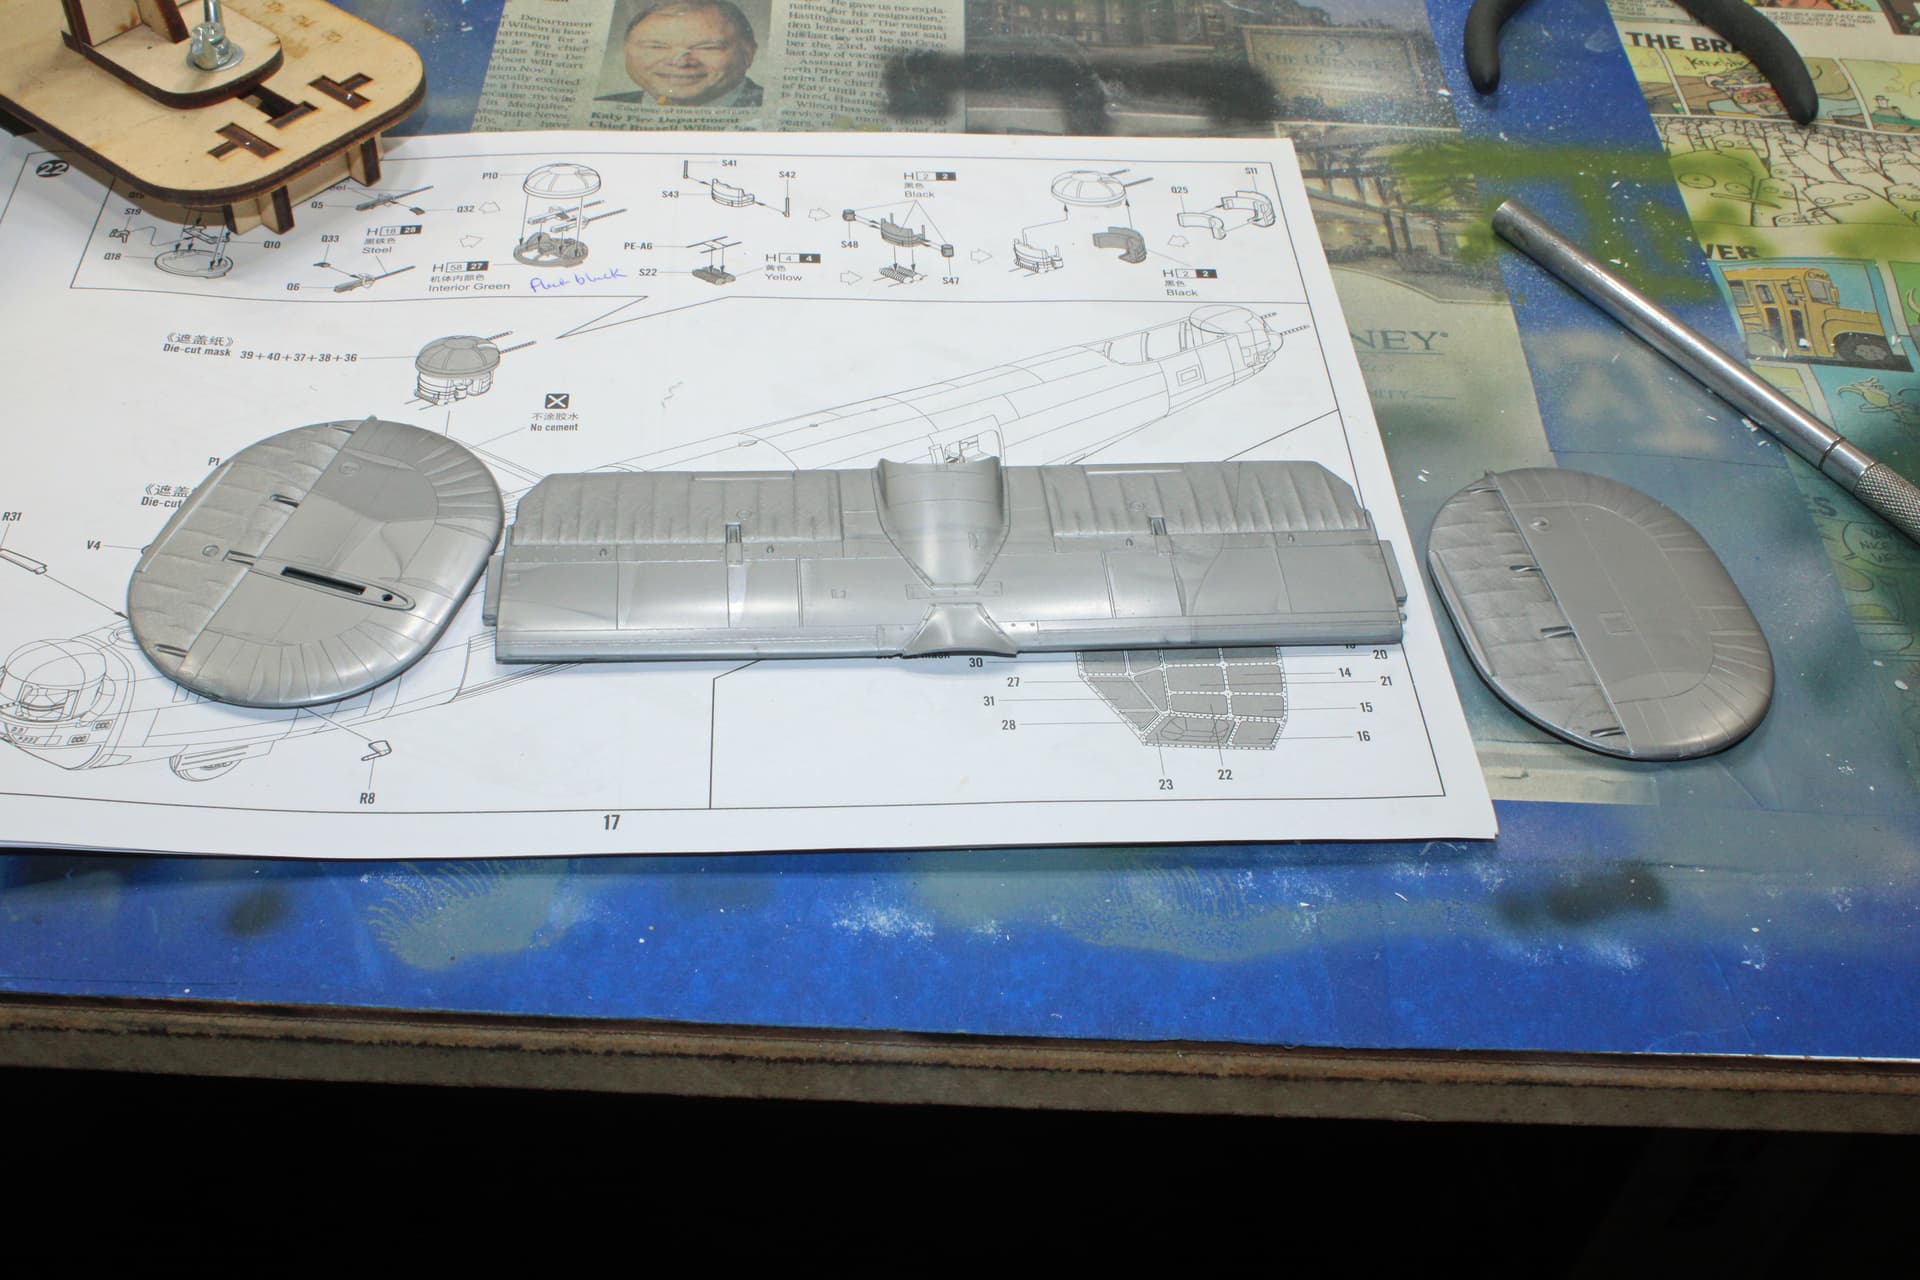
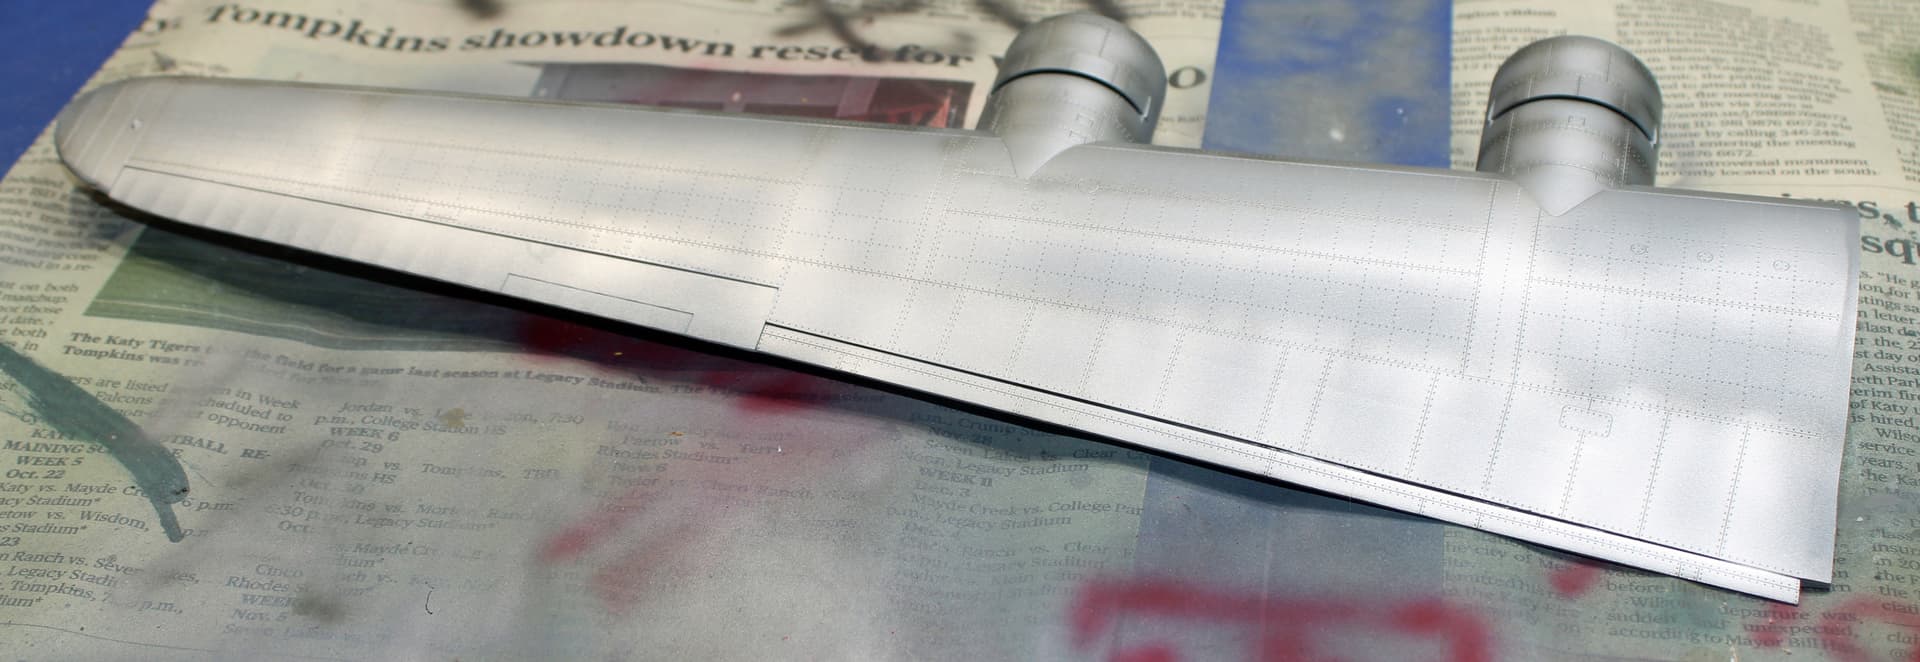
The Monogram has known warts involved in building the wings, specifically in the joints along the sides of all four nacelles. Even with this original molding, the joints are not great. There is a lot of sanding and filling in my immediate future.
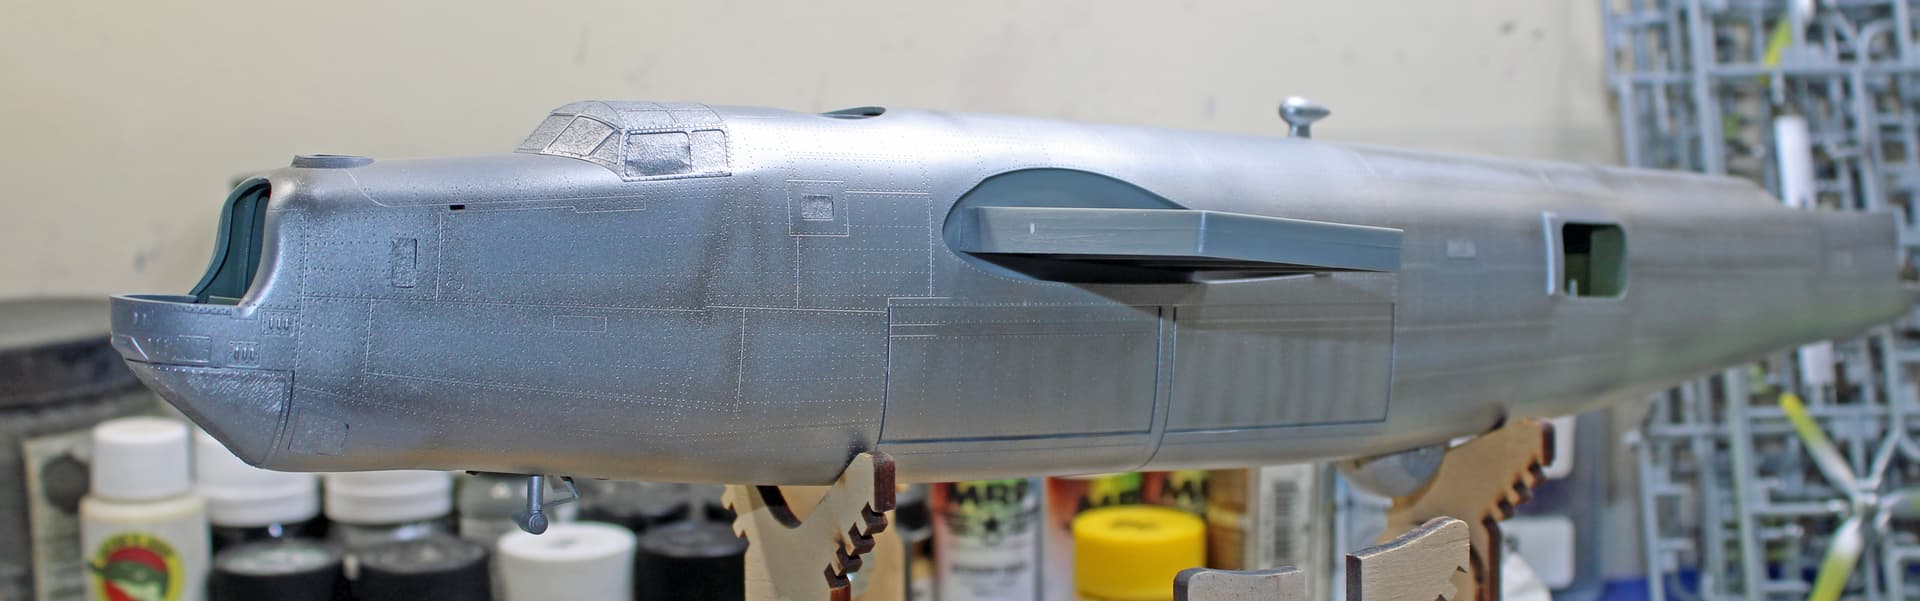
And then I looked at the Hobby Boss fuselage, and something bad was clear as day. Apparently on Saturday, I was still ticked off at the effort from my Texas Aggies in Austin the night before, and didn’t bother to really look at the build steps. There was a significant piece missing - the wing spar. It’s a single block piece with two little ridges along each edge of what would be the center portion of the spar, intended to set it into proper position. Yep, that thing was still attached to the sprue. And no, I couldn’t just slide it into position from the outside. I sat there for a moment, incredibly frustrated, when my engineer mind started to function. Out came the Dremel, and I ground away those ridges. Problem solved.
Well, I am probably about a day out from the start of paint for these Liberators.
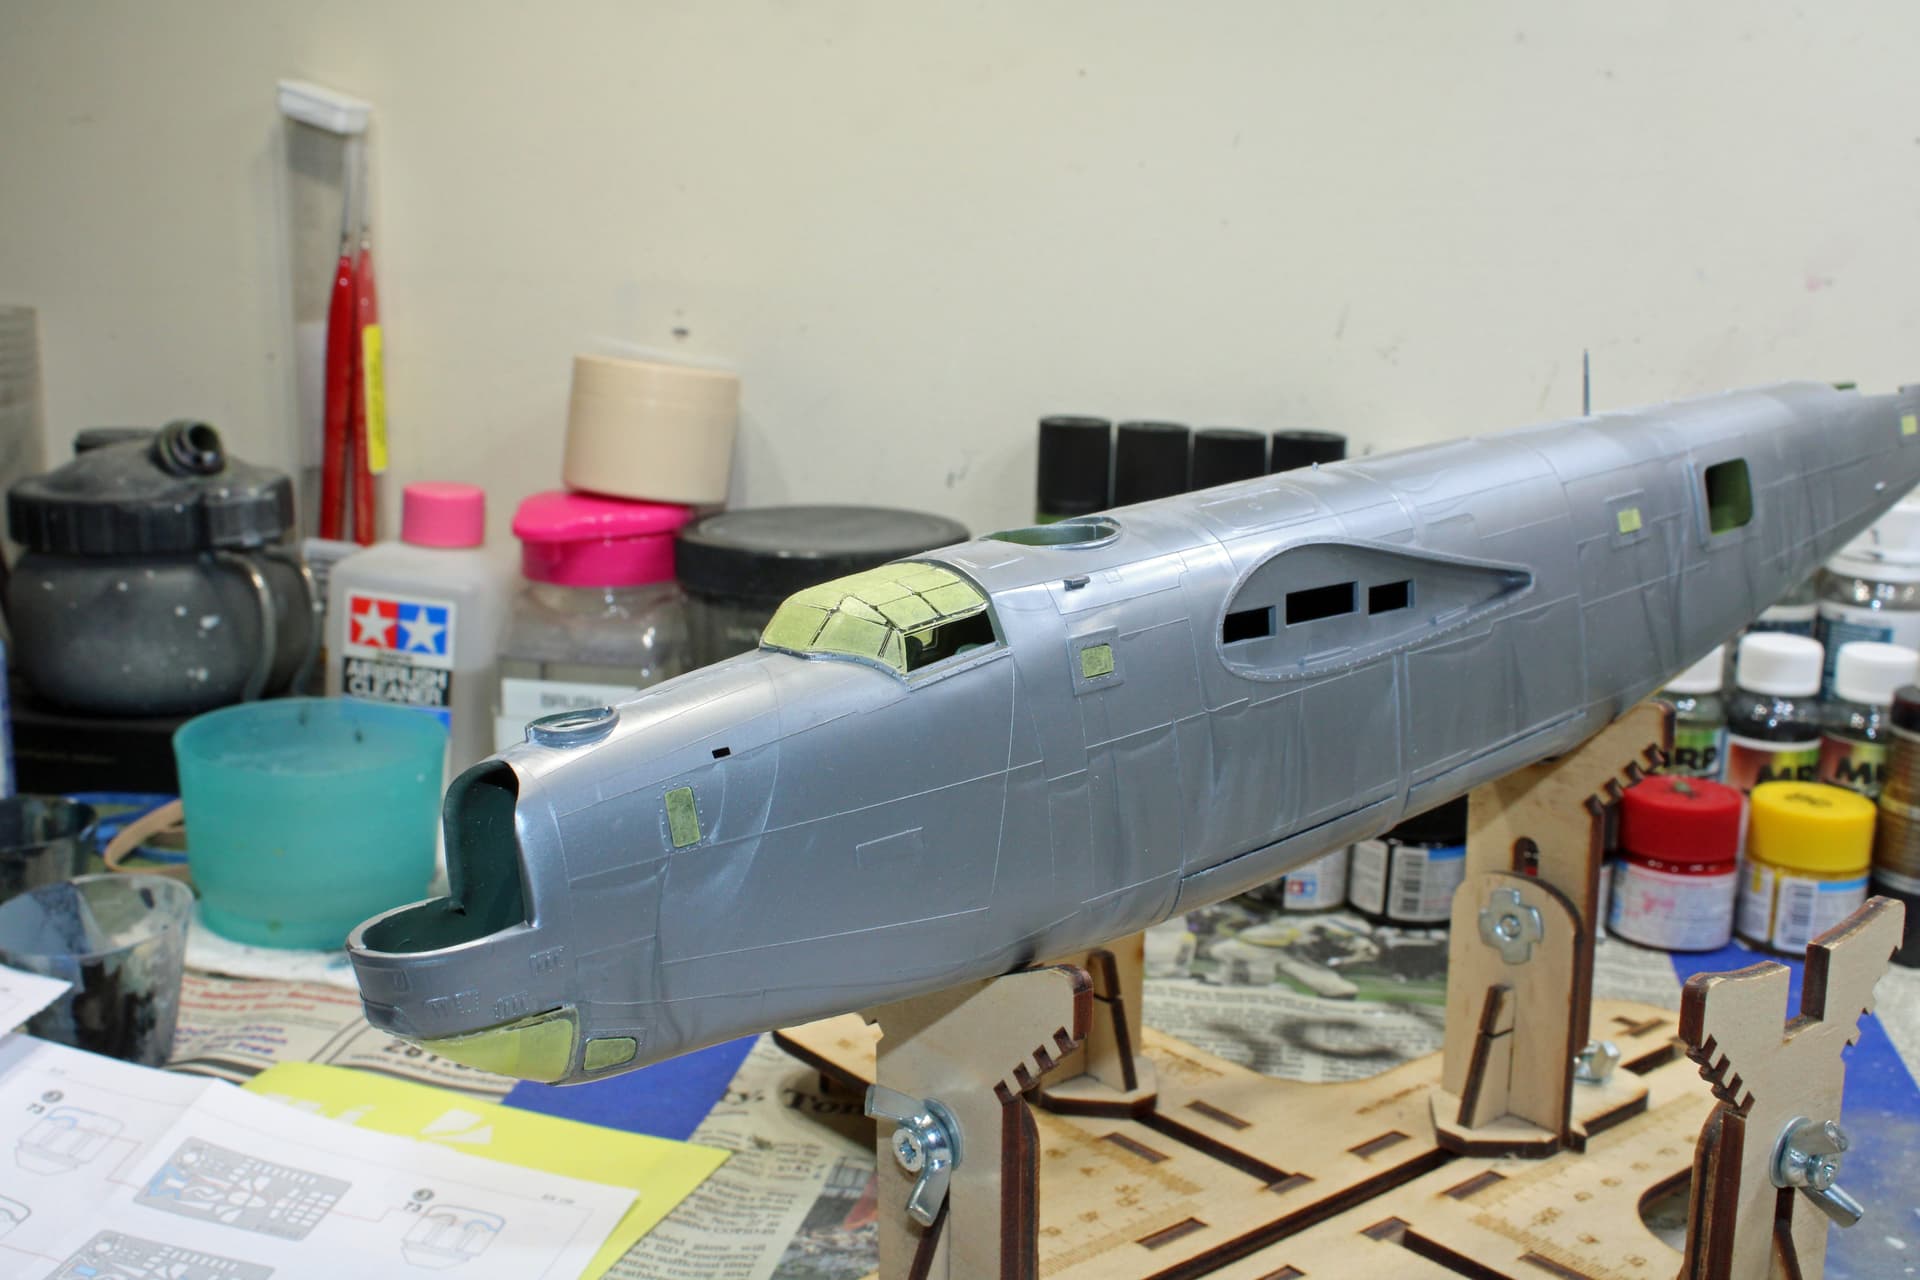
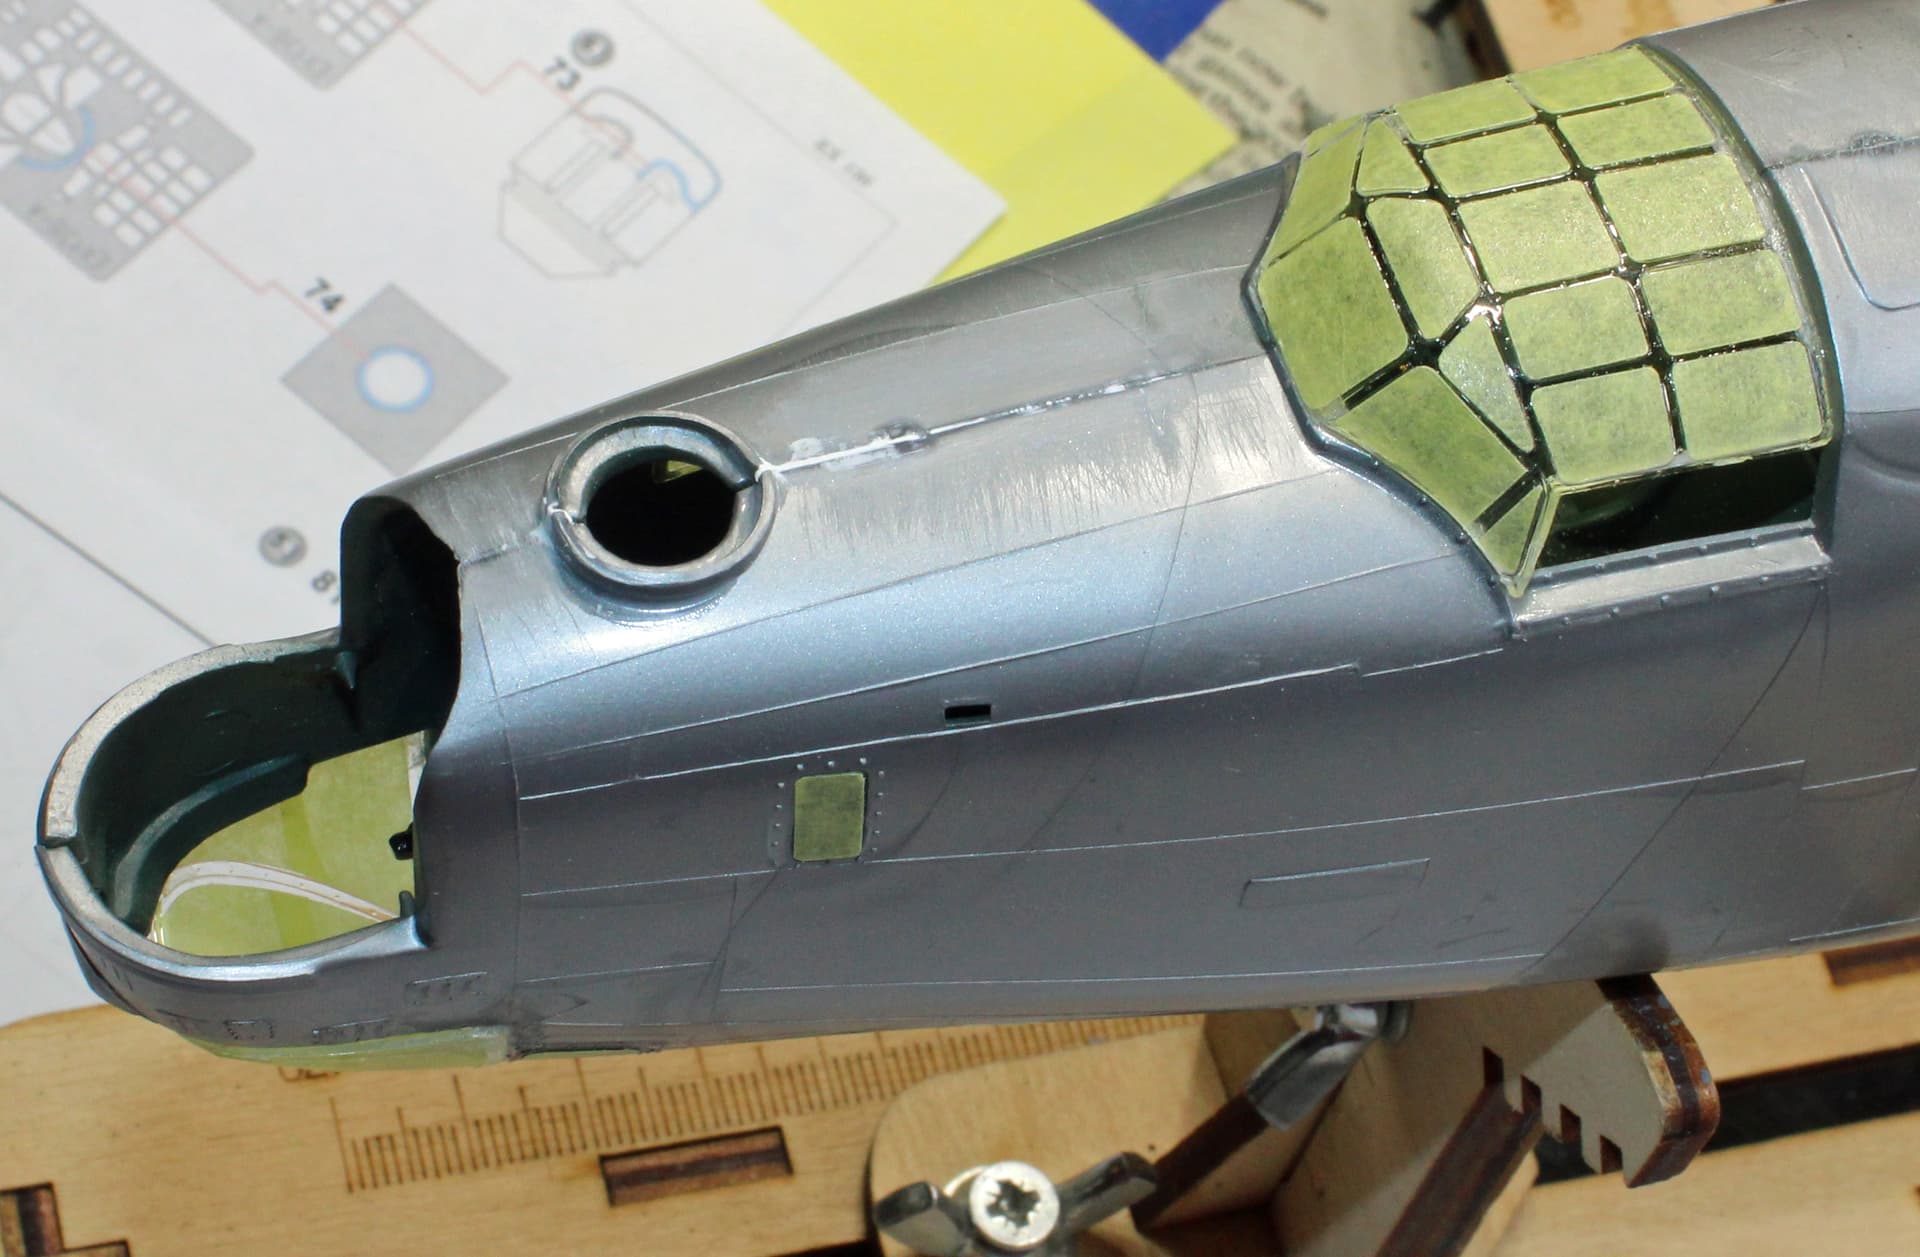
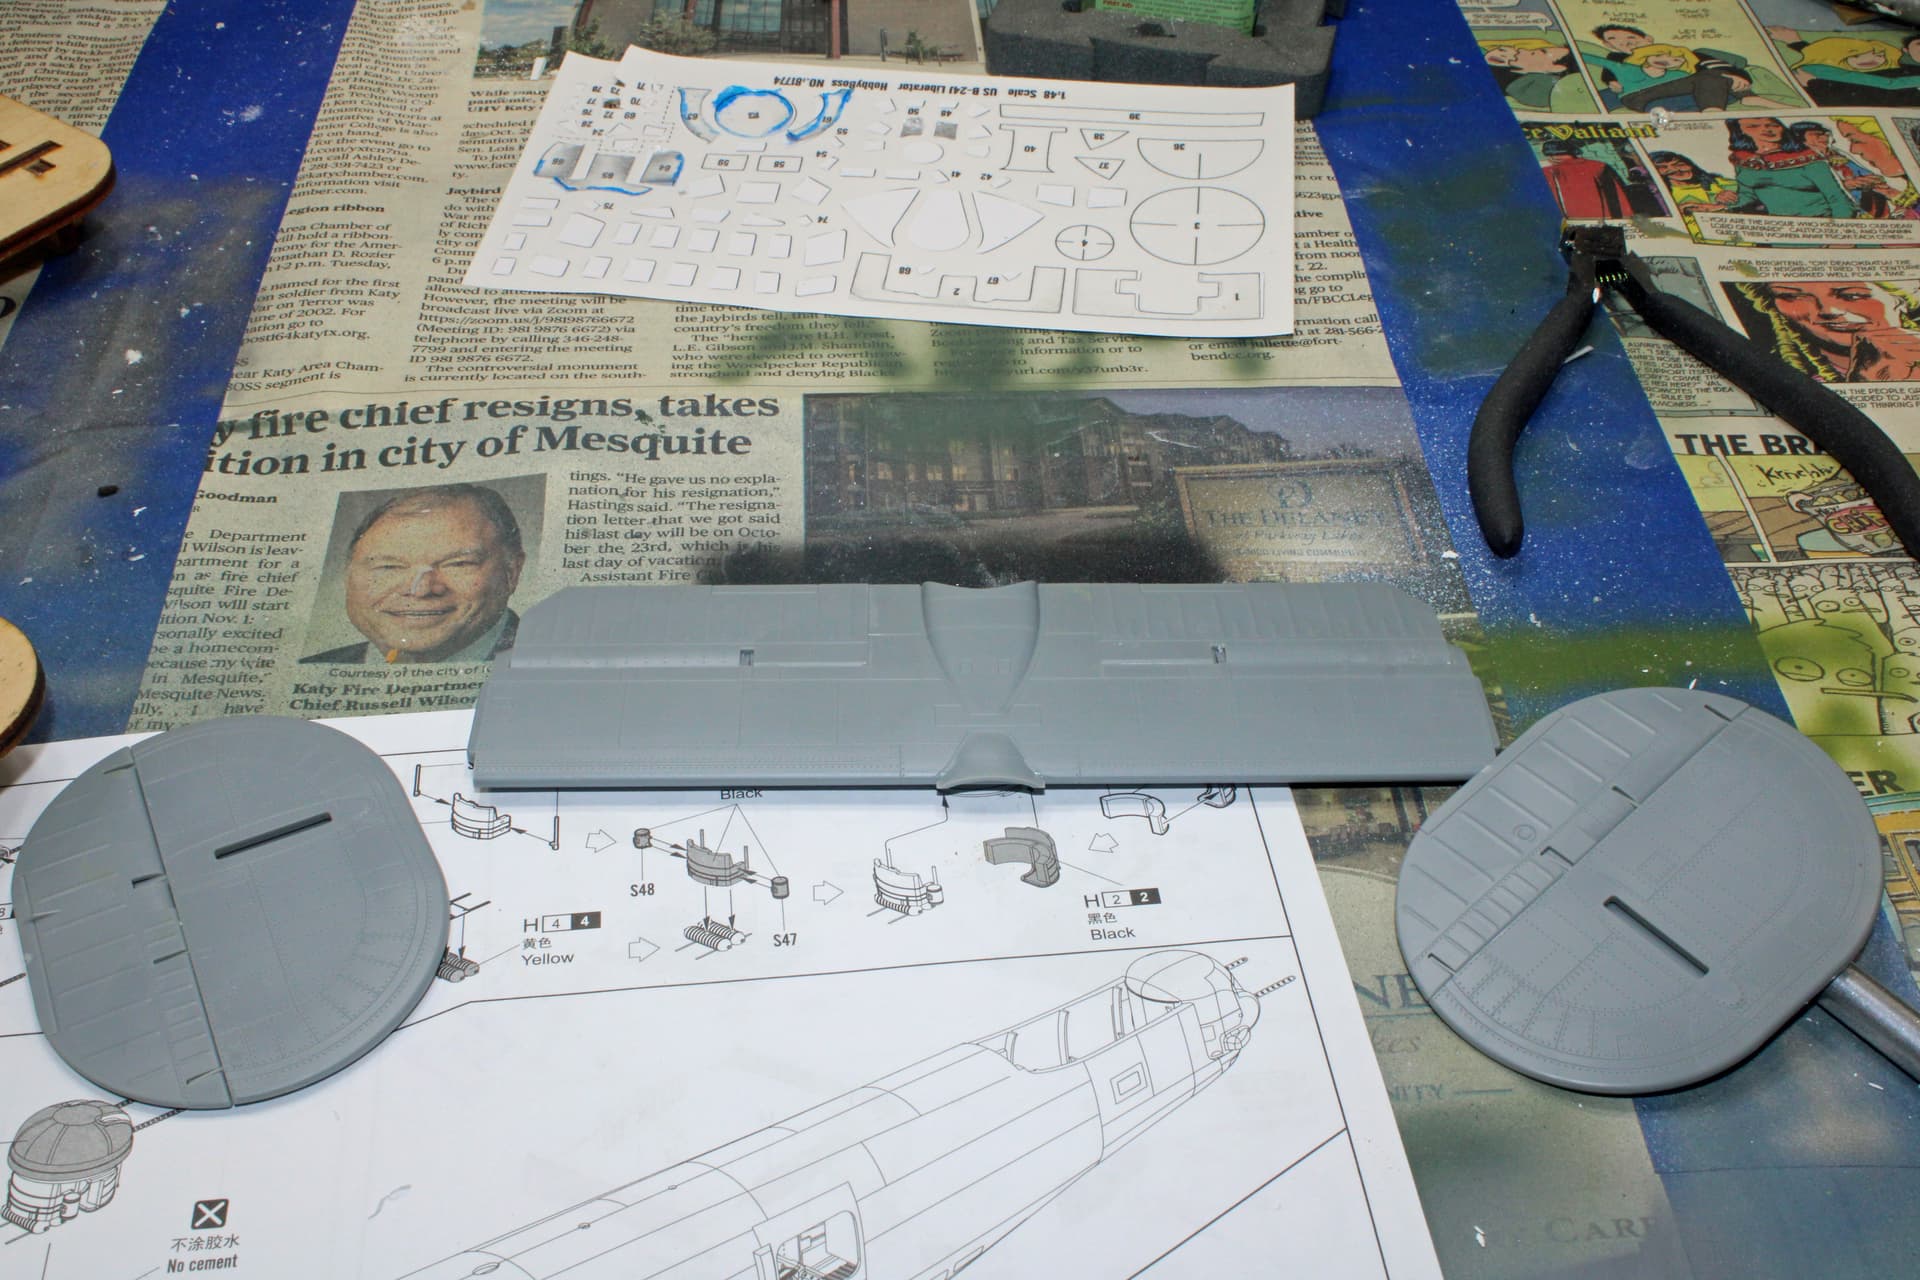
I’ve built both sets of wings, stabilizers, and rudders. I’ve masked off windows in both fuselages, as well as the bombardier viewport and canopy for both. Both of those latter pieces are attached, so now begins the rant. Hobby Boss’ parts fit perfectly. Monogram’s are like some drunk was in charge of designing those parts (no offense to alcoholics). One forward edge of the canopy didn’t want to adhere naturally to the curve of the fuselage, so it required a rubber band to keep it in place while the glue set. A few minutes later I noticed that the rubber band had dropped the rear mating point below the flush of the fuselage. The bombardier’s viewport is garbage. The arc of its rear connecting point is wider than the area where it mounts. This piece resisted all of my efforts to clamp it into position, so that now on each side I have a noticeable piece of clear plastic sticking away from the fuselage. Once it’s had time to sufficiently set, I’ll have to grind all of that away.
Rant over.
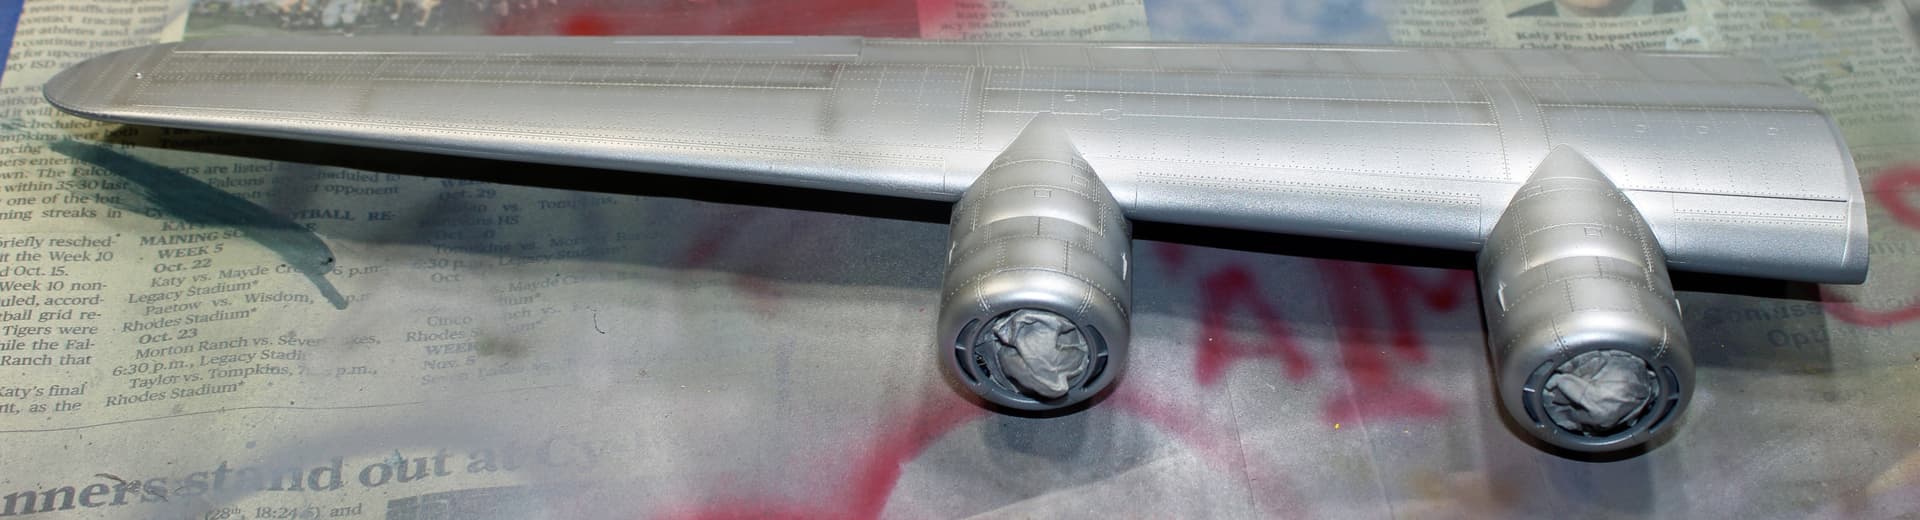
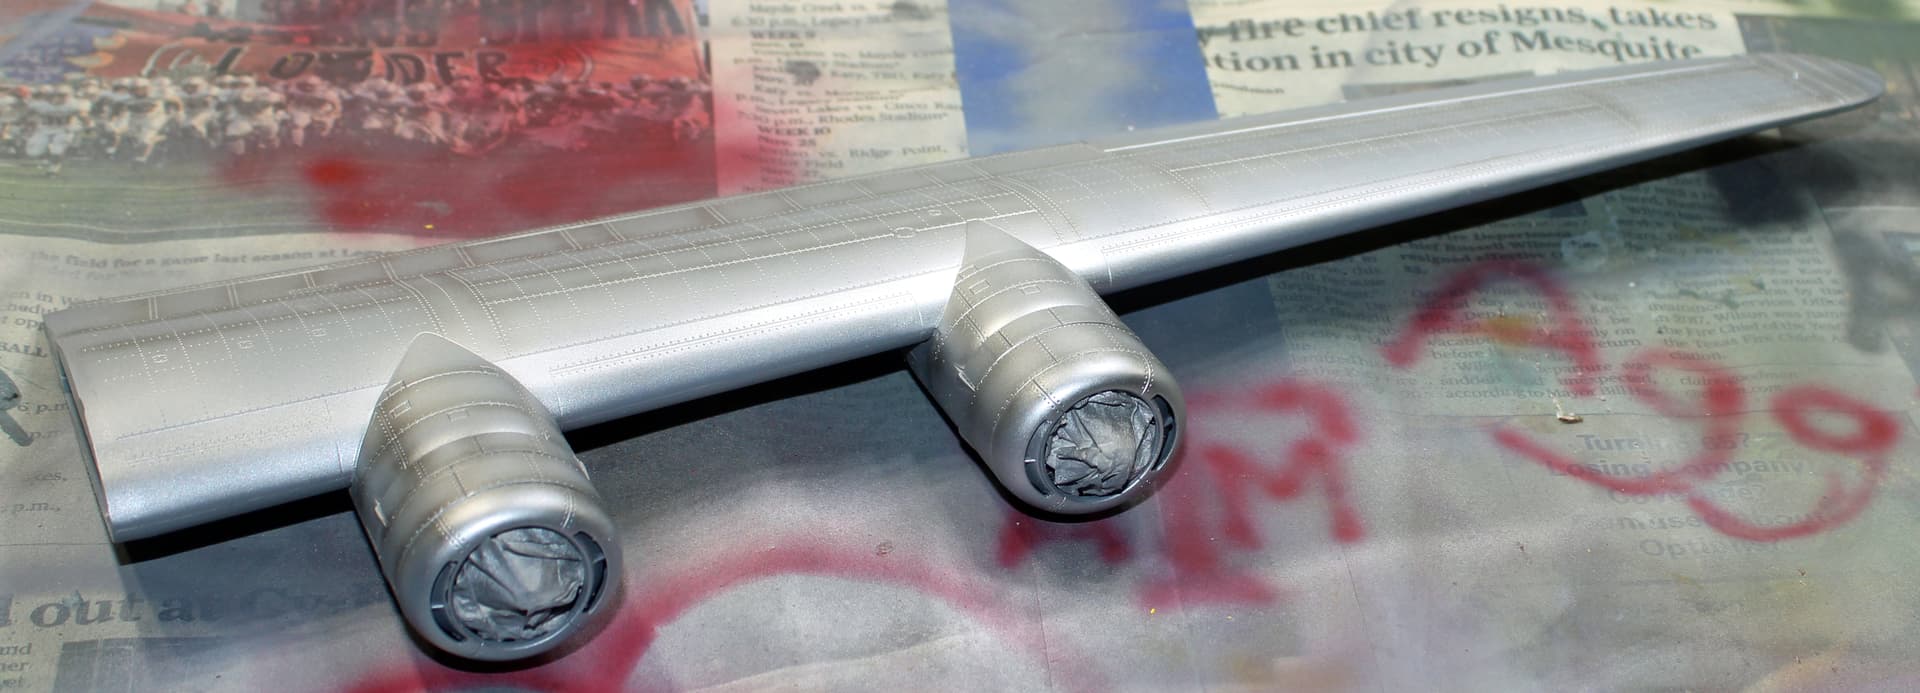
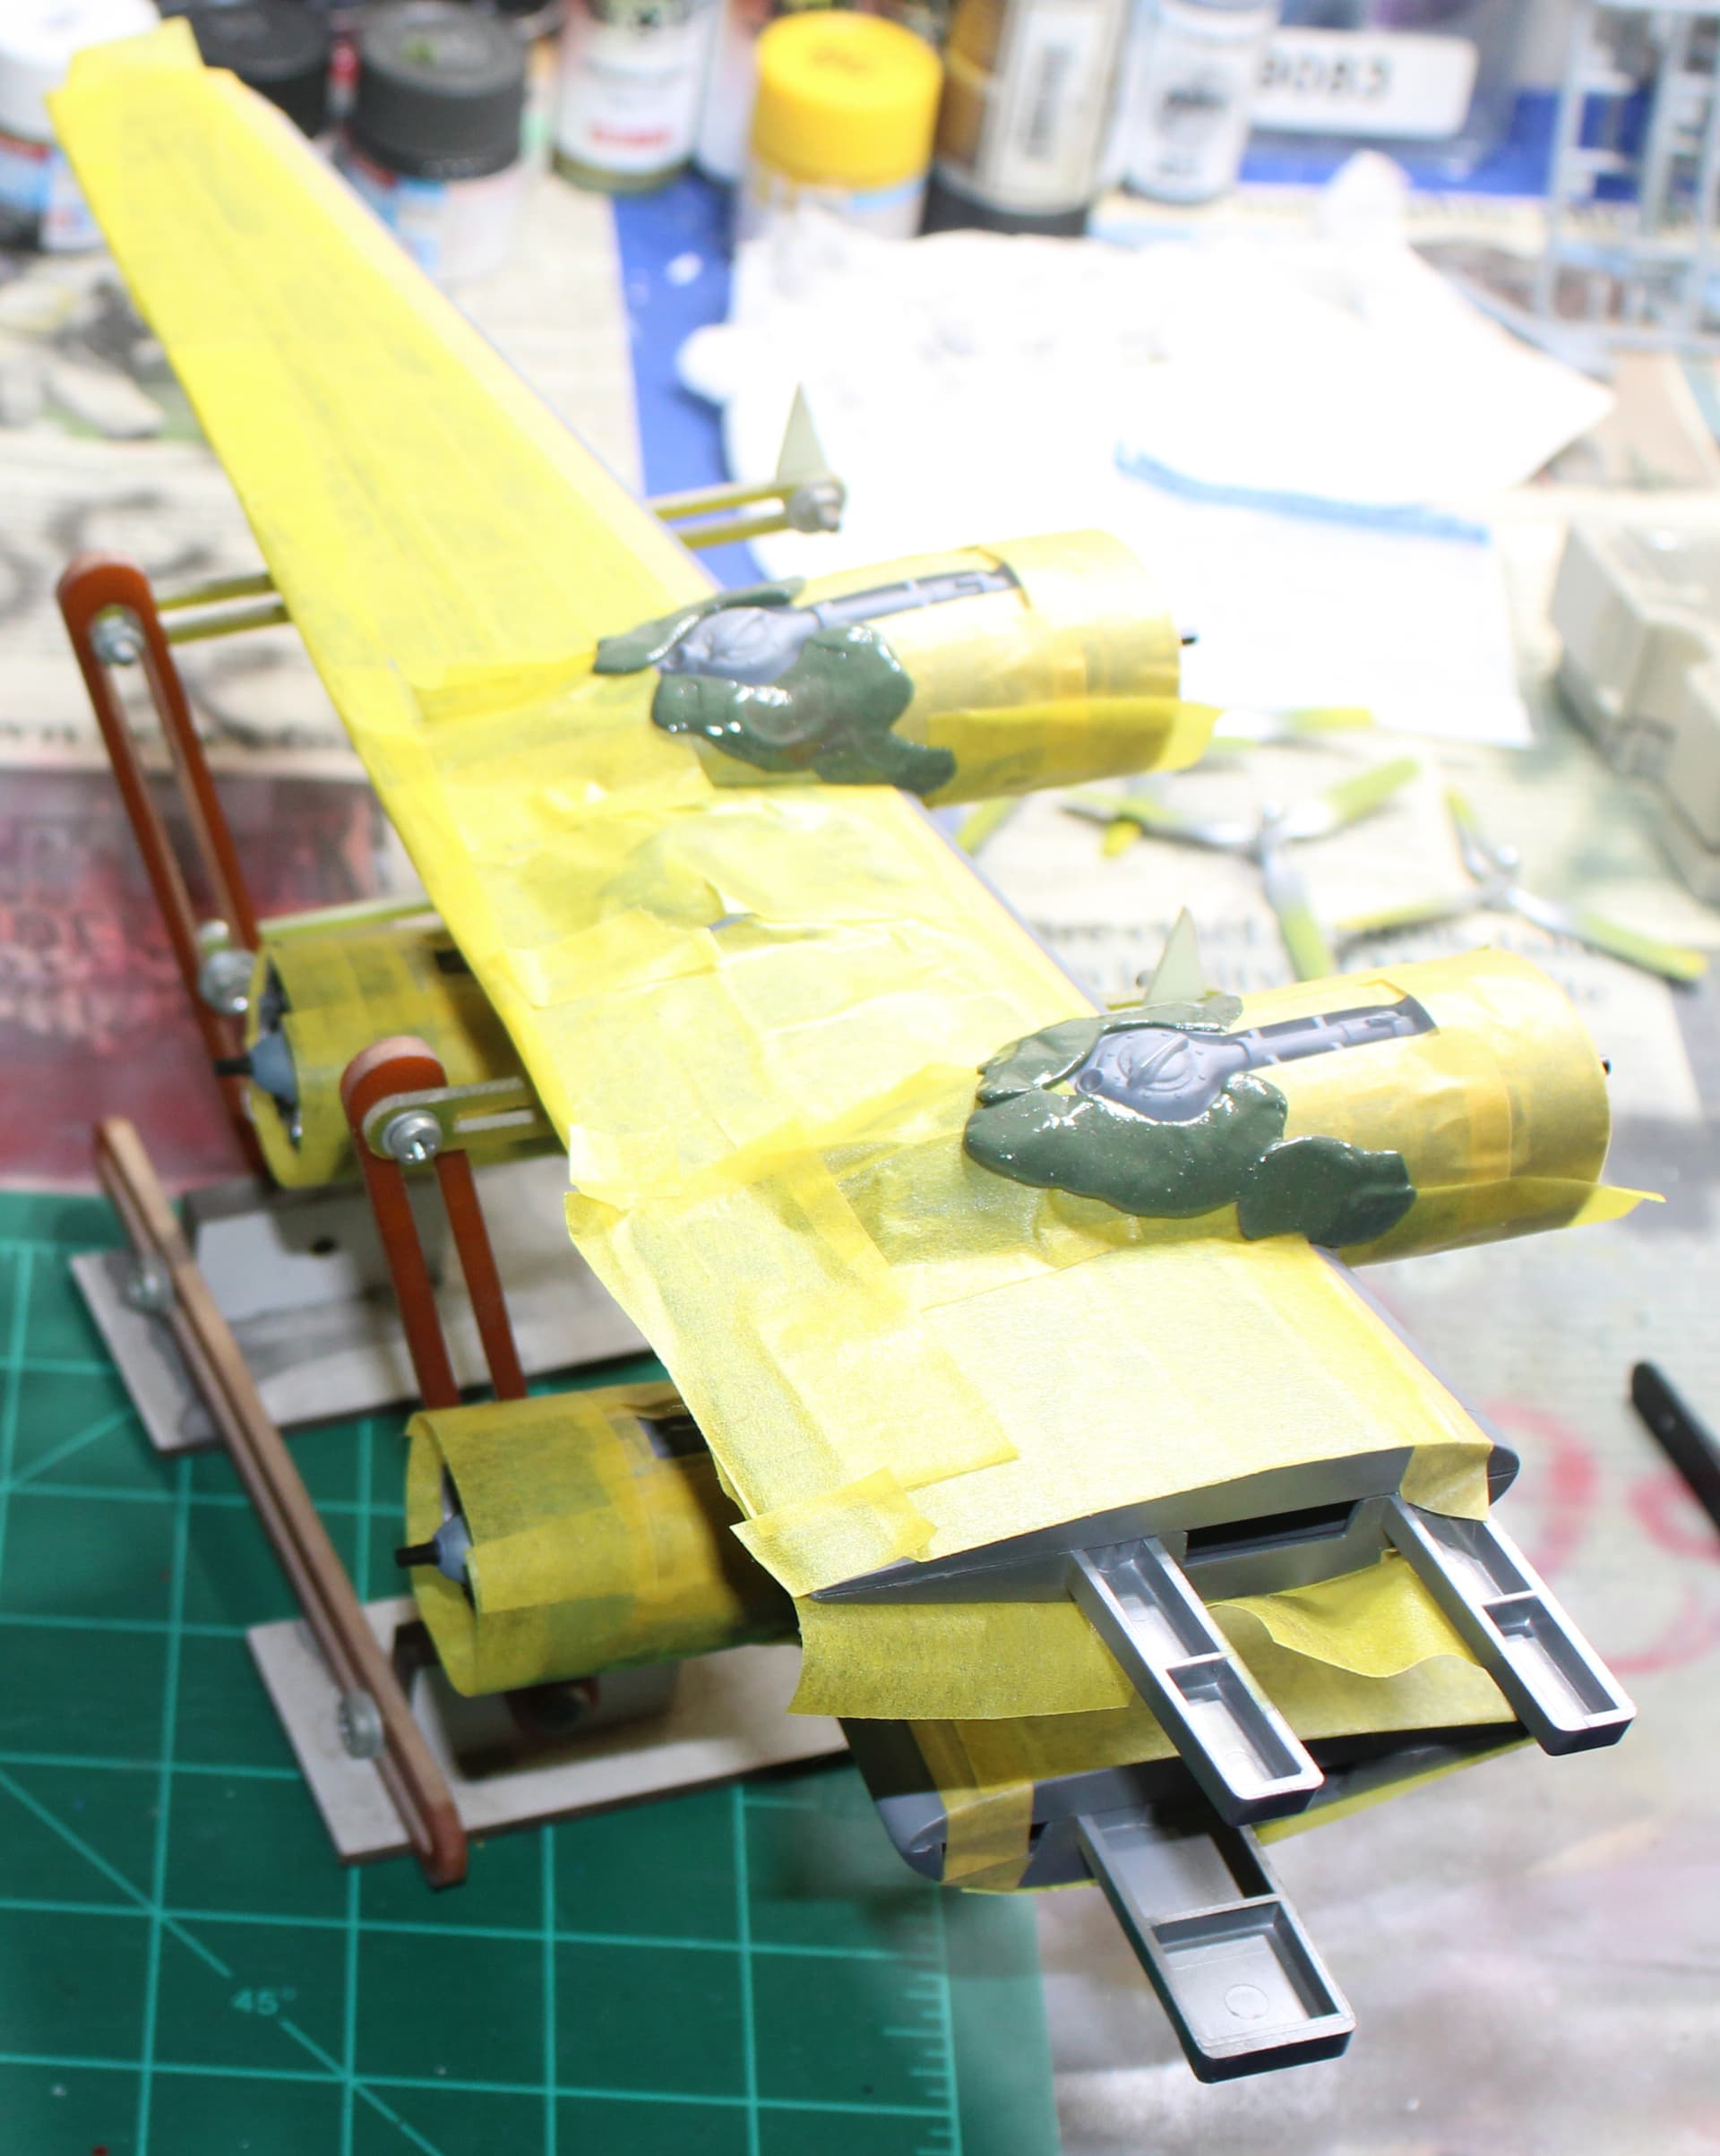
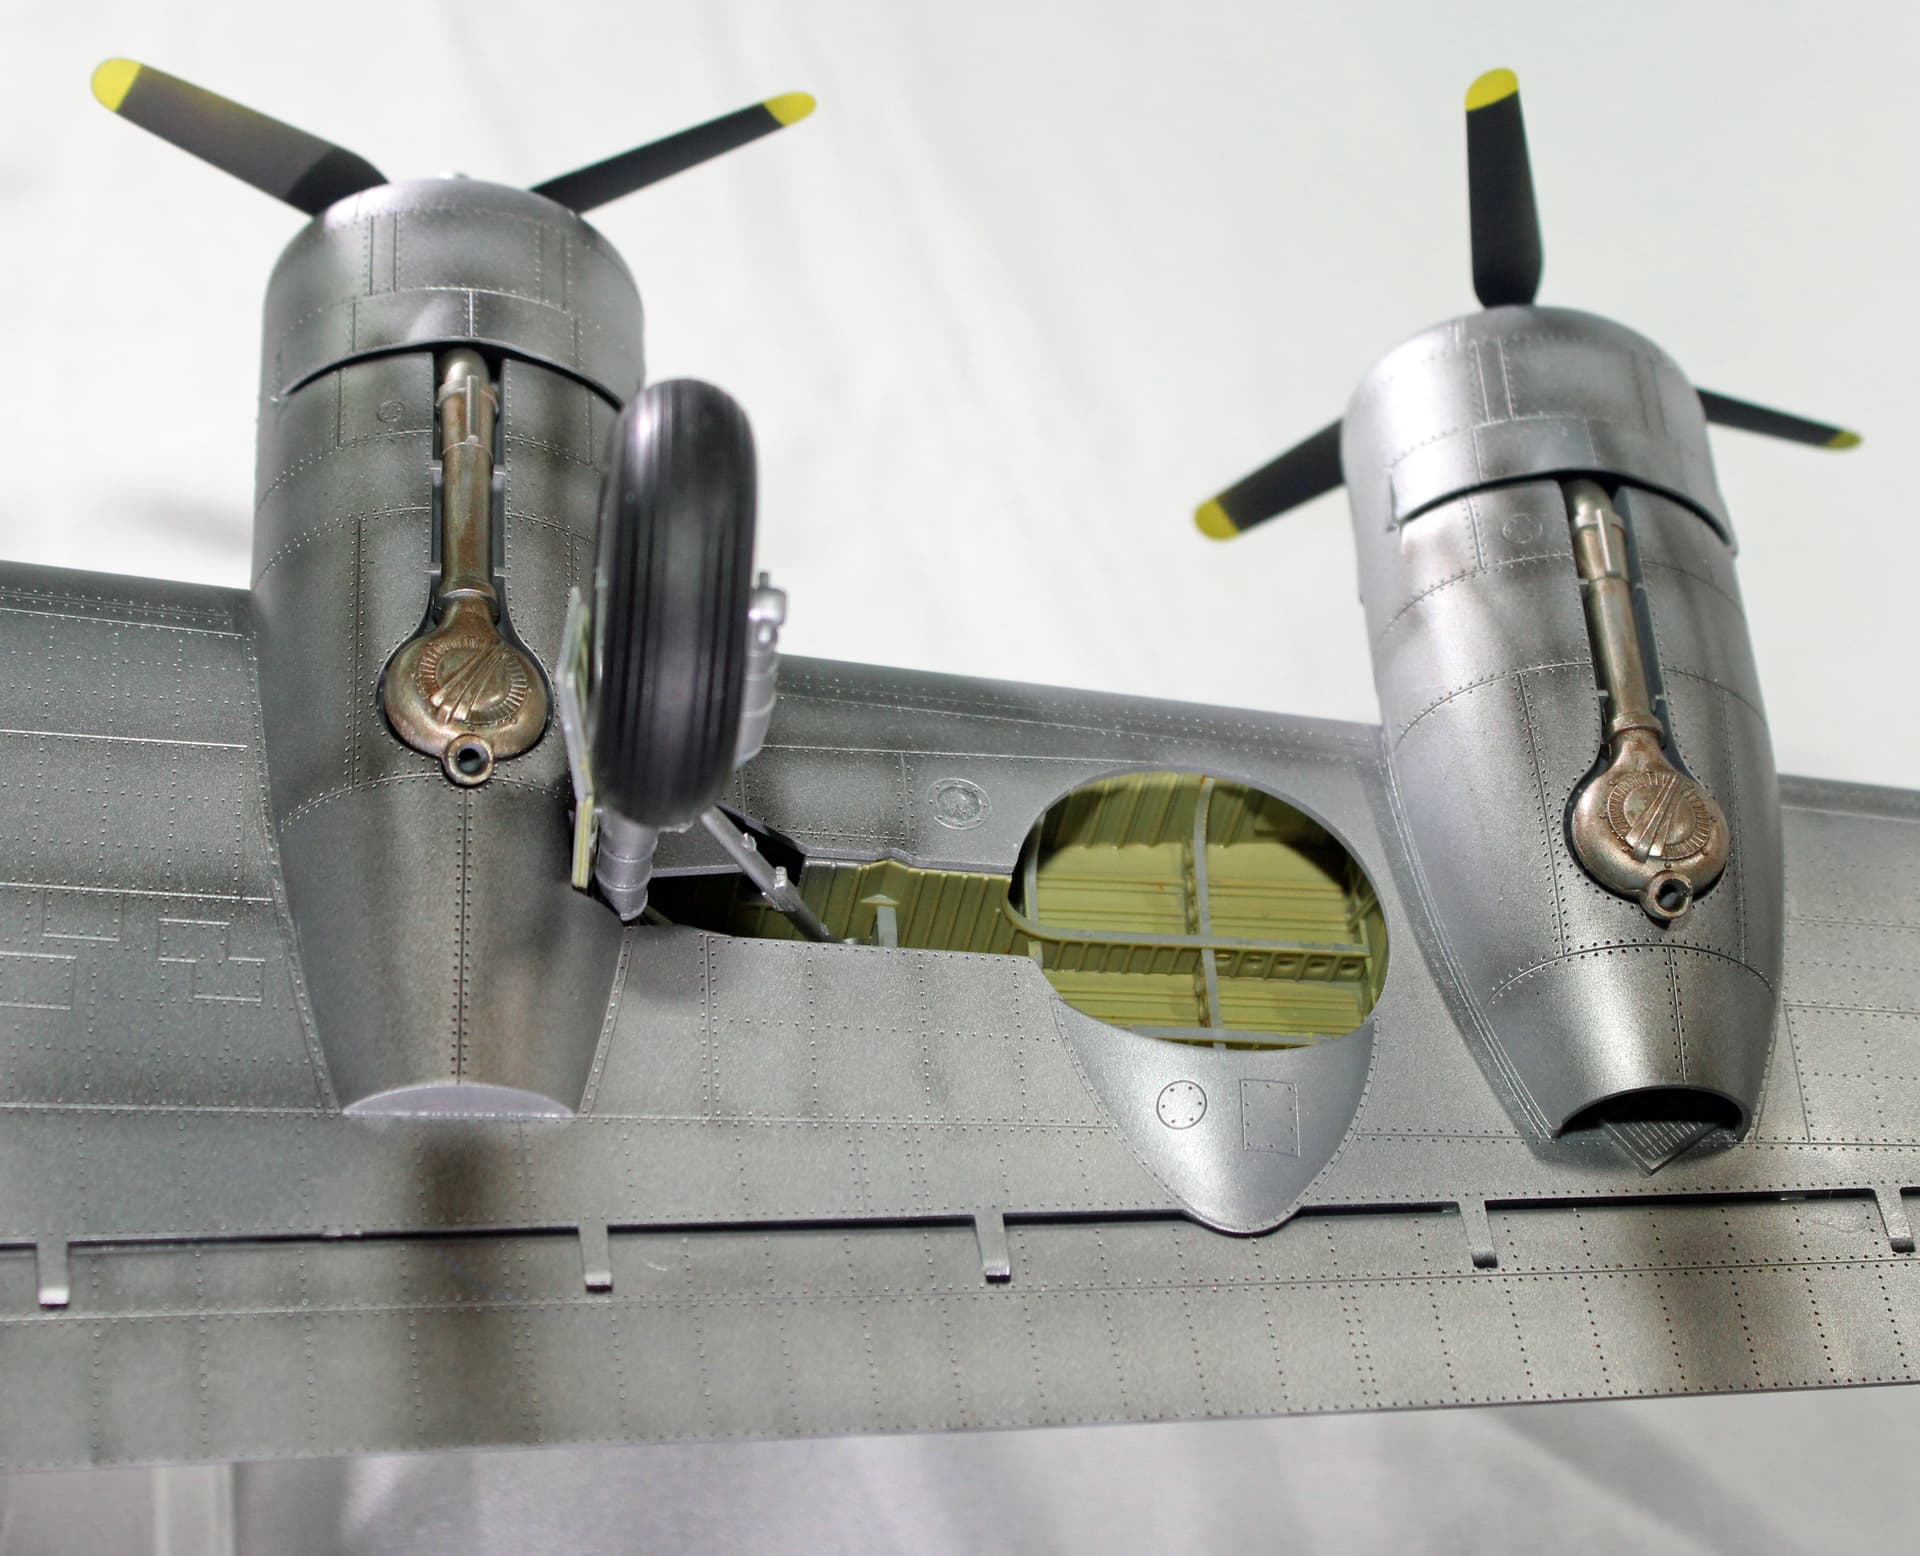
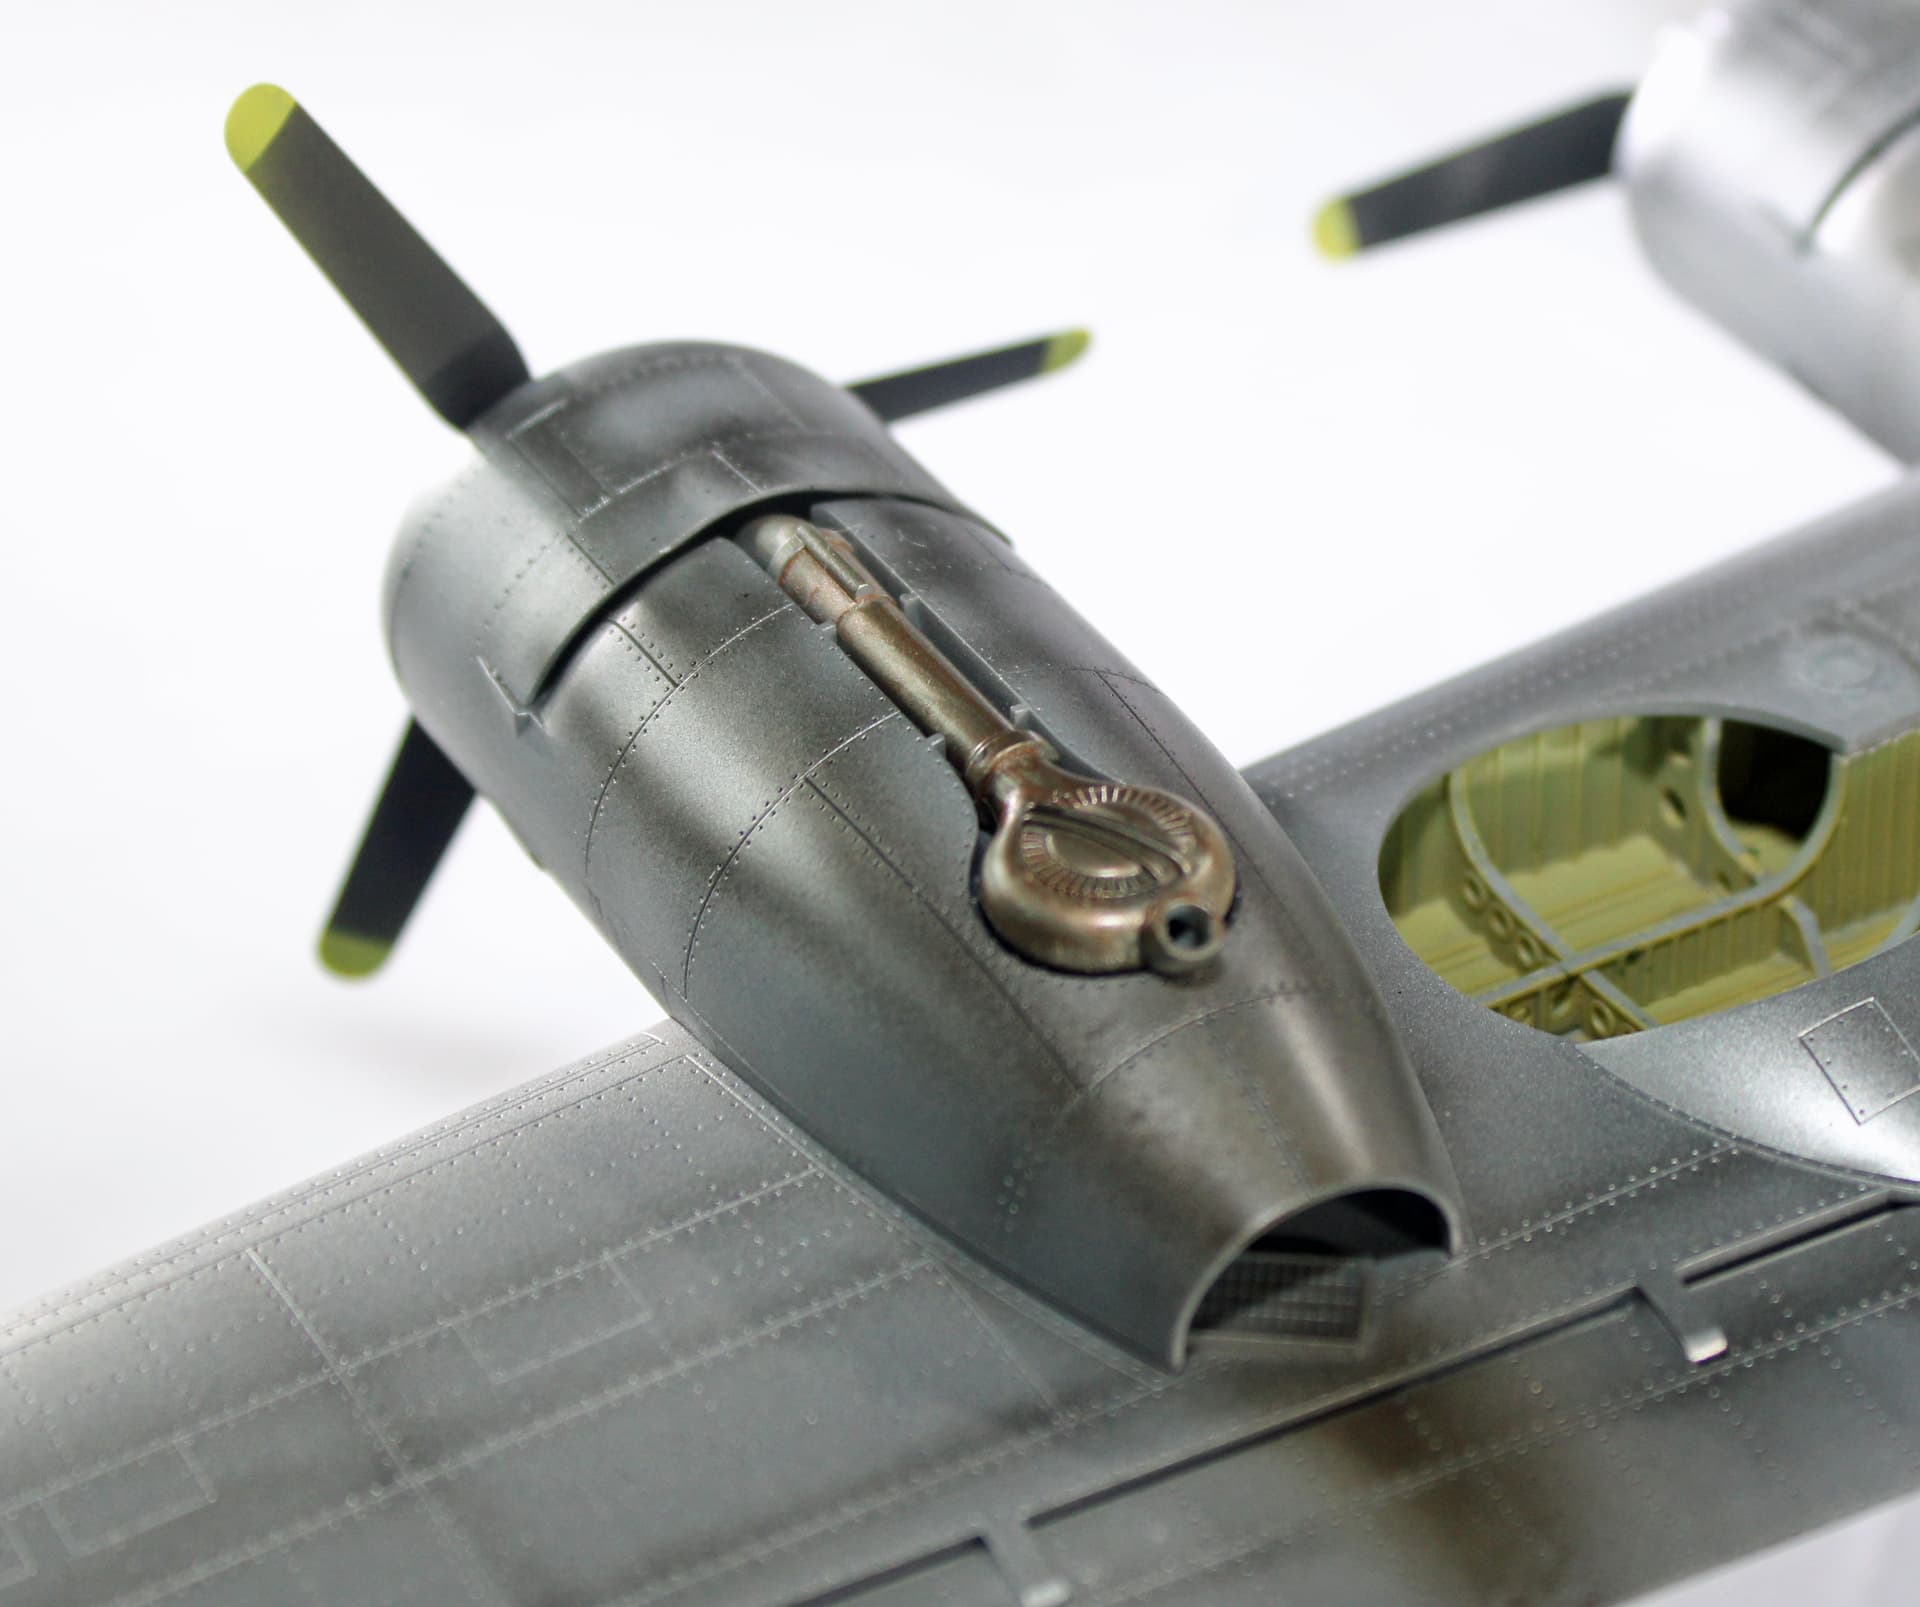
The Hobby Boss engines fit was weird, with slots on the rear of the engine case to slide onto ridges inside the cowling. Test fitting revealed the cowling rings would not fit properly as those ridges were molded. I ended up cutting away a bit of those ridges to get the engines to fit a little deeper into the cowlings so that rings would fit correctly. They look pretty good as they are. The kit includes a PE set with ignition wiring. I elected to not paint those, but now that everything is built, I’m not so sure that I should not have painted the PE. But the good news is that I can still get to those parts once everything else is done.
Amazing work so far Aggieman! This is an immense project both in scope of work involved and the sheer size of both kits and the space they must take up on your work bench.
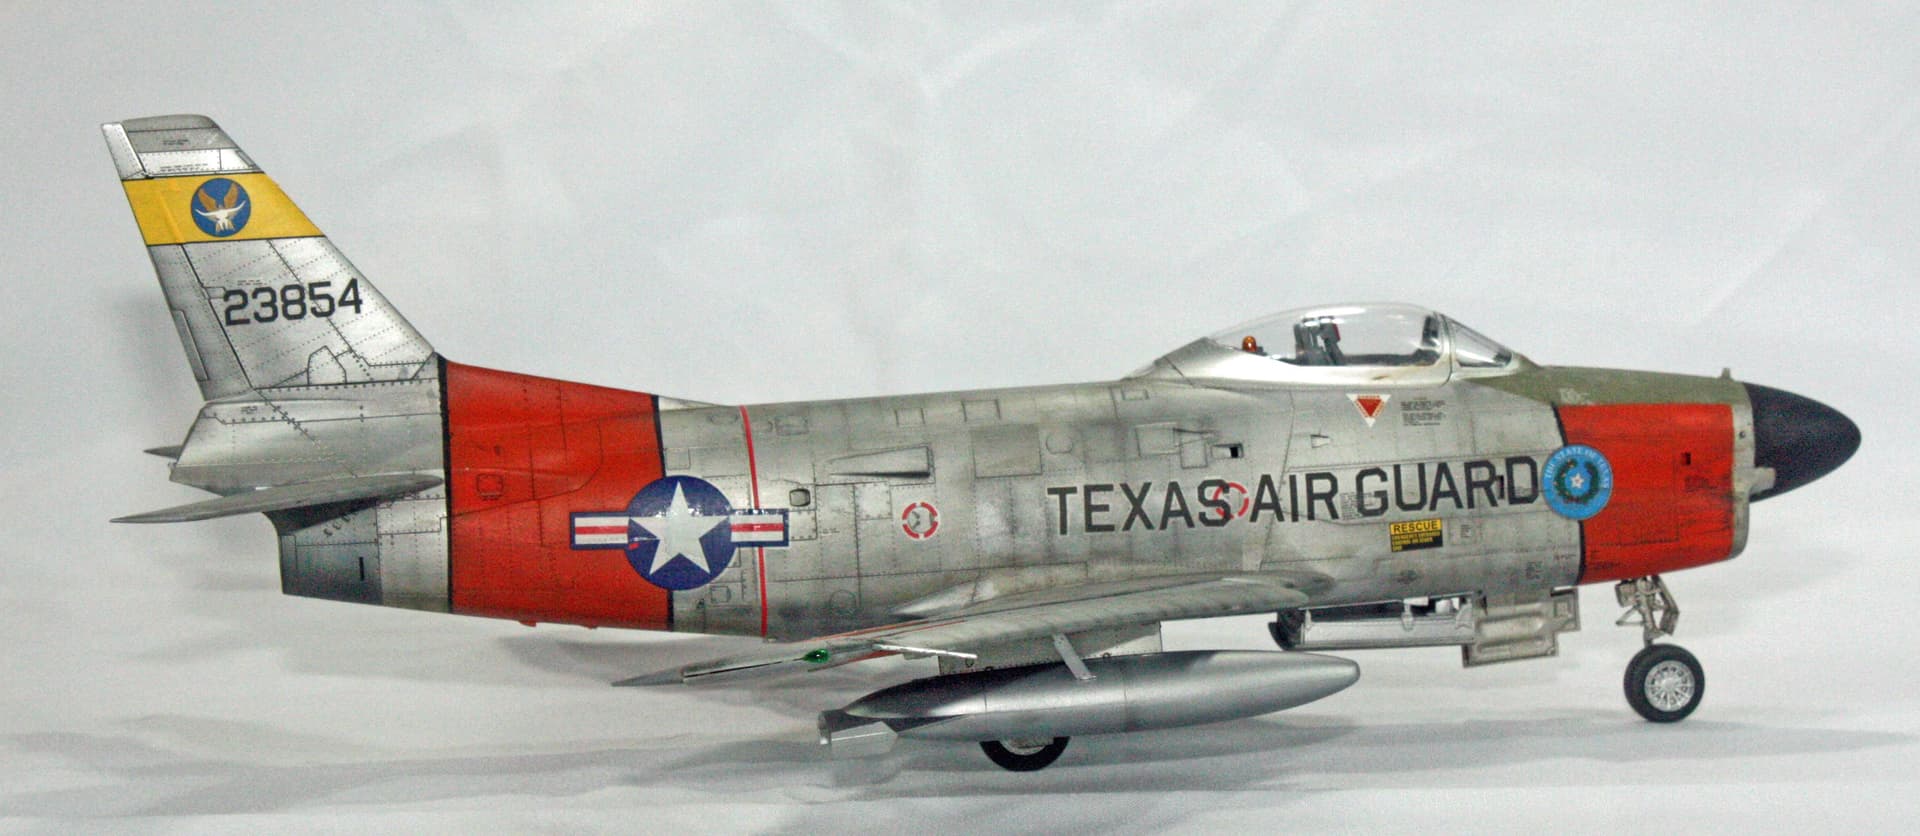
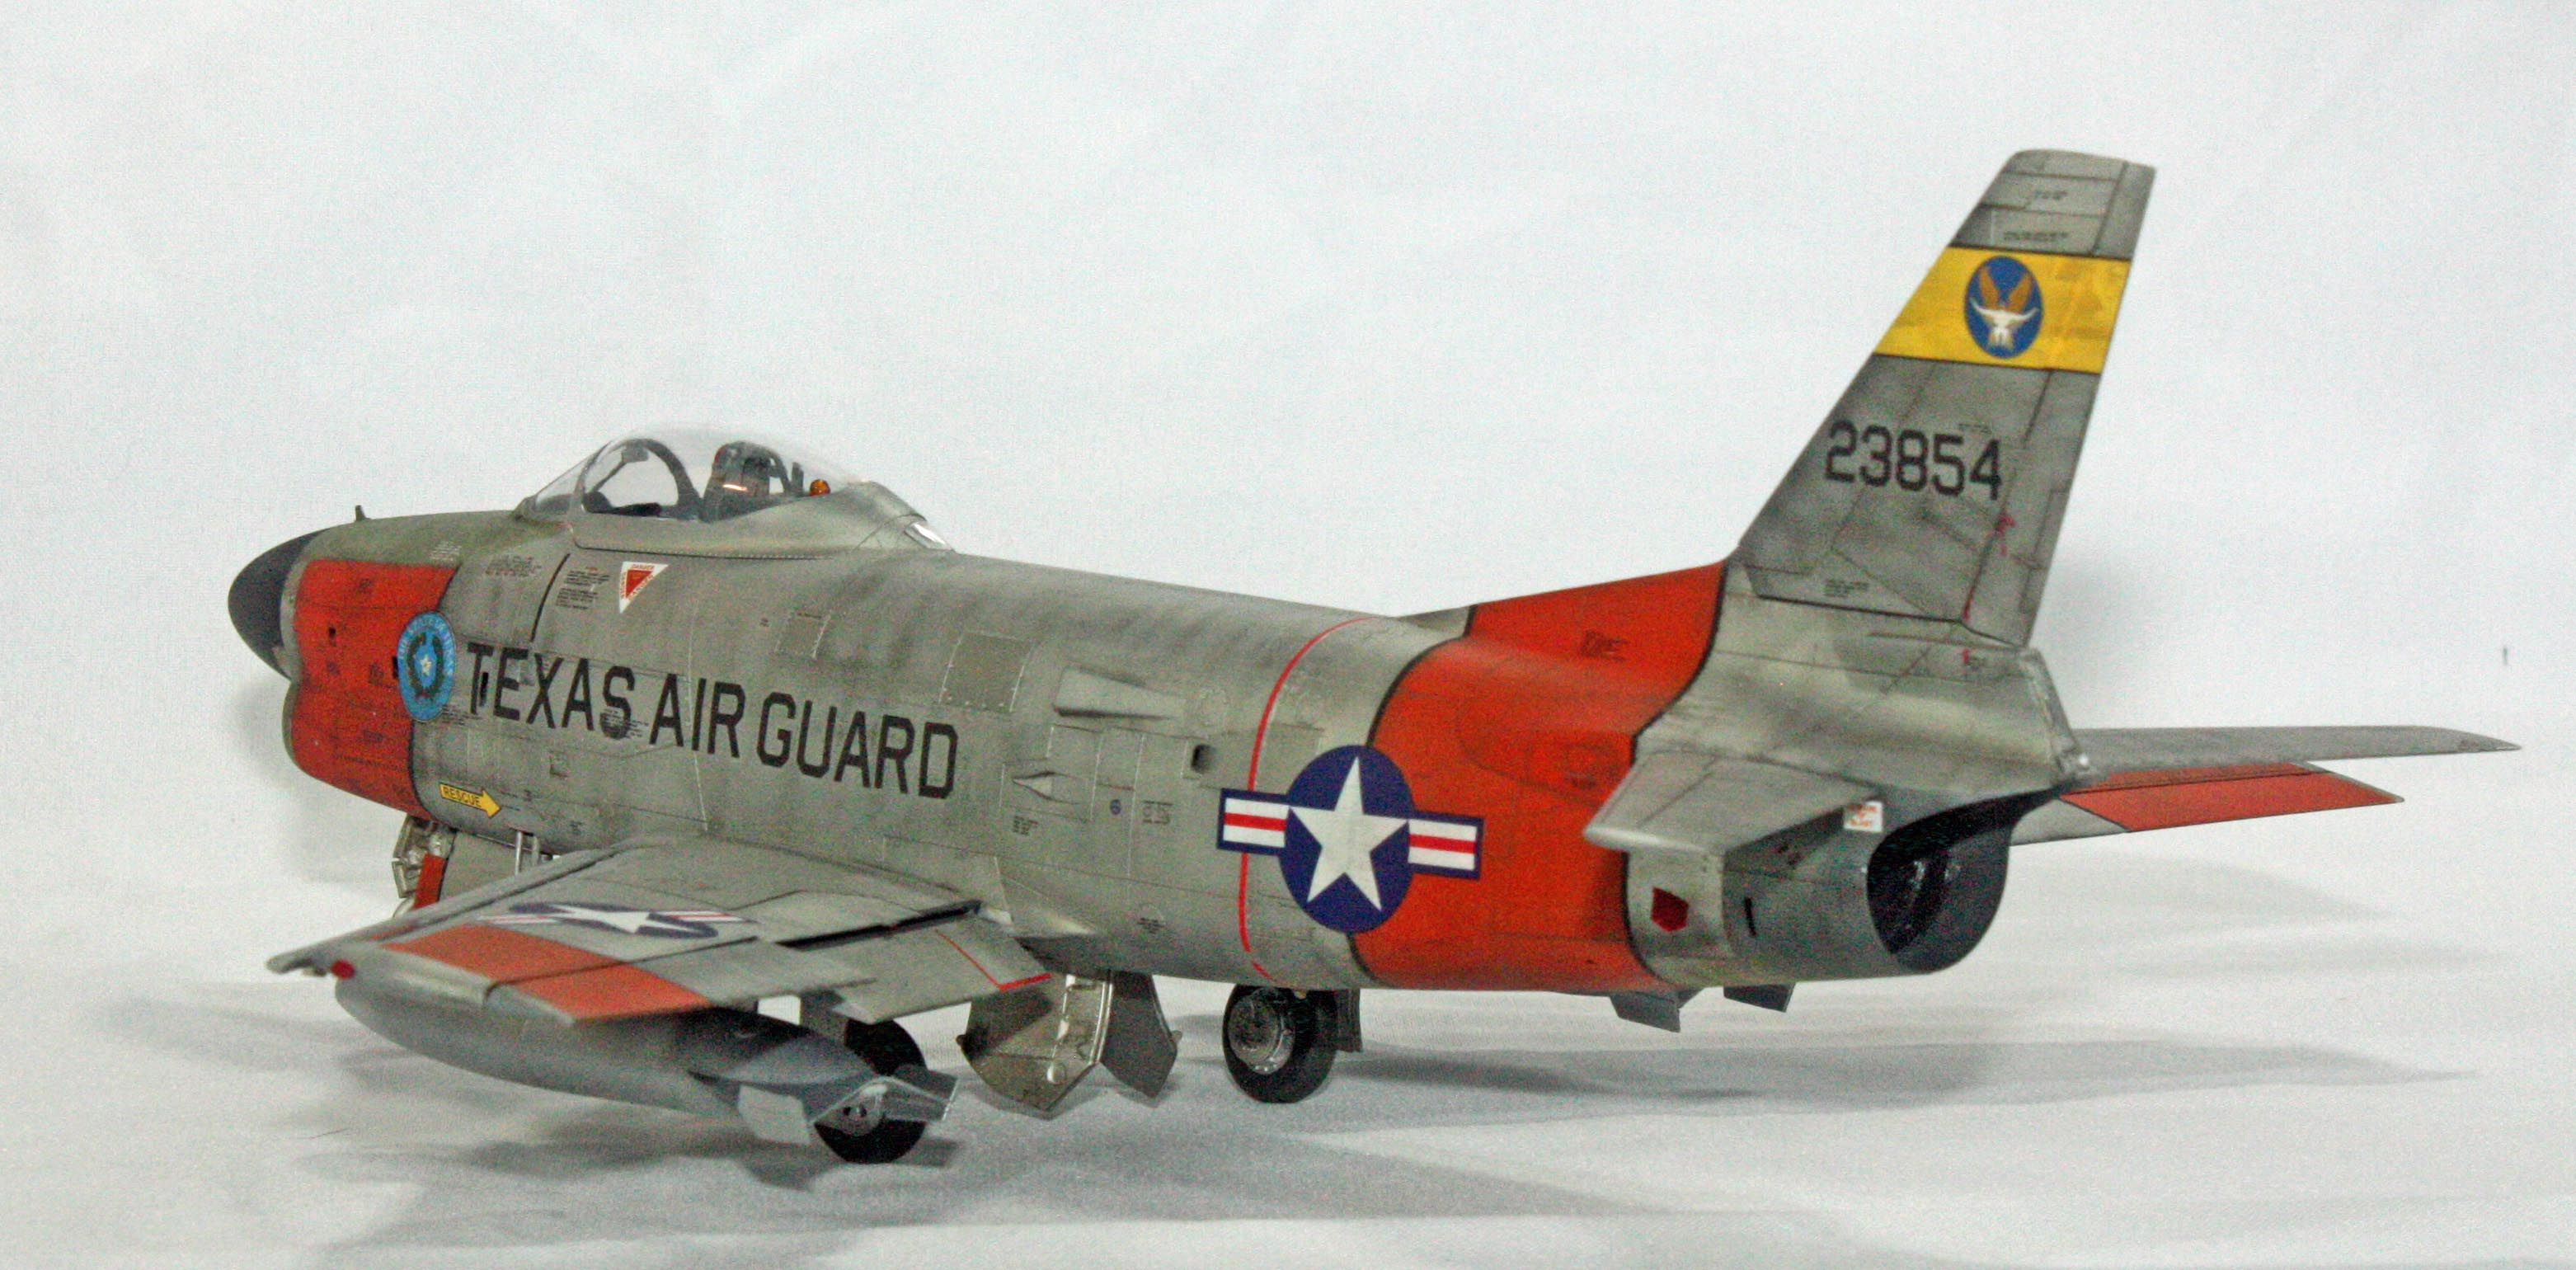
A few years ago, I built a 1/32 F-86D Dog Sabre (Kitty Hawk kit) that fought me tooth-and-nail, but in the end I won the war and turned out one of the best NMF finishes I’ve done.
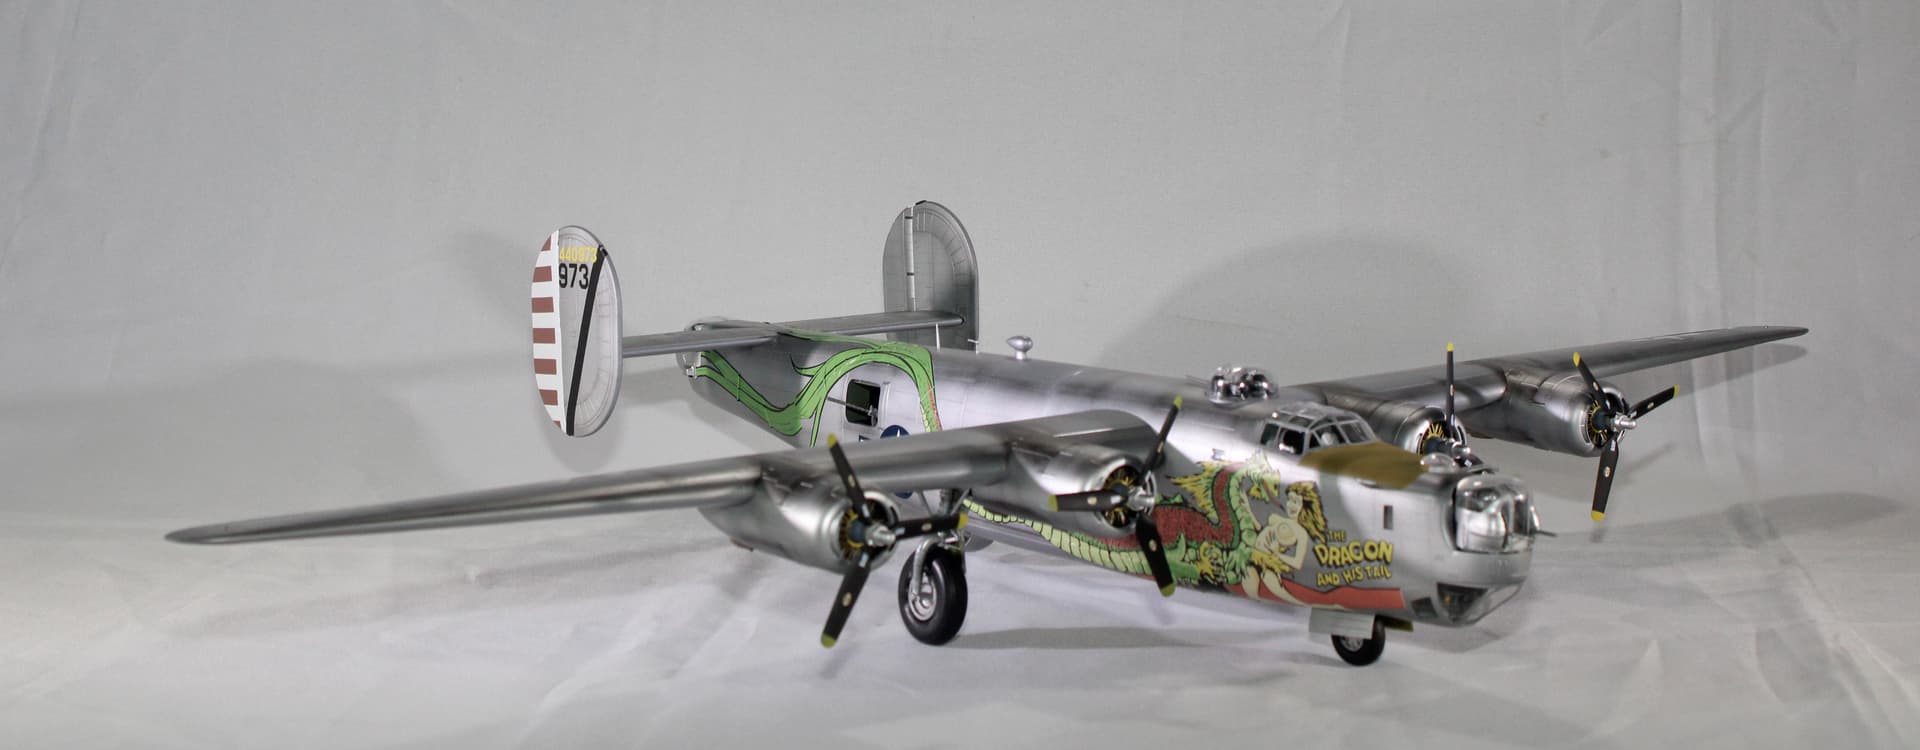
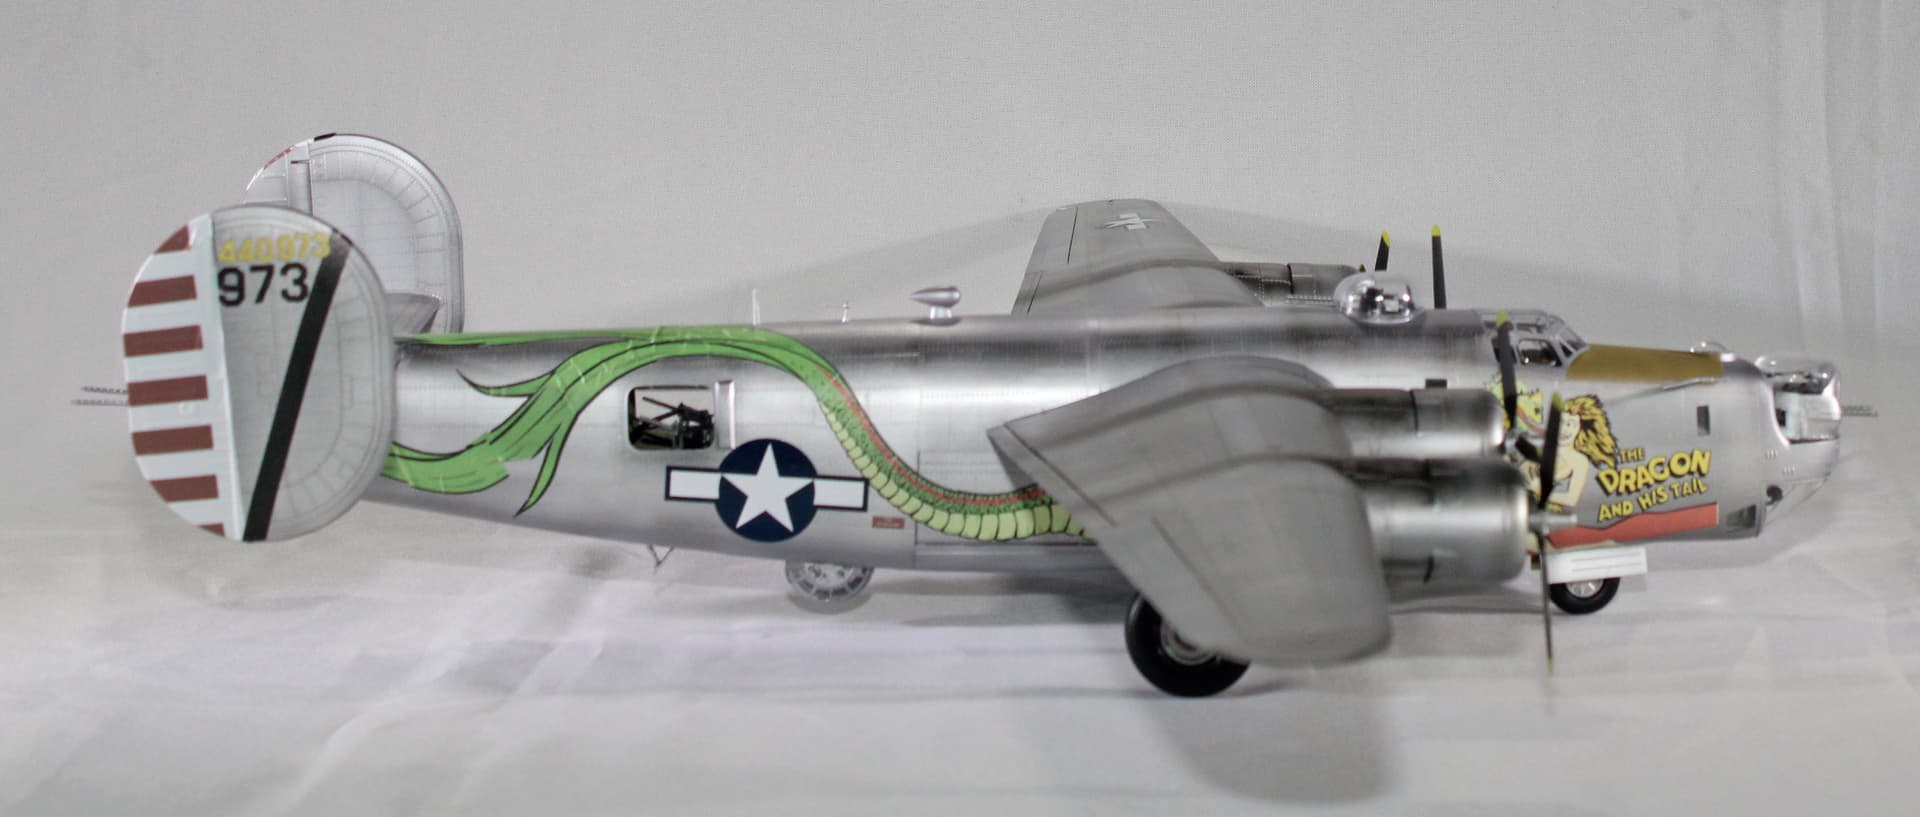
I’ve been seeing some of these photos show up recently on the Amazon Echo Show device that I keep on my desk lately. I really like the tired look I gave this one. So I went back to my hand-written build notes to see what I did to accomplish this look. Turns out it was simply pre-shading with black along major panel lines. This is the look I want for my Dragon and His Tail build.
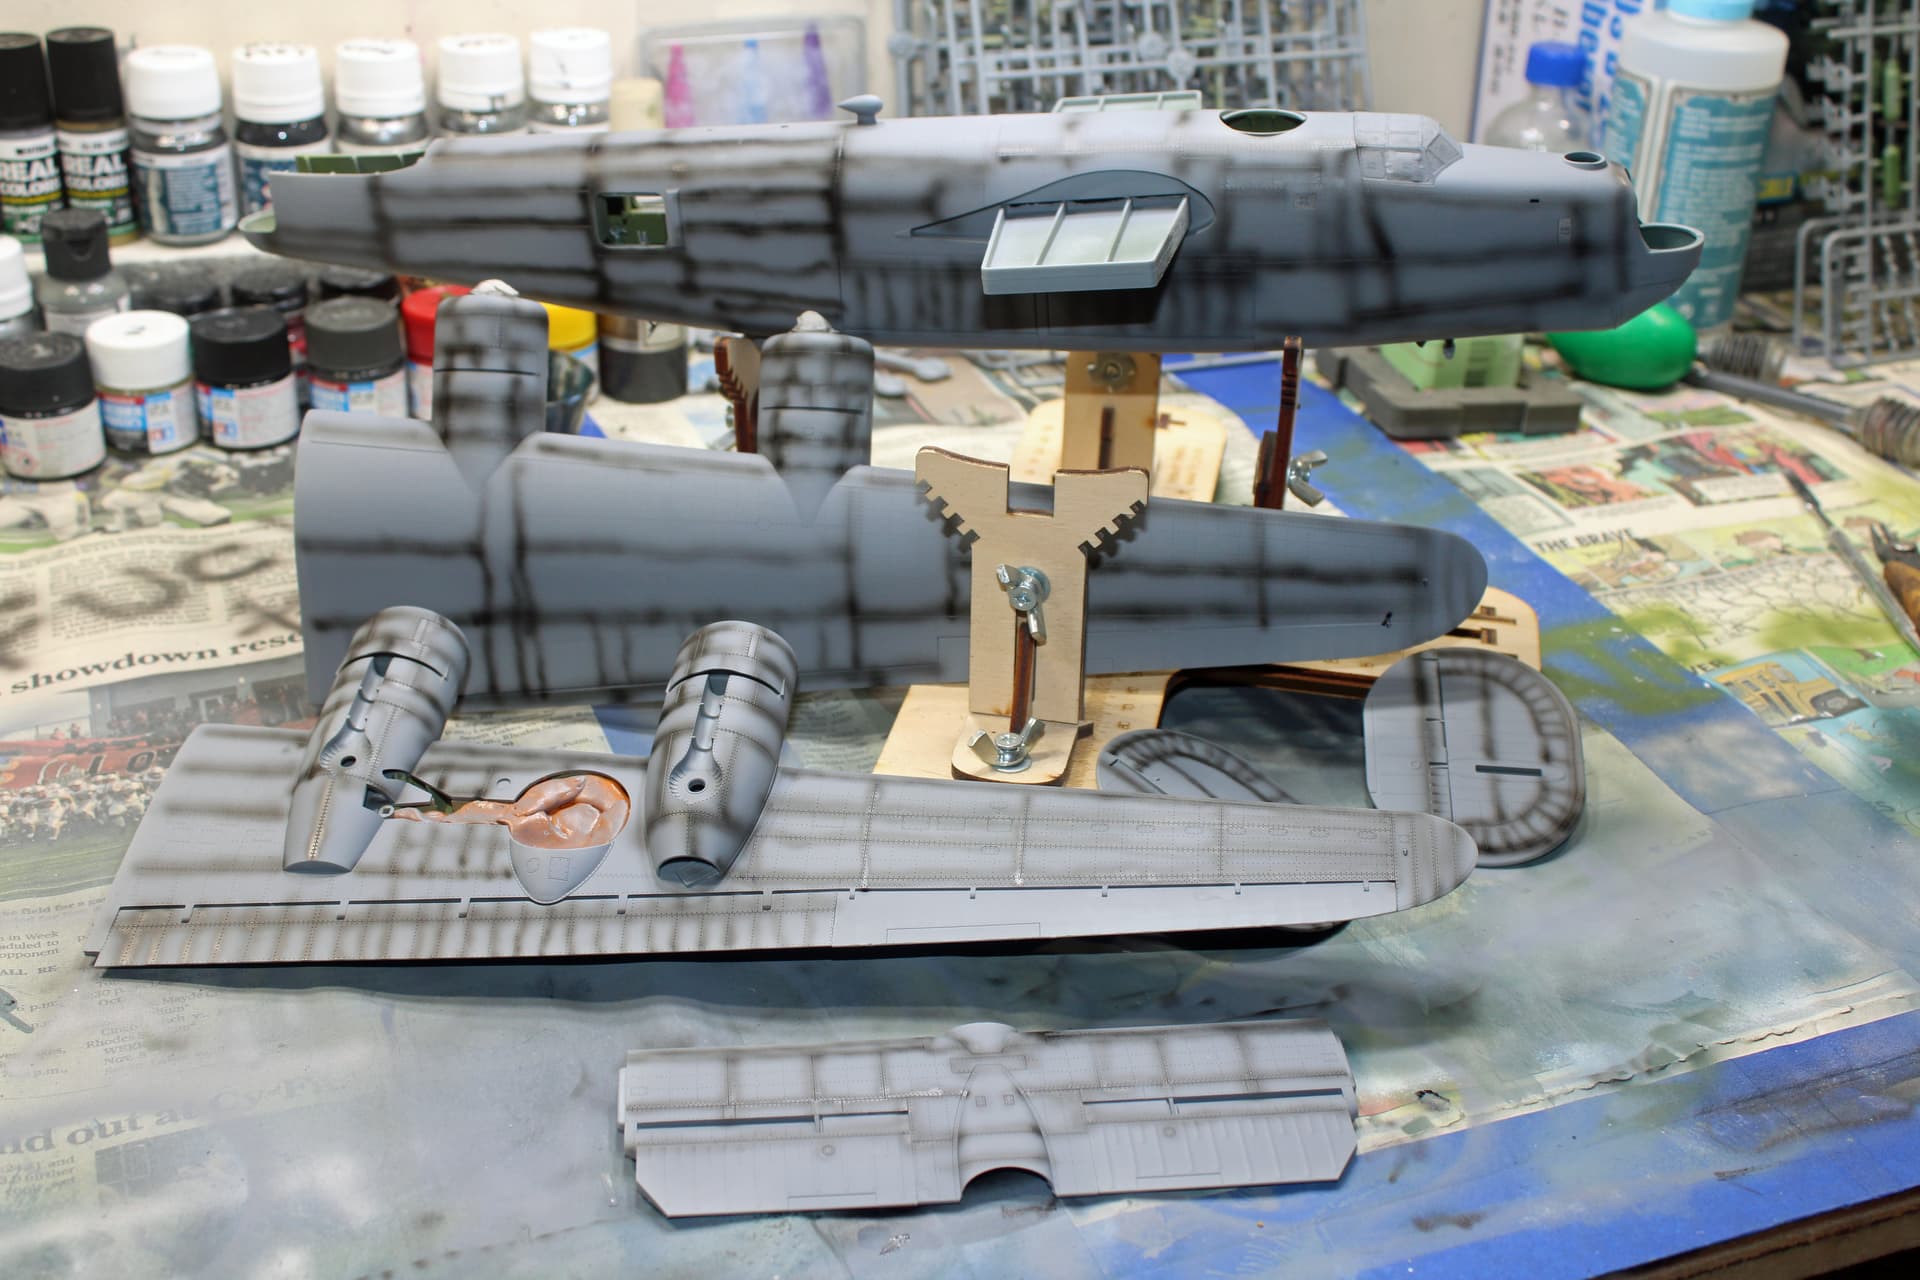
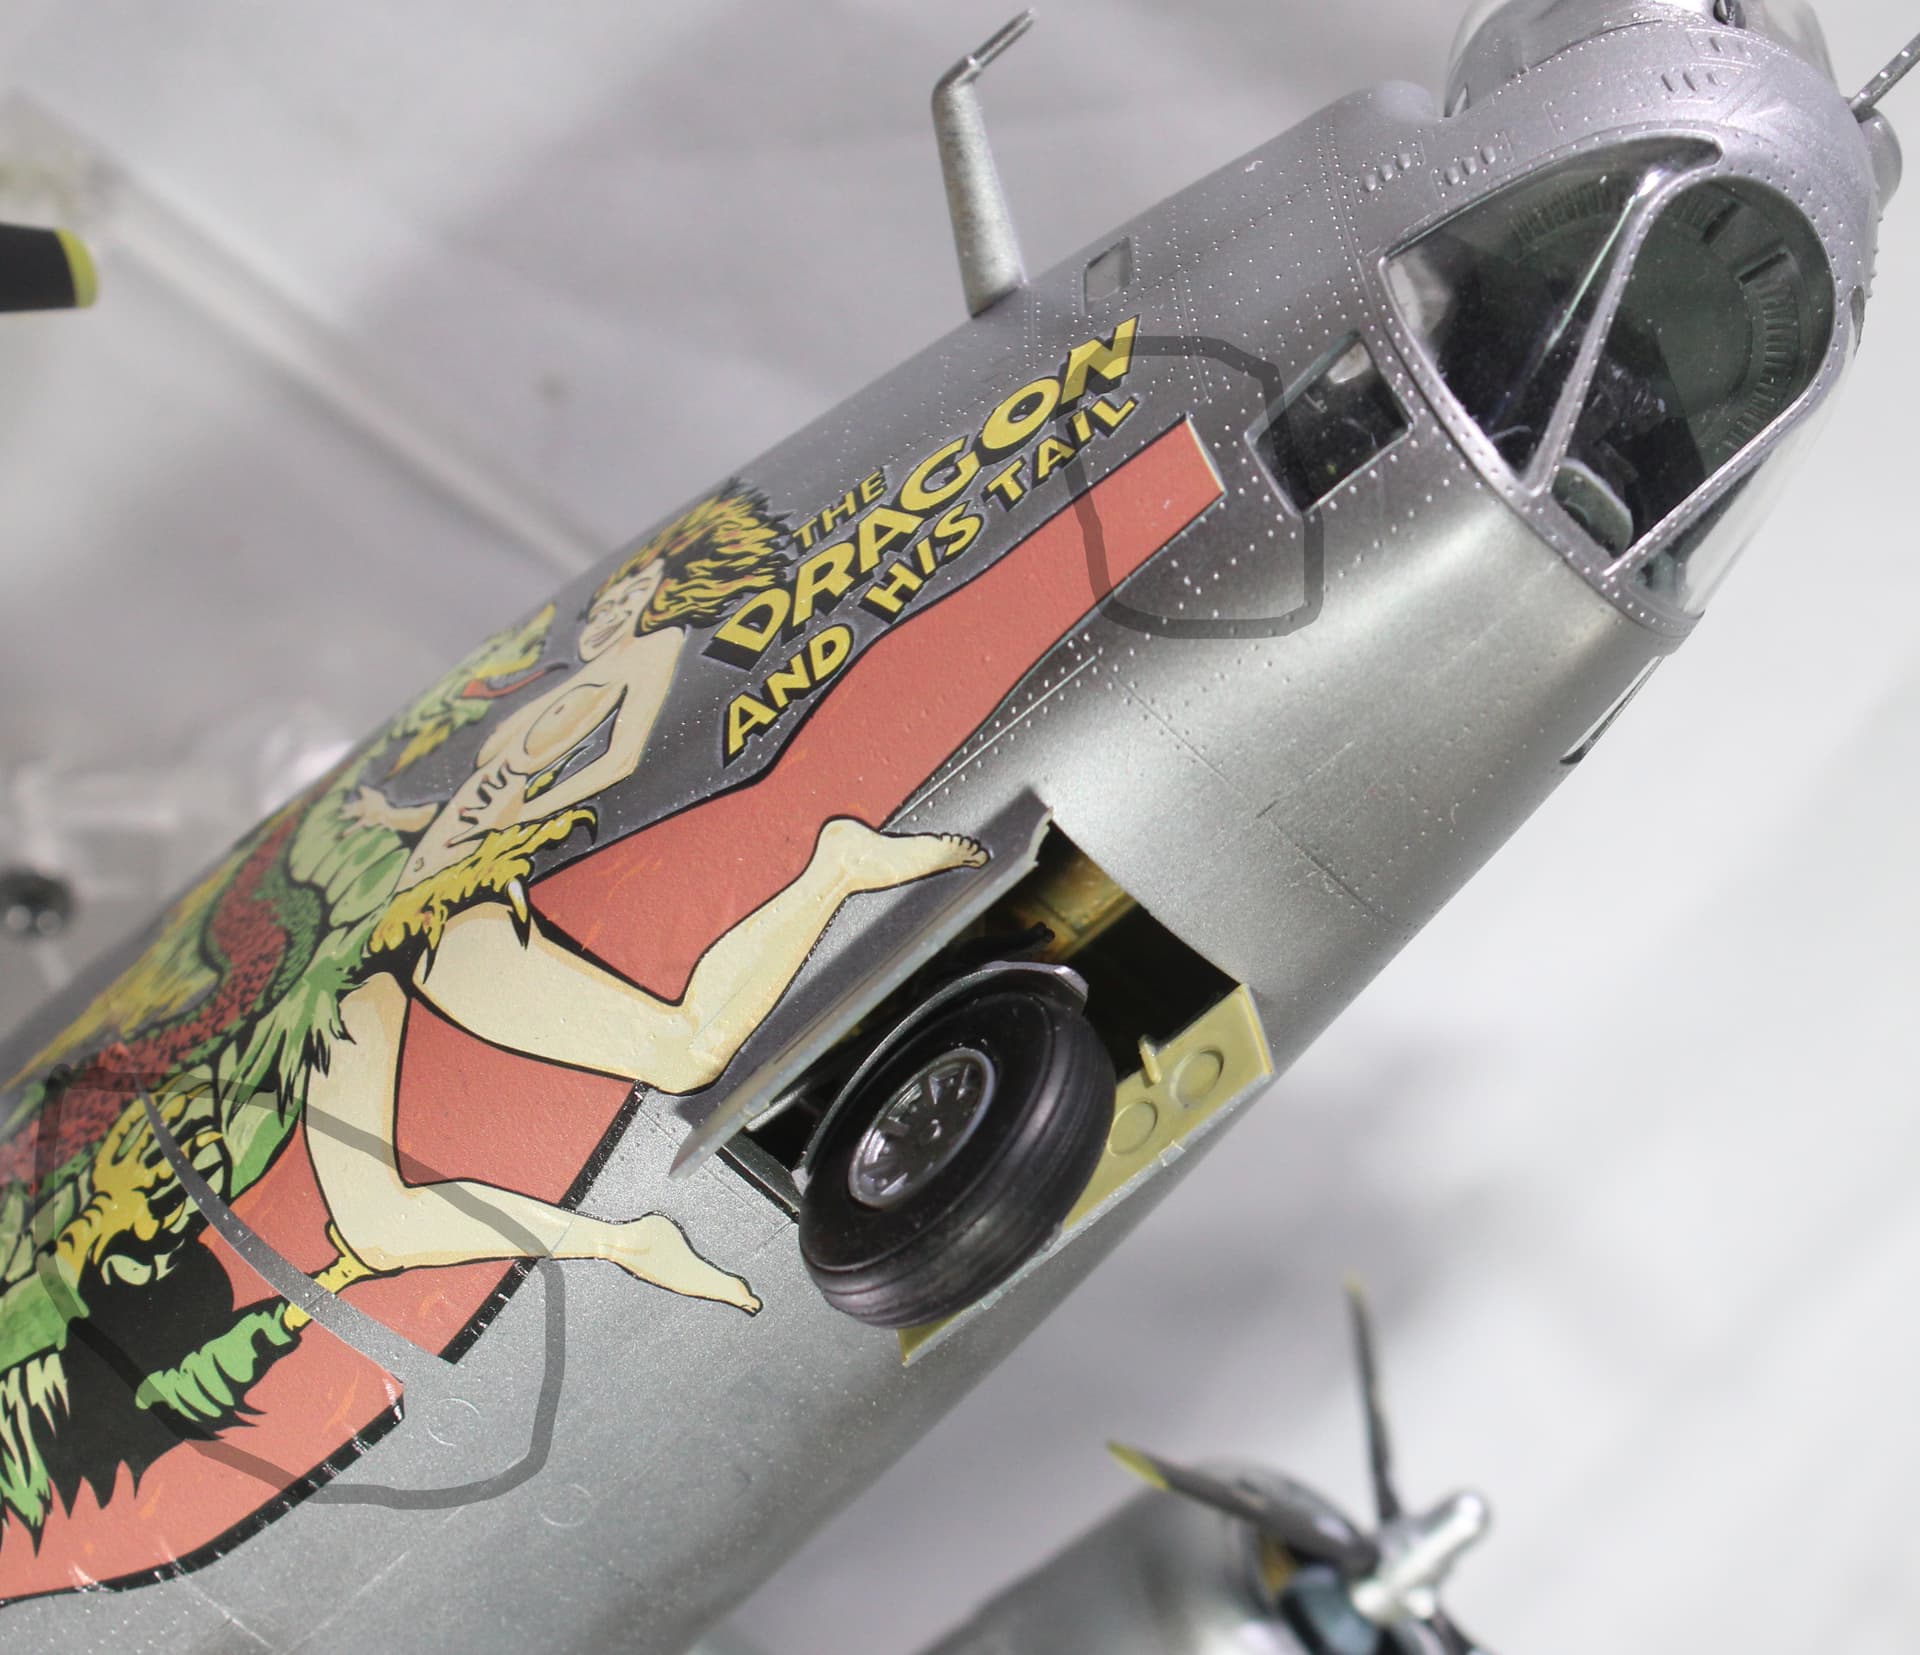
I know that the Dragon and His Tail was the last Liberator destroyed after the war. The only photos I find of the actual war-time bomber seem more from its brief life after the war rather than some South Pacific island, but I’m imagining that any aircraft exposed to the harsh conditions found in the South Pacific will not look like the majority of builds I see of this Liberator. So today I sprayed the Hobby Boss’s panel lines with black.
I did similar with some of the Monogram, but just stuck to the undersides since the olive drab on upper surfaces is likely to obscure this effect. I expect that I will be doing a lot of post-shading on the Monogram kit to give it a tired look.
One of the perks of having a wife who is a tax accountant is that she starts working toward the next tax year in Decembers. Today was her first full day, which afforded me a lot of time at the bench. I was out there so long I was able to watch a slew of Christmas-oriented movies - The Grinch Who Stole Christmas, Bad Santa, Dear Santa, and Violent Night. I don’t recommend the last three for family viewing.
During this time I was able to complete about 90% of the paint work needed for these big paint hogs.
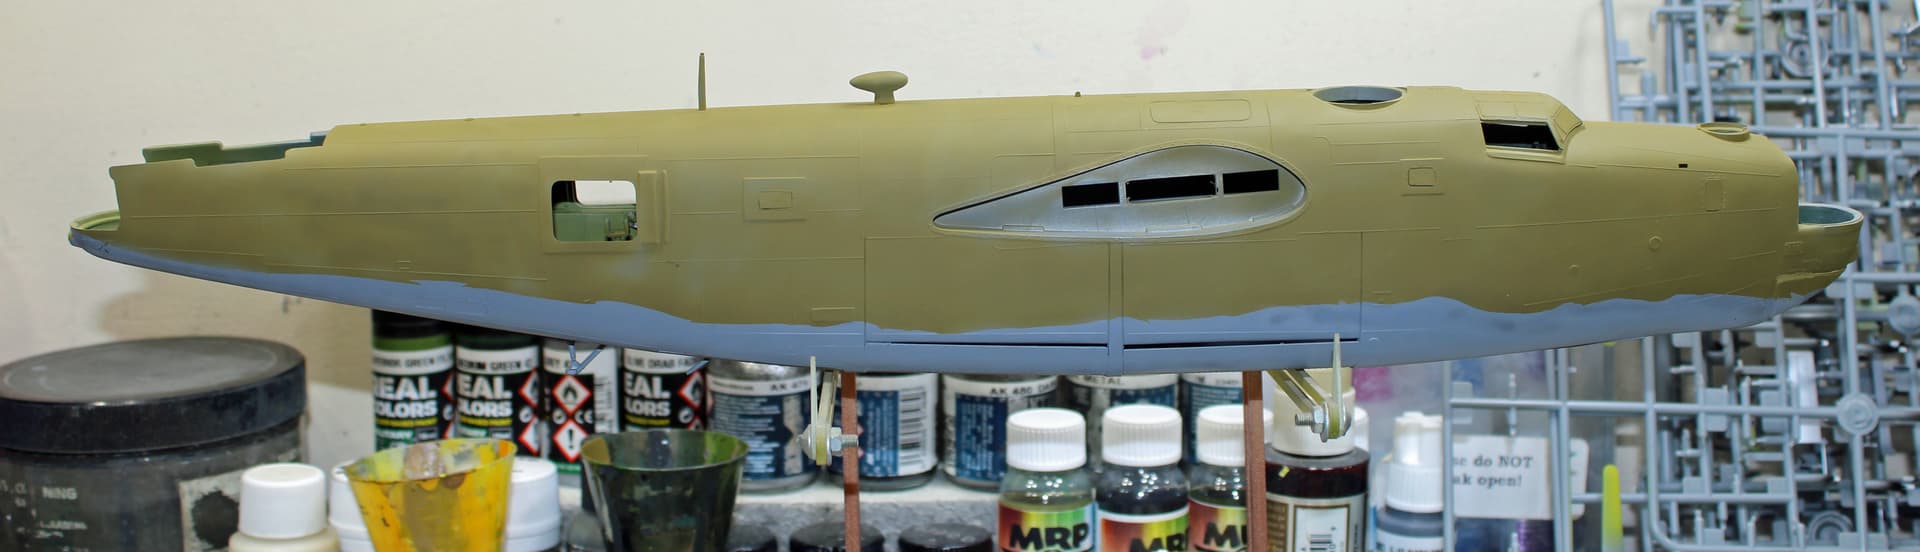
The Hobby Boss has a base coat of AK Interactive Xtreme Metal aluminum. Still to come is to pick out random panels for different shades of AK’s metallic paint (dark aluminum, white aluminum). I also need to do a deep dive into online photos to see if I can find any wartime photos of the aircraft that was originally the Dragon and His Tail to see if there were de-icer boots on that warbird; the painting guidelines for the decal set indicate no such de-icer boots, but I’m thinking that might be for the B-24J that was much more recently painted with that provacative artwork.
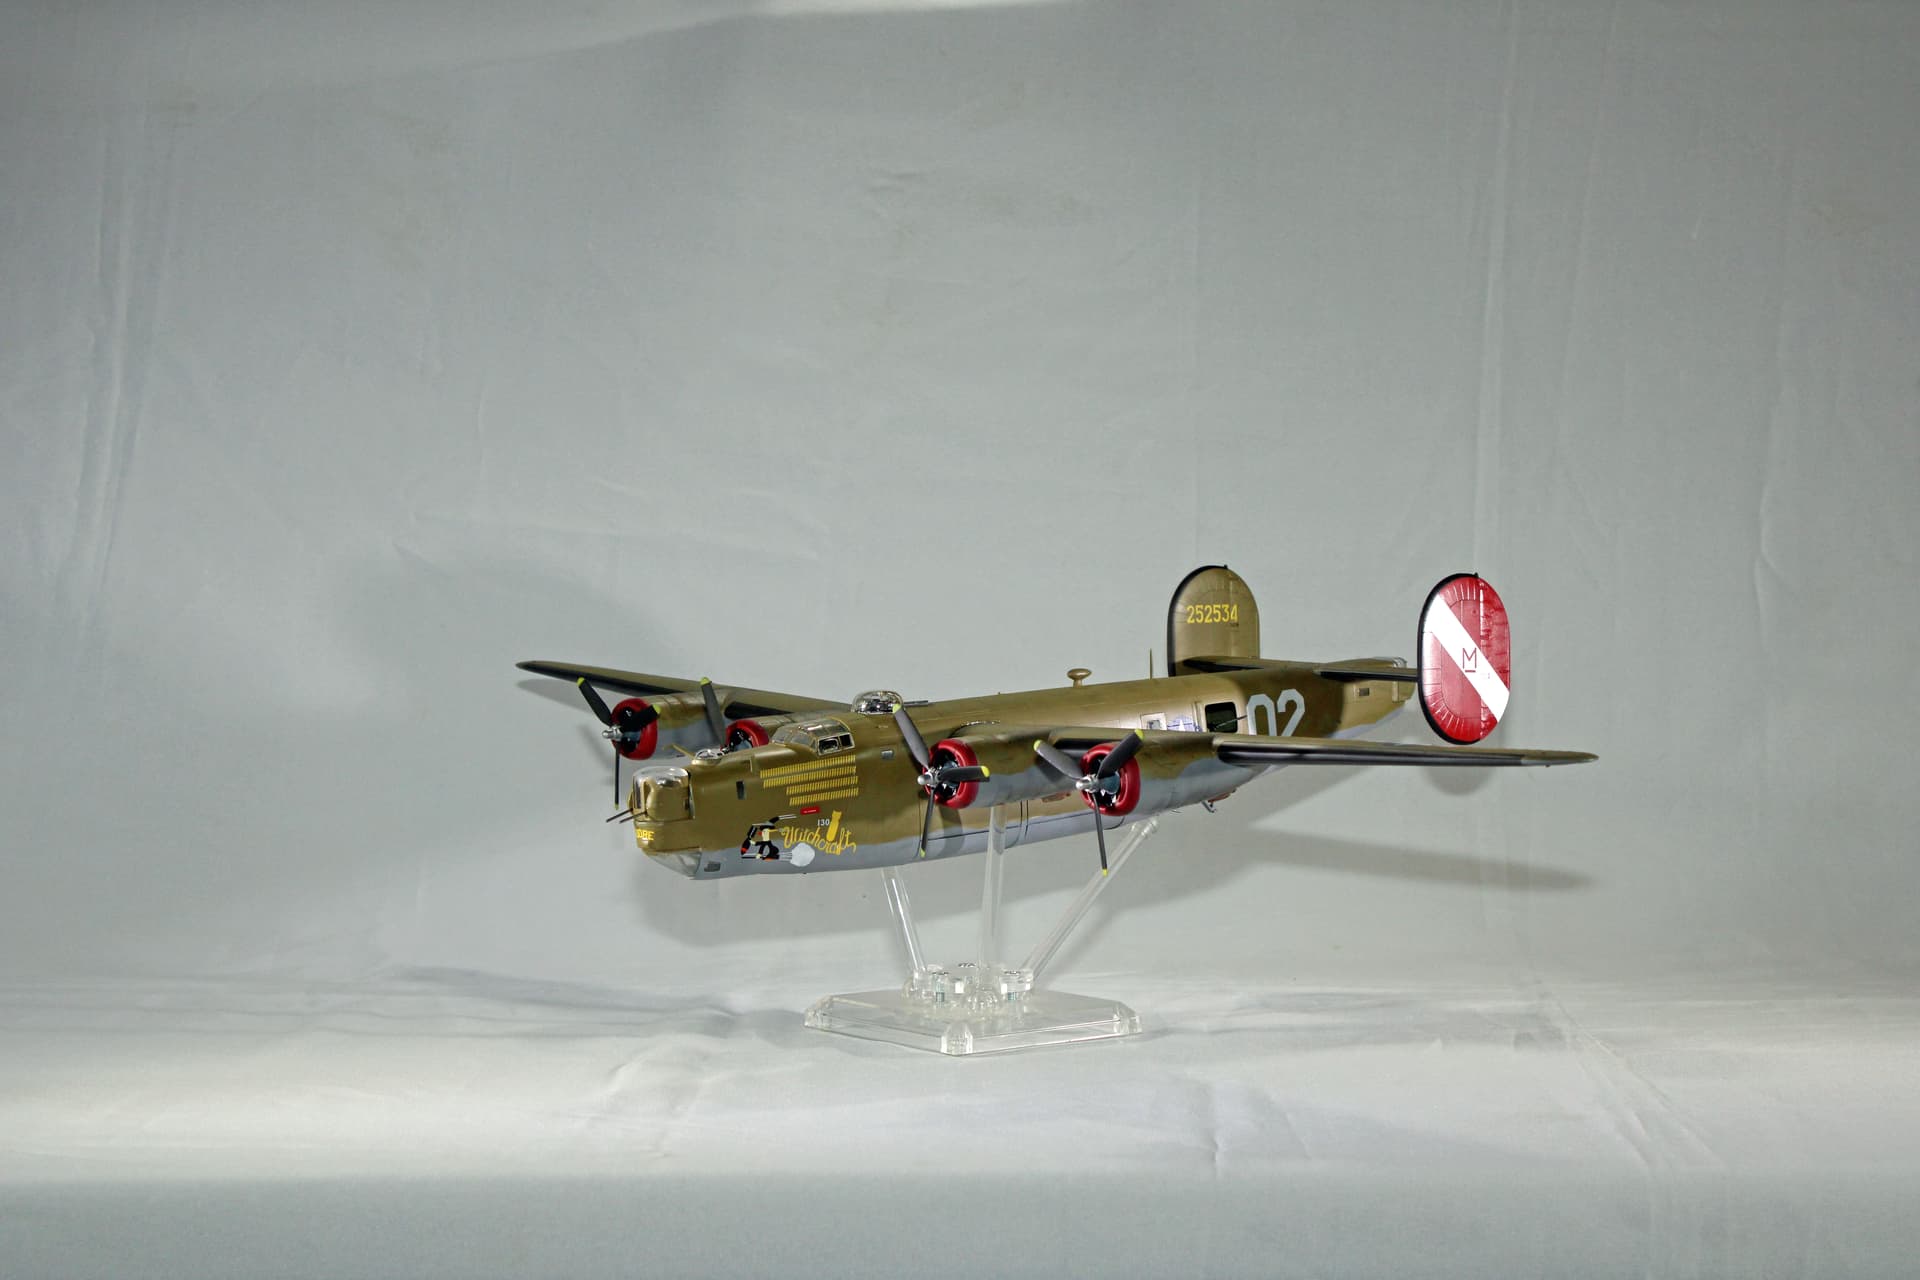
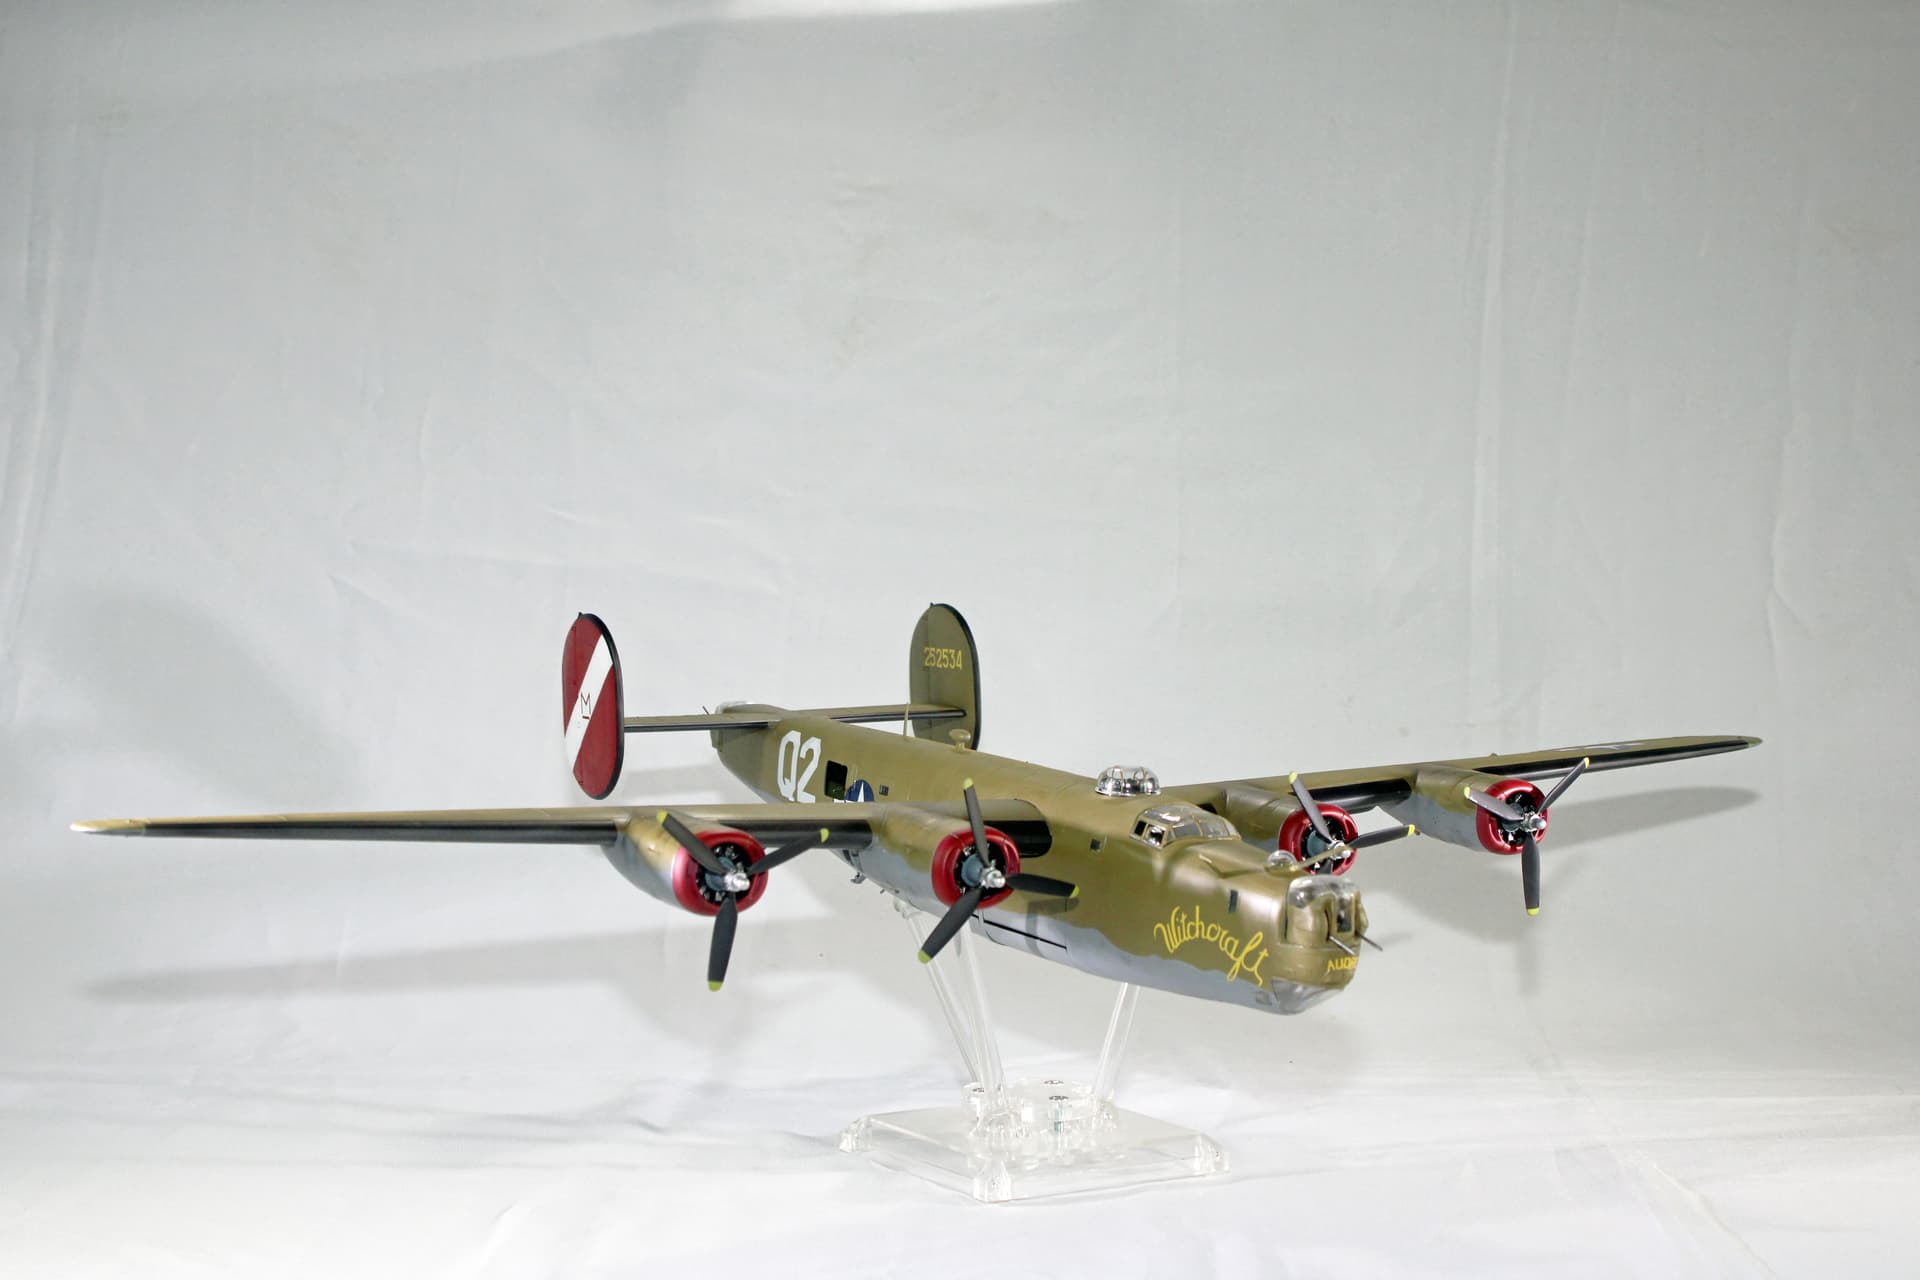
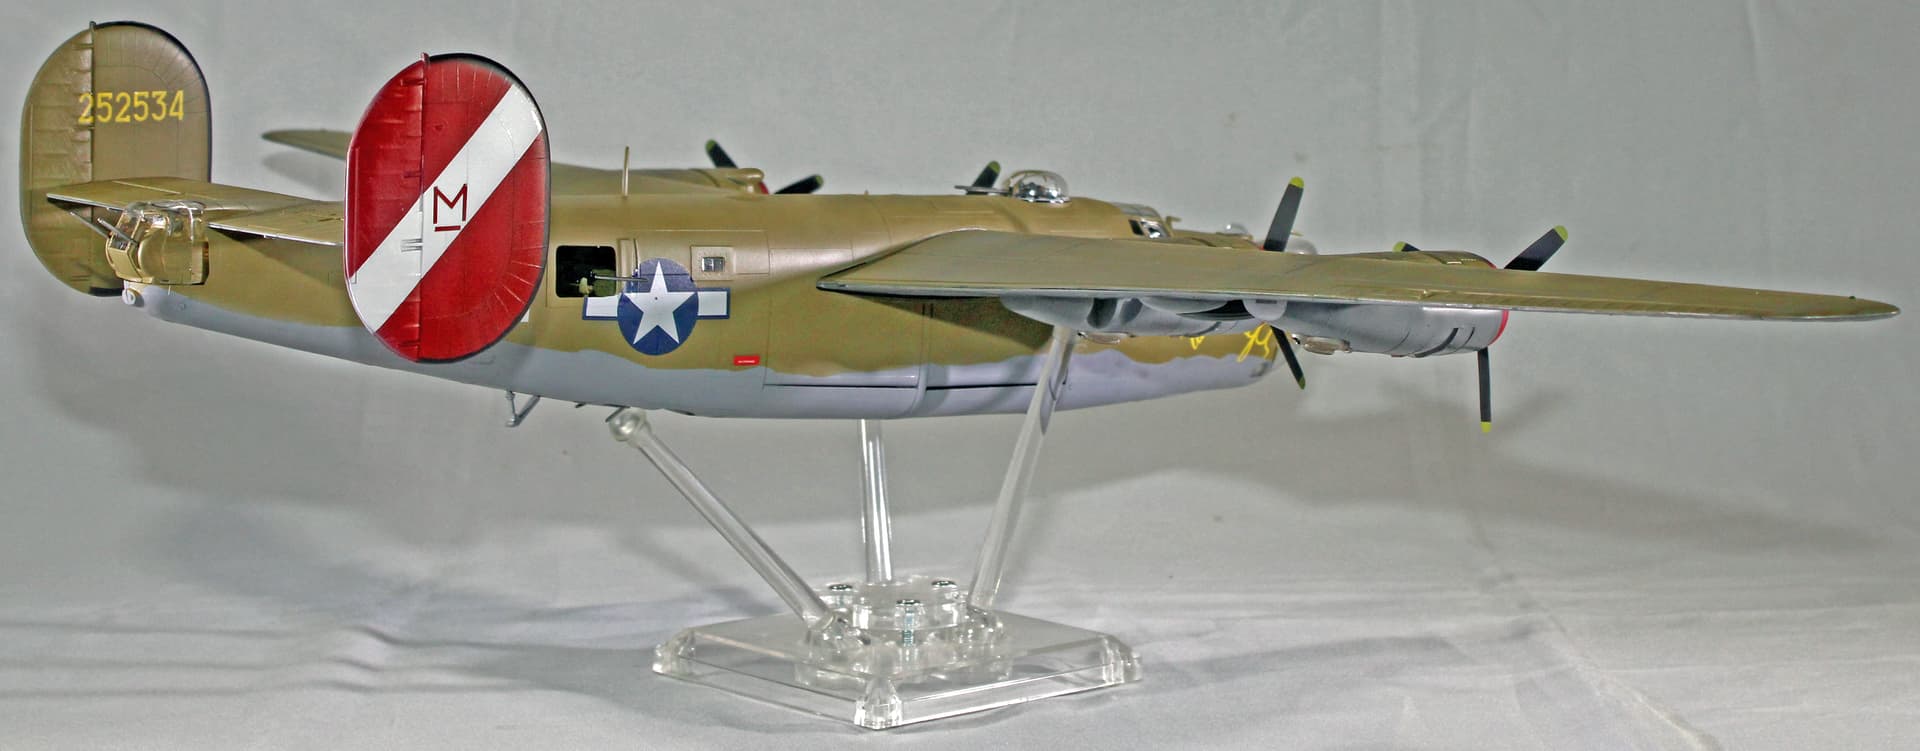
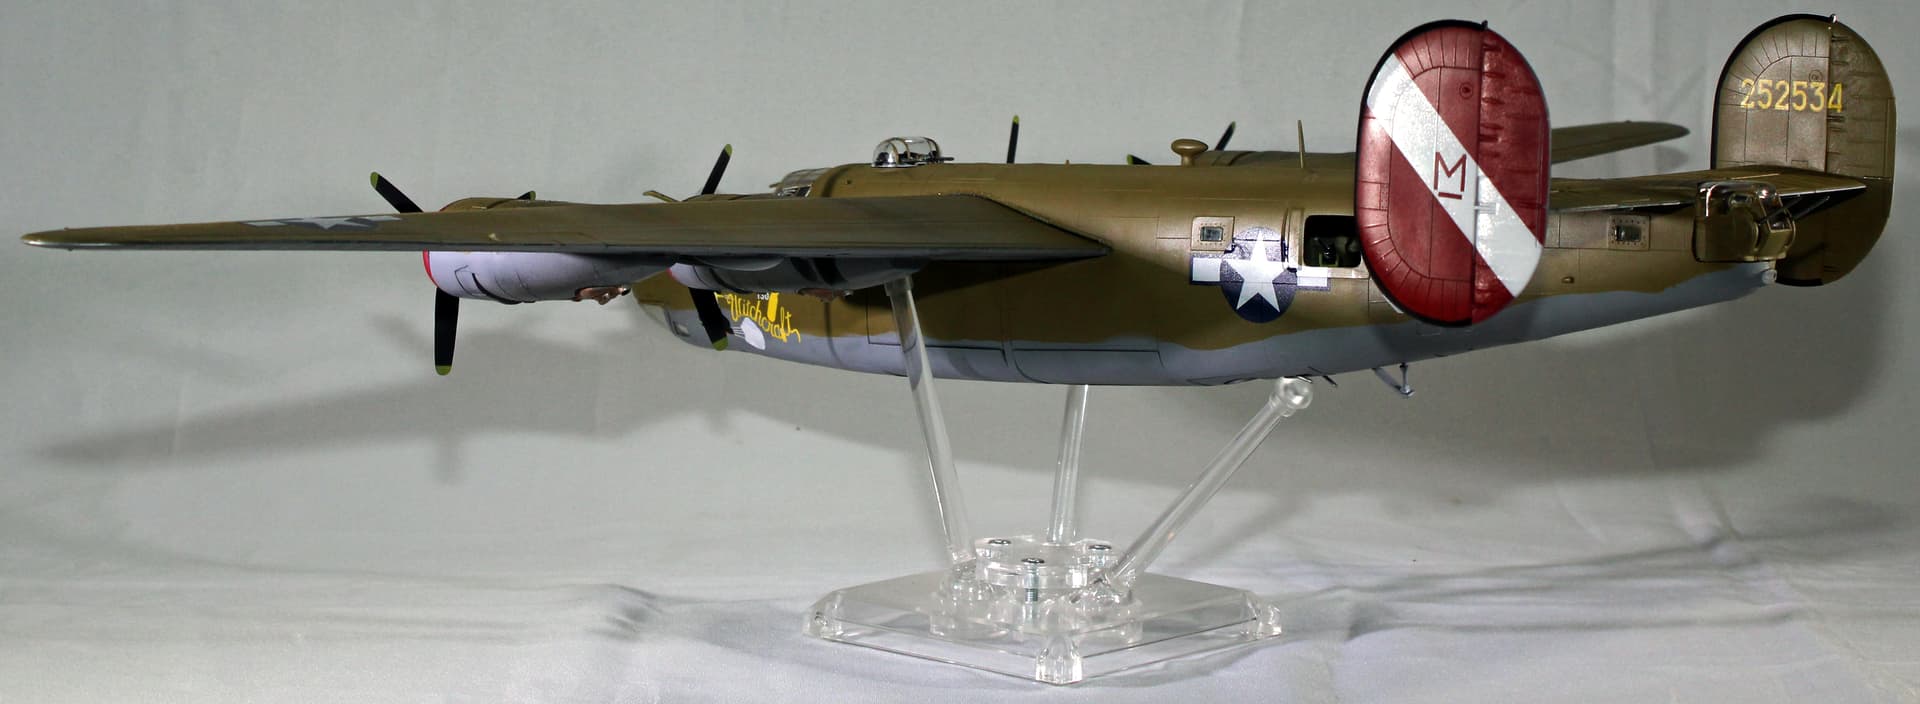
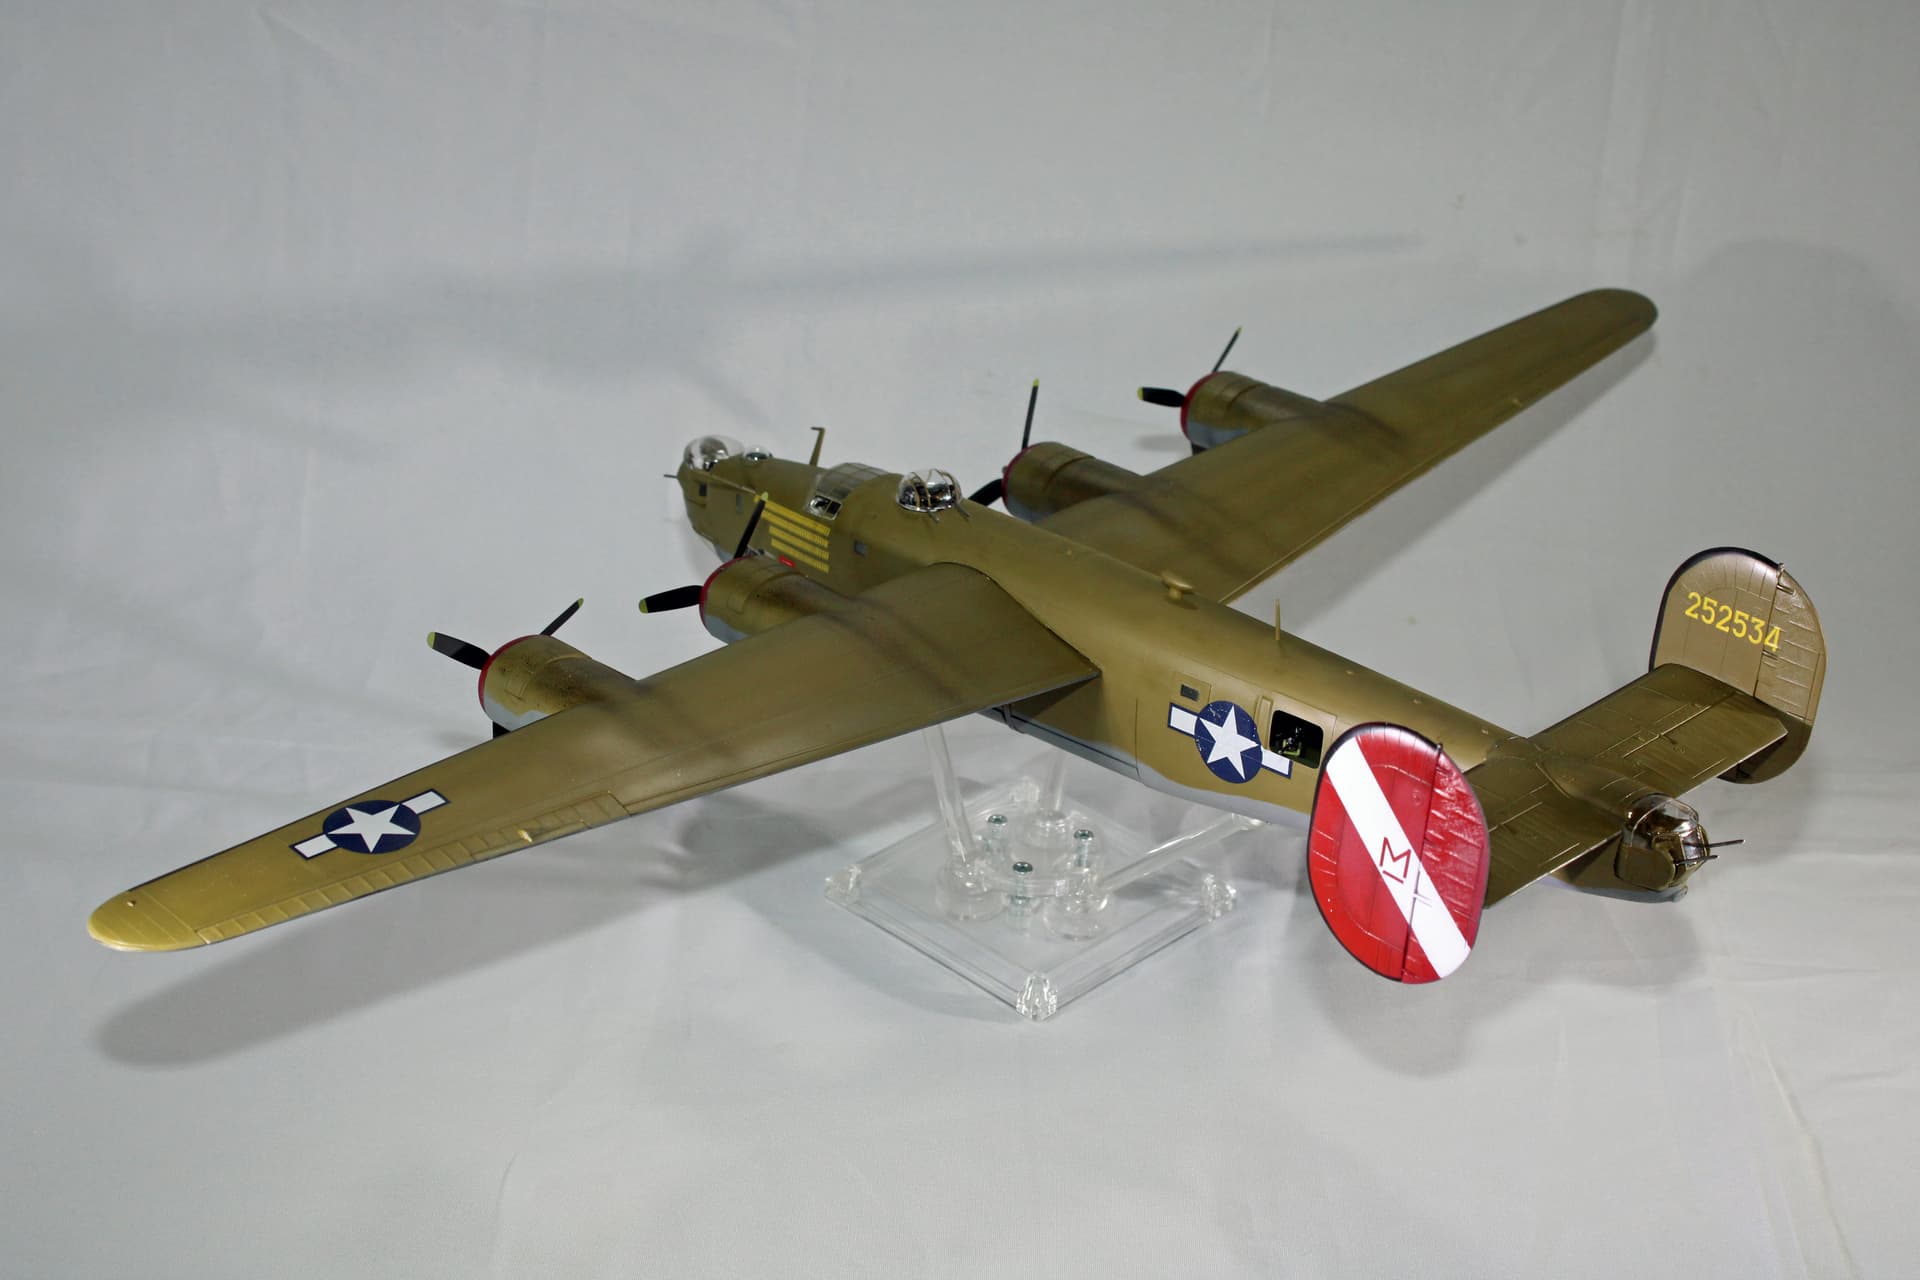
The Monogram first got a coat of AK Interactive Real Colors neutral gray for lower surfaces. Once that paint set, I masked with some AK Interactive elastic putty and put down a coat of AK Interactive Real Colors faded olive drab. This is not matching the painting diagram included in the Hobby Boss kit (from which the decal sheet is coming for this Monogram build). The diagram calls for olive drab but the artwork makes the green look more like medium green. I have a bottle of that paint, but elected to go with the faded olive drab because I think it will look more worn for a wartime B-24J.
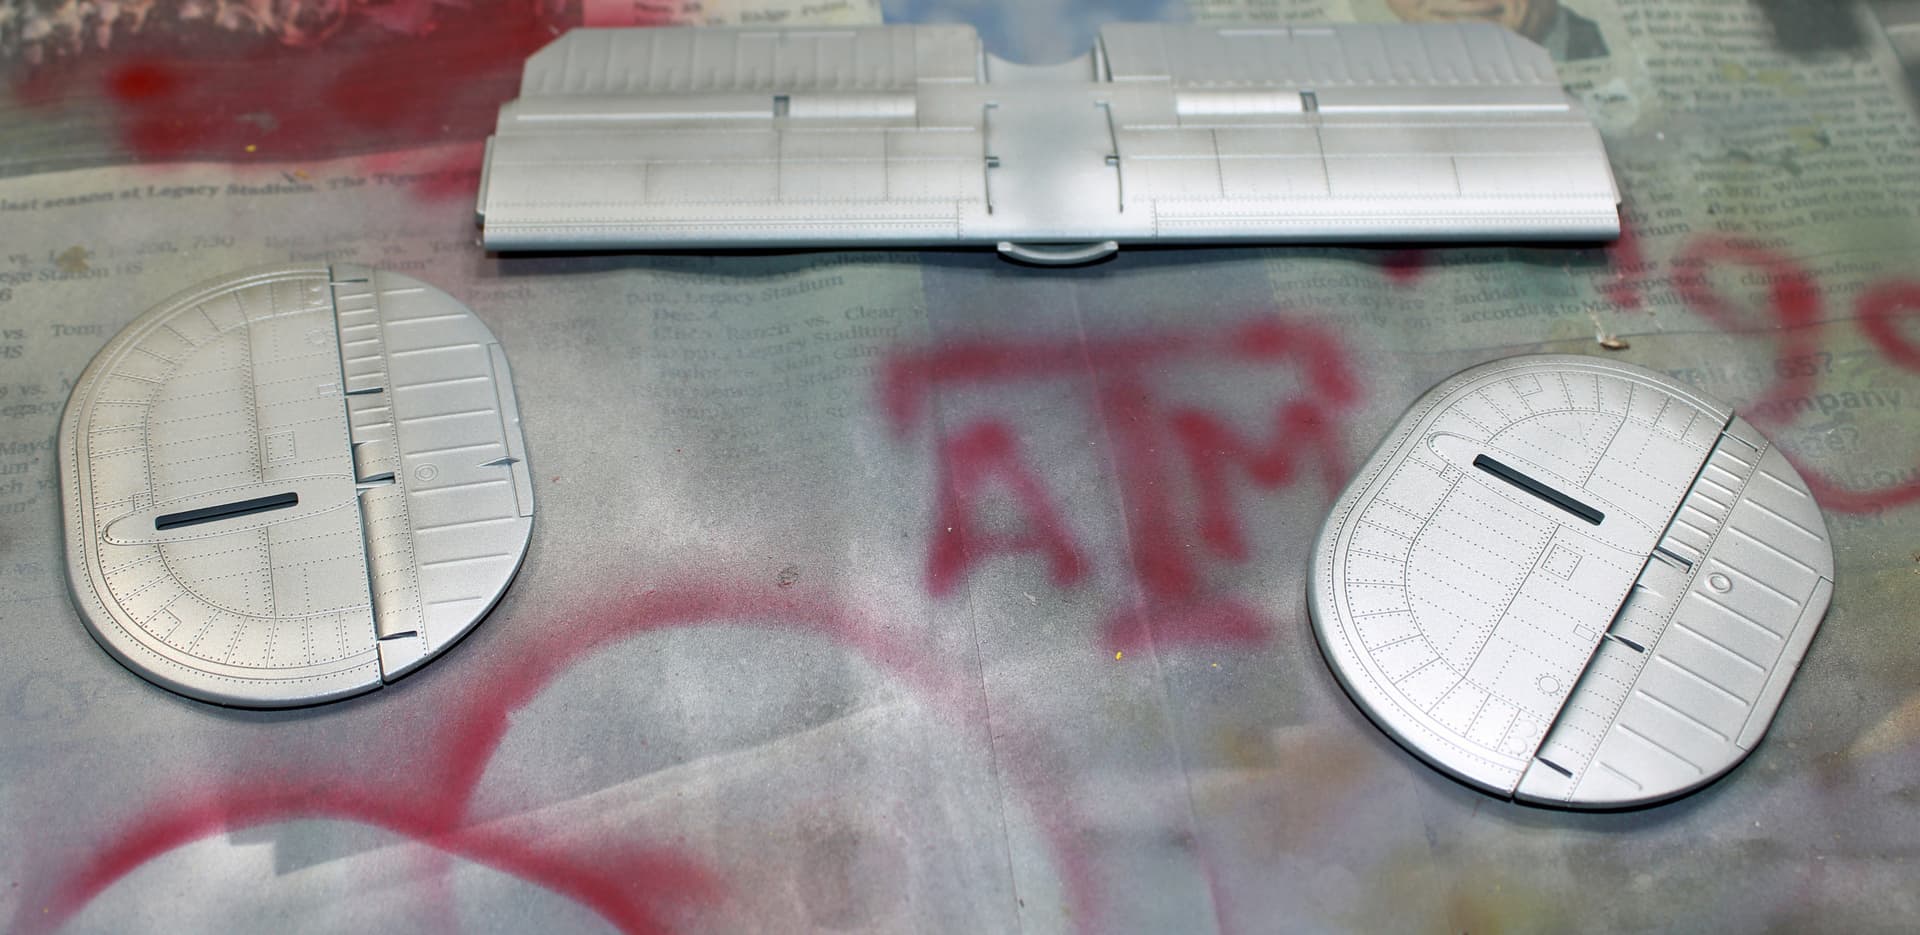
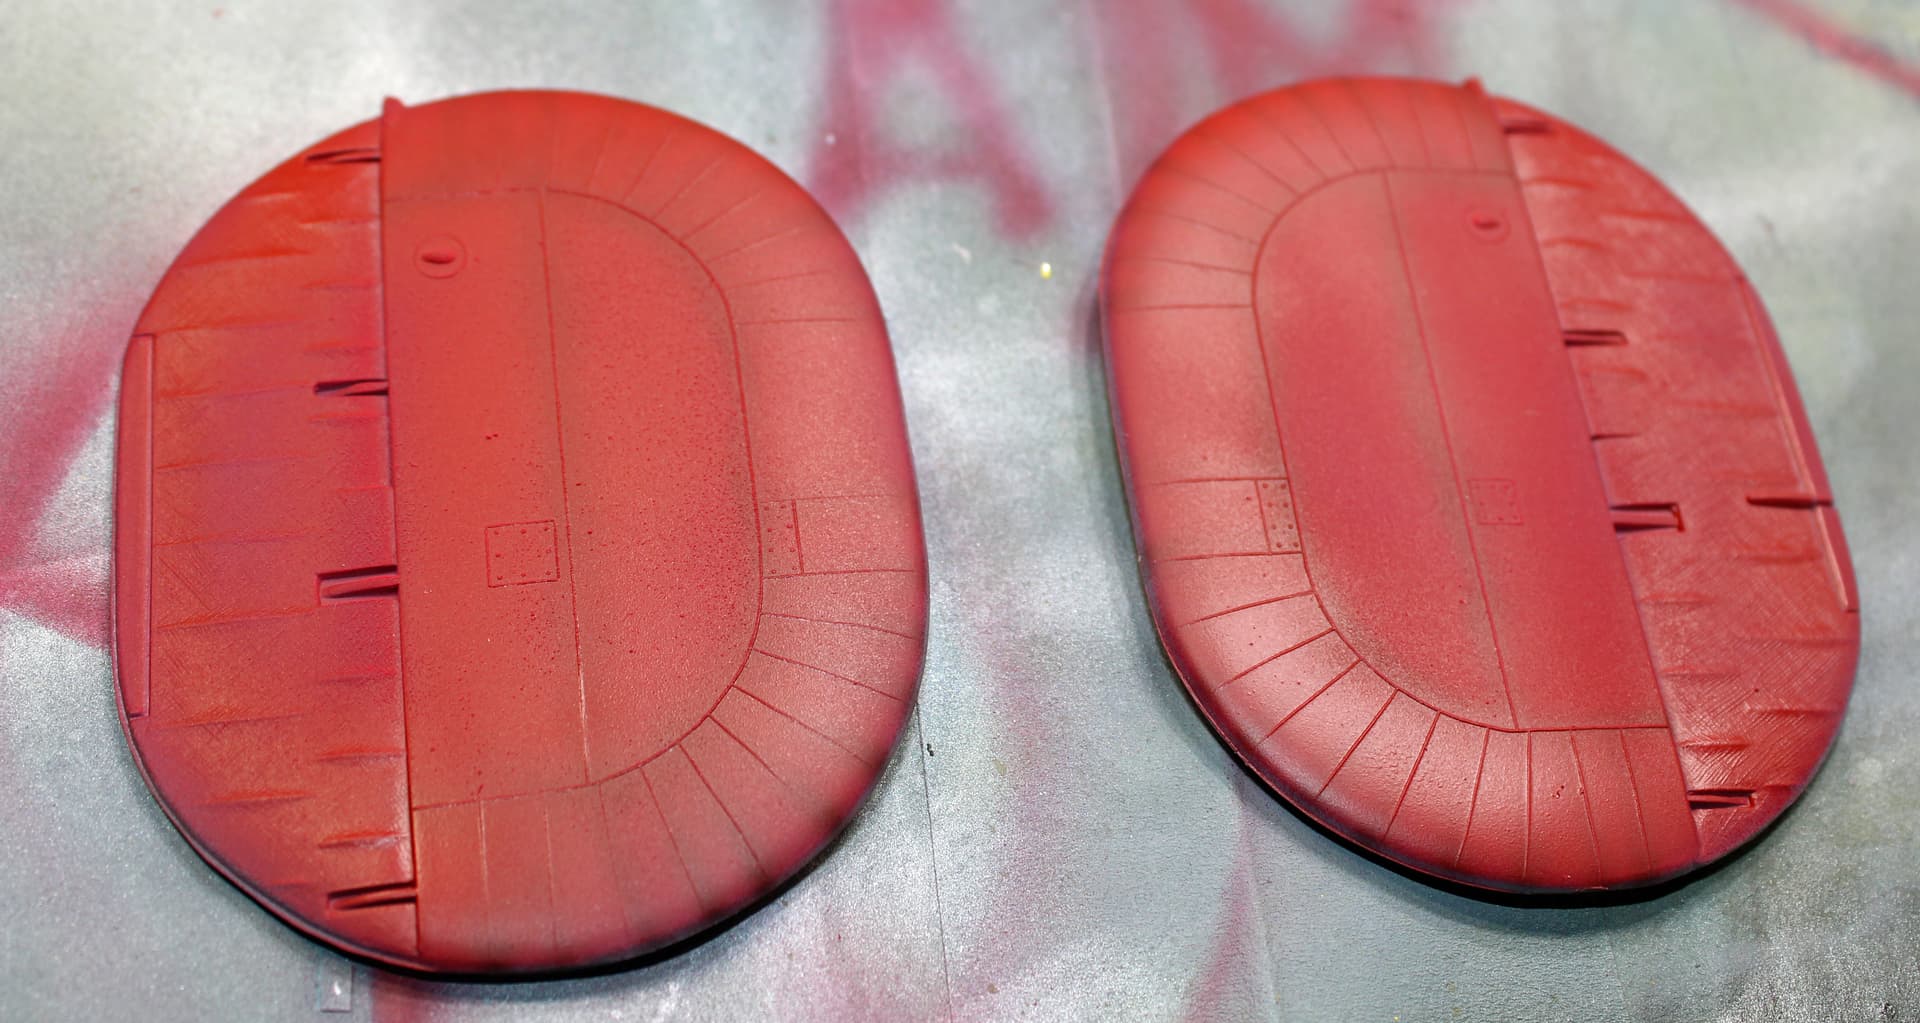
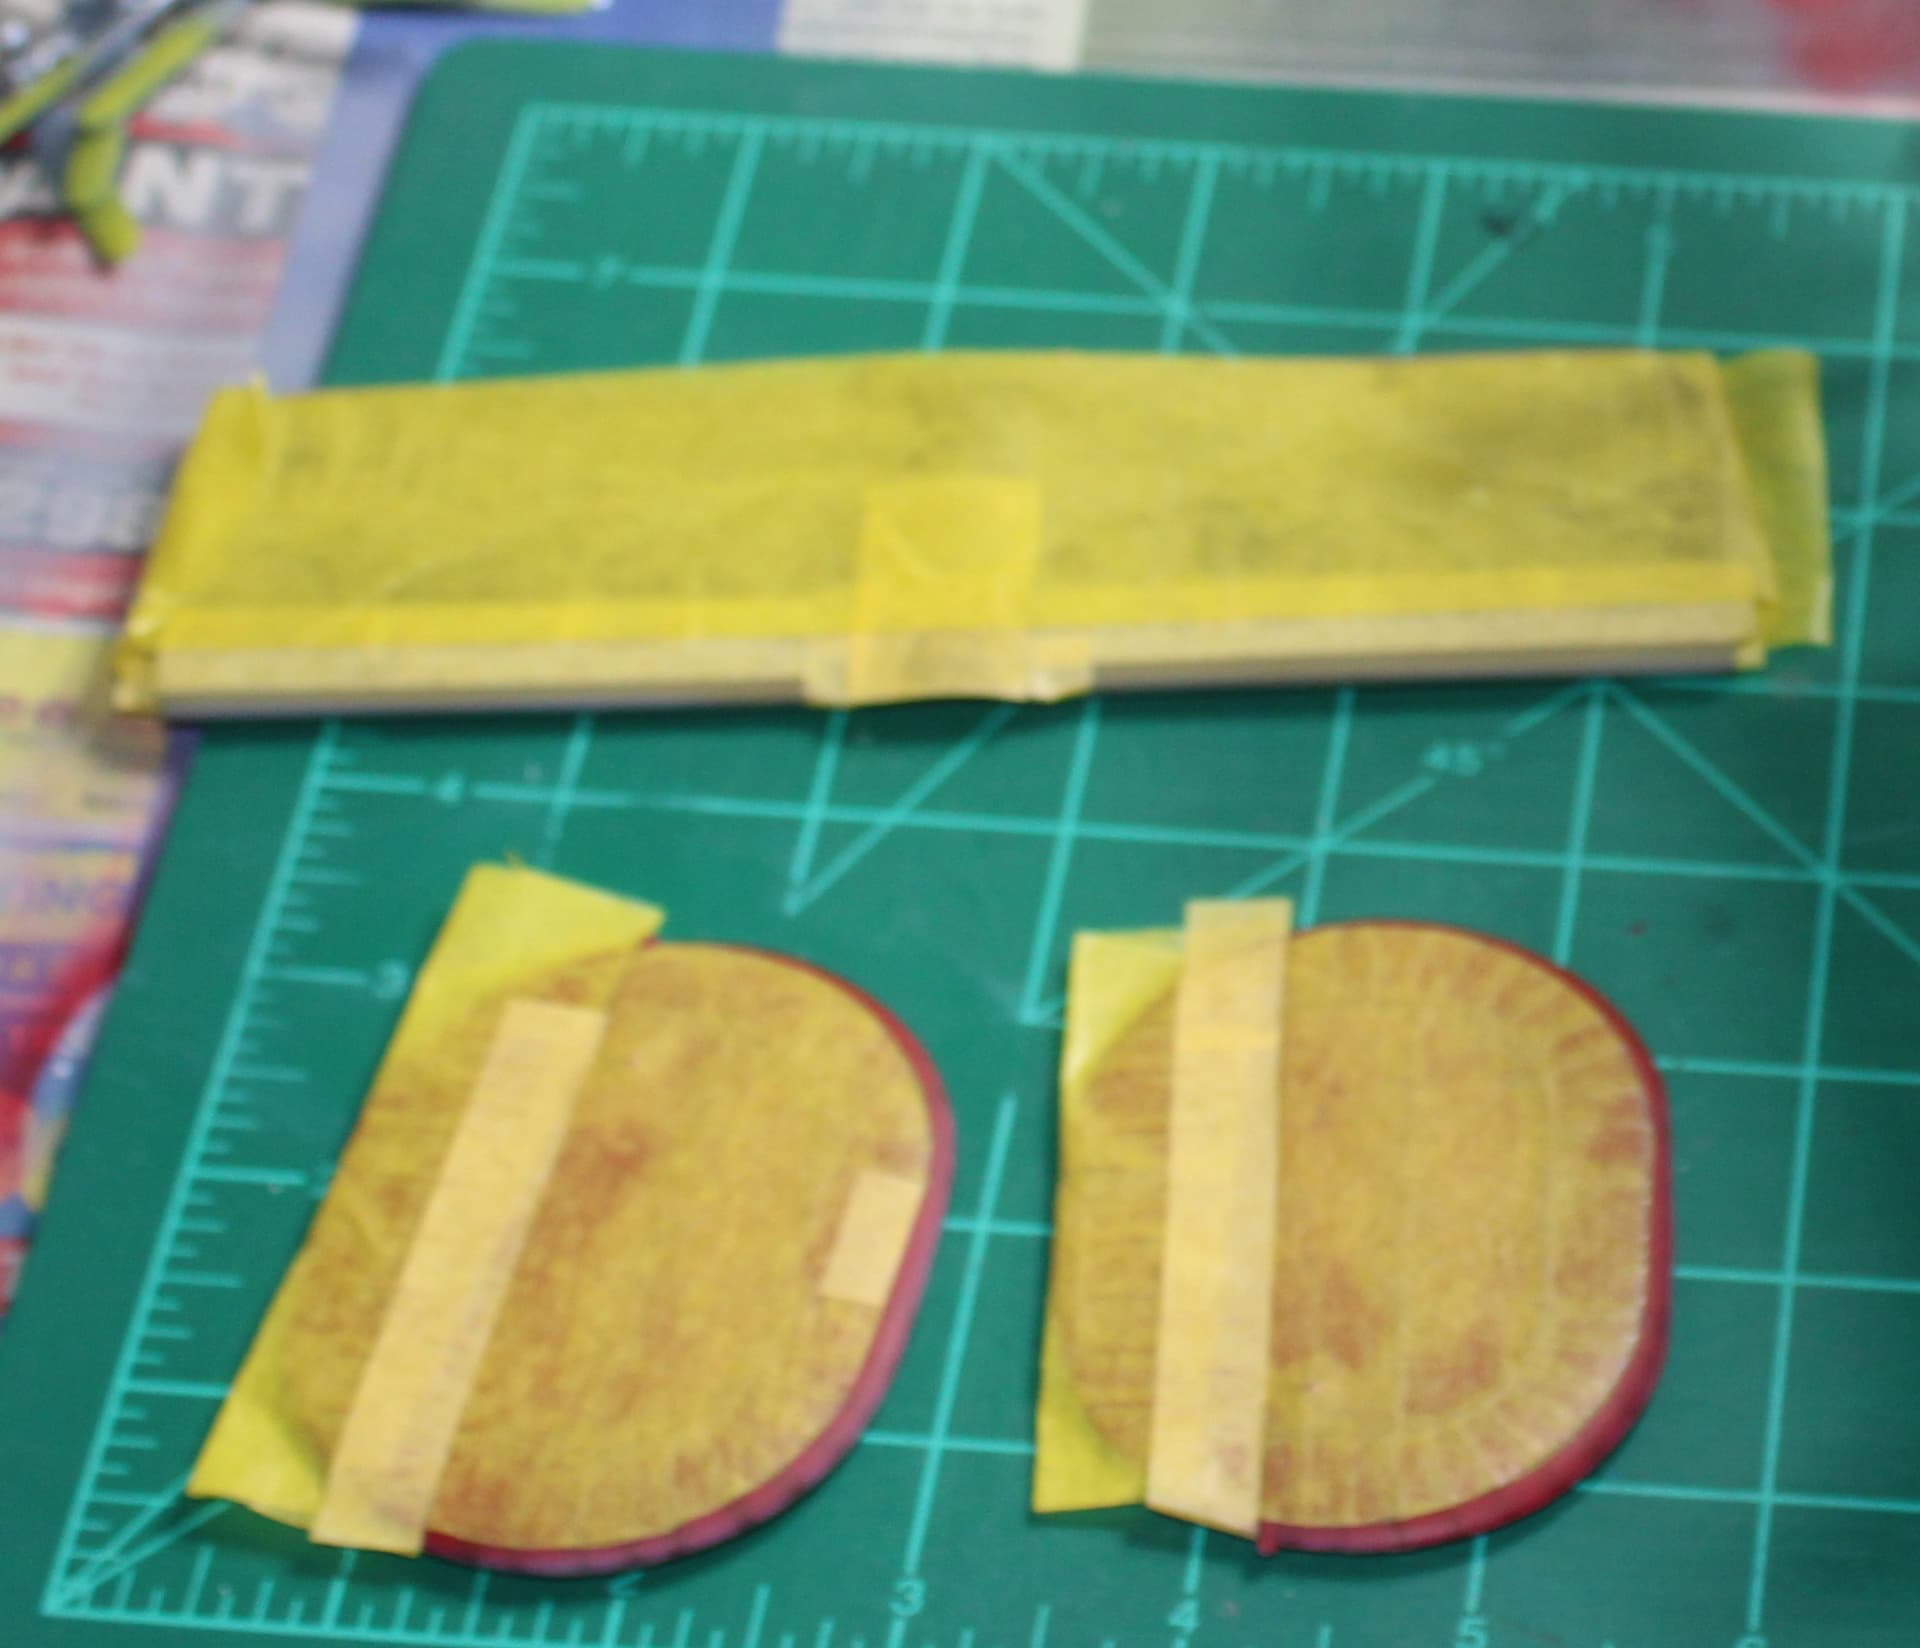
I have prepped the wings/stabilizer/rudders for the black de-icer boots to come. I really don’t like overspray, so I believe I have handled that potential problem.
The Monogram rudders did not have a raised panel line, or panel line of any sort, for the curvature of the boots. But the Hobby Boss kit does. I used the HB rudders as a template to trace the outline onto wide Tamiya tape, which I then cut out and applied to the Monogram rudders. It’s probably not 100% accurate, but it’s close enough.
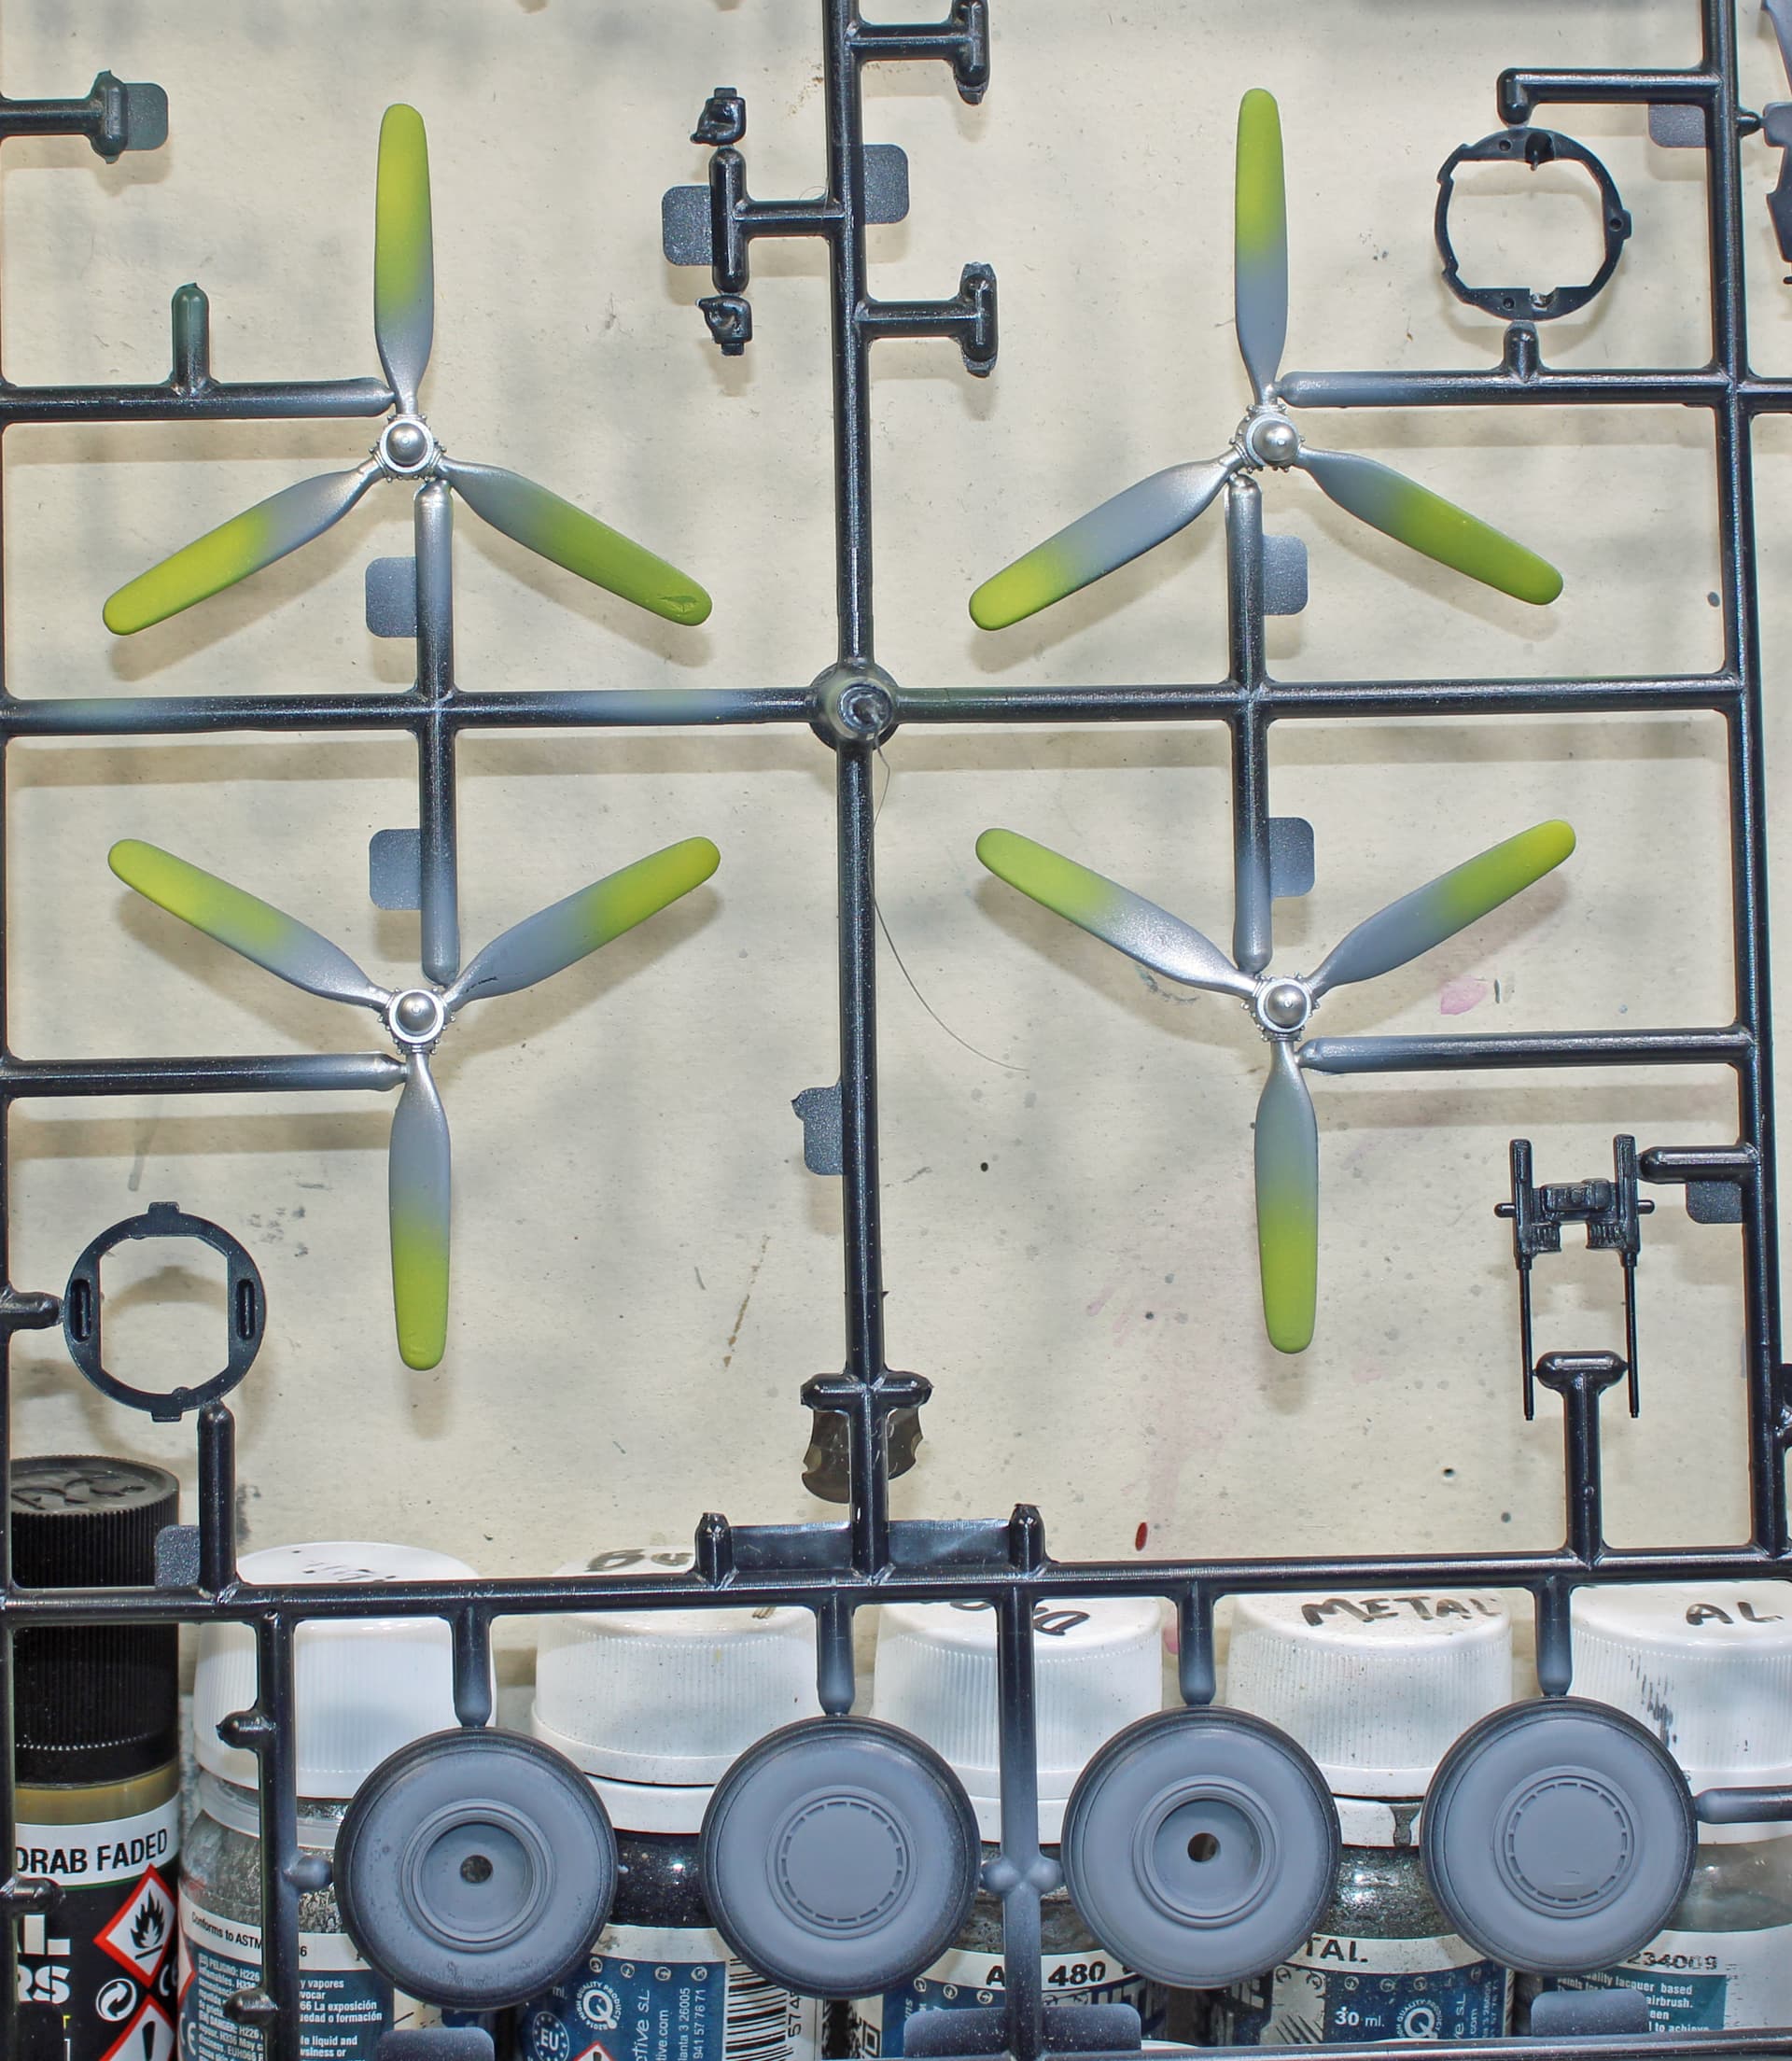
Today I will paint the boots, the prop blades, and the superchargers. If time permits, I’ll begin adding different metallic shades to the HB kit.
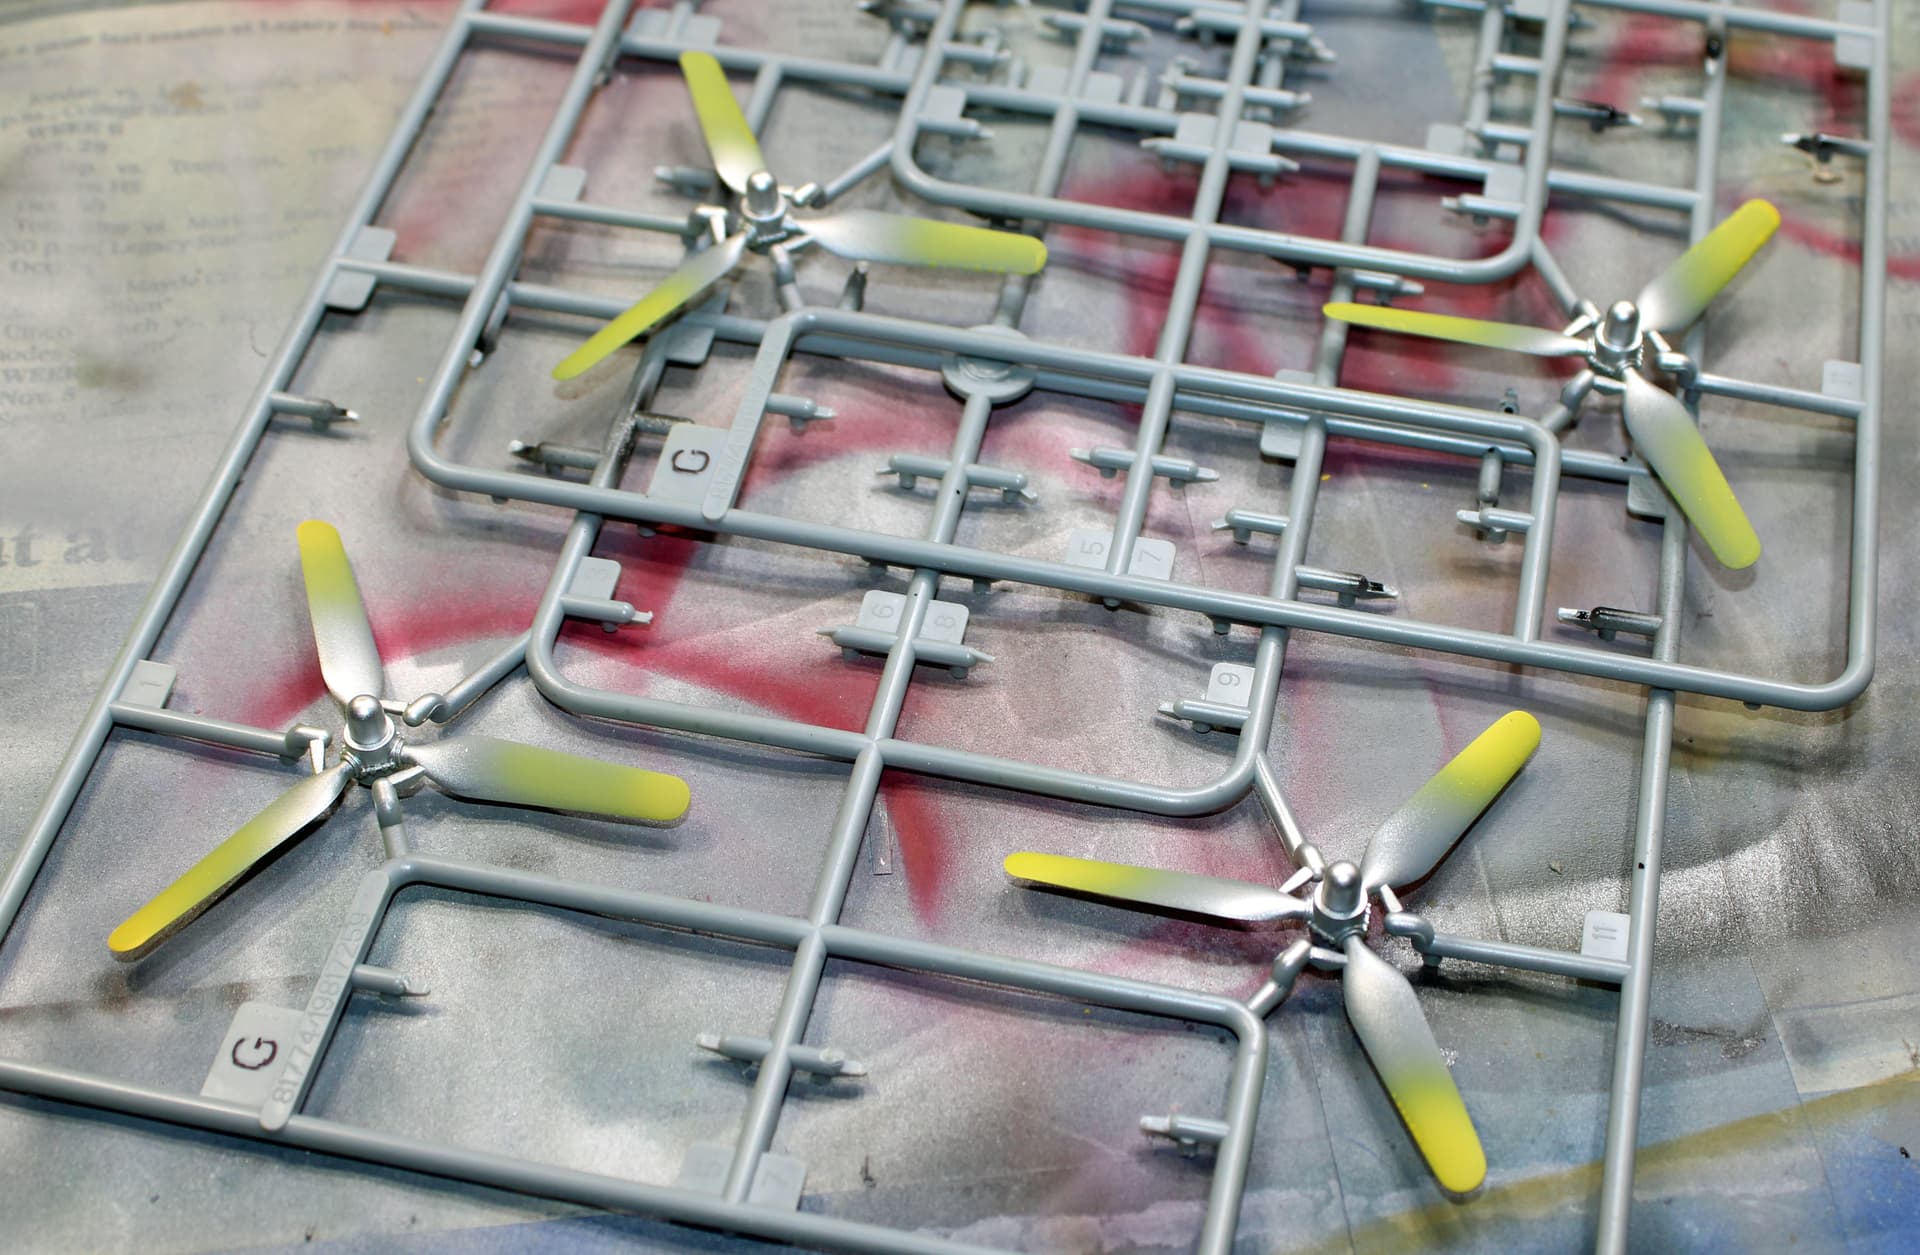
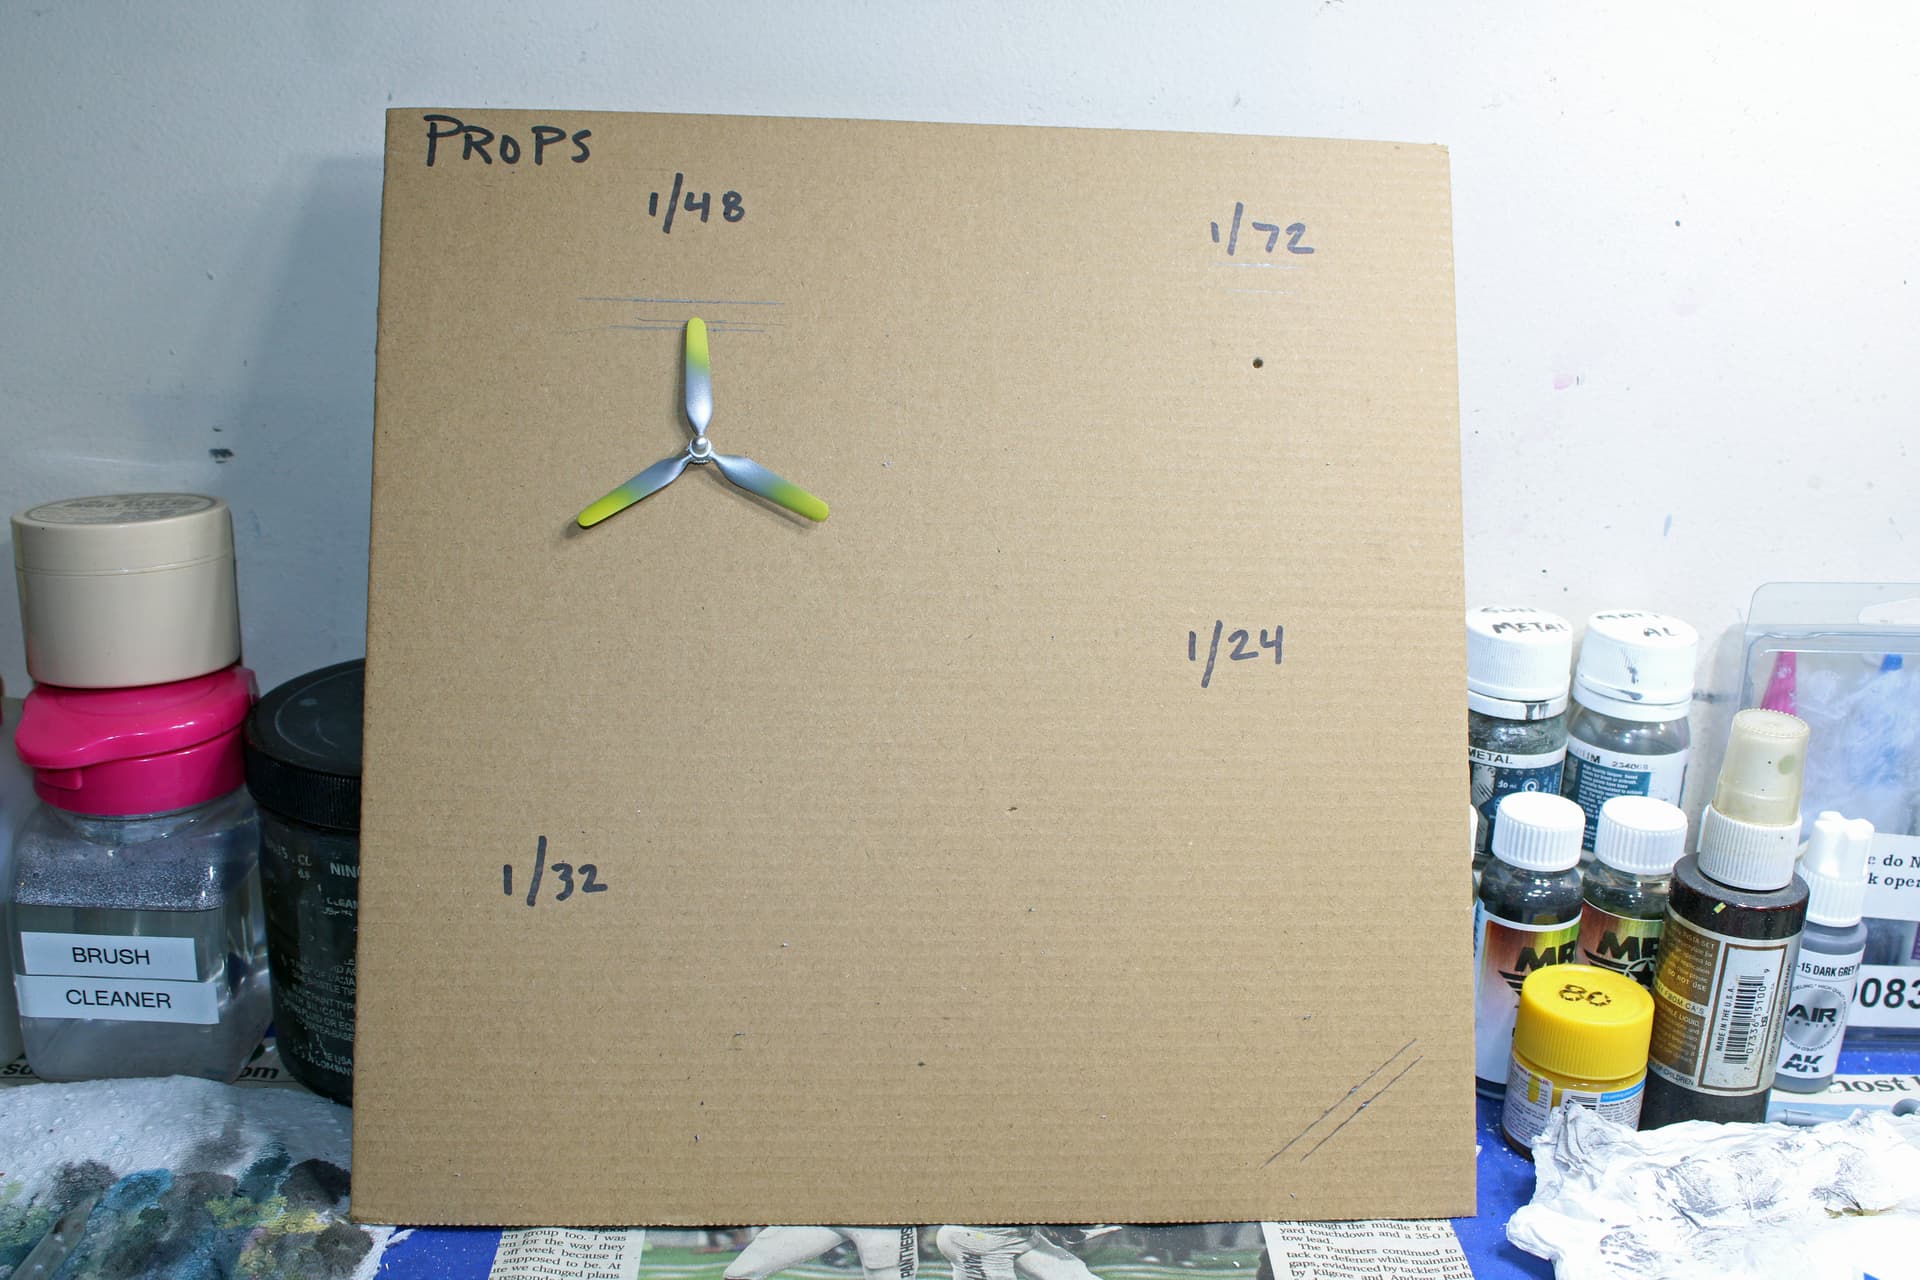
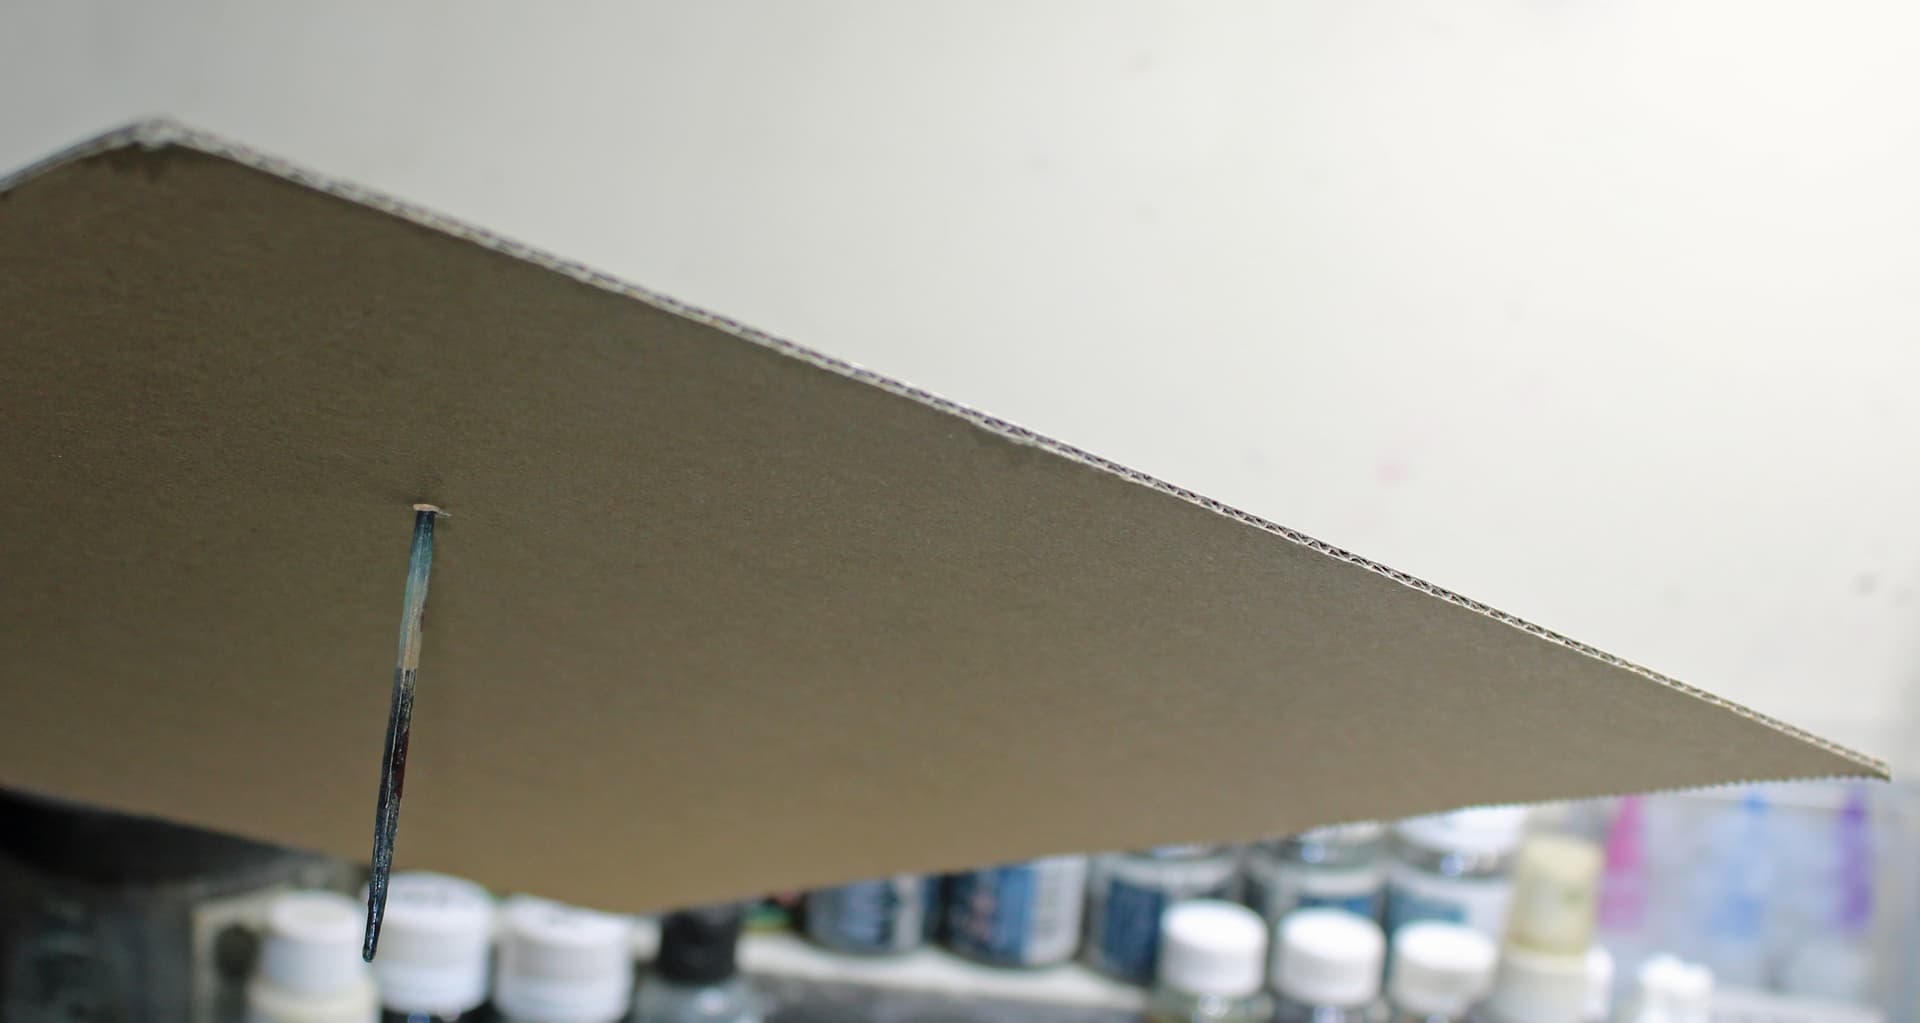
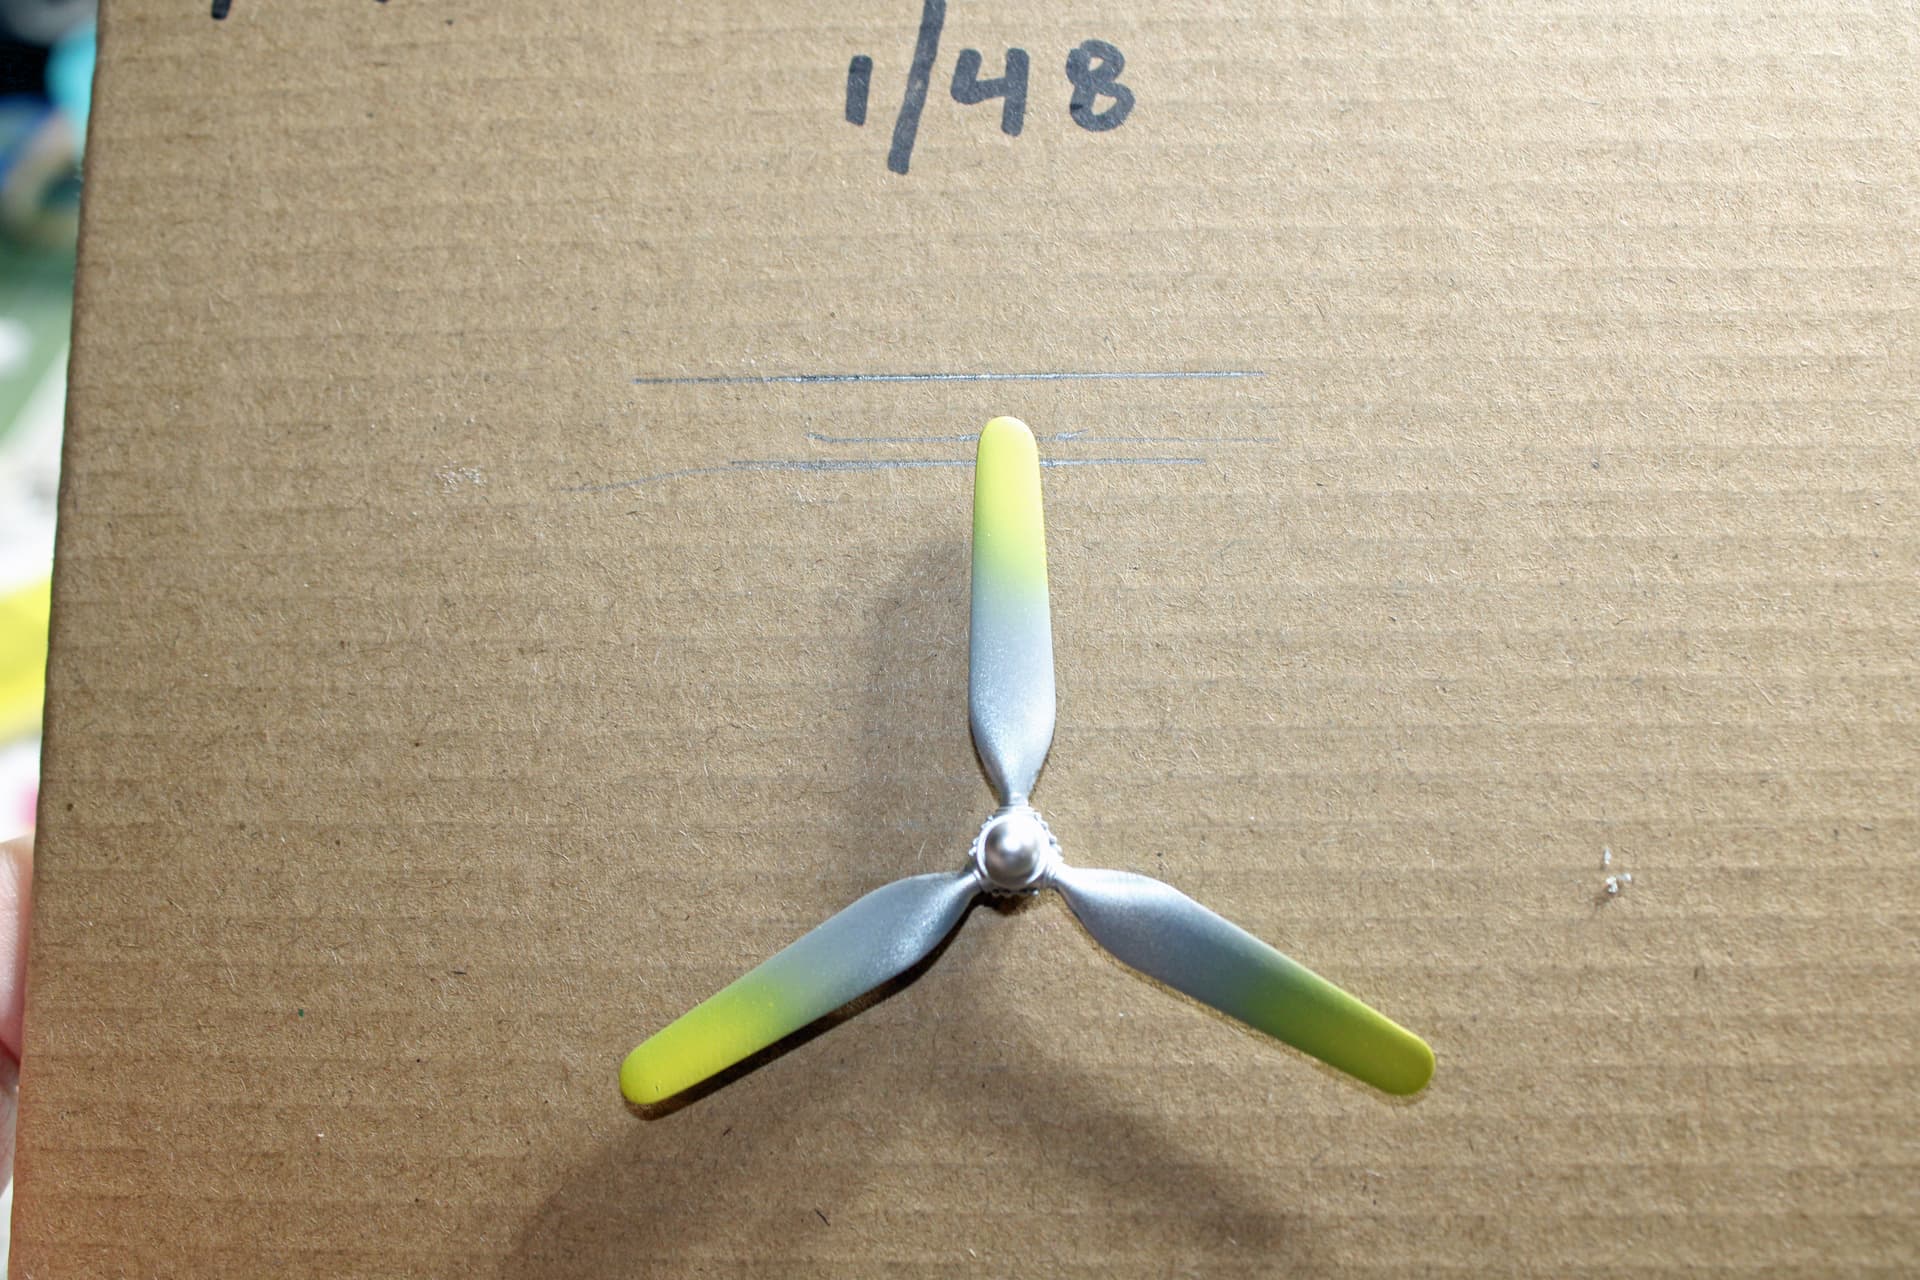
So this is to share a technique that I have been using for a while now to paint prop tips. Most kits these days have rightfully eschewed the Monogram practice of molding a raised line to denote where the tip should be painted to. I’ve found over the course of my modeling “career” that it can be difficult to get the same width of prop tip by simply applying tape.
My solution was to take this piece of sturdy cardboard and use it to mark each blade per the same geometry. In many cases, the props come molded with the shaft, so I will just put that in the pre-drilled hole. For the Liberators, neither kit has the shaft molded to the prop, so I’ve stuck a toothpick through the backside to mount the prop in the same position. This will result in the same width of prop tip markings for each prop.
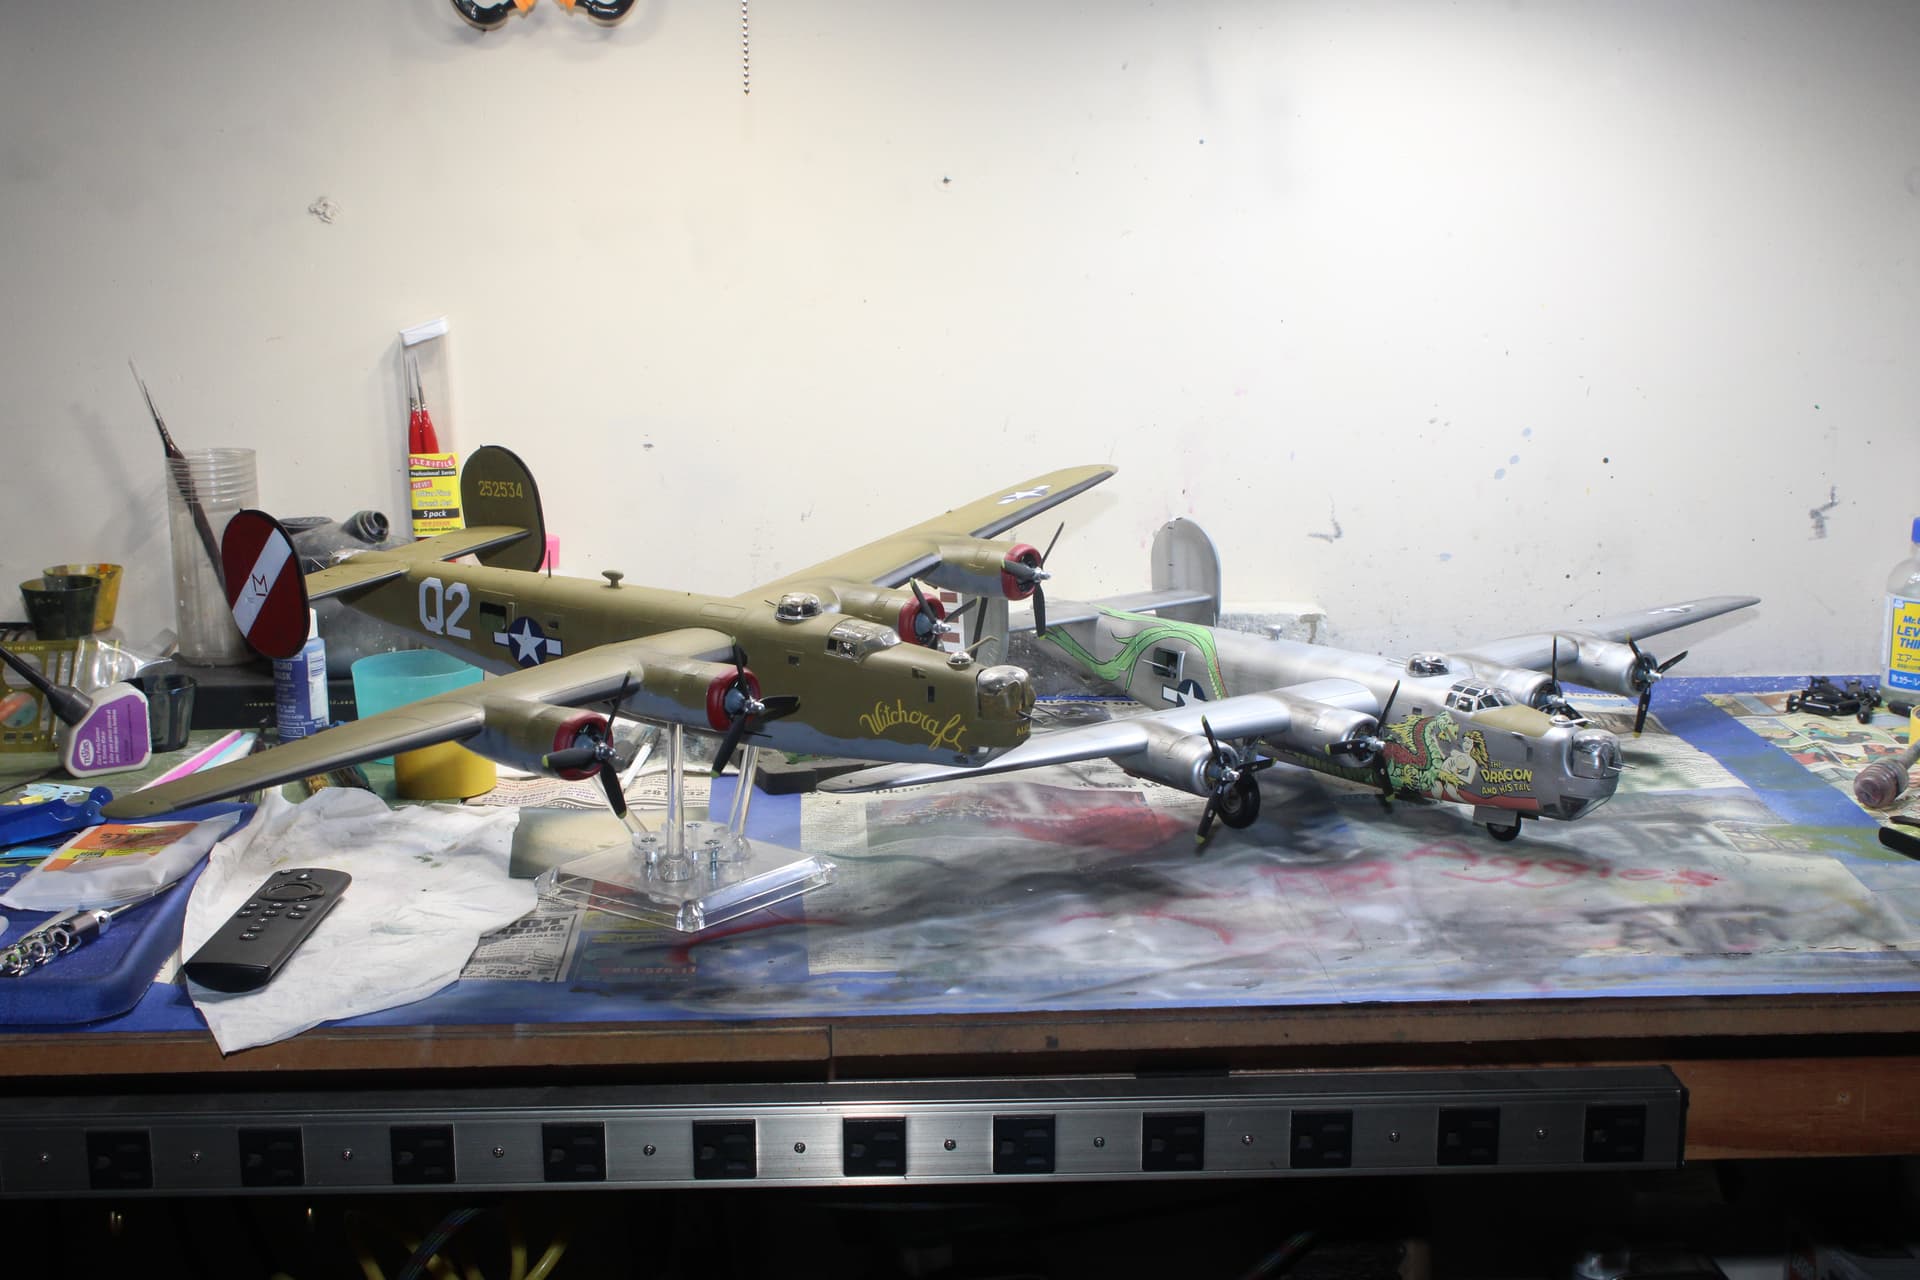
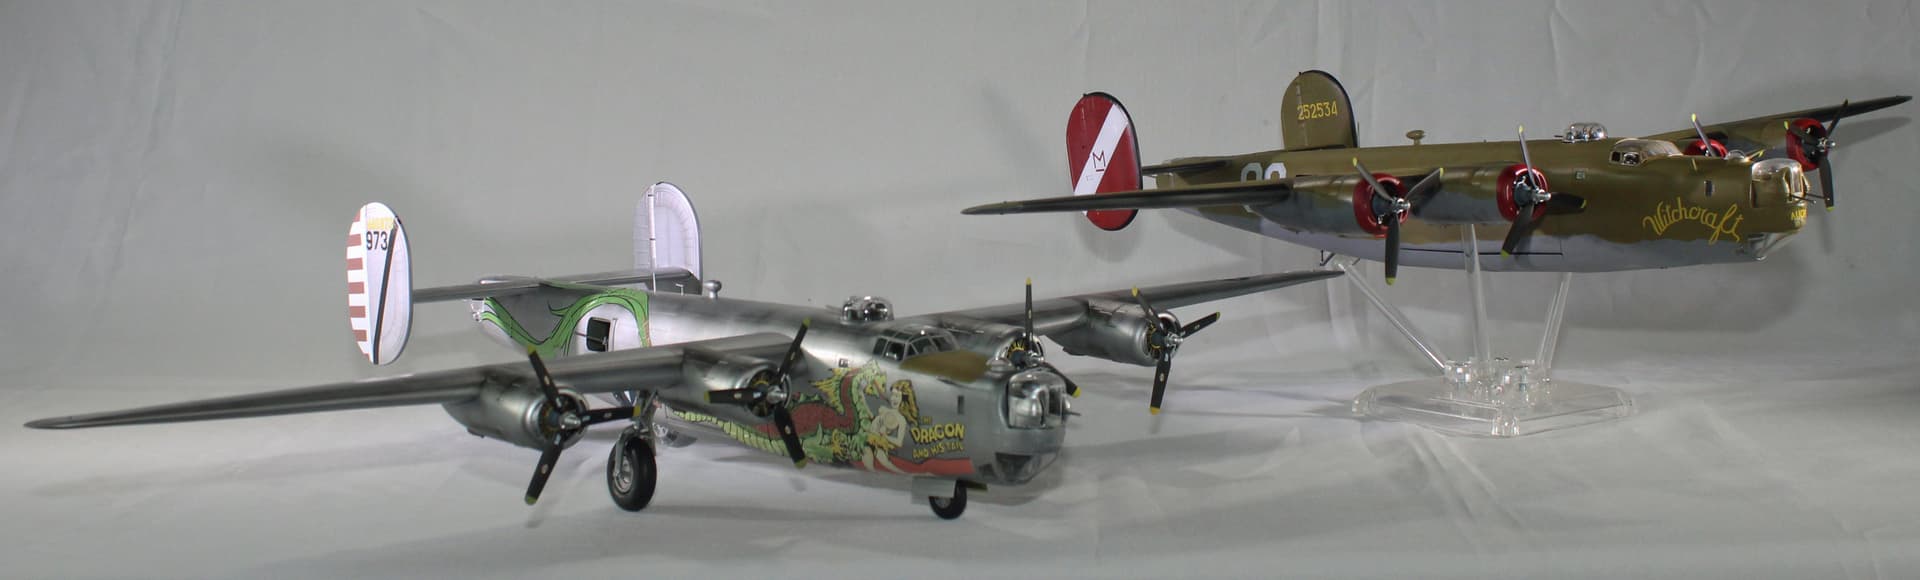
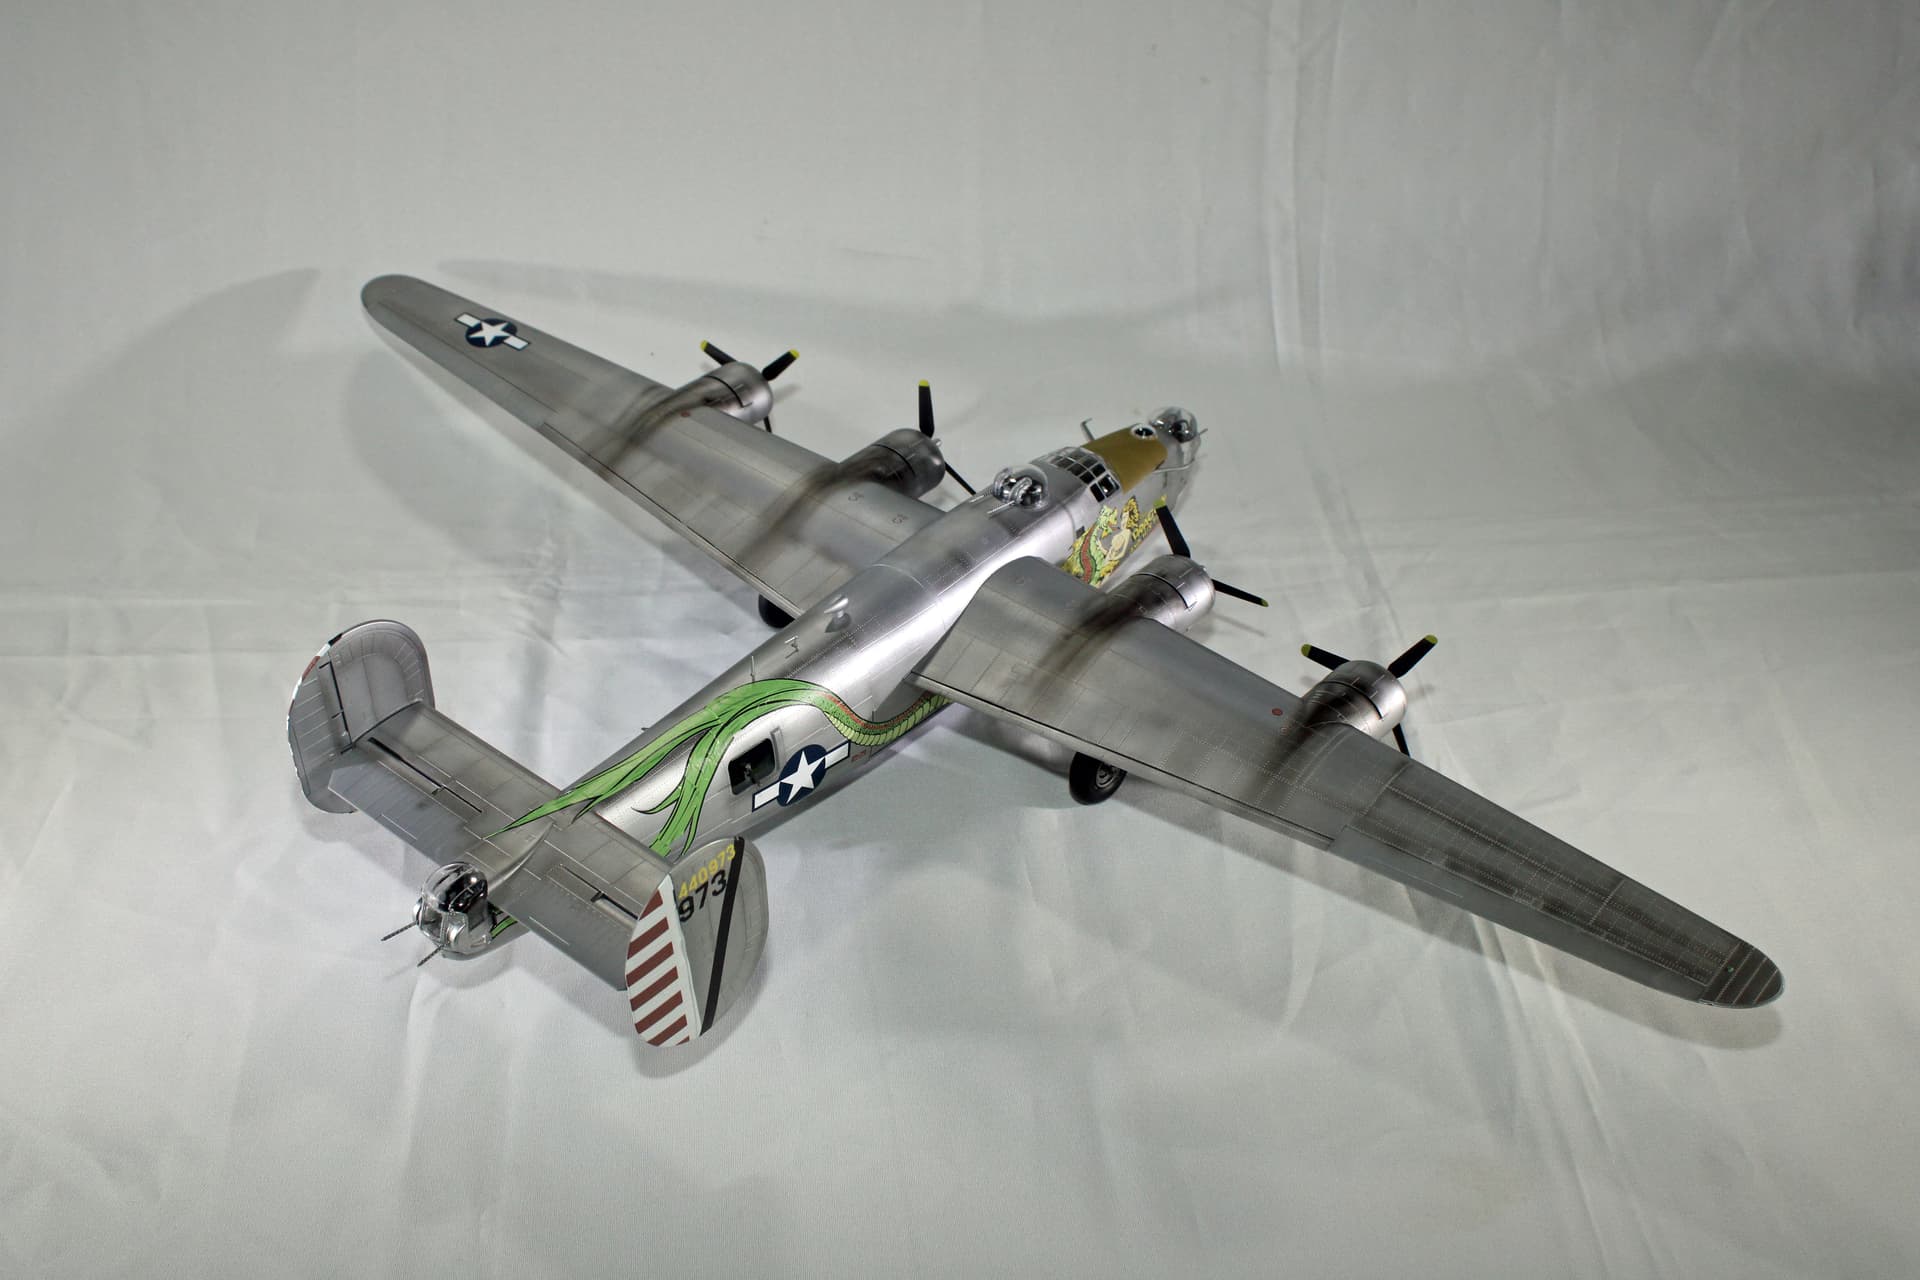
I will be sharing more photos in new posts for each right below. These are two shots of both side-by-side, the first to show that I am able to accommodate two such large kits on my bench, the second on my photo table. The stand under the Monogram kit is apparently no longer available, which saddens me because I actually need a few more to display builds in my primary build cabinet. They came from a web site called flightpose.com, but it is a dead link now.
The Monogram kit is an old one. It can make a good representation of the B-24, but it has warts that are exposed when building alongside the modern Hobby Boss kit. But to be fair, it’s not really a fair comparison when you consider that the Monogram kit came along in 1976, under a very different definition of fully detailed molding standards. For the era, Monogram did a bang-up job of rendering internal details throughout.
The Hobby Boss kit is heavily detailed with a dizzying number of sprues containing many fragile and tiny parts. It suffers from an over-abundance of internal details that will never be seen under normal construction (i.e., not opening up a bunch of panels/access hatches for a diorama). On the other hand, the details it recreates inside the bomb bay are fully 3D, as opposed to Monogram’s bas-relief creation of the same bomb bay details; the Hobby Boss contains 4 full engines along with PE ignition wiring, whereas Monogram has the standard plate with essentially the forward section of the engine molded onto it. Is any of that a deal killer with regard to the Monogram? Well, that’s for the individual builder to decide, but I would say no.
Another complaint that I will offer on the Hobby Boss is the fit. Major stuff fits great. But too often I had to stick a file into a slot to open it up a bit wider just to fit a piece into that slot. Then there is the issue of the bomb bay. Hobby Boss gives you a complete bomb bay with the gangplank and all of the racks and supports. Perhaps it was an error on my part, but I could not get the gangplank into position and still be able to fit the fuselage halves together. I had intended the build to be with an open bomb bay, but ended up just leaving all that wonderful detail on my bench and closed up the bays.
I also had two considerable issues with the KitsWorld decal sheet for the Dragon and His Tail. The wonderful artwork decal comes in multiple pieces. When I put the first one on, the forward section with the lady and the dragon’s head, I noticed that the decal tended to want to coil up on itself. I tried to mitigate this by cutting the decal into smaller sections. This worked to a certain extent, but I fought the coiling issue all the way to the rear of the fuselage. And I also did not place the forward part in the absolute correct position, so this resulted in a mis-alignment that took a portion of the tail right over an observation window and the end of the tail wrapping onto the top of the fuselage.
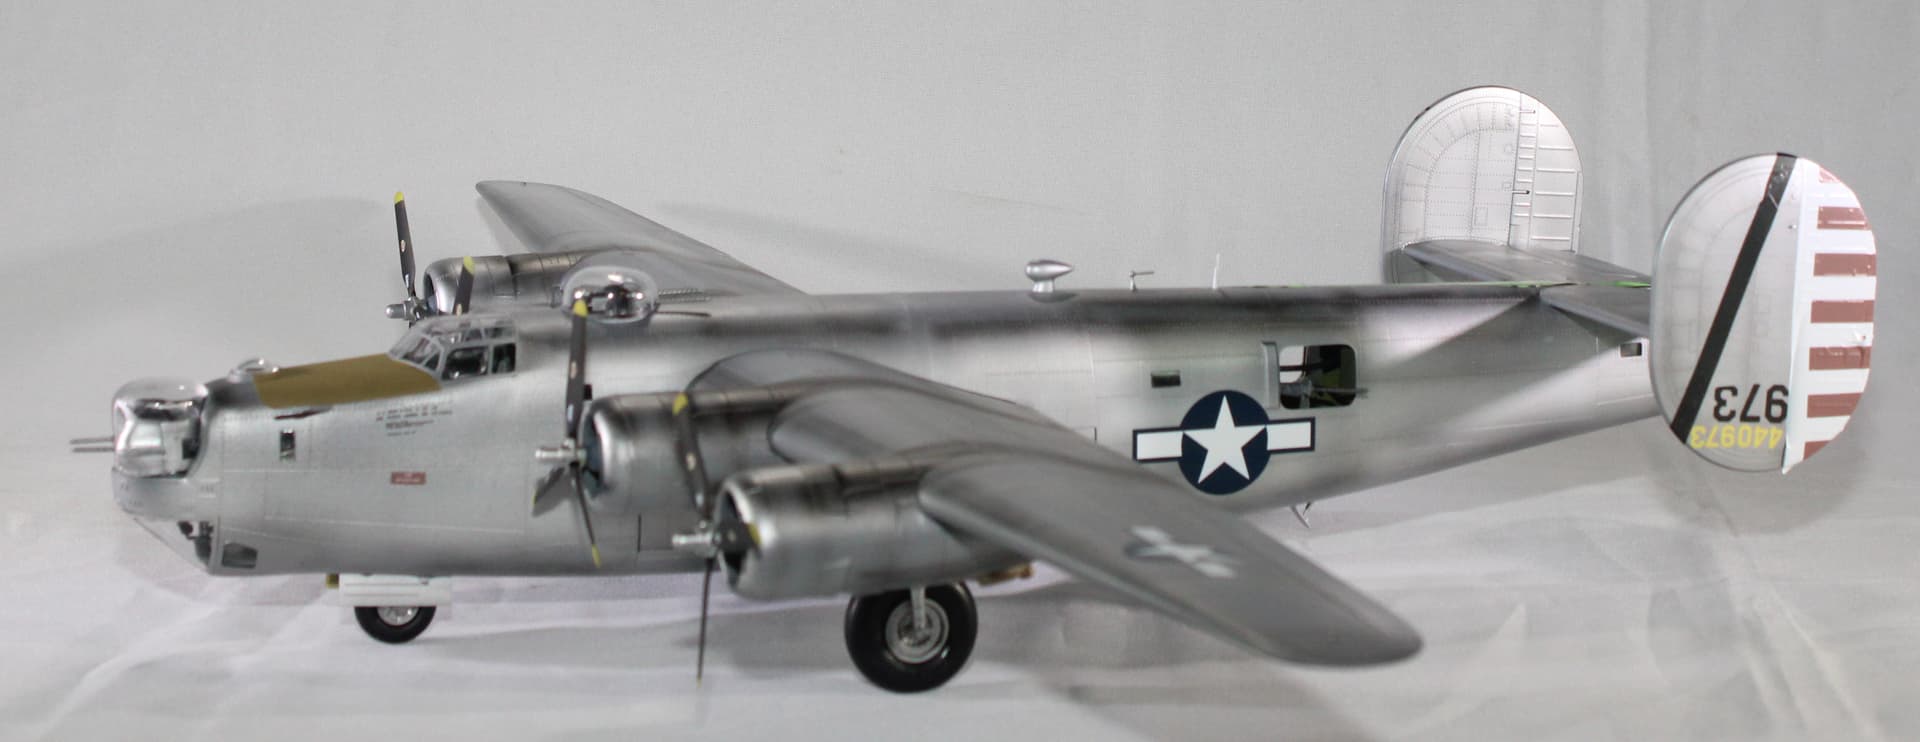
Yep, the markings are upside down. I did not notice this mistake until I had it on my photo table. The only thing I can think is that I did not take sufficient time to evaluate the orientation of the rudder while doing the decals. The opposite side is correctly positioned. I also had a problem with the inner red/white striping decals - again, coiling in on itself - so I opted to just leave those off. By this time in the build, I was basically unenthusiastic about where these builds were going, so the idea of spending more time doing unplanned paint work just did not appeal to me.
The Hobby Boss is a much needed modern mold of an important WWII aircraft in 48th scale. It is very well detailed, perhaps overly so. Fit is inconsistent. Major components go together perfectly, while pieces like the twin pitot tubes on the nose or bomb bay structures required widening of attachment holes just to get them into place. The clear parts are perfect.
The Monogram is an old mold that still goes together pretty well. I would not call this a good kit for a younger builder, or a beginner. There are some difficult joins in the build, nothing that would make it unbuildable but definitely some challenges. Mine had some warping in the wings that was easy to deal with, but both fuselage halves had a severe warp that I had to force out via pressure with rubber bands and hard rulers over a period of a week or so, and even then, the warping was still a factor when it came time to actually putting them together.
I have built multiple kits of the same subject several times over my modeling “career” but only once has it been kits of a similar size (Monogram’s B-29). Those Superfortress builds actually went well, but the Liberators was more a journey into the pit of darkness than a fun-filled ride. There were simply too many disappointing results along the way - having to forgo the bomb bay on the Hobby Boss, the dragon decals - that I lost a lot of enthusiasm for the builds. At the end, I just wanted these Liberators done. I didn’t do as much weathering as I originally intended. I did not add antenna rigging.
I think in the future I will build multiple subjects at the same time, but I will limit that type of thing to fighters (whether single or double engined). Modeling should be fun. But the Liberators were not.
@Aggieman Both very impressive builds, despite the problems. I have a Monogram B-24 in the stash, so its informative on what I can expect. I’ll watch the decals on the vertical stabilizers.
Well done Aggieman! I’ll be honest and say that I thought that you had bitten off more than you could handle with this side by side B-24 builds but boy did you prove me wrong. Both of these builds look amazing though I’m biased towards the Monogram kit since it’s the kit from my childhood.
Congrats on being able to finish both of these builds. Decal trouble can be almost as much fun as splitting a seam open after paint. You managed to pull it off very well. Nice review of both kits too.
Thanks for sharing
I am attempting to start/finish a Revell 1/48 B24D I was given and I don’t have anywhere I can display such a beast. I was planning to hang it in flight. Question I have is, can you give me some guidance on what you had to do to close the main wheel wells up? I see the included doors don’t close properly.
For the nose gear, I attached the gear doors before I closed up the fuselage. I had to take my time to get them aligned as best as possible, but the molding will not allow for a tight fight there. You may consider buttressing the doors with a piece of styrene or some sprue remnant glued to the inside of the fuselage. You will need to determine if the gap that will very likely result should be filled with putty or CA, as it might be narrow enough to not need to fill it.
For the main gear, the doors are molded for ground position. You can score the plastic where the bottom-most door juts out to bend it into flattened position, or just cut it away and align it separately. The main gear doors do not cover the openings in the nacelle. From what I could find in a deep dive on the Liberator, these openings were vents (whether my reading was accurate is up for debate - why do the outer nacelles not feature similar vents?) but bottom line is they should not be covered over. I did chop off the connecting point of the struts to fill the mounting hole in the forward vent. Inserted the tires then laid the gear doors into place.