A mule for every occasion!
3 Likes
Construction - Fixing this kit’s greatest sin… The Lower Fender Gap
@Toimi_Tom … As much as I’d love the solidarity of conquering a belligerent running gear with you, I really do want to save dealing with the running gear until I have a parallel project where I’m doing mud buildup on the hull in parallel. It’s just a little too late for my currnet Panther G project…
Had I gone ahead with that though, this probably would’ve been the attitude ![]() …
…

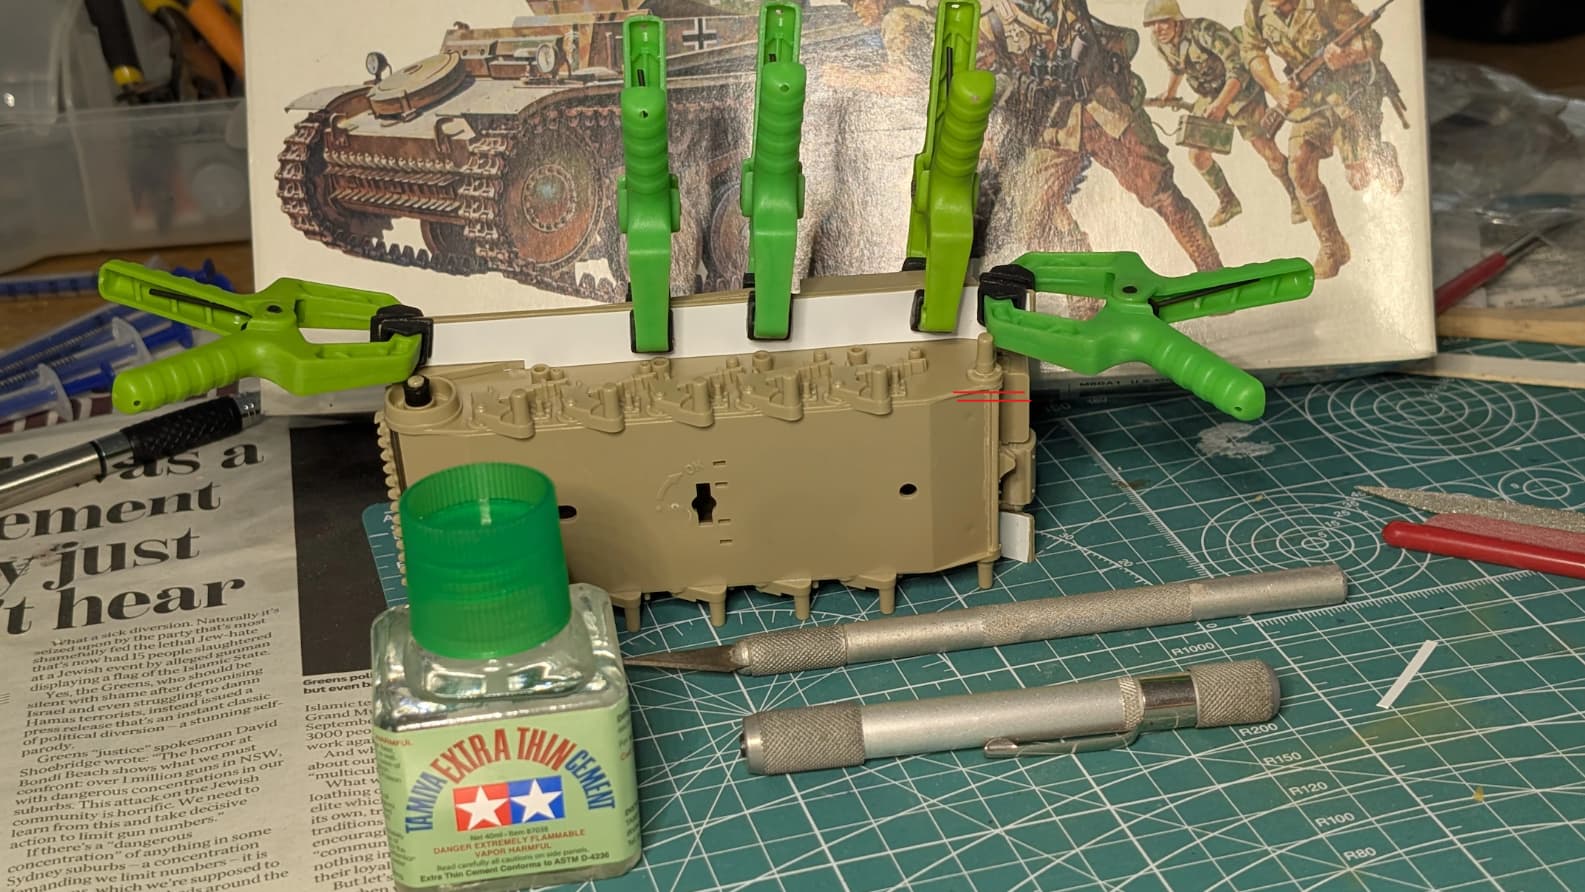
But between you and @Mageckman however, I have been convinced to deal with the unflattering sight of the lower fenders, having located some substantially untouched plasticard from a long-forgotten project in the stash box. It was supplied in various thicknesses, so I pulled out the thinnest one and got to work. Given that the mud guards were moulded fat to the point of obesity, I share the view that one can’t make them look any worse by plasticarding over the entire lower mudguard. I’ve just had to measure and cut a notch to fit the tapering plate about the drive wheels.
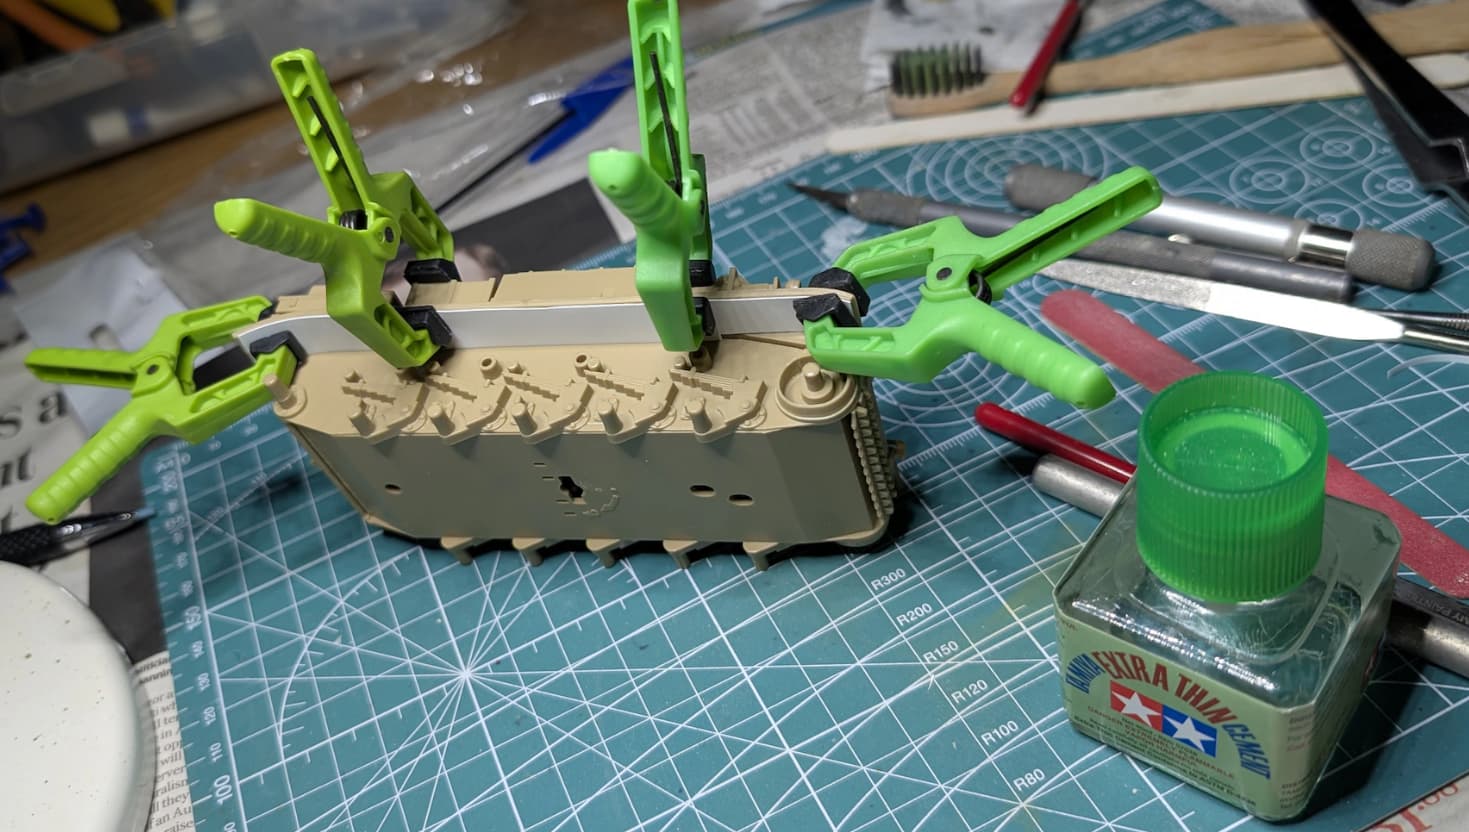
In hindsight, these repairs were probably best carried out immediately after joining the hull halves, but before any tools (or PE detailing for those inclined to polish turds…) are installed as it limited options for placing our mini-clamps. This left a couple of sections that were daylighting which needed follow-up applications of glue and pressure. There will be some further works required to soften the interface and ensure our patch and original parts look homogenous once the primer goes down, likely a combination of PE cement fusion and sanding.
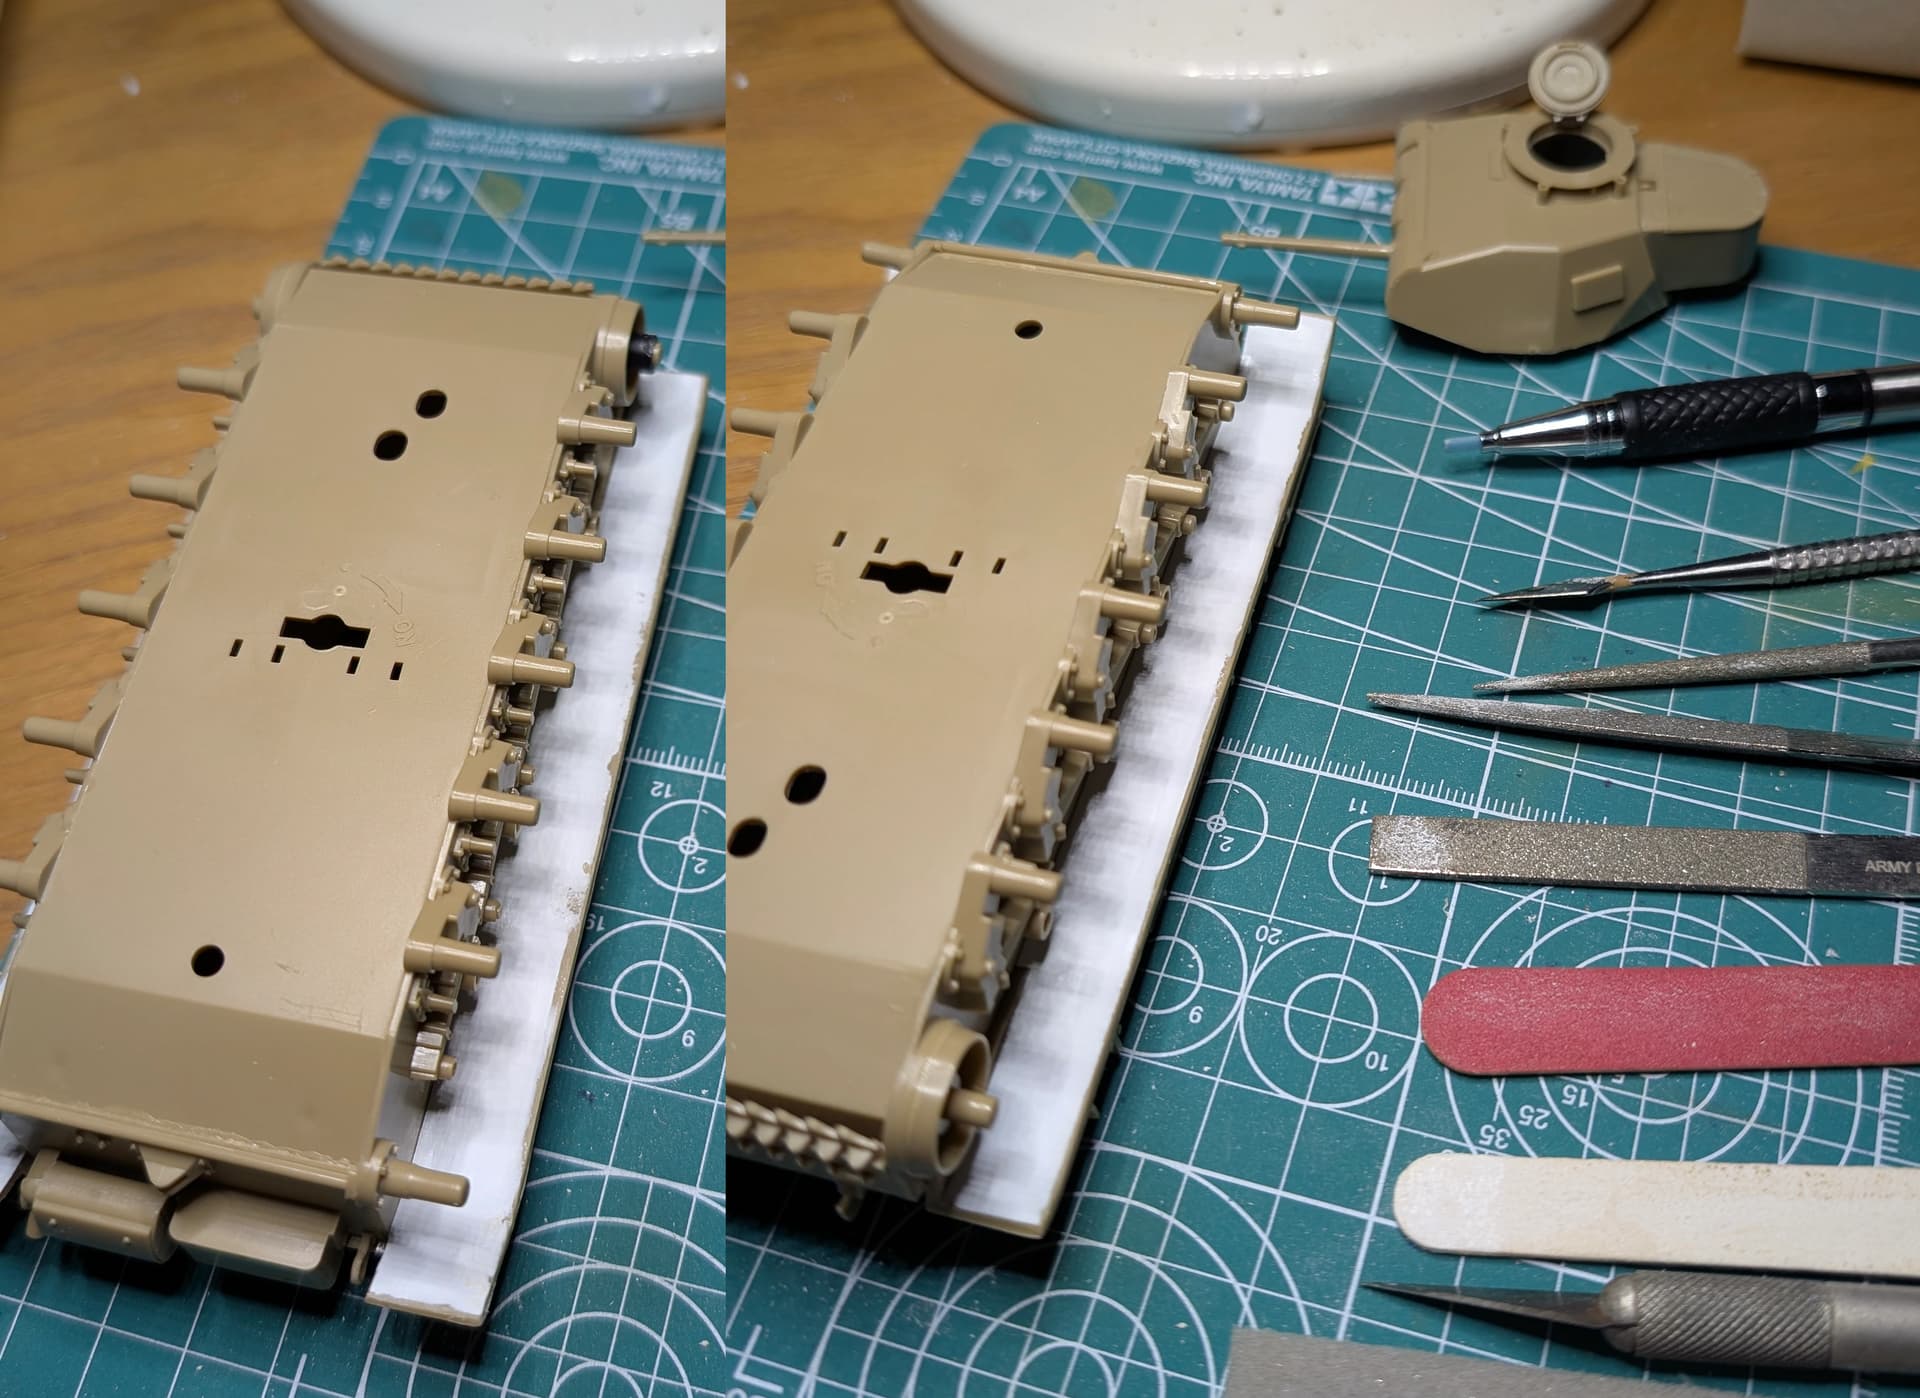
While we were at it, that broken spigot for the rear left idler has been reattached. This might save us from later hassles because I don’t trust myself not to discard the broken part as surplus sprue, and then remember it as the garbage truck departs my verge on a Wednesday morning…
3 Likes
I built this kit in my youth and even put it in a diorama. I recently picked it up at my local hobby shop for the amazing price of $20 CDN. To my mind a good deal. I plan to recreate my youthful diorama…but with a bit more skill this time!
2 Likes
Love it! I’m fixing to go through a similar process with the WWII aviation kits I built in my early teens as well - May the fruition of your plans feel like a reconnection with an old friend and younger and care-free self ![]() Would love to see what you do with it!
Would love to see what you do with it!
1 Like

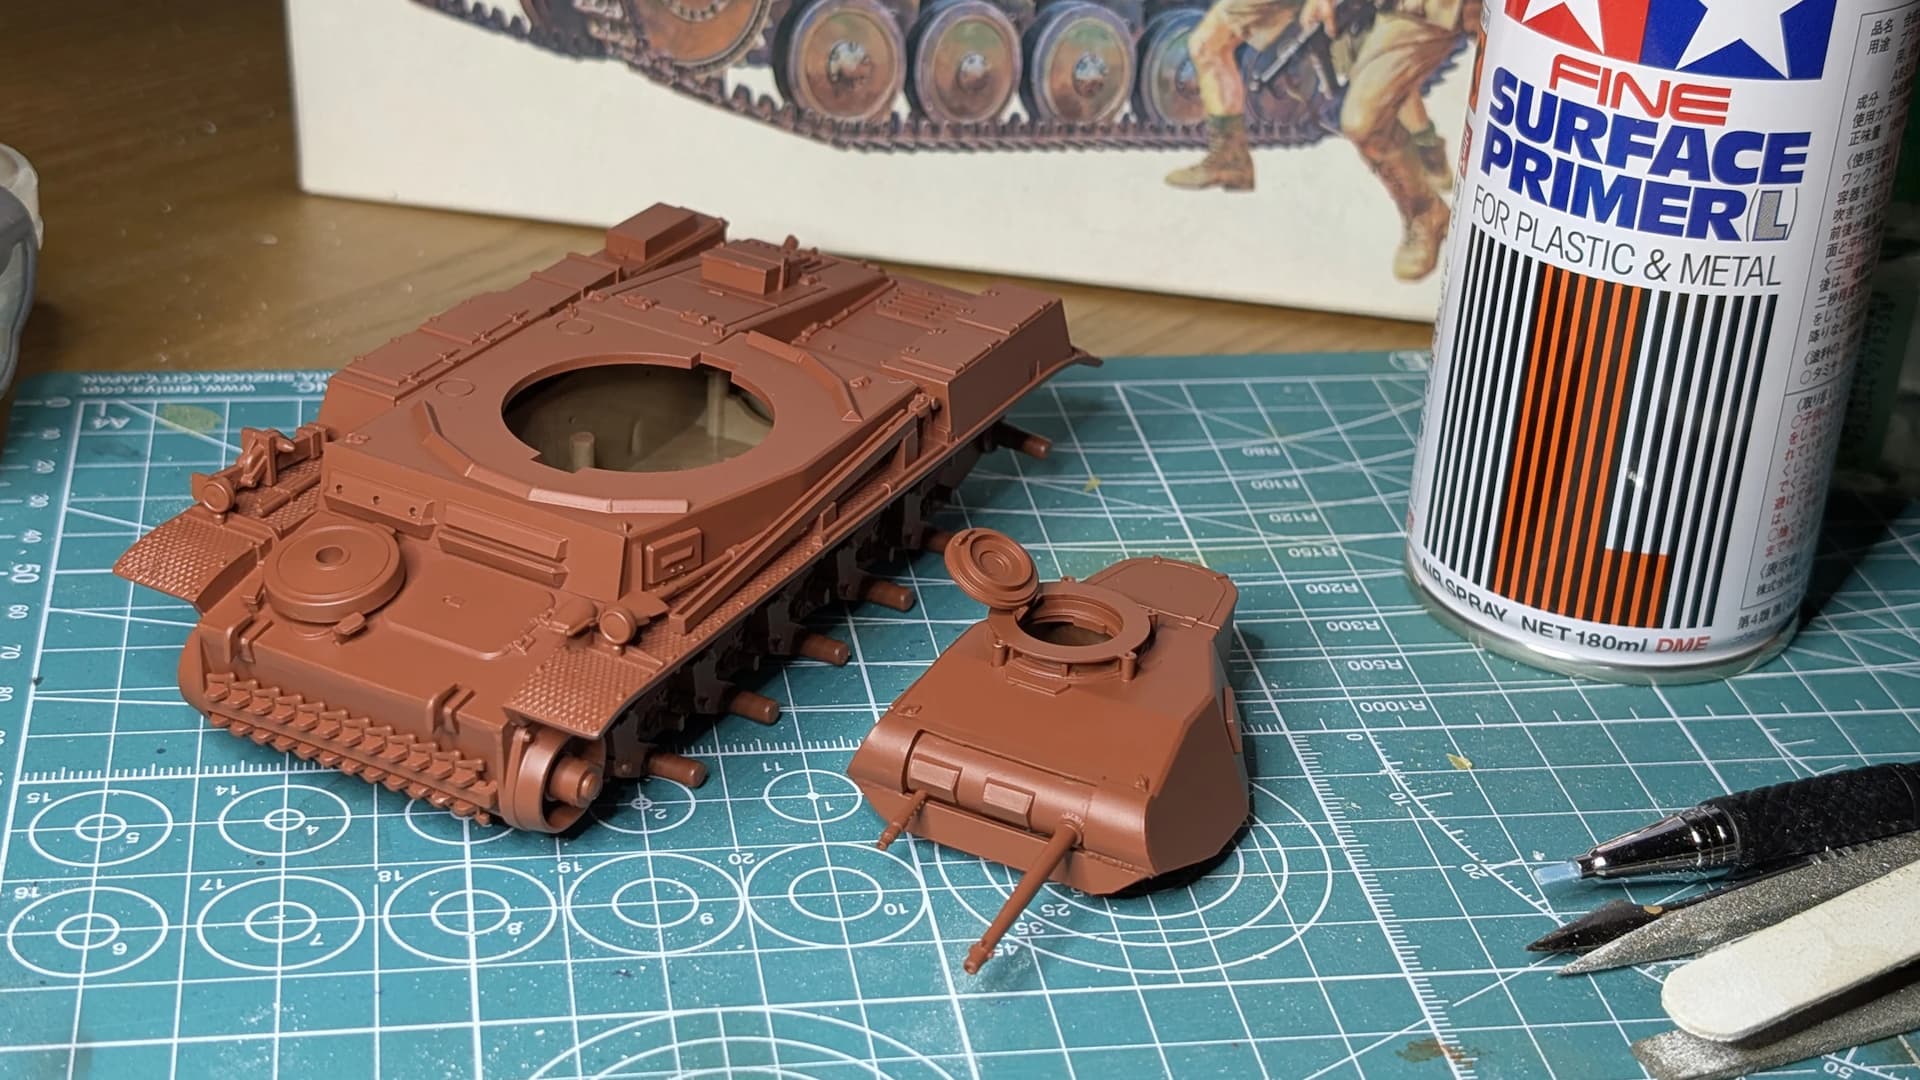
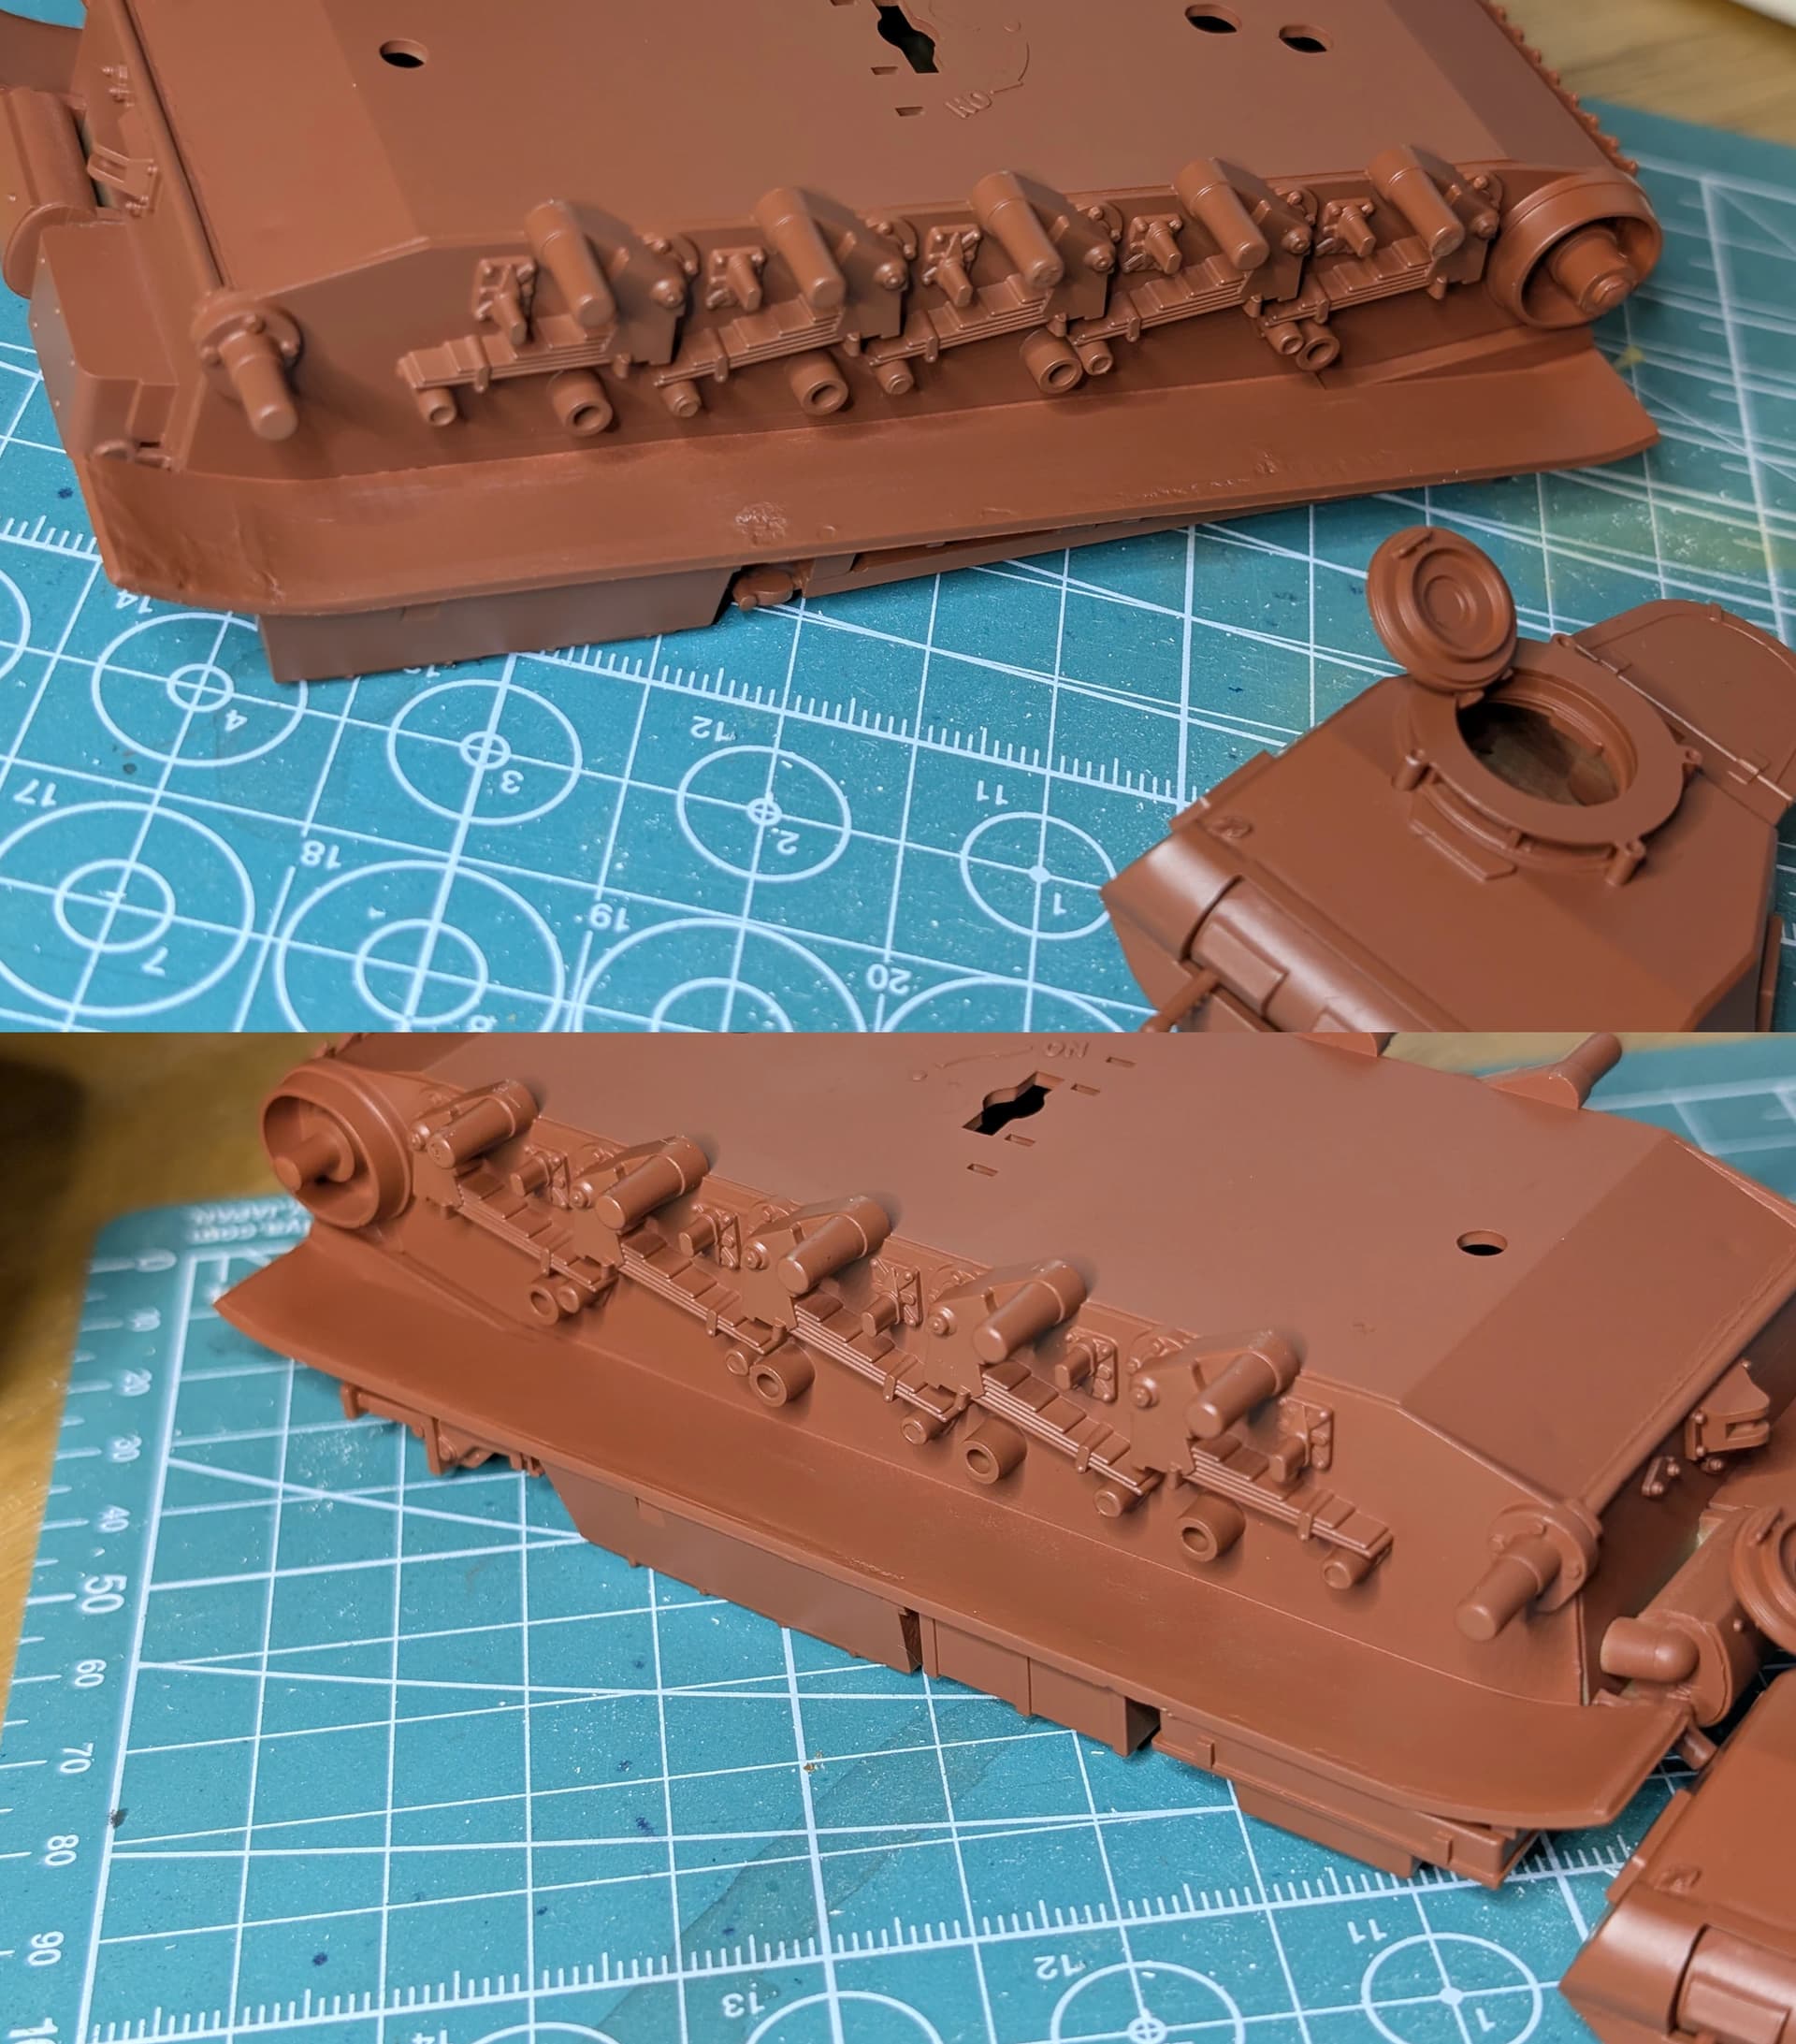
Construction - Final Fender Prep and Priming
Our plasticard cuts were good, but not perfect leaving a very obvious construction joint. Some sanding and shaping was therefore required to make sure the profile didn’t look like we just stuck a sheet of plasticard to the underside of the mudguard. We used a range of abrasives between files, emery boards, a #1000 grit sanding pen and #1500 grit sanding sponge, angling critically in a way that we could sand down the plasticard without eating into the base plastic.
Recall that since the model is to be a paint mule and will likely be stripped in the future, we can’t simply use putty filler so the finish could only be achieved with Tamiya Extra Thin Cement and abrasives. Once my Tamiya Extra Thin has been drawn down it’ll probably become a sprue-goo factory, because molten polystyrene had proven useful in other aspects of this build.
The Red Oxide Tamiya Fine Surface Primer went down nicely. After I started my Panther with a TS-3 Dark Yellow, I’d seen a number of YouTube videos which almost always started with a Red Oxide primer. It happens to be a close match to the factory primer in which German tanks rolled off the assembly line, over which base colour such as a Dunkelgrau, Dunkelgelb or Olivegrun were subsequently applied depending on the year of manufacture.
We were most curious to see how our mudguard infill looked after our plasticard patching. While it’s probably not as good as it could have been, the outcome is far less noticeable than the crater in the undersides of the mud guards has been taken care of. If anything our errors and gouges have created some interesting surface texture…
This weekend follows a couple of hectic weeks, and a few jobs to catch up on, but hopefully there’ll be some more channelling of my inner Bob @Toimi_Tom … Love that clip!
5 Likes
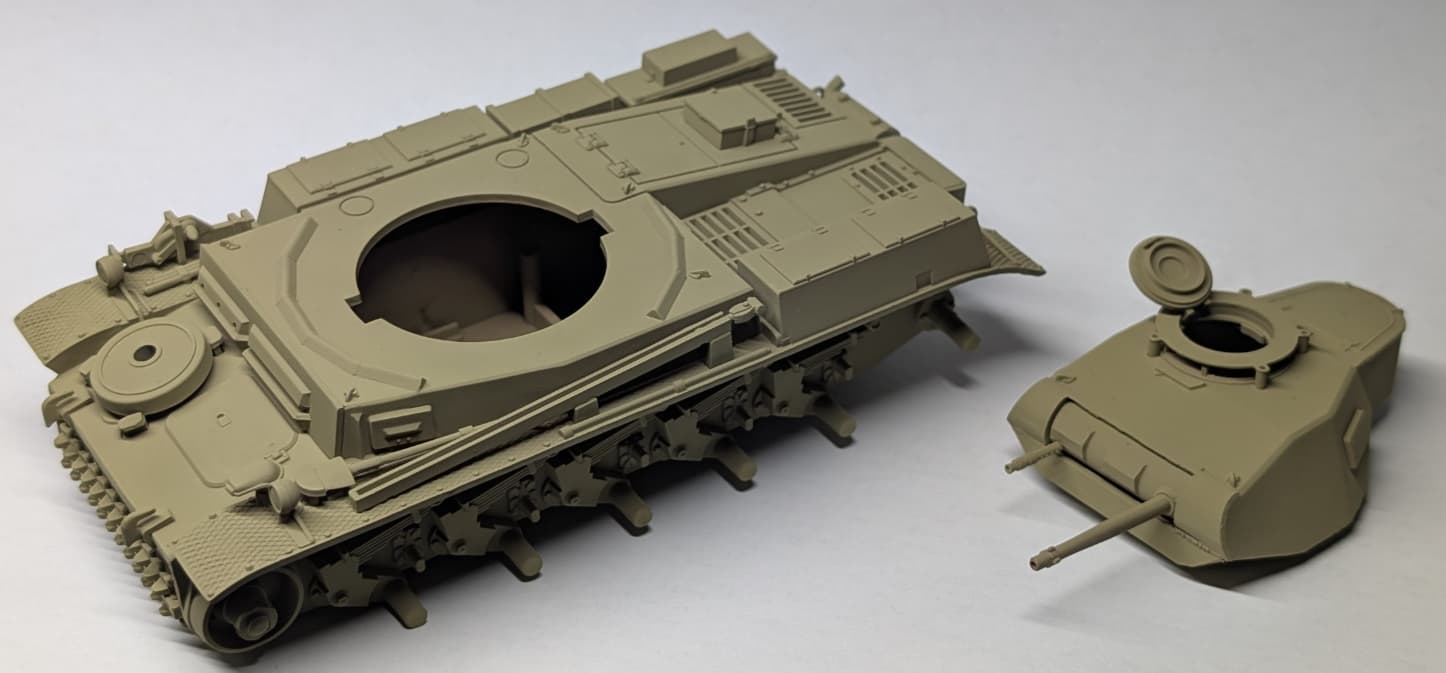
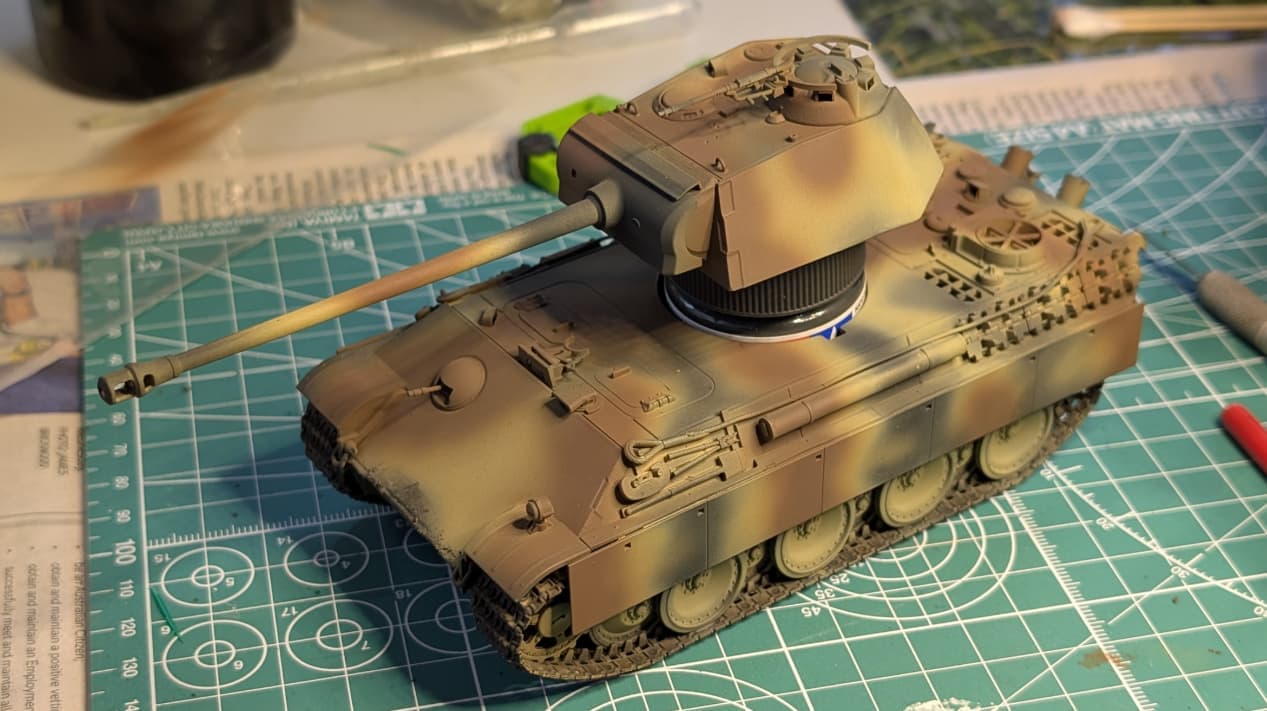
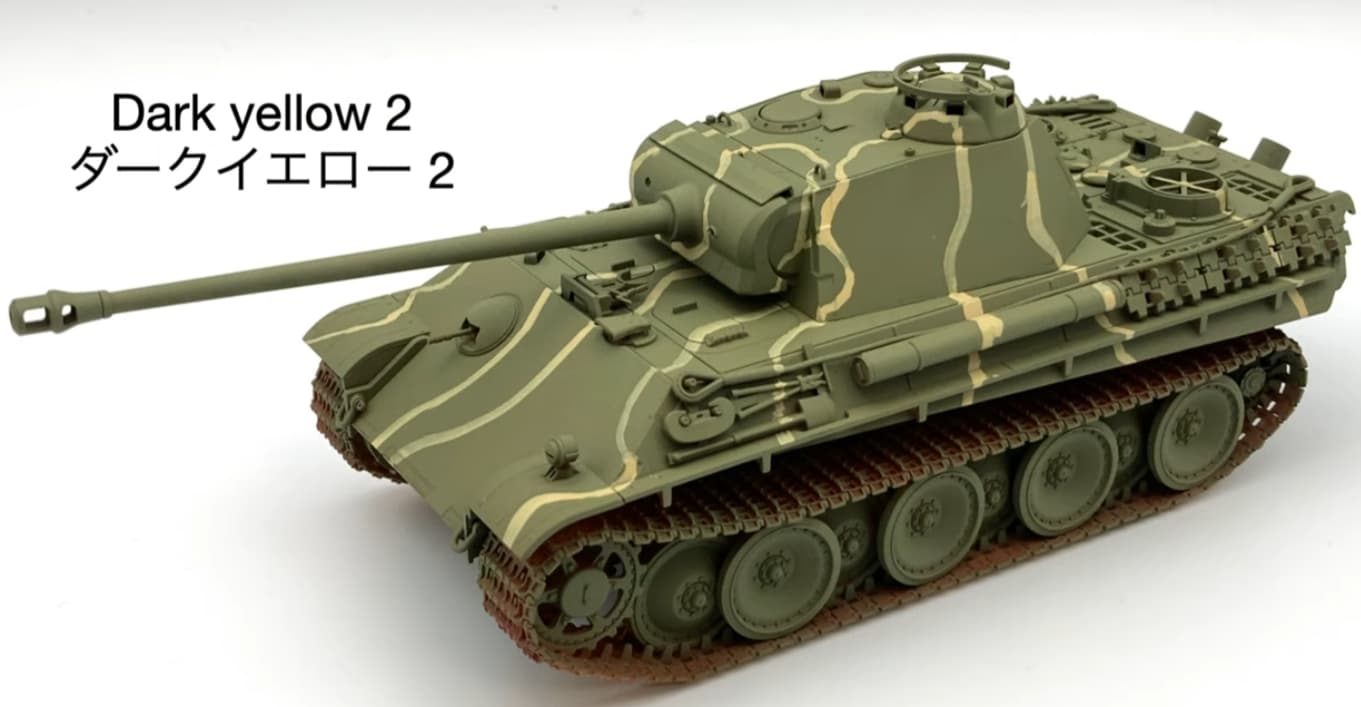
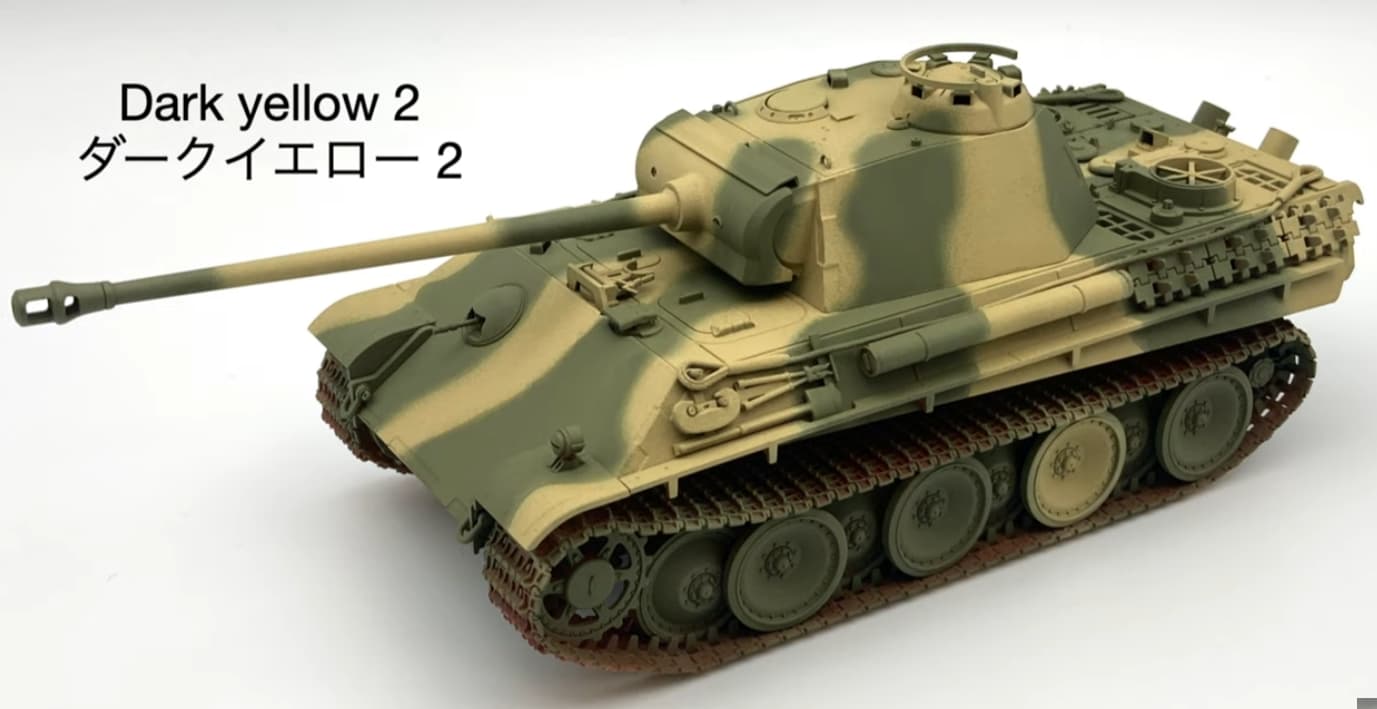
Painting - Base Coat and the AI Colour Guide
Small update, but a big job knocked over for which opportunity was rare this Easter Long Weekend… The turret and hull have recieved a base coat of Tamiya XF-60 Dark Yellow. I am liking the slightly different tone of this colour over the Red Oxide primer compared to my previous mid-war German tank models, which were generally a rattle-can TS-3 Dark Yellow directly over plastic.
As this is a three-tone camouflage scheme I’ve not bothered with any preshading, since I’m expecting any of the subtle variation in base colour to be eaten by subsequent layers. We can always modulate the follow-up layers later if we feel so inclined
Our Paint Mule’s colour scheme is quite unusual for a early-war Panzer II, as with Panzer II being obsolete and out of production by the time German tanks standardised around the Dunkelgelb / Dark Yellow. It’s therefore unlikely that any Panzer II’s still running around in our reference period would’ve bothered to incorporate the contemporary camouflage scheme either.
To try and make our lives a little easier in the follow-up stage, we’ve asked ChatGPT to develop a colour guide for us. While the hull details are imperfect in the AI rendition, it still gives us an appropriate size and shape of pattern to follow.
A little caution and planning is still required, as ChatGPT appears to have created the pattern for each face independently and doesn’t fully account for colours continuing as they meet on a corner
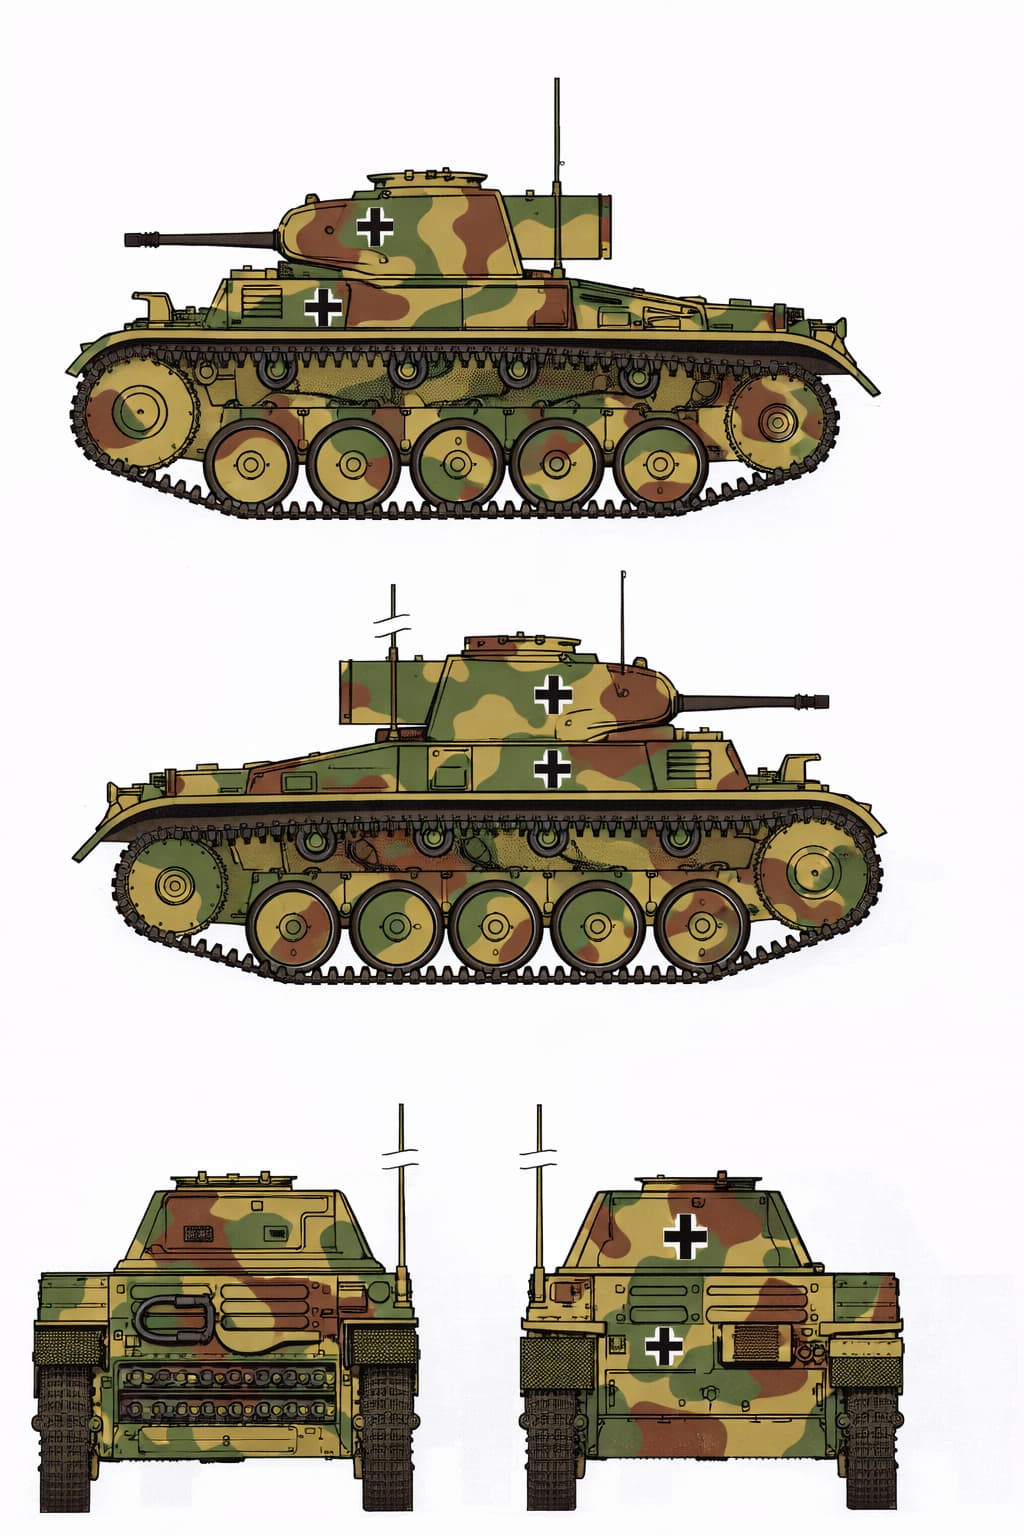
Next steps will be to put this pattern into practise!
2 Likes
Yeah, that’s interesting.
How are you planning to mask these colors? It’s something I’ve never attempted on an armor build yet, but is in my future.
3 Likes
Painting - A Review of Masking Techniques
Sorry for the essay @Toimi_Tom, but I figure I’ll take you for a tour on the complete thought process if only to imply that there was actually a thought process…
Most folks will use a putty mask which is probably fine to achieve a notional pattern, but I feel like you need to be an Auguste Rodin level of sculptor to achieve a specific pattern. Many putties will leave a residue behind that can either stain the model or cause debonding of following paint layers. The low-residue options like AK Camouflage Elastic Putty have a tendency to mobilise and droop after a few hours, which can render those Rodin-level sculpting skills practically irrelevant. You’ll also tend to get a harder edge with a direct-to-surface mask, and will need to rely on colour filters, super-gentle brushwork or a low-pressure airbrush pass to eliminate the starkness particularly on something like the three-tone German camo we’re going for.
When I put the same scheme down on my Panther, I initially tried to freehand it from the airbrush but I felt that the patterns weren’t tight enough and I was running on too high a pressure (even at 12psi)
I then went through a very convoluted process of upscaling and printing the painting guide from the instructions and then physically cutting out masks either directly from the printout or tracings of the printout on baking paper. This process included digitally stretching elements of the orthogonal instructions to account for slope of the armour relative to the point of view. While this method help create a softer and more diffused edge than a hard mask, it was very fiddly and yielded inconsistent results due to inconsistent relief of the mask from the model. It was also time-sensitive because I didn’t want masks sitting on underlying paint for too long.
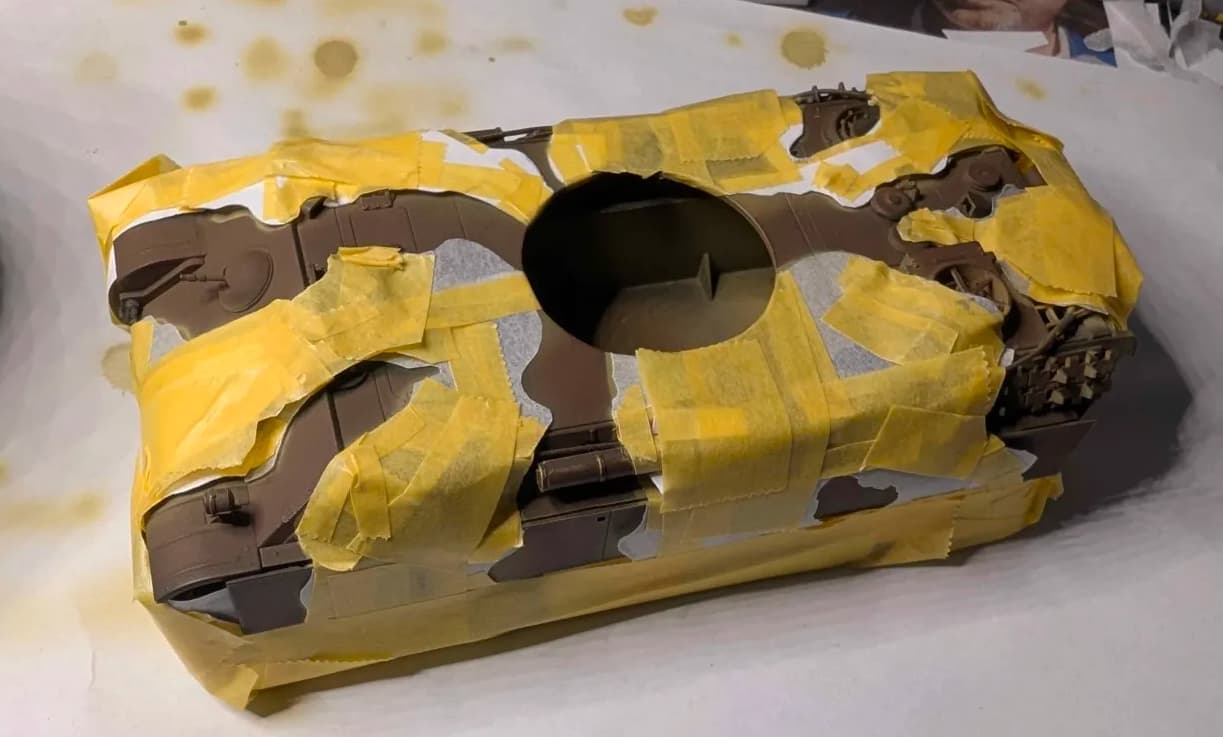
What I found when doing the touchup rounds was that if I kept the airbrush pressure low, like around 8psi, I had a lot of control with the edge pattern. To that end, I figure I just needed more direction on the model rather than free-handing directly with an airbrush/
In their simple but effective approach to the same 1:48 Tamiya Panther, ARS TV Plastic Model had freehand brush-painted their camouflage pattern outline and then filled in by airbrushing:
To be on the safe side and minimise brushwork touchups of edges, I’ll lightly pencil the pattern onto the model. The brush-painted pattern edge might be a bit redundant, but it will ensure coverage of the pencil marks before the pattern gets airbrushed to completion
4 Likes
Wow, 8 psi. Interesting, I never thought about running that low. This is one of those great things about this forum - new ideas. No doubt provides good close control. What size needle do you have in the airbrush and what is your paint to thinner ratio?
3 Likes
Thanks for your interest! You’re absolutely right, it’s all about control, since at this scale we’re effectively trying to emulate the edge work of a 1.5" tall man with a spray gun
I use an airbrush with a .3mm needle, running 1 part Tamiya Acrylic to 2 parts X-20A Thinner. It seems to still atomise the paint effectively down at that pressure and ratio.
There’s another airbrush in the stash with a 0.2mm needle that I haven’t broken in yet, which might be more tolerant of running a finer pattern at higher pressures though
3 Likes
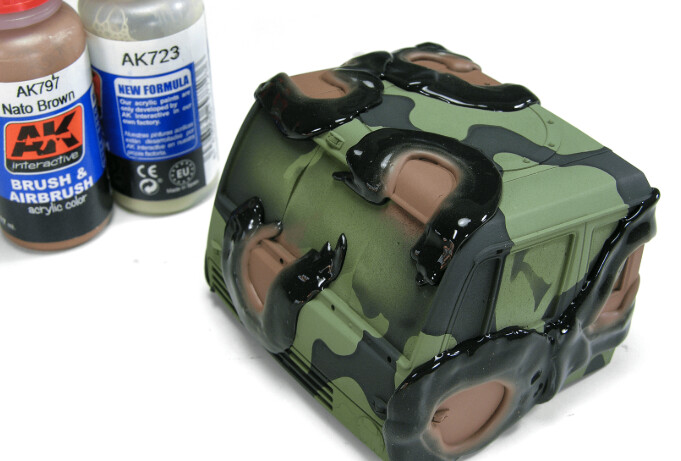
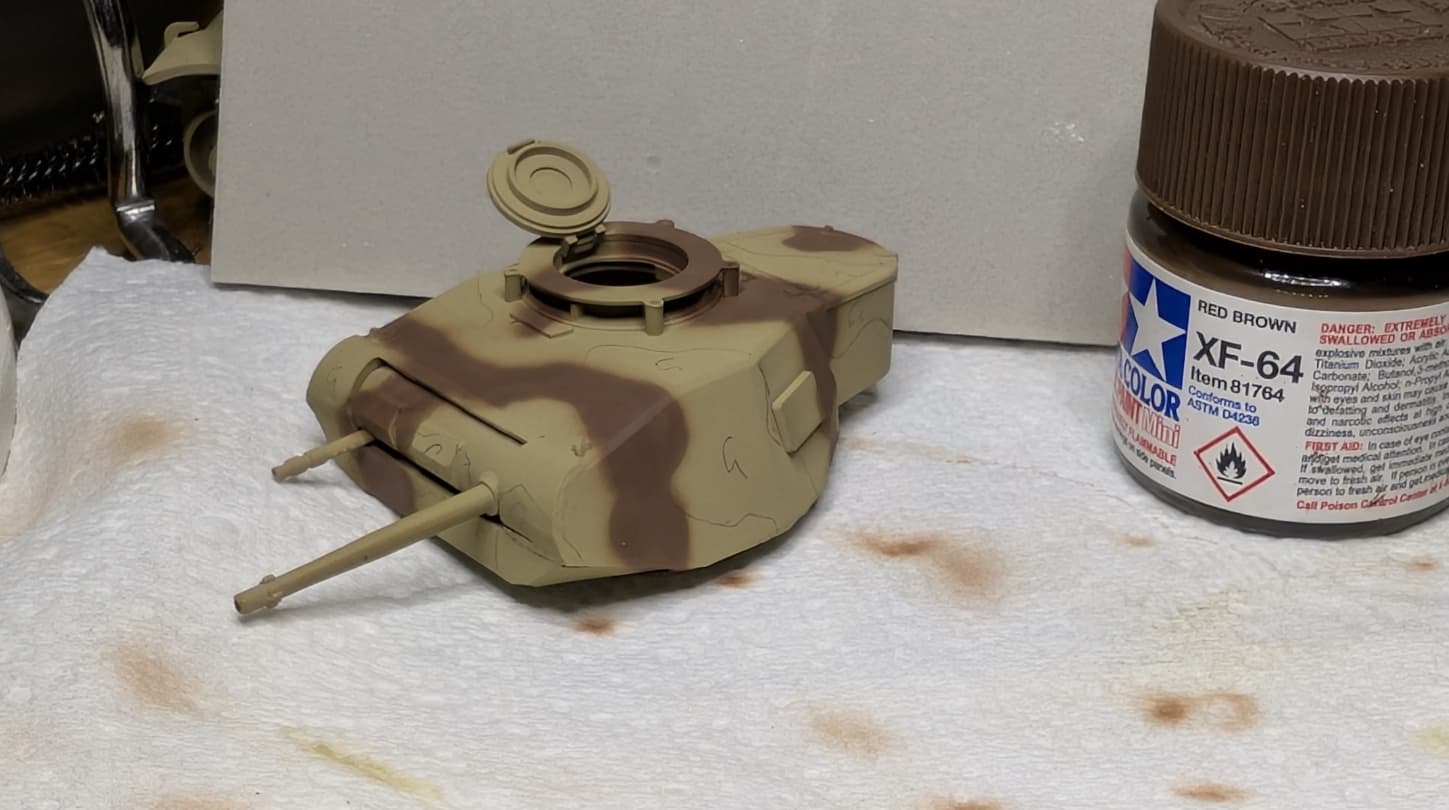
Painting - Turret Camouflage Proof of Concept (Successful)
Some early success on a Friday evening, using our ChatGPT output as a guide to lightly pencil in the colour regions for our turret’s colour scheme. Although it initially made the turret look like a cutting guide in an abbatoir, the colour has filled over the pencil marks nicely.
I still feel like there will be a bit of touching up to do, but we’re retaining a nice soft edge to the camouflage by running a 2:1 ratio of thinner to paint and keeping the pressure on our 0.3mm airbrush down at 8psi
This is so much easier than the mucking around with masks I did with the Panther for which this kit is muling…
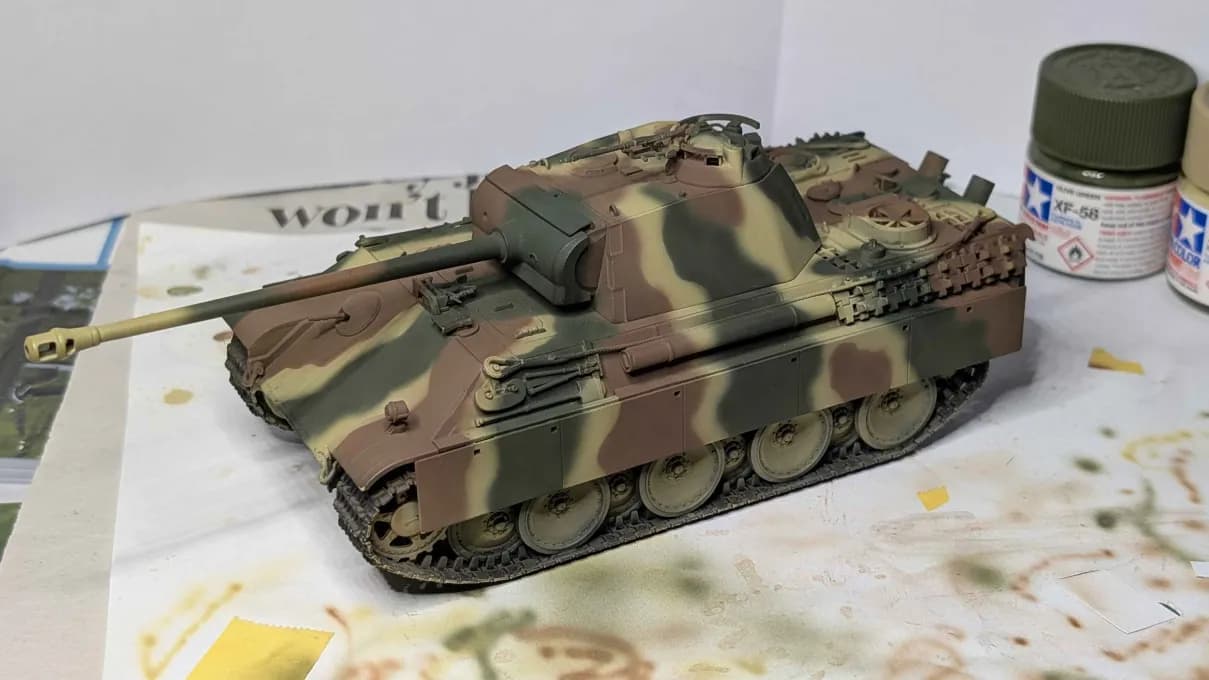
In an effort to further improve our spray pattern, we’ve activated our spare airbrush for the green layer, swapping in the 0.2mm needle. This allows us to run at higher pressure (therefore better atomisation) while still maintaining a narrow spray pattern and even flow of paint. This took a few iterations to get the combination of pressure and thinner right, eventually settling on 20psi with 3:1 Thinner:Paint.
Unfortunately as you can see, we did have some spatter and overspray while we were working out some of the kinks, to the point that I was getting better patters with my other airbrush with the 0.3mm nozzle. The tip of the needle on the spare airbrush (Timbertech) protrudes a long way from the nozzle, so it requires constant attention to avoid having paint dry on the tip and either causing seating issues or buggering up the confinement of spray. I don’t particularly enjoy touching the tip that much…
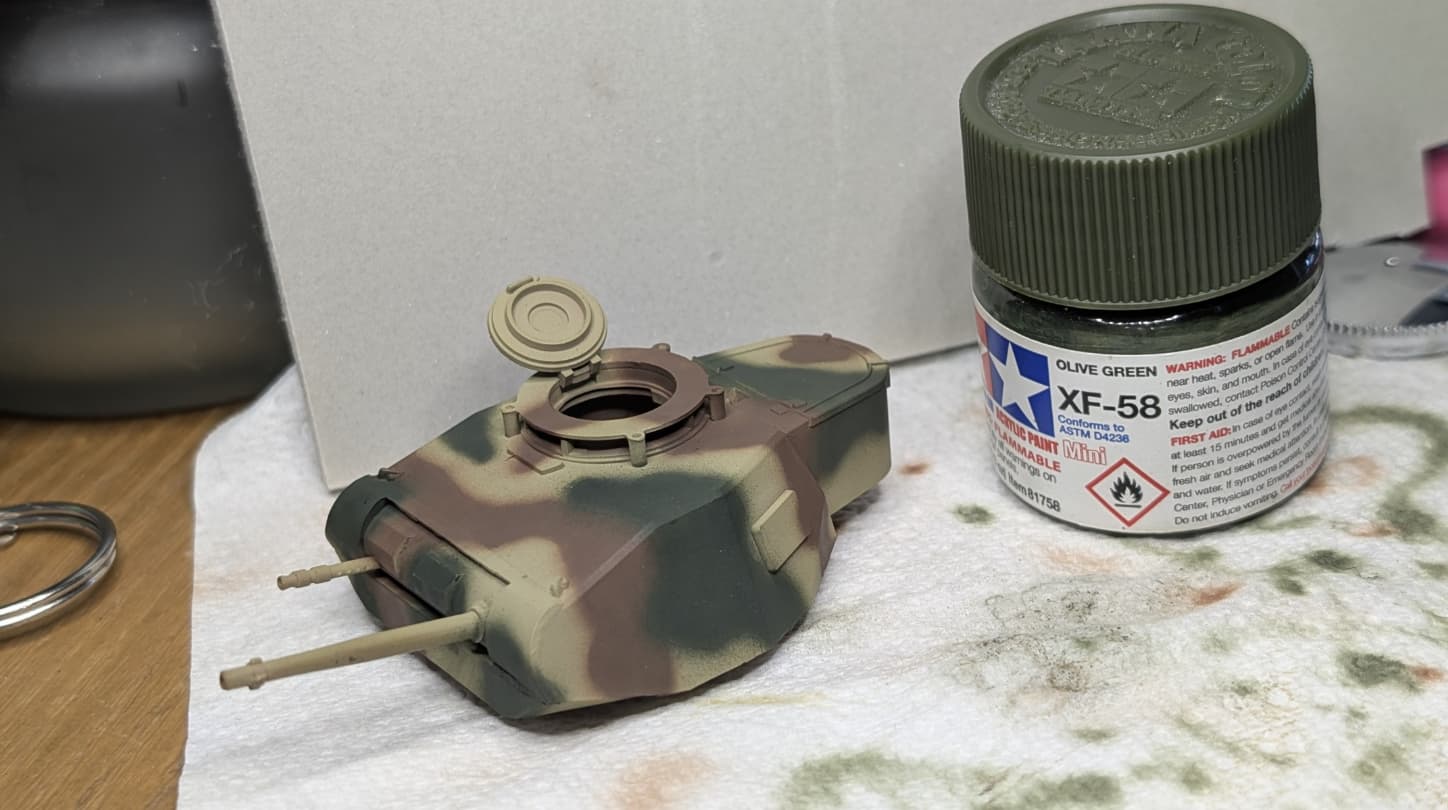
There’s a bit of touching up to do, but the turret had provided adequate proof of concept. Will update again once I’ve been able to get the whole model painted, but I’m pleased that we’re off to a good start
3 Likes
Woah – that looks as if a 1/35th scale Panzerschütze had done the work with a 1/35th scale spray gun.
I’ll be trying this the next time I have to do soft-edged camo.
3 Likes