My return to scale modelling has been characterised by the risk of ruination of a few cheap 1:72 and 1:76 scale kits - While they’ve been great for getting the hang of fundamentals like proper decal application, washes and airbrushing, I feel I’m now at a stage where I can’t afford the time to lovingly build a model to completion for the sake of unlocking an extra skill point - And many skill points are available!
What I need… is a “Paint Mule”… A tragic chunk of plastic who will never be finished, only completed to a point of serving a purpose and then stripped back to do it all again
I started off looking at these resin texture pads from Taro Model Maker. They seemed like a perfect fit since they’re not a kit, therefore there’s no motivation or temptation to complete. Unfortunately their $14 resin practise pad came with a $31 postage charge to Australia.
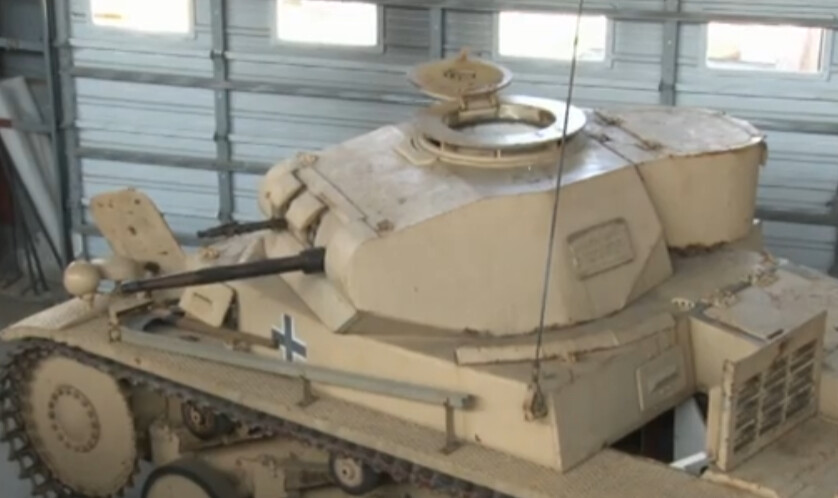
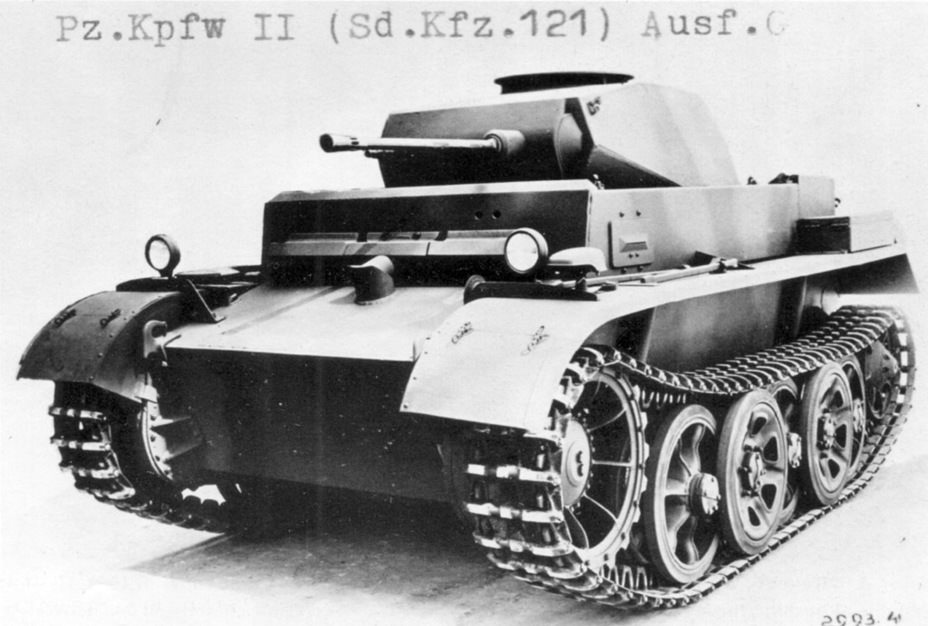
After a bit more Googling I went to King Kit’s “Salvage Yard” which comprises incomplete or faulty second-hand kits - And there we found it… Tamiya’s 1:35 Panzer II Ausf F/G
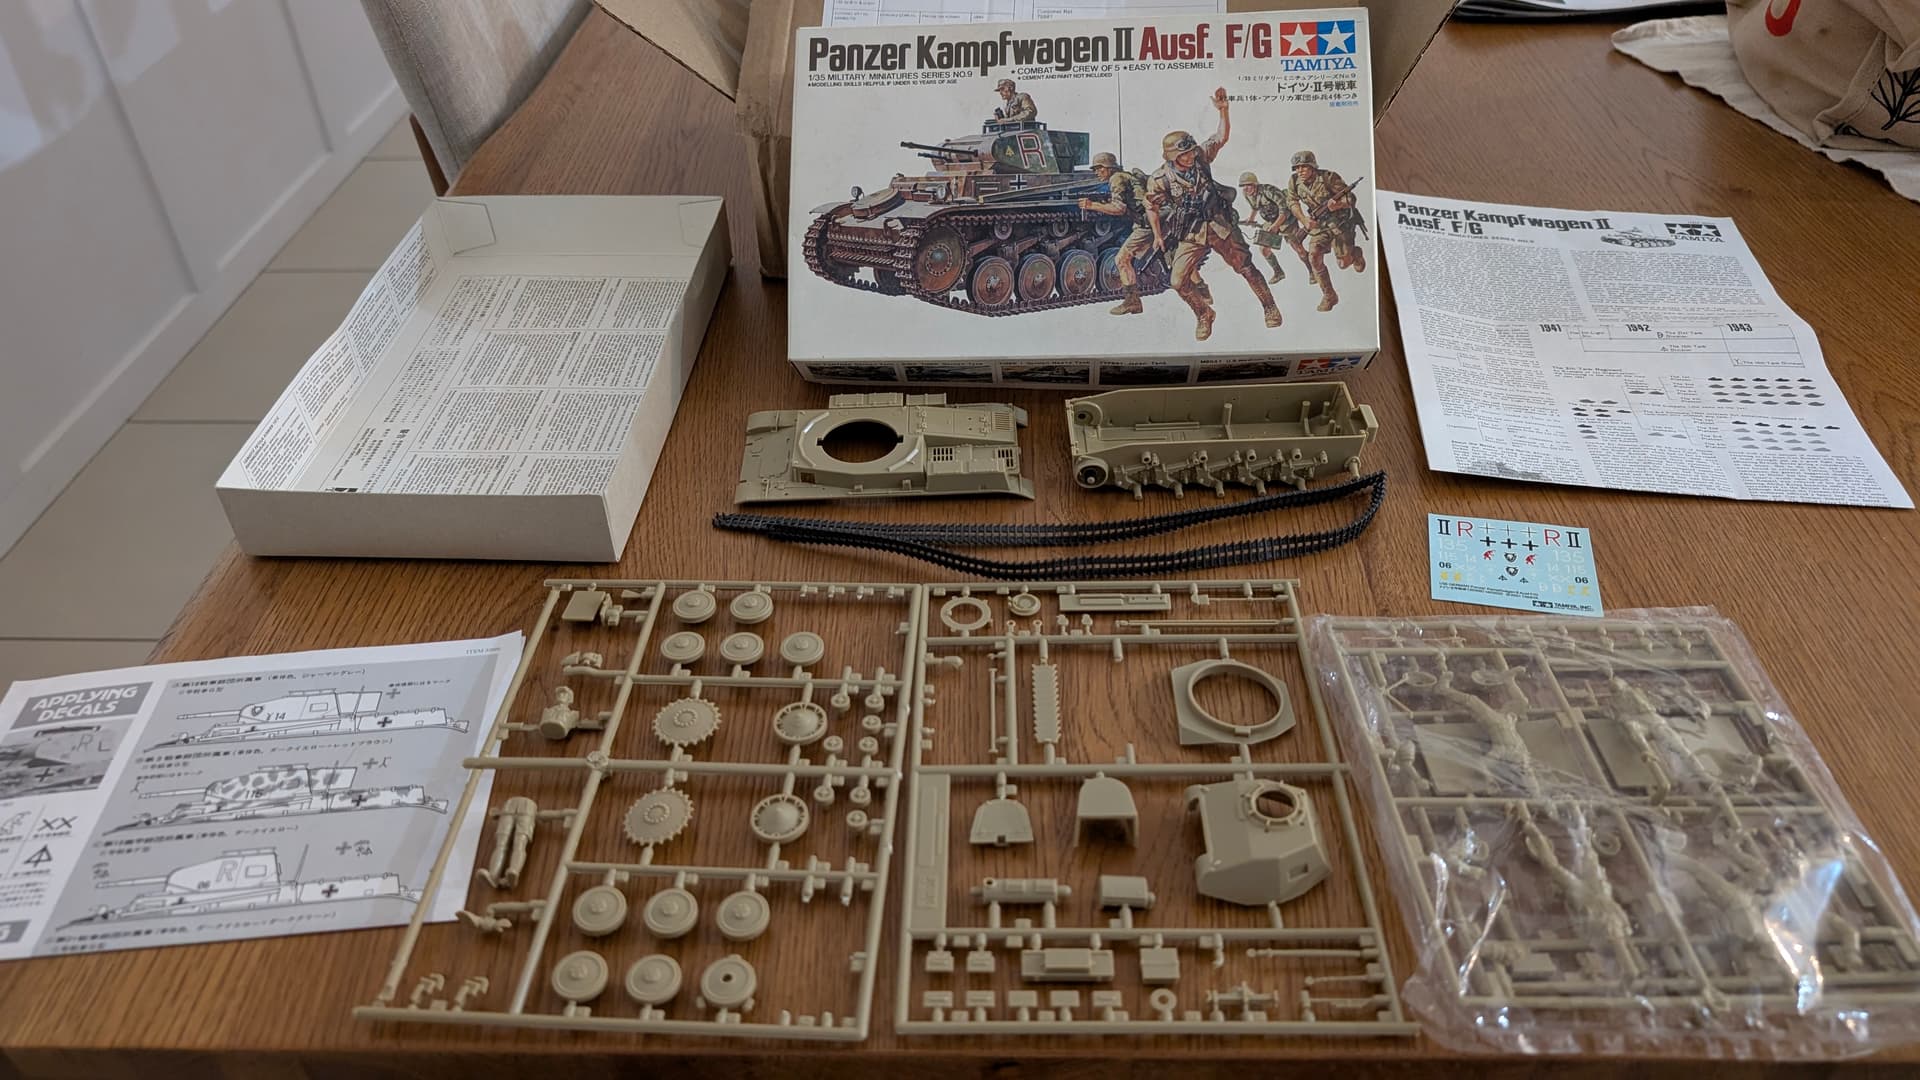
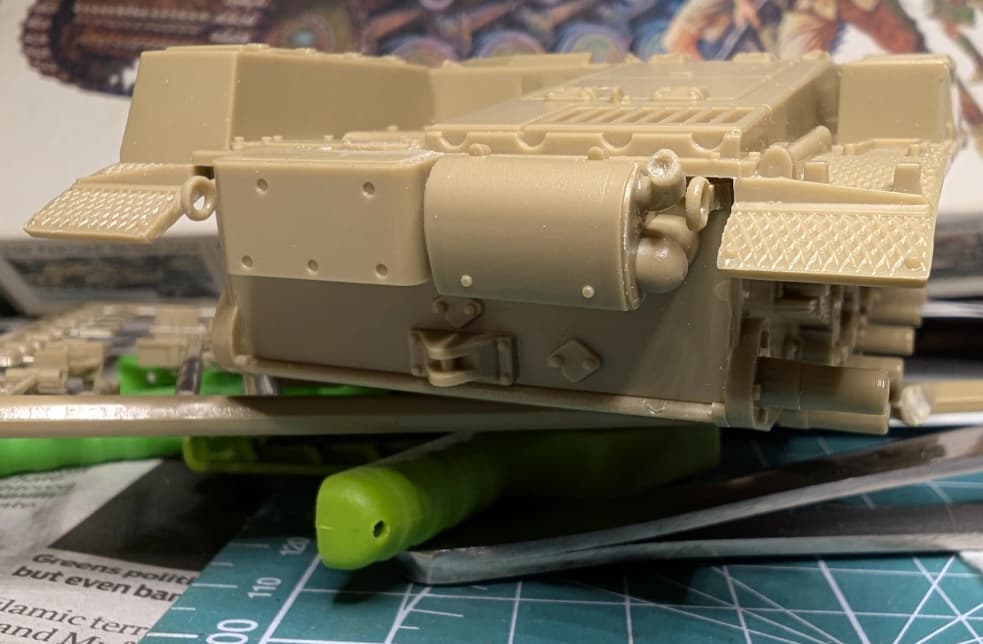
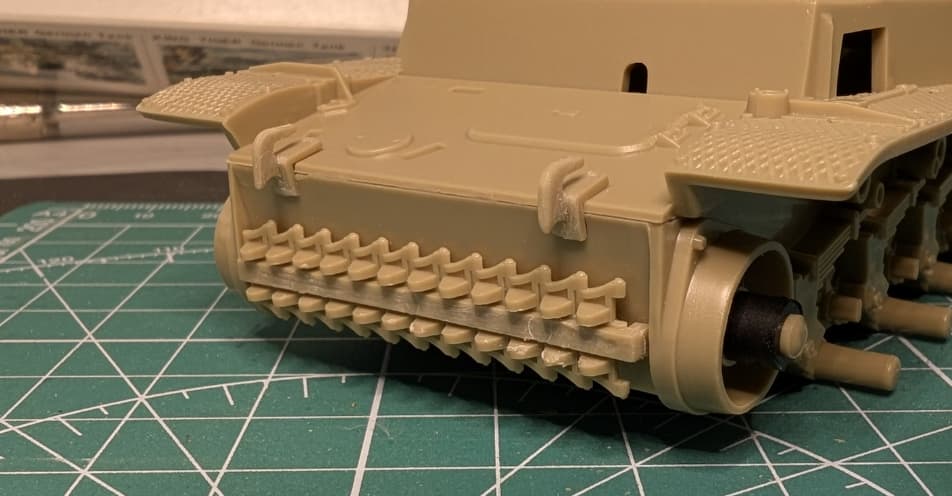
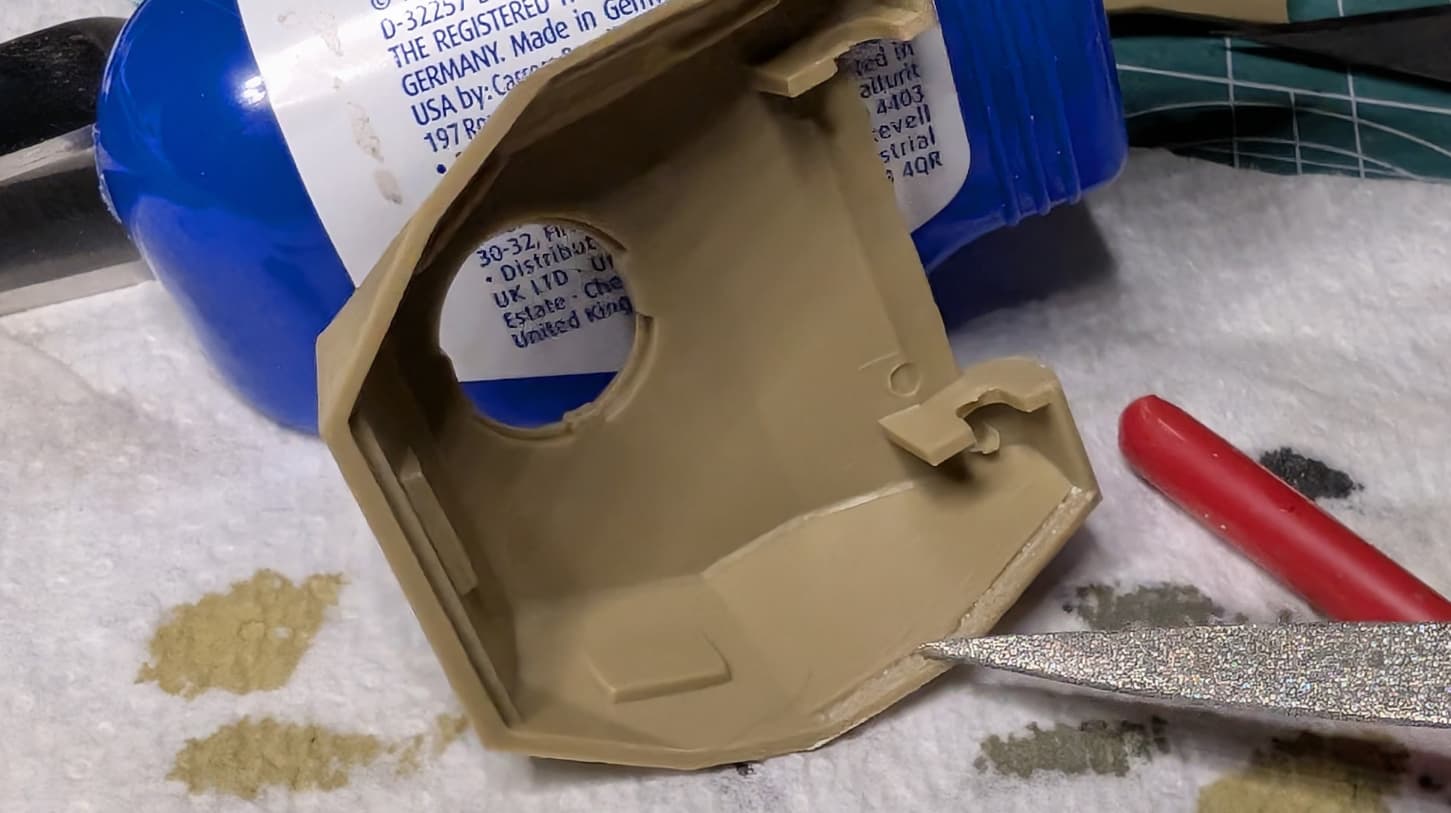
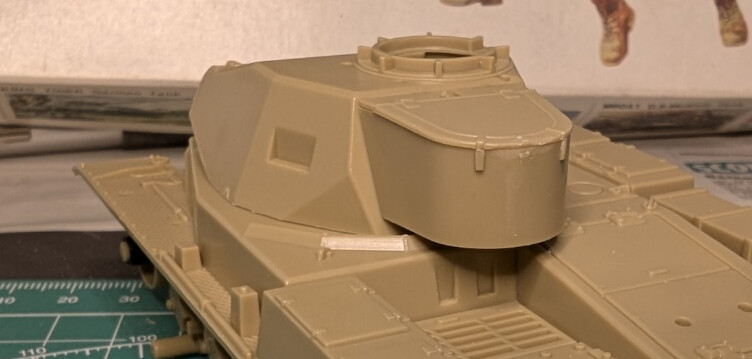
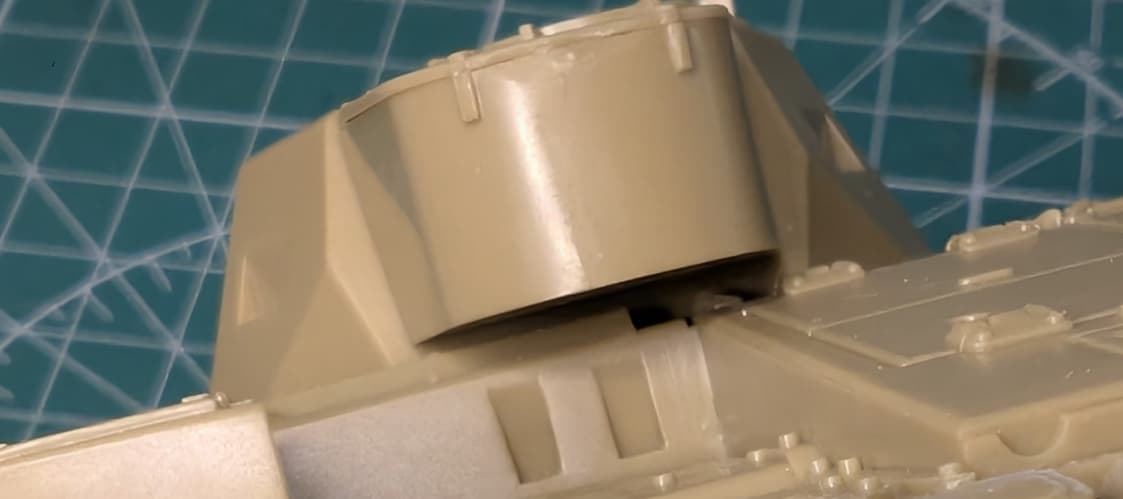
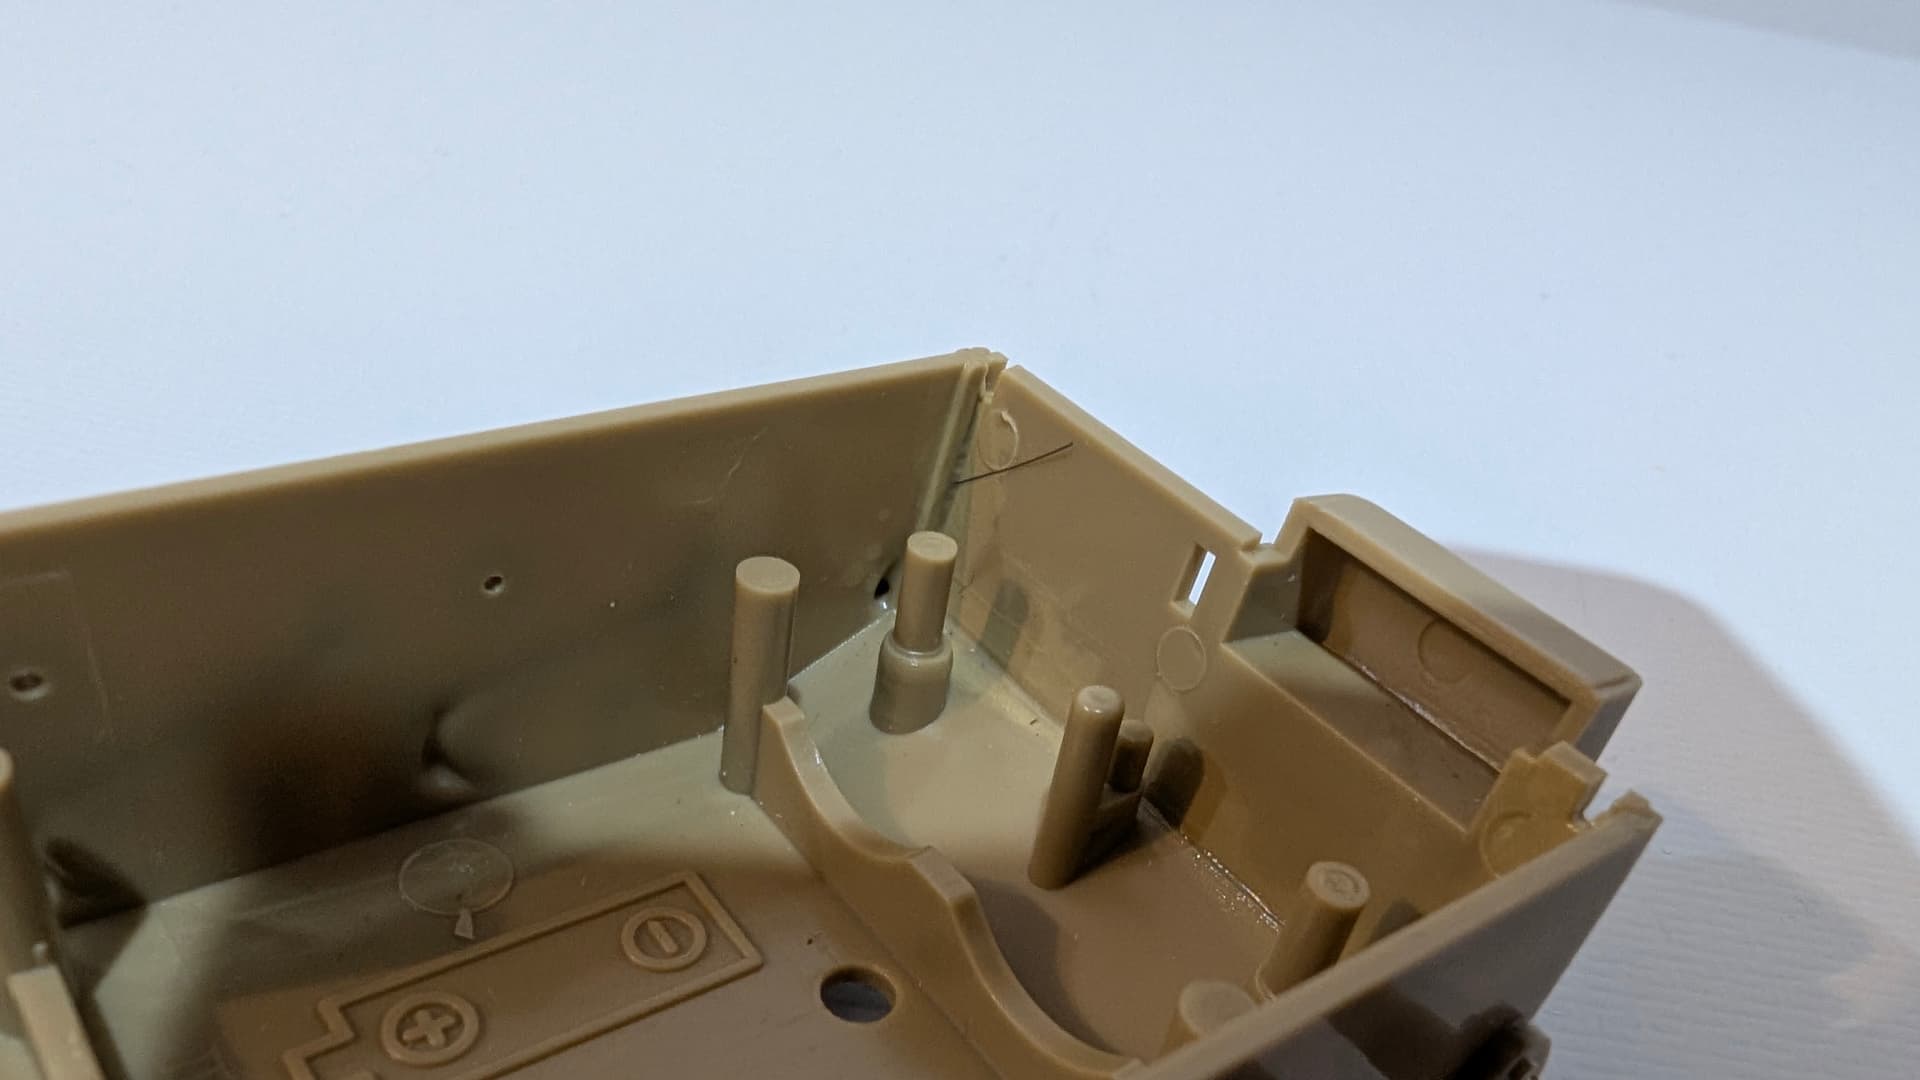
It arrived from Britain to Australia yesterday! The hull was partially assembled but the kit was otherwise in good condition, with all parts, decal sheets and instructions included. I have no complaints about the second-hand condition of the kit, but a first-hand owner attempting a faithful reproduction of this WWII workhorse might have struggled with the savage degree of mould misalignment and injection errors. It’s probably what put this kit on the second-hand market in the first place…
Fortunately, I’m not trying to make a work of art, rather I’m trying to ensure my future works of art don’t become unintentional experiments in surrealism. If anything a couple of moulding goofs will make me less attached to the model for ultimate completion and display as we find more indignities of experimentation to inflict upon it…
An amusing quirk of buying a second-hand kit, we have a possible trace of former owner or their beloved family pet has been glued in…
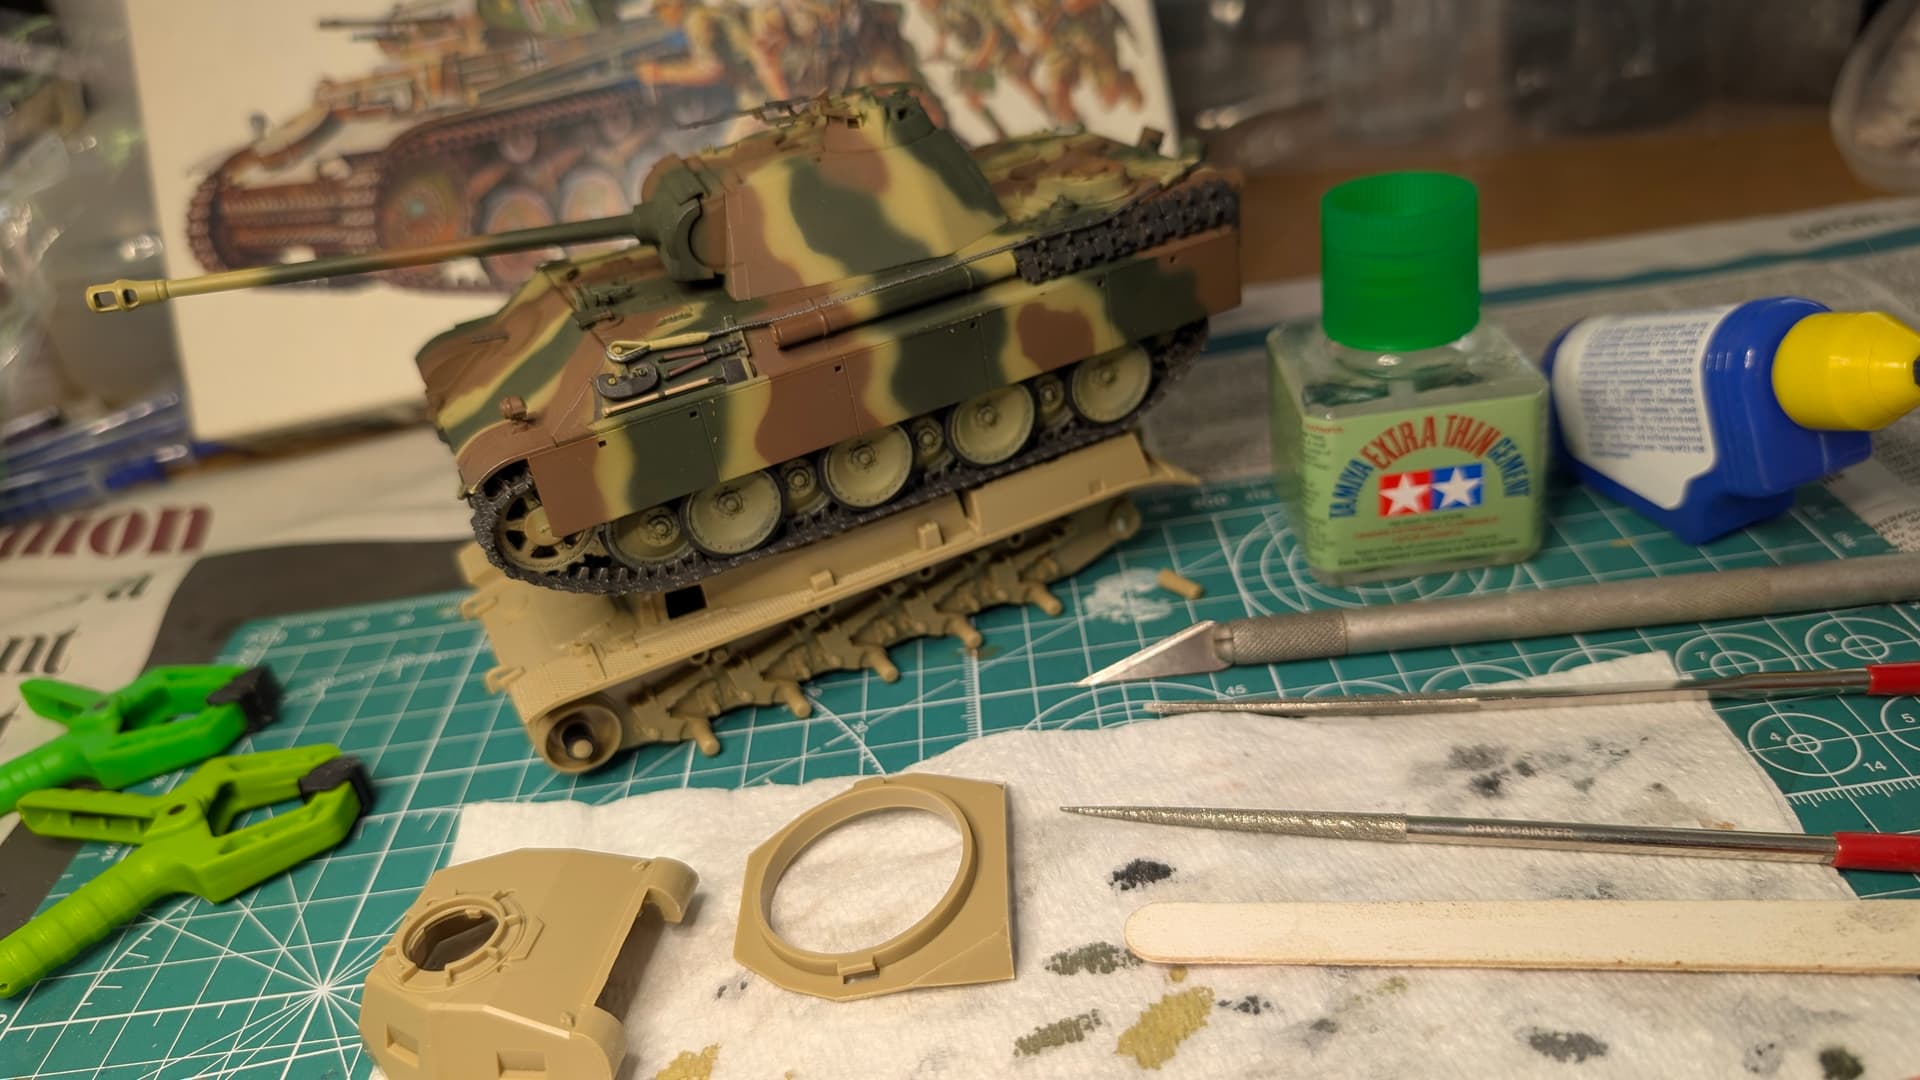
This is also a kit in a new scale for me, so I like to compare with what I’m used to. To assist in clamping the upper and lower hulls, I’ve employed the very 1:48 scale Panther whose decisions on weathering technique will ultimately be informed by this kit.
I feel like a bit of a (insert apt description disallowed by forum) for doing it, but this is a kit which I expect to suffer the indignity of being a constant works in progress. Follow us through what might well become an interminable cycle of painting, testing, stripping and repainting…
Contents:
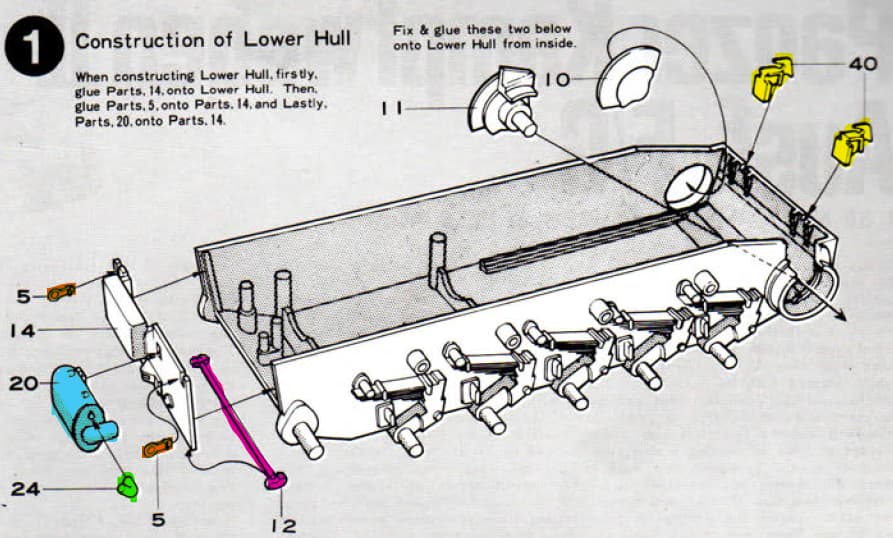
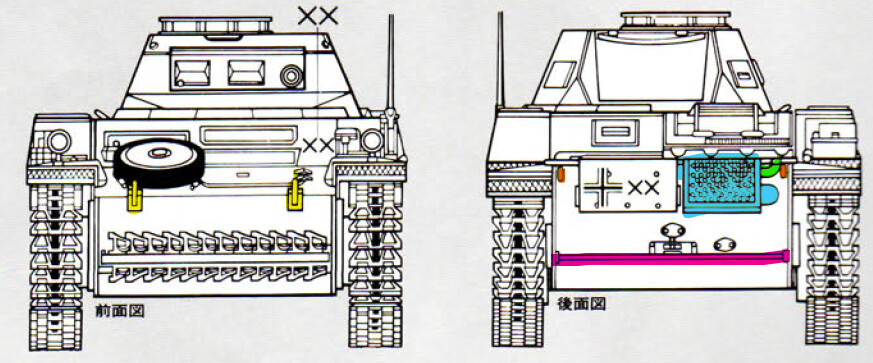
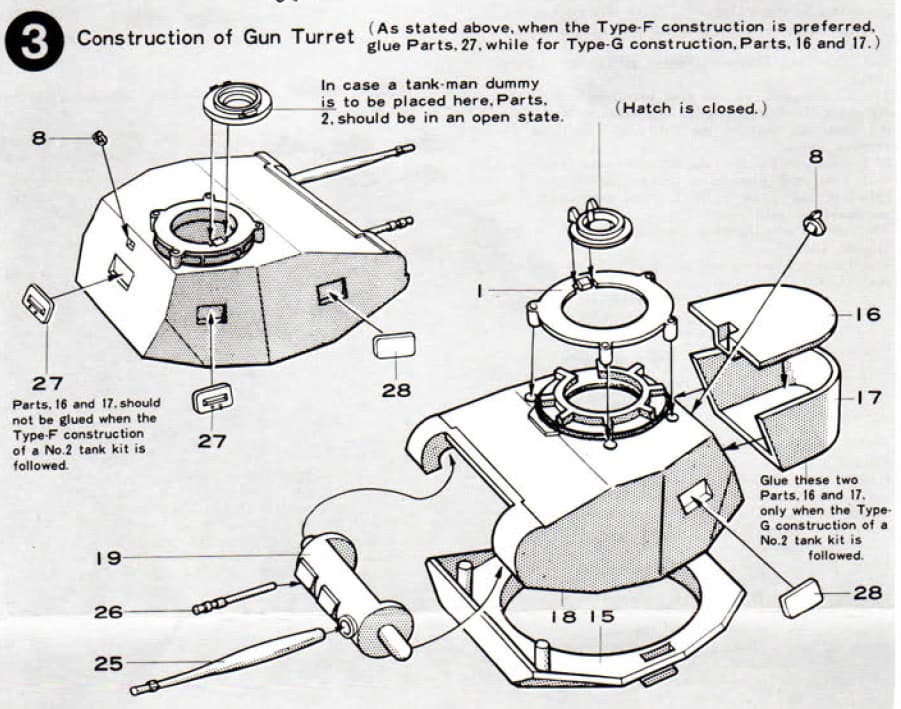
Construction - Hull Mating, Turret & Front / Rear Details