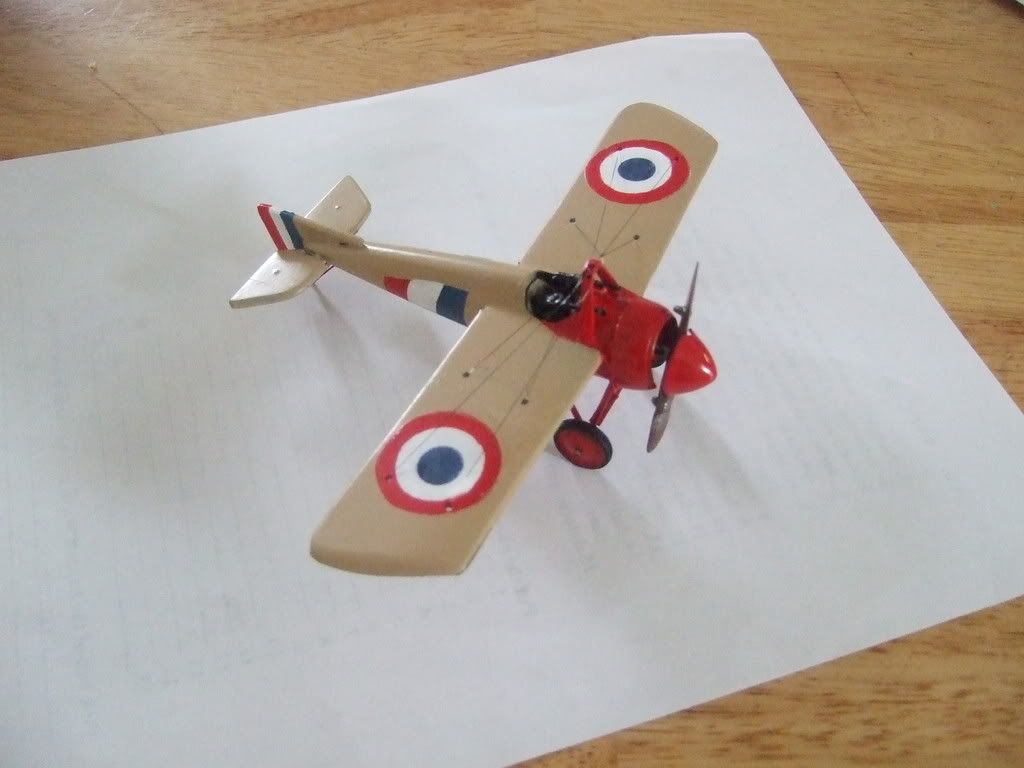
They’re not that bad, really. The two hardest parts are, as stated:
-Scratchbuilding interiors, details, etc.- if you can find a vac kit that includes these details, this is a non-issue.
-Removing the pieces from the backing plastic- This depends on two things, how thick the plastic is, and how close you cut the pieces from the backing sheet. You have no control over the first. The second, though? Entirely up to you.
Here’s my method of “quick a dirty vac piece removal”.
-SCORE around the piece you want to cut out, AS CLOSE AS POSSIBLE. You do NOT need to cut all the way through!
-Bend the backing sheet away from the side of the cut. If you cut on top, bend it back. This opens and weakens the score mark.
-Bend it back the opposite way. In a perfect world, this will pop the weakened seam with little or no fuss. Saves a LOT of time.
-Get a big sheet of high-grit sandpaper, the coarser the better. Place it on a flat surface larger than the piece you are working on.
-Sand the backside of the piece until the little strip of backing sheet you left on just drops away. Just be careful not to sand too much, and that you sand evenly. Uneven edges = more filling and sanding later.
As for a first kit- the smaller, the better! Less “stuff” to sand on the smaller pieces, and smaller seams to fill later. I’ve got a 1/72 Bv 40 attack glider that will one day be an easy “weekend vac”.
Best of luck!

