I’m currently building an AM A-36. I’ve added a True Details resin cockpit and SuperScale decals. Waiting in the wings are Scale Aircraft Conversions landing gear and UltraCast resin wheels. The photo shows where I am now: paint and decals on, panel lines accented a bit with a wash of burnt umber oil paint, and a light overspray of MM Afrika Khakibraun for an overall dingy look.
I’d like to add some exhaust staining to match what I see in photos. I’ve looked around the Net and I’ve found some suggestions for colors (I’m leaning toward sand with a bit of gray added). What I’d like to know is how you go about applying it. I’m thinking an airbrush might be the best way, but I’m concerned about control. What do you all do to simulate the exhaust stains on Allison Mustangs?
Airbrushing would be best. Just practice on scrap before committing to th e kit. Or you could try pastels but that can be tough with the heavier staining that the A-36 had. Nice build by the way
Thanks for the compliment on my build. This is my second attempt at the A-36. I wasn’t happy with the first one, so I’m especially concerned to get this one right. I’m not quite sure how to get a relatively thin stain that’s wider near the exhaust and then feathers out. FWIW, I have a Badger 150 dual-action airbrush. Any tips greatly appreciated.
If you use pastels, make sure the surface has a bit of a bite to it. It will be much easier to build up the layers and you can get it as dark as you would like. There is nothing like a pastel exhaust; however, I usually use both pastels and airbrush for my exhaust stains
I am working on that same kit, but am not quite ready for that step. I was thinking of trying to dry brush the stains, having had some success in the past with other models, but it has been many years. Thoughts and opinions, please.
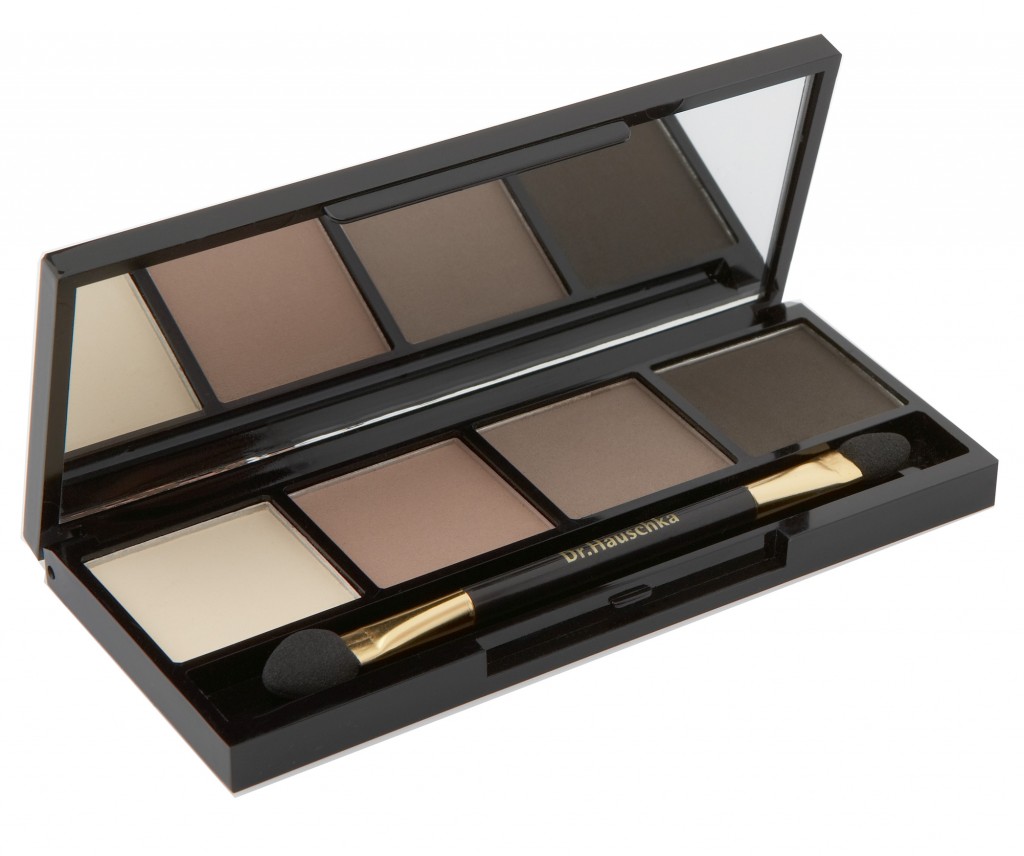
I, like SubarooMike, like to use pastels. I’ve tried using my airbrush like Steve, but I have more control with pastels. In addition to pastels, I like to use make-up. Specifically eyeshadow. (Yes, you read that right: eyeshadow.) I picked up a couple of small eyeshadow kits for a few bucks. From what I’ve seen, they’re very similar to Tamiya’s weathering kit but way cheaper.
The good thing about pastels and make-up is the fact that you can “erase” any unsuccessful attempts with an earbud and some water.
If you’re interested, see how the make-up and pastels worked on my Hasegawa F4U-4.
Airbrush very low pressure first with a slightly wide swath of burnt Umber or dark Red Brown heavily thinned at about 10:1, followed by a similar ratio, tighter swath of RLM 66 and then an even tighter swath of pure Black. After that has all dried take a mixture of white and Black pastel mixed to a light smokey Grey and brush the middle of the swath. This is what you get.
Airbrush very low pressure first with a slightly wide swath of burnt Umber or dark Red Brown heavily thinned at about 10:1, followed by a similar ratio, tighter swath of RLM 66 and then an even tighter swath of pure Black. After that has all dried take a mixture of white and Black pastel mixed to a light smokey Grey and brush the middle of the swath. This is what you get.
I’ve used chalk pastels on my allison mustangs, but the gray/white never sticks as well as the black. Maybe smearing on a little umber acrylic before chalk pastel would help. Since your model is already sealed maybe you could apply acrylic and wash it off if it doesn’t come out.
In addition to low pressure on the airbrush, I realized this morning that I have a fine needle and head that I could put on in place of the current medium ones. That might help, I think. We’ll have to see after work today.
Personally I find a medium or wide tip gives more feather to these kits of stains, but I agree with low pressure and dialing way back on flow. In order to work with the low flow I typically thin a little more than usual.
I use chalks for exhaust staining, too. For white, I don’t have an artist’s chalk stick, I have a piece of good, old-fashioned schoolhouse blackboard chalk.
It’s true, a matte surface is best, to allow the powder to bite. I usually apply the chalks after decaling and after the matte coat. If I have to apply more matte coats, it’s usually necessary to apply more chalk, because the sealing coat will knock the intensity of the color down a bit. But they’re pretty easy to use, once you get a little practice with them.
Apache looks good. I’m building the same model now-my third of the AM Mustang series. I’ll get one right one of these days. I’ve been using them to practice various techniques; I’m going to paint my Apache in a NMF–my first foray with Alclad II. I’ve tried both airbrushing and pastels on these kits. My exhaust’s edges come out too hard. I just don’t have the technique down, and feel like my control is not where it needs to be to risk wrecking my model at that late stage in the game. Also, making the exhaust look the same on both sides of the fuselage is a crapshoot for me. I recently bought the Tamiya master weathering pastels. They’re like little makeup kits. Although I made the mistake of applying the pastel-exhaust over a clear coat (sprayed on for decal-application), they nevertheless worked very well. I had much better control over the finished product (AM’s P-51A). I’d post a pic, but I’m not at home now to take a photo). I’ve got three more of these AM Mustangs to practice on before I dig in to the higher-end section of my model stash. Good luck with your Apache. Looking forward to seeing how it turns out!
Well, I took at shot at it. Mixed some MM sand and neutral gray, thinned it about 50% and tried spraying at 5 psi. It’s not great, but OK maybe. Thoughts?
Looks good but I’d add a lot more! Those A-36s stayed dirty! I’ve noticed the staining usually arcs upwards from the exhausts and gradually curves downward as it passes over the wing. Also nice choice on the scheme, the only A-36 ace!
That’s looks good, however the light color was created by the exhaust heat, so you need to add a little soot to the top of the heated paint. Like GS said, the exhaust followed the airstream, so it would rise up and curve following the shape of the airfoil.
If you are worried about the shape of the stain, you can always make some sausages out of Blu Tack. If you are careful to not spray TOO close to the sausage, you can get a nice feathery look, and get what ever shape you want.


