After a break I have decided to go back to modelling. Well known A-1H Skyraider by Tamiya in 1:48 scale is my choice.
Now going back to old times every time I finished some aircraft often taking shortcuts and going easy way I was talking to myself : next time I will do it better! …and after few builds the time has come.
This Skyraider will be made carefully by following simple steps: planning, research, going to next step only when satisfied with what has been already done, no rush, no rush, no rush…
I wonder if some of you are experiencing the same, I mean: you know you could do something better but you just leave it as it is and move to the next step. For me (I hope) this build will be breaking point, hopefully next level for my skills as well.
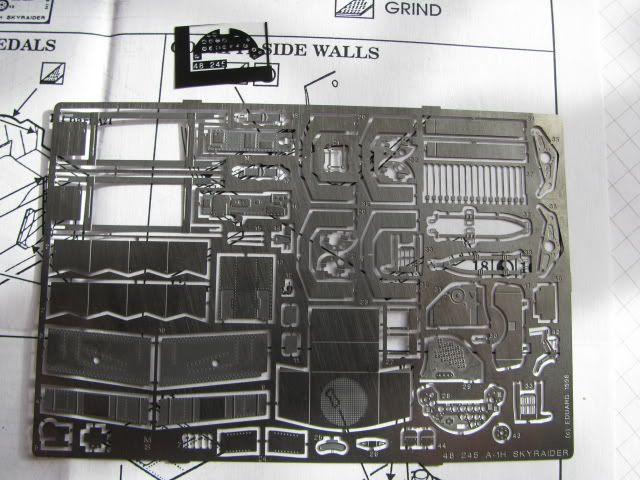
Now coming back to Skyraider (I guess this model doesn’t need introduction) I have decided to make it more challenging by extra EDUARD part 48245
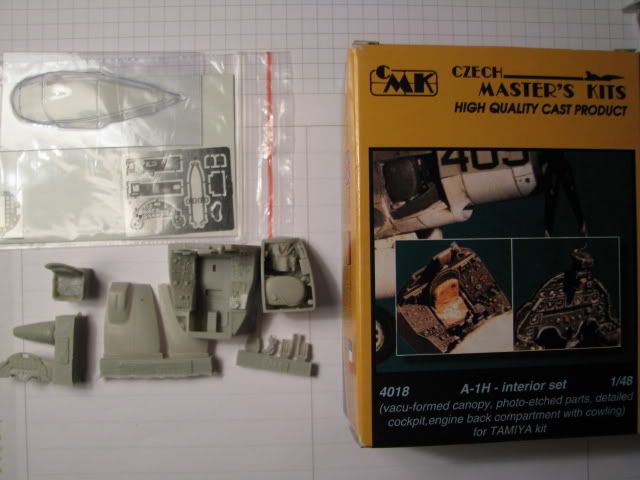
I have aslo ordered the CMK (4018) resin detail set and waiting for the postman.
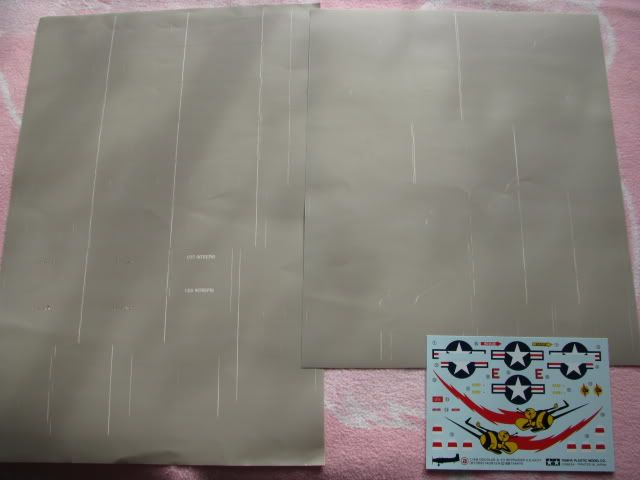
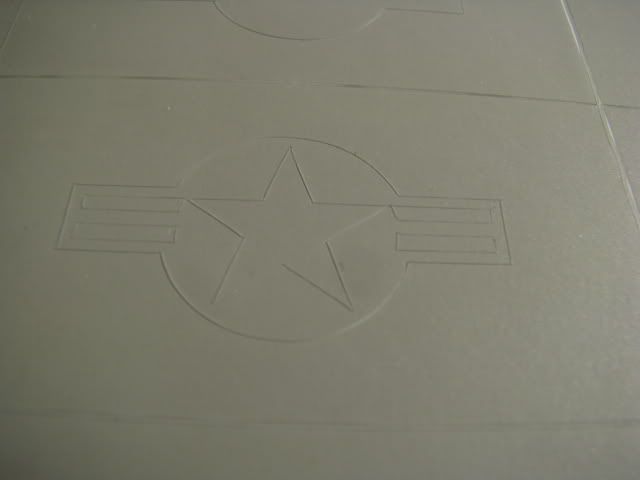
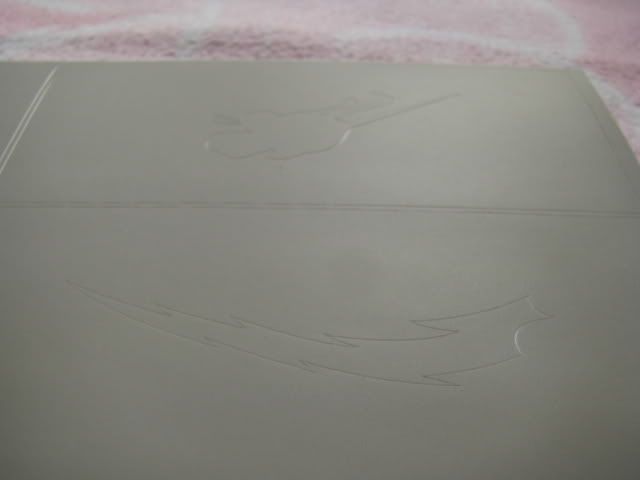
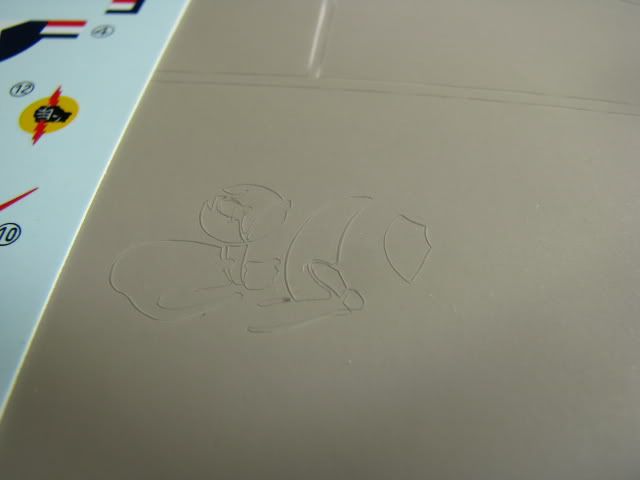
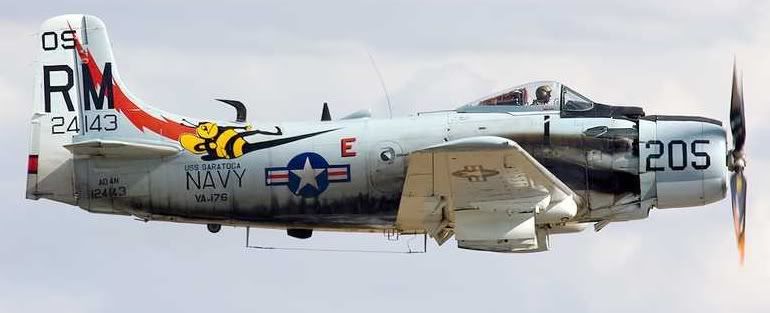
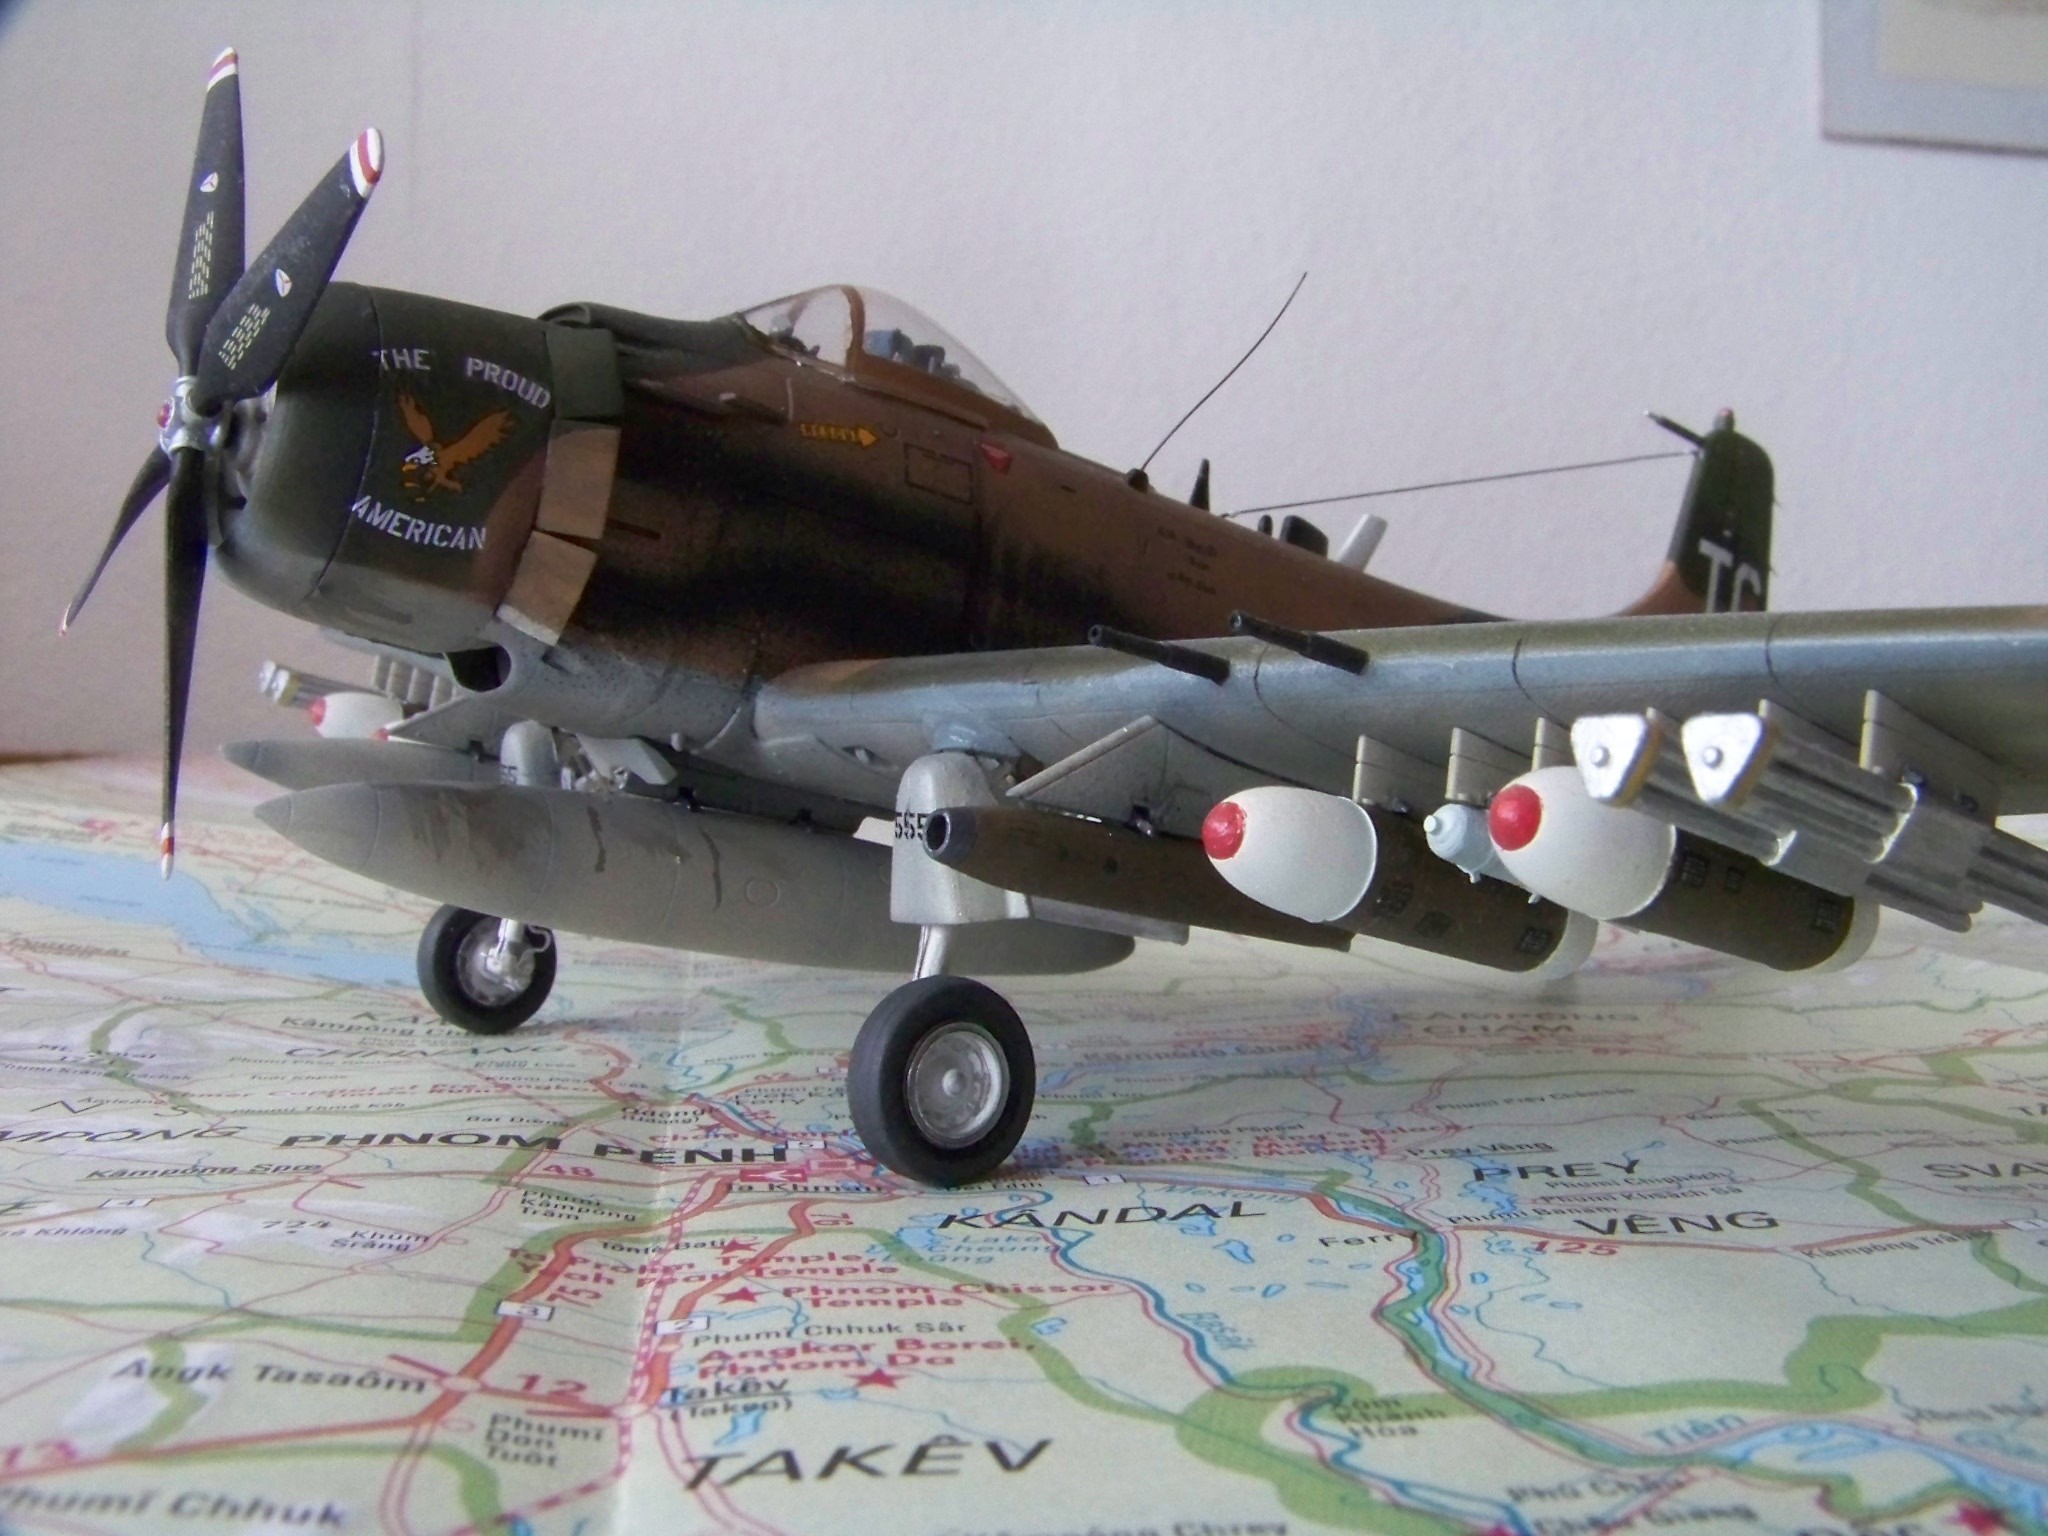
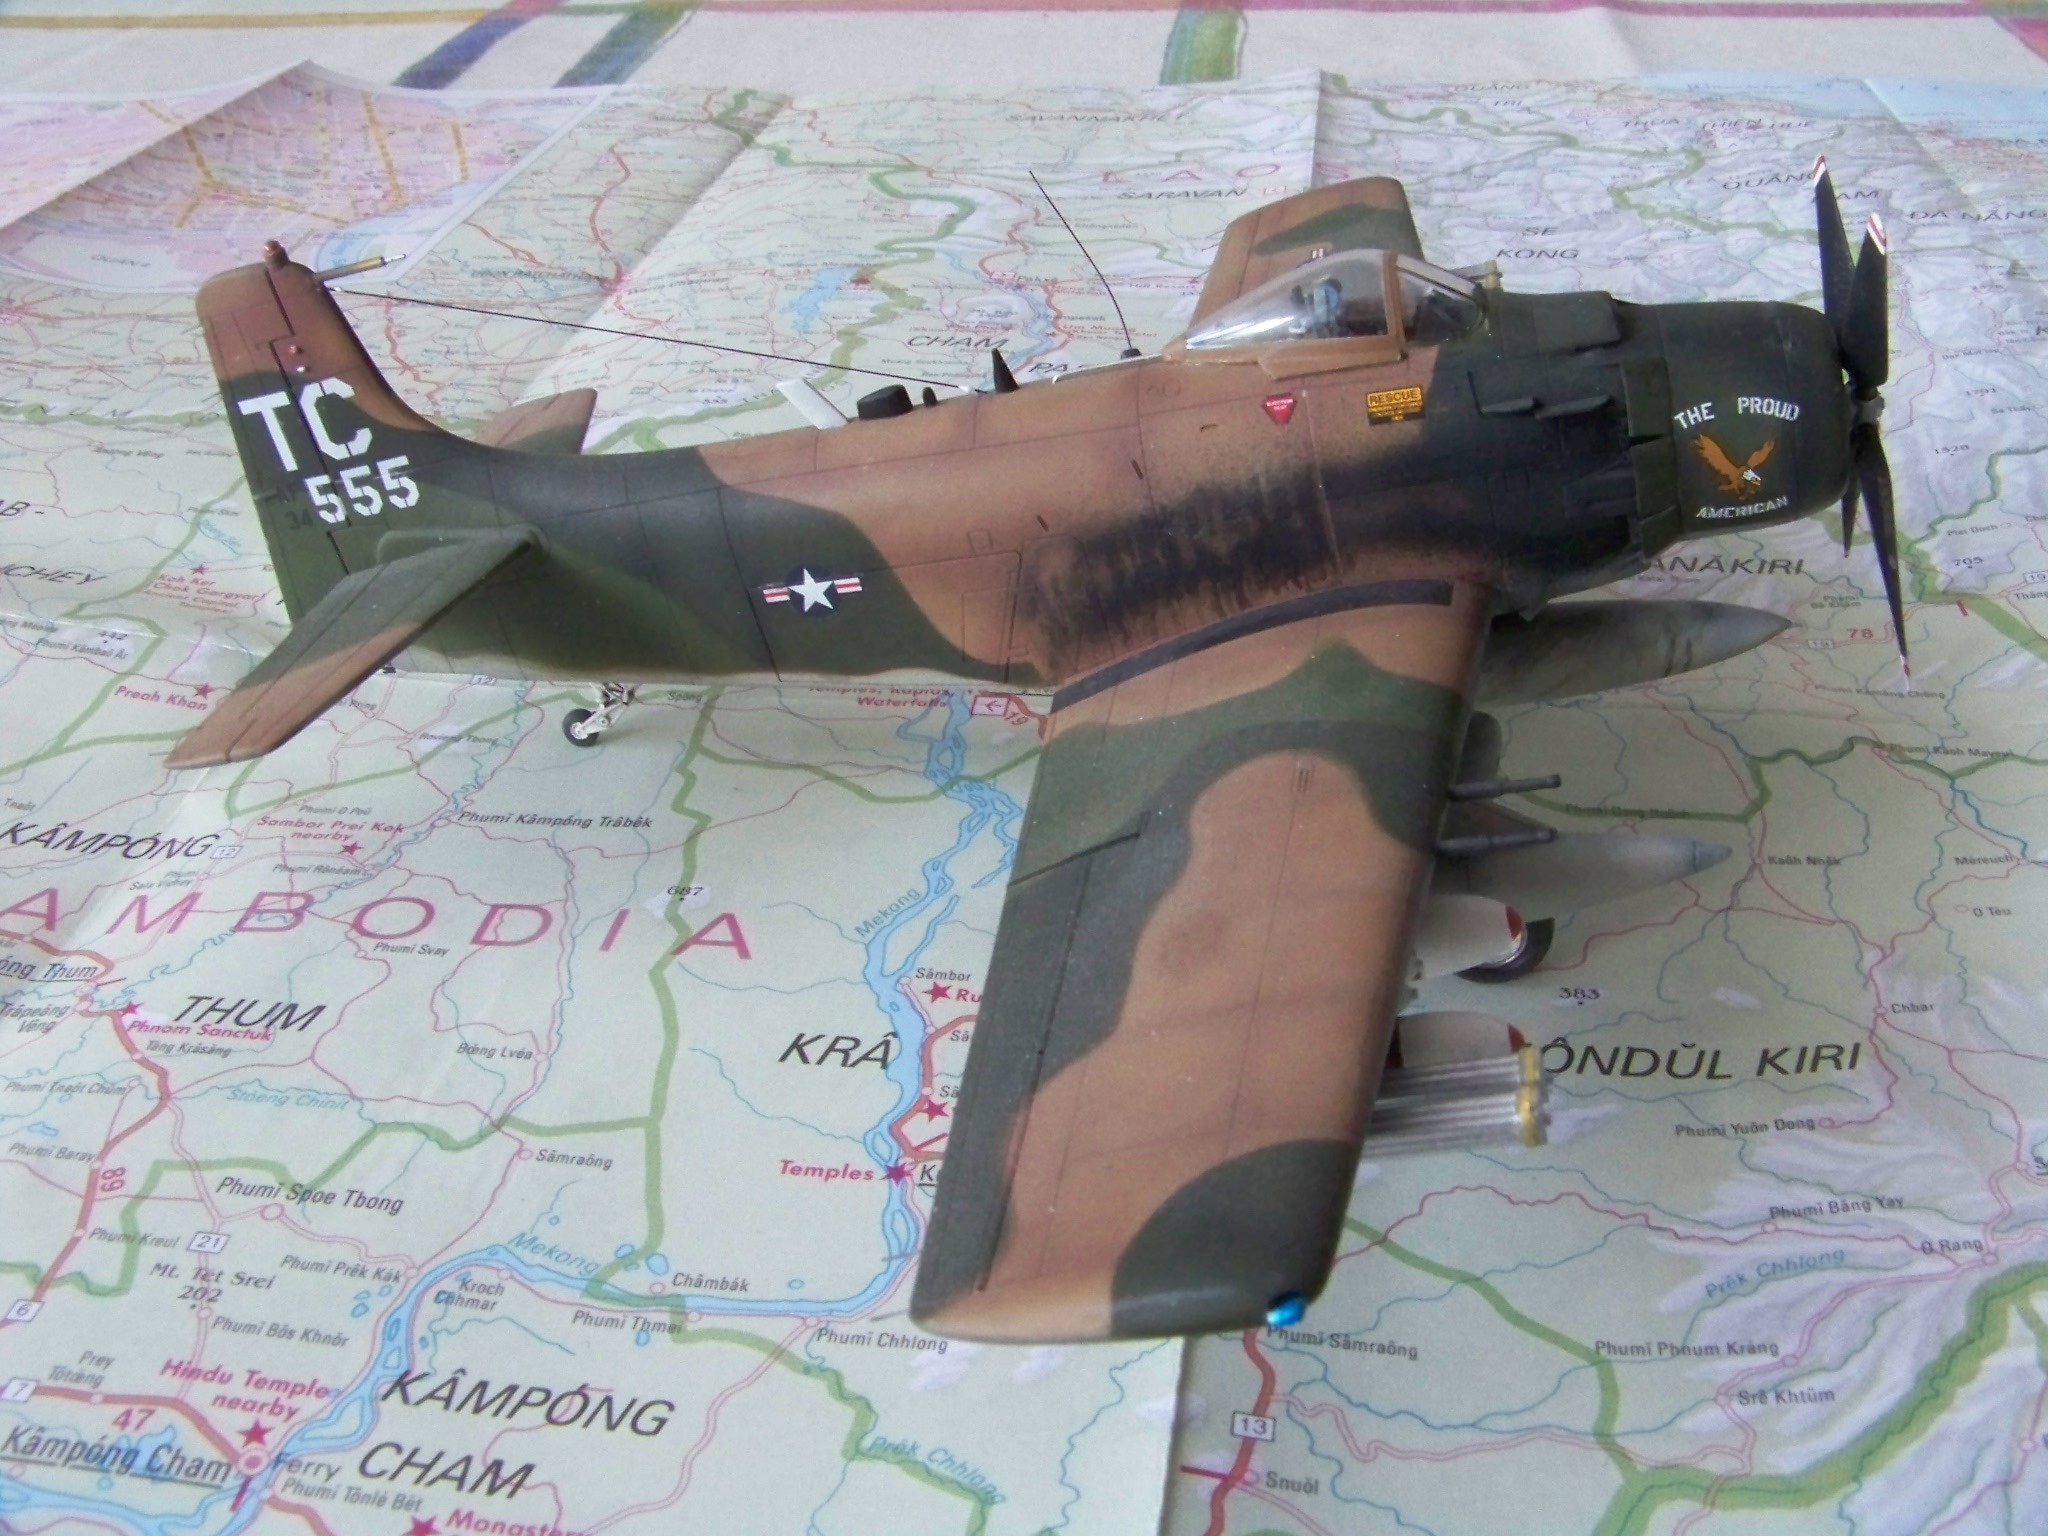
Because this build is going to be top of my skills and it will open my new, better collection after some consideration I have aslo decided to challenge markings by using custom made template ordered via internet, it looks promising… very promising:
I too am continuing to Challenge my skills by upping the game. I find that trying to build and focus on specific techniques during each build. I’ve got a couple of Tamiya Fat Faces in the to build pile, as well as the E fuse from C & H. Good luck and let us see how it is going!
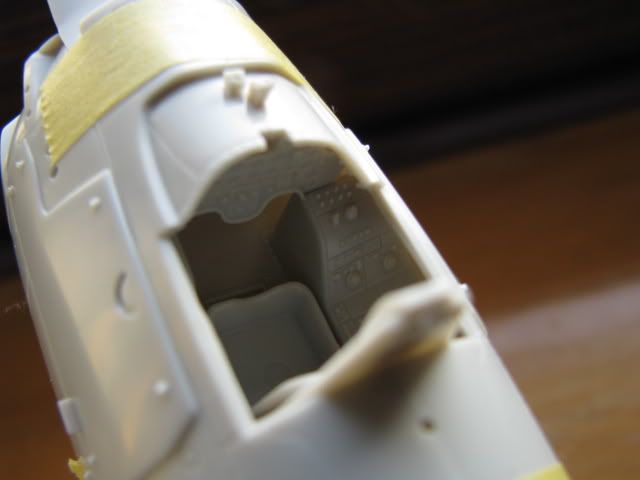
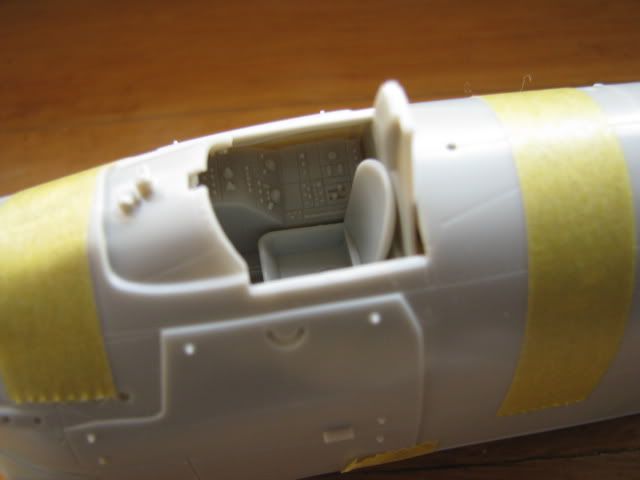
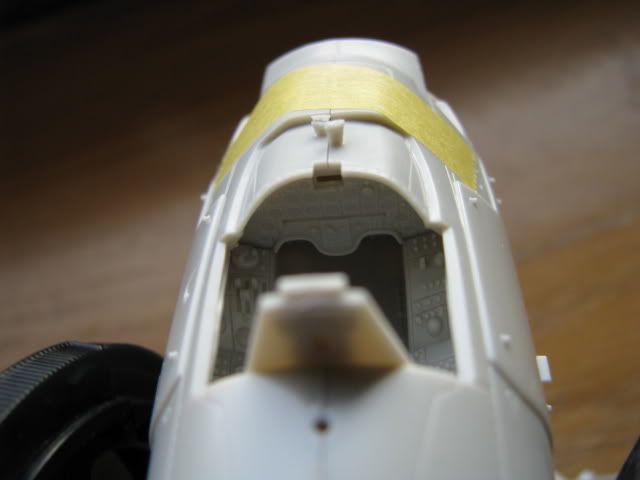
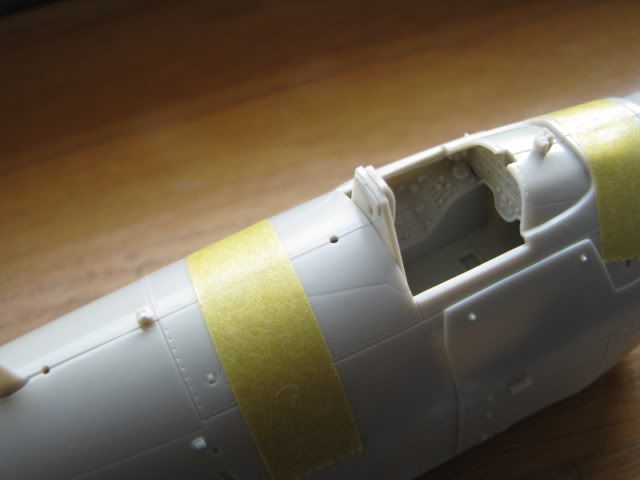
Waiting for the CMK set I have decided to do the test fit for the cockopit
now I wonder what was the sense of ordering an extra set of what Tamiya gives looks quite impressive. nice details as usual.
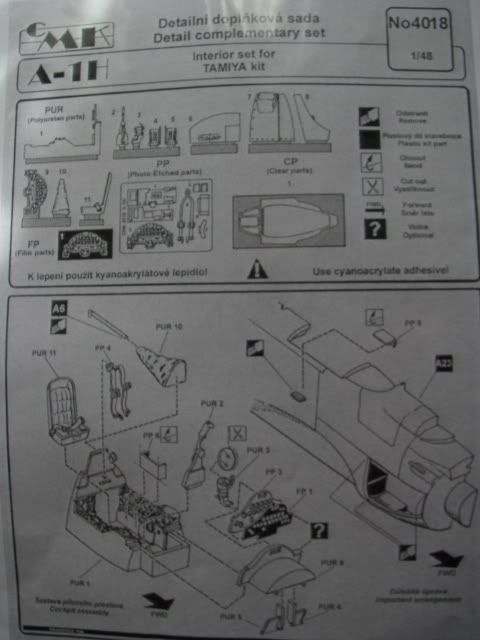
In the meantime I have also downloaded the instruction sheet for the CMK set. It looks brilliant and its a shame that not much will be visible from the outside:(
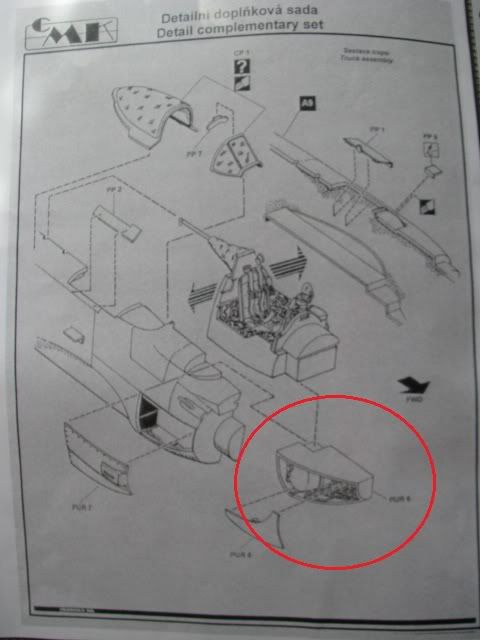
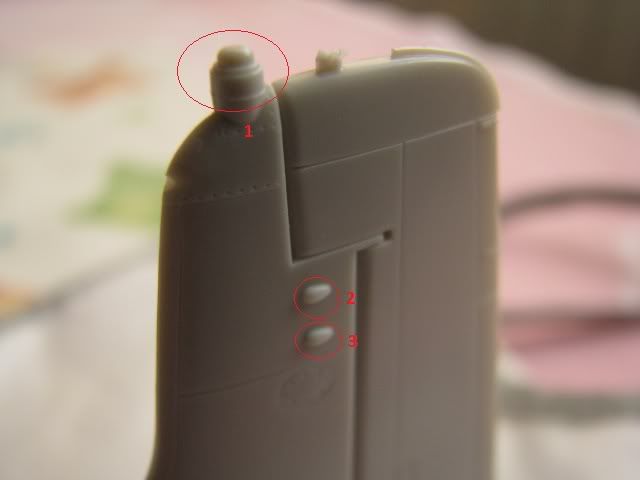
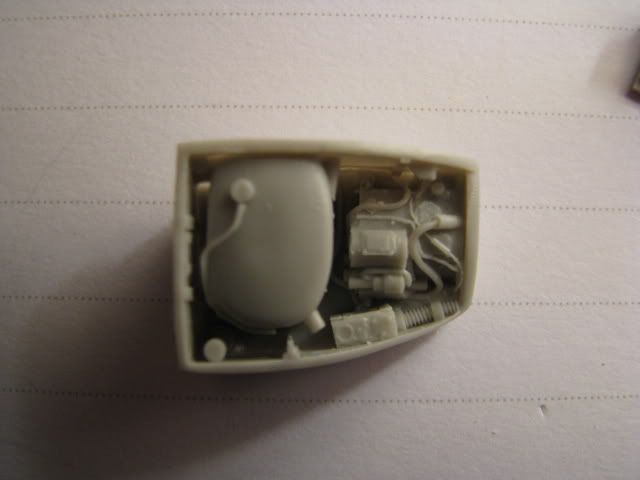
Can anyone tell me what is what I have circled red? I cant find any refernce / picture or anything that would say the colours. My guess is that could be some hydraulic, an oil maybe… but how this should be painted?
I’m just finishing one up myself. A very well made and good looking kit. I’m debating whether I want to weather it or not. It just looks too nice to mess up. I’m thinking of giving it a flat coat of clear, and adding just a hint of exhaust smoke coming out from the back of the cowl. Those big long bumble bee decals had me worried, but they went on nicely and were relatively easy to position without tearing. I don’t know who made the decals, but they are excellent quality.
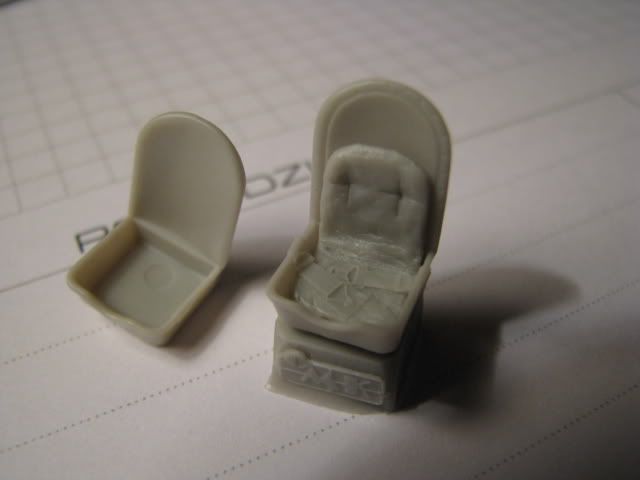
When I build my Sandy I ordered that same CMK set. When it arrived I took a good look at the pit vs. the Tamiya pit, and it was about the same. No real benefit in using the CMK tub. In fact when I did mine I iused all the CMK parts except the tub. I figured no sense risking the fit of the whole plane. Plus it saved me a ton of time sanding down the resin to get it to fit.
Meantime I took a closer look on the position lights on the fuselage. I guess no 4 is also position light but Tamiya does not say what colour this should be. Same with number 3; according to Tamiya it should be silver - is that a colour for light? I am thinking of replacing them with some clear parts. number one should not be a problem but the rest?..
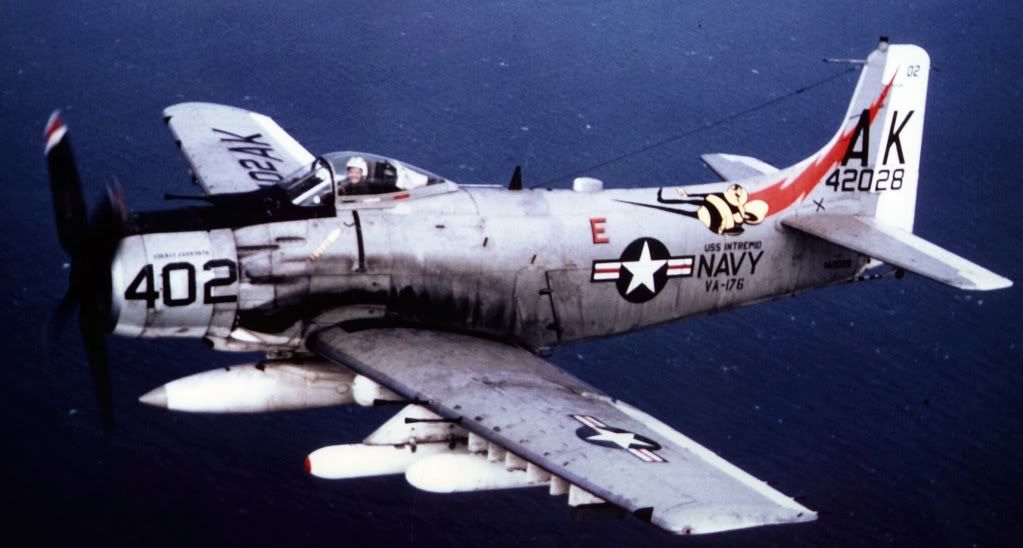
As far as the beacon on the top of the vertical stabilizer, go with red. Every color photo I’ve been able to find as well as my Monogram version all indicate that as the color.
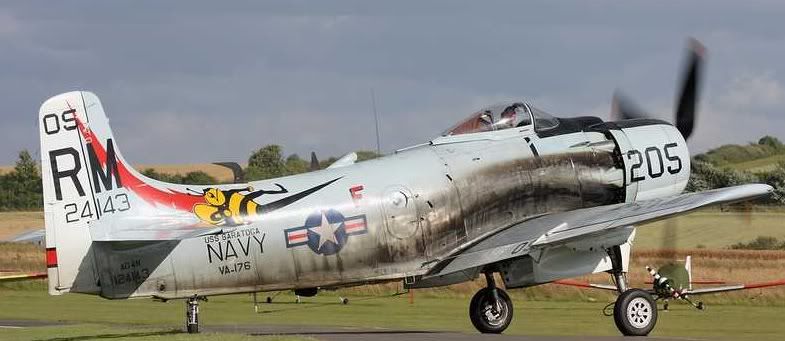
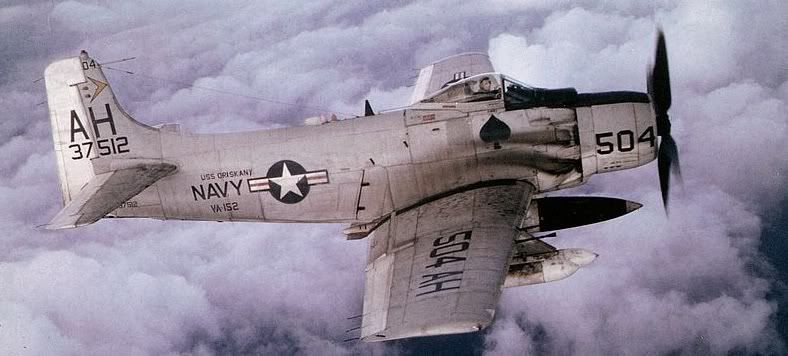
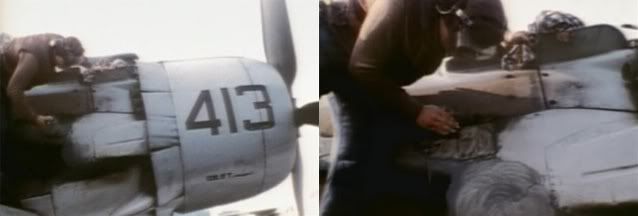
As for the exhaust stains it is really sensitive but important issue and it is easy to overdo the effect on the model. the problem is to make them look realistic
Thanks for all the photos, guys. Mine just looks so darn nice, I’m leaving it factory-fresh, no exhaust. Sometimes, fantasy trumps reality in personal preference in modeling!
Yes, some light exhaust stain might look appropriate, so I will cogitate some more on it. I plan to mount it in a plastic display case with a simulated carrier deck surface on the bottom. I’ll post a pic when it’s finished.
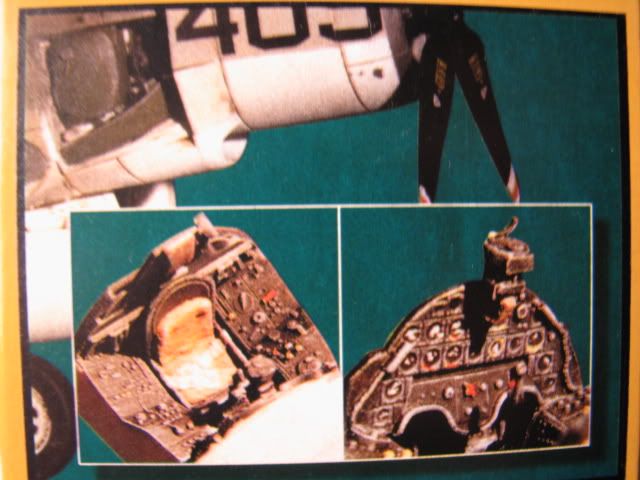
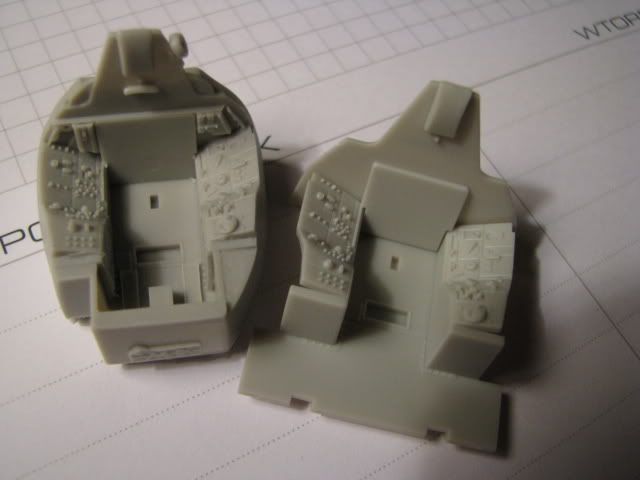
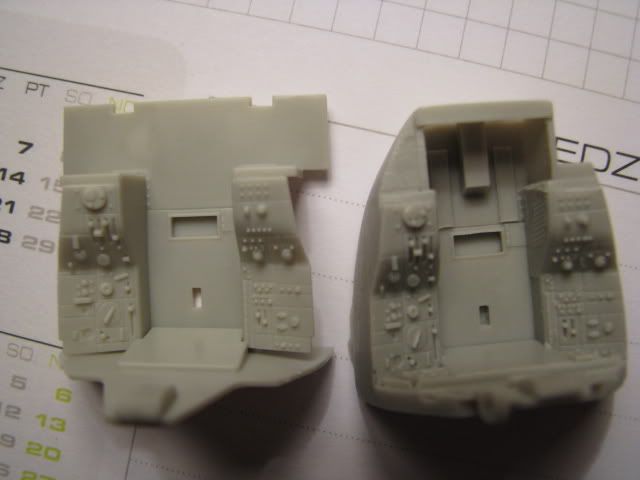
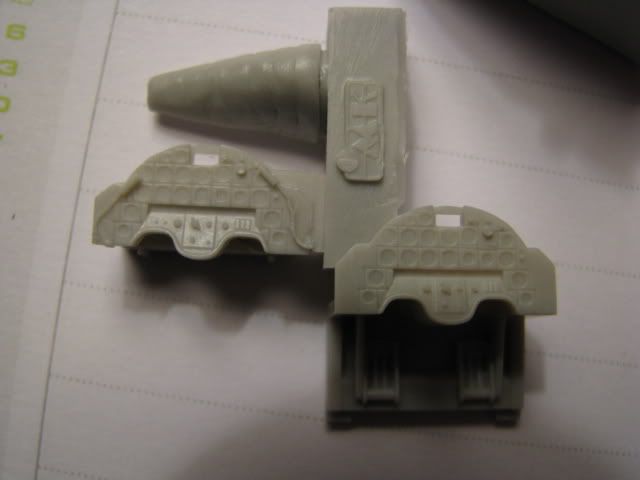
Just received CMK kit. the only positive is the engine back compartment with cowling part but besides that what Tamiya provide in the box altogether with Eduard etched parts is enough. I will resell the CMK kit later on. Below you can have a look on quick review for the CMK and see compared to Tamiya kit.