I have spent a few years collecting random kits of cars I have owned or would really have liked to own.
It is now time to actually start building some!
I will have two categories that I be building up. One will be nice shiny new cars I would have liked to own (There is a distinct trend) and the other will be cars I had in the condition they were actually in when I owned them (this is about as random a list as you could get).
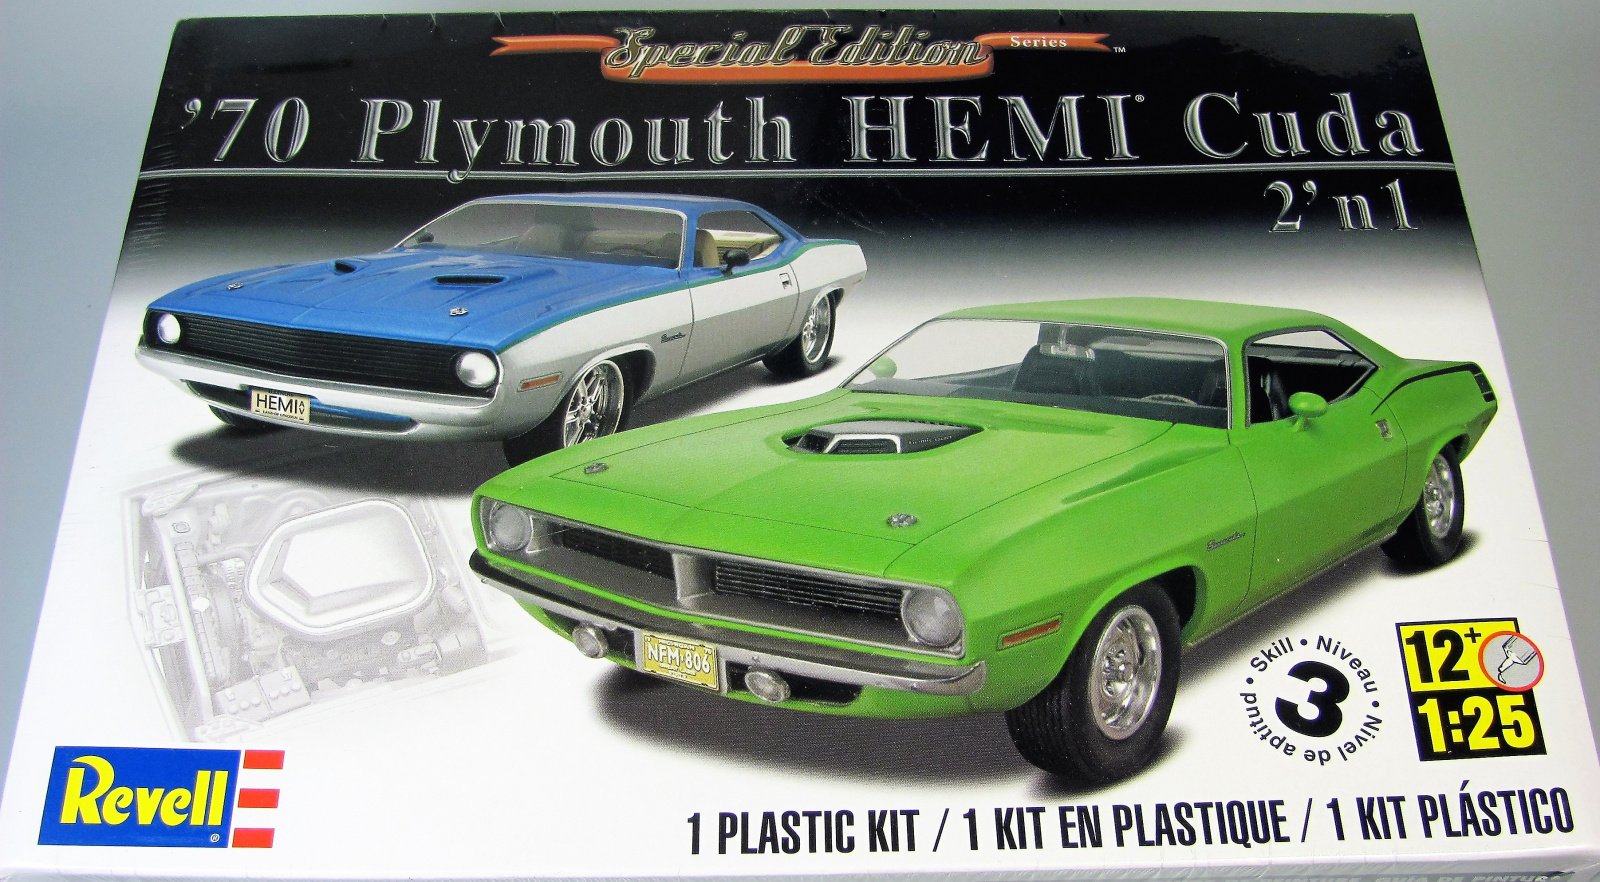
The first one I did is a want list '70 Plymouth Cuda Hemi. It is a much newer mould from Revell so has nice crisp details and loads of little extras like chrome door handles, separate windshield wipers and even an interior mirror. All in all a beautiful kit. I usually build military so I decided it would be first to hone my shiny car building skills. I was happy with the results.
It is really hard to get decent pics of glossy surfaces!
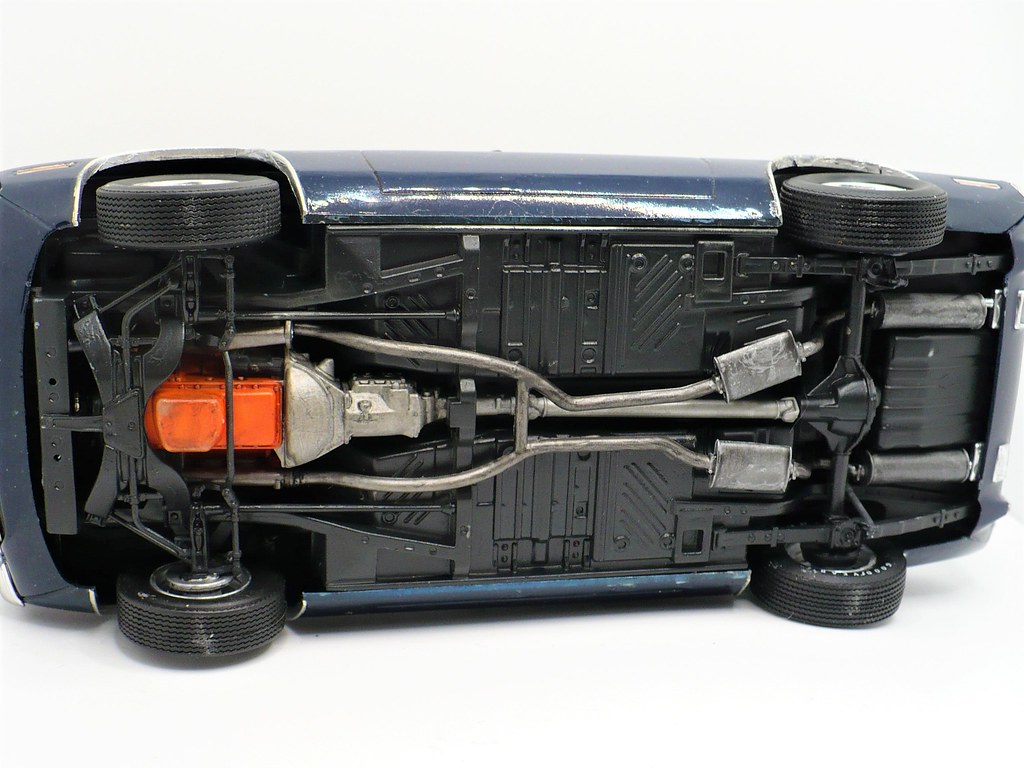
The chrome trim is all Bare Metal Foil and was a total pain to put and keep on! Bumpers and other kit chrome parts were sprayed with flat clear to knock the really bright plastic look down a bit and then covered with black tinted Future floor polish finish to bring them back to a more scale brightness and bring out detail.
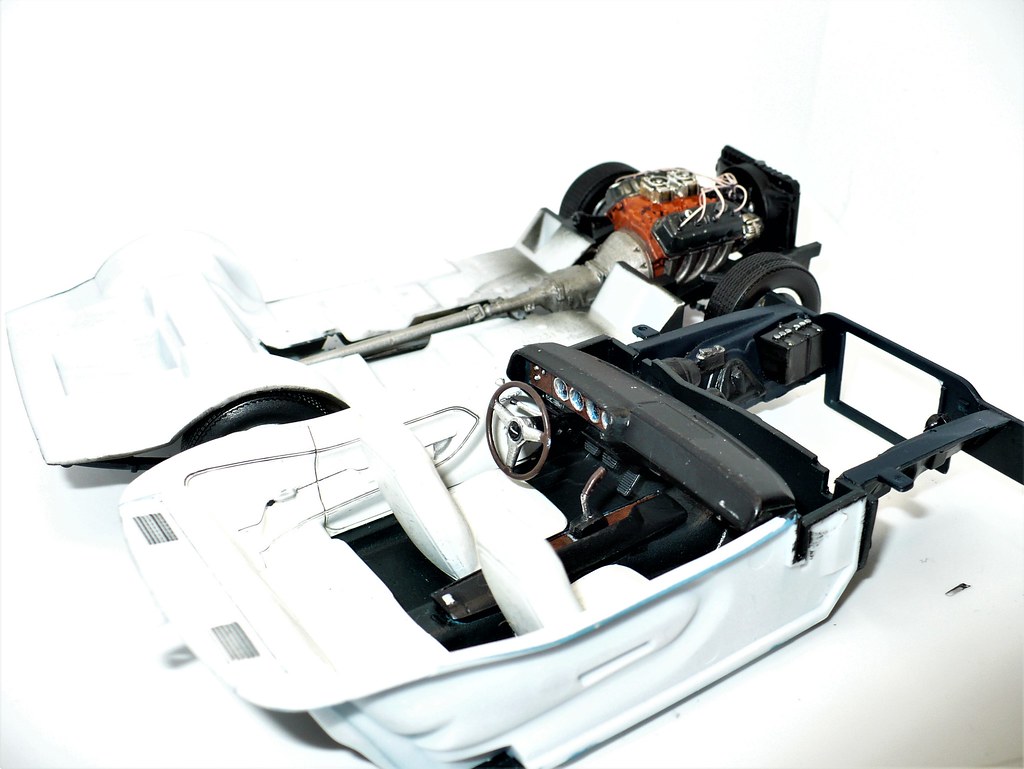
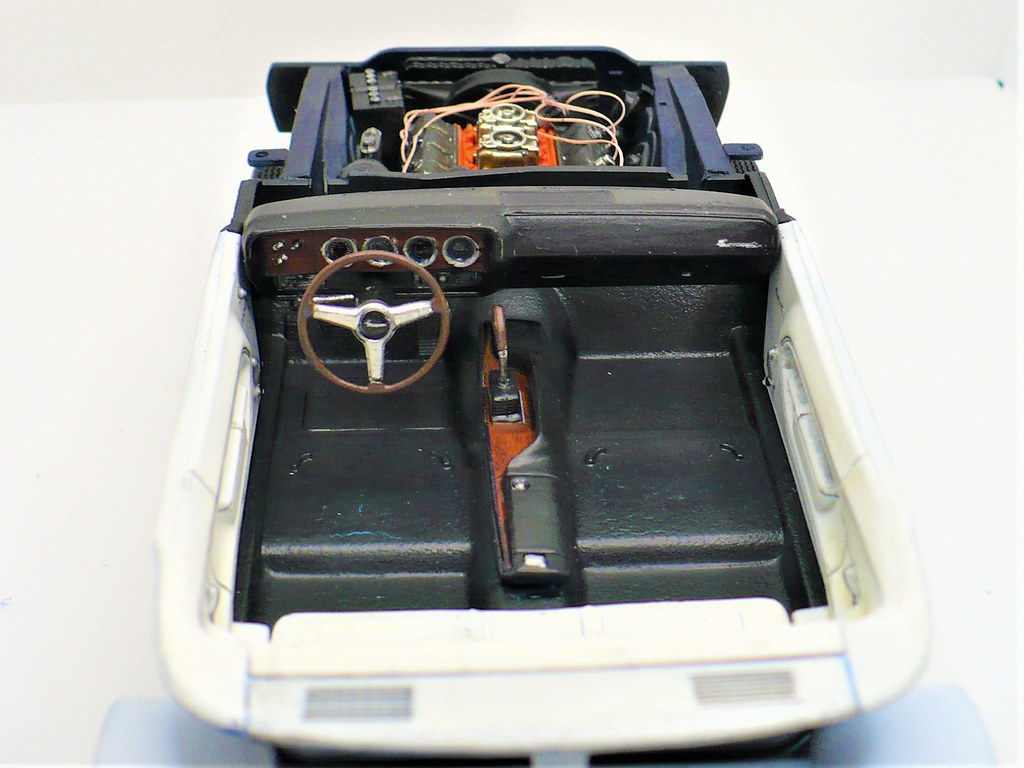
Went with the very popular white and black interior and it looks really great with the blue. The white does have some slightly dirty thinner brushed over it to give some definition and highlights
The hemi and engine bay are decently detailed. I did not do full plumbing but added plug wires to busy it up even more.
All in all I am satisfied with my first venturein doing shiny cars in about 20 years and give it a 7/10 but do hope that such things as adding chrome get easier as I move through these.
Excellent build! I’m a MOPAR guy and this turned out great. Dated a girl in high school whose first car was a Cuda and in hindsight I probably should’ve dated her longer.
Assembly was flawless I have found that these older car kits can be hit and miss but this one was perfect. Revell seems to at least clean up the molds before doing reisssues. I am currnetly working on an 1960 Chev pickup from the AMT (Round 2) lastest reissue that has been brutal. I may as well have been hand carving some of the parts out of solid styrene the flash was so bad. And the warps! Oh the warps.
The beauty of the tinted Future is that it’s self leveling properties let it flow into the reccesses so they get highlighted while not really changing the colour of the chrome. I will give the smoke method a try sometime.
Everything in this picture except the main body colour has a coat of tinted Future on it. It is just brushed over the whole surface and left to settle on it’s own. It looks gross and over blown while still shinny but once a coat of dullcoat goes over it it transforms into gradually fading out shadows around detail and in depressions without huge impact to the base colour. Small details such as bolt heads (and the wing nuts on the air cover) that are often hidden by a uniform coat of paint pop right out. Any jagged edges between different colours get filled in and evened out.
Note:
The shading between the lines and the bolt insets on top of the air breather.
The “spaces” between the element sections on the breather
The definition on the fins of the altenator
The highlighting of the casting on the orange block
The "shadows in the bolt indentations on the valve covers
The evenness of the paint around the battery caps and wire clamps