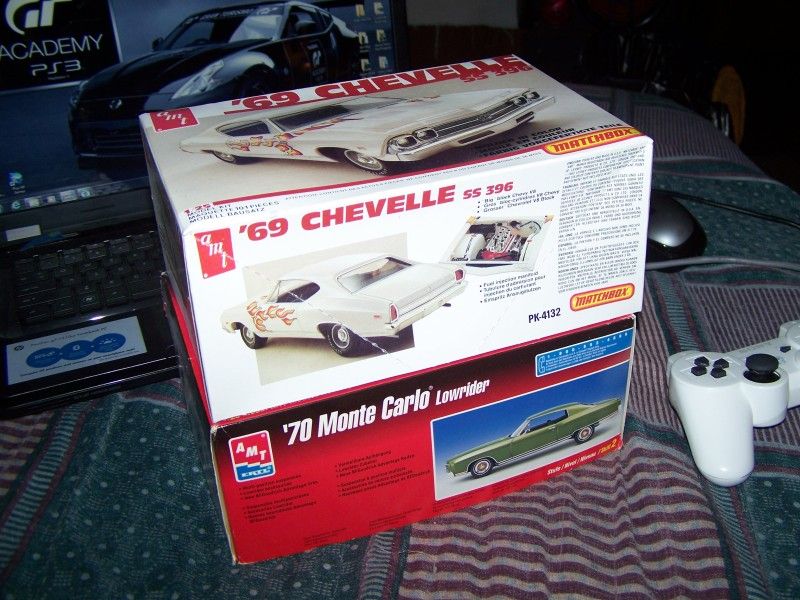
This is a commission build project based on a real 1969 Chevelle Malibu. I’m using an old AMT Chevelle street machine kit.
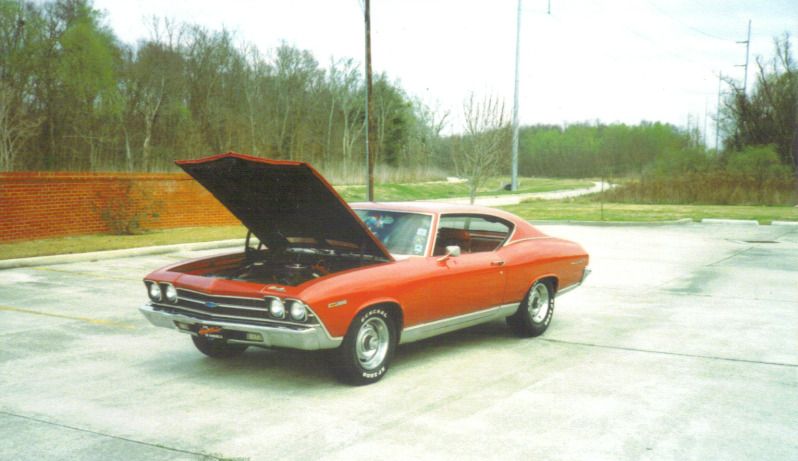
This is a photo of the real 1:1 scale car.
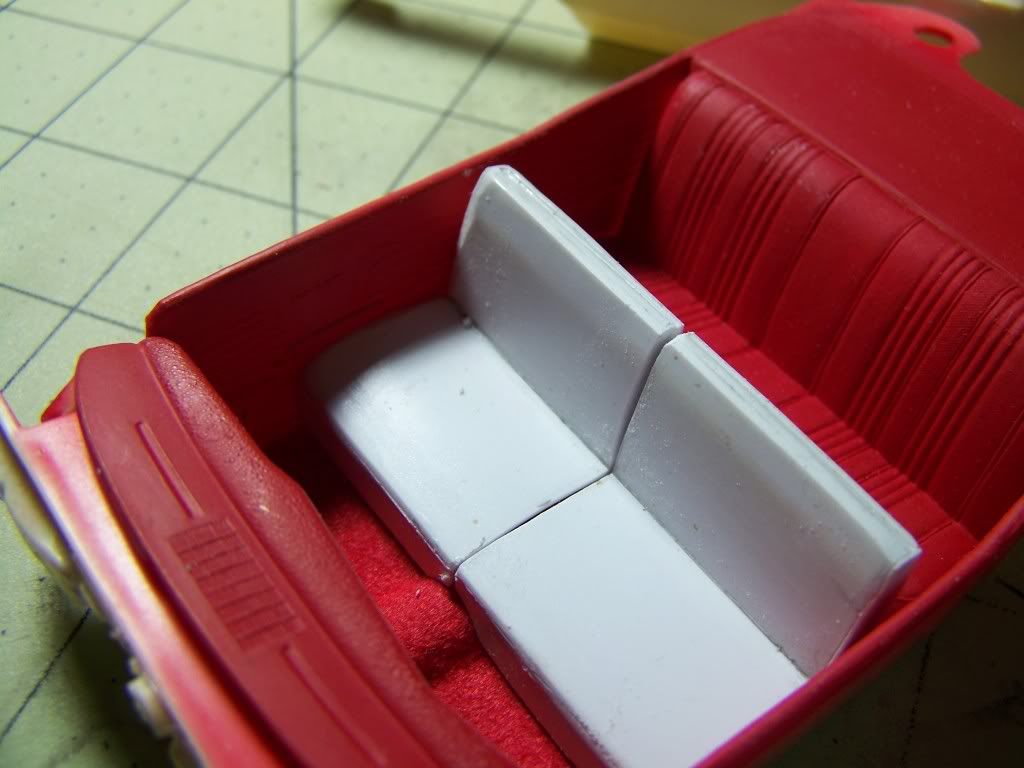
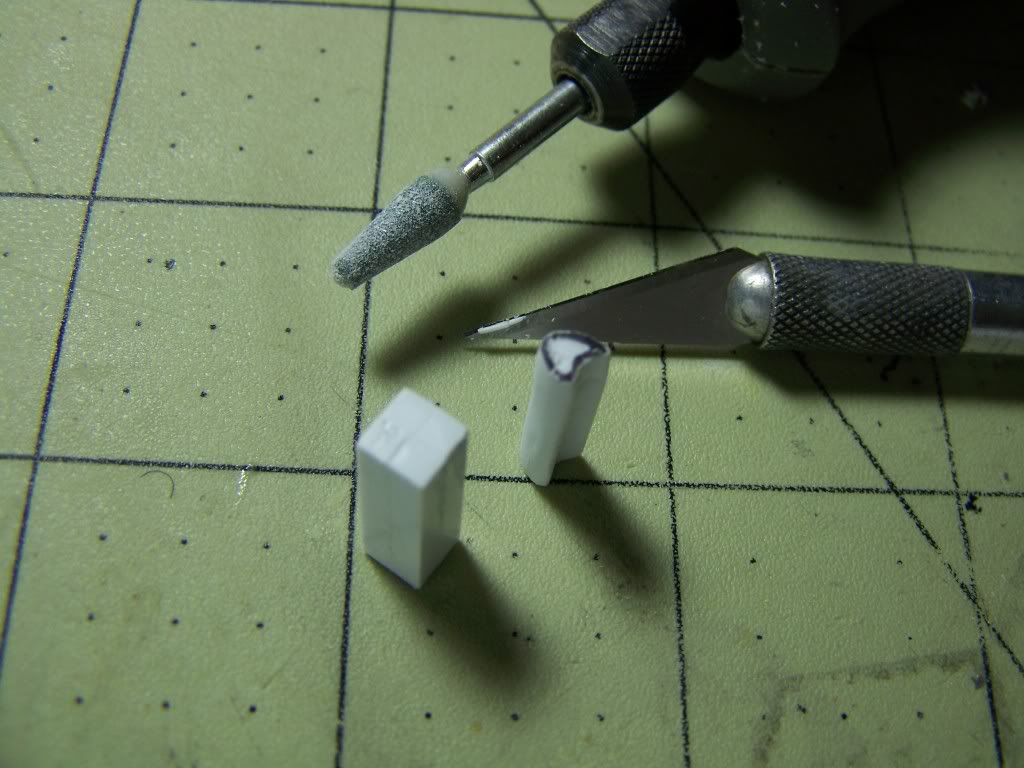
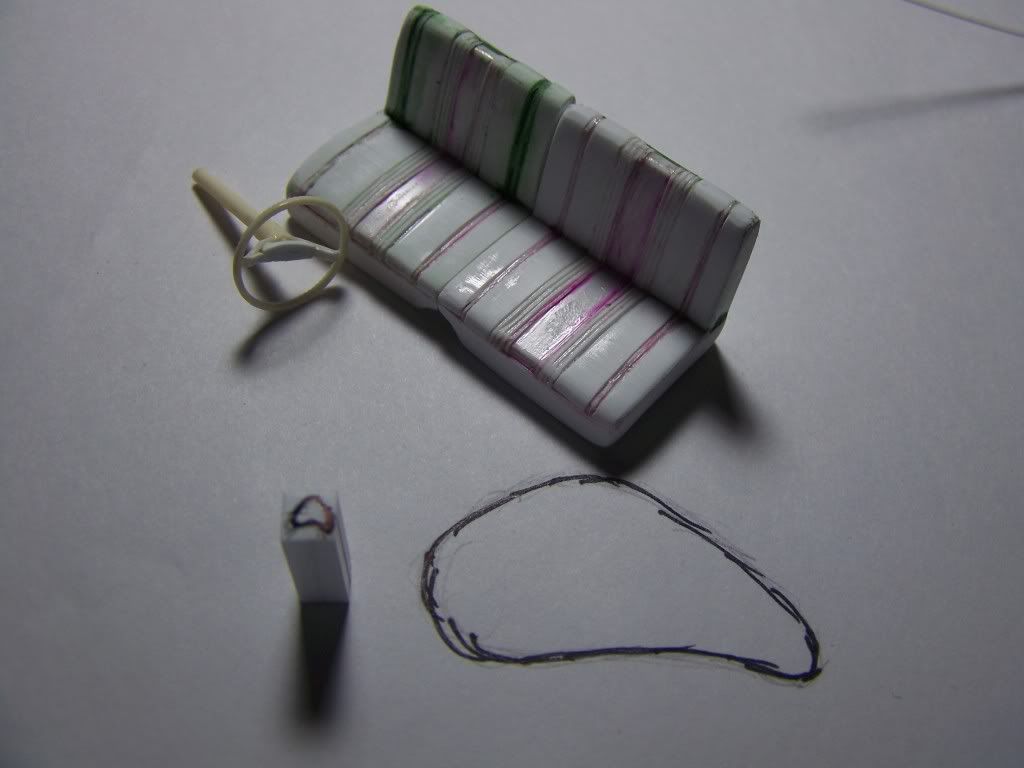
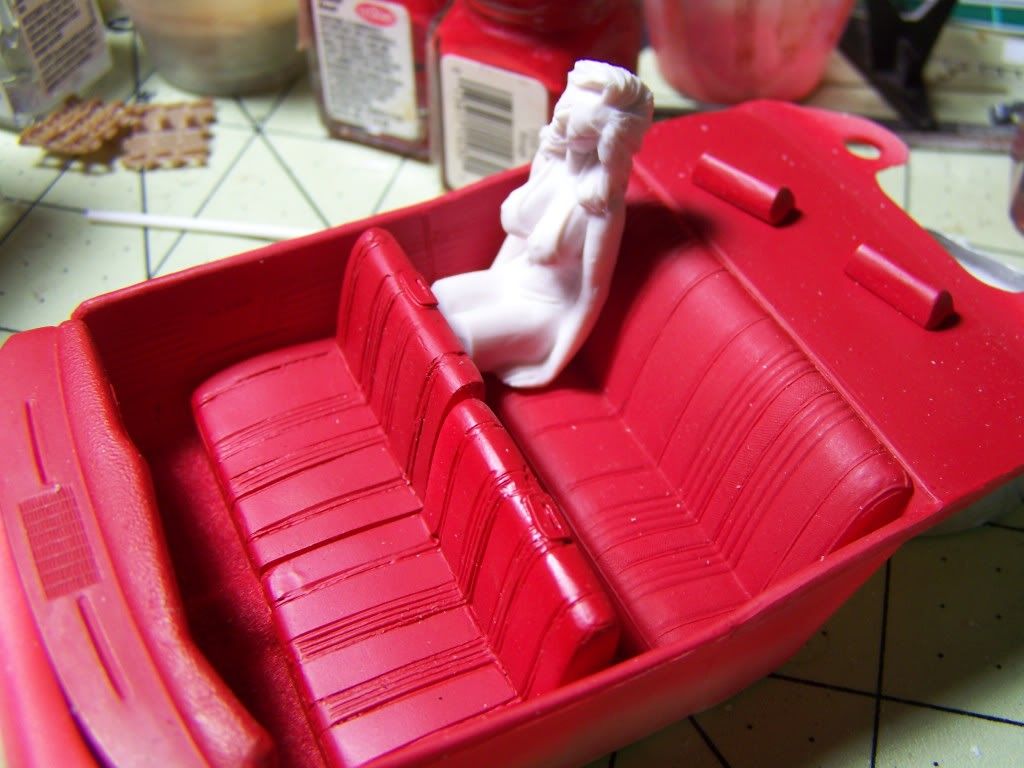
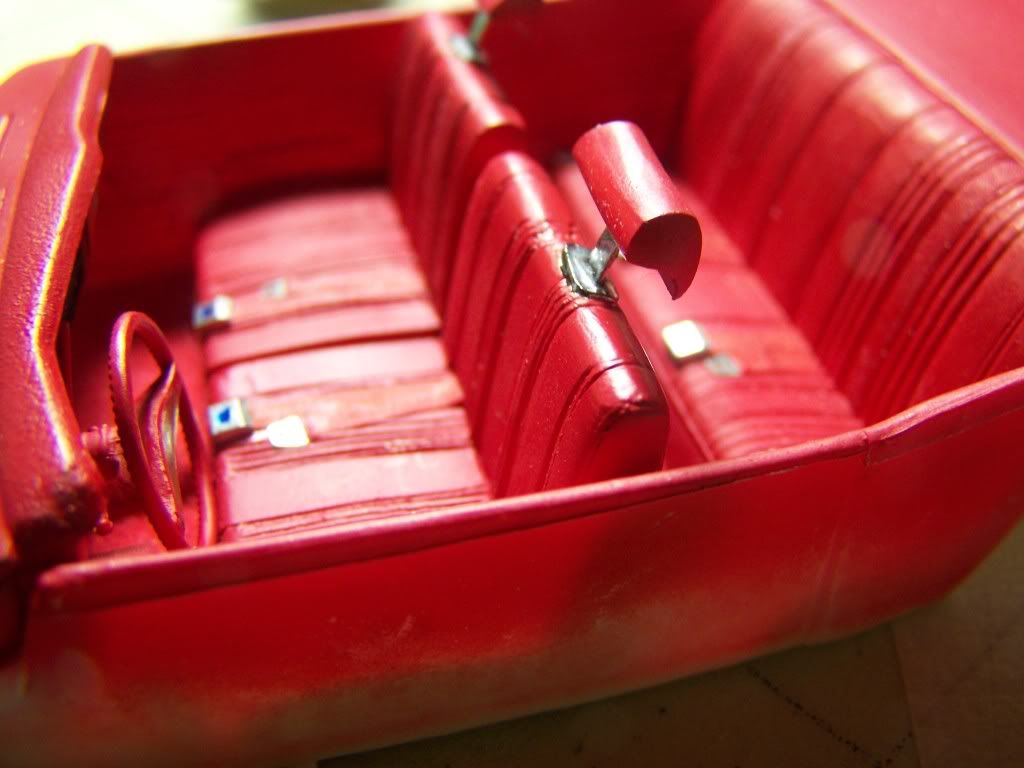
I had to scratchbuild the front bench seats.
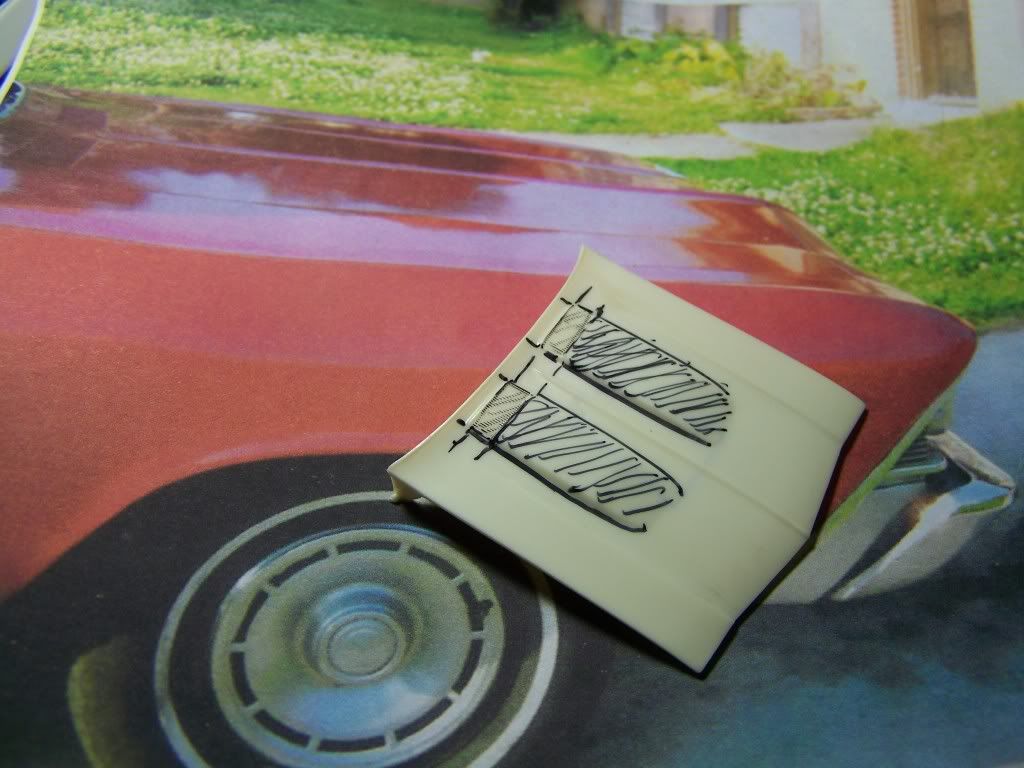
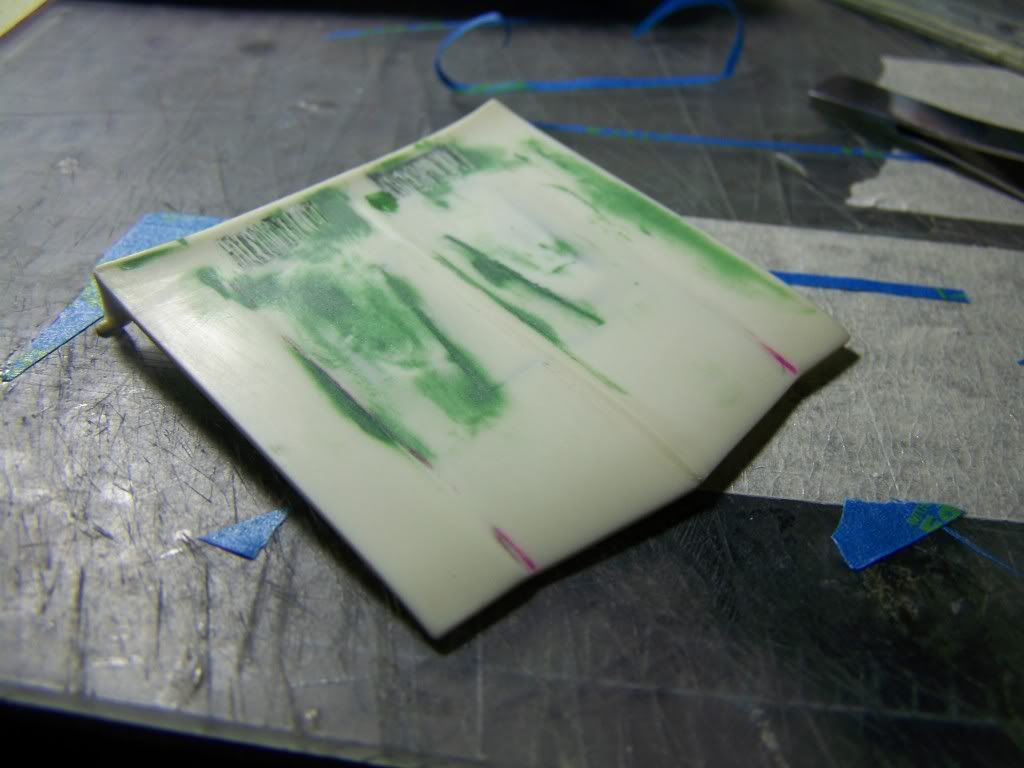
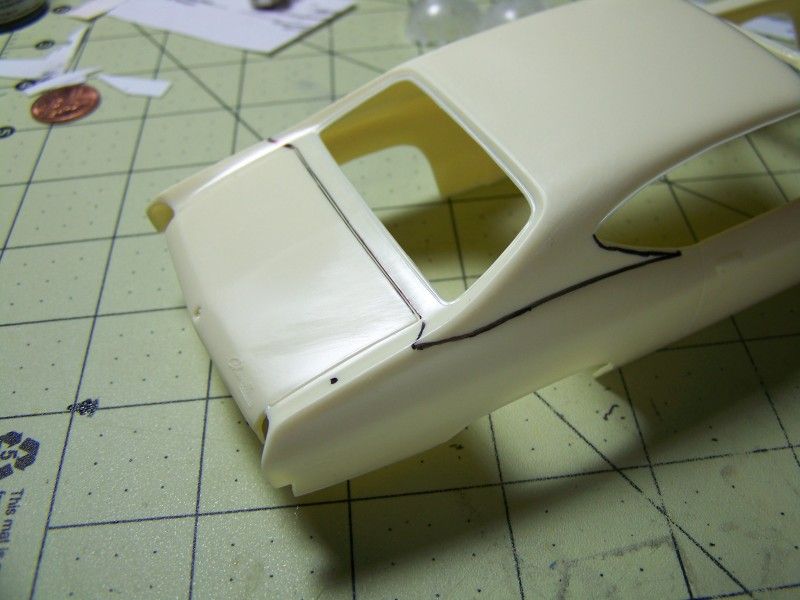
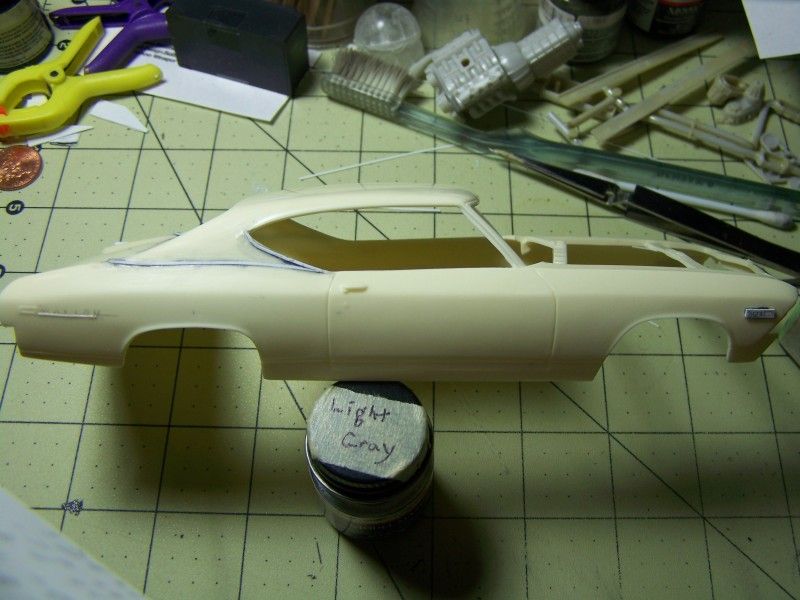
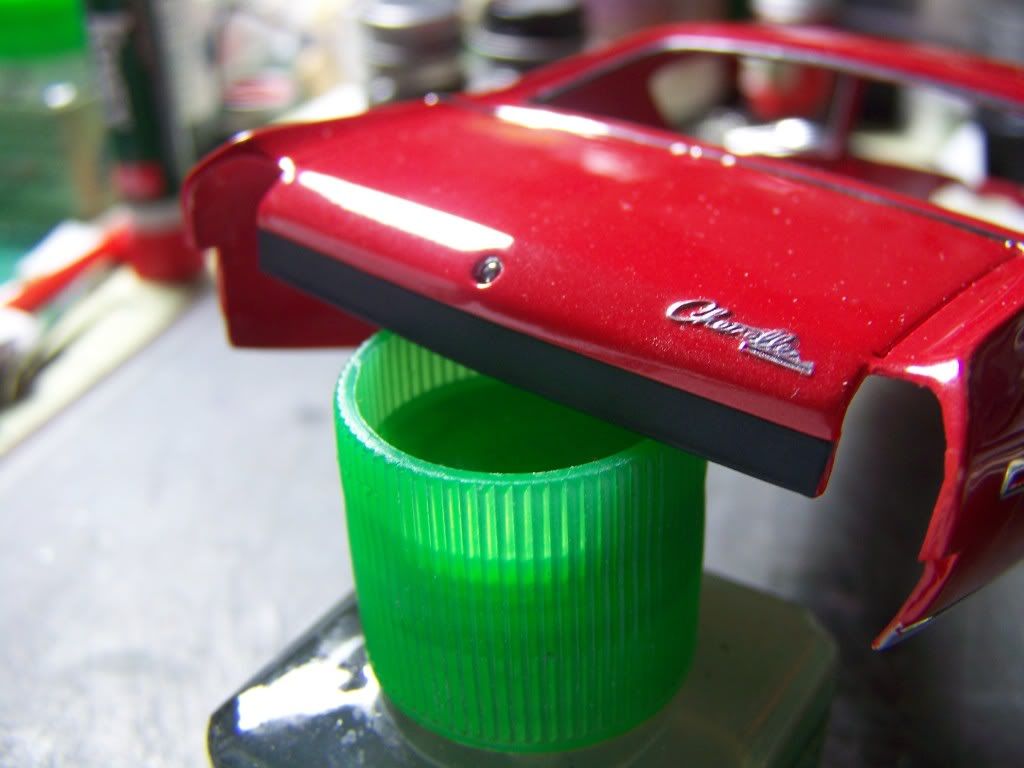
As well as making the hood flat.
This is a commission build project based on a real 1969 Chevelle Malibu. I’m using an old AMT Chevelle street machine kit.
This is a photo of the real 1:1 scale car.
I had to scratchbuild the front bench seats.
As well as making the hood flat.
Stock hood huh?
Yep I had to grind that sucker way down! (Here’s some more work).


Next the front bumper need some reworking and the tail lights need to be fully scratch built. (Oh and I’m working on adding detail to the two front seats.
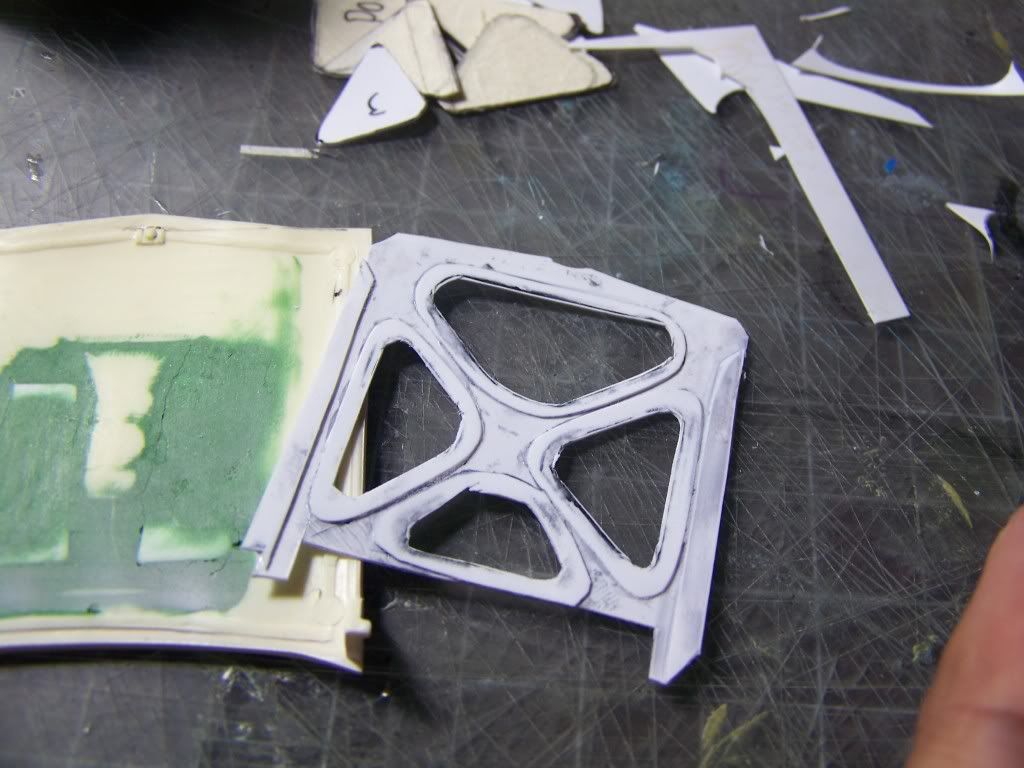
Hood looks great and nice detail on the interior bracing.
Nice body work on the hood!!
Ok here a bit more progress…
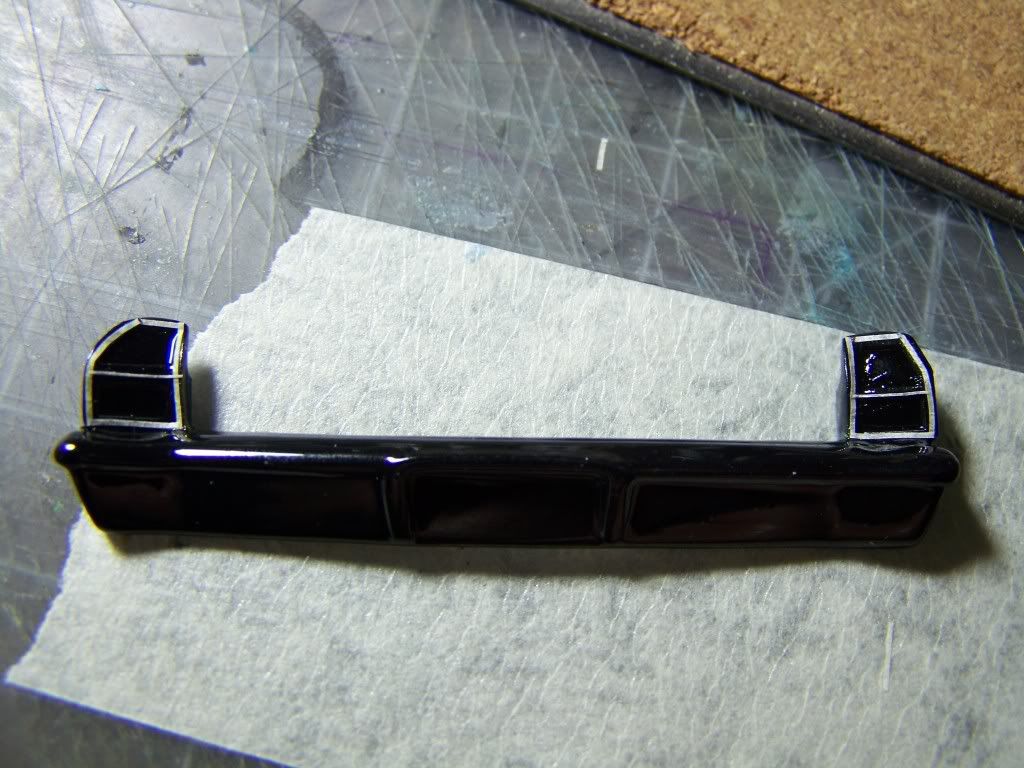
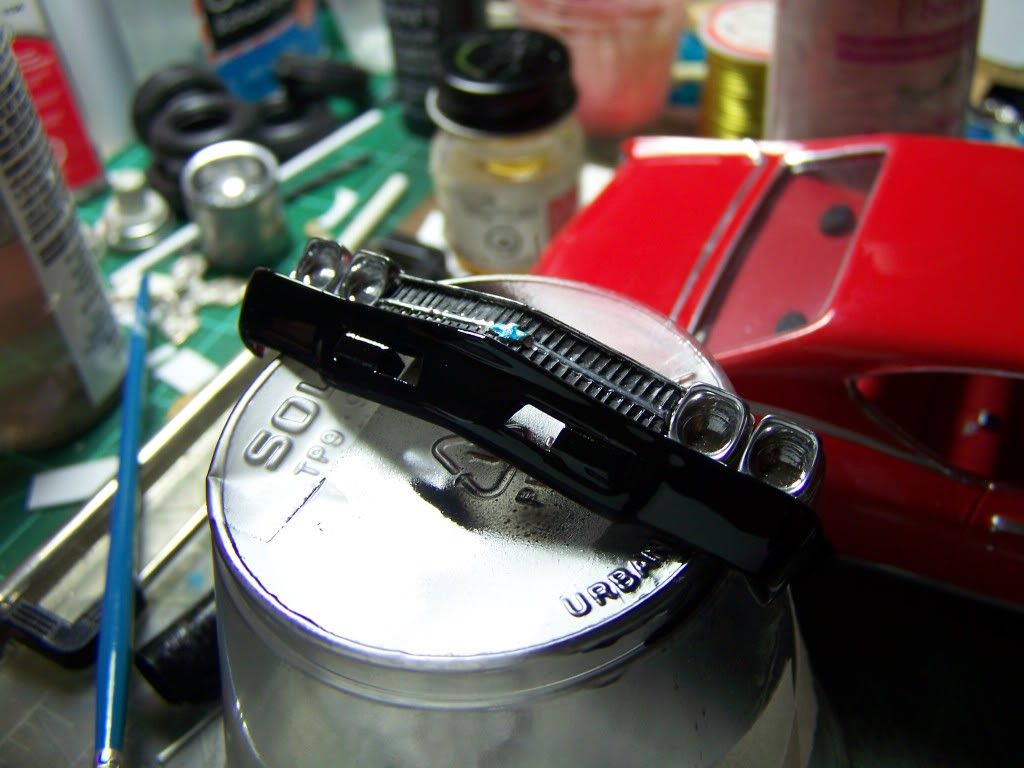
There’s no stock malibu tail lights in this kit, so I made my own.
Some gaps need to be filled.
I filled the putty down and shaped it.
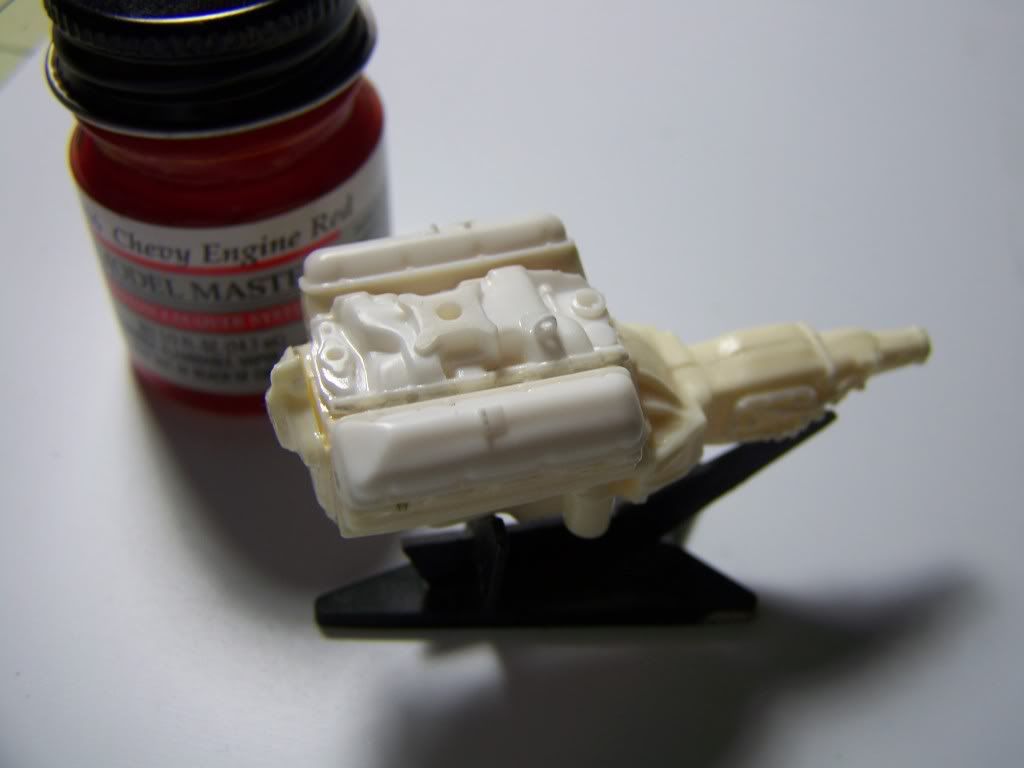
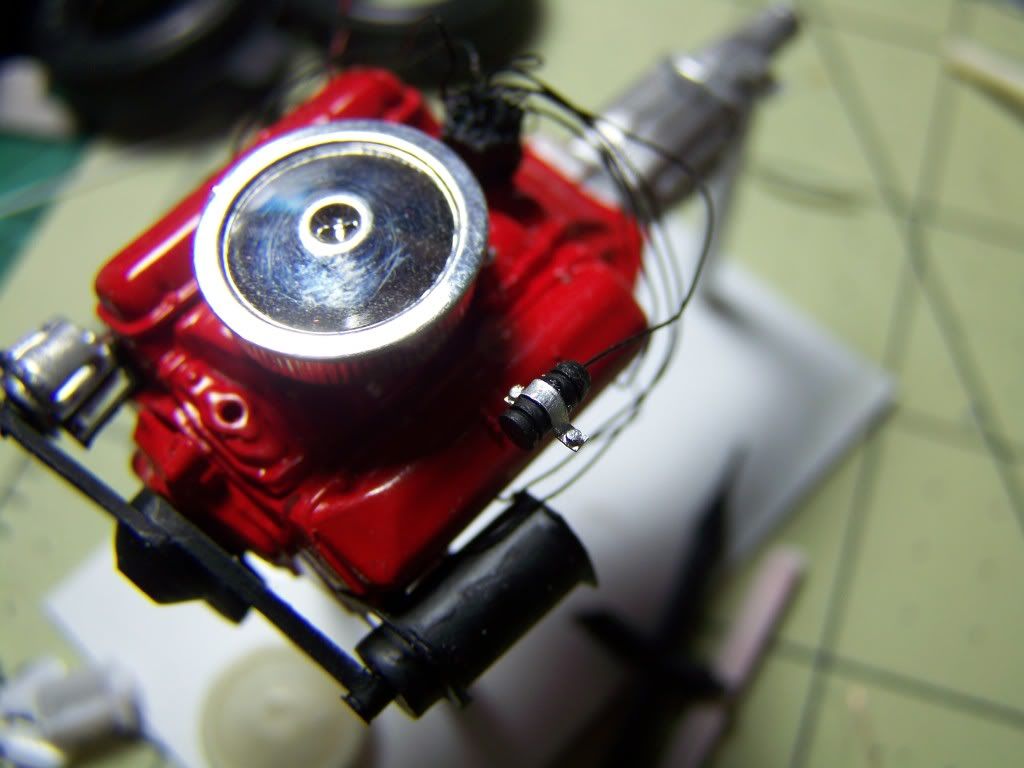
Some motor work…
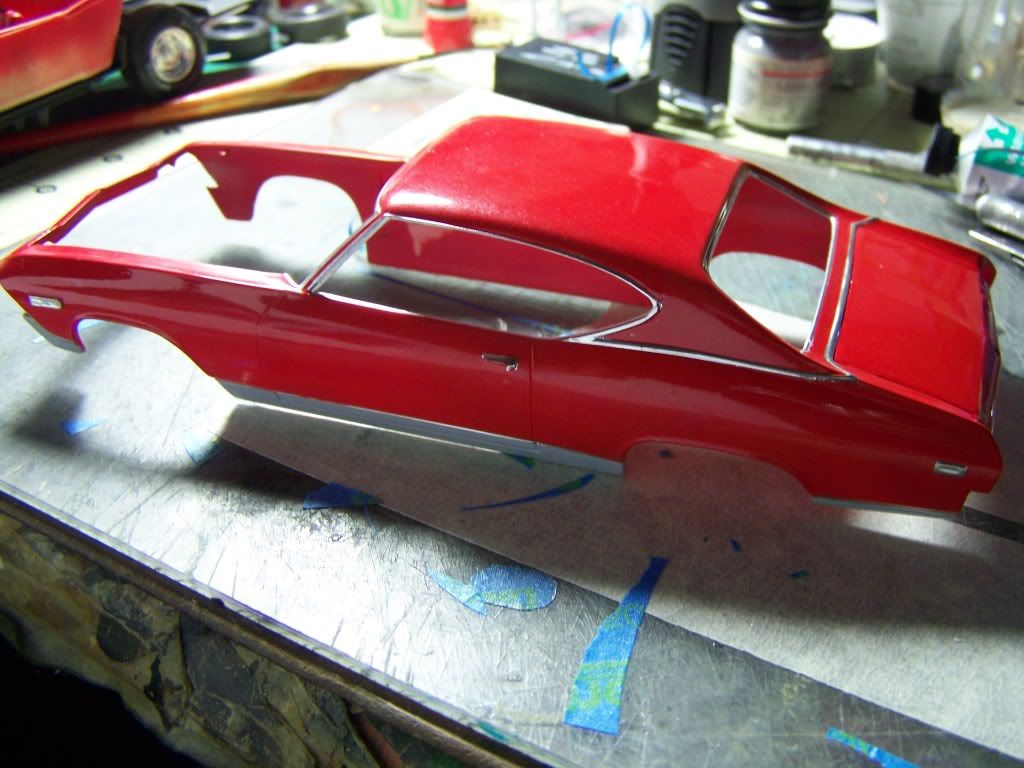
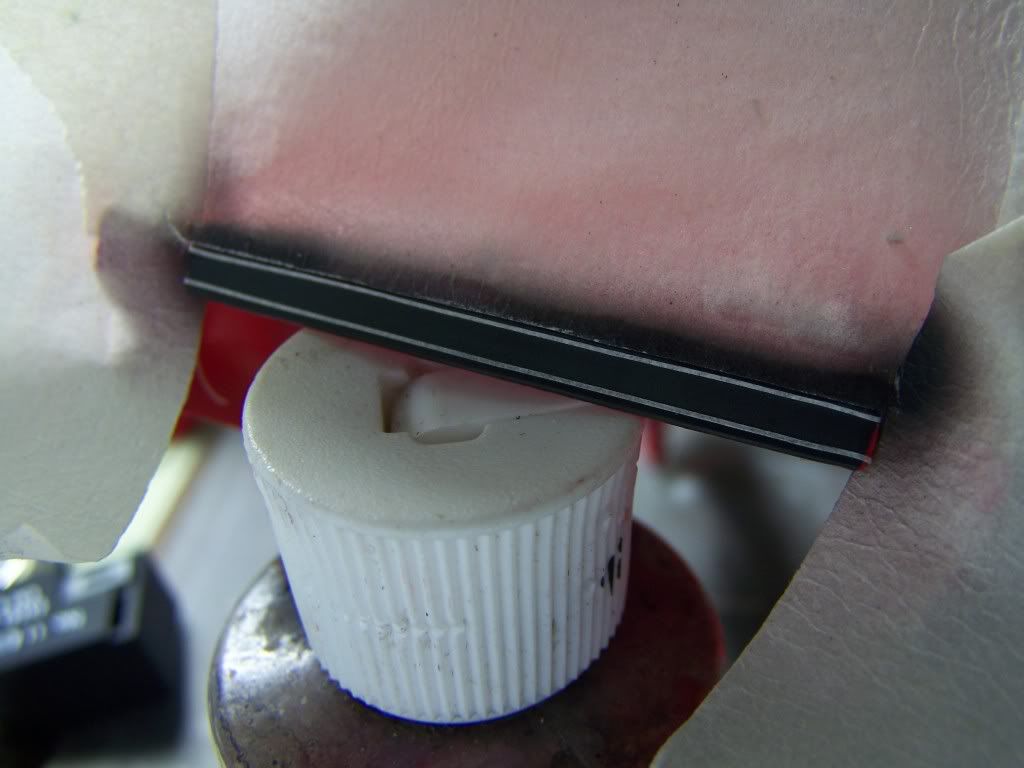
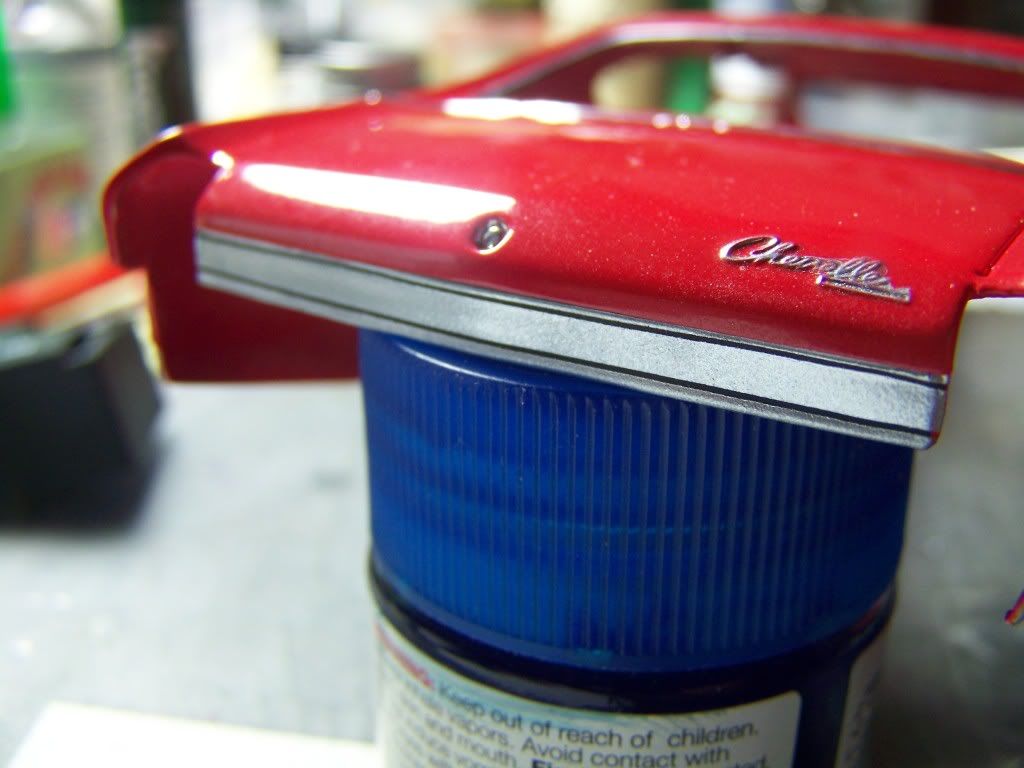
Chrome trim had to be added to the car’s body.
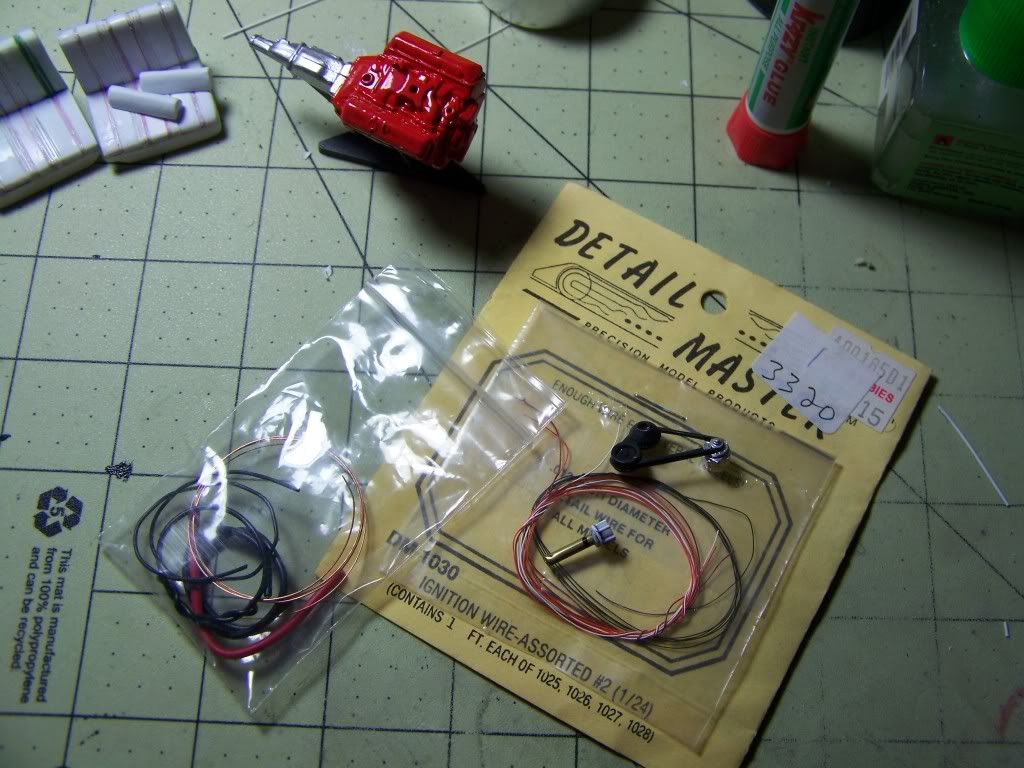
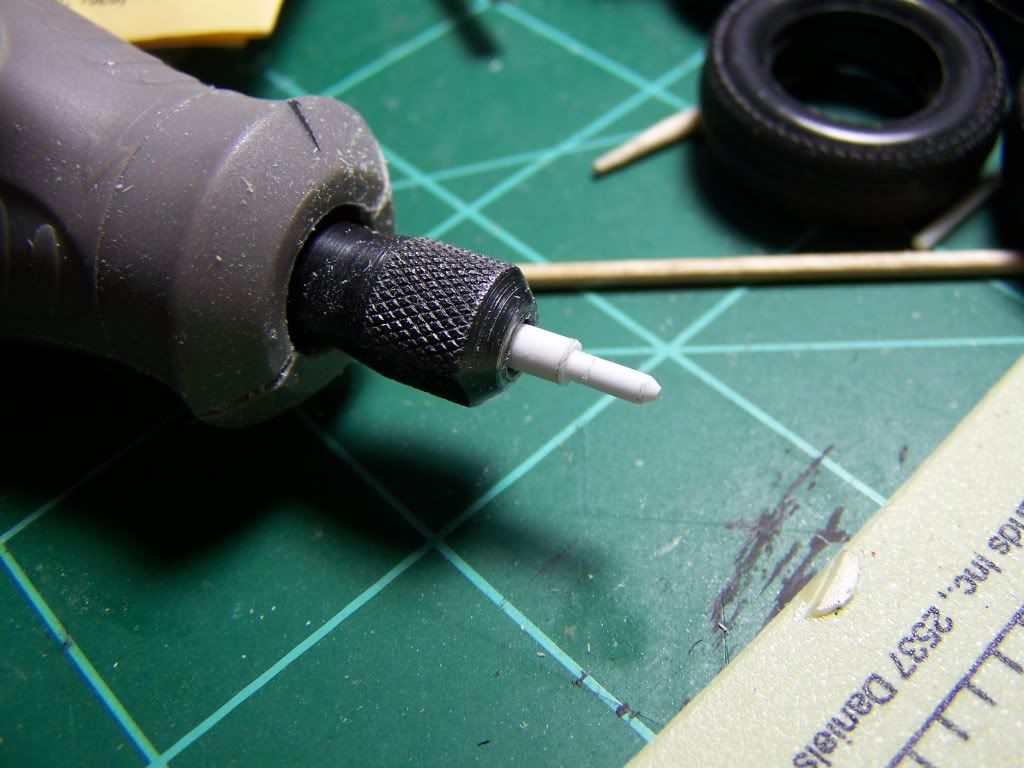
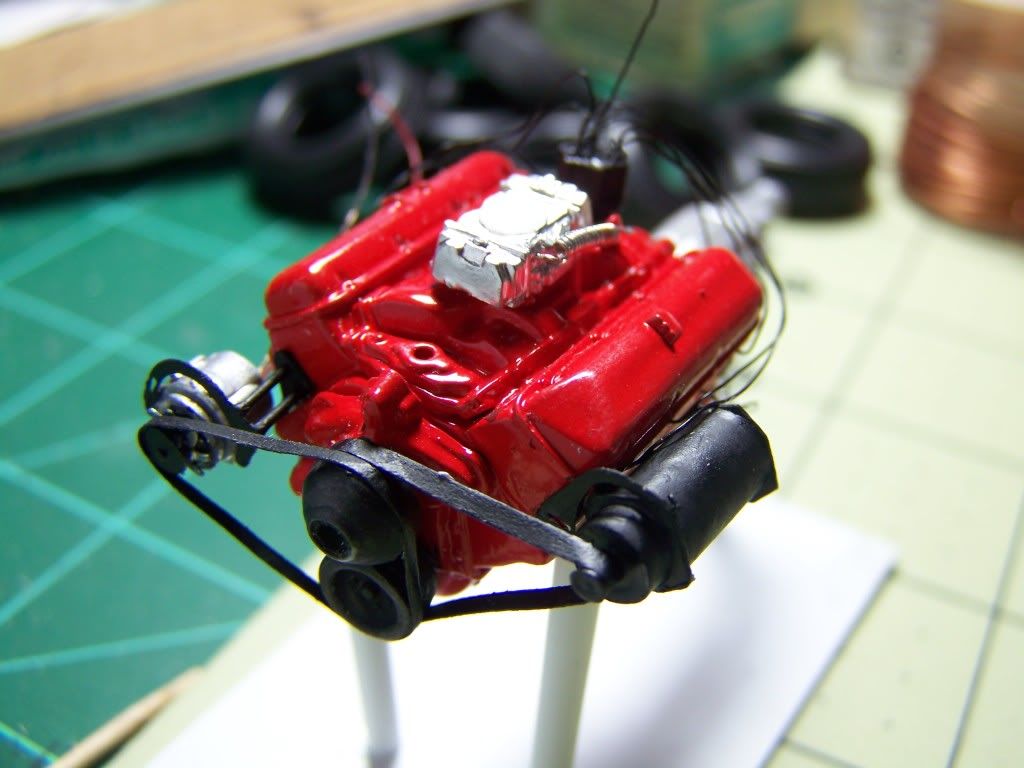
Some engine work.
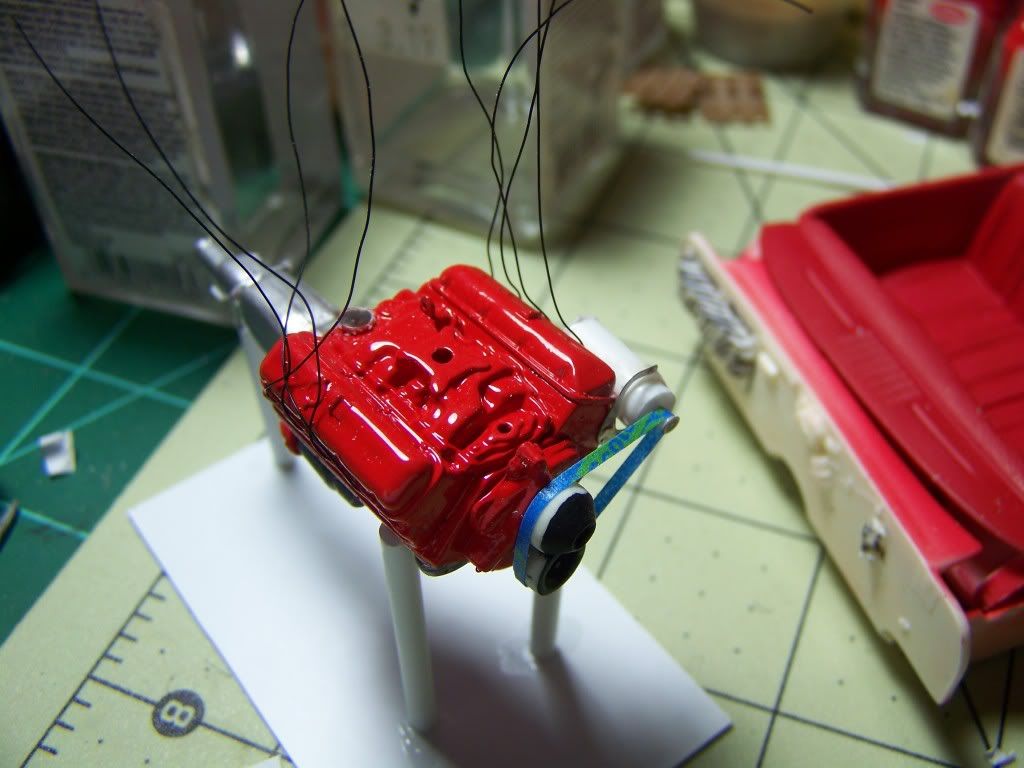
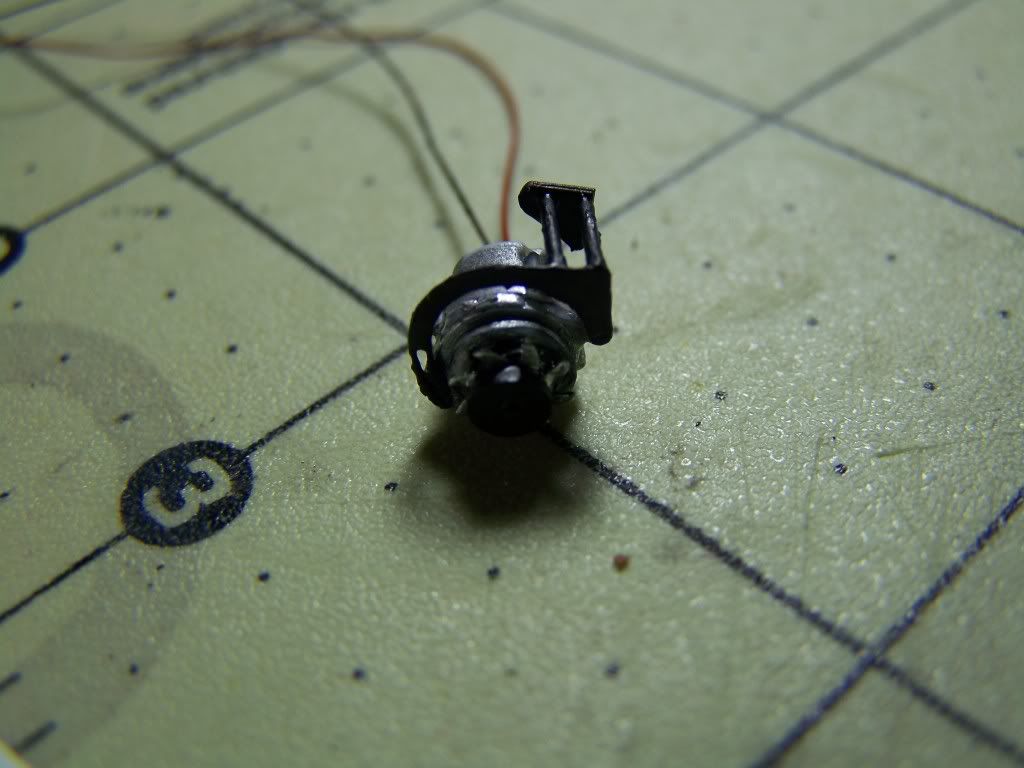
More engine work: Making the coil and adding more detail to the engine.
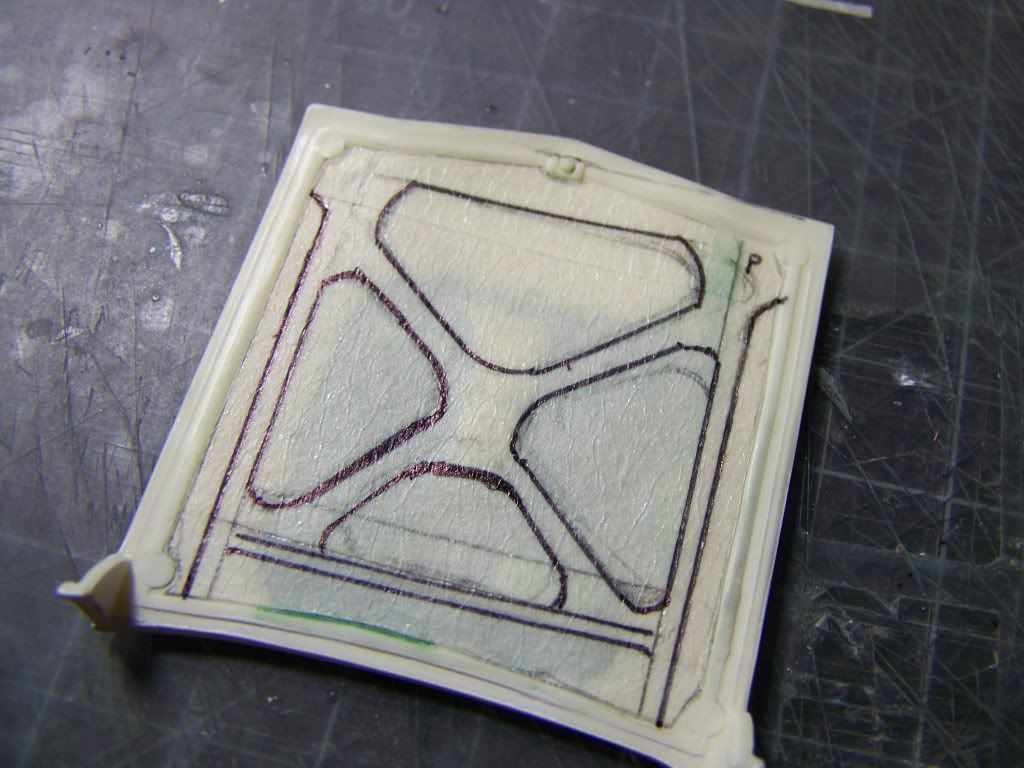
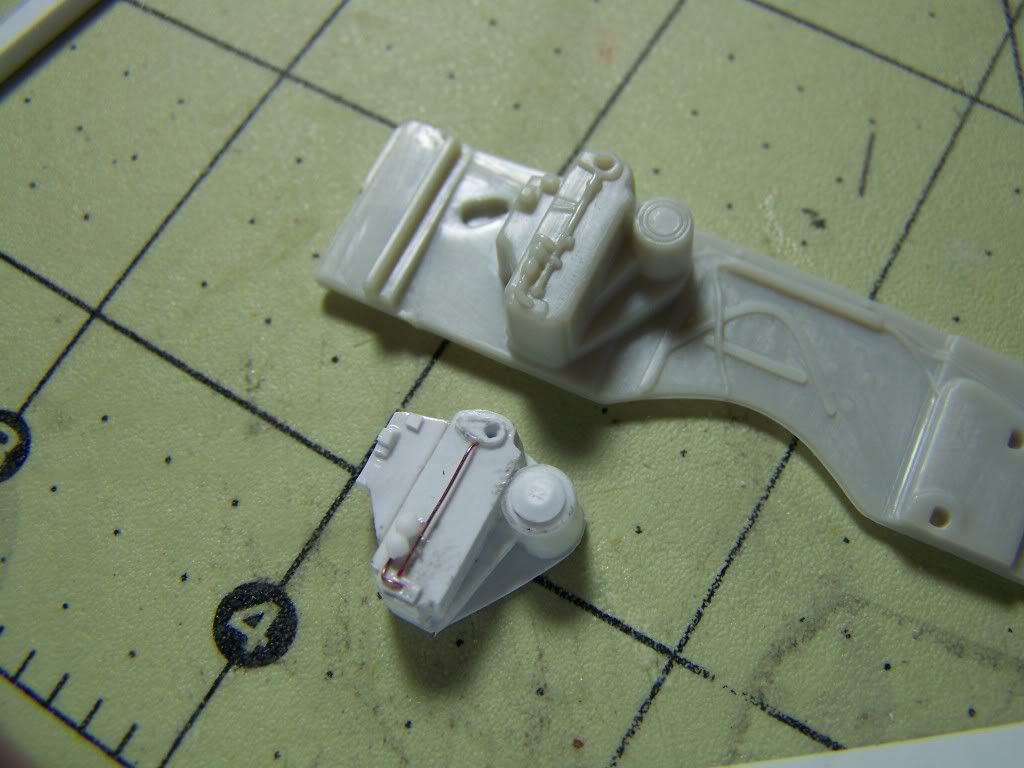
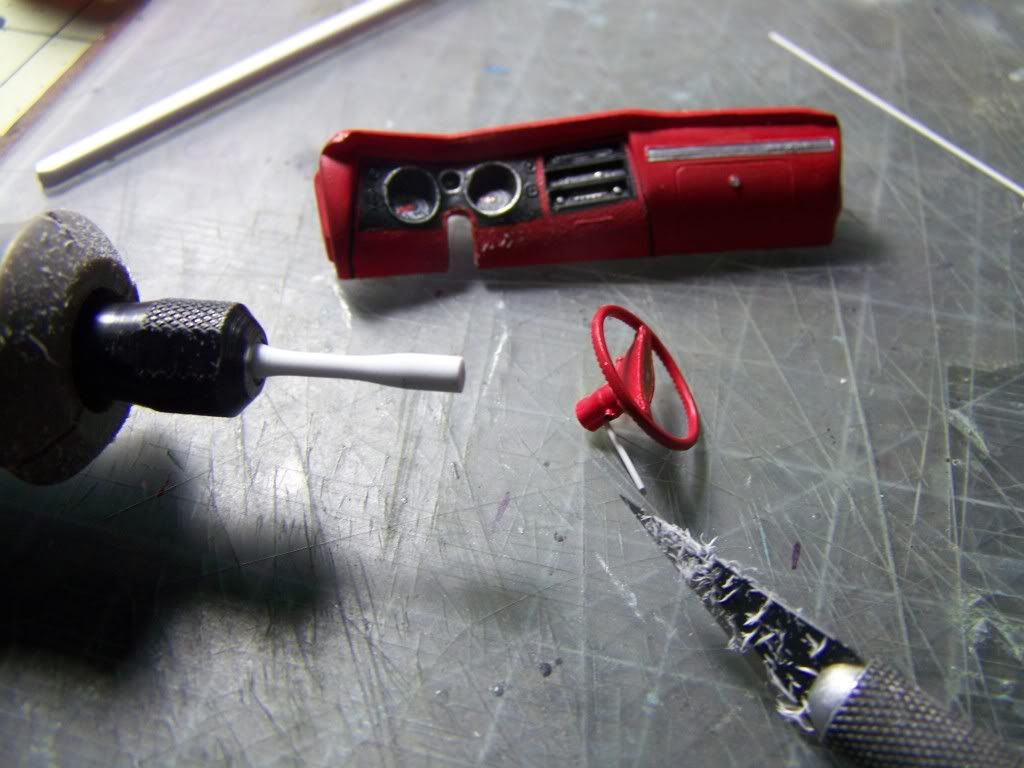
Making fire wall parts.
Good thing you are modifying this in which you are doing a great job. These AMT kits need all the help they can get. I built a couple of Mustangs and lemme tell you there was ALOT of clean up.
AMT kits make you really use your sill to over come there lack of detail.
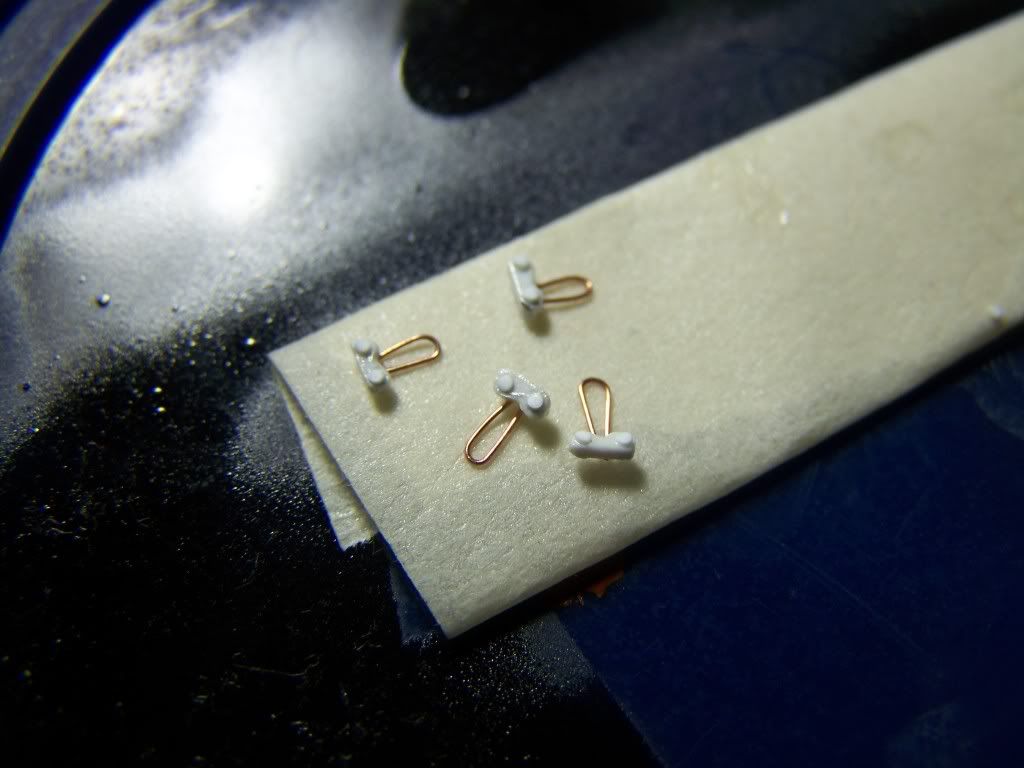
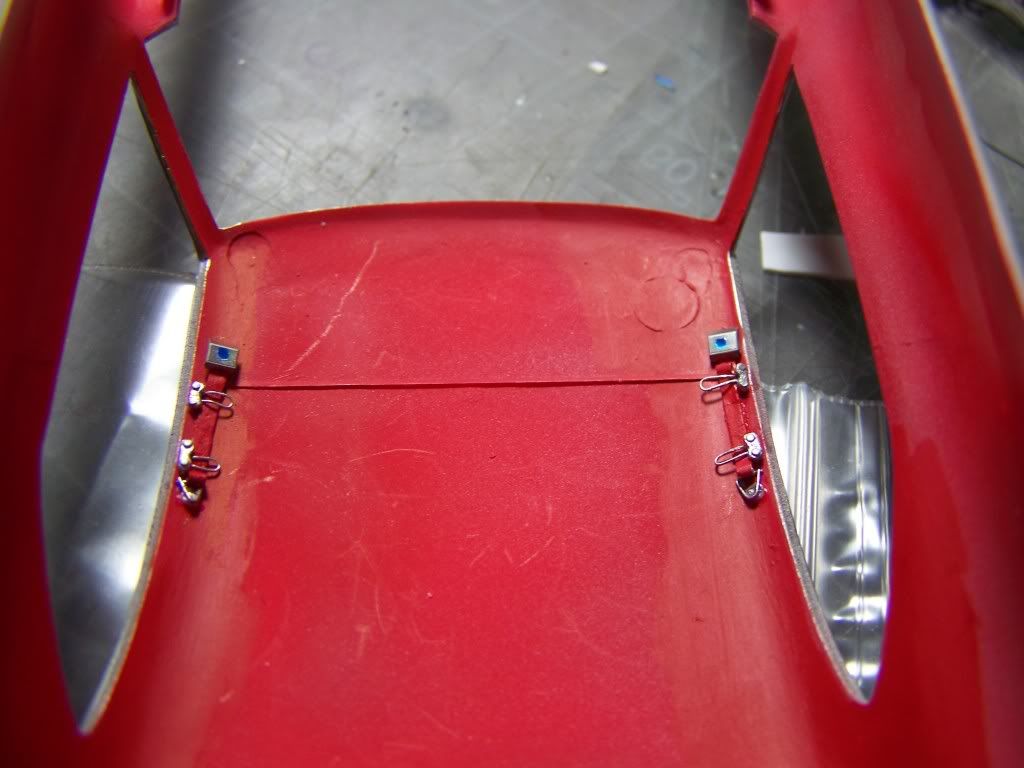
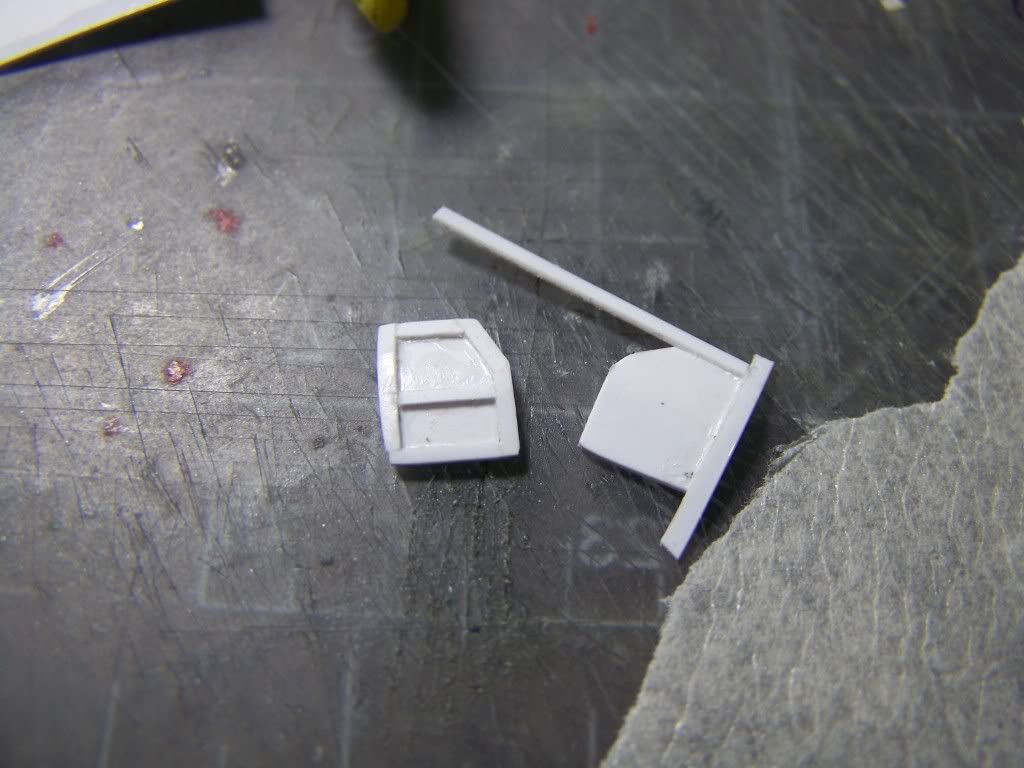
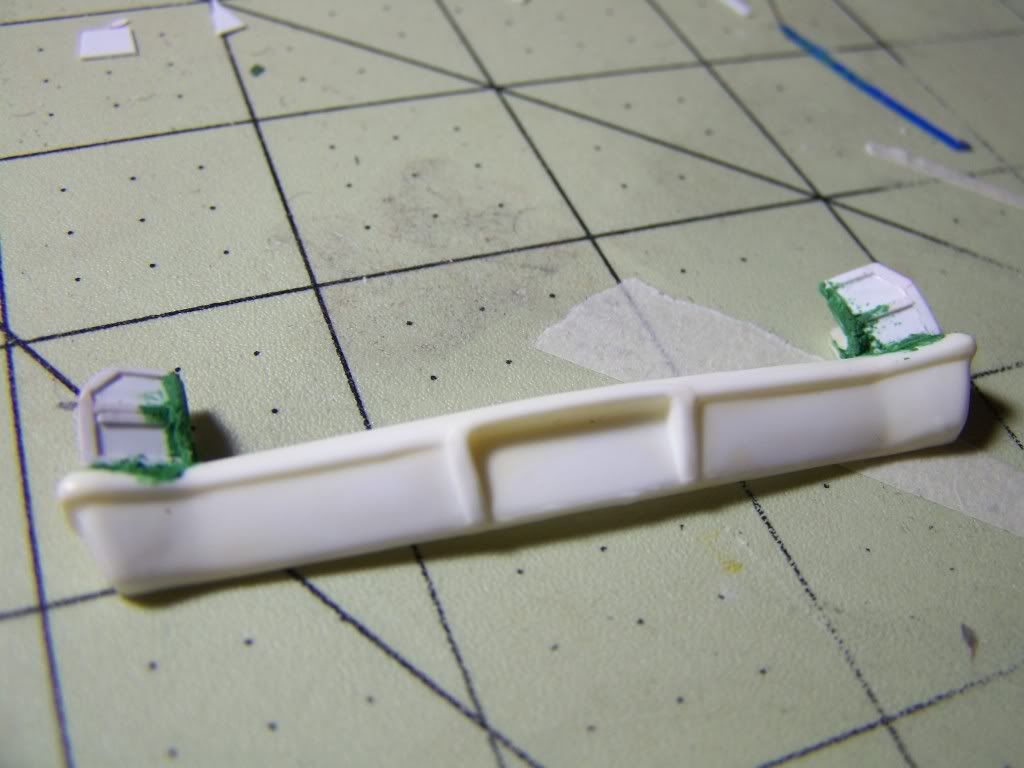
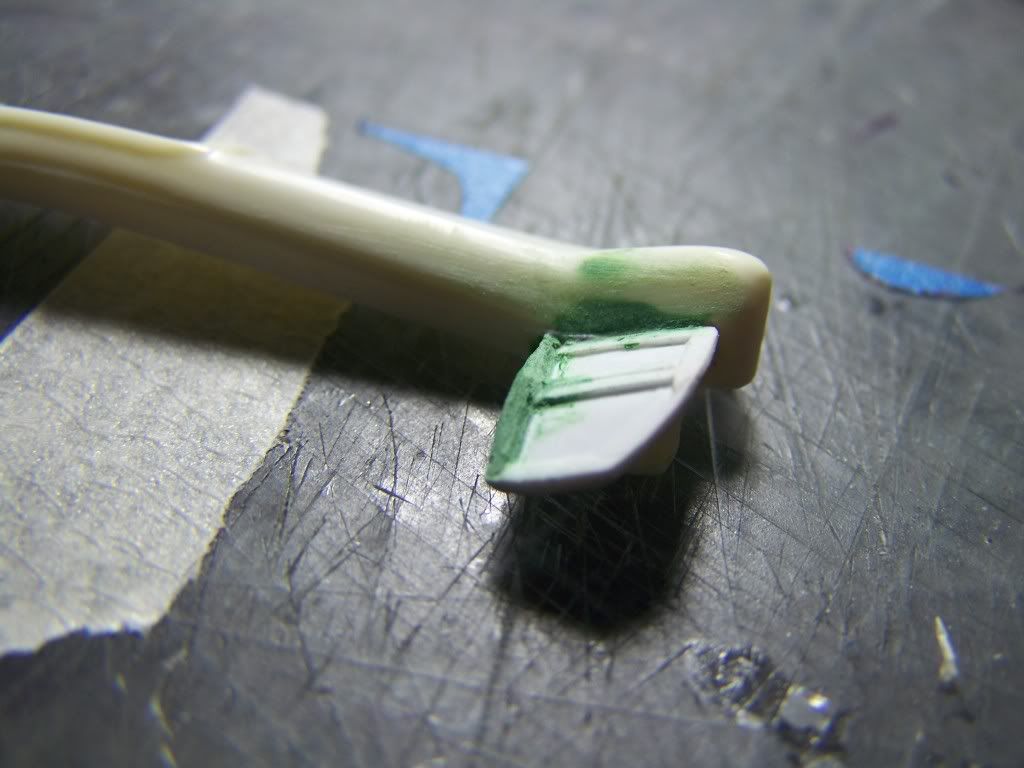
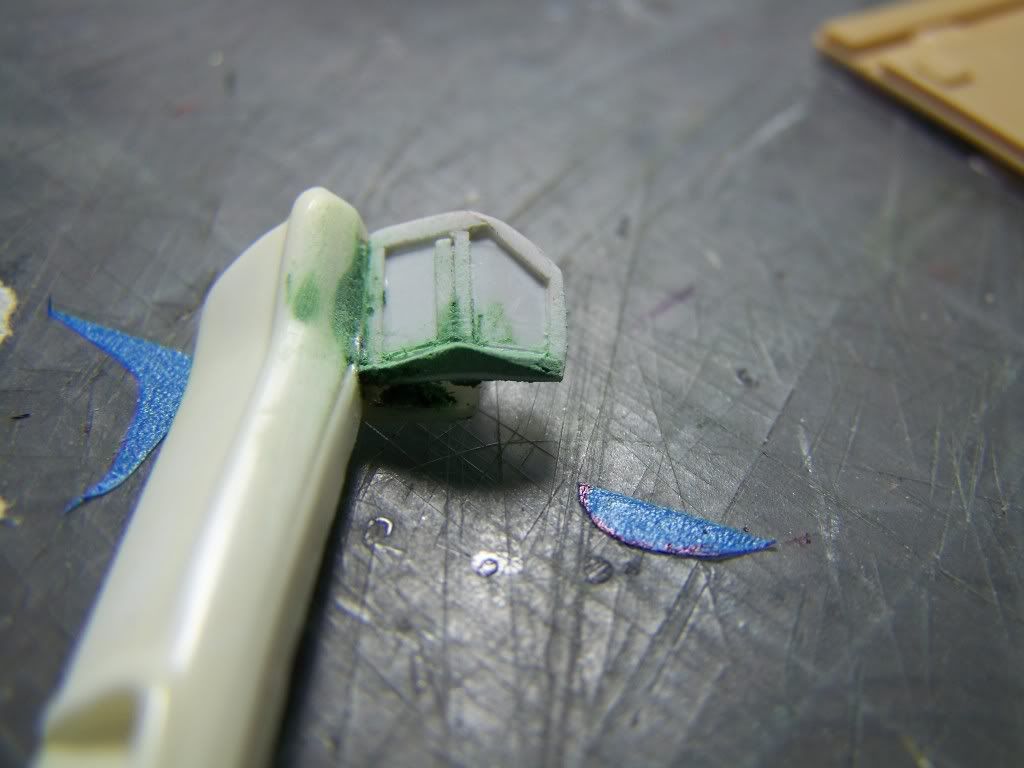
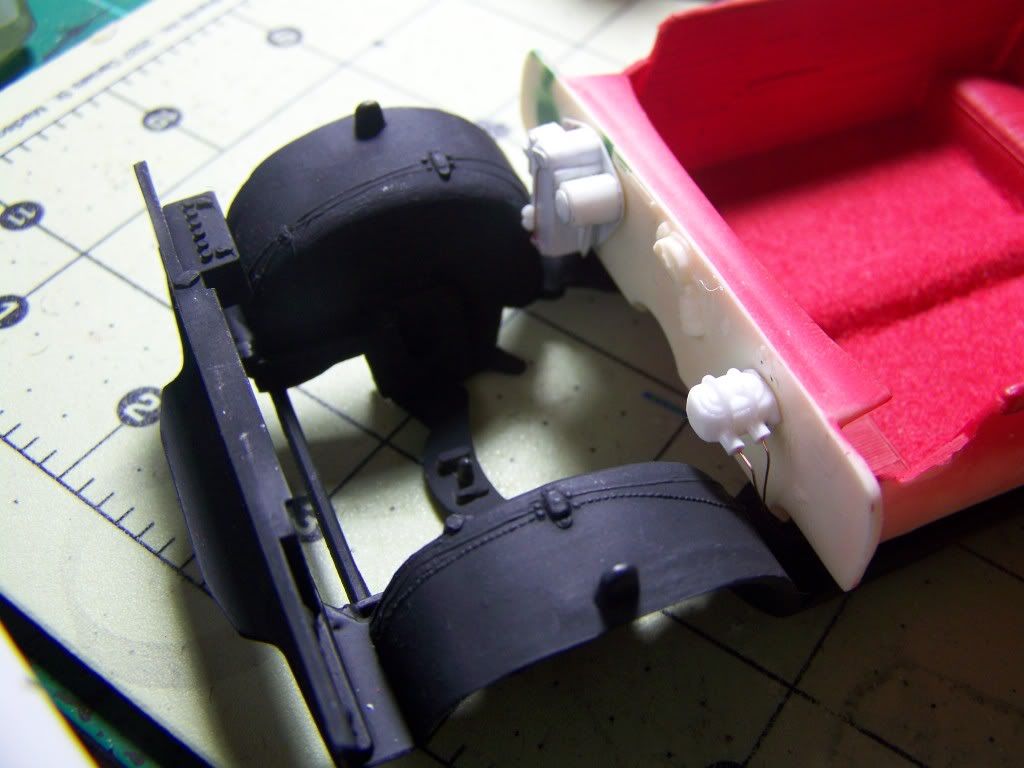
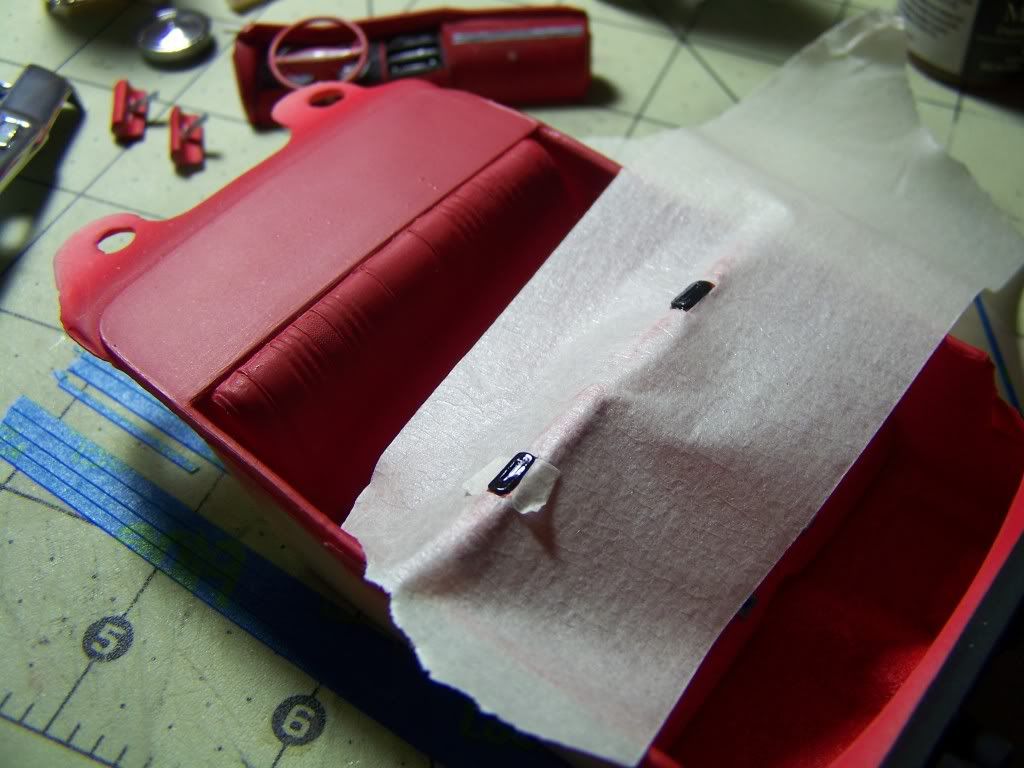
Here the front seat head rest work…
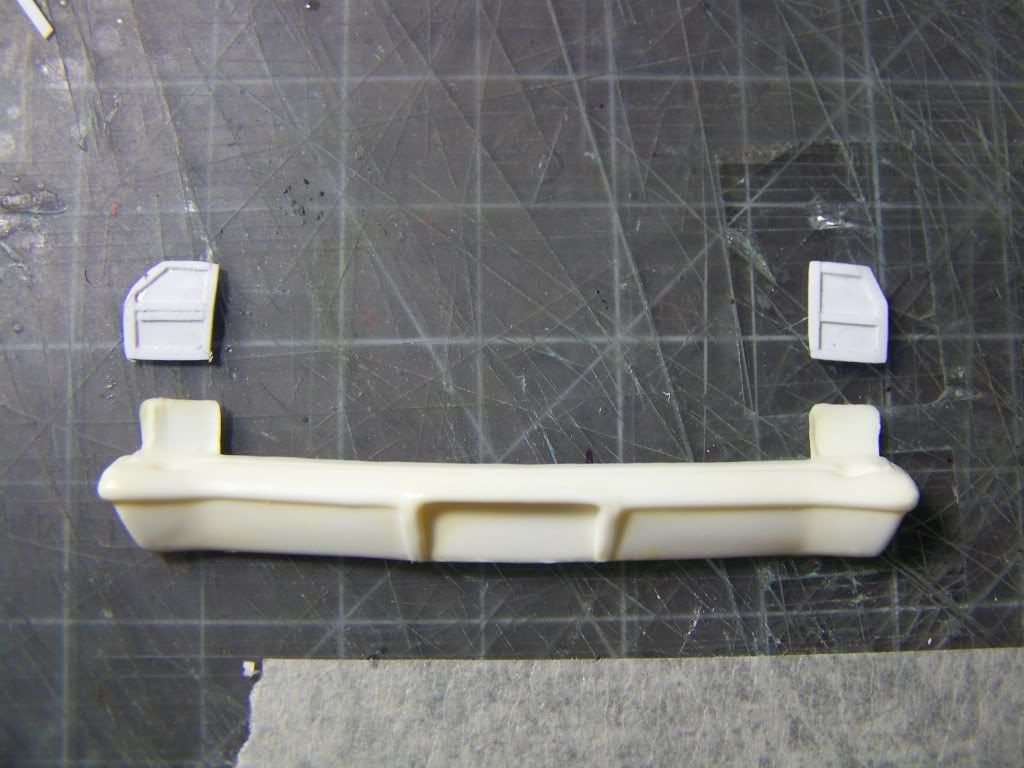
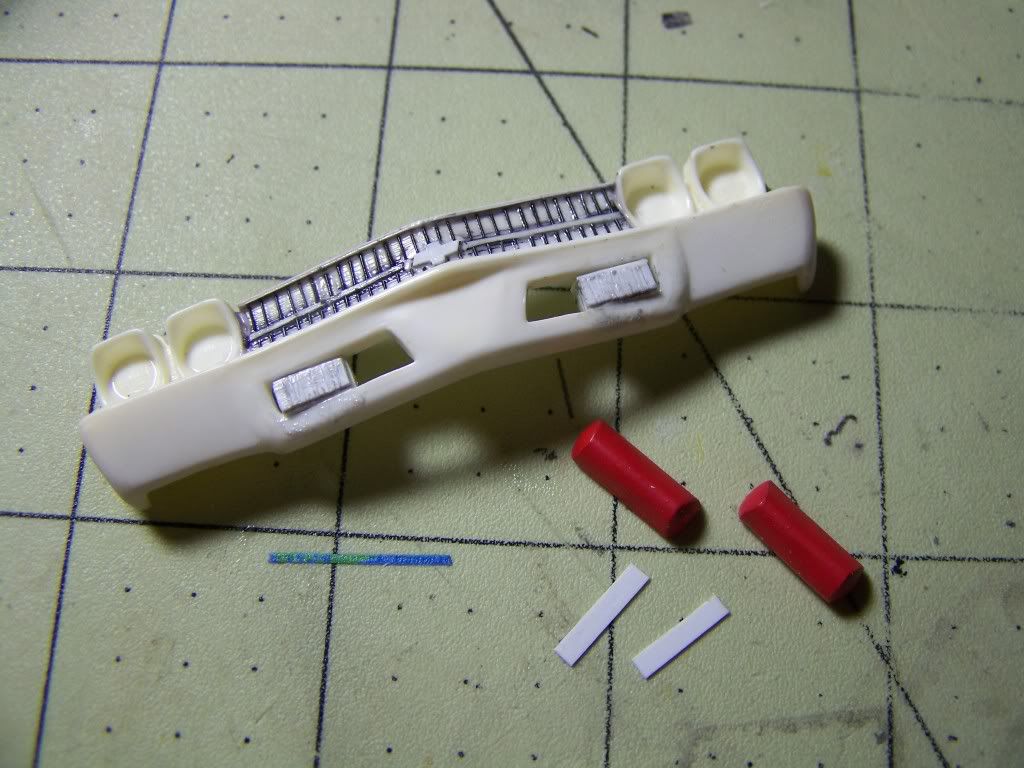
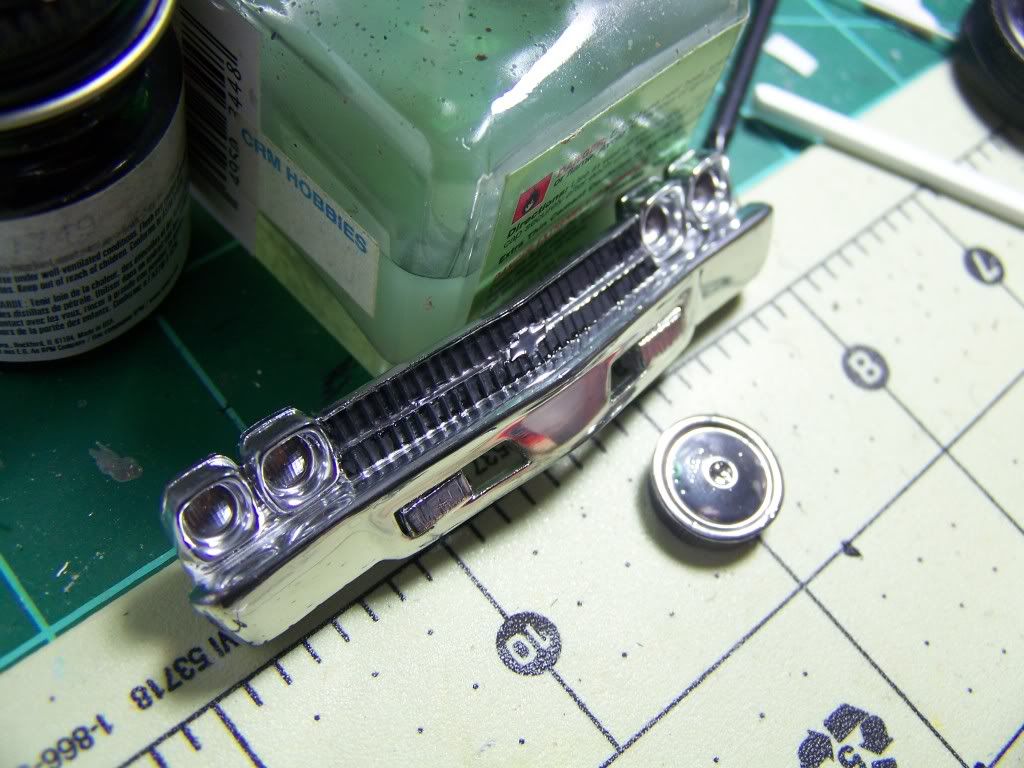
I had to rework the front bumper as the light cover stick our to far.
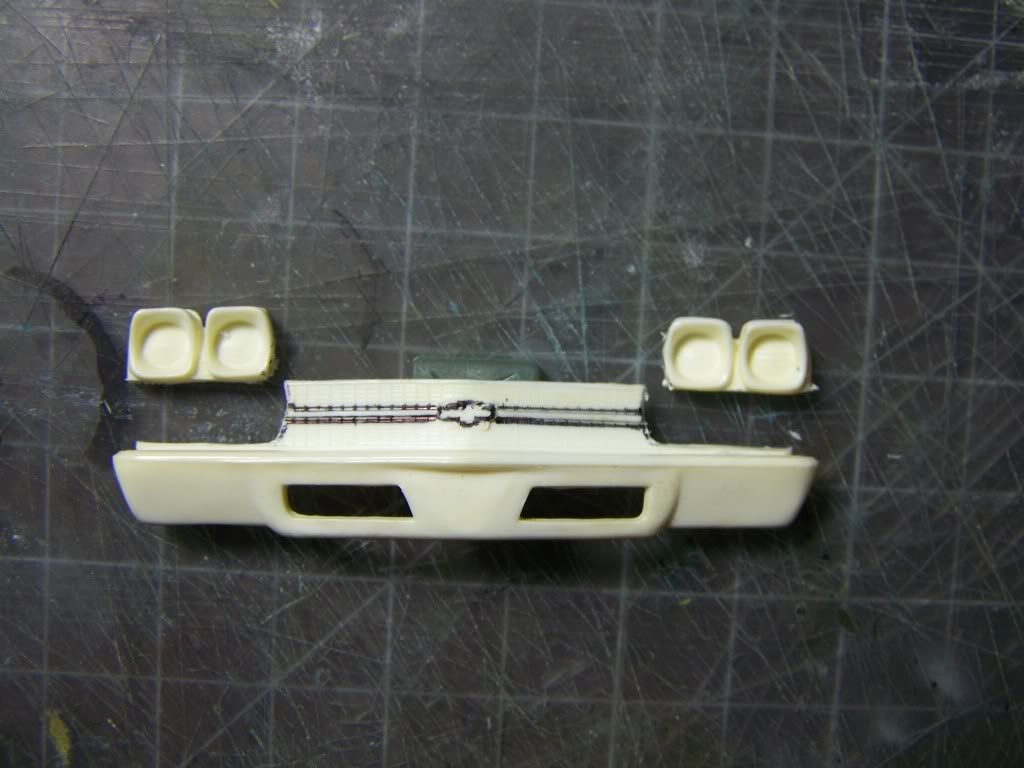
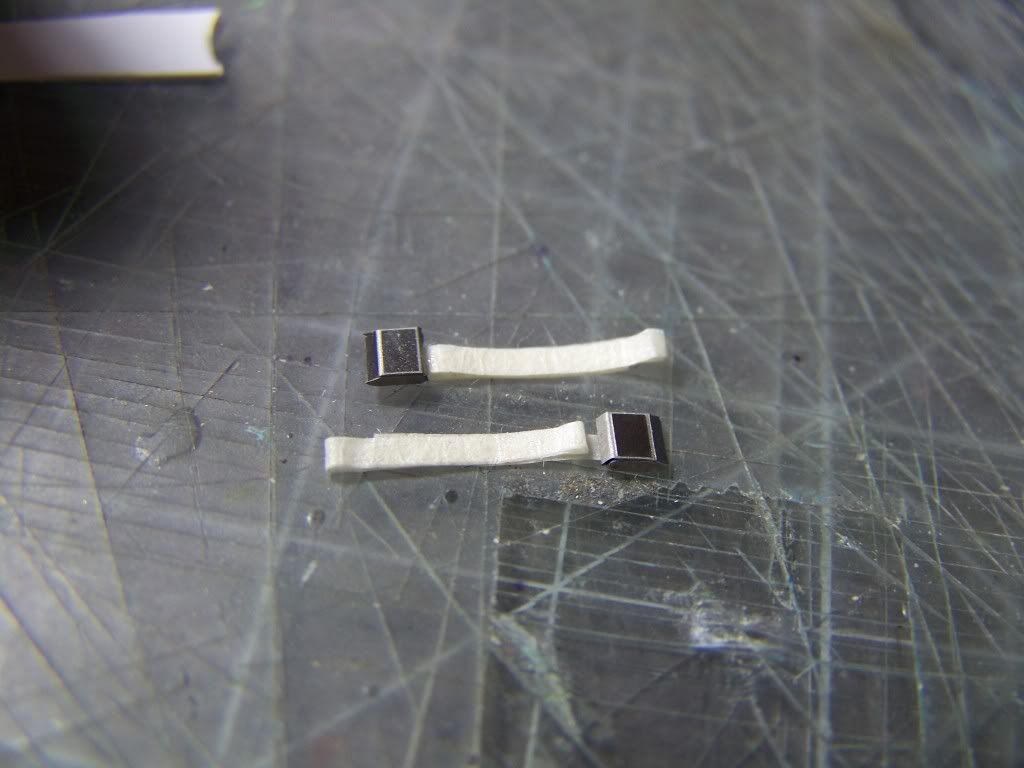
The fixed front bumper and the head rest with mounting strips.
I did a test fit of a Jimmy Flinstone Resin figure. An I have to tell you that there figures are not 1:24 scale, there 1:20th scale. There way to big for both 1:24 or 25.
Now before I added the pulled up head rest’s I had to chrome the top mounting plated. (Oh and the fire wall is finished!)
An yep I plated the front bumper and here the finished front bench-buckets.
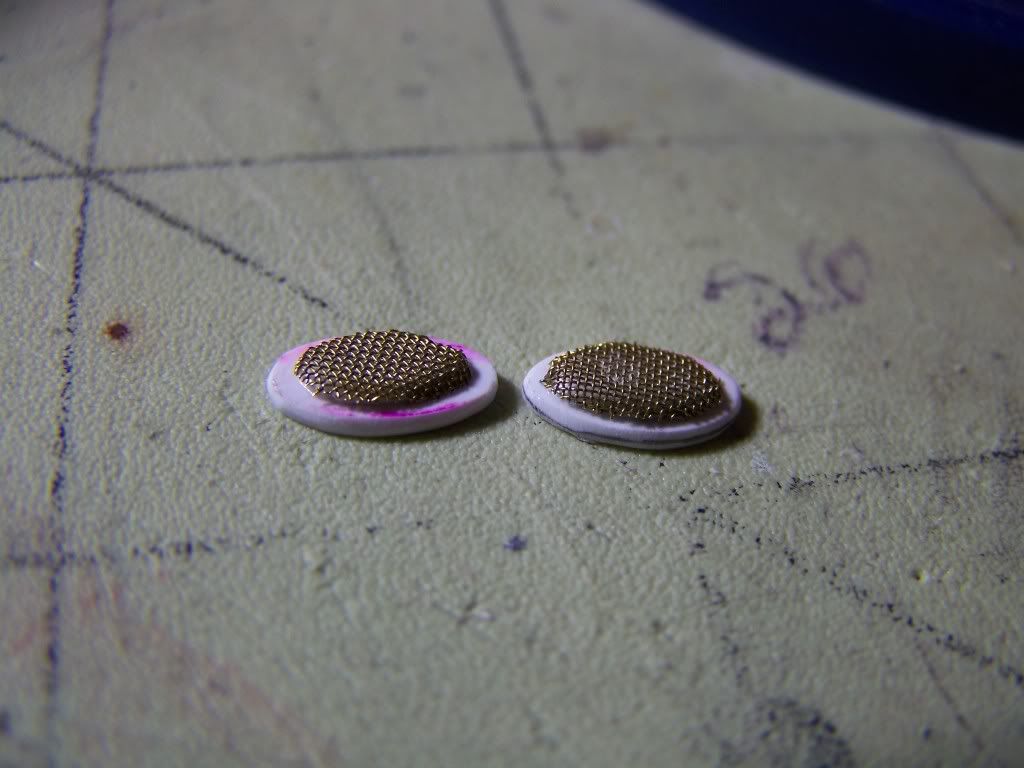
Now I had to go back and make some rear speaker grills.
I’ll trim them down later to night…
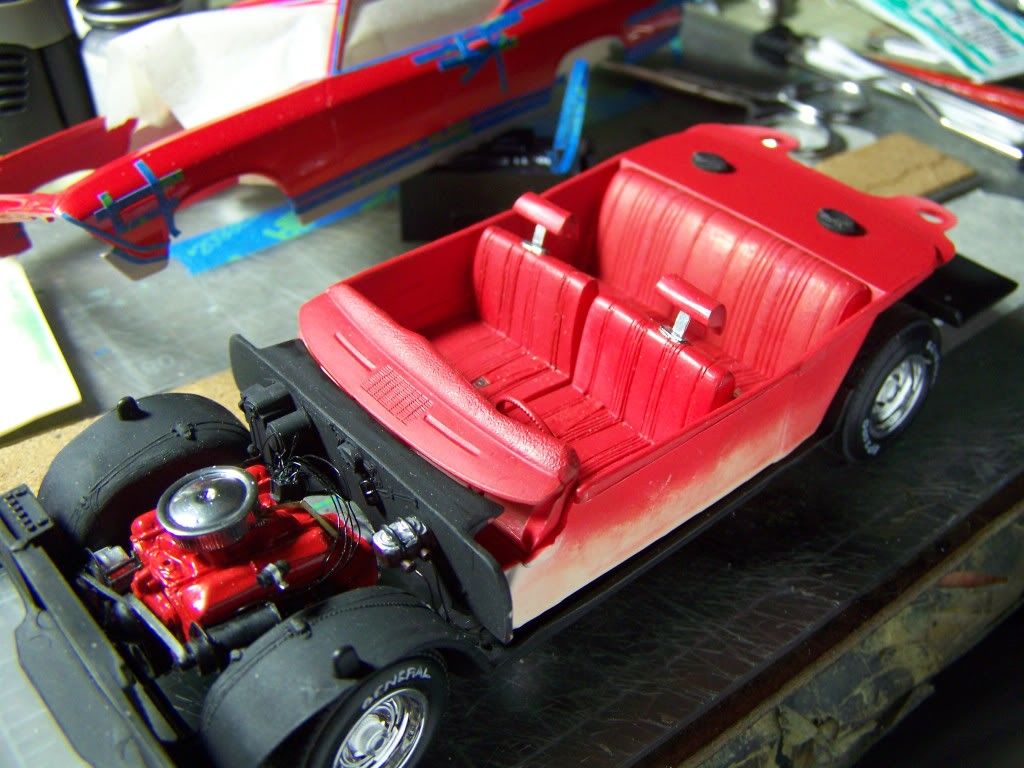
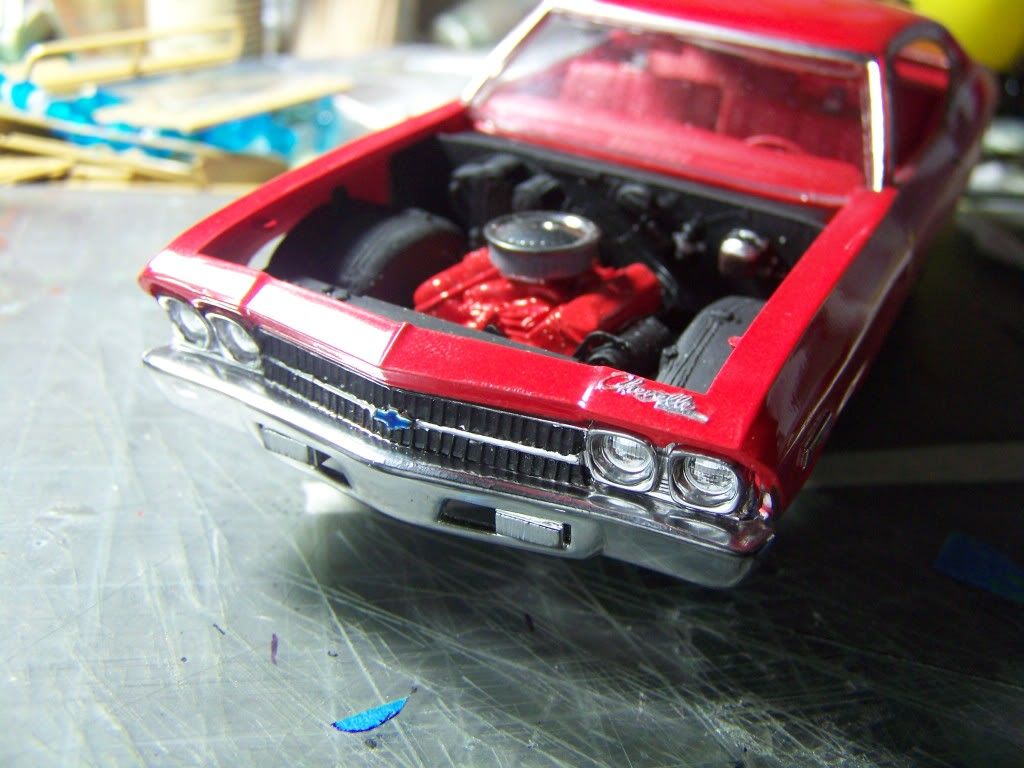
Ok the interior is fully finished and we have our rolling chassis.

A some days ago I had painted the body.
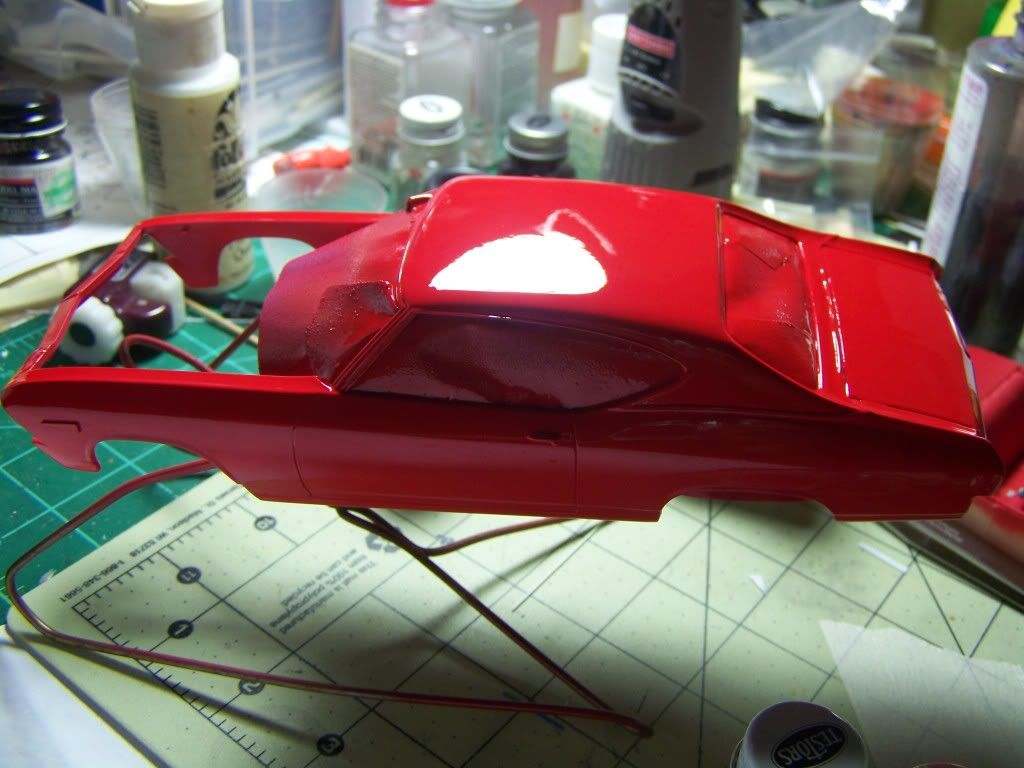
An what you see in the back ground is the maksing for plating the trim.
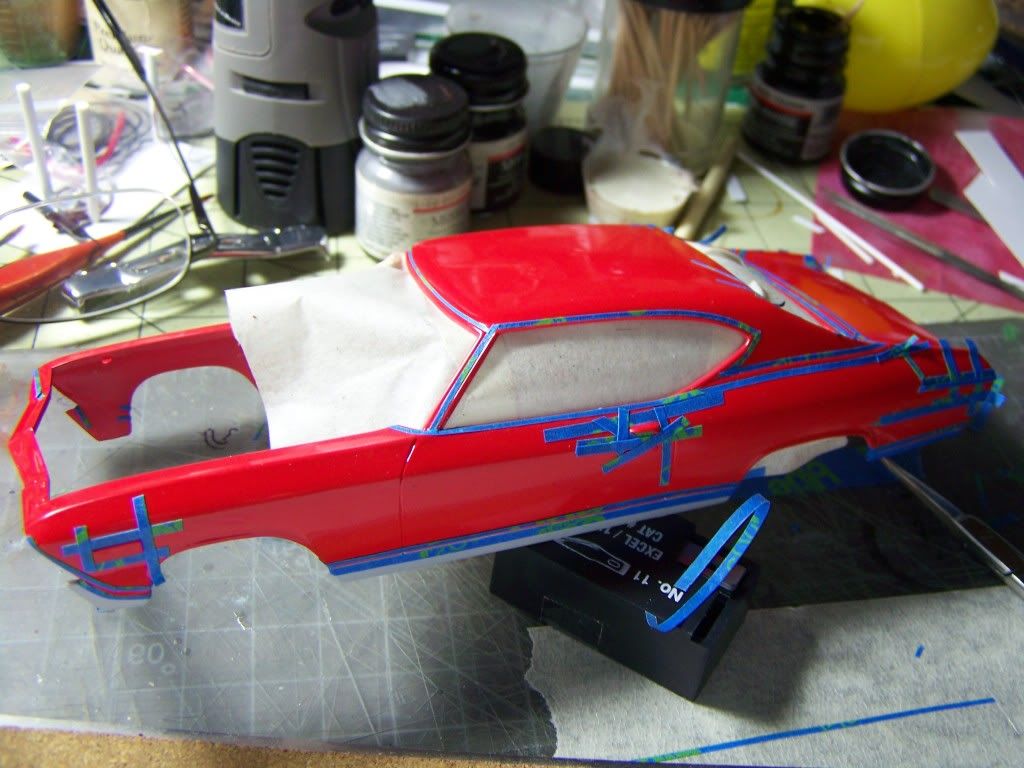
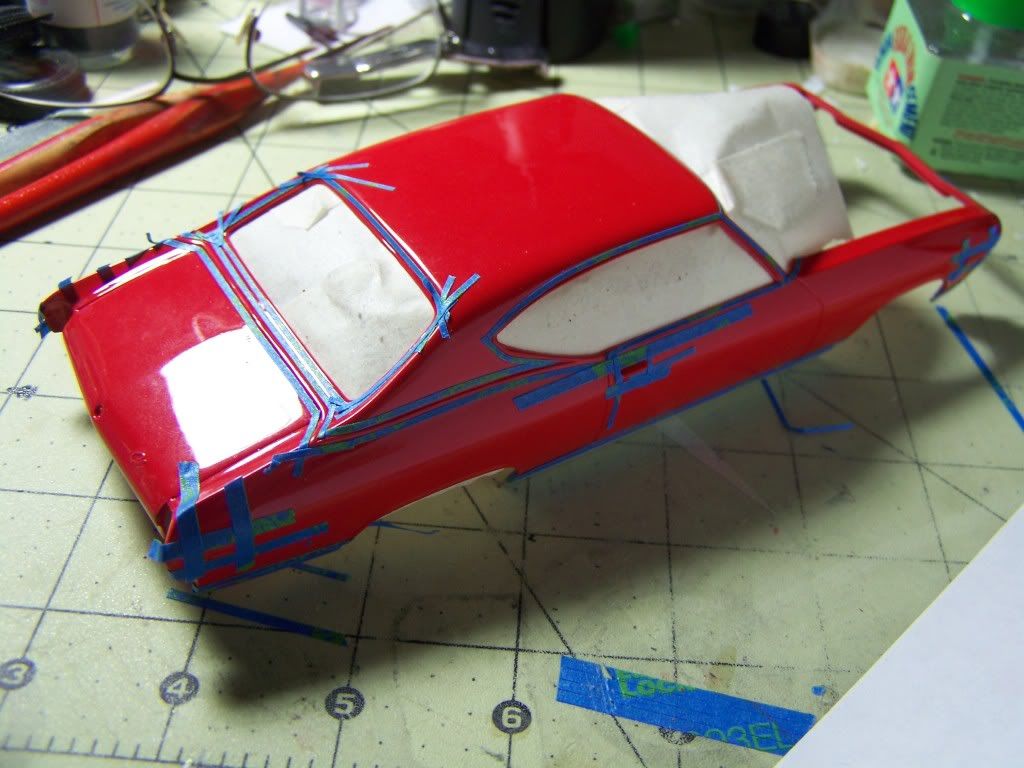
Ok once I fully maksed the body I used Alclad II to chrome all the trim.

Great Job [Y]
Thanks “Mike”.
Fitting the rear bumper and the plating of it and front bumper.

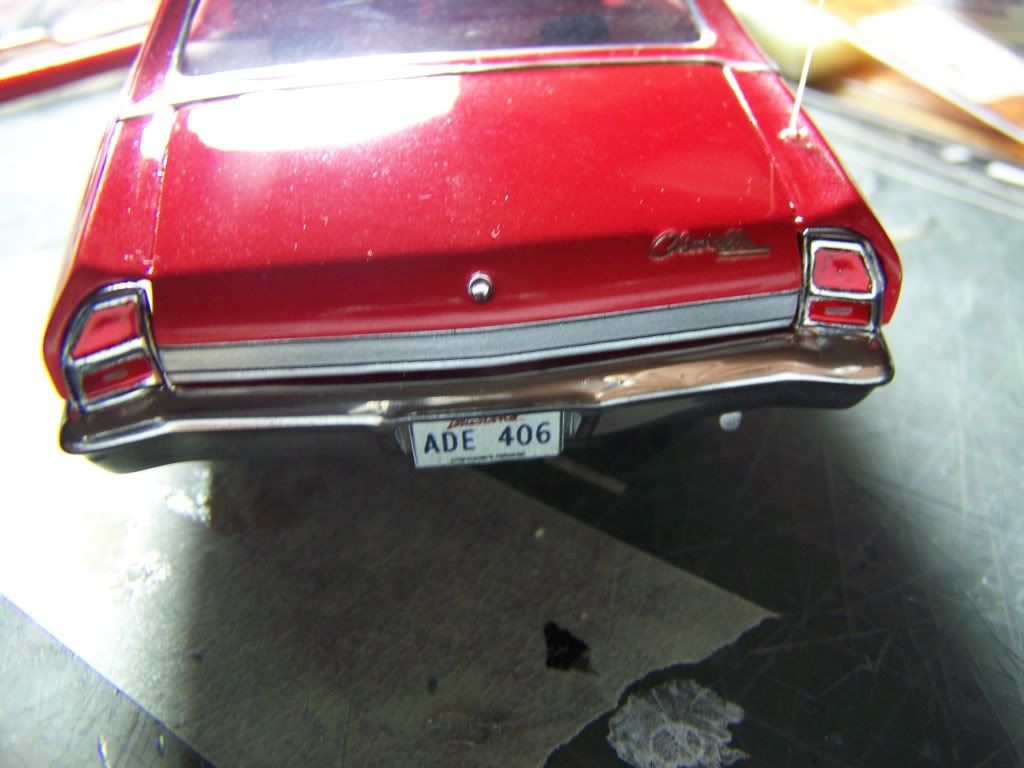
I had to go back and replate the bumper and it worked out. I also needed to show that the trunk needed to be painted.
Next engine detail will be next.
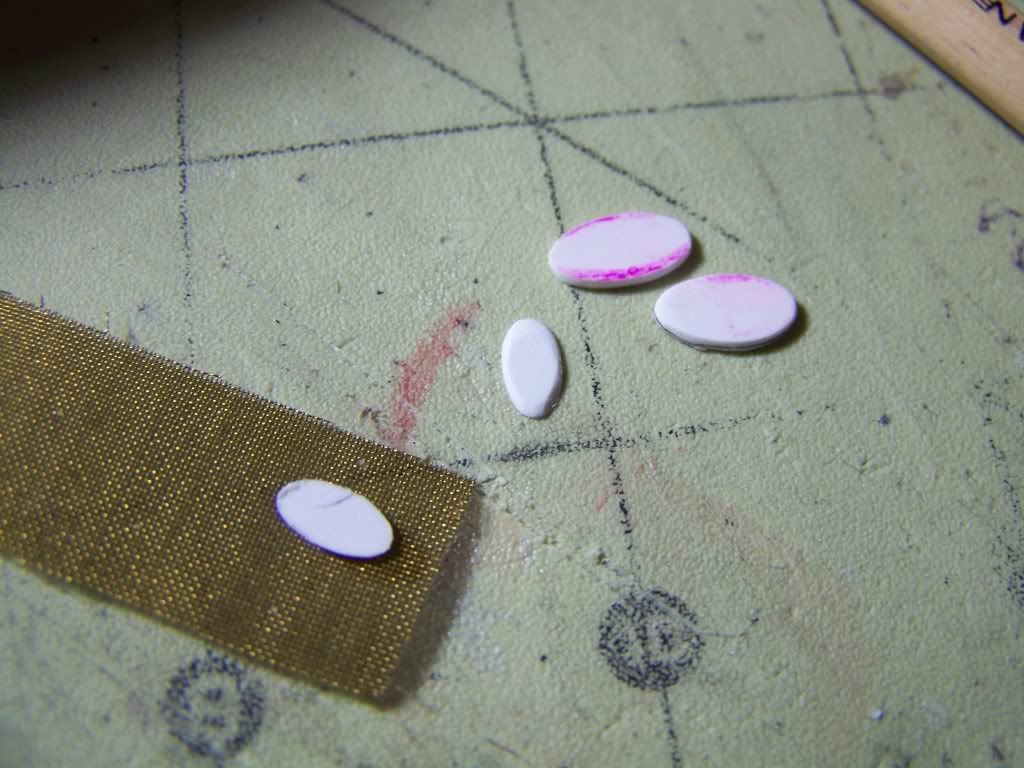
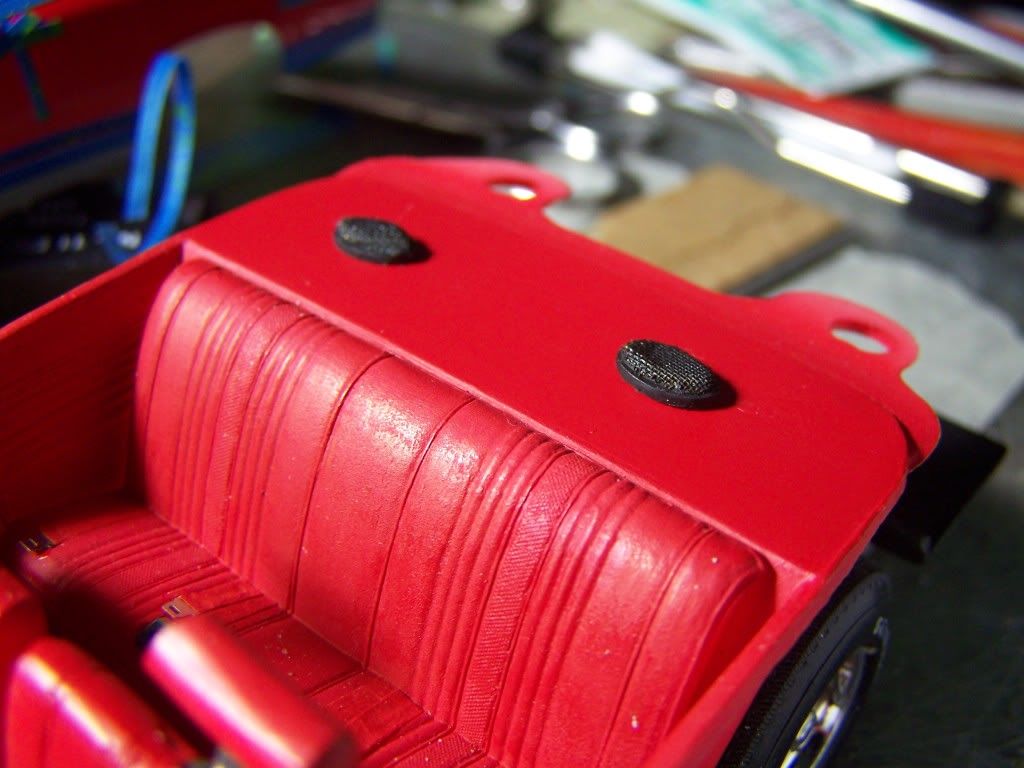
Oh Oh folks I forgot and left out the over head shoulder seat belt mounts.