This is an absolutely beautiful kit from Revell.
I picked it up at Michaels just before Christmas 2018 when my wife dragged me in to get some craft supplies. I always head over to the model section even though they usually only have about 12 or so of the same old kits. I spotted the box and grabbed it with shaking hands and tears in my eyes. To top it off there was a 70% off coupon so I paid around $12 for it!
The reason I was so excited was that my very first legal car (safety inspected, with it’s own plates and actual insurance) was a bright red '64 Impala SS convertible! Finding this kit by pure chance was what set me in motion to build all the cool cars I ever owned that have been kitted.
This project has been on and off the bench about 10 times in the last couple of years and unfortunately I have somehow lost many of the pictures I took but there is still enough left to document much of the process.
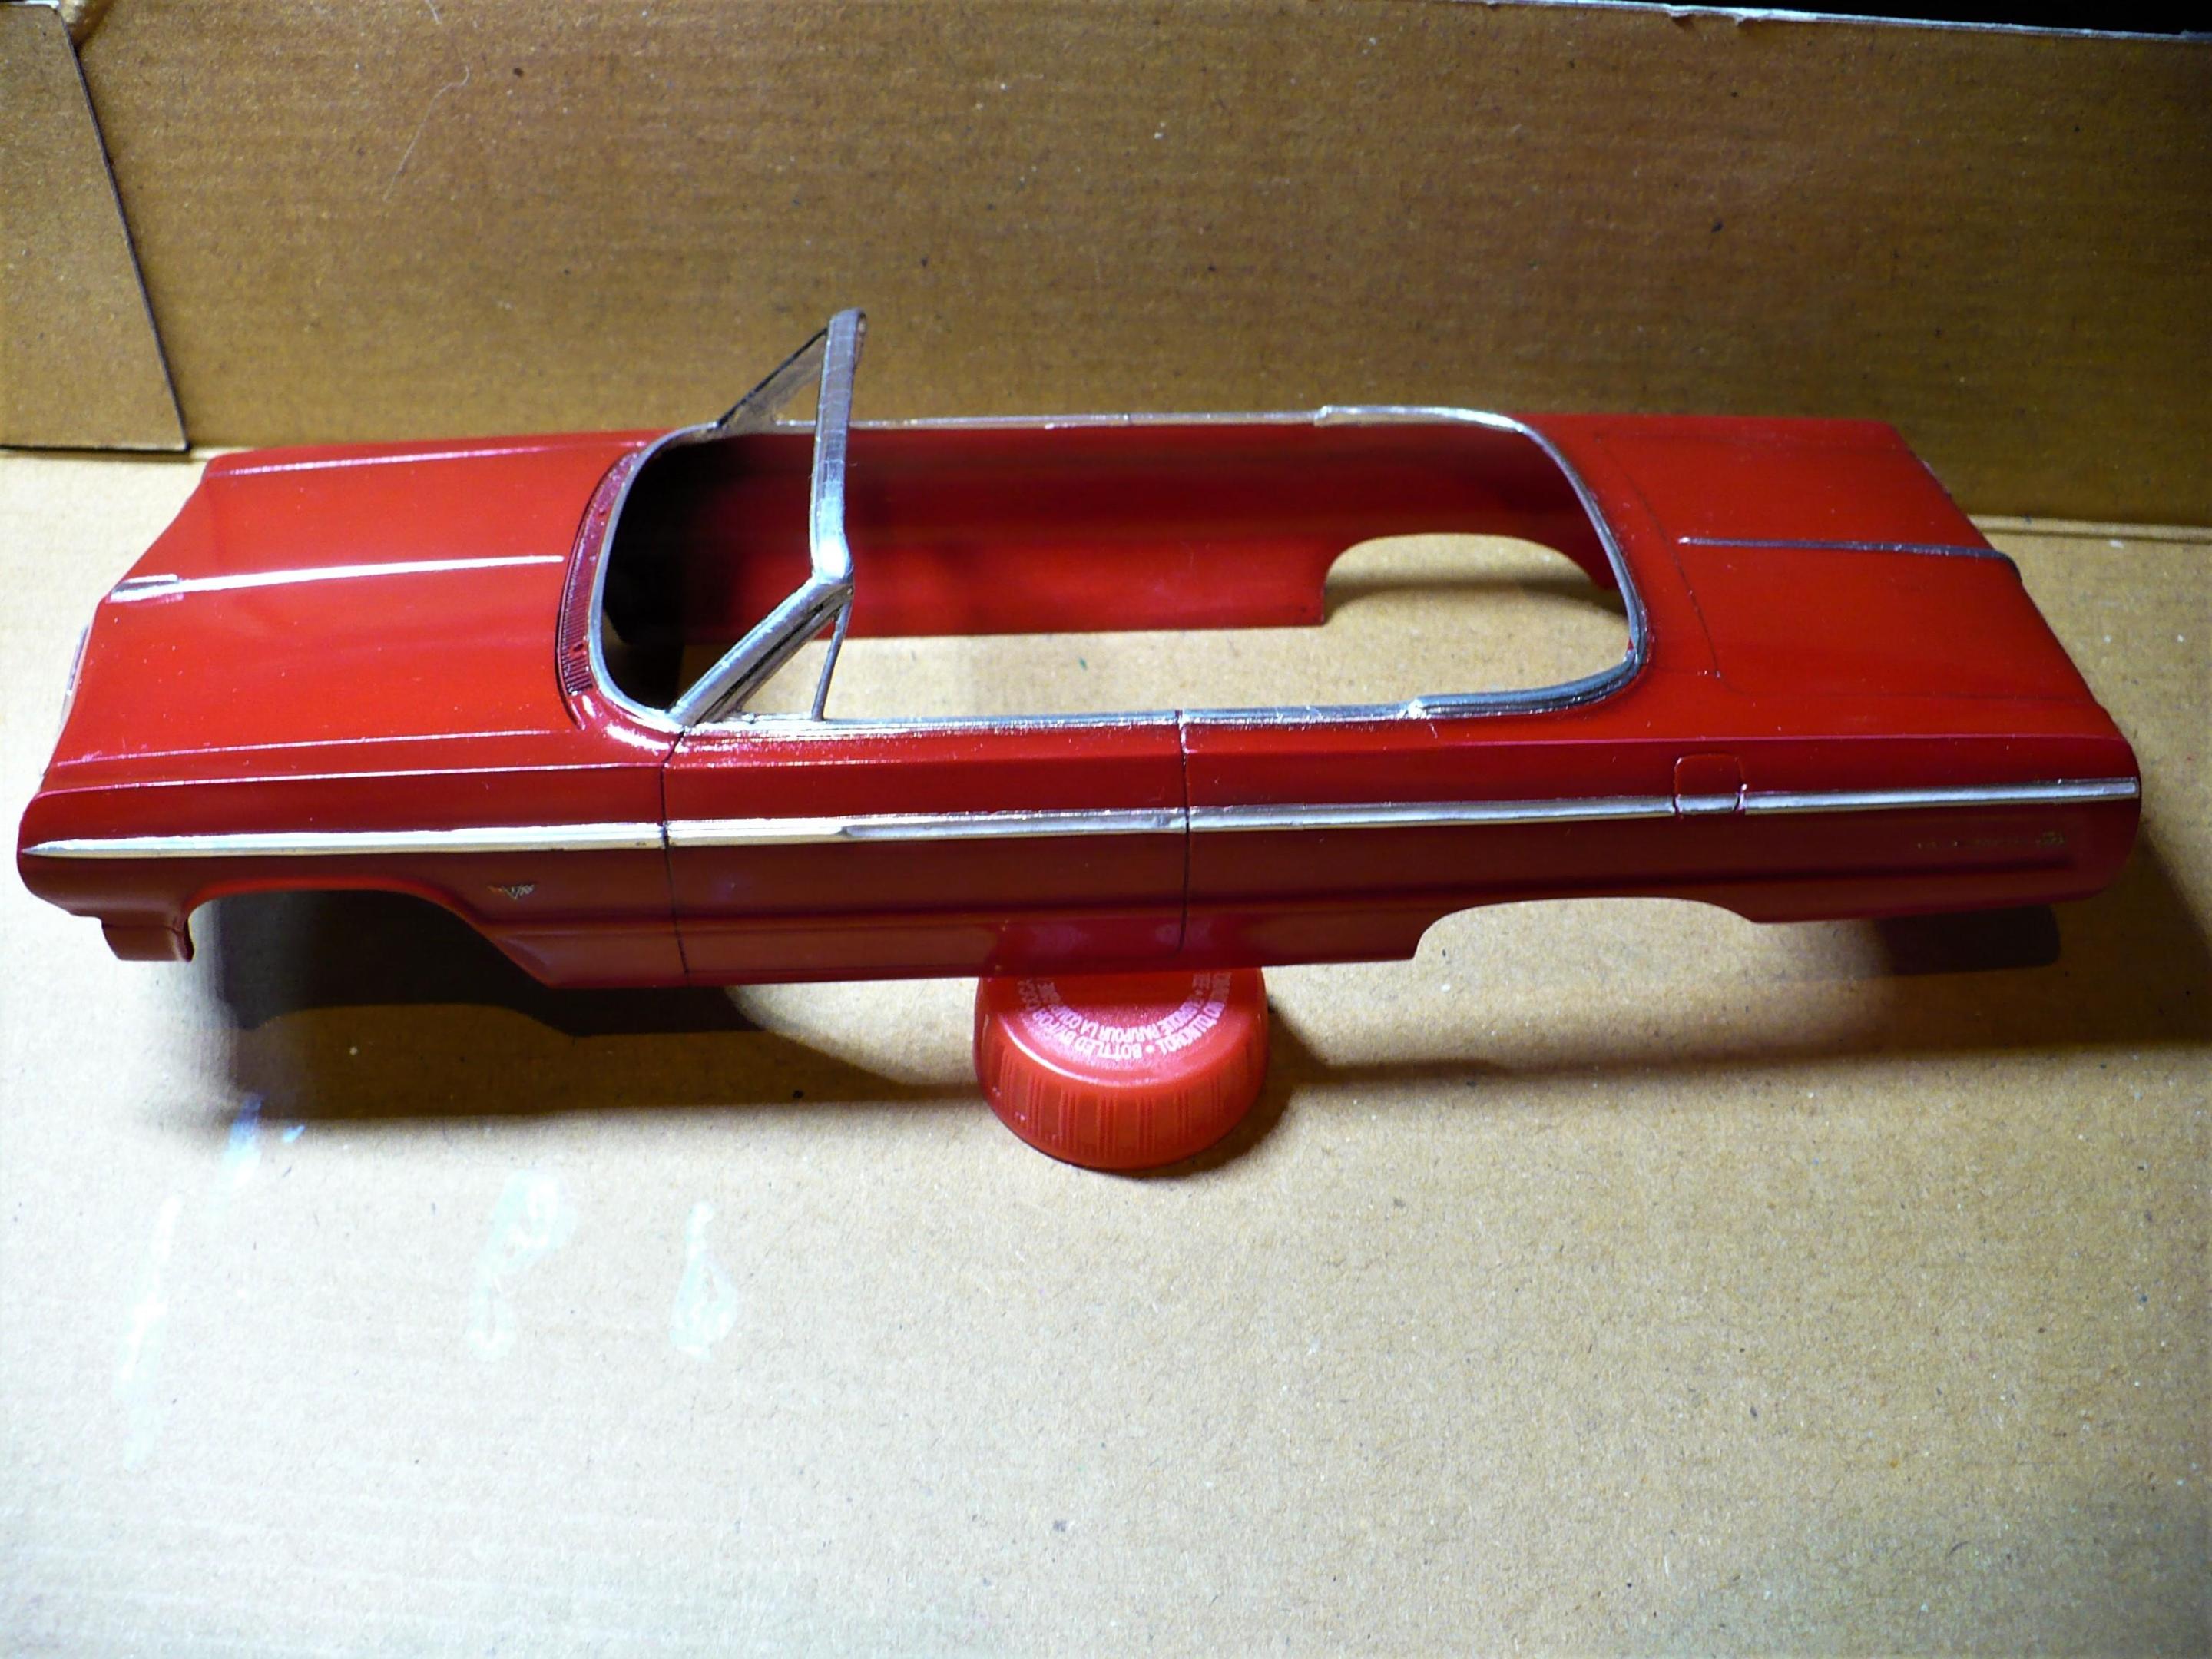
Step one was to cut that beautiful roof off and shape the windshield frame. The inner fenders were then painted black and masked off.
.jpg.573bf64d897b38f902420d118bce5734.jpg)
Next up came that little jewel of a 327. Unfortunately the build up pictures of that were some of the MIA but here it is in place.
With coat of tinted Future (RIP) to bring out detail, add some grime and artificial shadows.
.jpg.5b6ba924322a9d8a049da30609b9fe74.jpg)
And after coated with Testers Dullcoat to have a more realistic shine (or lack there of) and tone down the shading.
.jpg.6520917842814c114589d9c0a6527e6d.jpg)
No the plug wires do not look like rope nor do the valve covers or brake booster show as pink on the real thing!
.jpg.d505218a8c8e7b2488075c102d3d132f.jpg)
Next up was doing the underside. Build pics gone but it looked like a bunch of white plastic glued together which I am sure most here have seen before anyway. Completely out of box with no modifications done.
When I got my car it was 12 years old. That may mean nothing with todays cars or people down south but up here anything made much before the mid 90s had about a 4 year life expectancy for the body and floor. I bought the car after an almost complete floor replacement was done and it was well undercoated but still had some rust tones peeking through in places and things that had not been replaced such as the fuel tank and exhaust were quite rusty. I finished the underside to reflect that.
.jpg.ccd4c83e90361245f1d594f5f11a7111.jpg)
.jpg.6f8422a1f96ca3a4d29fd4826865601c.jpg)
.jpg.89e18a7a0c15884a69ddb5cfad1d4862.jpg)
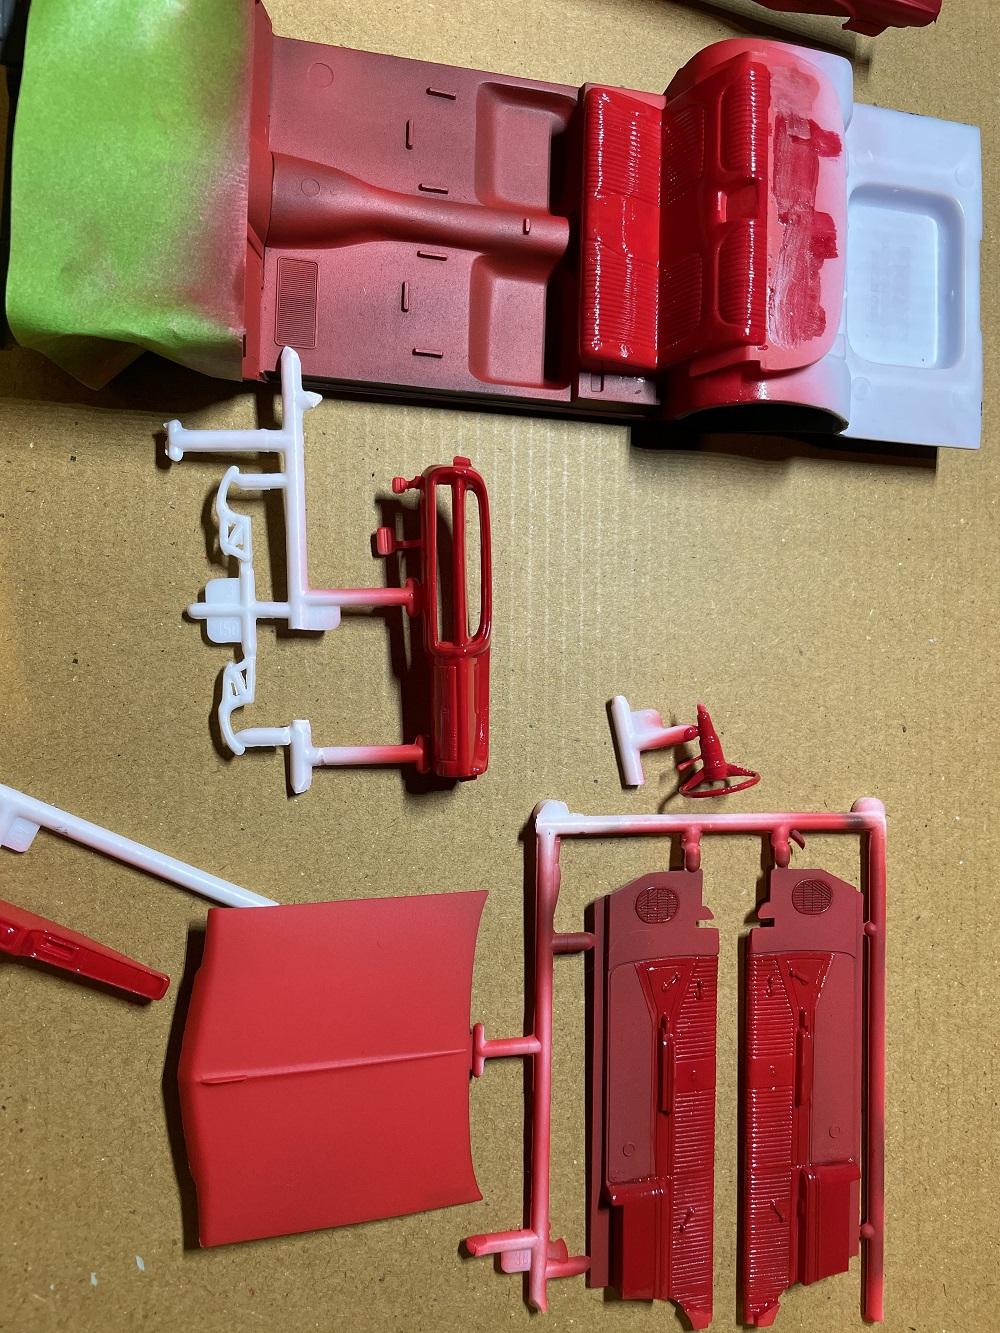
OK time for some base coat. There are a lot of slightly different reds on this thing but all started out as a base of flat Testers red. The black coated parts will come into play later.
.jpg.14df0cd389116886e33ad38f651fb12e.jpg)
.jpg.fc3e462a881f50e4413ff874a0f5b982.jpg)
And here is why the black was there. The lower door panels and floor were a very low pile red carpet with sort of black threads through them. The black undercoat simulates this effect very well
.jpg.dd3598b98e36bfe0caf06c55a3ad4940.jpg)
It also nicely fills in the “open” spaces of the side vents giving a sense of depth.
.jpg.4d786ab2ca8f0f005090e31a27d61937.jpg)
Next up is the actual colour coat for the Naugahyde seats and dash (no Naugas were harmed in making this model).
.jpg.4b686a98f1daf0e4b25b11273126fef9.jpg)
.jpg.806fcbdb99fc60458075420654c882b0.jpg)
Then my standard tinted Pledge wash on all except the carpeted areas. (this goes on almost everything and you will get sick of hearing about it)
.jpg.8b66cbe30e2236b51a5f983383195a3b.jpg)
.jpg.c580561df8695cbd7b3efb394218a4a4.jpg)
.jpg.c20a8a56912587e4d9b5a0409decbf7d.jpg)
Missing pics again but the whole interior was given a coat of Dullcoat and BMF was used for most chrome. The items too small or complicated for BMF were done with Testers chrome silver enamel.
And this is the end product. The black shading on the seats and such is of course exaggerated by the photos. It is really much more subtle as the overall finish is more of a low semi gloss than it appears here.
.jpg.93cc2dc9f95d74b2c540bb5ab25570fa.jpg)
.jpg.214643010623e1297fa59354313bac9c.jpg)
.jpg.1c56f44598b4edada2062d19776426ea.jpg)
.jpg.dfb17d01c5f184059ef50b2f7e06c60b.jpg)
Chrome prep.
Never was a huge fan of model kit chrome. It just looks wrong for most things (to me) since in scale it is far to bright and every single part has the exact same look. Only the most expensive of cars, after market re-plate or massively polished parts would ever have the shine of model chrome. There is a time and place for it (hot rods, showroom fresh cars, etc) but since I am modeling a 12 year old vehicle the chrome had to be knocked down to real world and scale shine.
All identical (all chrome on a car is NOT created equal) and much detail is lost in the glare.
.jpg.1f1cc14287c0113feeeca227f324766e.jpg)
Coated with…ah you know by now. This makes them even brighter but also fills the voids with black and highlights details. The black in the grill was from simply brushing the Future on. No wiping or other clean up needed. Then a light overspray of Dullcoat. Much more appropriate shine for a 12 year old daily driver street car in Canada.
.jpg.cb6b99a3b394ac56f7b855c7b736aa66.jpg)
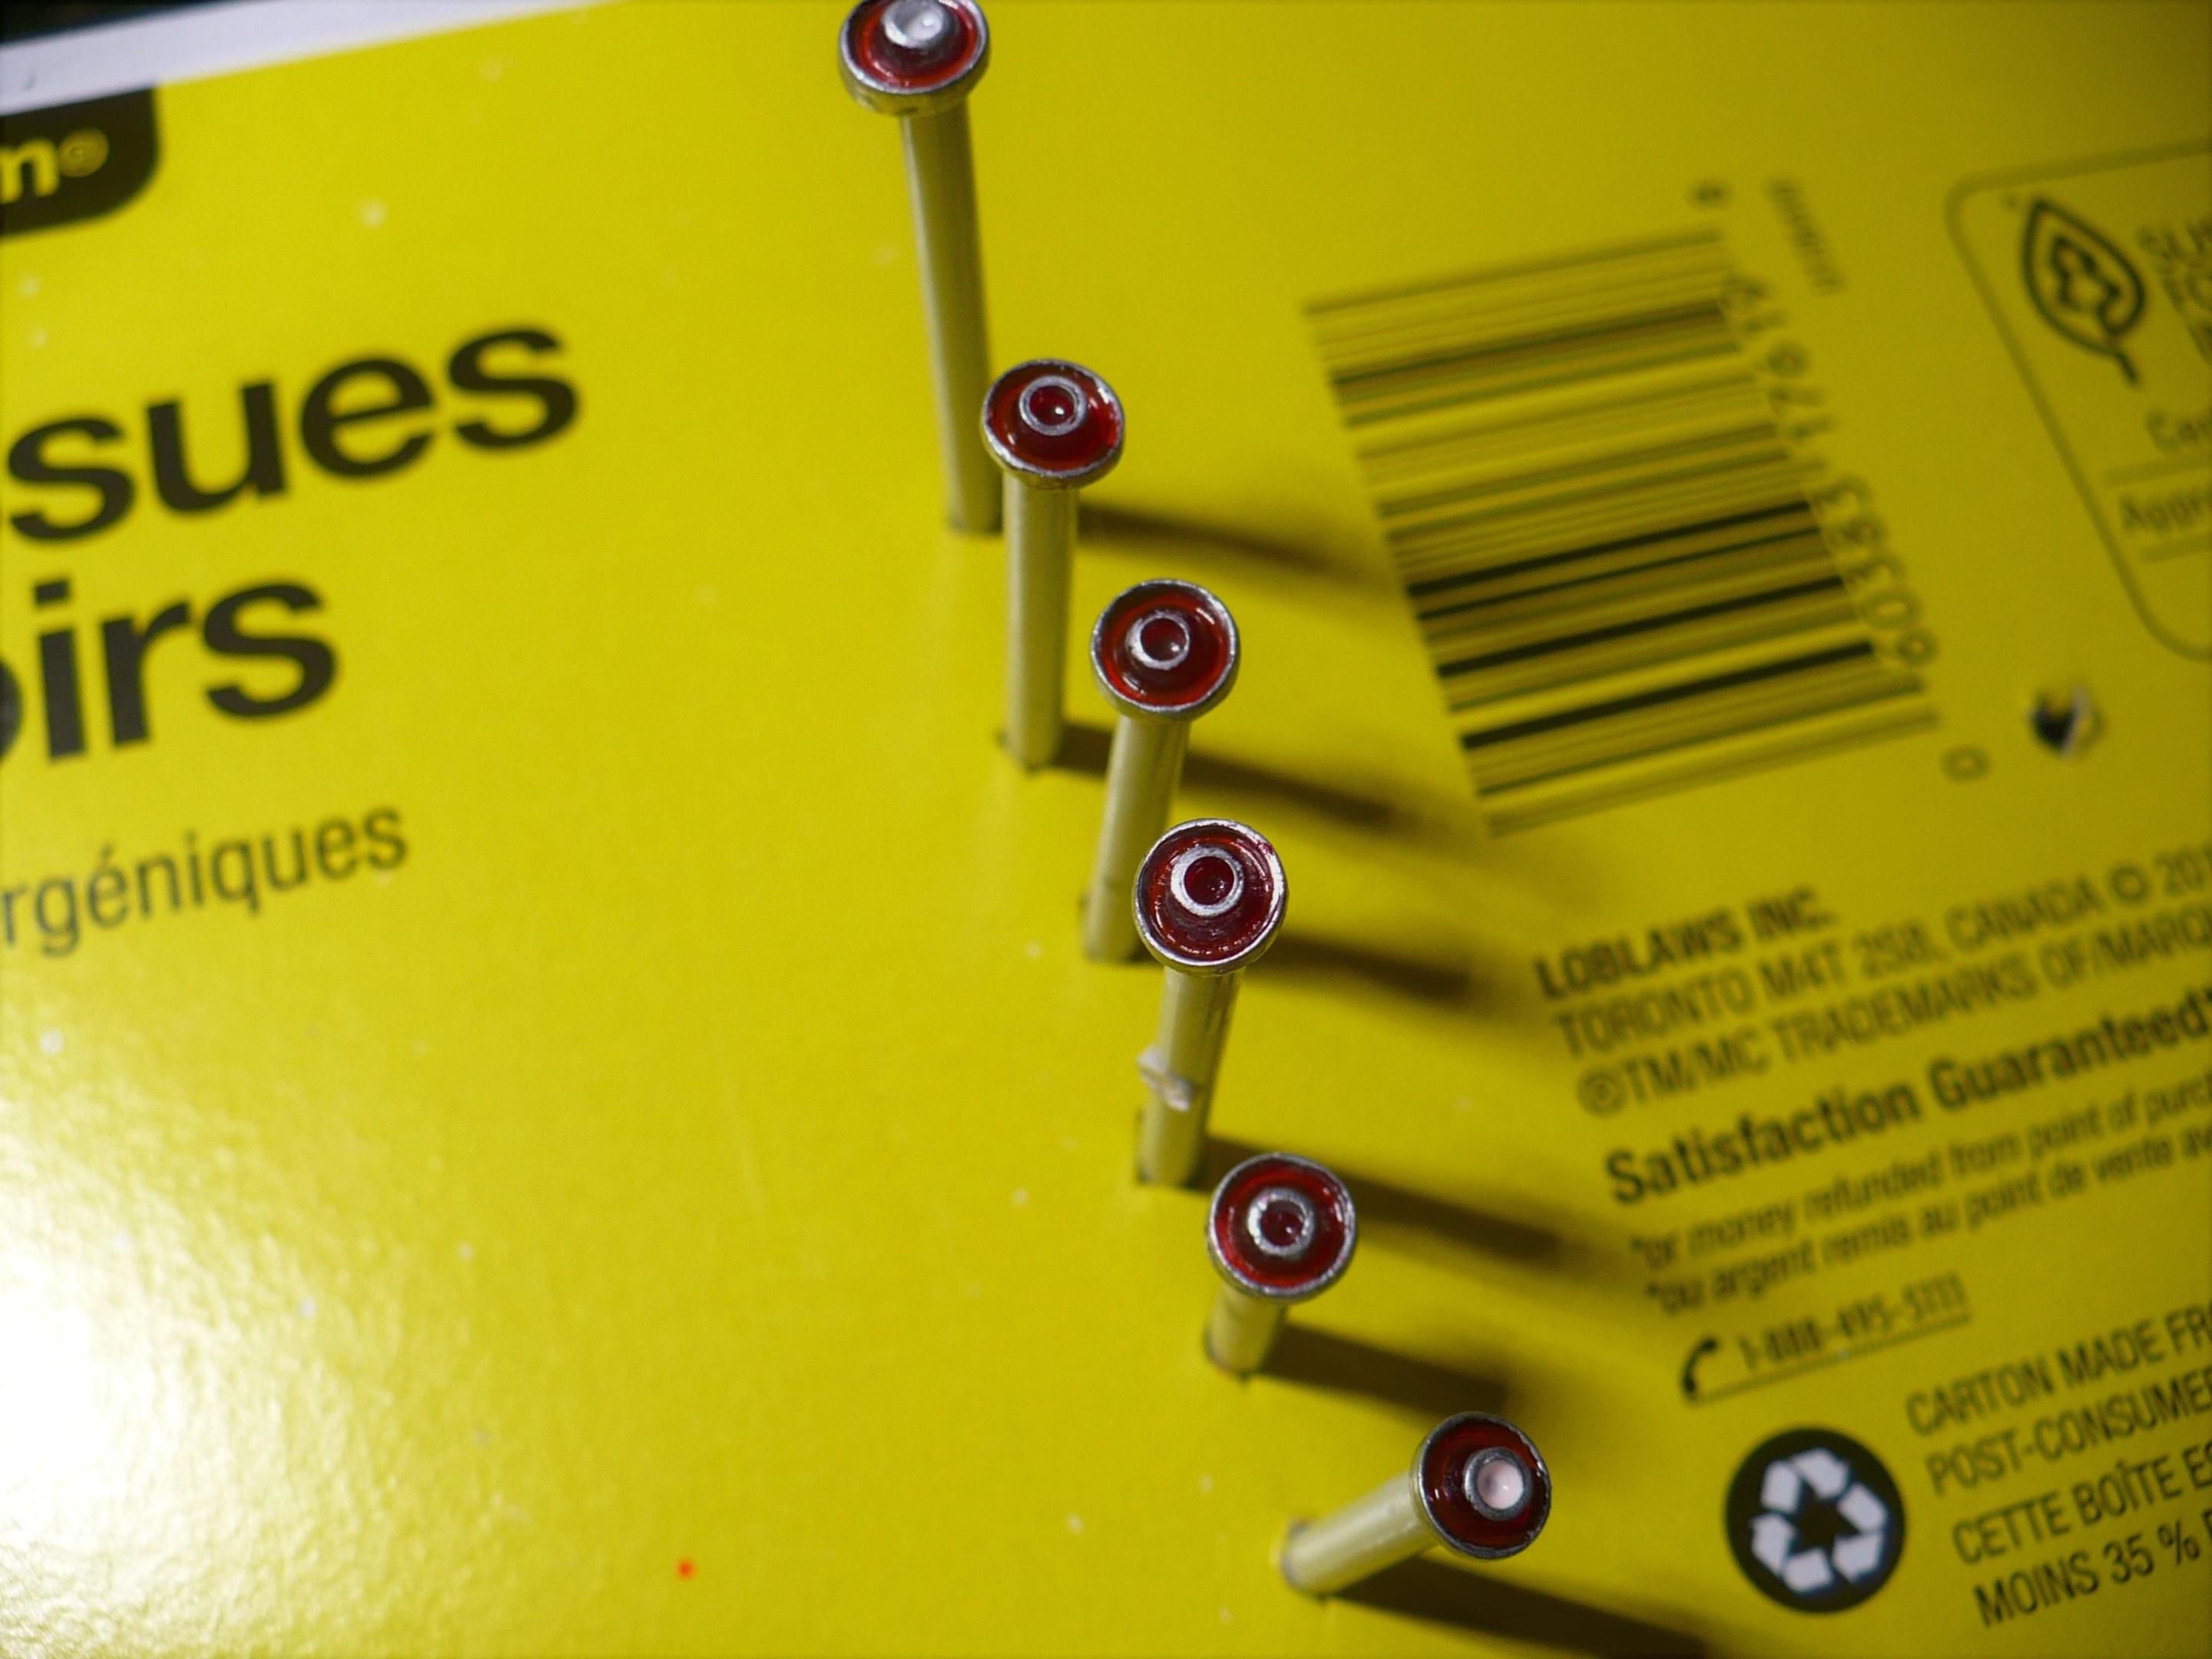
The shine can be varied by re applying more future to selected areas following the flat coat. In this case the outer edge and center of the caps should be glossy but the middle a matt finish. Again there is the benefit of putting black in the areas it needs to be because the self leveling properties draw it down.
Only outer ring done on left. Center, spokes and ring done on right. Parts that should be matt left with dull coat only.
.jpg.9b4c5d611c28a2871618b74cd6c6719f.jpg)
Dash should be a very low gloss not bright chrome. Before any coatings.
.jpg.8c292d93e14a79897e2ea00ce1c886c2.jpg)
After tint and dullcoat. Toned down but knobs and radio highlighted.
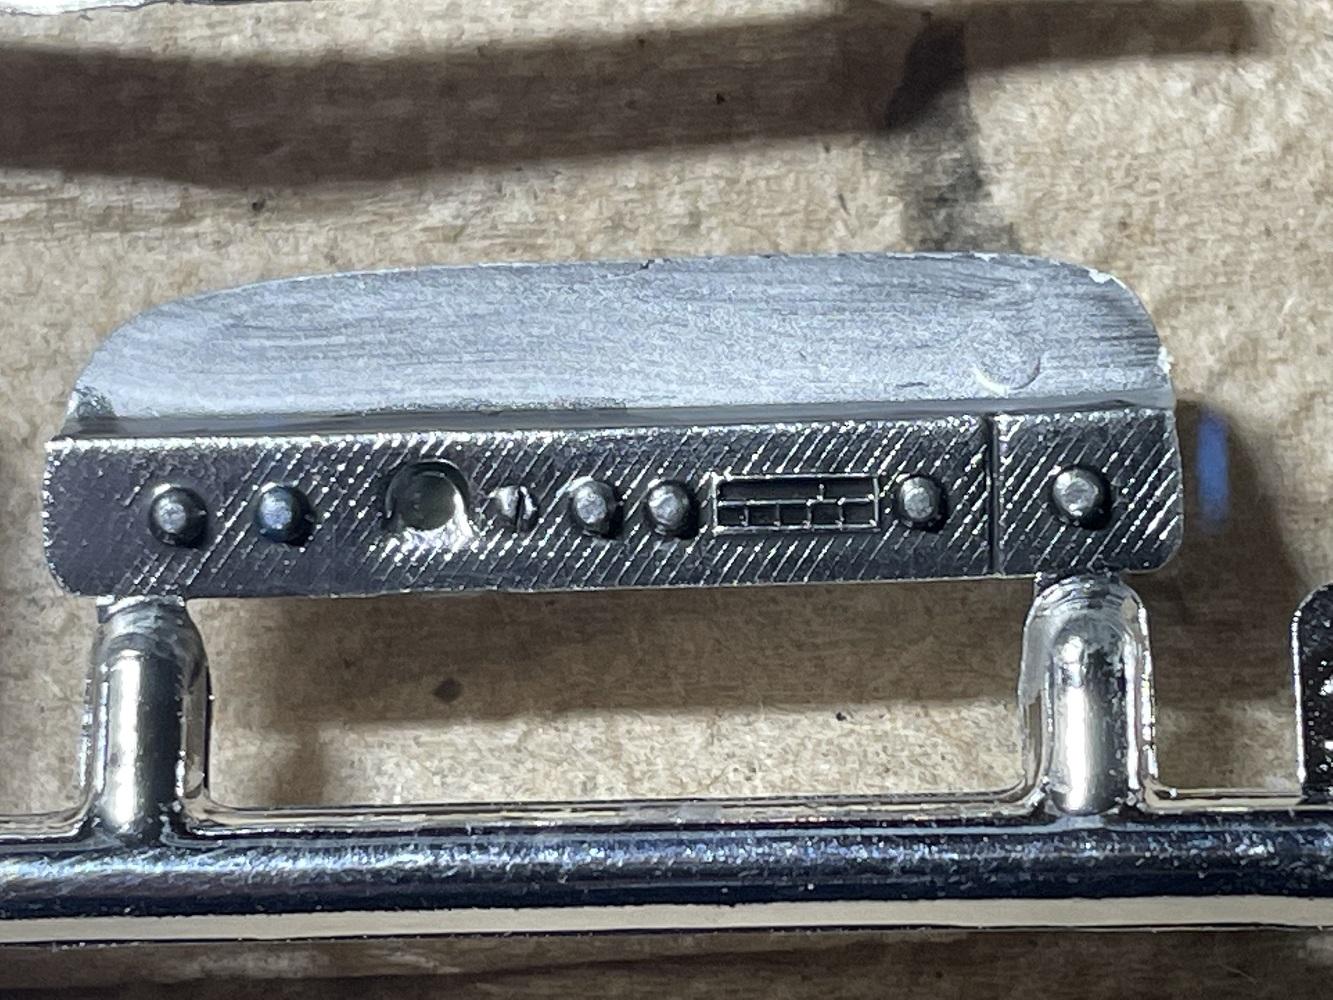
Even the smallest chrome part can benefit. The Future gives a nice gradual demarcation line between the edge and center.
.jpg.9b0536b8450361bcb0933e40e09e8a6b.jpg)
Body painted. It is a different shade of red from the interior but you will have to take my word for it. The adventure in BMF is successful. So far. The elusive to replicate SS reflective patterned side trim white base is done. Will need to figure out how to do a very thin silver wash over it to get the right effect.
.jpg.d6acab0557cc8ab73d6335c27c4ffb6a.jpg)
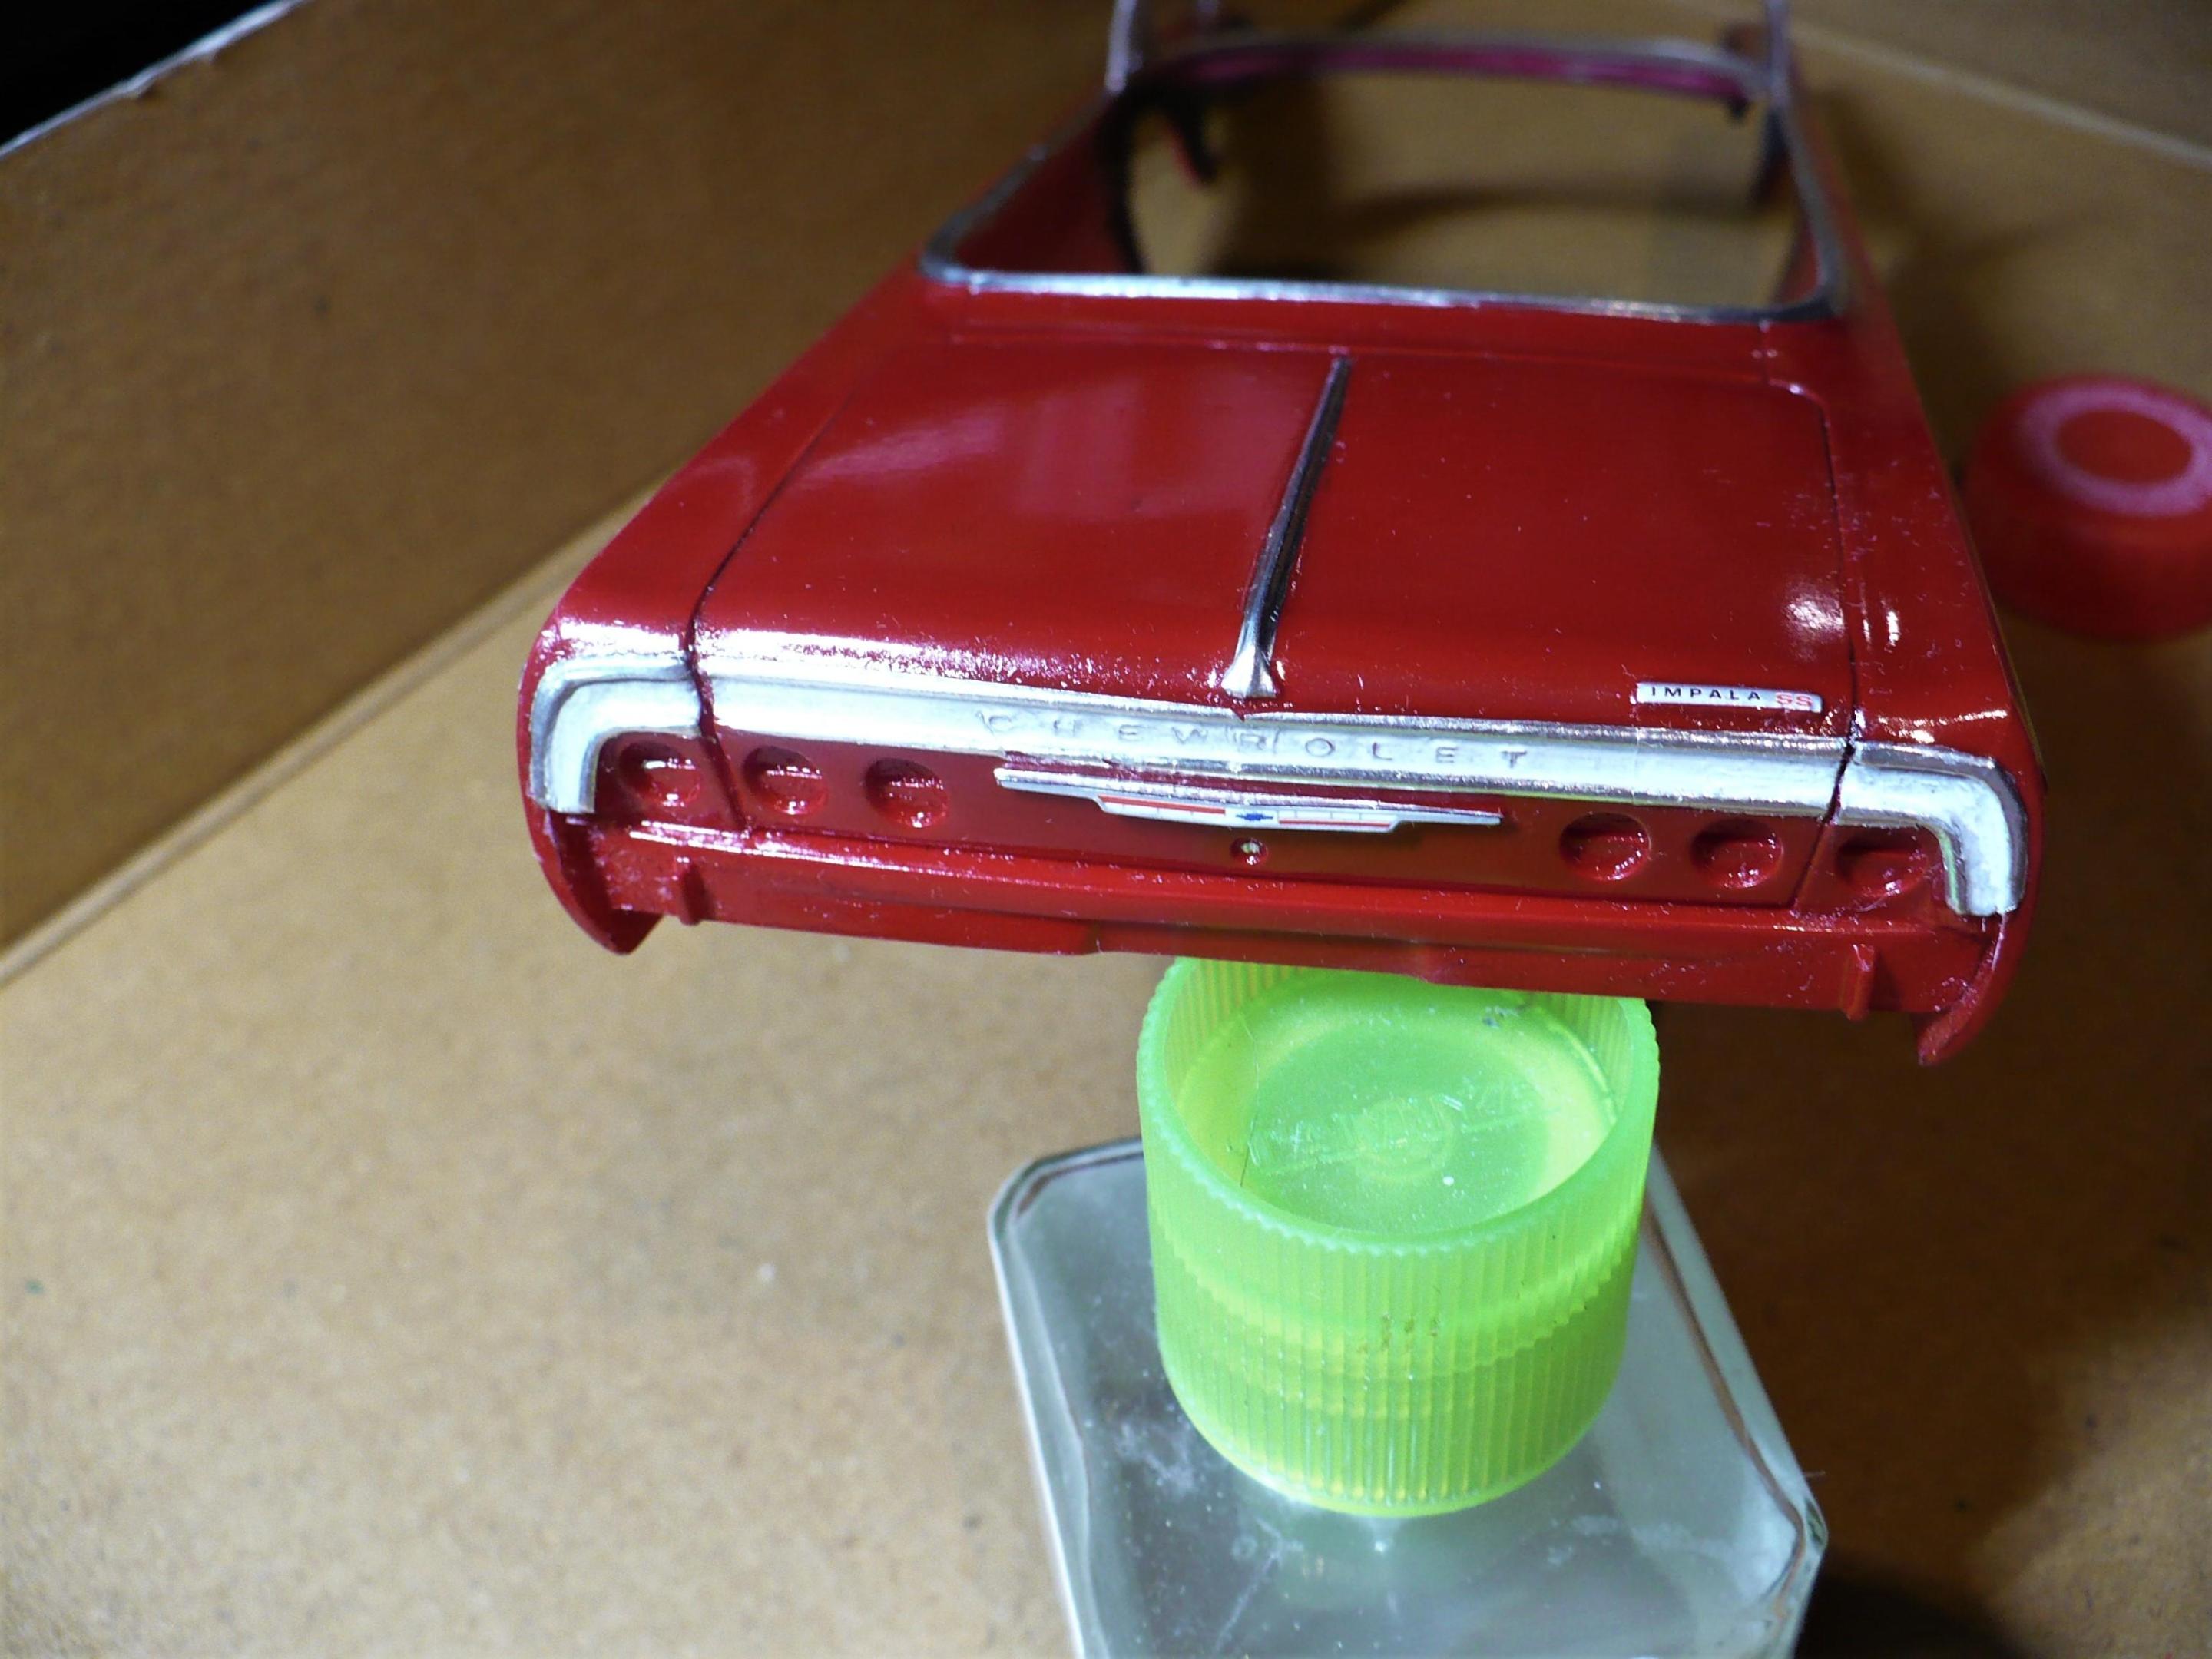
After 4 attempts of paint, strip, repeat I finally got some tail lights that I am happy with. When they cleaned up the molds for the most recent release they apparently forgot to do the tails. They were just sort of vaguely round blobs in a sea of flash and misaligned mold seams. I was one more attempt away from just scratch building them.
Decals on and first gloss coat to seal. everything. Gloss is actually much better than the pictures make it appear.
.jpg.3bbb44df2168392fd14e8f96f4b9826a.jpg)